
PowerPoint animations have come a long way from simple slide transitions and basic text effects. Today, you can create stunning interactive animations that engage your audience and elevate your presentations to a whole new level. One such creative animation is a 3D Mandalorian helmet that visually follows your mouse cursor as you move it around the slide. This tutorial will walk you through the entire process of building this impressive PowerPoint animation from scratch, using clever slide design, morph transitions, and invisible interactive shapes.
By the end of this guide, you’ll not only know how to create this eye-catching Mandalorian animation but also gain valuable insights into advanced PowerPoint animation techniques that can be applied to many other creative projects. Let’s dive in and bring this animation to life!

Table of Contents
- Getting Started: Setting Up Your PowerPoint Slide
- Adding a Stunning Background and Text Elements
- Inserting and Preparing the 3D Mandalorian Helmet
- Creating Slide Variations for Helmet Direction
- Applying Morph Transitions for Smooth Animation
- Building the Interactive Mouse-Following Effect
- Leveraging Slide Master for Efficiency
- Final Testing and Pro Tips
- Frequently Asked Questions (FAQ)
- Conclusion
Getting Started: Setting Up Your PowerPoint Slide
To begin creating this jaw-dropping PowerPoint animation, start fresh with a blank presentation. This ensures a clean slate where you can carefully craft each element without interference from pre-existing layouts or content.
- Choose a Blank Slide Layout: Open PowerPoint, create a new presentation, and select a blank slide layout. This gives you a completely uncluttered canvas to work on.
- Select Slide Size: For this animation, use the default widescreen aspect ratio of 16:9 for optimal display across most screens and projectors.
Starting with a blank slide is essential because it allows you to control every design aspect, from background to interactive elements, ensuring the animation works flawlessly.
Adding a Stunning Background and Text Elements
Once your blank slide is ready, it’s time to add visual elements that complement the Mandalorian helmet and set the tone of your presentation.
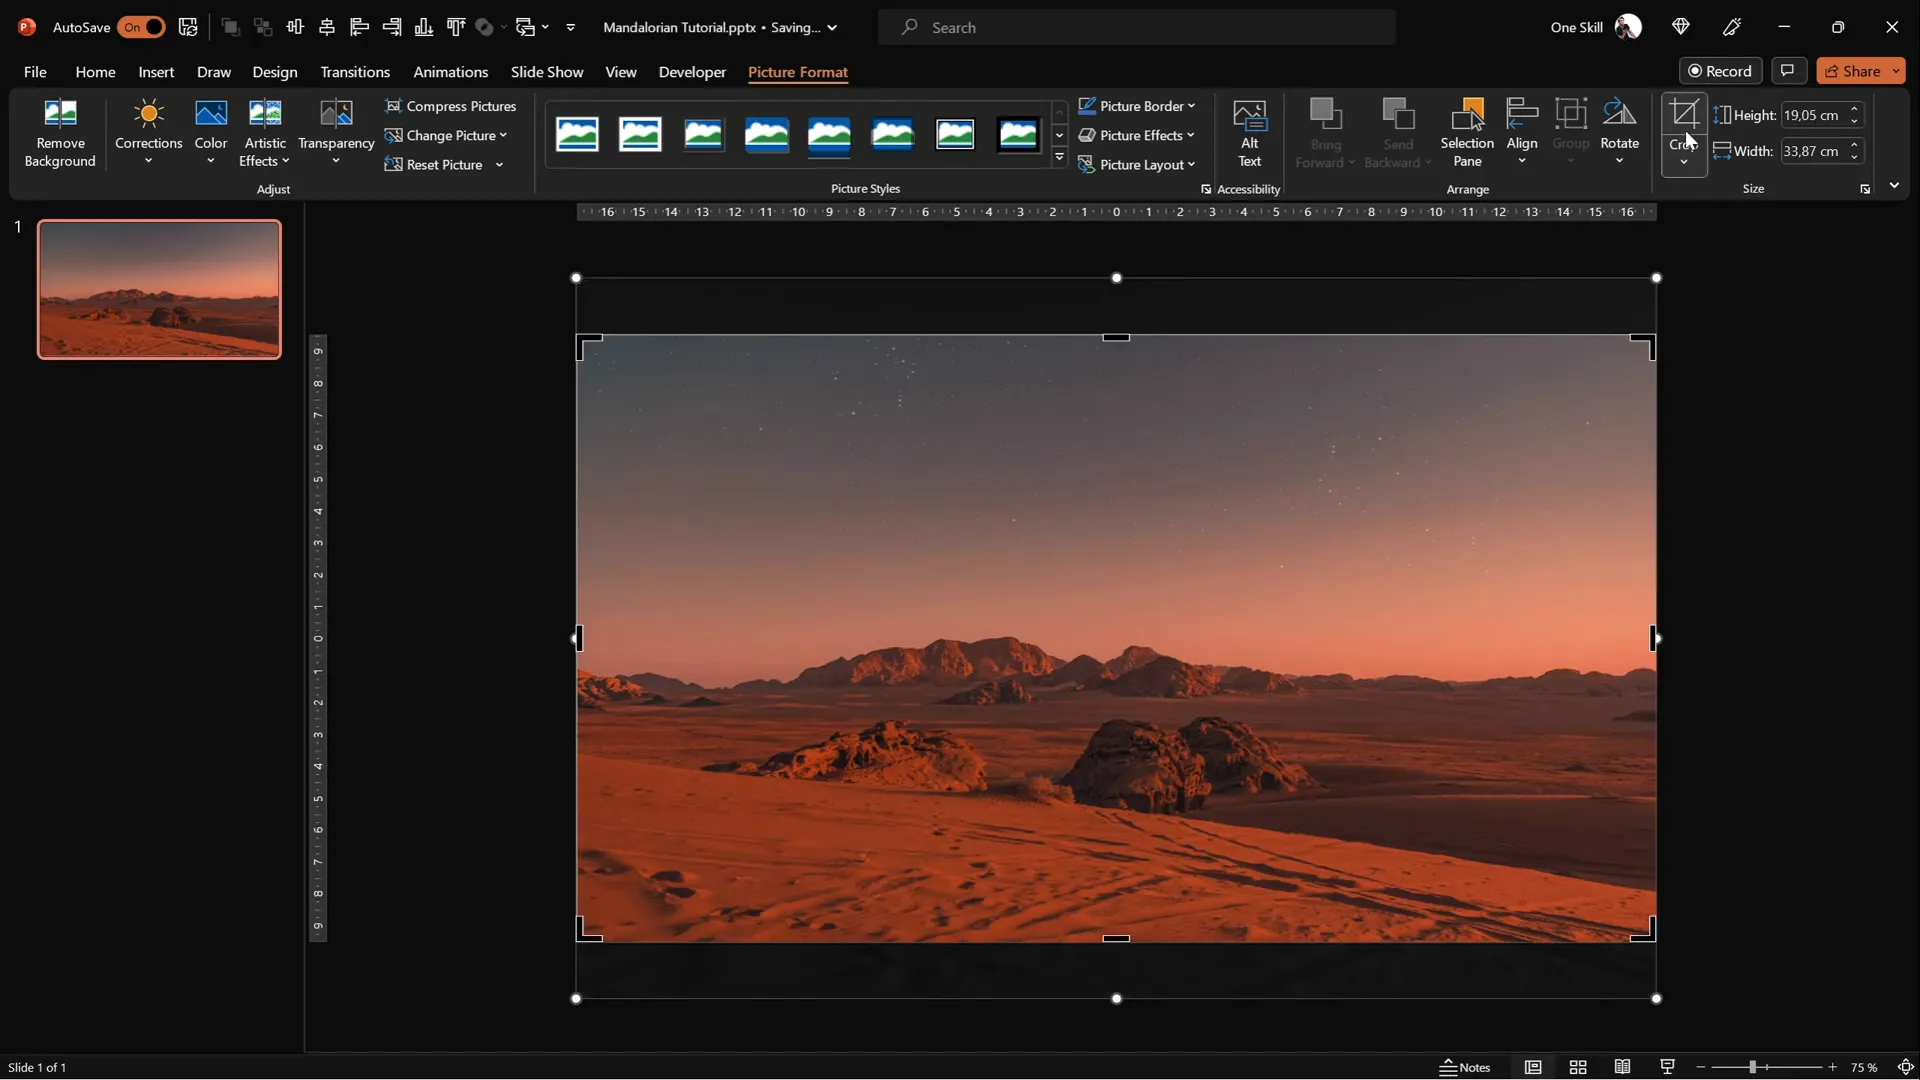
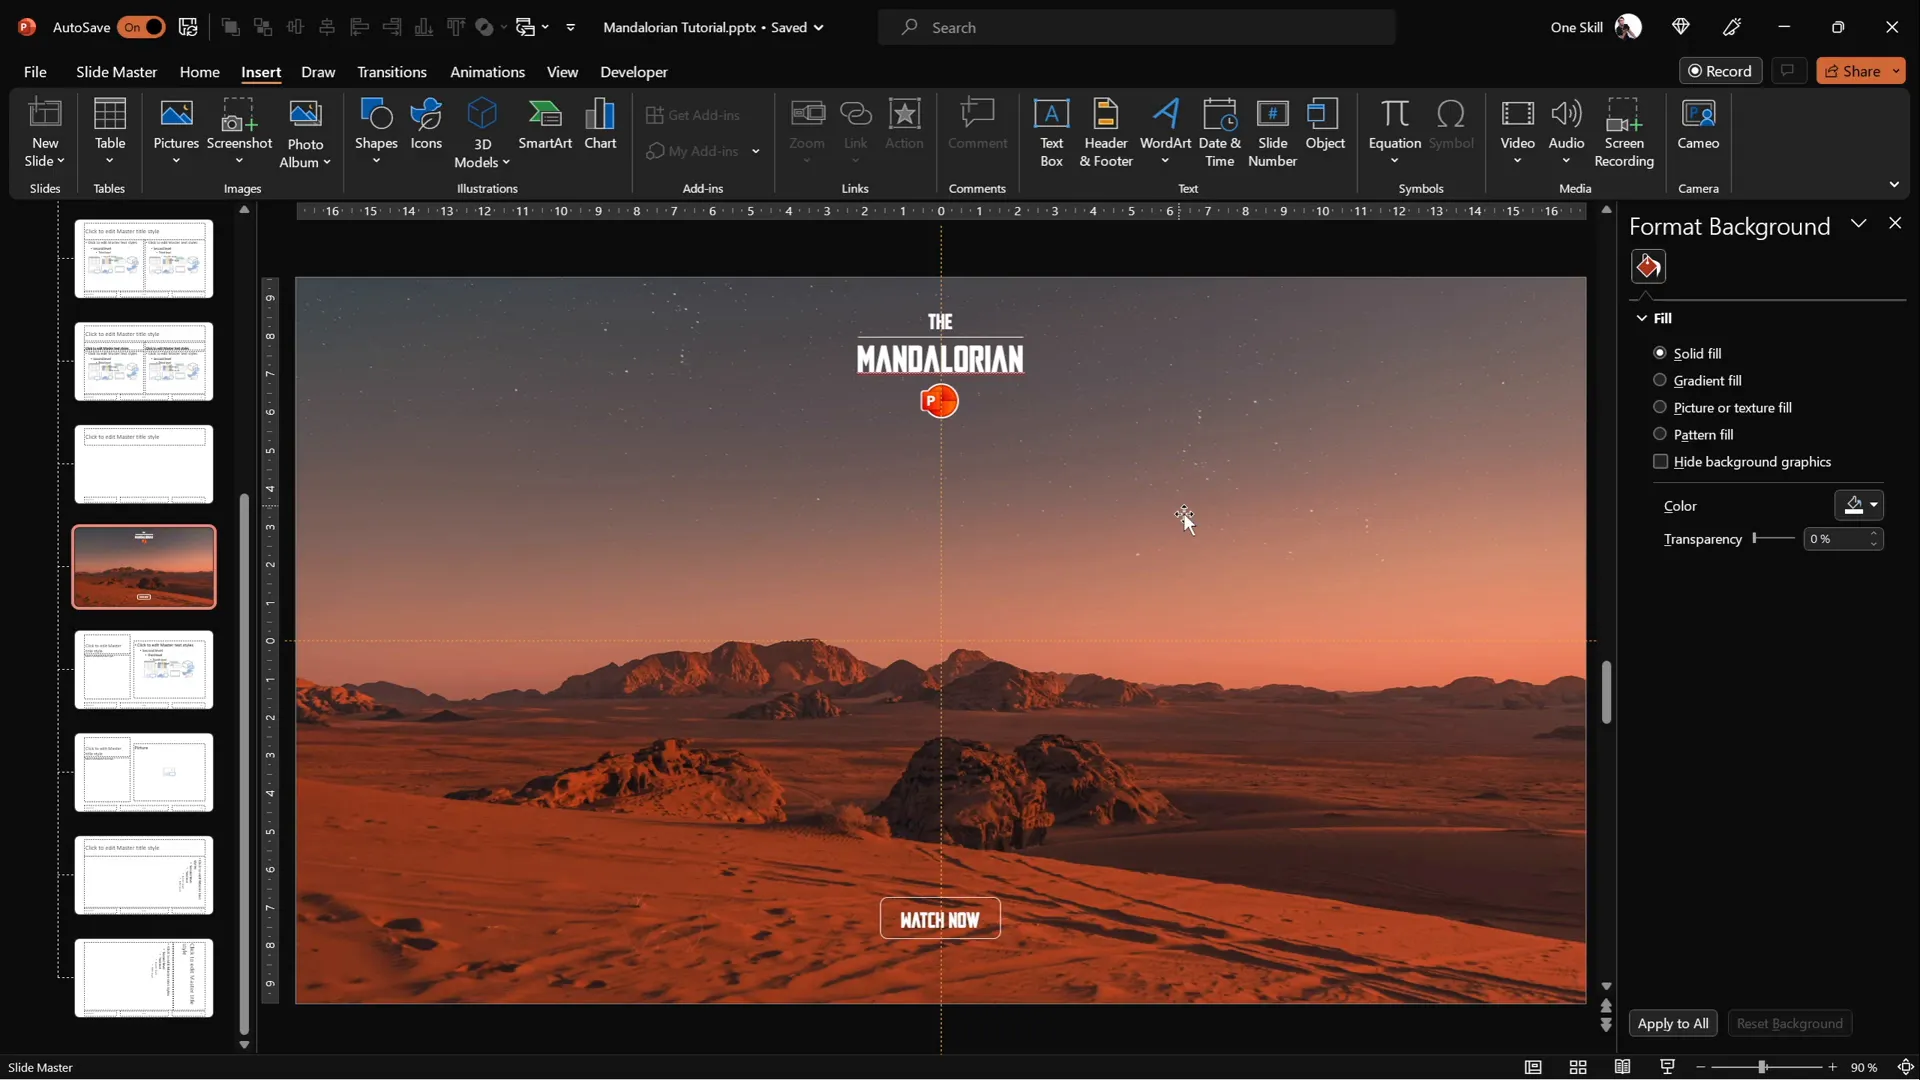
Choosing a Background Image
A visually striking background enhances the presentation’s overall aesthetic. For this project, I selected a high-quality photo that fits the mood perfectly. You can find similar images on free stock photo websites like Unsplash, or use the link provided in the resources section below.
- Insert your chosen photo by navigating to Insert > Pictures.
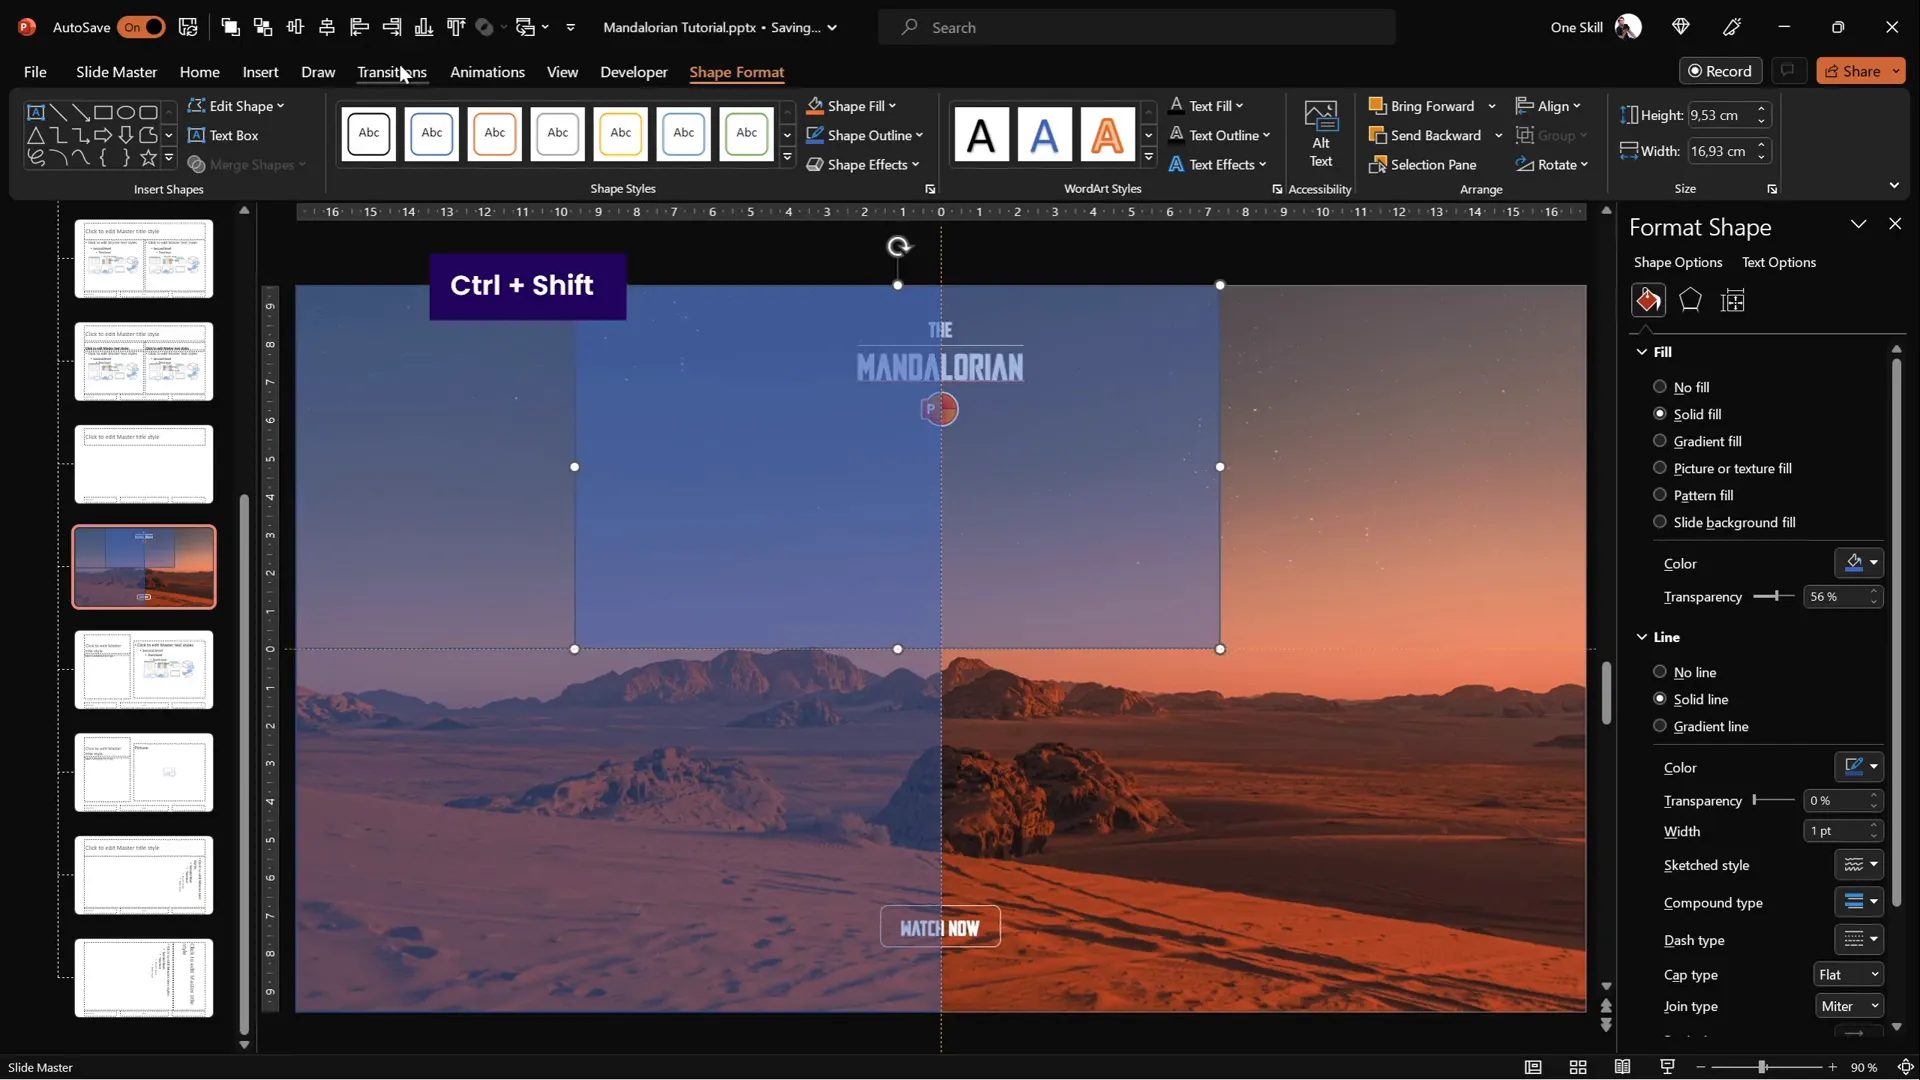
- Resize the image to cover the entire slide. Hold down
Ctrl + Shiftwhile dragging a corner to scale the image proportionally. - Set the crop ratio to 16:9 by going to Picture Format > Crop > Aspect Ratio and selecting 16:9 to match your slide size.
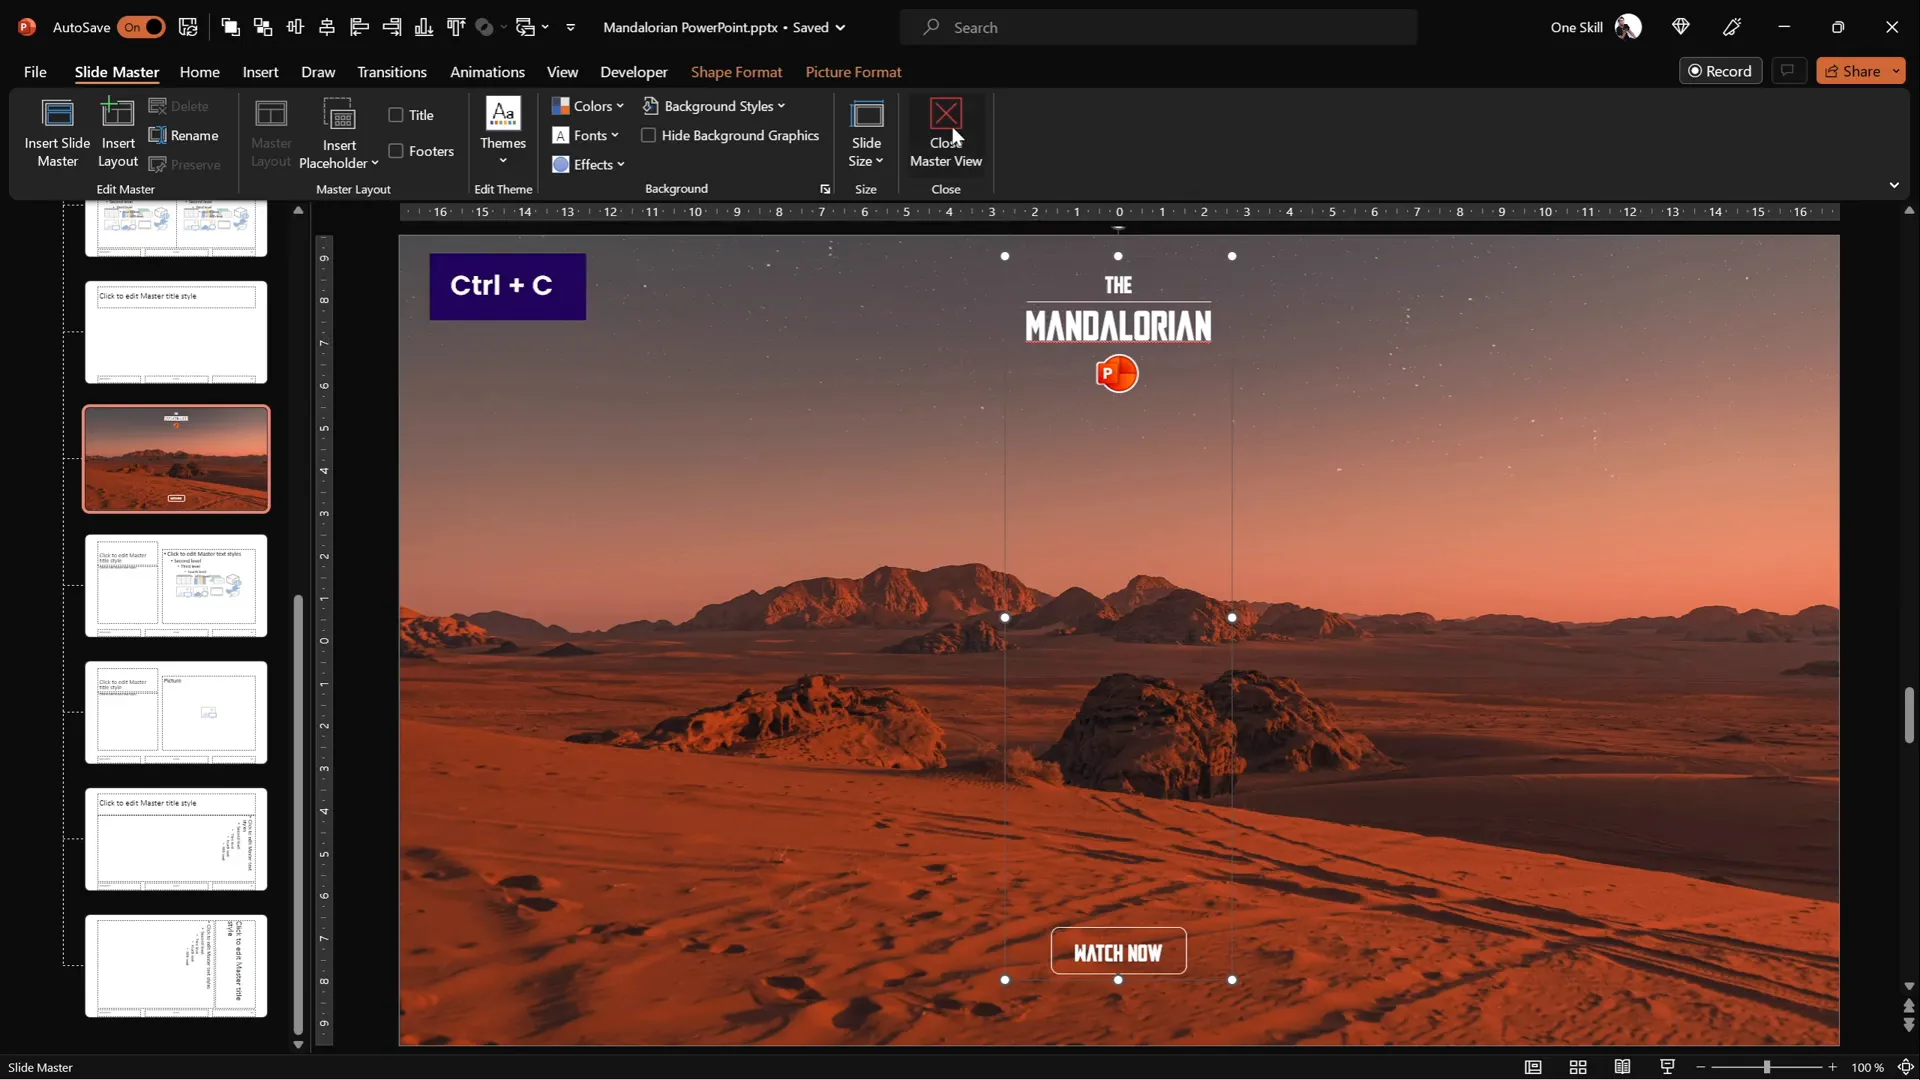
Adding Text Boxes and Logo
To save time, you can reuse text boxes and logos from previous presentations by copying them from the Slide Master view. This method keeps your slide clean and prevents accidental edits during animation setup.
- Access Slide Master via View > Slide Master.
- Select and group the text boxes and logo you want to reuse.
- Copy and paste the grouped elements into your current slide layout.
Font Recommendation: Use the Mandalore font for authentic Star Wars vibes. It’s free and adds a professional touch to your text elements.
Inserting and Preparing the 3D Mandalorian Helmet
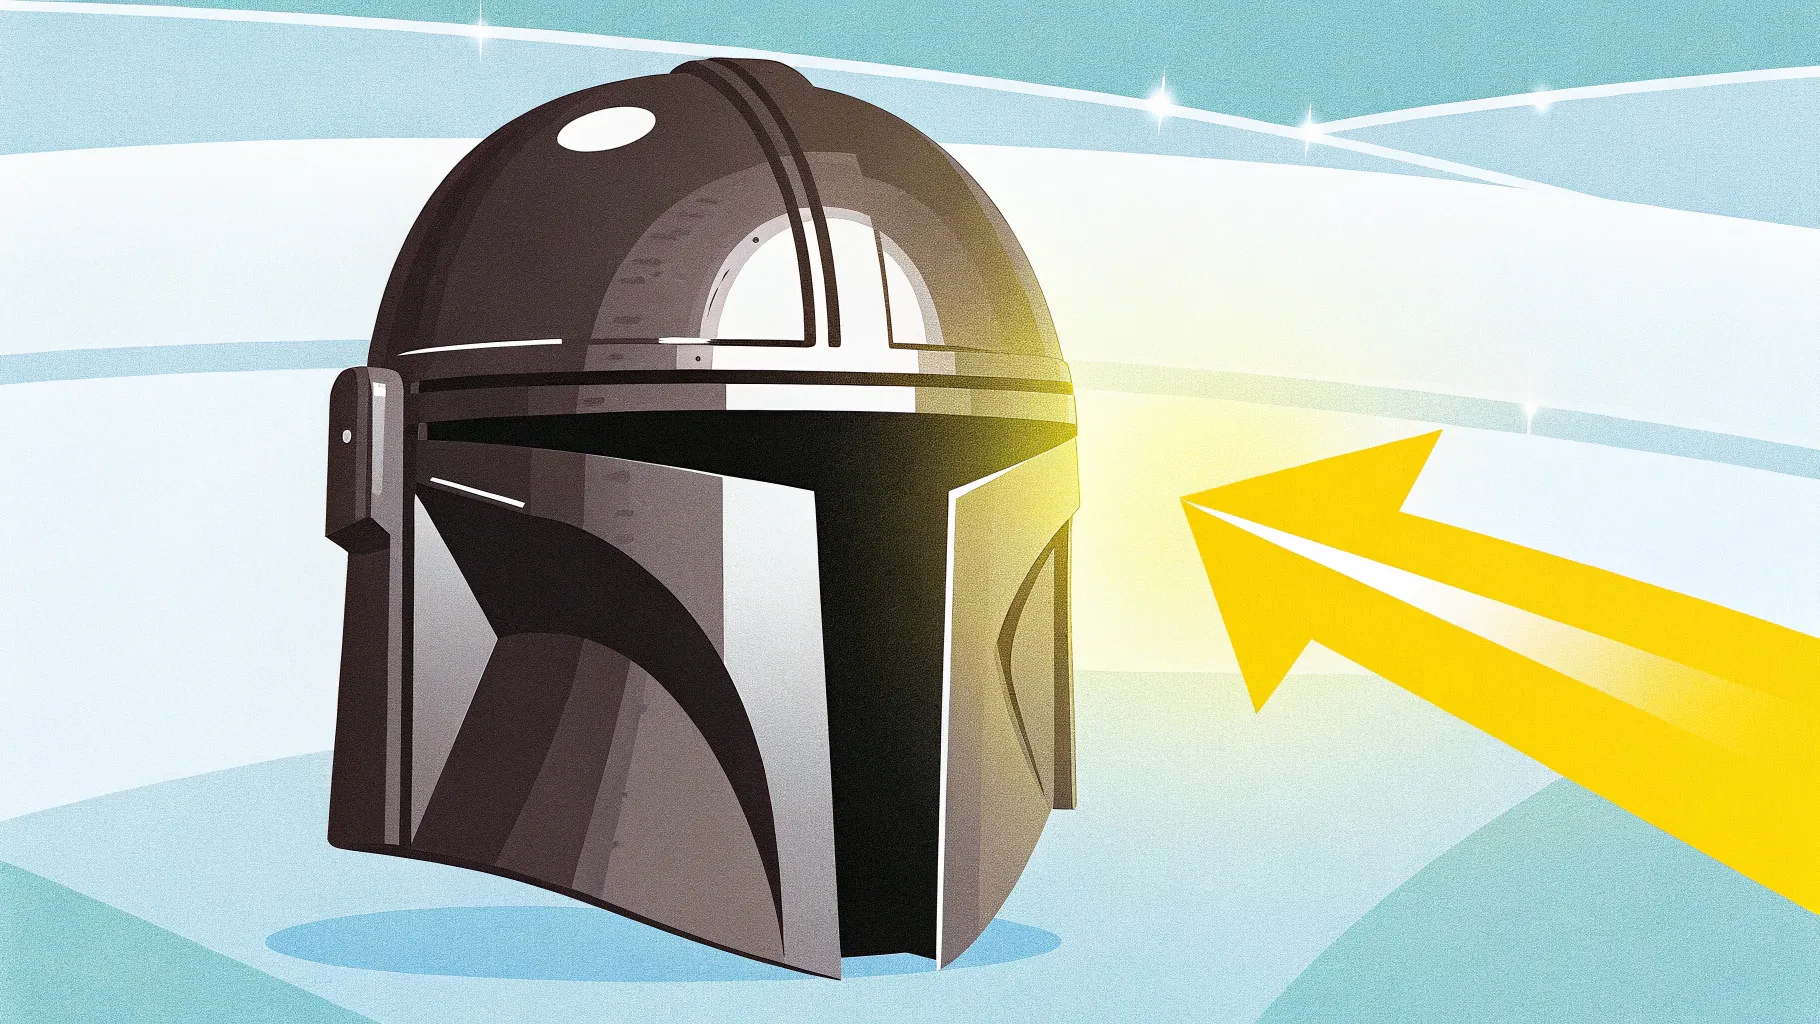
Now comes the centerpiece of this animation: the 3D Mandalorian helmet. PowerPoint supports 3D models, making it easy to insert and manipulate them directly on your slides.
- Download the 3D Model: Use the Mandalorian helmet 3D model from Sketchfab or your preferred source. The link is provided below for convenience.
- Insert the 3D Model: Go to Insert > 3D Models > From a File, and select the Mandalorian helmet model.
- Position the Helmet: Place the helmet centrally on your slide where it will be most visible.
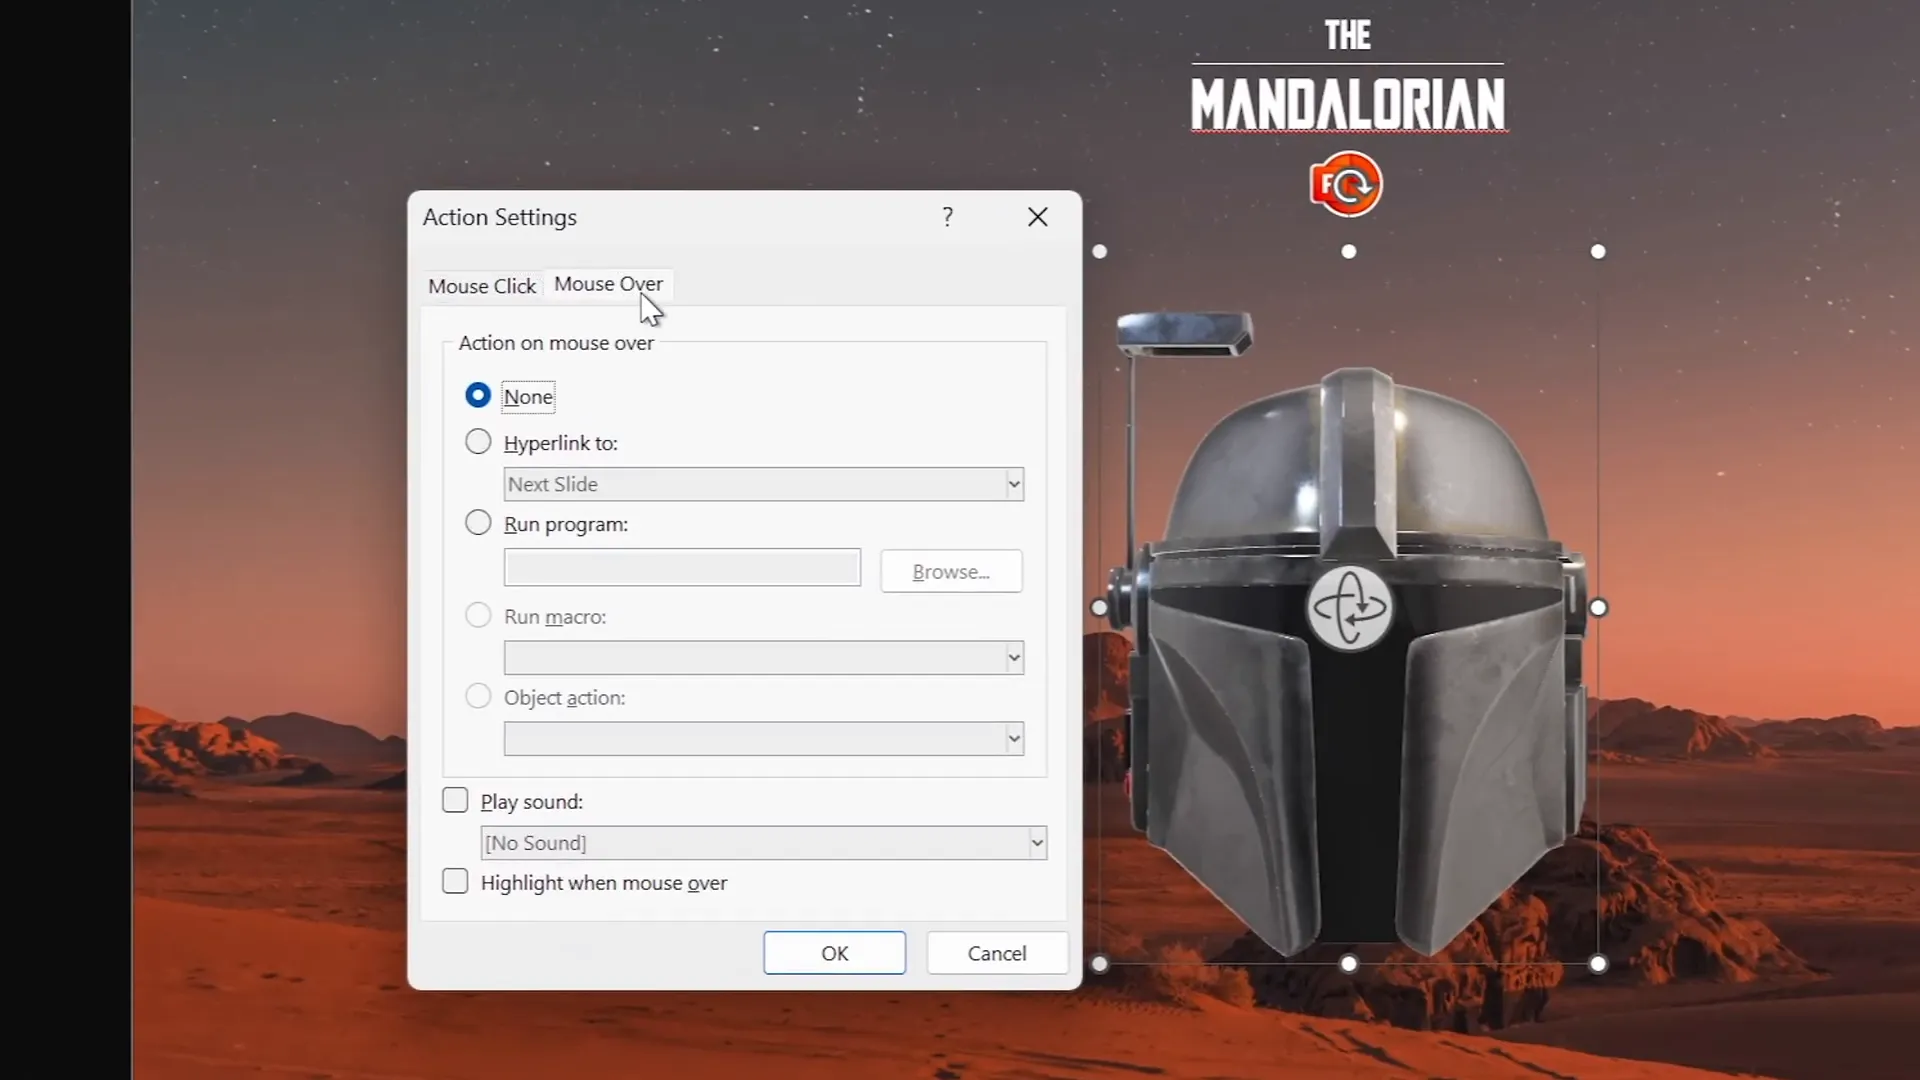
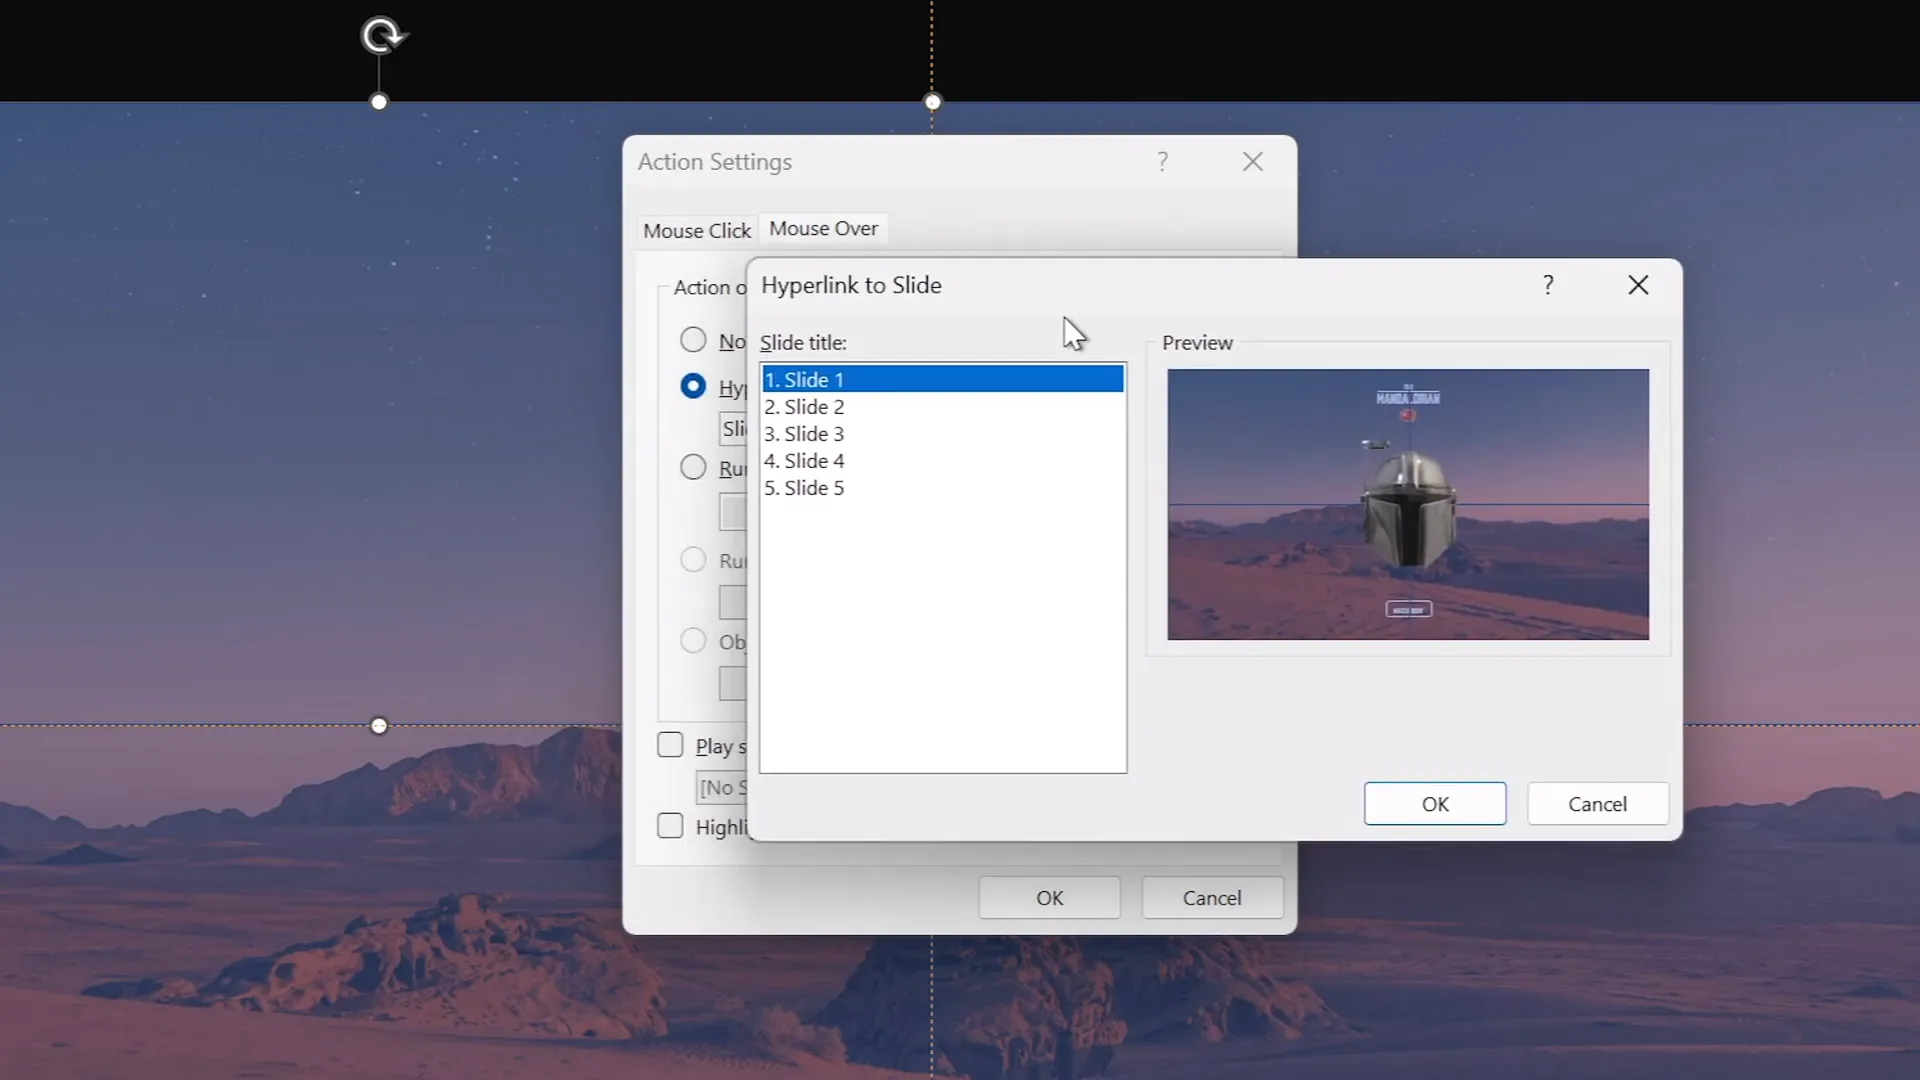
Once inserted, it’s important to add an interactive action to the 3D model:
- Select the 3D helmet.
- Go to Insert > Action.
- In the Mouse Over tab, set the hyperlink to the first slide. This ensures that when you hover over the helmet, the presentation jumps to the first slide, maintaining interaction.
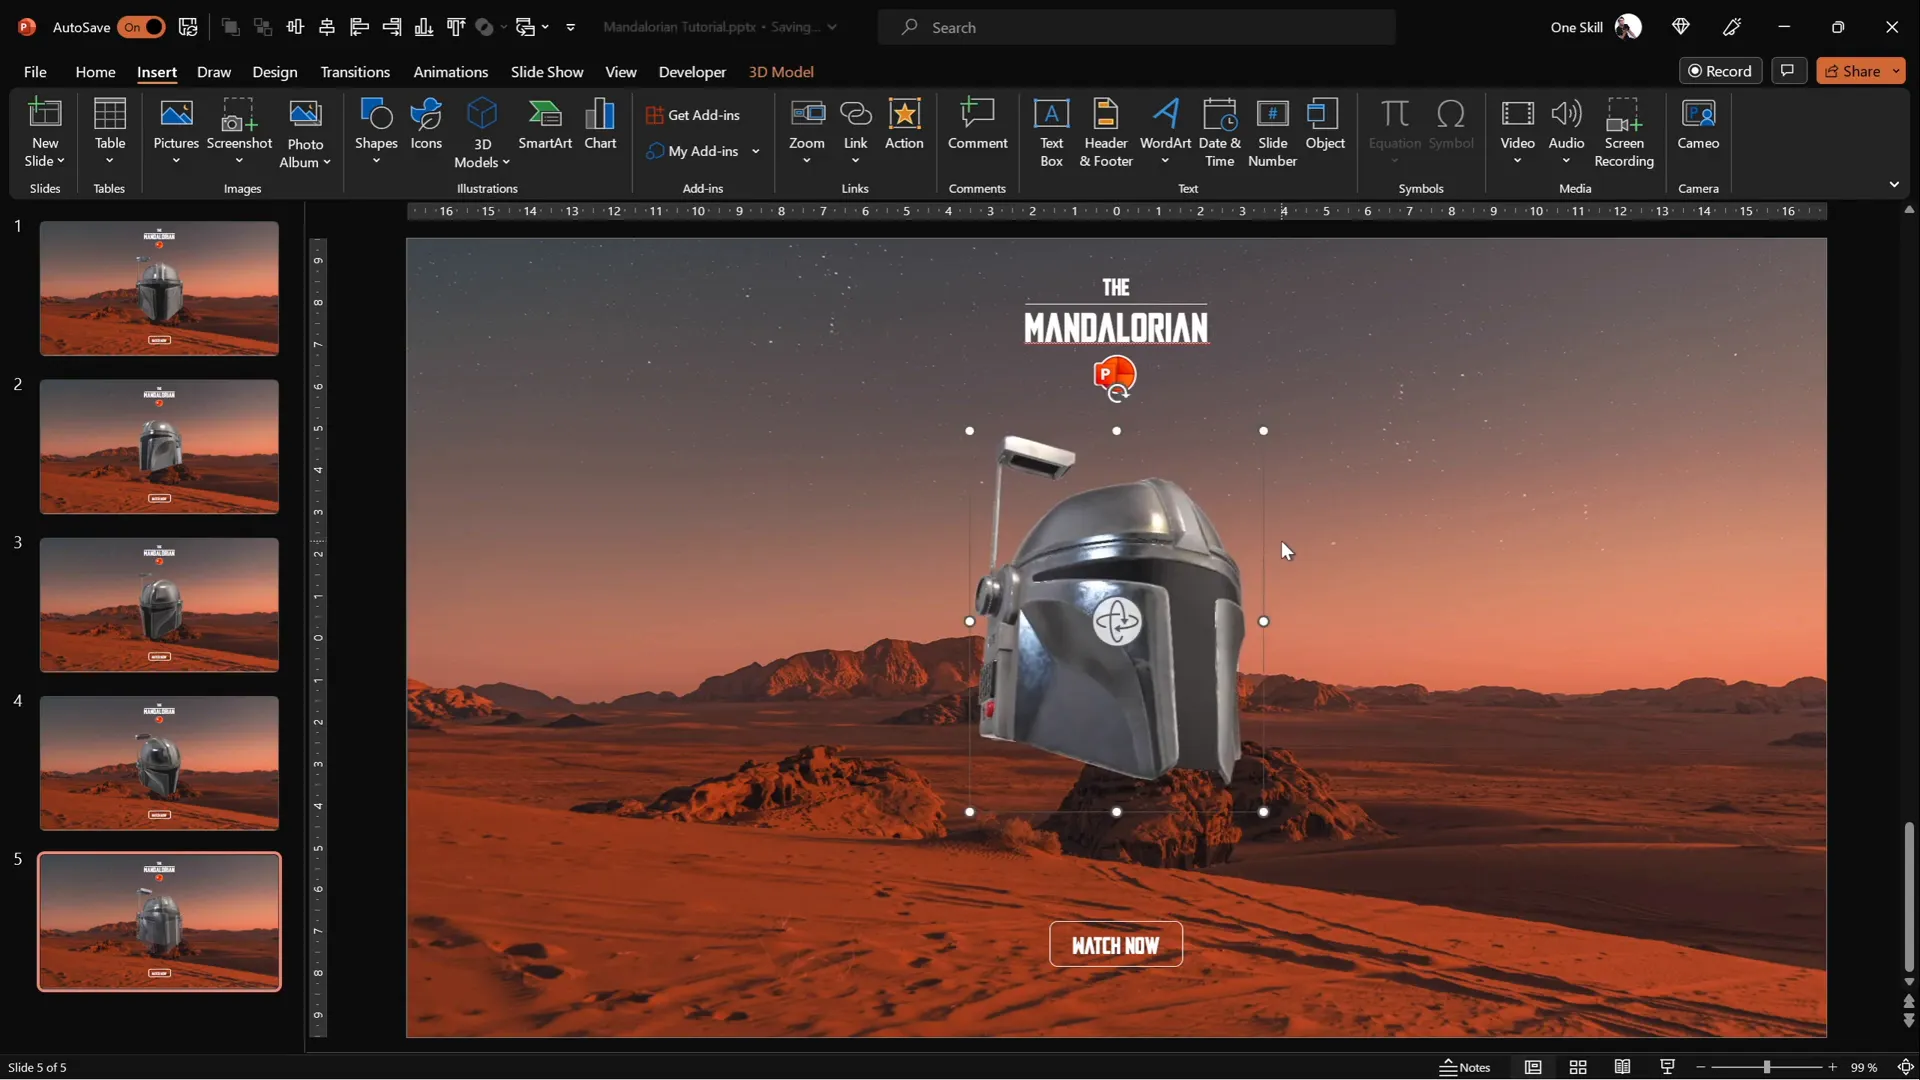
Creating Slide Variations for Helmet Direction
To simulate the helmet following your mouse, you need multiple slides showing the helmet looking in different directions. This is achieved by duplicating the first slide and rotating the helmet on each copy.
- Duplicate the first slide four times, resulting in five slides total.
- Leave the first slide as is (helmet facing forward).
- On the second slide, rotate the helmet to face the top-left corner.
- On the third slide, rotate the helmet to face the bottom-left corner.
- On the fourth slide, rotate the helmet to face the bottom-right corner.
- On the fifth slide, rotate the helmet to face the top-right corner.
This approach creates the illusion of the helmet turning to follow the cursor as you transition between slides.
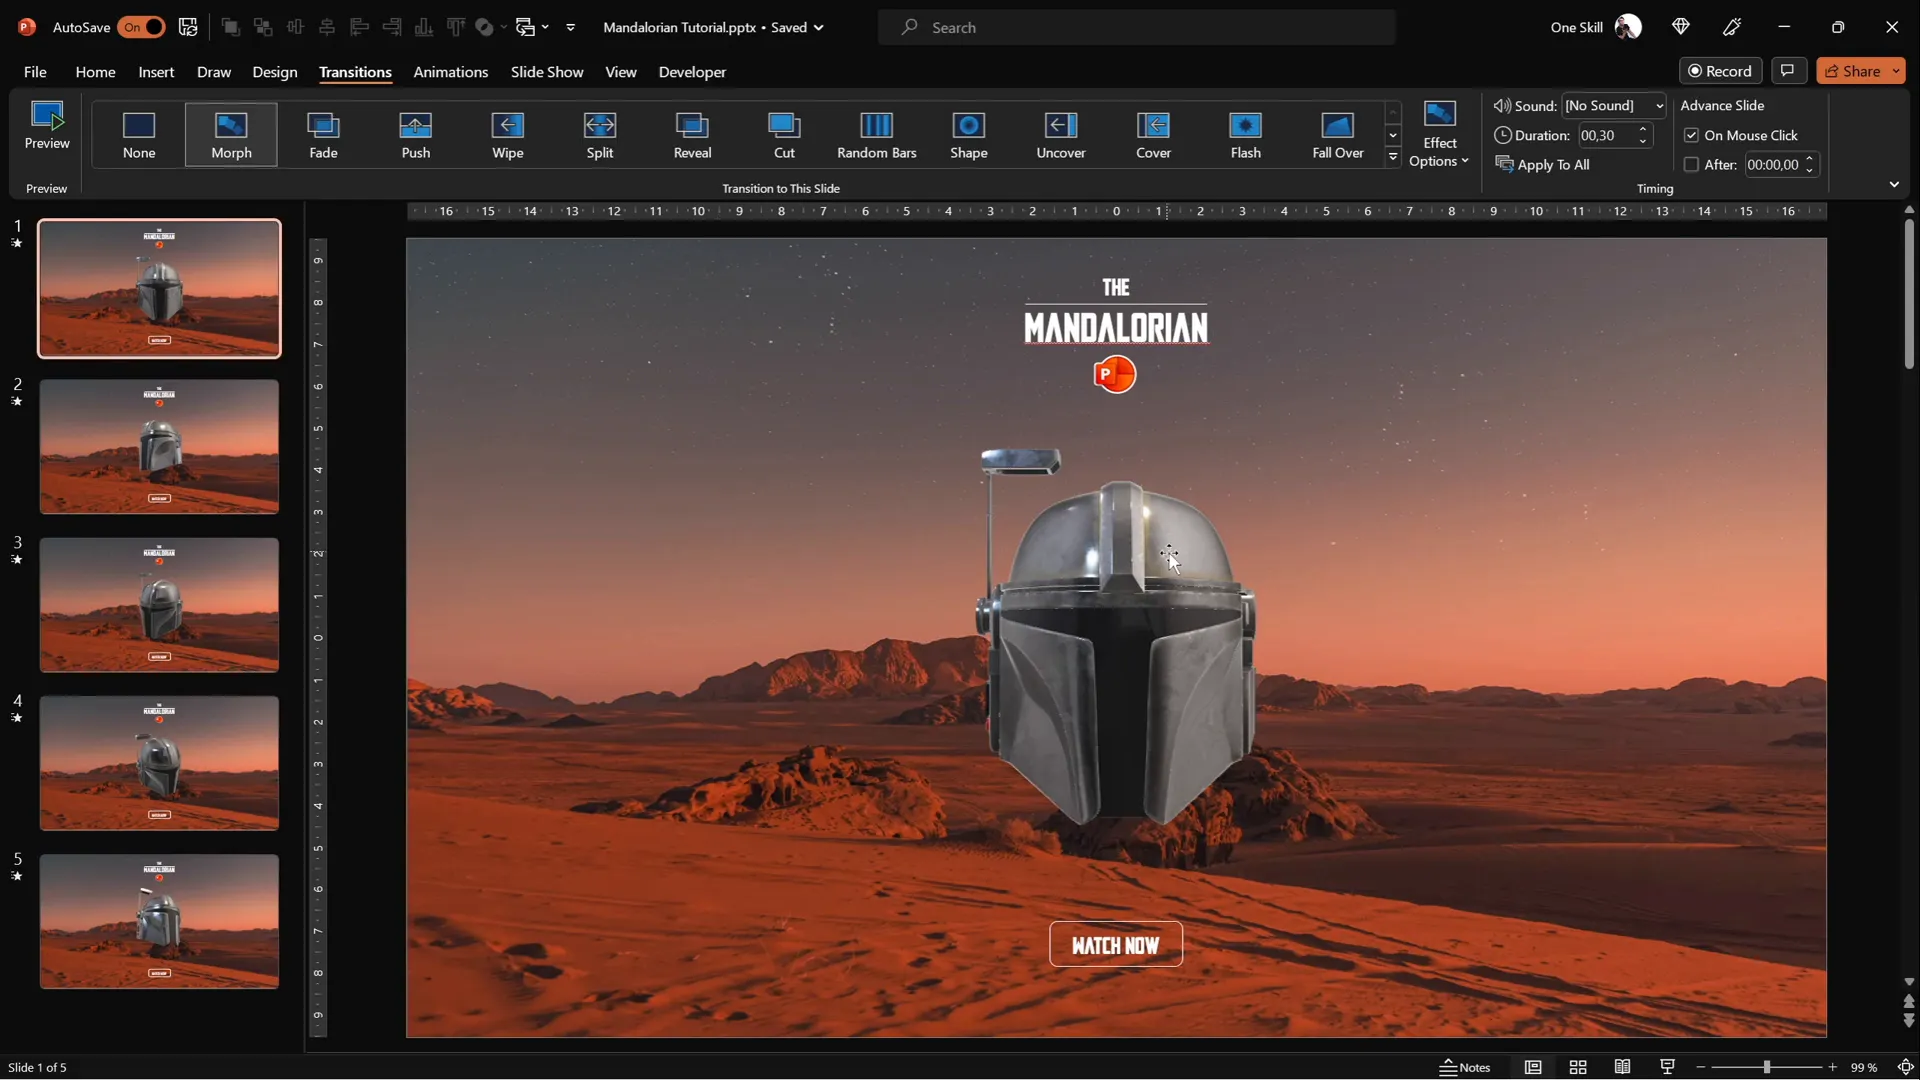
Applying Morph Transitions for Smooth Animation
The magic behind the smooth rotation effect is PowerPoint’s Morph transition. It animates the changes between slides seamlessly, making the helmet’s movements look fluid rather than jumpy.
- Select all five slides.
- Go to the Transitions tab and select Morph.
- Set the transition duration to around 0.3 seconds for fast, responsive animation.
Now, when you manually navigate through the slides using arrow keys, the helmet appears to smoothly rotate in response to movement.
Building the Interactive Mouse-Following Effect
The final step is making the helmet actually follow your mouse cursor. This is done by dividing the slide into four invisible interactive areas, each linked to a slide where the helmet faces a different direction.
Step 1: Activate Slide Guides
Enable slide guides to divide the slide into four equal quadrants. This helps precisely place interactive shapes.
- Go to View > Guides.
- Two center guides will appear, splitting the slide into four rectangles.
Step 2: Insert Four Rectangles
In Slide Master view, add four rectangles—one covering each quadrant.
- Go to Insert > Shapes > Rectangle.
- Draw a rectangle over the top-left quadrant.
- Duplicate this rectangle using
Ctrl + Shiftdrag, and position copies over the remaining three quadrants. - Optionally, make rectangles semi-transparent to check placement.
Step 3: Add Mouse Over Actions to Rectangles
Assign mouse over actions to each rectangle to hyperlink to the corresponding slide with the helmet facing that direction.

| Rectangle | Linked Slide | Helmet Direction |
|---|---|---|
| Top Left | Slide 2 | Helmet faces top-left |
| Bottom Left | Slide 3 | Helmet faces bottom-left |
| Bottom Right | Slide 4 | Helmet faces bottom-right |
| Top Right | Slide 5 | Helmet faces top-right |
- Select each rectangle.
- Go to Insert > Action, choose the Mouse Over tab.
- Set hyperlink to the respective slide.
Step 4: Make Rectangles Invisible
To keep the rectangles from being visible during the presentation, set their fill and outline to none.
- Select all four rectangles.
- Go to Shape Format > Shape Fill and choose No Fill.
- Go to Shape Format > Shape Outline and choose No Outline.
The mouse over actions remain active even though the shapes are invisible, creating an interactive area that controls the helmet’s direction based on cursor position.
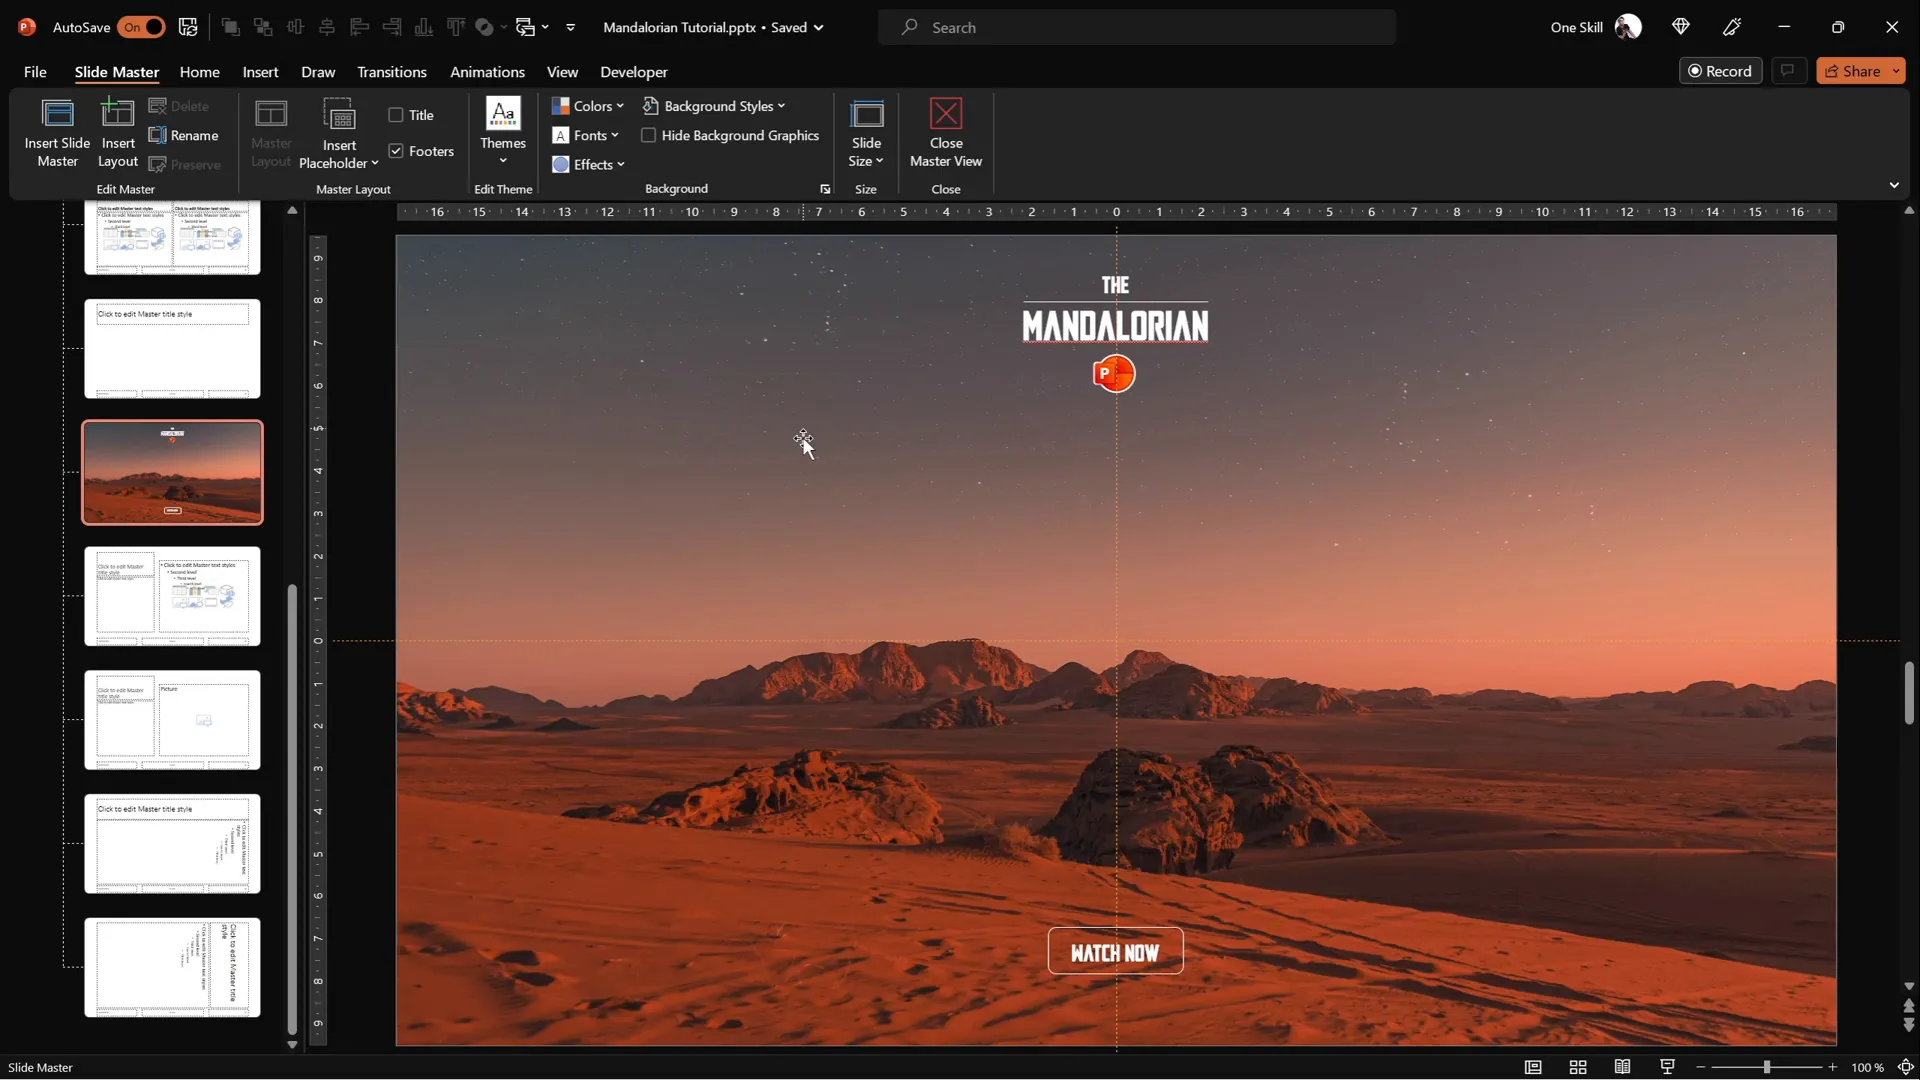
Leveraging Slide Master for Efficiency
One of the smartest ways to work efficiently is by using PowerPoint’s Slide Master to manage repetitive elements and interactive shapes.
- Insert the text boxes, logos, and invisible rectangles with mouse over actions once in the Slide Master.
- Apply the custom slide layout to all slides in your presentation.
- This avoids duplicating work and prevents accidental edits of interactive elements during slide editing.
Using Slide Master ensures consistency and saves hours of manual setup, especially when working with multiple slides and complex animations.
Final Testing and Pro Tips
With everything set up, it’s time to test your interactive Mandalorian helmet animation.
- Enter Slide Show mode (press F5 or click Slide Show > From Beginning).
- Move your mouse cursor over the slide. The helmet should smoothly rotate to face the quadrant your mouse is in.
- Hovering over the helmet itself will jump you back to the first slide, maintaining smooth interactivity.
Pro Tips:
- Adjust Transition Duration: Shorter durations (around 0.3 seconds) make the animation feel more responsive.
- Use High-Quality 3D Models: For best visual impact, choose detailed and well-optimized 3D models.
- Customize Quadrants: Experiment with dividing your slide into more or fewer interactive zones for finer control.
- Test on Different Devices: Morph transition and 3D models work best on recent versions of PowerPoint. Compatibility varies.
Frequently Asked Questions (FAQ)
Can I use a different 3D model instead of the Mandalorian helmet?
Absolutely! PowerPoint supports a wide variety of 3D models. You can insert any model you like and follow the same process to create interactive animations.
Do I need a specific version of PowerPoint to use Morph transitions and 3D models?
Yes, Morph transitions and 3D model support are available in PowerPoint 2019, Microsoft 365, and later versions. Older versions may not support these features.
Can I create more than four directions for the helmet to face?
Yes! You can divide your slide into more interactive zones by adding additional invisible shapes with mouse over actions linking to slides with the helmet facing different directions.
How can I customize the background and text to fit my presentation theme?
You can replace the background image with any photo or design and customize the text boxes with fonts, colors, and styles that match your branding or theme.
Is it possible to use this animation in other presentation software?
This specific animation relies on PowerPoint’s Morph transition and 3D model features, so it’s best suited for PowerPoint. Other software may not support these advanced effects.
Can I share the tutorial slides for this animation?
Yes, you can download free tutorial slides from the creator’s Patreon page to explore and learn from the example files.
Conclusion
Creating an interactive PowerPoint animation where a 3D Mandalorian helmet follows your mouse cursor is an exciting way to showcase the power of modern PowerPoint features like 3D models, Morph transitions, and Slide Master. This technique not only adds a futuristic and engaging touch to your presentations but also demonstrates how you can creatively use slide layouts and invisible interactive shapes to simulate complex animations.
By following the step-by-step process outlined here, you’ve learned how to build this animation from scratch, including setting up backgrounds, inserting 3D models, creating slide variations, applying smooth morph transitions, and building interactive zones that respond to mouse movements. Beyond this project, these skills open the door to endless possibilities for custom animations and interactive presentations.
So go ahead, experiment with different 3D models, customize your layouts, and impress your audience with stunning PowerPoint animations that truly stand out. As the Mandalorian would say, “This is the way.”
Resources and Links:
- Download Mandalorian Helmet 3D Model
- Mandalore Font
- Background Photo on Unsplash
- Free Tutorial Slides on Patreon
Check out the full video: Unbelievable PowerPoint Animation ✨MANDALORIAN✨


