
Welcome, dear readers! If you’ve ever wanted to transform your PowerPoint presentations from ordinary slideshows into captivating visual stories, you’ve come to the right place. Mastering PowerPoint animations can elevate your content, engage your audience, and make your message truly unforgettable. Today, we’ll dive deep into the world of PowerPoint animations, drawing inspiration from the expertise of Kaspare, also known as One Skill, a seasoned PowerPoint tutorial creator with nearly a decade of experience.
This comprehensive guide will equip you with everything you need to become a PowerPoint animation pro. From the fundamentals to advanced techniques, you’ll learn how to craft smooth, professional, and breathtaking animations that suit any presentation style. Whether you’re a designer, business professional, entrepreneur, instructor, speaker, teacher, or student, this article is tailored for you.
Let’s embark on this animation mastery journey and unlock the secrets to incredible PowerPoint animations!
Table of Contents
- Why Master PowerPoint Animations?
- Understanding the PowerPoint Animation Mastery Course
- Getting Started: The Four Main Types of PowerPoint Animations
- Exploring More Animation Techniques
- Practical Application: Step-by-Step Example of Animating Objects
- Who Can Benefit from Mastering PowerPoint Animations?
- Recommended PowerPoint Versions and Tips for Best Experience
- Frequently Asked Questions (FAQ)
- Conclusion: Start Creating Your Incredible PowerPoint Animations Today!
Why Master PowerPoint Animations?
Animations in PowerPoint are not just about flashy effects; they serve as powerful tools to guide your audience’s attention, emphasize key points, and create a narrative flow. However, many users struggle with where to start or how to create unique and advanced animations that really stand out.
PowerPoint animations can:
- Make your presentations more engaging and dynamic.
- Help illustrate complex ideas through visual storytelling.
- Enhance the professionalism of your slides.
- Provide a memorable experience for your audience.
By mastering animations, you gain the ability to control the pace and flow of your presentation, ensuring your message lands exactly as intended.
Understanding the PowerPoint Animation Mastery Course
Kaspare’s PowerPoint Animation Mastery Course is designed to be the definitive resource for learning animation in PowerPoint. It’s a course that he personally wishes he had when he first started exploring PowerPoint animations. The course is structured to take you step-by-step, starting from the basics and advancing to complex animation techniques.
Here’s what you can expect to learn:
- PowerPoint animation fundamentals
- Animating text, photos, and videos
- Creating animated intros, illustrations, and infographics
- Using draw animations and GIF images
- Advanced animation techniques and customization
Moreover, the course is continuously updated based on user feedback, ensuring it stays relevant and comprehensive.
It is suitable for both beginners and advanced PowerPoint users, with lesson slides available for download to follow along easily. The course is best experienced on PowerPoint 2019, 2021, or Microsoft 365 on Windows, as the advanced animation timeline is exclusive to the Windows version.
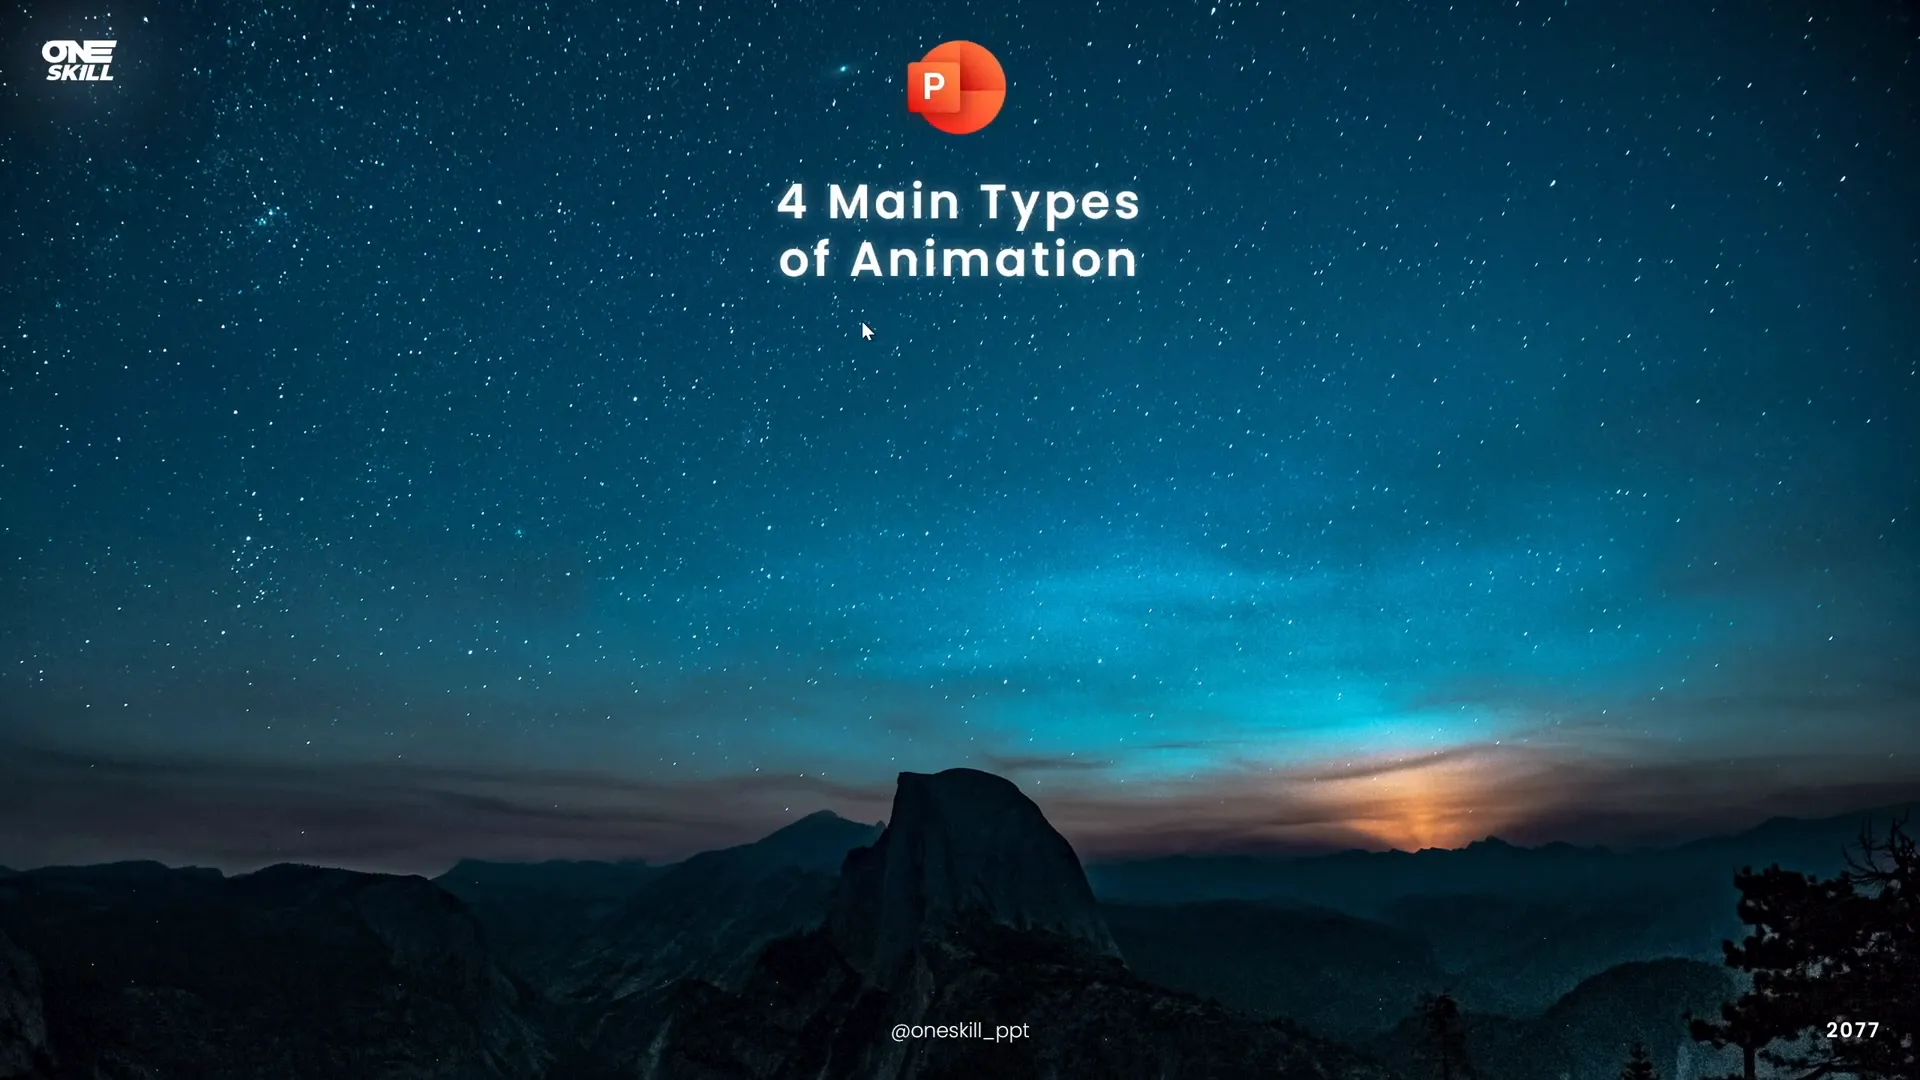
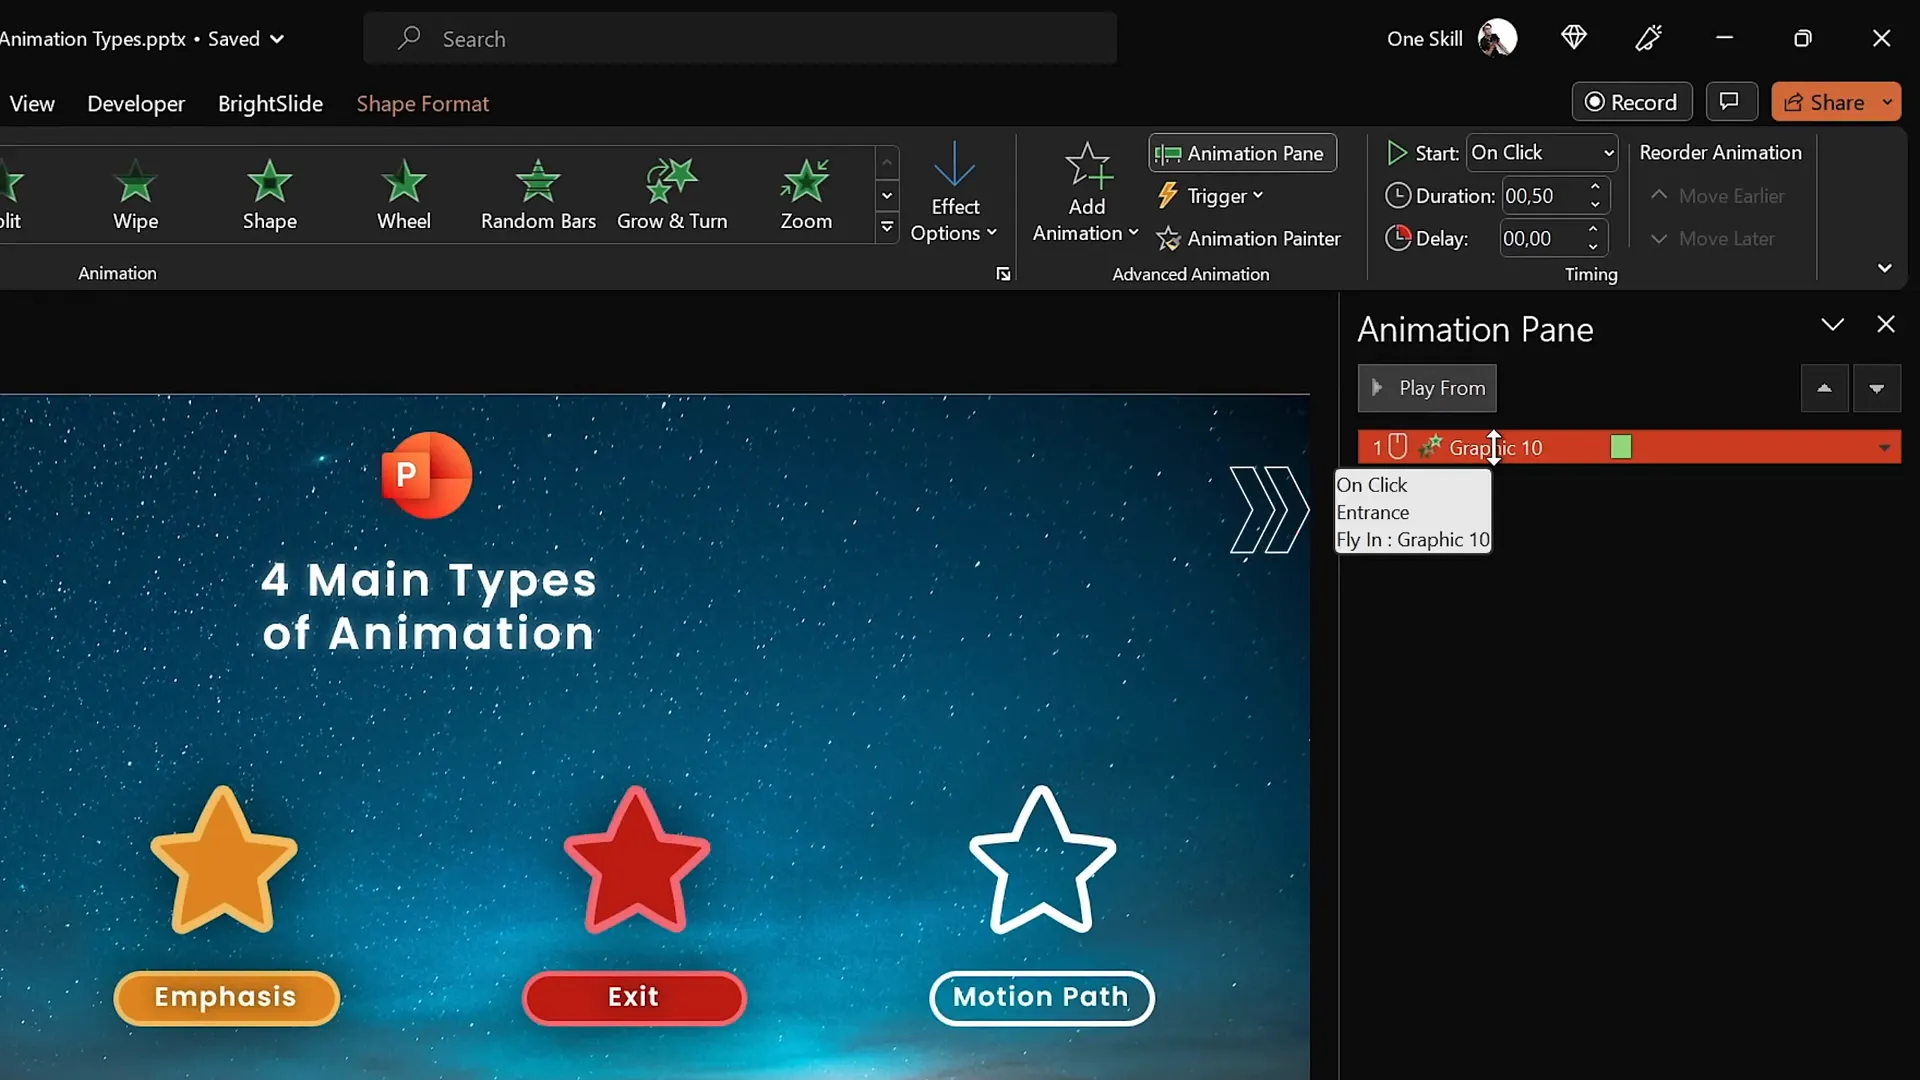
Getting Started: The Four Main Types of PowerPoint Animations
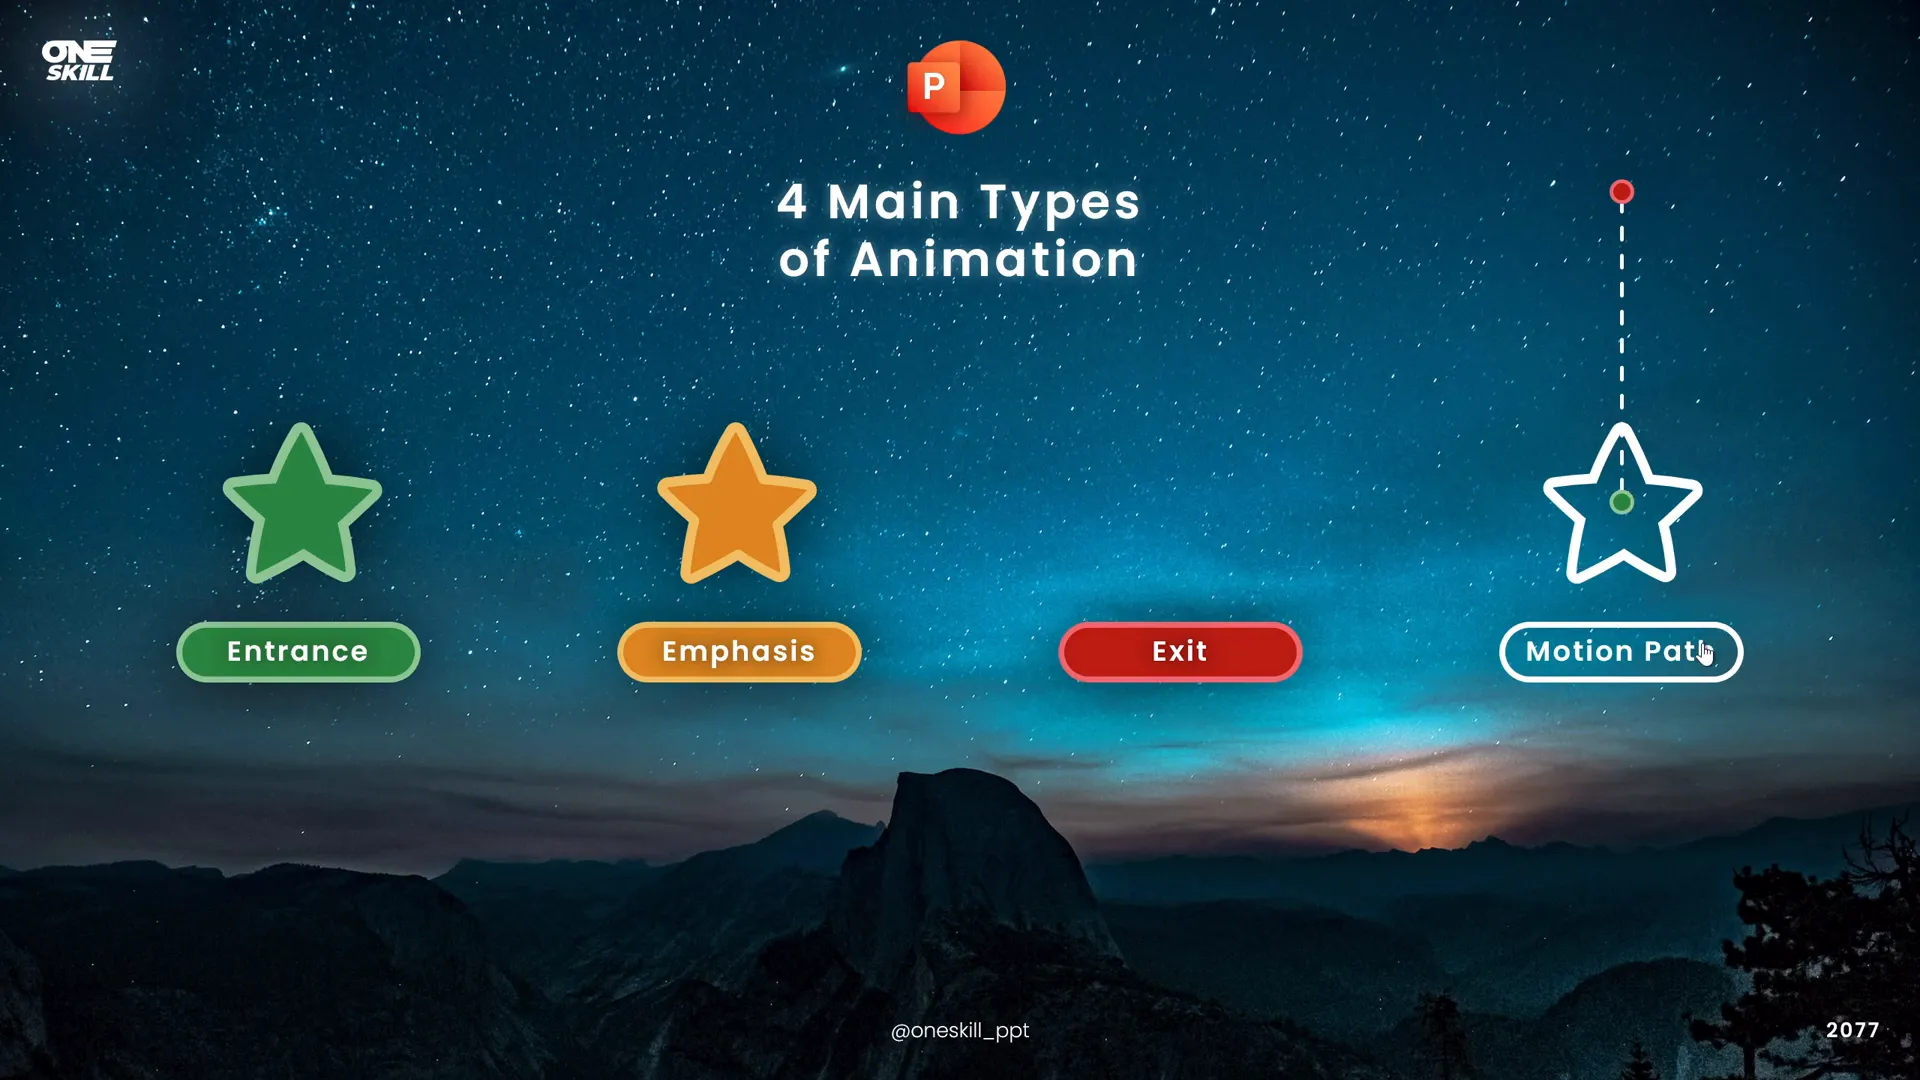
To build a solid foundation, it’s essential to understand the four primary categories of animations in PowerPoint:
- Entrance Animations: These animations introduce an object into your slide. It could be a picture, a text box, a video, or any element you want to bring into focus. For example, a “fly in” animation can make a star shape gracefully enter the slide from the top.
- Emphasis Animations: Once an object is on the slide, emphasis animations help highlight or draw attention to it. This could be a spin, pulse, or color change effect that keeps the audience’s eyes on the important content.
- Exit Animations: When you want an object to disappear or leave the slide, exit animations come into play. For example, a star could zoom out and vanish, signaling the end of that element’s importance.
- Motion Path Animations: These animations move an object along a specified path. You can use simple lines, curves, circles, or custom shapes for the object to follow. The starting point is marked with a green bubble and the ending point with a red bubble, both of which you can adjust to fit your design.
Each type serves a unique purpose in crafting a seamless and engaging presentation flow.
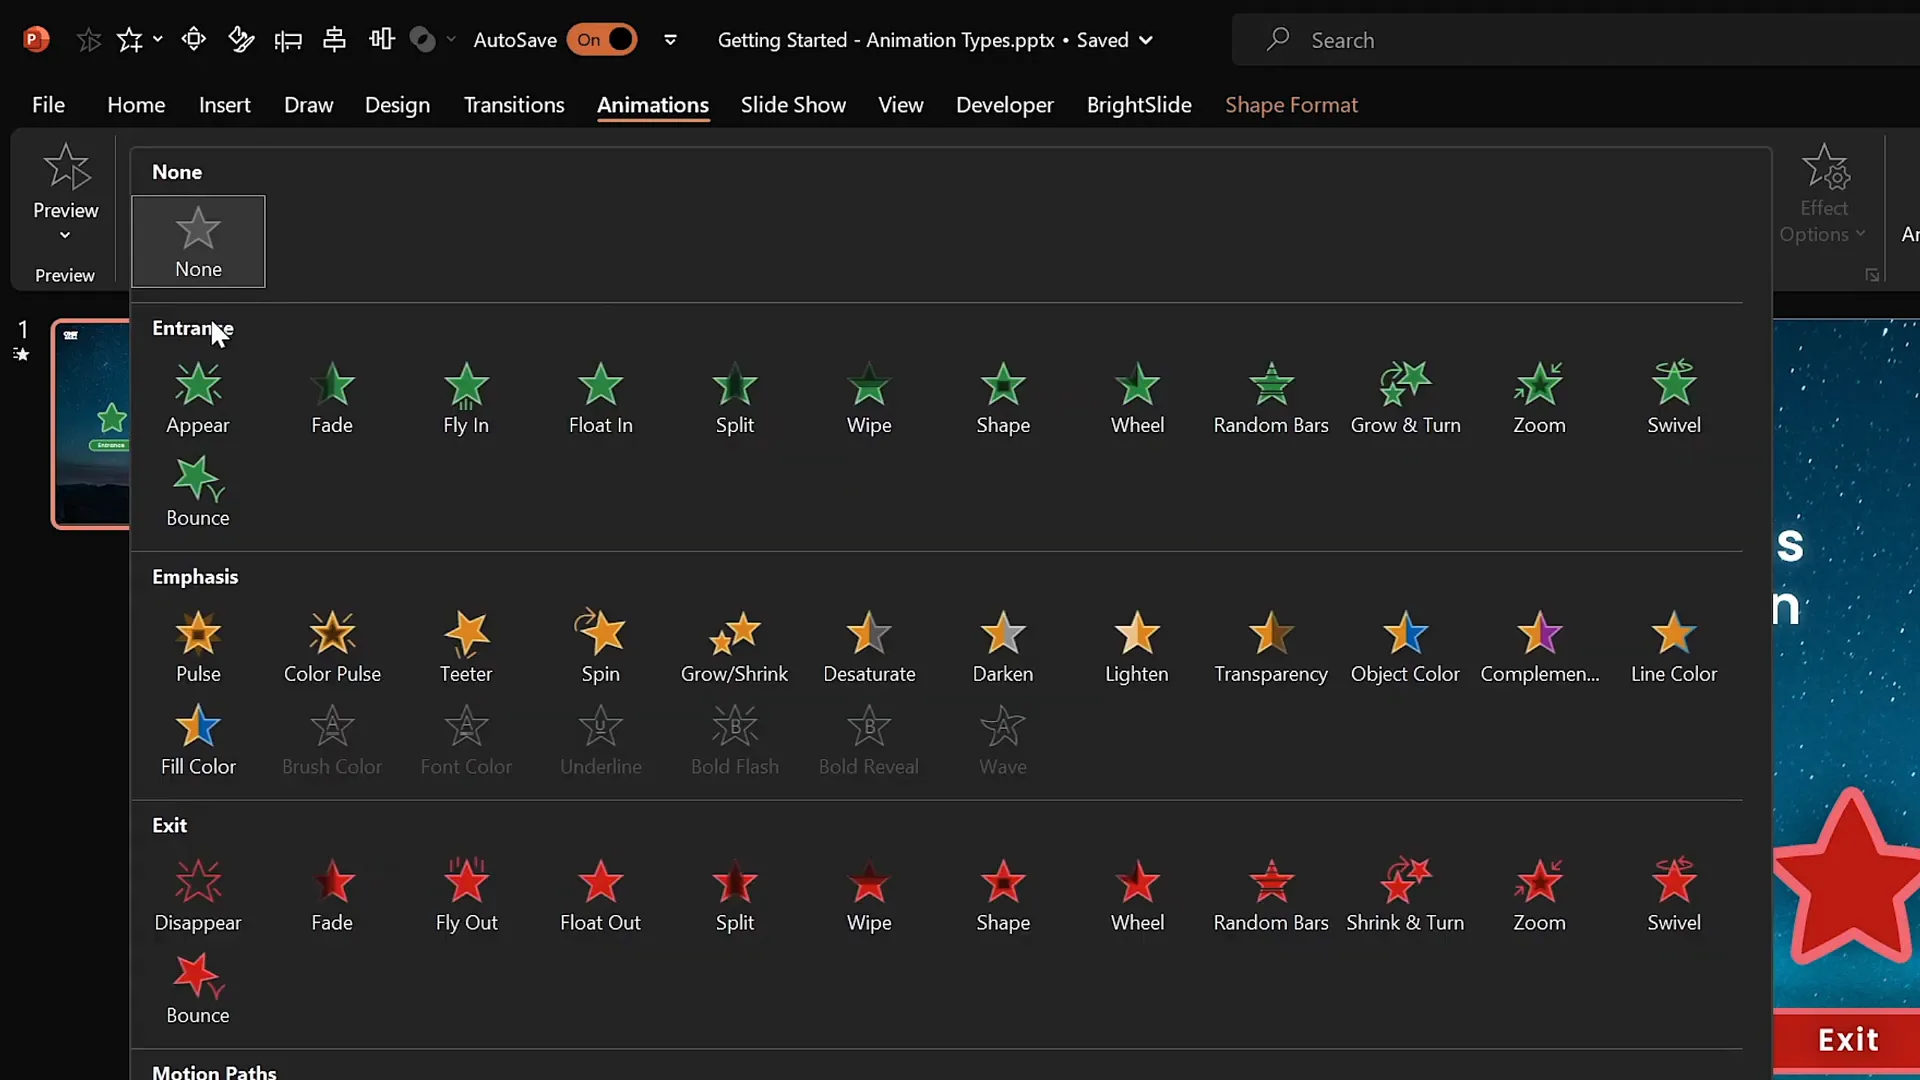
How to Insert Animations in PowerPoint
Animating your slide elements is straightforward once you know where to look. Here’s a quick guide to adding animations:
- Select the object you want to animate—this can be a shape, text box, image, or video.
- Navigate to the Animations tab on the PowerPoint ribbon.
- You’ll see a selection of common animations like “fly in” (entrance), “spin” (emphasis), or “zoom out” (exit). Click an animation to preview it on your selected object.
- For more animations, click the small arrow in the animation gallery to access the full list, categorized into entrance, emphasis, exit, and motion paths.
- To add multiple animations to the same object, use the Add Animation button instead of clicking directly on the animation list. This prevents replacing previous animations.
- Use the Animation Pane to review, reorder, and customize all animations on your slide.
Remember to enable Auto Preview to instantly see the effects of your animation choices.
Pro Tips for Using Animations
- Choose animations wisely: Use basic and subtle animations for professional presentations. Save exciting animations for moments where you want to add extra flair, but avoid overusing them.
- Customize animation direction and timing: Most animations allow you to select direction (e.g., flying in from the top) and duration, controlling the speed of the effect.
- Use the Animation Pane: This powerful tool lets you manage multiple animations, set start triggers, and adjust delays and durations with precision.
- Multiple animations on one object: By layering animations using the Add Animation button, you can create complex effects like an object flying in and then spinning.
- Practice smoothness: Adding animation smoothing (ease in/out) makes transitions look more natural and less mechanical.
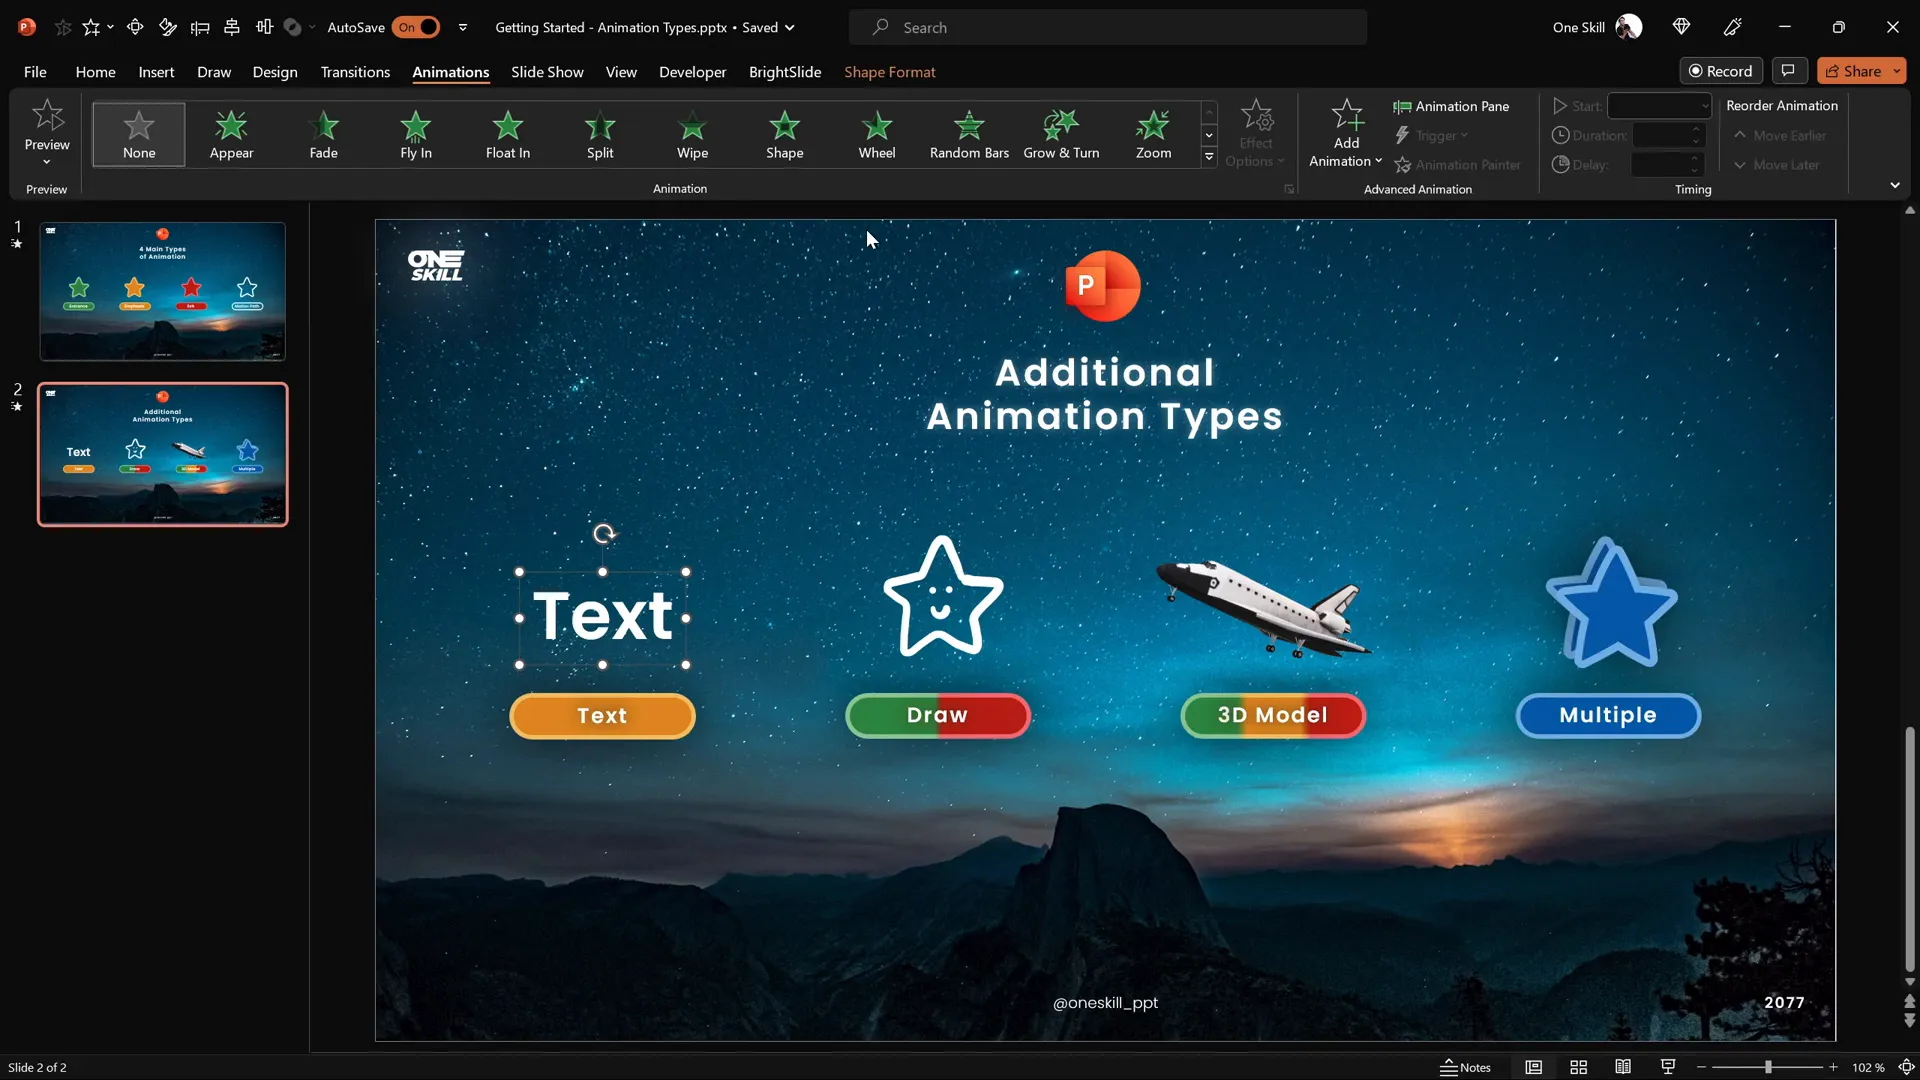
Exploring More Animation Techniques
Beyond the four main animation types, PowerPoint offers other exciting ways to animate your content, including:
Text Animations
Text animations belong to the emphasis animations category but are uniquely designed to work only with text. You can animate text by changing its color, making it wave, or applying other dynamic effects that add life to your words.
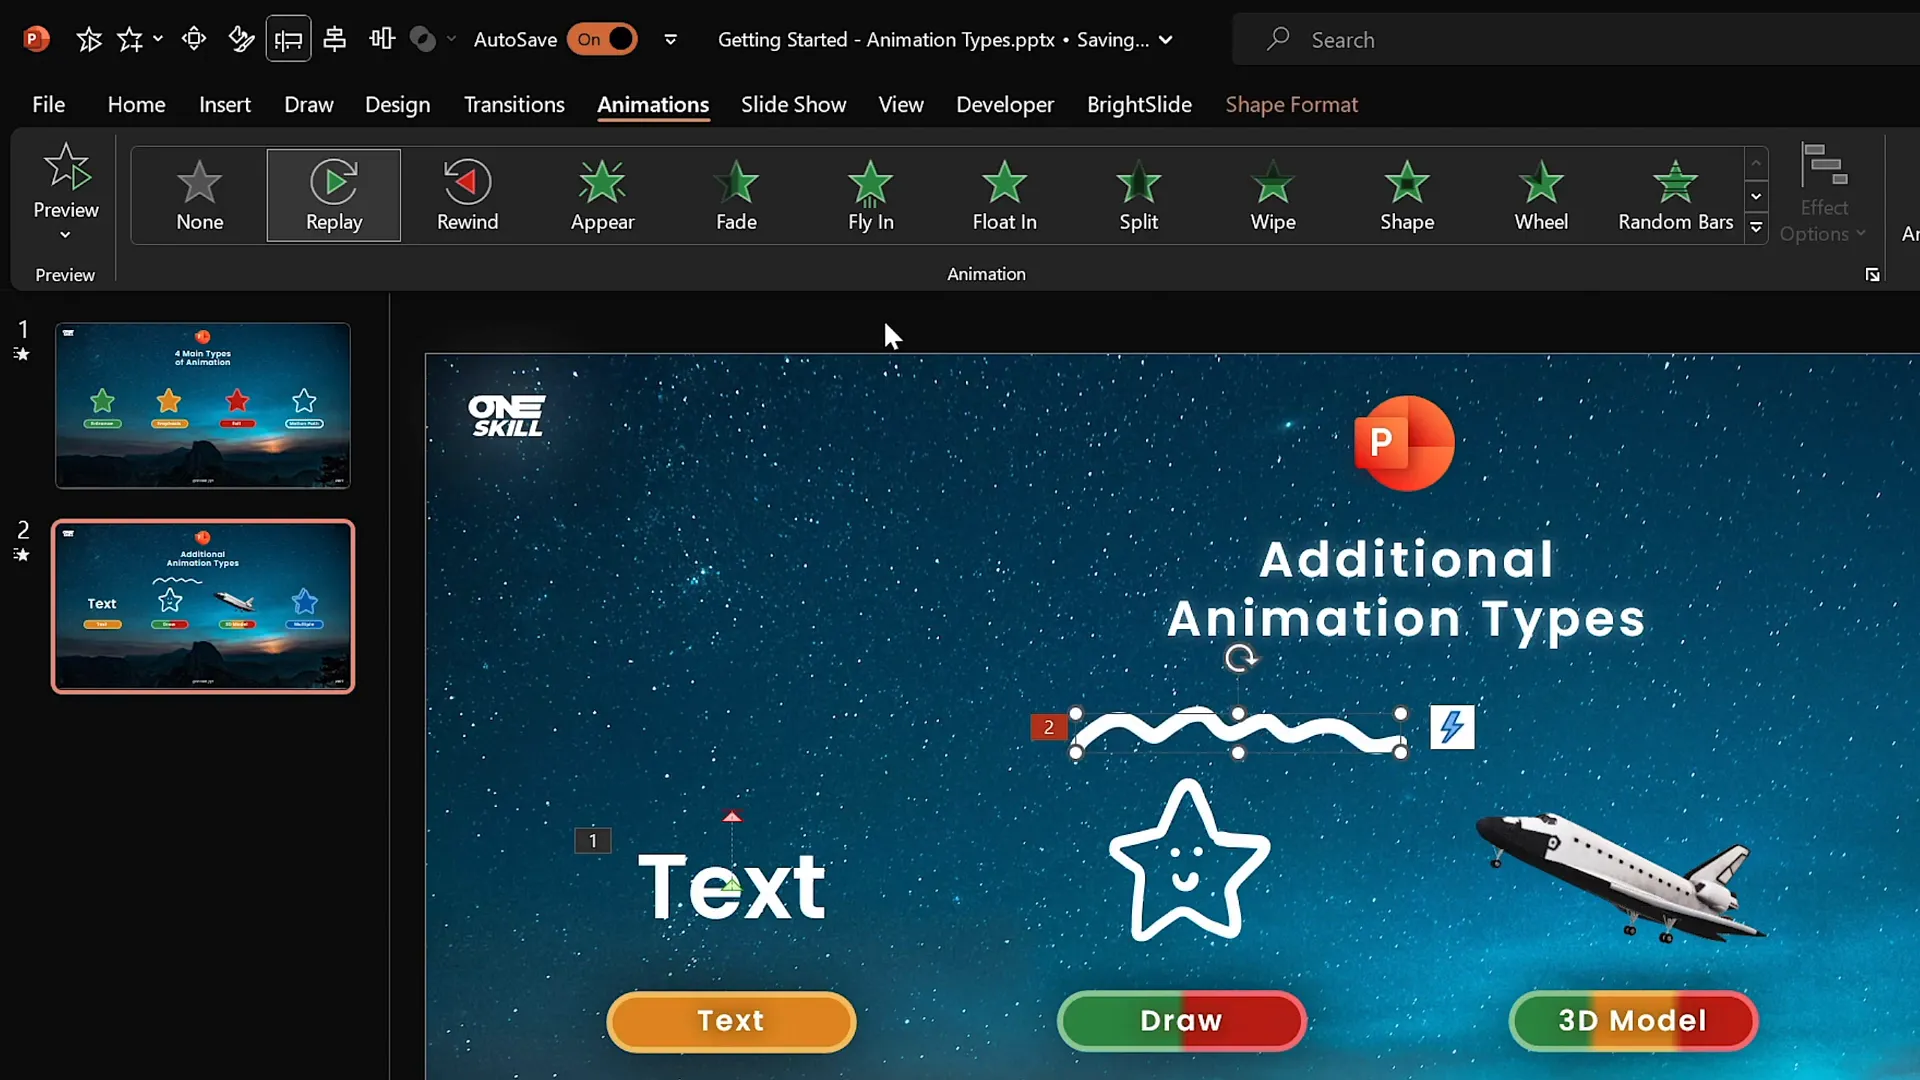
Draw Animations
If your version of PowerPoint includes the Draw feature, you can create custom drawings with pens and then animate those drawings. The two main draw animations are:
- Replay: Plays the drawing animation forward, as if the drawing is being created live.
- Rewind: Plays the drawing animation backward, erasing the strokes.
This feature is perfect for emphasizing hand-drawn elements or illustrating processes in a visually engaging way.
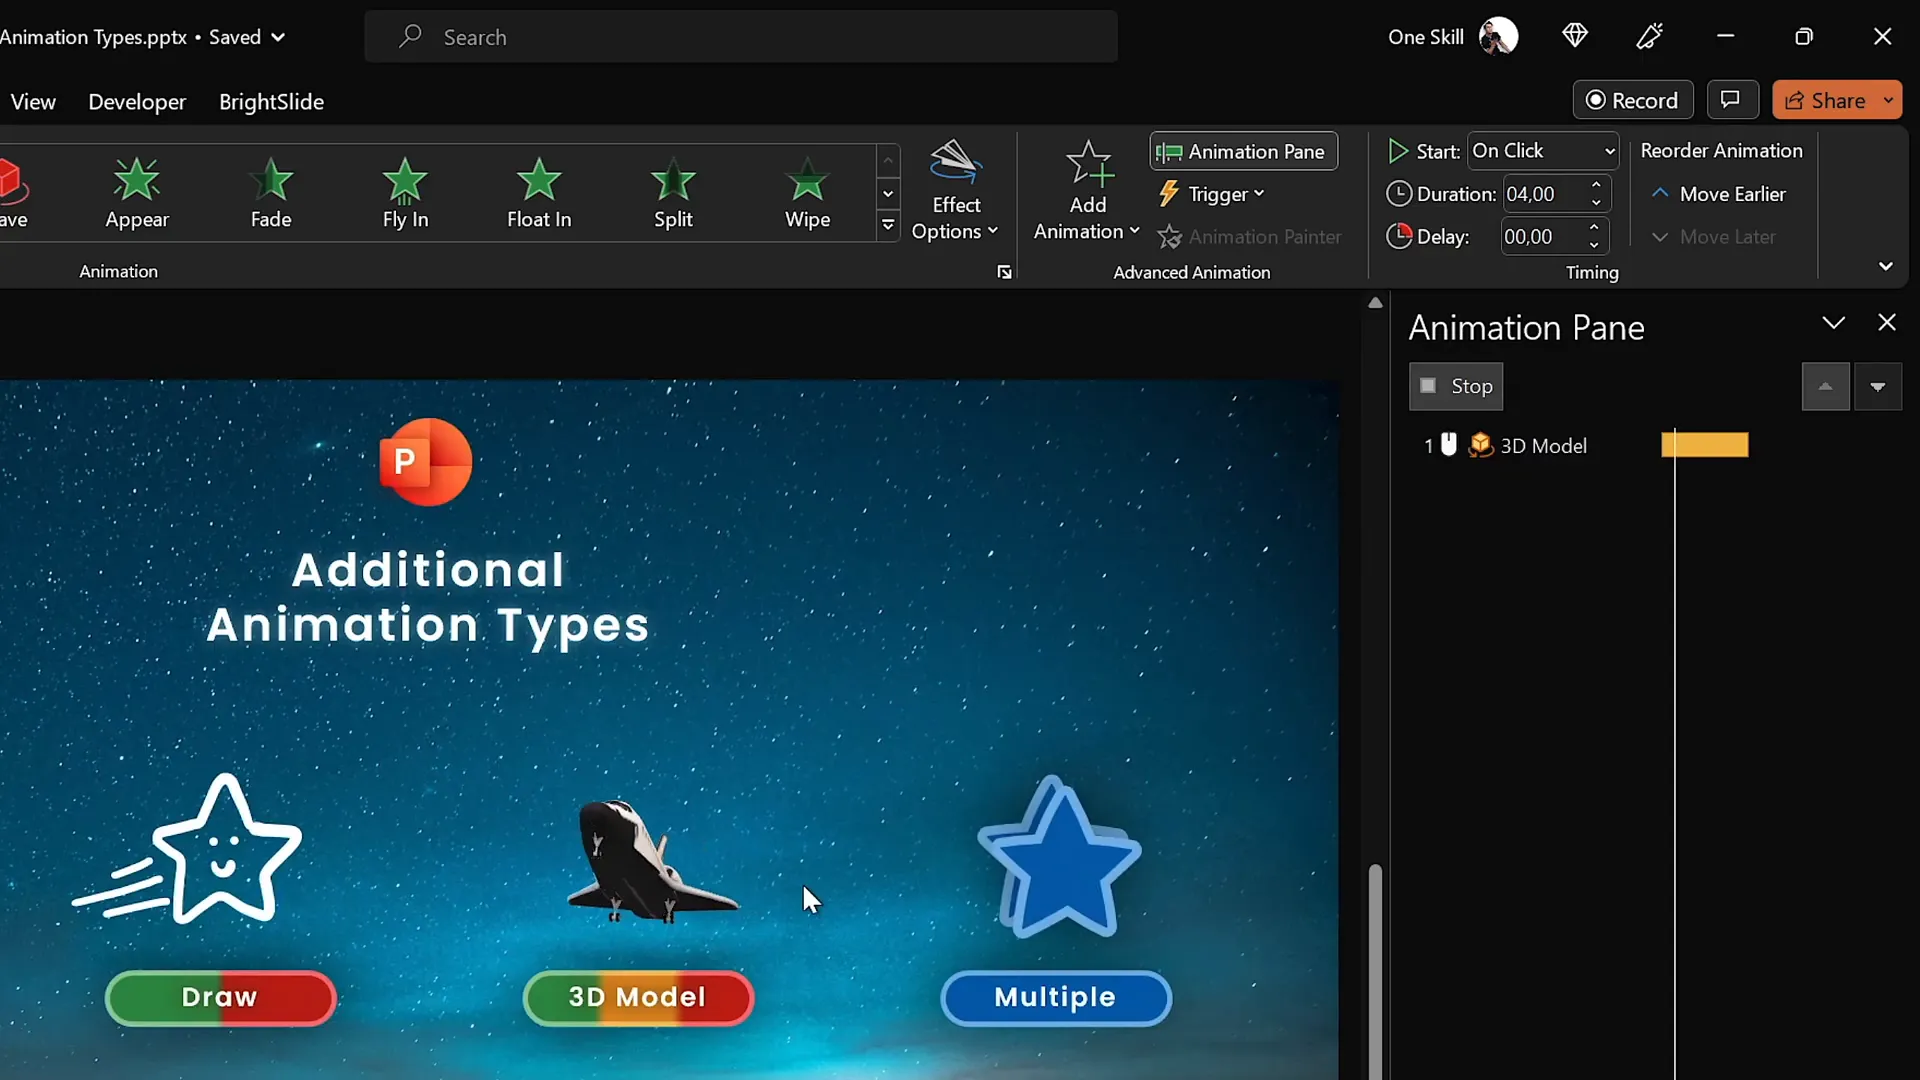
3D Model Animations
PowerPoint supports 3D models, which can be animated with specific entrance, emphasis, and exit effects. For example, you can insert a 3D space shuttle model and apply a “turntable” animation to make it spin around slowly or quickly.
These animations bring a new dimension to your presentations, literally, and can be used to impress audiences with dynamic and interactive visuals.
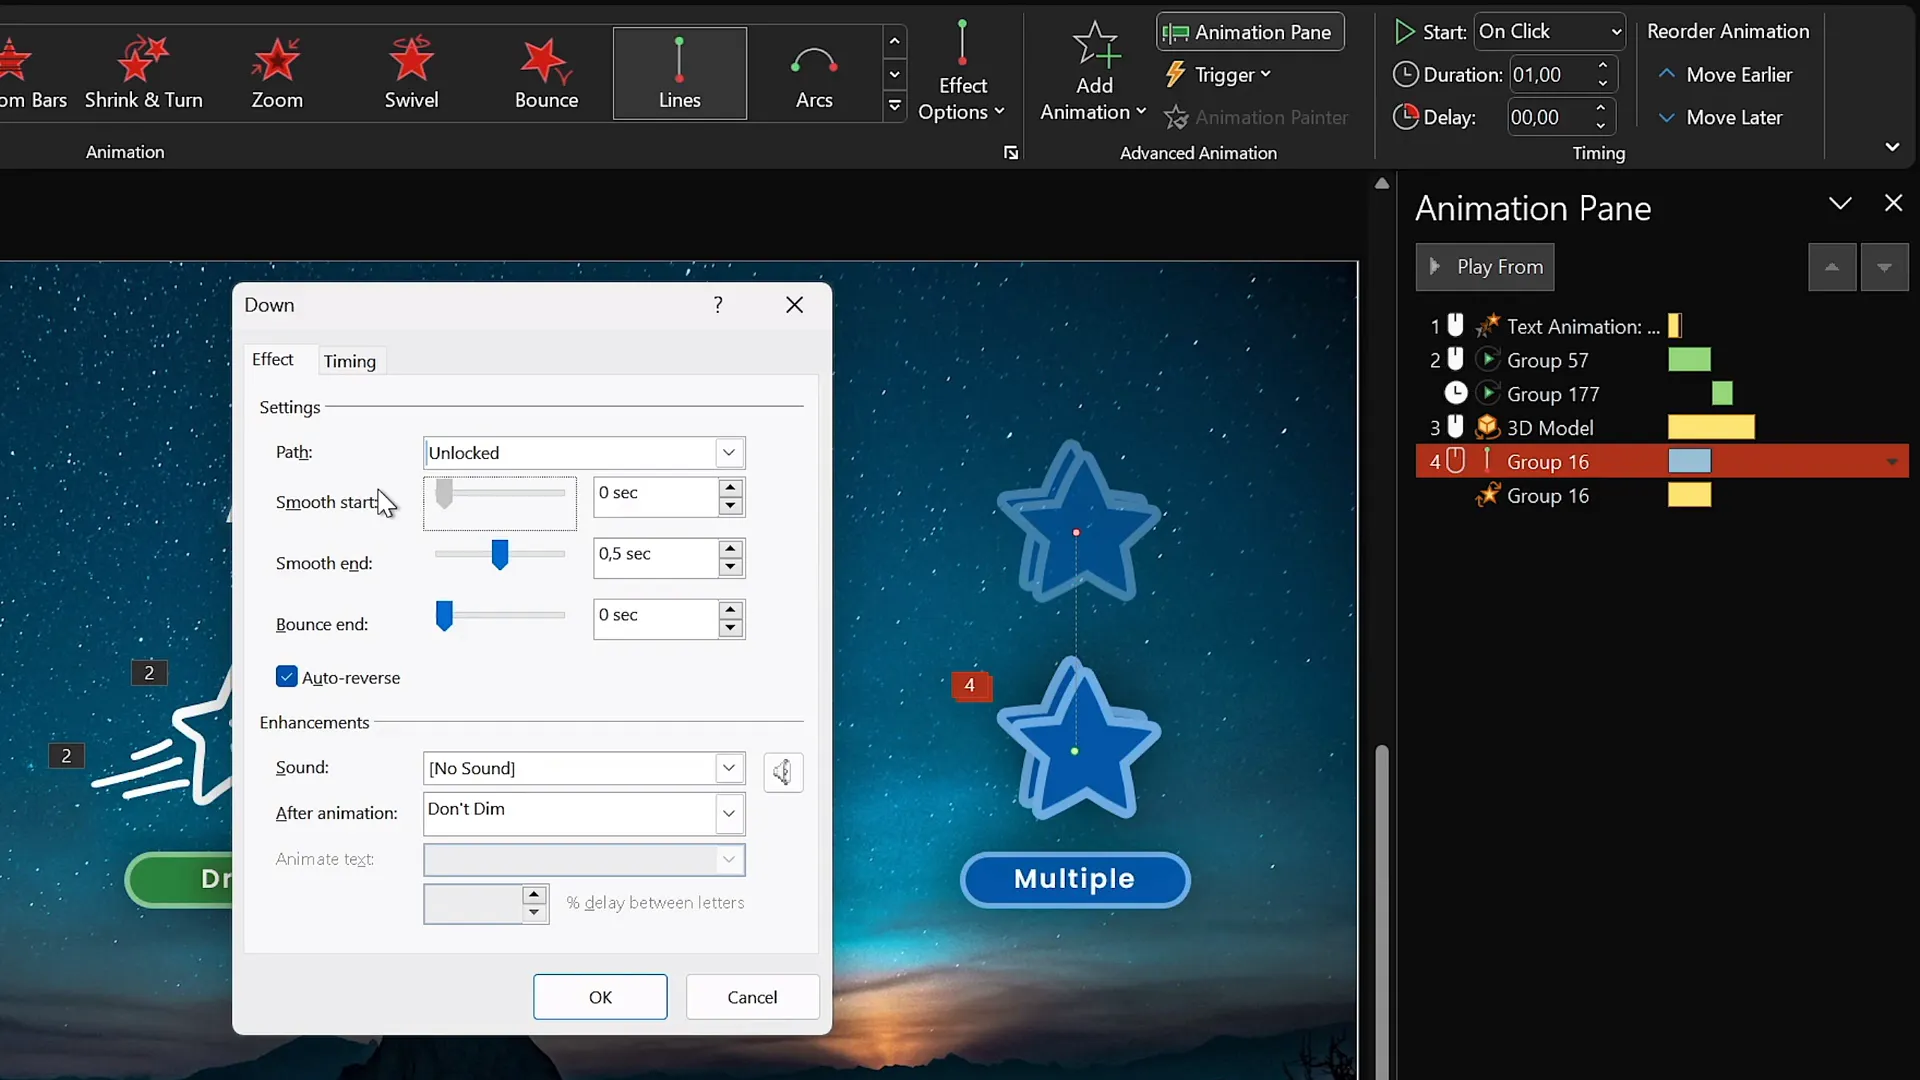
Multiple Animations and Custom Combinations
One of the most powerful animation techniques is combining multiple animations on the same object or group of objects. For example, you can group two stars, apply a motion path that moves them upwards and back (using the auto reverse option), and simultaneously add a spin animation.

By adjusting the timing and duration, you can synchronize these effects to create smooth, custom animations that enhance your storytelling.

Animation Smoothing
Smoothing animations improves the natural flow of movement. PowerPoint allows you to adjust the smooth start and smooth end sliders for animations, softening the acceleration and deceleration of motion effects.
This subtle enhancement makes animations look less robotic and more polished.
Practical Application: Step-by-Step Example of Animating Objects
Let’s walk through a practical example to solidify your understanding of animating objects in PowerPoint:
- Select an object: For instance, a green star shape on your slide.
- Add entrance animation: Choose “Fly In” from the entrance animations and set the direction to “From Top.”
- Add emphasis animation: Using the Add Animation button, add a “Spin” effect so the star spins after flying in.
- Adjust timing: Open the Animation Pane, set the “Fly In” to start “On Click,” and the “Spin” to start “After Previous” with a duration of 1 second.
- Add exit animation: Select a different object, such as a red star, and apply a “Zoom Out” exit animation to make it disappear.
- Add motion path animation: Select another object and apply a “Line” motion path upwards. Adjust the path’s end point and enable the “Auto Reverse” option for a smooth back-and-forth movement.
- Preview the animations: Use the “Play From” button in the Animation Pane to see the sequence in action.
This methodical approach ensures your animations are not only visually appealing but also well-timed and purposeful.
Who Can Benefit from Mastering PowerPoint Animations?
The beauty of PowerPoint animation mastery is its versatility. Whether you’re a beginner or an experienced user, the skills you develop can benefit a wide range of professionals and learners:
- Designers: To create visually stunning presentations that showcase their work.
- Business Professionals: To make reports, pitches, and proposals more engaging.
- Entrepreneurs: To captivate investors and customers with dynamic storytelling.
- Instructors and Teachers: To enhance lessons and keep students interested.
- Speakers and Presenters: To add flair and clarity to talks and conferences.
- Students: To impress teachers and classmates with professional presentations.
Mastering animations adds a powerful skill to your communication toolkit, no matter your field or experience level.
Recommended PowerPoint Versions and Tips for Best Experience
To fully leverage advanced animation features, it’s recommended to use:
- PowerPoint 2019, 2021, or Microsoft 365
- PowerPoint on Windows (preferred) due to the advanced animation timeline feature
- Mac users can still animate, but may miss out on some advanced timeline controls
These platforms offer the most robust set of animation tools, ensuring your workflow is smooth and your results professional.
Frequently Asked Questions (FAQ)
Q1: Can I add multiple animations to the same object in PowerPoint?
A: Yes! To add more than one animation to an object, always use the Add Animation button. Clicking animations directly from the list will replace the previous one. Using the Animation Pane, you can manage the sequence and timing of these animations.
Q2: Are animations available on PowerPoint for Mac?
A: Yes, but with limitations. PowerPoint for Windows has more advanced animation features, such as the detailed animation timeline. Mac users can still create animations but may find some advanced controls missing.
Q3: What are draw animations and how do I use them?
A: Draw animations apply to custom ink drawings created using the Draw tab in PowerPoint. You can animate these drawings to replay or rewind, effectively showing the drawing being created or erased live during your presentation.
Q4: How can I make animations smoother?
A: Use the animation smoothing options in the Animation Pane. Adjust the smooth start and smooth end sliders to soften the beginning and end of your animations, making them appear more natural.
Q5: What types of objects can I animate?
A: Nearly any object on your slide can be animated: shapes, text boxes, images, videos, 3D models, and even custom drawings made with the Draw tool.
Q6: How do I control when animations start?
A: You can set animations to start On Click, With Previous (automatically with the previous animation), or After Previous (right after the previous animation finishes). These options are available in the Animation Pane.
Conclusion: Start Creating Your Incredible PowerPoint Animations Today!
PowerPoint animations are a gateway to transforming your presentations into engaging, memorable experiences. By understanding the core animation types—entrance, emphasis, exit, and motion paths—and exploring additional techniques like text, draw, 3D, and multiple animations, you can craft dynamic slides that captivate any audience.
Remember, mastering animations is a journey. Start with the fundamentals, practice consistently, and gradually explore advanced features like animation smoothing and custom combinations. With patience and creativity, you’ll soon be crafting breathtaking animations that elevate your storytelling and communication.
So what are you waiting for? Grab your PowerPoint, start experimenting with these animation techniques, and watch your presentations come alive like never before!
Happy animating, my friends!
Check out the full video: The Secret to INCREDIBLE PowerPoint Animations! 🤫✨


