

PowerPoint is a powerhouse of functionality, packed with thousands of features that can transform your presentations from ordinary to extraordinary. Yet, many of these capabilities remain hidden or underutilized by everyday users. In this article, we will explore five hidden features of PowerPoint that can significantly enhance your workflow and creativity, as presented by Tyler Stanzik from the channel PowerPoint Made Simple. These features include innovative uses of the painter tool, morph transitions, the eyedropper tool, adding gradients to text, and creating green screen backgrounds—all without needing to rely on complex external software.
Whether you are a beginner or an experienced PowerPoint user, these tips will provide you with new ways to maximize your efficiency and creativity. Let’s dive in!
Table of Contents
- 1. Unlocking the Power of the Painter Tool
- 2. Morph Transition: Morphing Cropped Images for Dynamic Effects
- 3. The Eyedropper Tool: Picking Colors Beyond PowerPoint
- 4. Adding Gradients to Text: Elevate Your Typography
- 5. Creating Green Screen Effects Using PowerPoint
- Conclusion: Unlocking PowerPoint’s Hidden Potential
- Frequently Asked Questions (FAQ)
1. Unlocking the Power of the Painter Tool
The Format Painter Tool in PowerPoint is widely known for its ability to copy formatting styles from one object to another. This includes text, images, shapes, and more. However, Tyler reveals that there are some lesser-known tricks with the painter tool that can save time and enhance your slide designs.
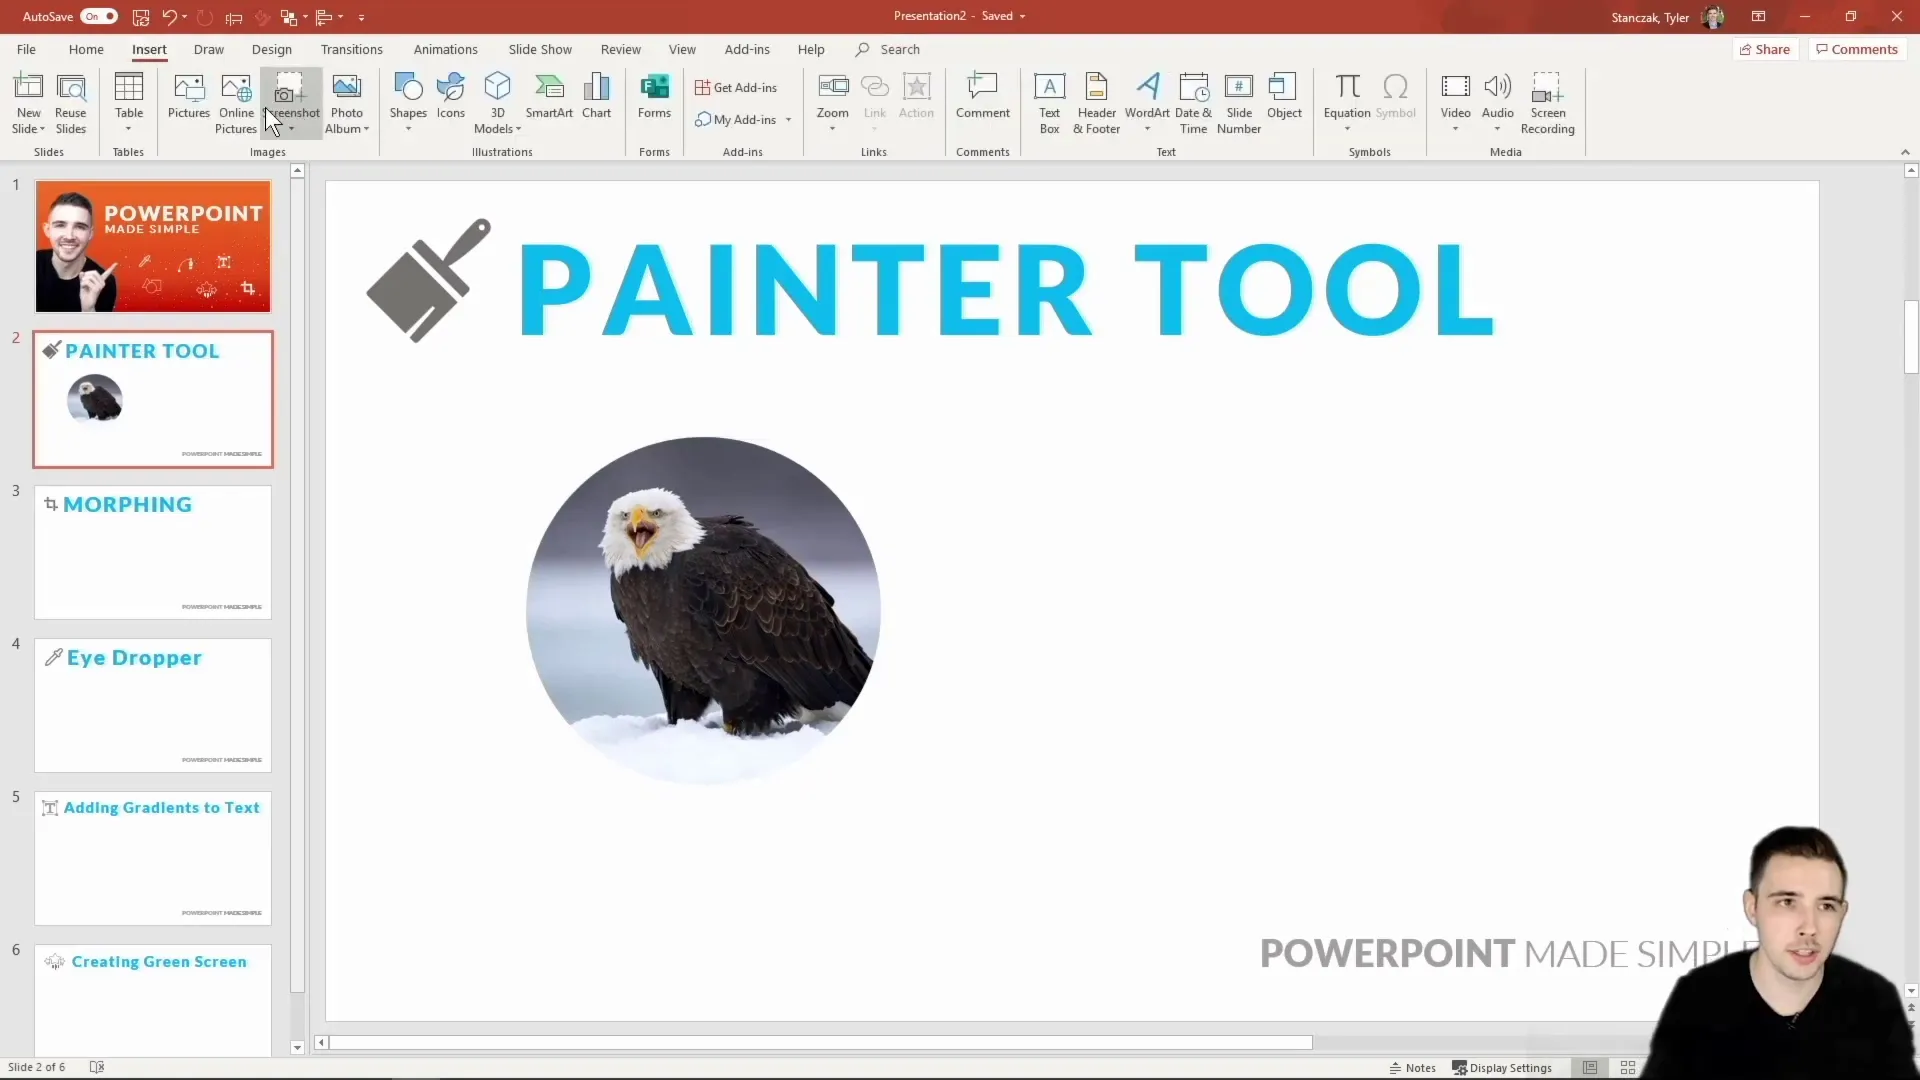
Copying Cropping Shapes Between Images
Imagine you’ve inserted an image onto your slide—say, a majestic eagle—and you want to crop it into a circle shape for a clean, polished look. You can do this by selecting the image, navigating to the Format tab, and then using the Crop to Shape option to select a circle. After fine-tuning the crop, the magic begins.
Now, if you insert another image, like a lion, you might want to apply the same circular crop to maintain consistency across your design. Instead of manually cropping each image, you can use the format painter:
- Select the first image with the circular crop.
- Go to the Home tab and click the Format Painter once.
- Click on the second image to apply the same cropping shape.
This simple step copies the exact cropping format from one image to another, saving you from repetitive work and ensuring uniformity.
Using the Painter Tool to Mimic Transparency
Another powerful yet often overlooked use of the painter tool is to replicate transparency settings across multiple objects. Normally, adjusting the transparency of images or shapes one by one can be tedious, especially if you want to maintain a consistent look.
Tyler demonstrates a clever workaround:
- Set the transparency of one image or shape to your desired level (e.g., 50%).
- Double-click the Format Painter button to lock it on.
- Click on each other image or shape you want to apply the same transparency to.
This method efficiently applies the same transparency setting to multiple objects without having to open the format pane for each one. It works not just for images but also for shapes and text, making it a versatile time-saver for your presentations.
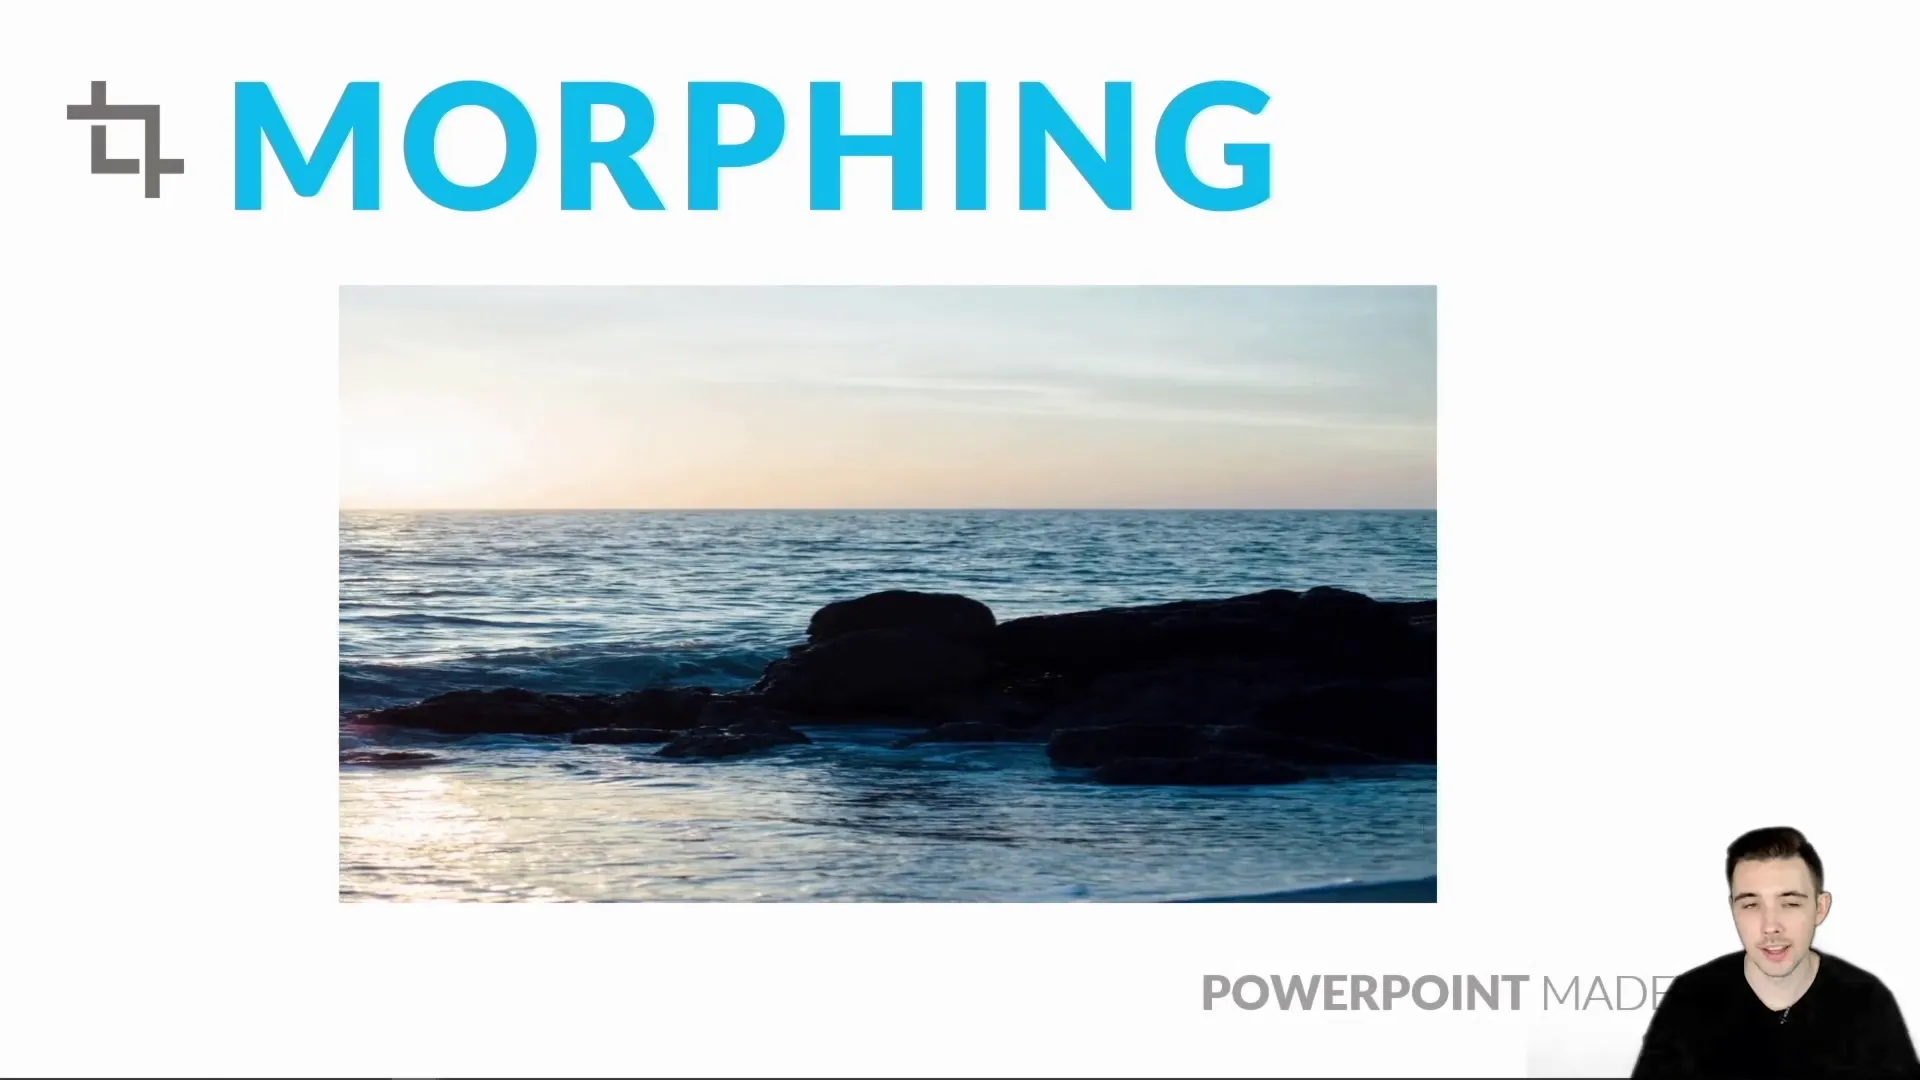
2. Morph Transition: Morphing Cropped Images for Dynamic Effects
The Morph Transition in PowerPoint is a fantastic feature that allows smooth animation effects between slides by transitioning objects from one state to another. While many users apply morph to entire objects, Tyler highlights an exciting hidden use: morphing cropped images.
Animating Partial Image Movement
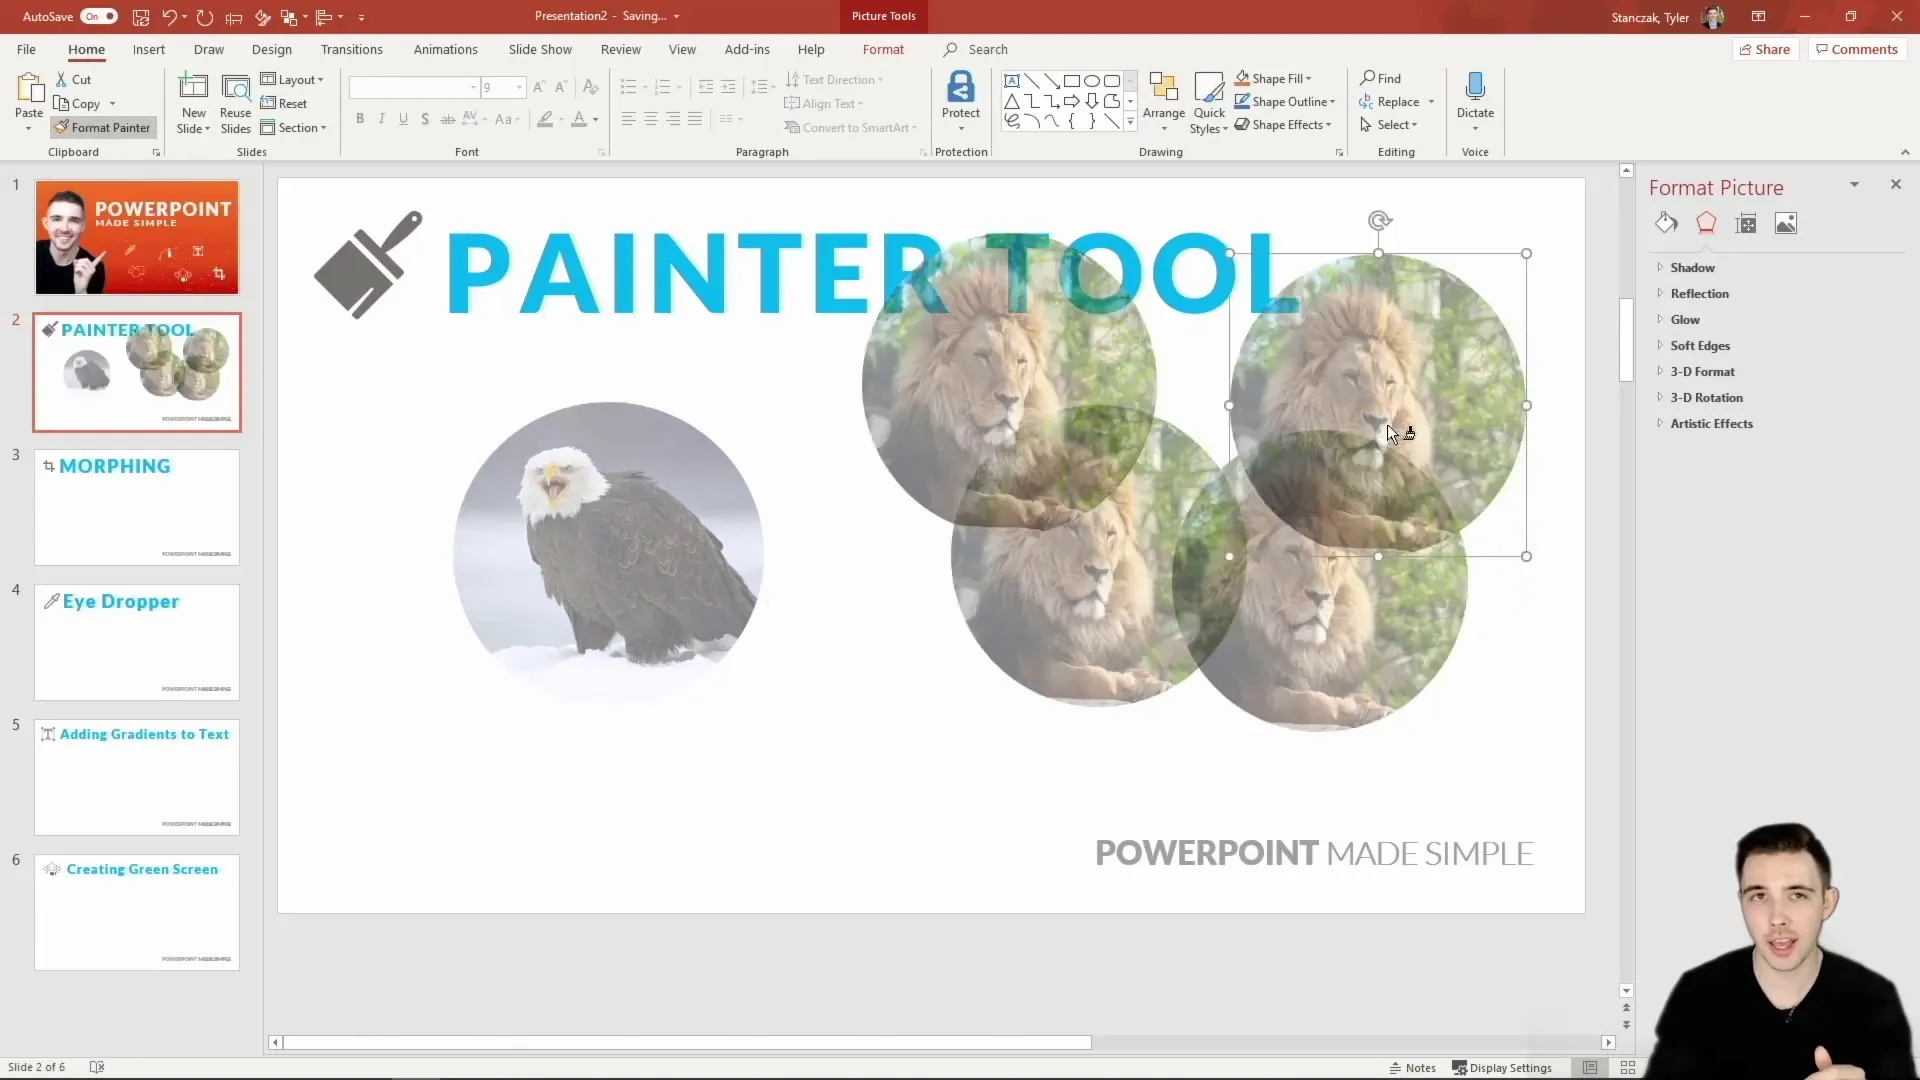
Let’s say you have a large ocean image covering an entire slide, but in the first slide, you only want to show half of it, and in the next slide, you want to reveal the full image or move it across the slide. You can achieve this effect by:
- Insert the image on the first slide and crop it to show only the desired portion (e.g., half the image).
- Duplicate the slide.
- On the second slide, adjust the crop or move the image to the new position you want it to morph into.
- Apply the Morph Transition to the second slide.
When you present the slides in slideshow mode, the image will smoothly transition from the cropped version to the full or moved image, creating a dynamic and engaging visual effect.
Advanced Cropping and Morphing
You can take this a step further by morphing only a portion of an image, such as a specific section or object within the image. Tyler shows how to copy a cropped part of an image, paste it on another slide, and morph it independently, making it look like the image is coming to life as you switch slides.
This technique eliminates the need for using white boxes or complex masking, as the morph transition naturally animates the cropped shapes, offering a smooth and professional look.
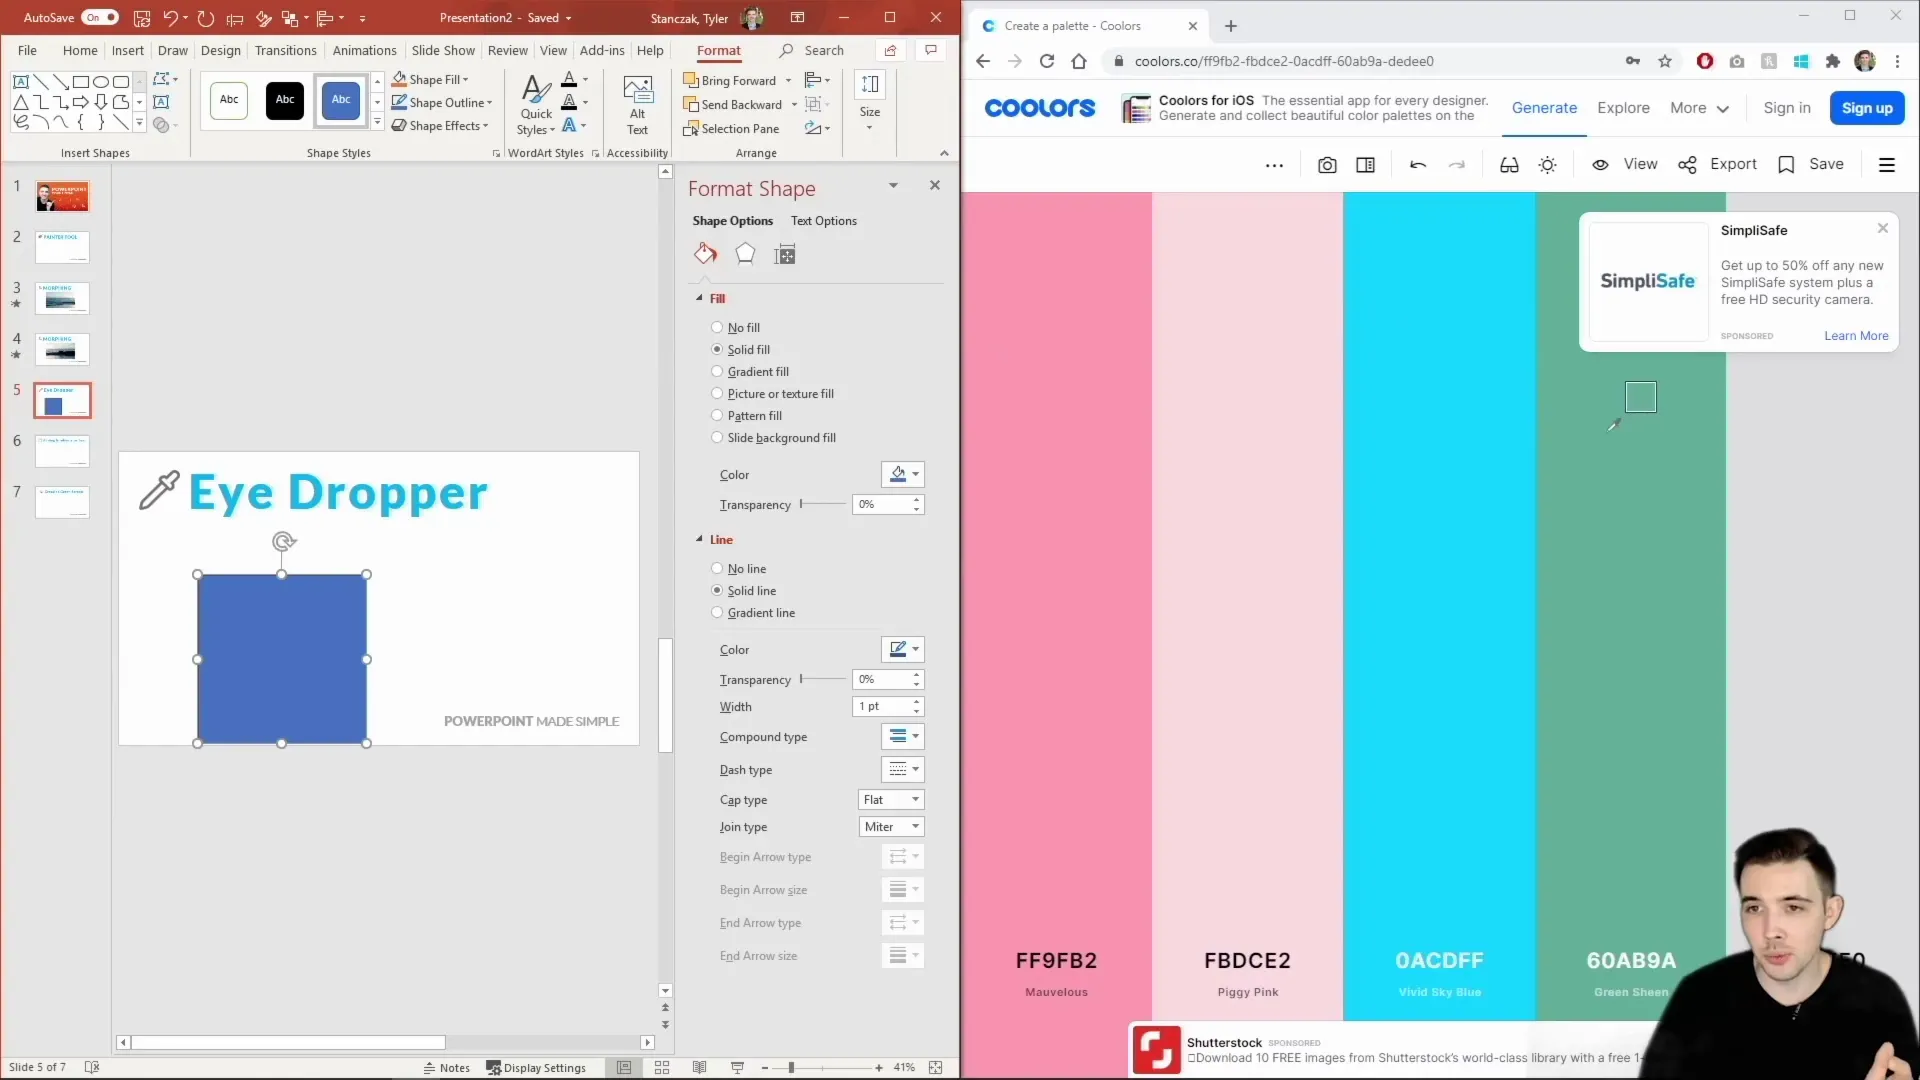
3. The Eyedropper Tool: Picking Colors Beyond PowerPoint
The Eyedropper Tool is a handy feature for matching colors within your PowerPoint slides. But what if you want to match a color from outside the PowerPoint application, such as a color from a website, image, or another software?
Tyler shares a clever trick to do just that:
- Right-click the object (e.g., a shape) and select Format Shape.
- Click on the fill color bucket and select the eyedropper tool.
- Click and hold the eyedropper, then drag your cursor outside PowerPoint to the desired color on your screen (this can be a webpage, desktop image, or any visible color).
- Release the mouse button to pick that color.
This method allows you to pick any color visible on your screen, unlocking endless possibilities for color matching and branding consistency.
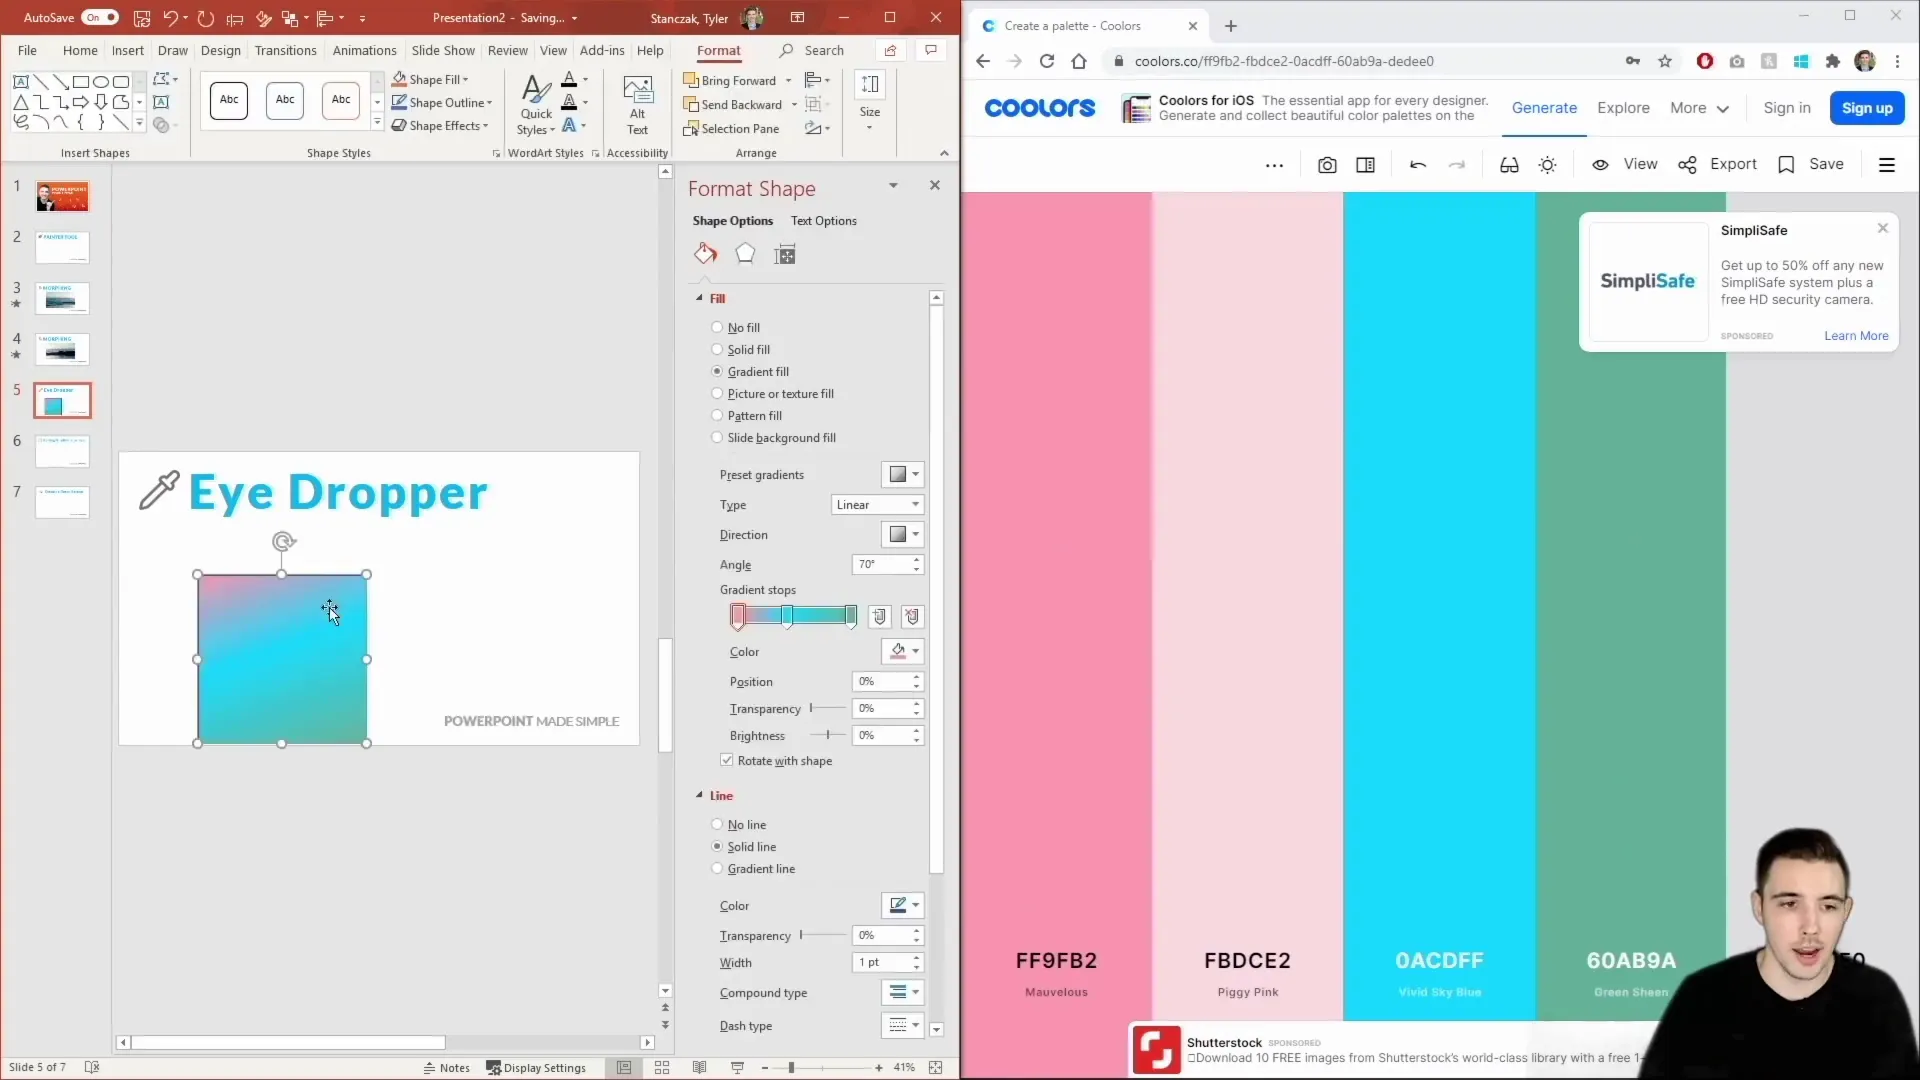
Creating Custom Gradients Using Eyedropper
You can also apply this technique to create custom gradients by using the eyedropper for each gradient stop color. Tyler demonstrates how to:
- Open the gradient fill option.
- Use the eyedropper tool for each color stop, dragging outside PowerPoint to sample colors.
- Create a unique gradient that matches colors from any source on your screen.
This approach offers flexibility in designing gradients that perfectly fit your presentation’s theme or your brand’s color palette.
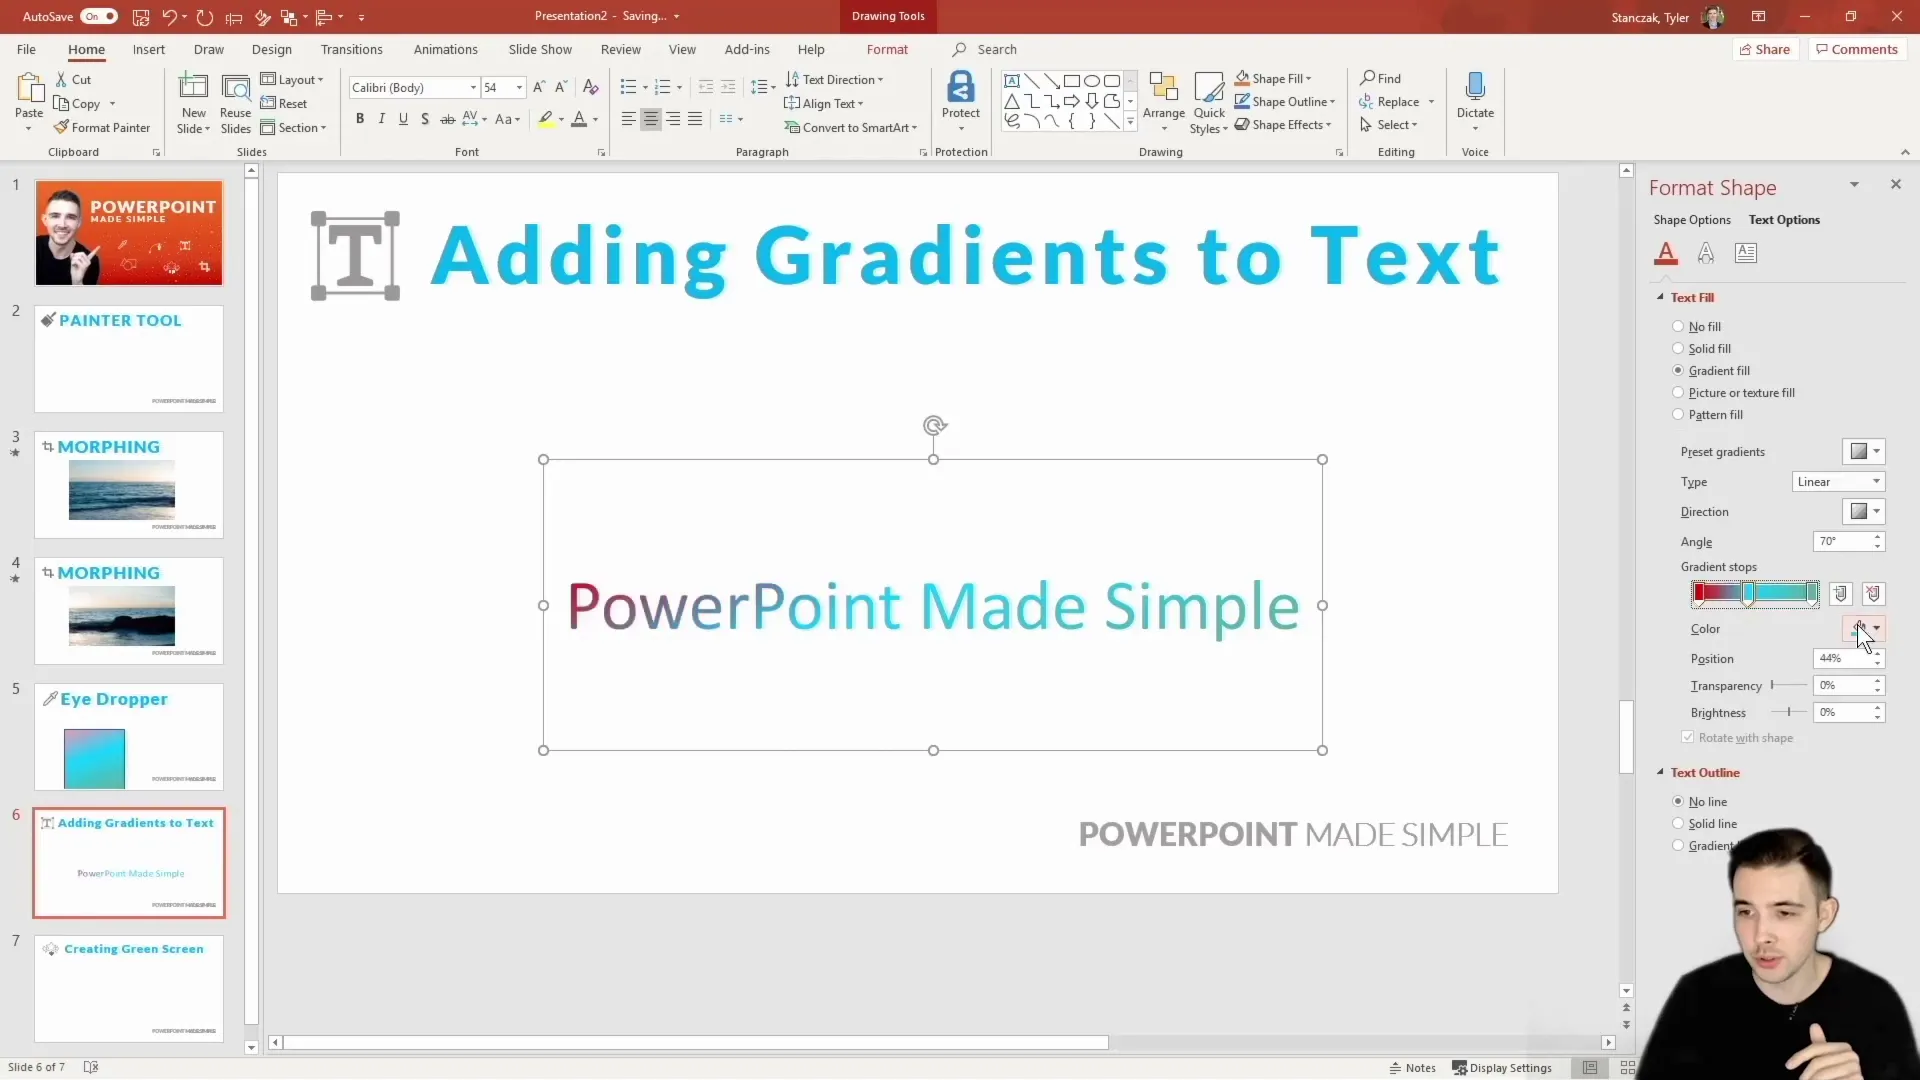
4. Adding Gradients to Text: Elevate Your Typography
While many users apply solid colors to text, PowerPoint also allows you to add gradients directly to your text, a feature that is surprisingly underutilized.
Here’s how to add gradients to text:
- Right-click your text box and select Format Shape.
- Navigate to the Text Options tab.
- Choose Text Fill & Outline, then select Gradient Fill.
- Customize the gradient stops, colors, direction, and transparency as desired.
This feature lets you add depth and visual interest to your typography, making your text stand out with rich color transitions and effects.

Why Use Gradient Text?
Gradient text can be used to:
- Create eye-catching titles and headings
- Match text colors to other graphical elements or backgrounds
- Add a subtle or bold color effect that enhances readability and style
Experimenting with gradient fills on text can dramatically improve the aesthetics of your slides without needing external graphic design tools.
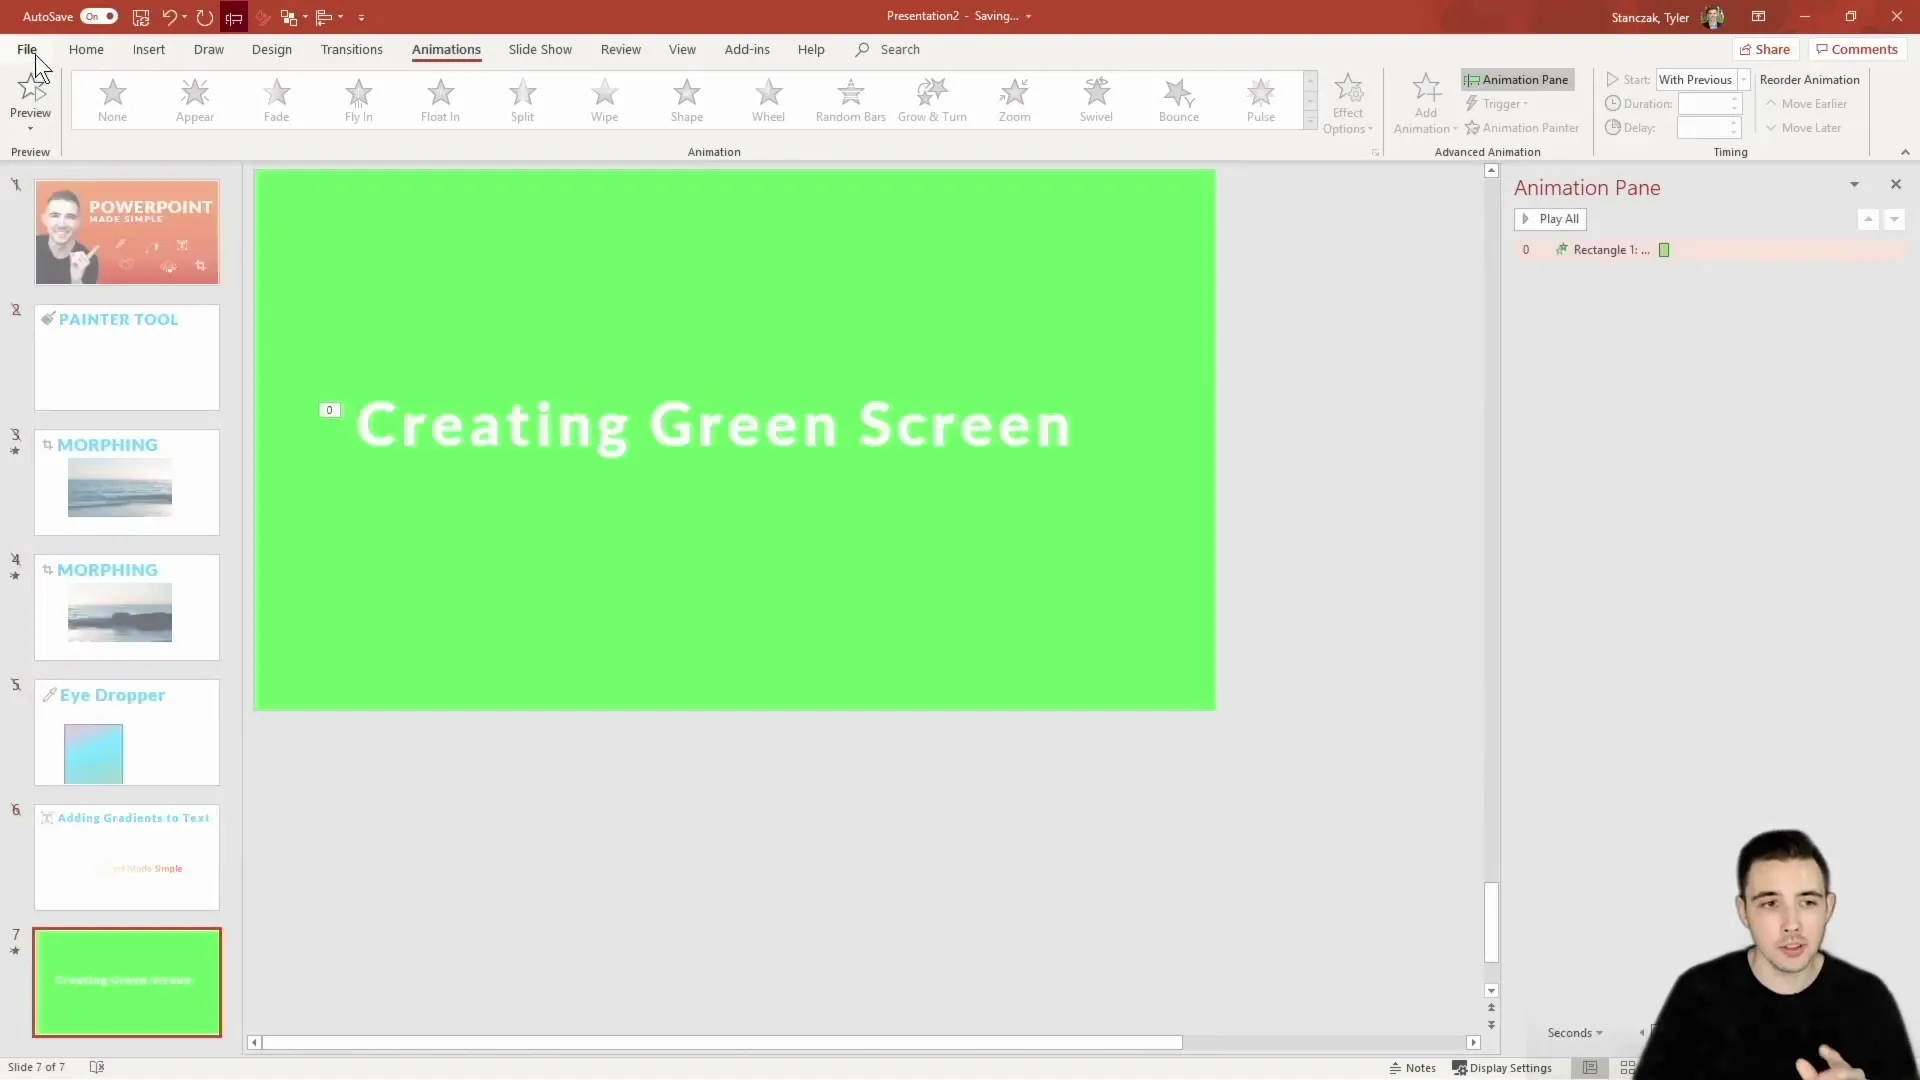
5. Creating Green Screen Effects Using PowerPoint
One of the most impressive hidden features Tyler shares is how to create a green screen effect entirely within PowerPoint, enabling you to produce custom video animations with transparent backgrounds.
Step-by-Step Guide to Creating Green Screen Videos
- Add the text or object you want to animate on your slide.
- Apply an animation, such as Fly In.
- Open the Animation Pane and set the animation to With Previous for automatic play.
- Adjust the timing of the animation to your preference.
- Hide all other slides that you don’t want in the video.
- Go to File > Export > Create a Video.
- Select your desired video resolution (including 4K option).
- Set the video length according to your animation duration (e.g., 5 seconds for a 2-second animation).
- Export the video as an MP4 file.
Once exported, you can import this video into your video editor and apply the green screen (chroma key) effect. The only visible element will be your animated text or object, allowing seamless integration into any video project.
Why This Green Screen Feature is a Game-Changer
This technique offers several advantages:
- No need for complicated software like Adobe After Effects.
- Full customization of animations inside PowerPoint.
- Easy export and integration with popular video editors.
- Great for creating dynamic presentations, video intros, or overlays.
By leveraging this feature, you can add professional-level video effects to your presentations and multimedia projects using only PowerPoint.
Conclusion: Unlocking PowerPoint’s Hidden Potential
PowerPoint is much more than a simple slide deck creator. With hidden gems like advanced painter tool tricks, morphing cropped images, outside-the-application color sampling, gradient text fills, and green screen video creation, you can elevate your presentations and creative projects to new heights.
These five hidden features demonstrated by Tyler Stanzik from PowerPoint Made Simple are practical, easy to implement, and can save you time while enhancing your design capabilities. Whether you’re a teacher, marketer, designer, or business professional, mastering these tips will make your PowerPoint skills stand out.
Remember, the key to becoming a PowerPoint pro is not just knowing the basics but exploring the tool’s deeper functionalities. Try these hidden features today and see the difference they make in your presentations.

Frequently Asked Questions (FAQ)
Q1: Can the Format Painter tool copy all types of formatting?
Yes, the Format Painter can copy a wide range of formatting including font style, size, color, shapes, image cropping, and even transparency settings. However, some complex formatting might require manual adjustment.
Q2: How does the Morph transition differ from other transitions?
The Morph transition animates smooth movement, resizing, and color changes between slides by recognizing matching objects. Unlike simple push or fade transitions, Morph creates dynamic motion effects that make presentations more engaging.
Q3: Is it possible to use the eyedropper tool to pick colors from other applications?
Yes! By clicking and dragging the eyedropper outside of PowerPoint, you can sample colors from anywhere visible on your screen, including web pages, images, and other software.
Q4: Can I use gradients on text in older versions of PowerPoint?
Gradient text fill is available in PowerPoint 2013 and later versions. If you’re using an older version, this feature might not be supported.
Q5: Do I need special software to create green screen videos using PowerPoint?
No, you can create green screen video animations directly in PowerPoint by exporting your animated slides as video files. You will need a video editor that supports chroma keying to apply the green screen effect afterward.
Q6: Can the transparency painter tool technique be used on grouped objects?
Yes, as long as the grouped objects support transparency settings, the double-clicked Format Painter can apply the transparency to each object within the group.
Q7: How do I ensure my morph transition works correctly with cropped images?
Make sure the images on both slides are duplicates and properly cropped or repositioned. PowerPoint uses the object’s name and properties to morph them, so avoid renaming or changing object types between slides.
Q8: What video resolutions can I export from PowerPoint?
PowerPoint allows you to export videos in several resolutions, including 480p, 720p, 1080p, and 4K, depending on your version and system capabilities.
Q9: Can the painter tool copy animation effects?
No, the Format Painter copies static formatting such as color, font, size, and cropping, but it does not copy animations or transitions between objects.
Q10: Are these hidden features available on PowerPoint for Mac?
Most of these features are available on PowerPoint for Mac, though some interface options might differ slightly. Always ensure you have an updated version for the best experience.
Check out the full video: Five Hidden Features of PowerPoint Collaboration Video


