
Welcome to a comprehensive guide on creating a stunning parallax scrolling website using the powerful yet beginner-friendly platform, Wix. This tutorial, inspired by the expertise of One Skill PowerPoint, will walk you through every step of building a professional website from scratch, completely free of charge. Whether you’re a complete novice or someone familiar with presentation tools like PowerPoint or Keynote, you’ll find this guide easy to follow and packed with valuable tips to bring your website vision to life.
Wix is a drag-and-drop website builder that offers over 500 designer-made templates, mobile-friendly designs, and a variety of customization options. In this article, we’ll focus on starting with a blank template to give you full control over your design while learning the essential tools and techniques Wix provides. Let’s dive right in!

Table of Contents
- Getting Started: Setting Up Your Wix Account and Choosing a Template
- Understanding Wix’s Interface: Header, Footer, and Strips
- Adding and Customizing Strips: Building Website Sections
- Adding Images and Logos: Branding Your Website
- Inserting and Styling Text: Crafting Your Website’s Message
- Enhancing Design with Shapes and Icons
- Arranging Objects: Layering for Visual Appeal
- Publishing Your Website: Naming and Going Live
- Adding More Sections: Building a Multi-Strip Website
- Implementing Parallax Scrolling Effects
- Building Additional Strips with Consistency and Efficiency
- Adding Links to Buttons and Interactive Elements
- Enhancing Website Sections: More Tutorials and Video Backgrounds
- Adding Paragraph Text and Formatting
- Inserting Photos and Completing the Footer
- Creating an Anchor Menu for Easy Navigation
- Pinning Elements to the Screen
- Adding and Customizing Social Media Icons
- Animating Your Website Elements
- Final Thoughts: Creating a Professional Website with Wix
- Frequently Asked Questions (FAQ)
Getting Started: Setting Up Your Wix Account and Choosing a Template
The first step is to navigate to wix.com, the platform we’ll use to create our website. Wix offers multiple login options, including Facebook and Google accounts. For convenience, logging in with your Google account is recommended.
Once logged in, click on the Create New Site button. Wix will prompt you to select the type of website you want to build, but since we’ll be using a blank template for maximum flexibility, this choice won’t affect our process much.
Scroll through the template options until you find the Blank Template. Selecting this allows you to start with a clean slate, perfect for learning how to build a website from the ground up. Click the Edit button and allow a few moments for the editor to load.
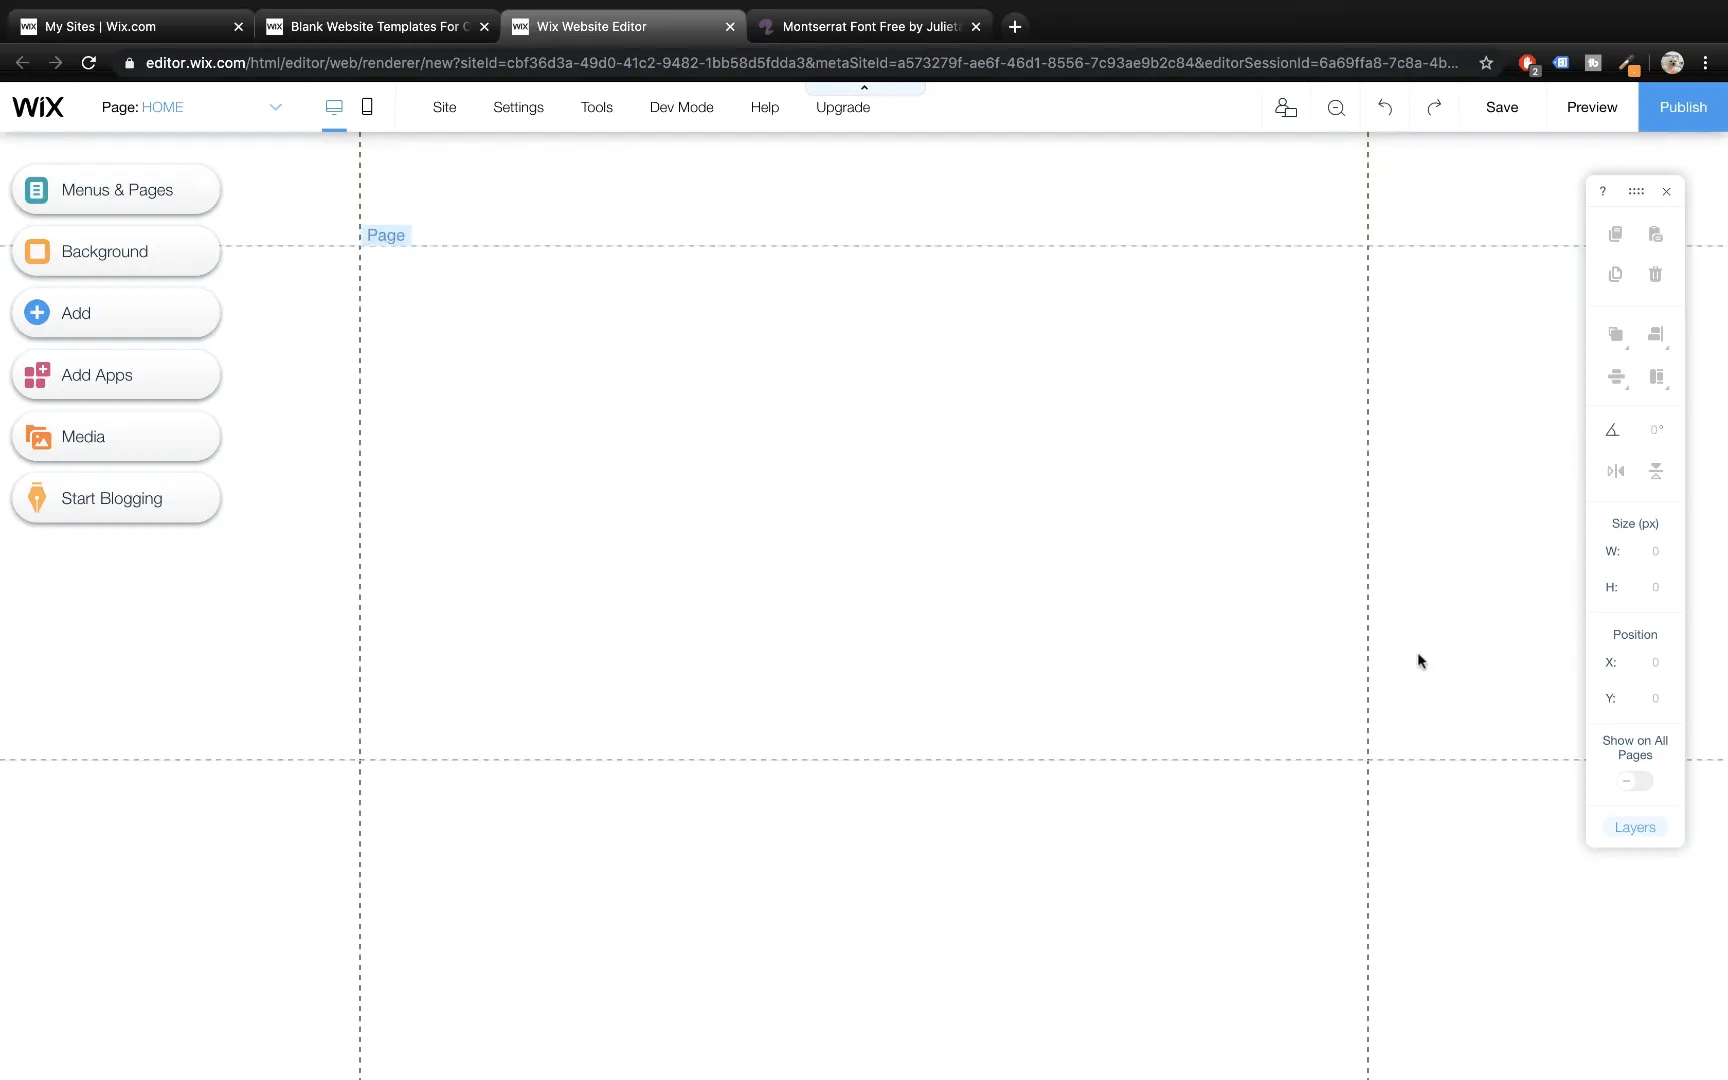
Understanding Wix’s Interface: Header, Footer, and Strips
Once inside the Wix editor, you’ll notice the layout consists of three main parts:
- Header: The top section, usually reserved for navigation and site branding.
- Footer: The bottom section, ideal for copyright information, contact details, or social media links.
- Page Area: The central part where your content resides, divided into strips or sections.
Understanding these parts is essential as you build your website. Strips are horizontal sections that can be customized with backgrounds, images, text, and other elements.
Adding and Customizing Strips: Building Website Sections
To add a new section to your website, navigate to the Add menu, find Strips, and select Classic Strips. For this tutorial, we’ll start with a black strip, which offers a sleek and modern backdrop.
Drag the strip to the very top of your page. You want the strip’s vertical position (the y-value) to be zero to align it perfectly with the top edge of the page. Set the height of this strip to 800 pixels. This height is a personal choice and can be adjusted based on your design needs.
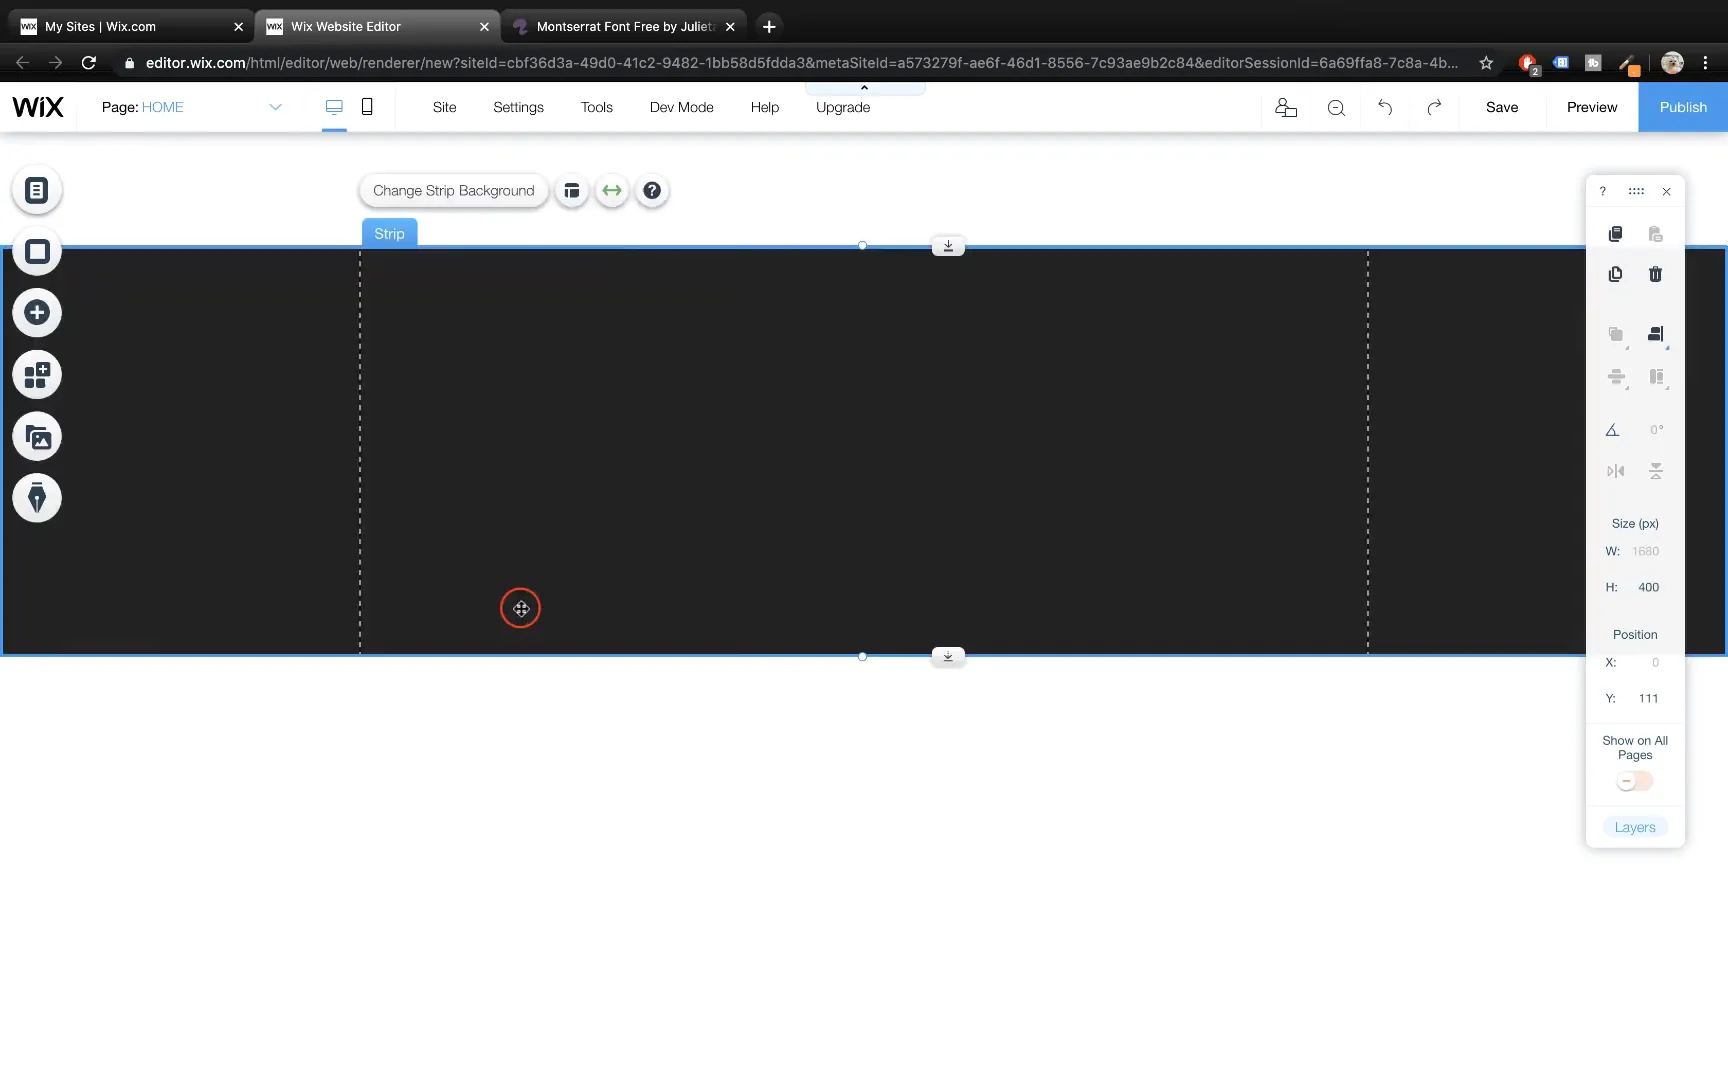
Next, change the background of this strip. Click once on the strip to select it, then choose Change Strip Background. Since we’ll be using video backgrounds for a dynamic effect, select the Video option. Before selecting a video, you need to upload all media files, including videos and images, into Wix’s media manager.
To upload media, open your media folder on your computer where all your videos and images are stored, select all relevant files, and import them to Wix. This bulk upload saves time and keeps your assets organized.
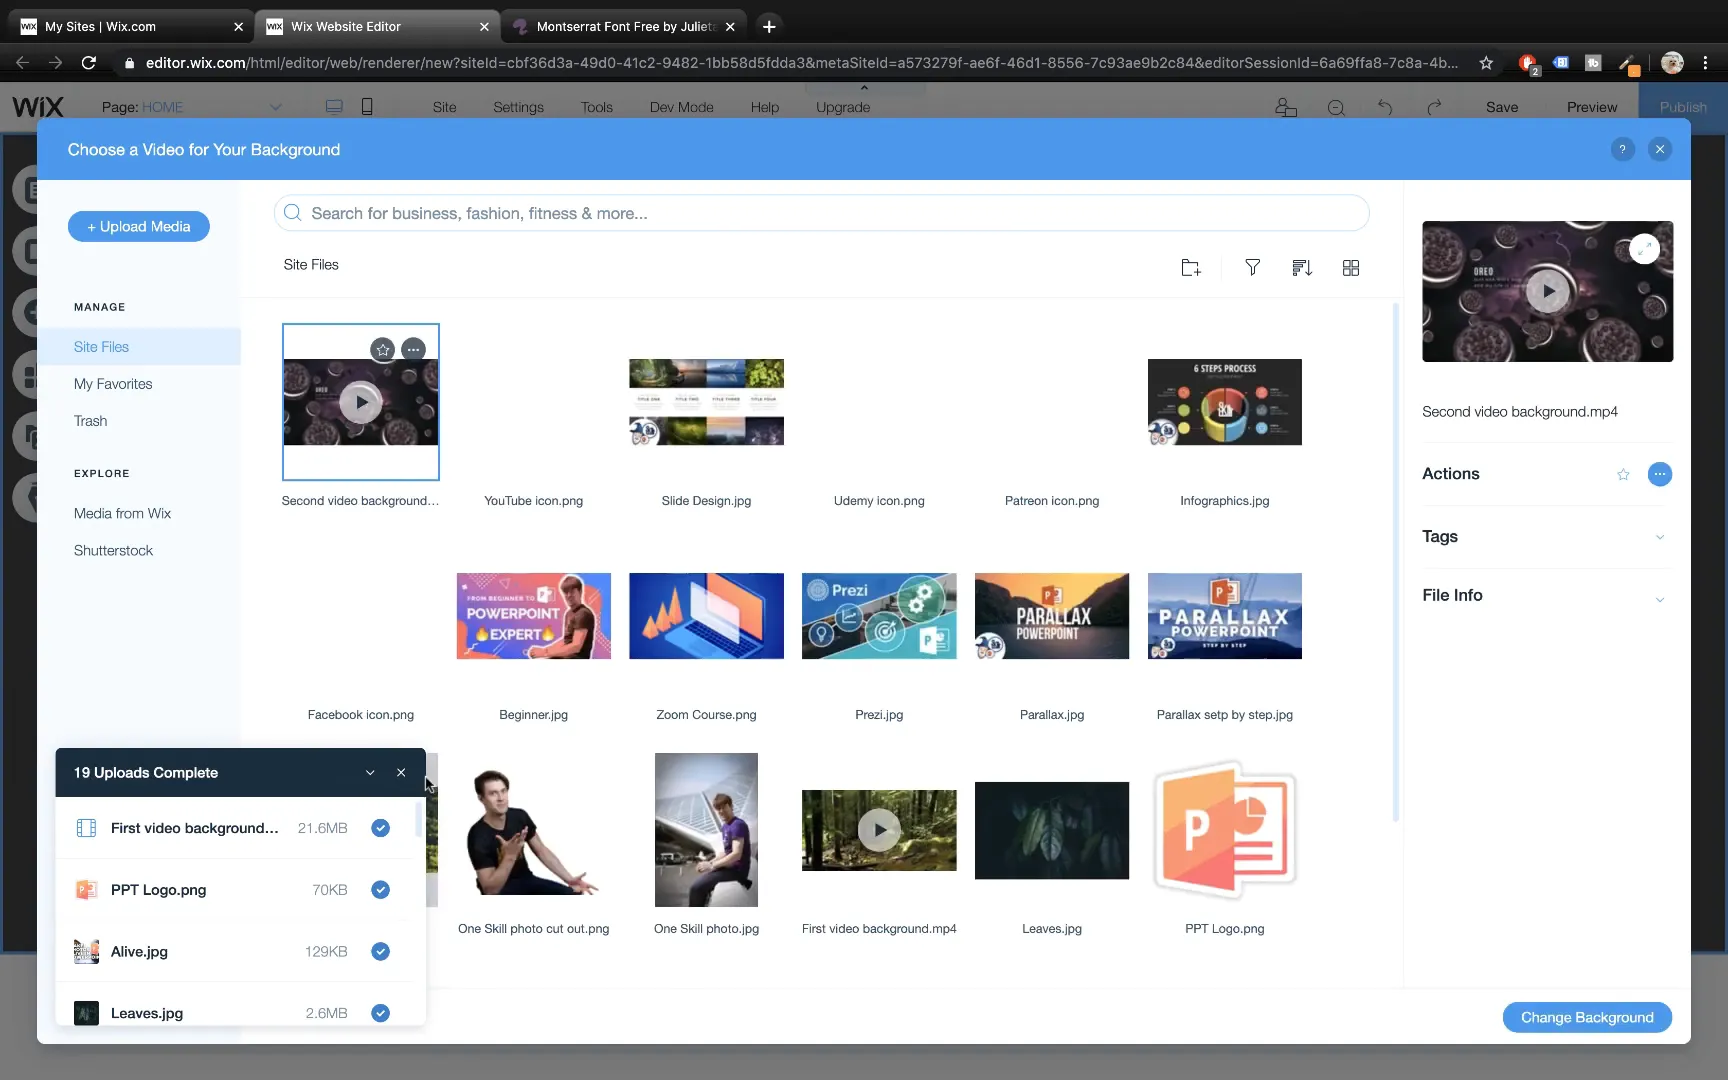
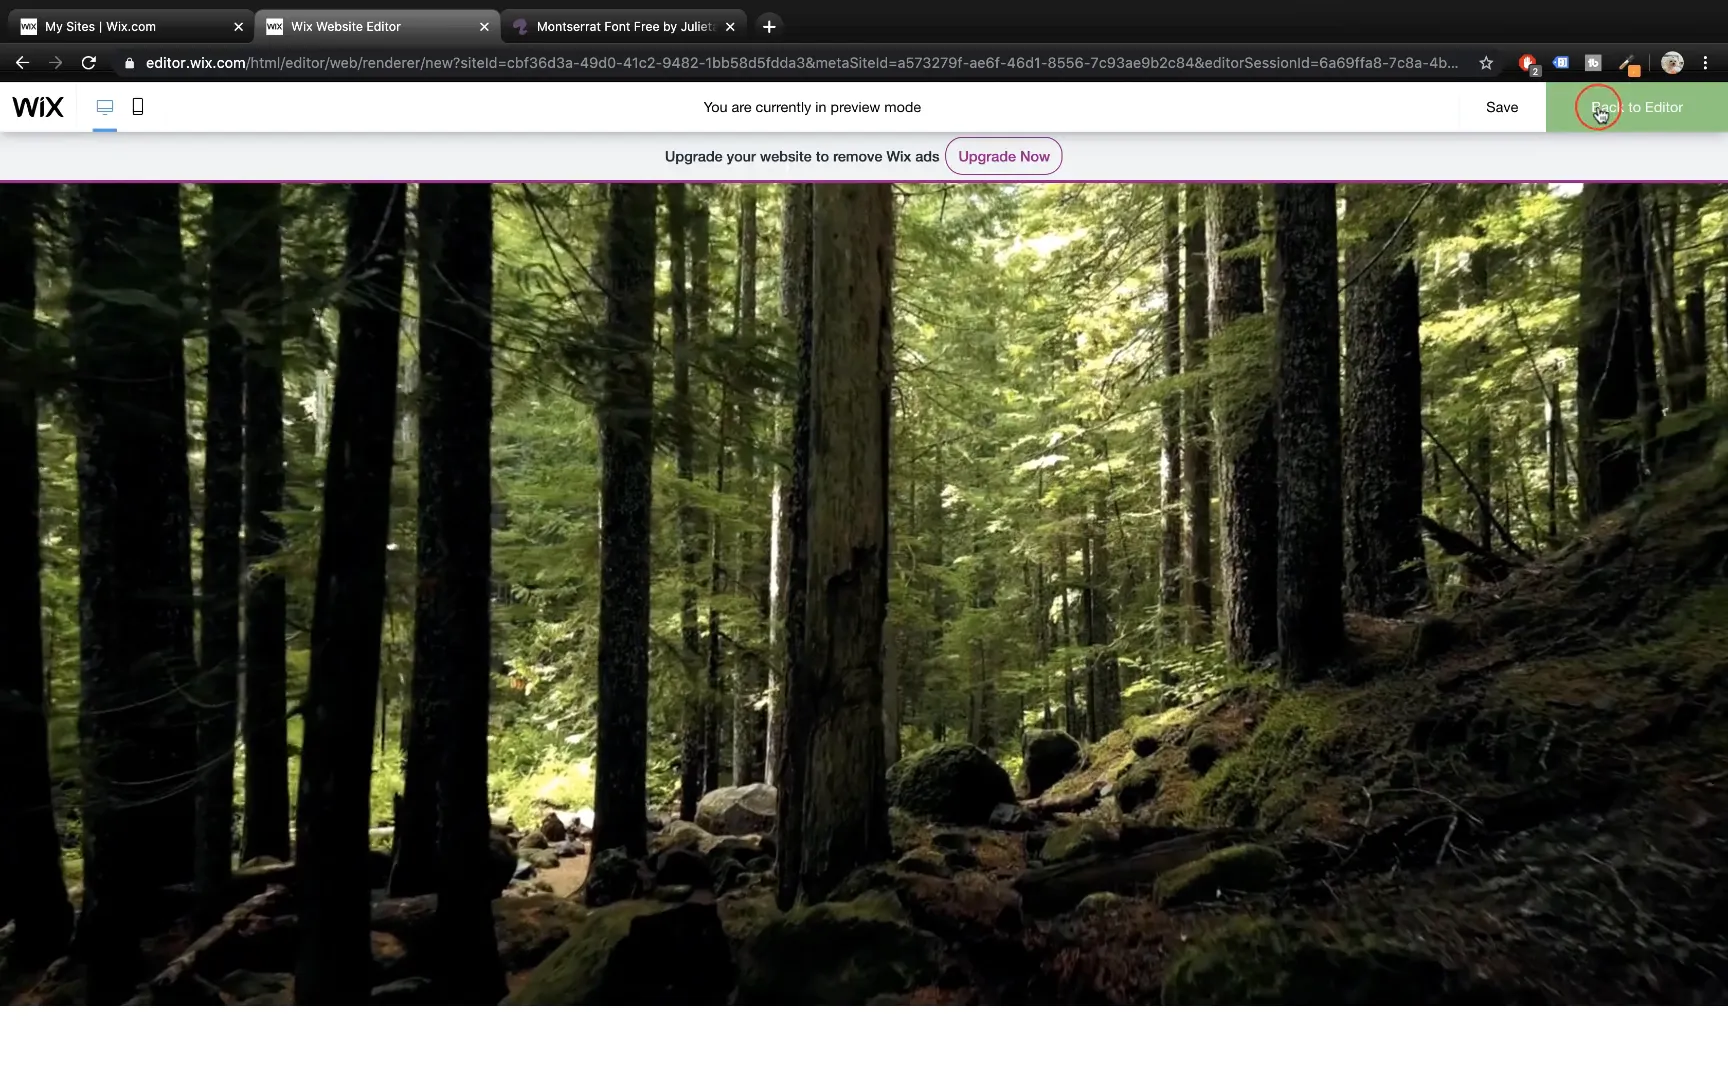
After uploading, select the video you want for your first section and set it as the strip background. Preview your site to see the video in action—it’s a beautiful way to grab visitors’ attention right away.
Adding Images and Logos: Branding Your Website
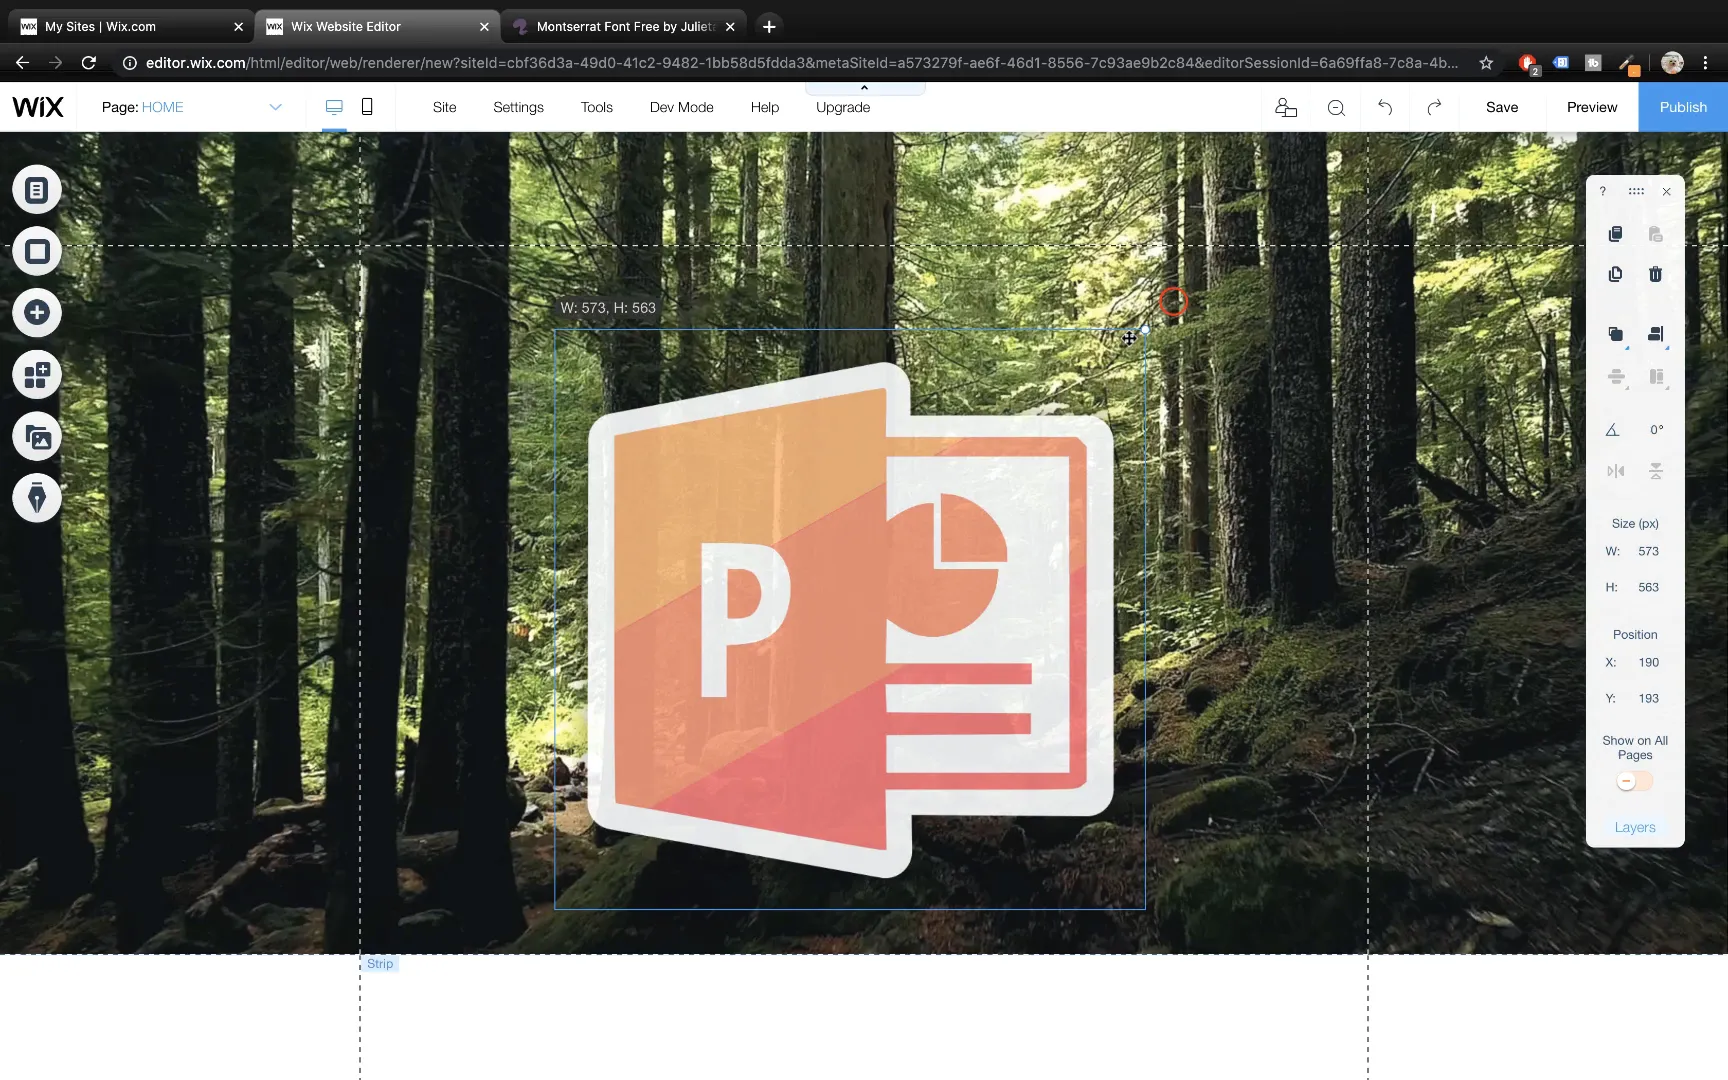
To enhance your website’s identity, add a logo or any key image. Go to the Add menu, select Images, and choose the logo file you uploaded earlier. The logo might appear large initially, so resize it by dragging the round handles on the corners and position it centrally using Wix’s smart guides that assist with alignment.
Inserting and Styling Text: Crafting Your Website’s Message
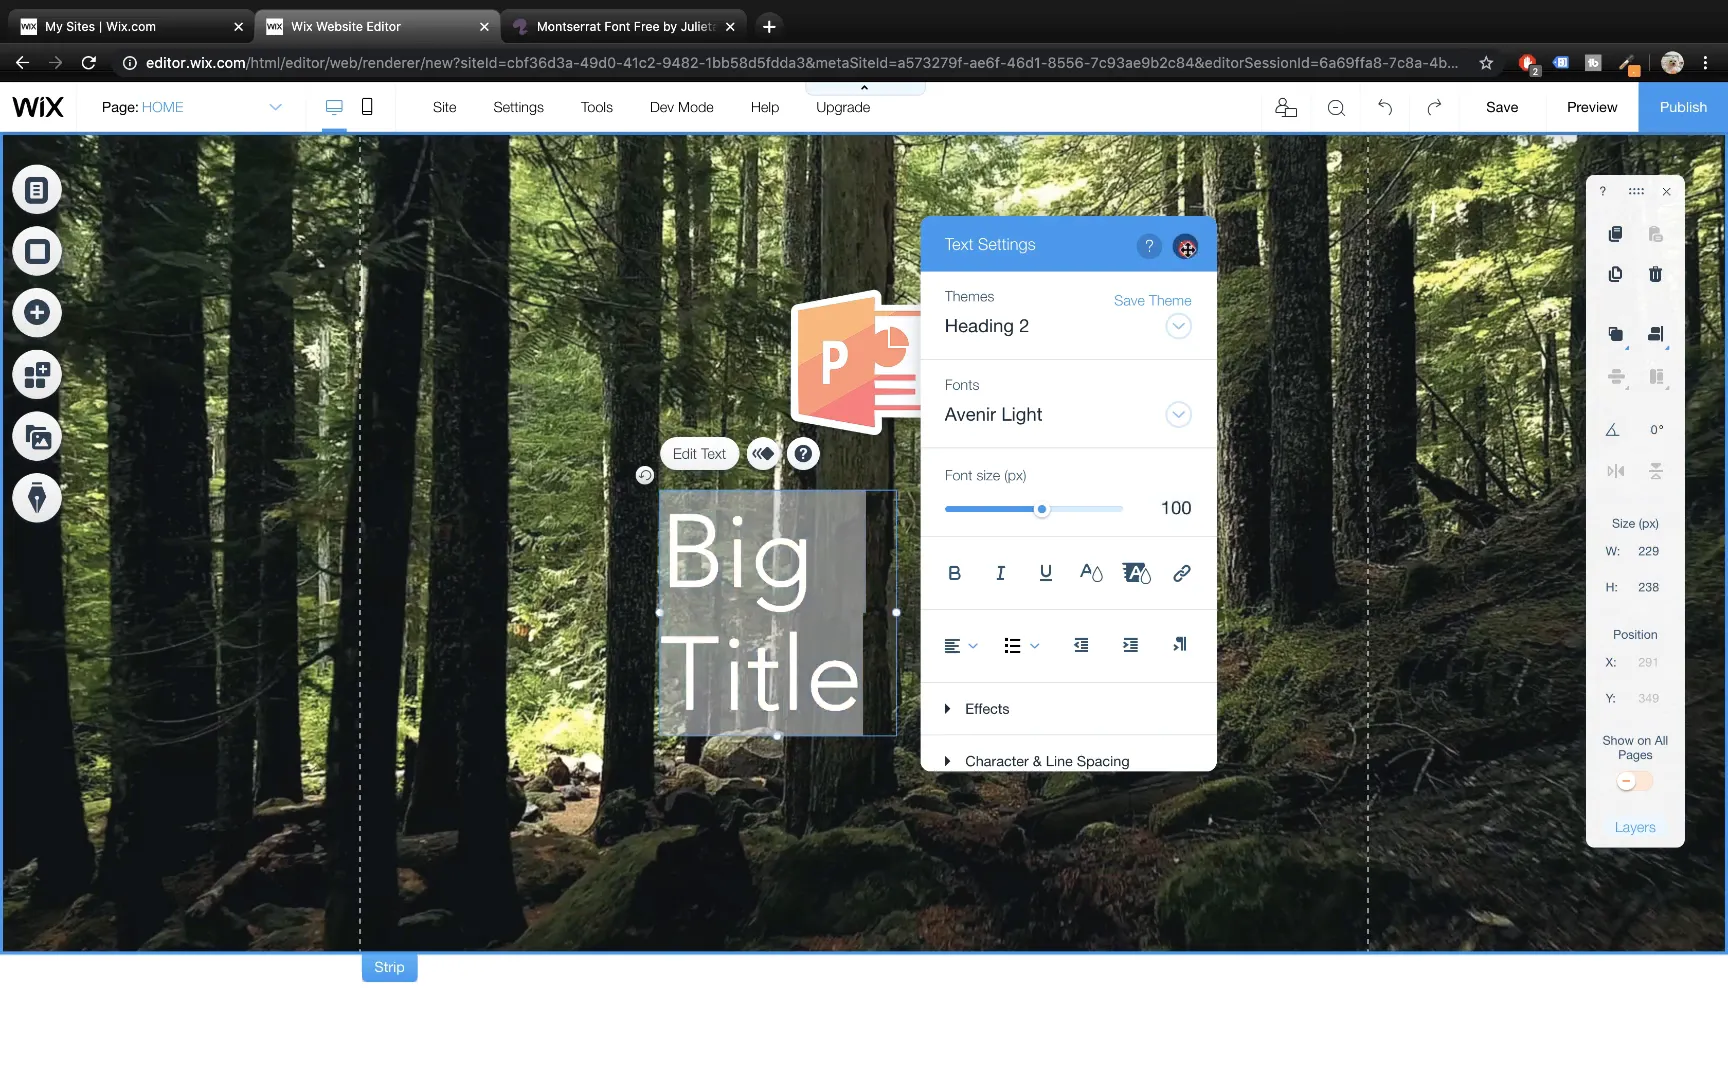
Text is crucial for communicating your site’s purpose. Add a large title by navigating to Add → Text and selecting a big title style. Edit the text content, set the font color to white for better contrast against the video background, and increase the font size to 100 points.
Resize the text box to fit your text on a single line and center-align the text within the box. This ensures a clean, professional look.
Using Custom Fonts in Wix
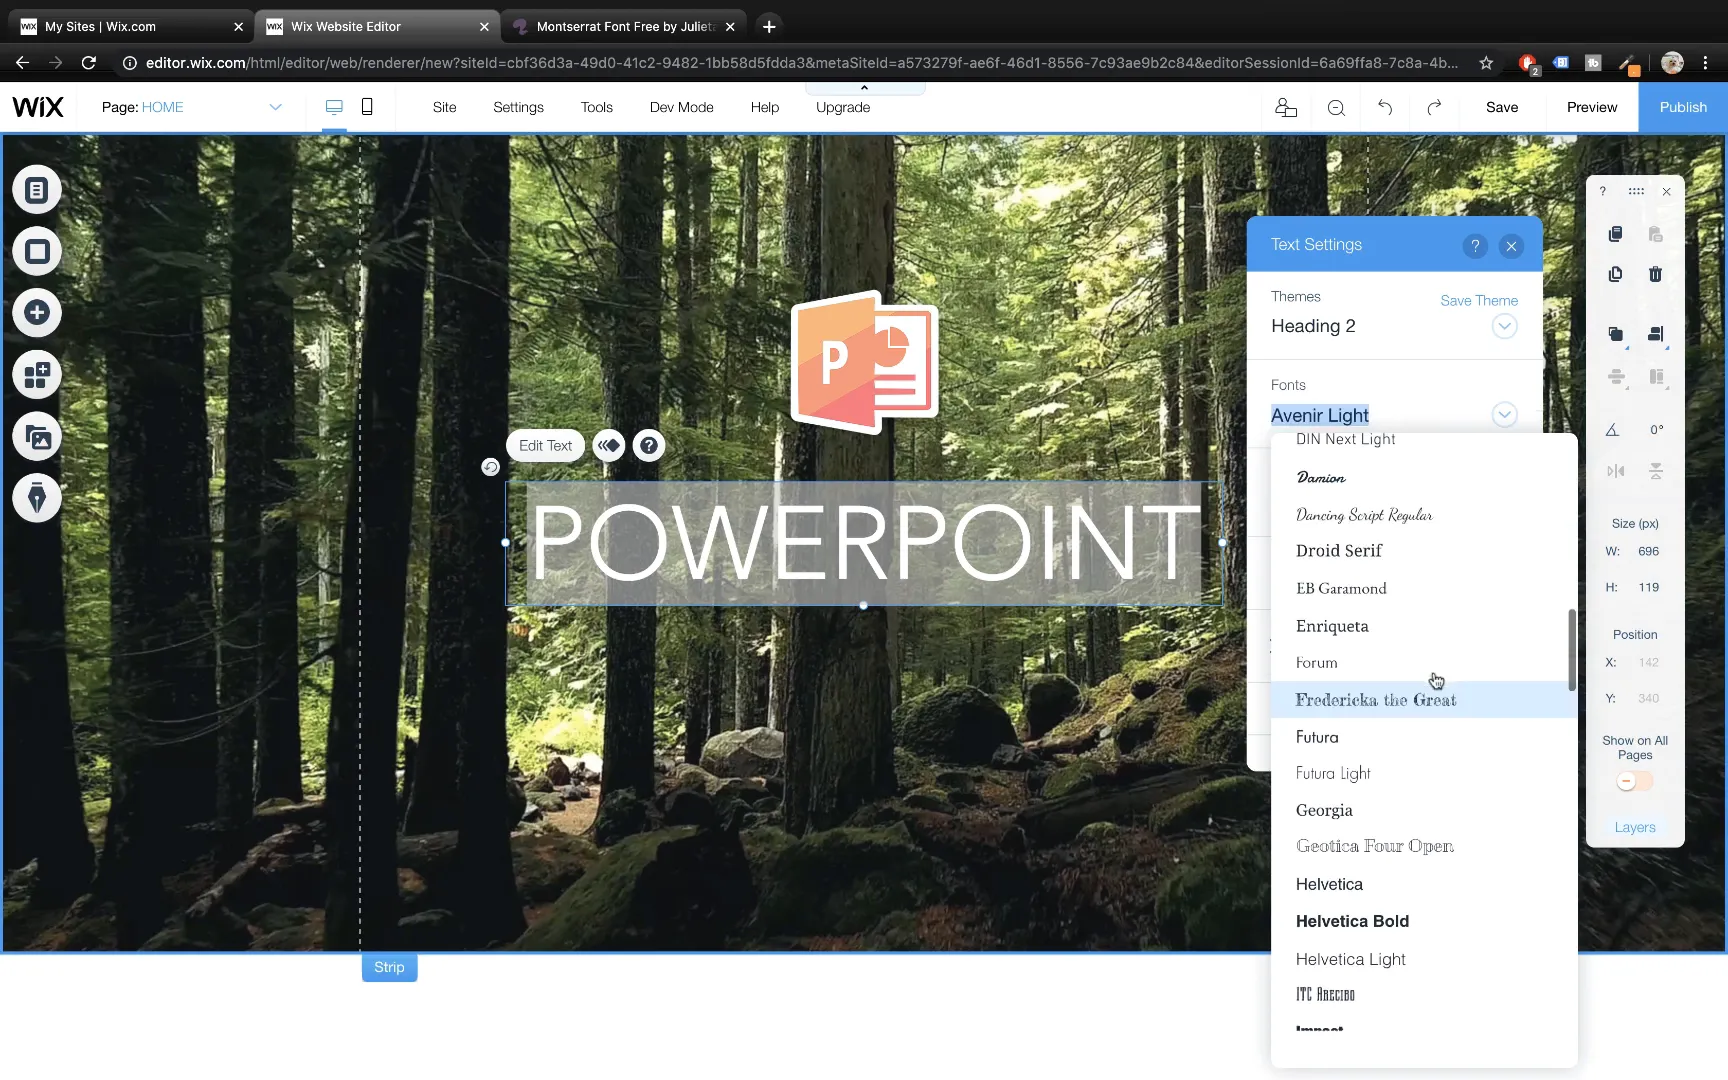
Sometimes, the default fonts available in Wix may not match your branding perfectly. For example, if you want to use Lato Black but only see Lato Light available, Wix allows you to upload custom fonts.
To upload a font, go to the Fonts tab, scroll to the bottom, and click Upload Font. You can download fonts from reputable sites like Font Squirrel. For this tutorial, Montserrat Black was used as an alternative.
Once uploaded, your font appears in the My Fonts section, ready to be applied to text elements. Resize your text box again to ensure the text fits perfectly in the new font.
Duplicating Text Boxes for Consistency
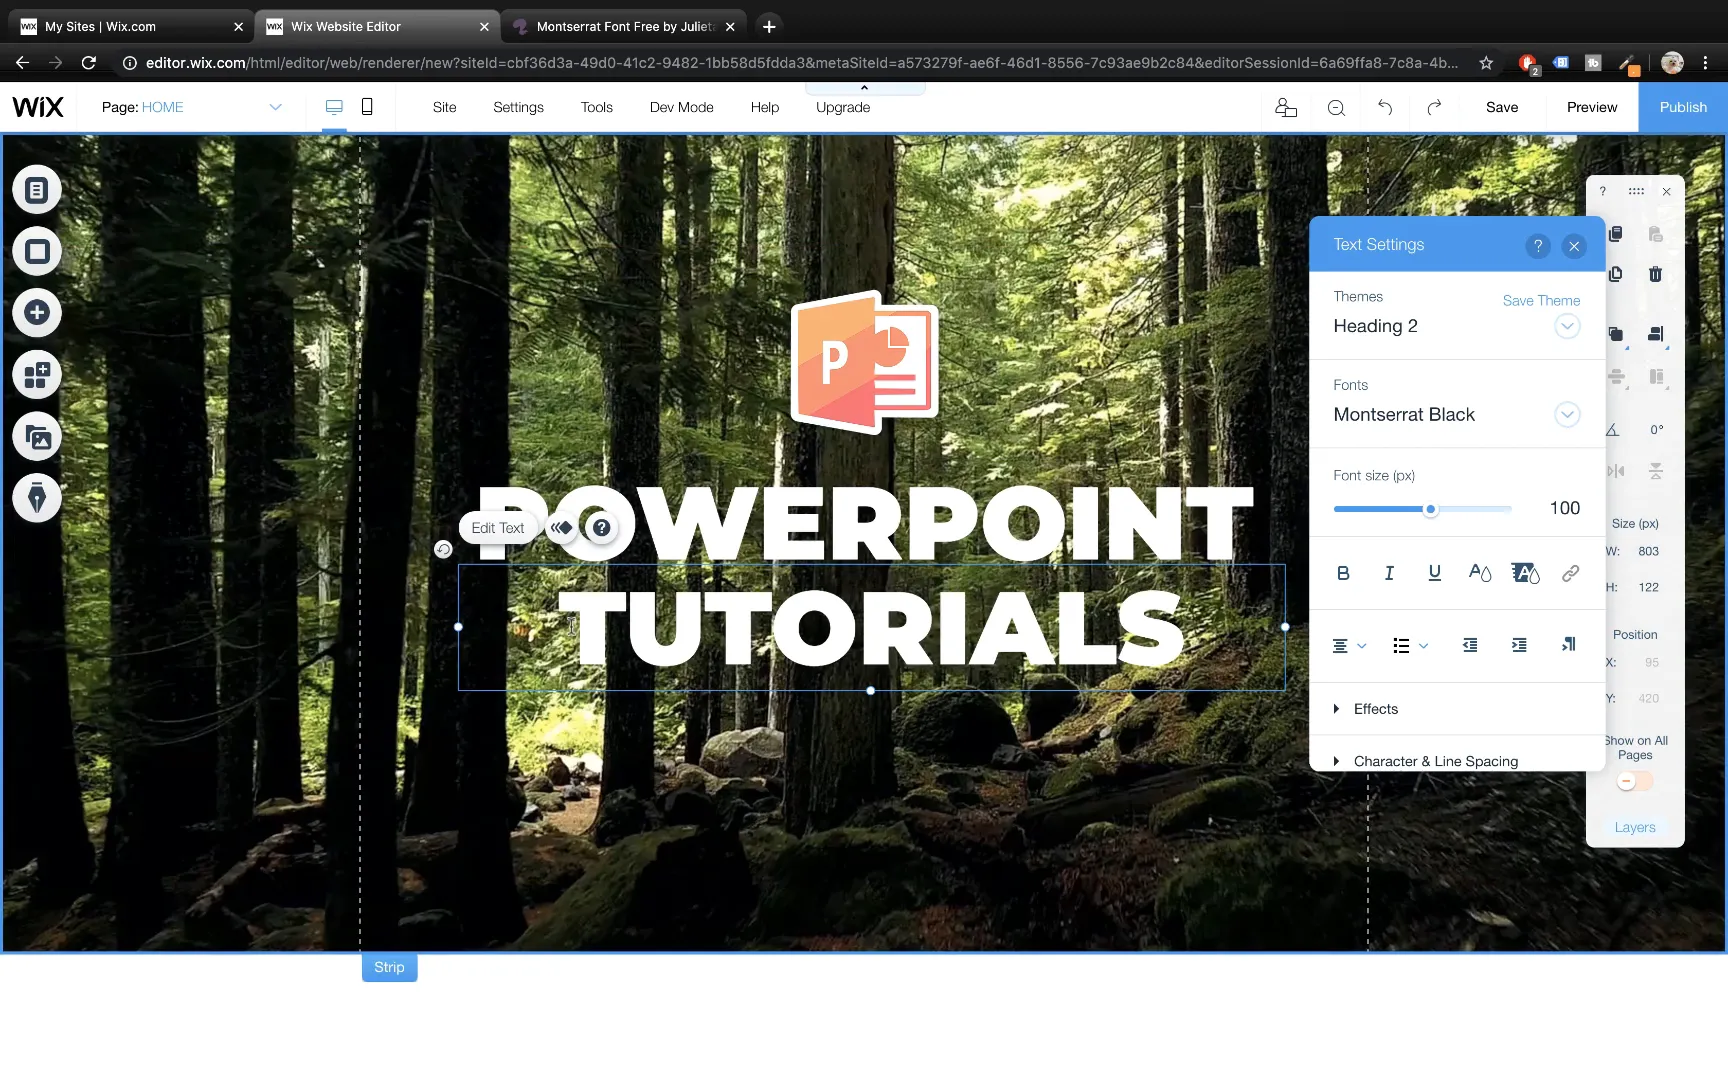
To maintain a consistent look, duplicate text boxes by right-clicking and selecting Duplicate. For instance, duplicate the main title to create a subtitle or additional headings and edit the text accordingly.
Example: Create a second text box with the word Tutorials centered below the main title.
Adding Text Shadows for Better Visibility
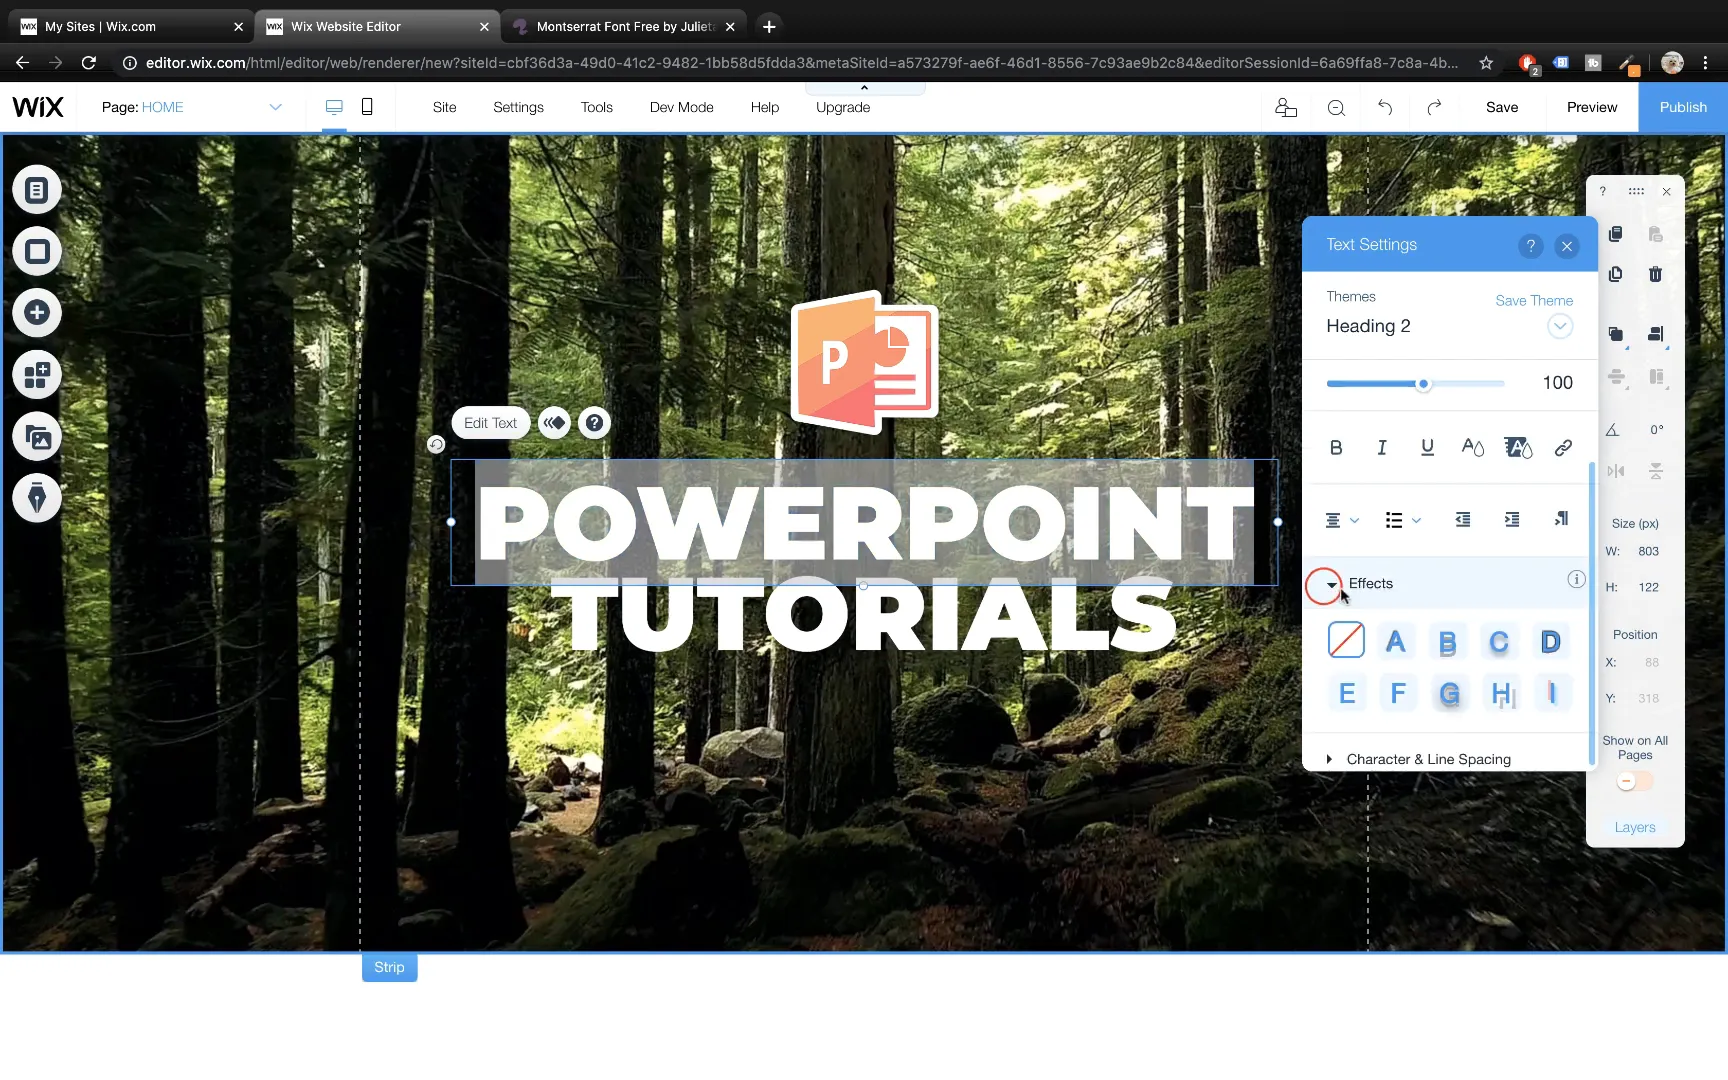
To make text stand out against video backgrounds, add subtle shadows. Select the text box, open the Edit Text menu, find the Effects section, and apply a shadow effect by clicking the C option. This adds depth and improves readability.
Enhancing Design with Shapes and Icons
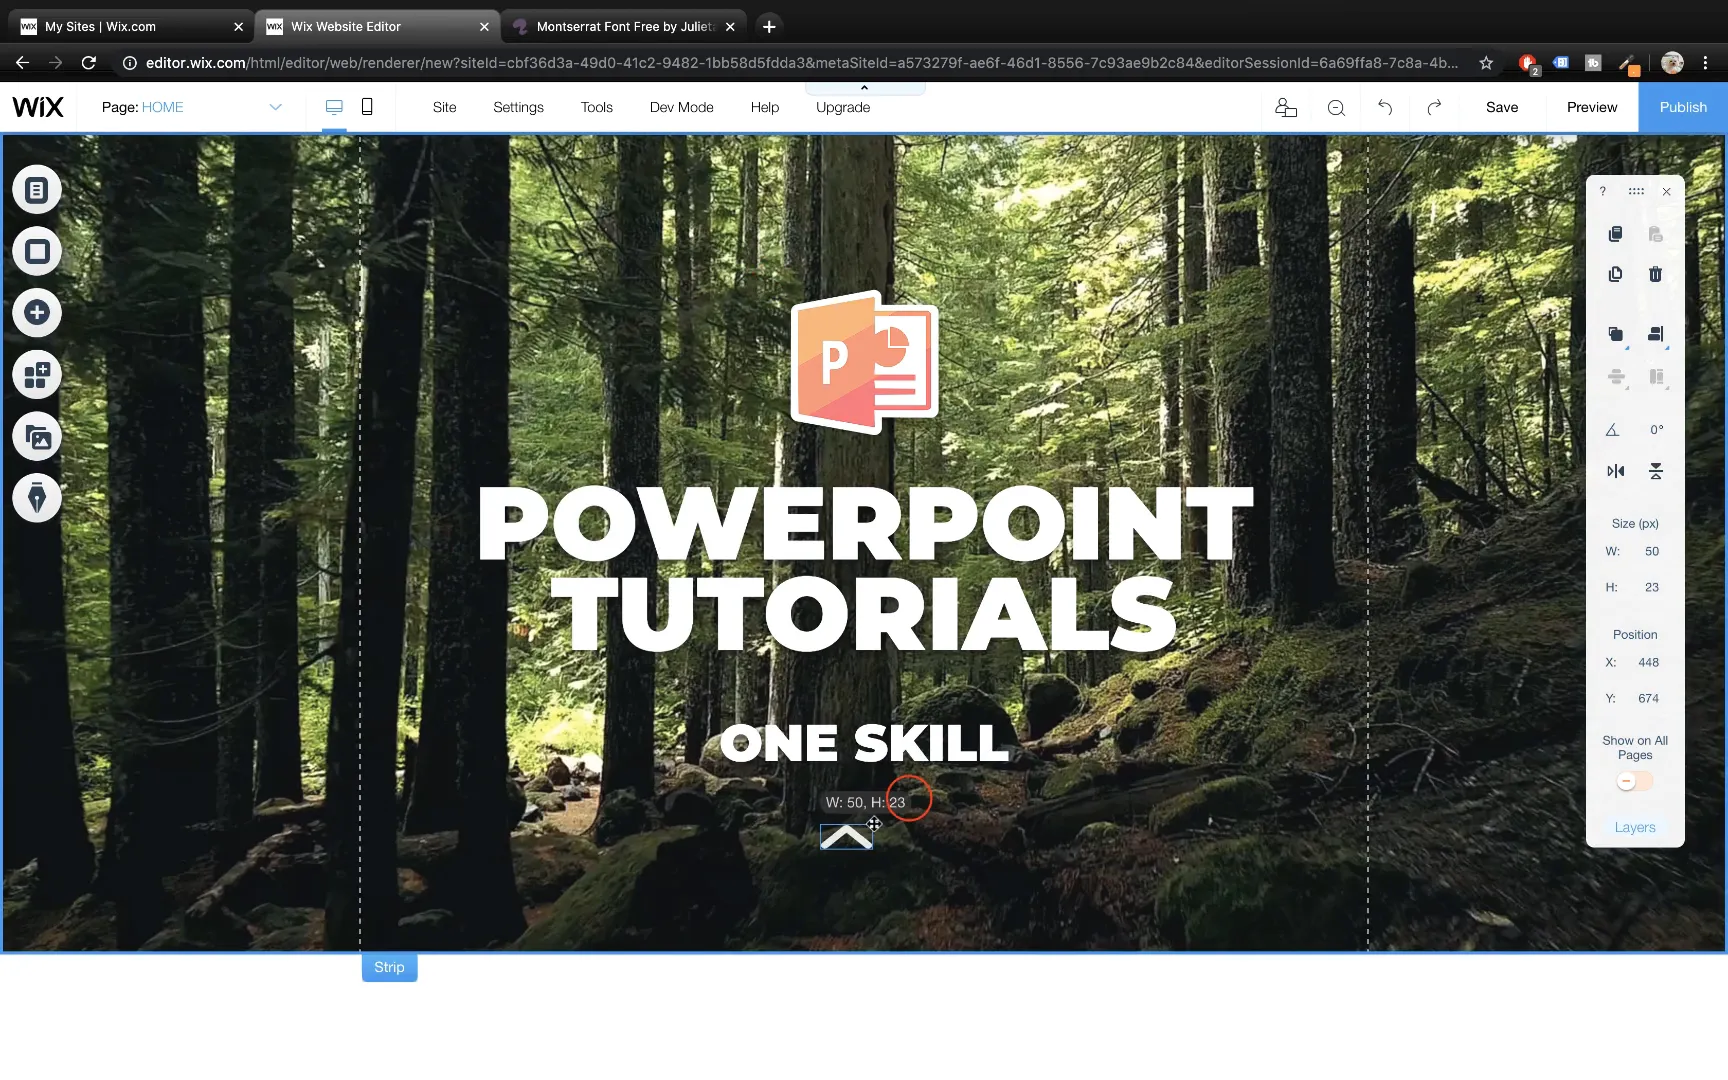
Shapes like arrows can guide visitors’ attention. Add an arrow shape below your smaller text box. Adjust its size, position it centrally, and change its color to white for visibility. If rotation is tricky, use the flip button in the toolbar for precise orientation.
Arranging Objects: Layering for Visual Appeal
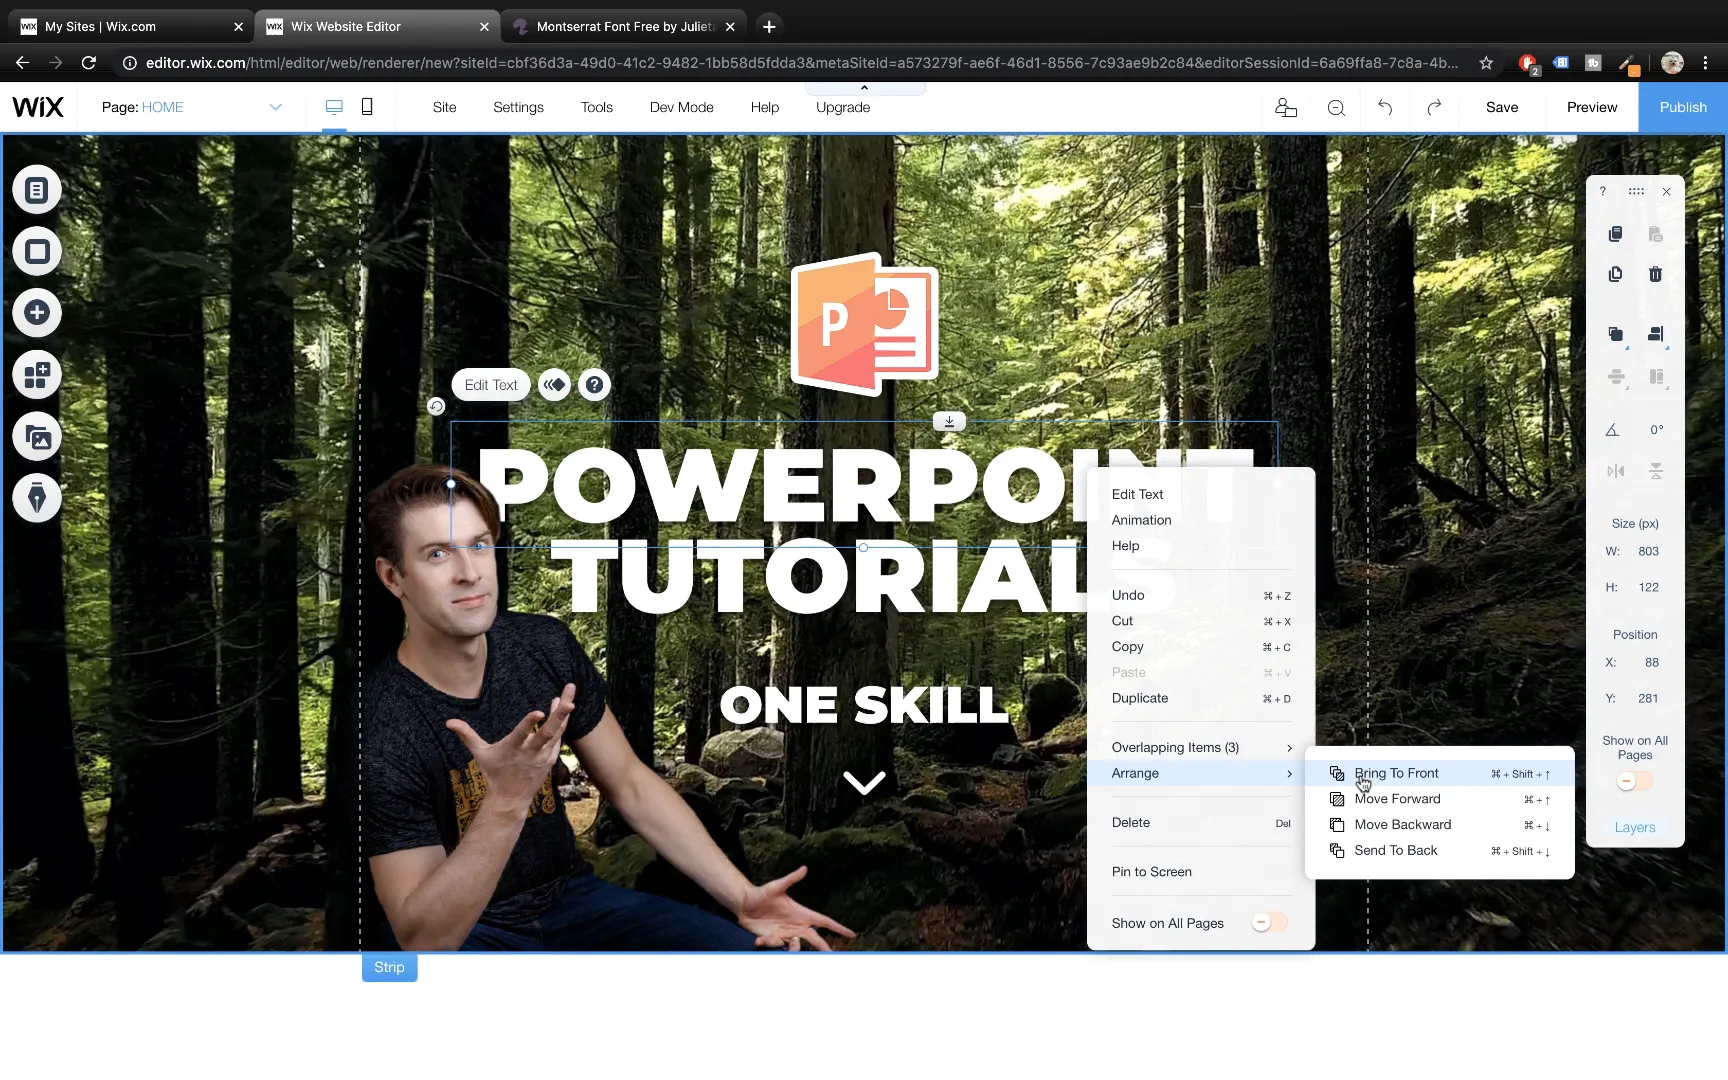
Wix allows you to control the layering of elements similar to PowerPoint. You can bring objects to the front or send them to the back to create a balanced composition. For example, place your photo behind text boxes by using the Arrange options.
Publishing Your Website: Naming and Going Live
Give your website a name, such as OneScale, and publish it. Wix will provide a free URL using their domain, like onescale.wixsite.com. You can use this free URL or upgrade to a paid plan to connect a custom domain like onescale.com.
Adding More Sections: Building a Multi-Strip Website
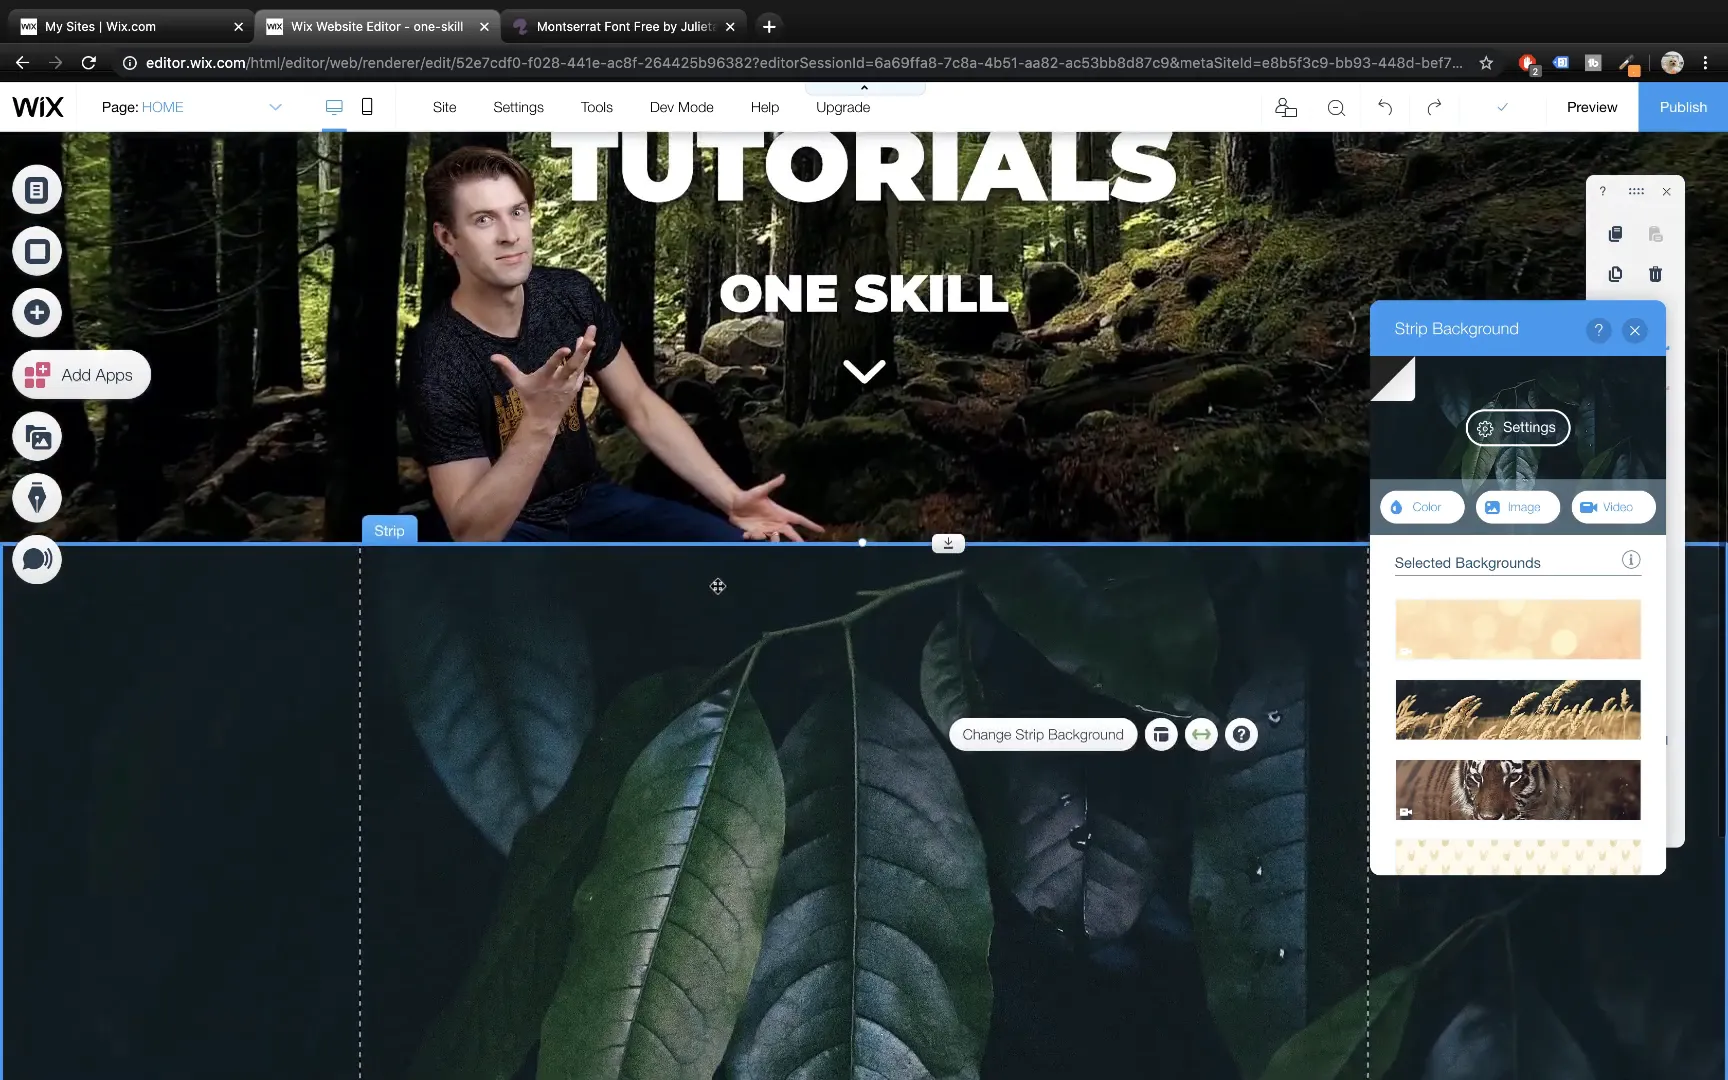
To create a multi-section website, add more strips using the same process. For the second strip, choose a black classic strip, set its height to 800 pixels, and change the background to an image, such as a photo of leaves.
Adding Text and Galleries in Strips
Duplicate text boxes from the first strip and reposition them to the left side for a fresh look. Adjust font sizes and add character spacing to improve readability. For example, set a smaller font size of 22 points and increase character spacing to 1.4.
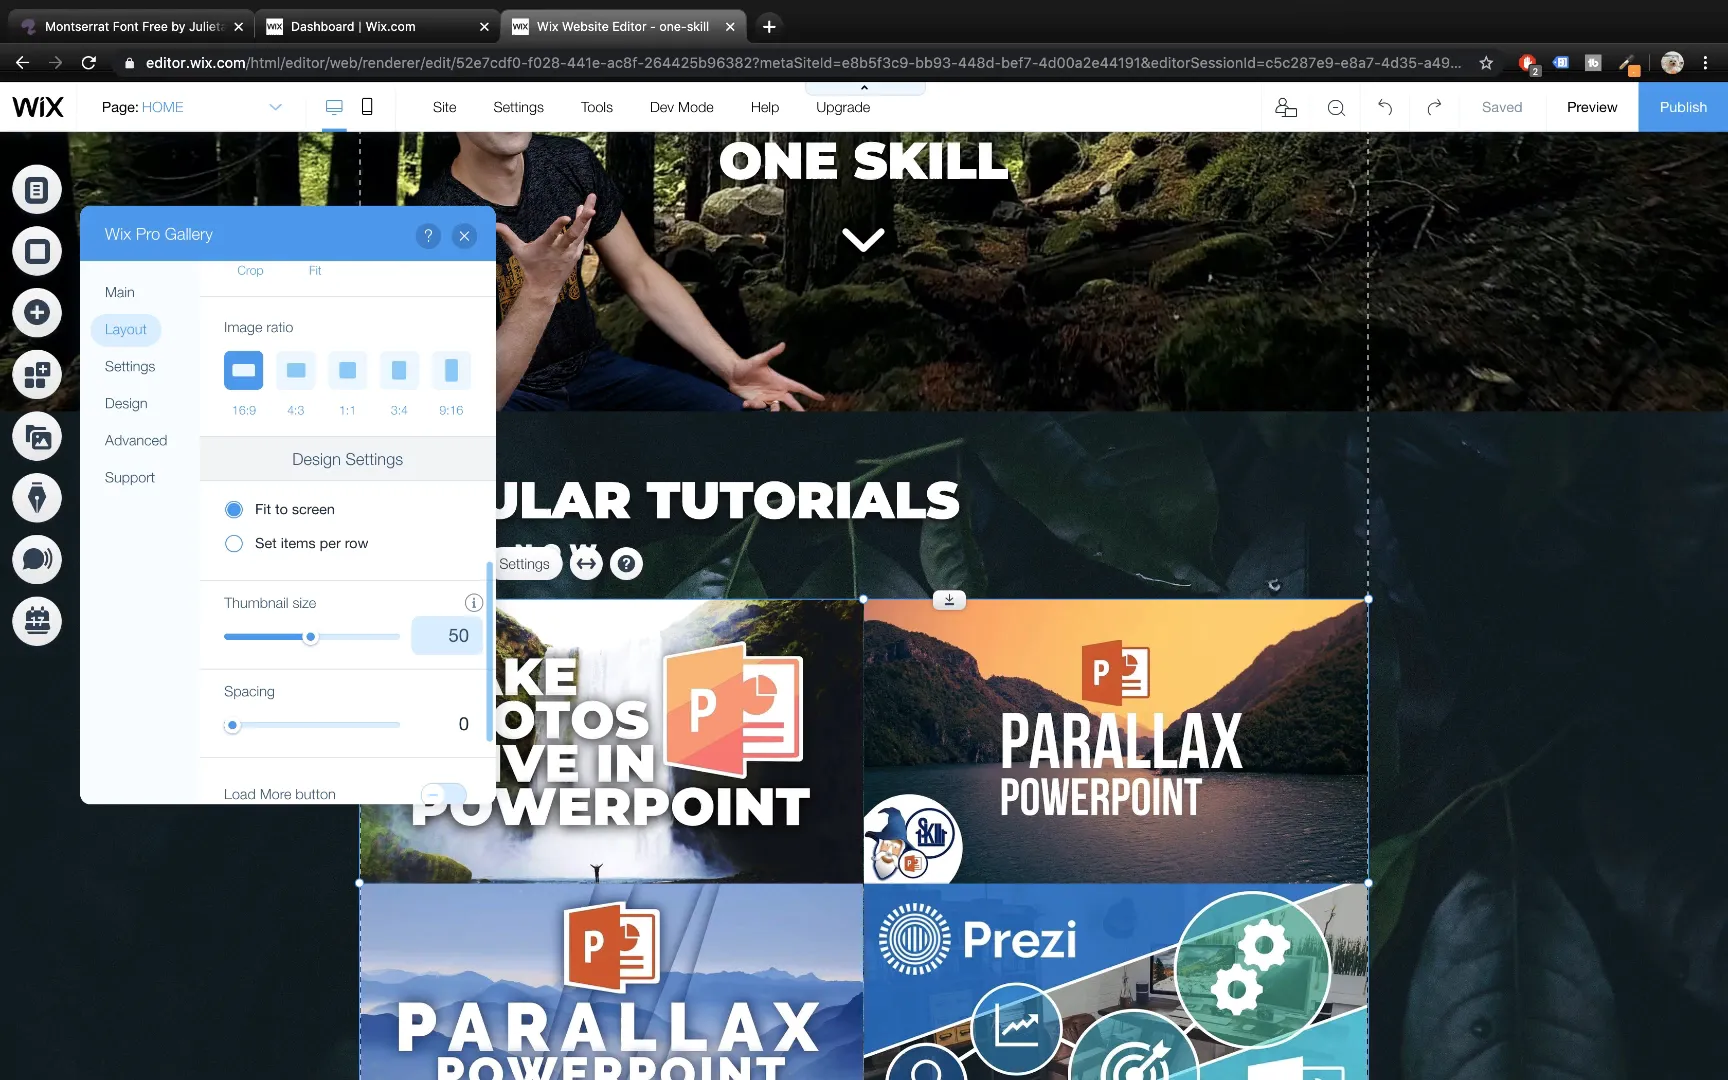
Add a grid gallery to showcase images or videos. Use the Wix Pro Gallery and customize it to a grid layout with a 16:9 aspect ratio and no spacing between photos for a clean appearance.
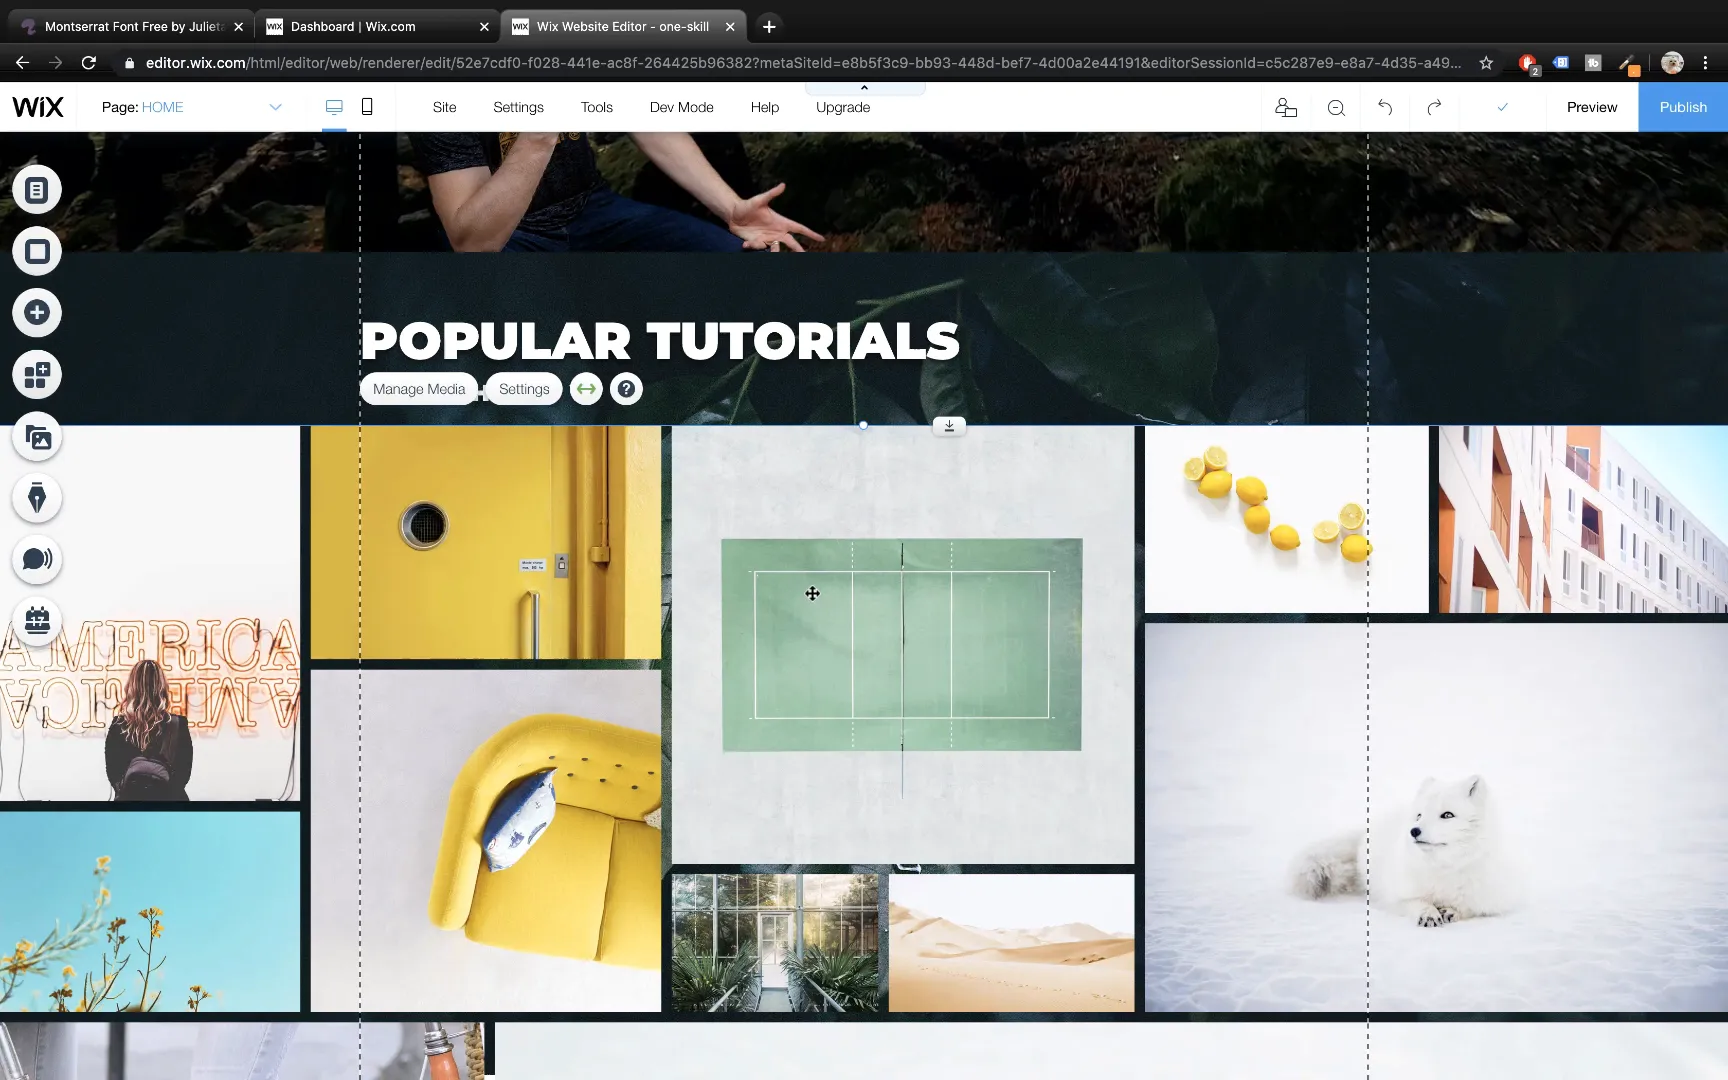
Upload your images to the gallery, adjust thumbnail sizes, and add links to each image so visitors can click through to videos or other resources.
Implementing Parallax Scrolling Effects
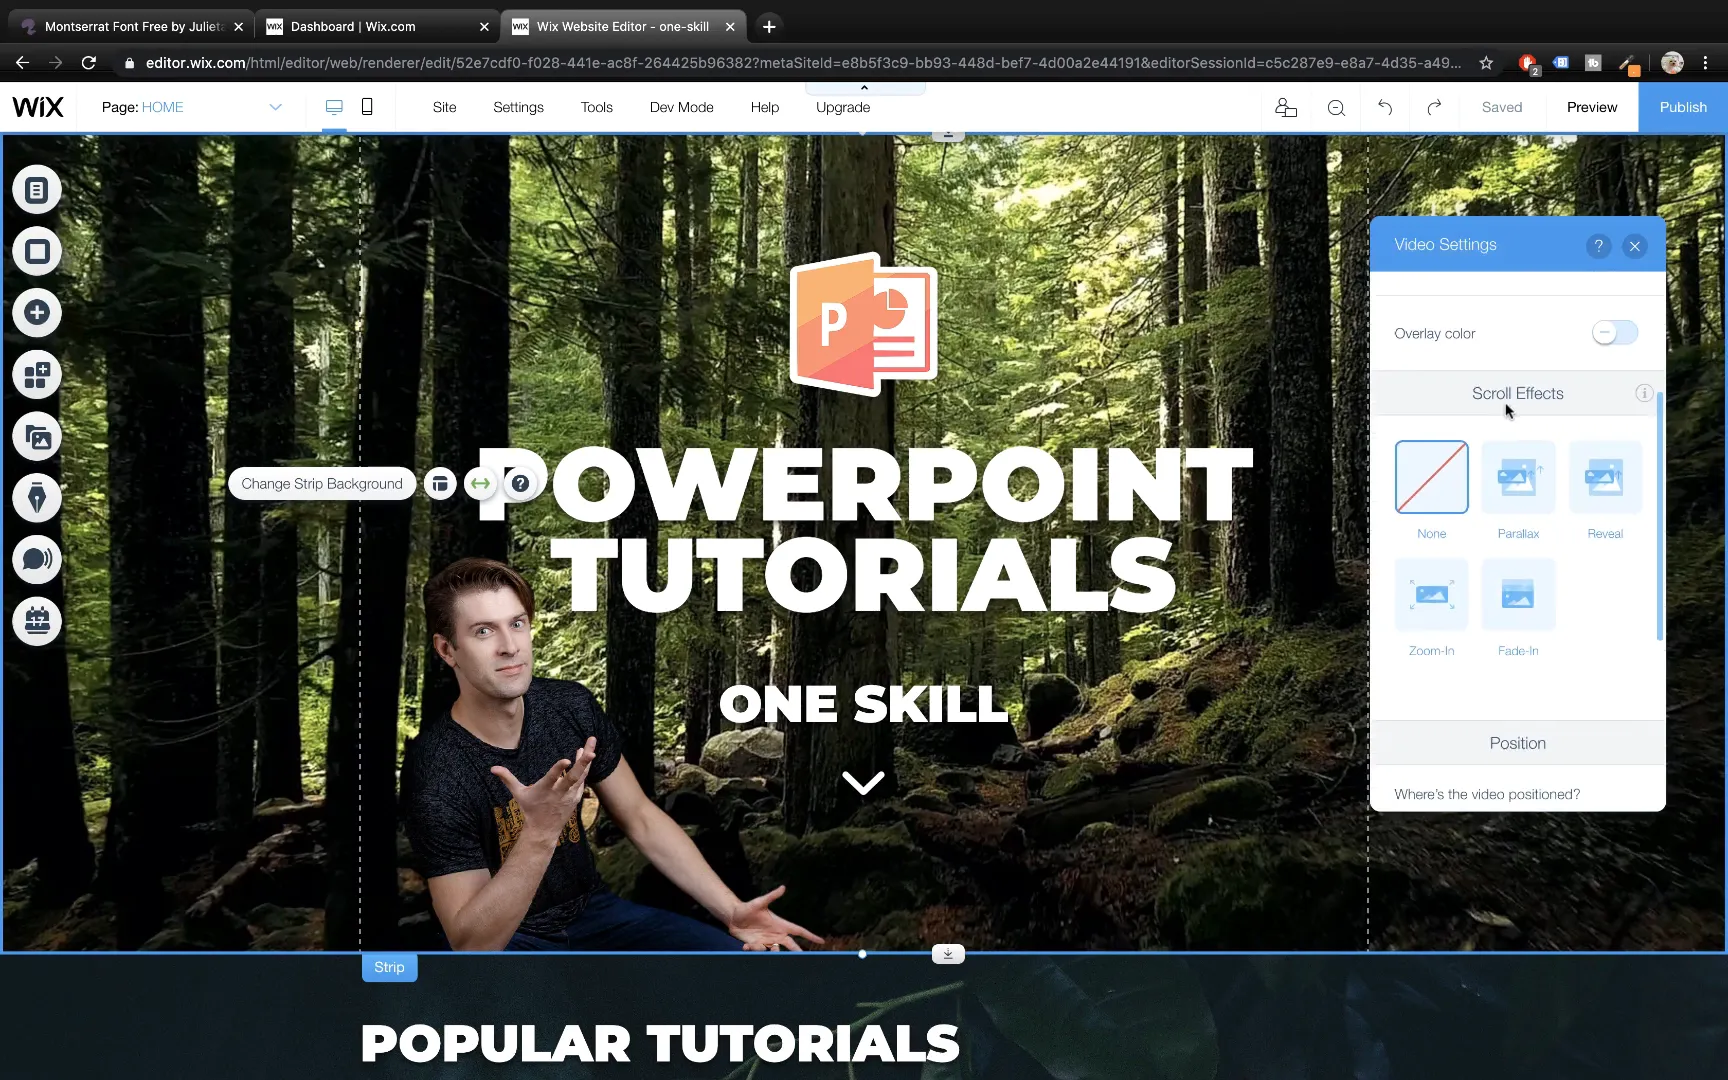
One of Wix’s standout features is the ability to add parallax scrolling effects to strips. This creates a dynamic visual where the background moves slower than the foreground as you scroll, adding depth to your website.
To enable parallax, select a strip, click Change Strip Background, go to Settings, and choose Scroll Effects. Enable Parallax and preview your site to see the effect in action.
Building Additional Strips with Consistency and Efficiency
For the third and fourth strips, which might promote courses or special content, duplicate existing strips to save time. Change backgrounds, update text, and add buttons for calls to action.
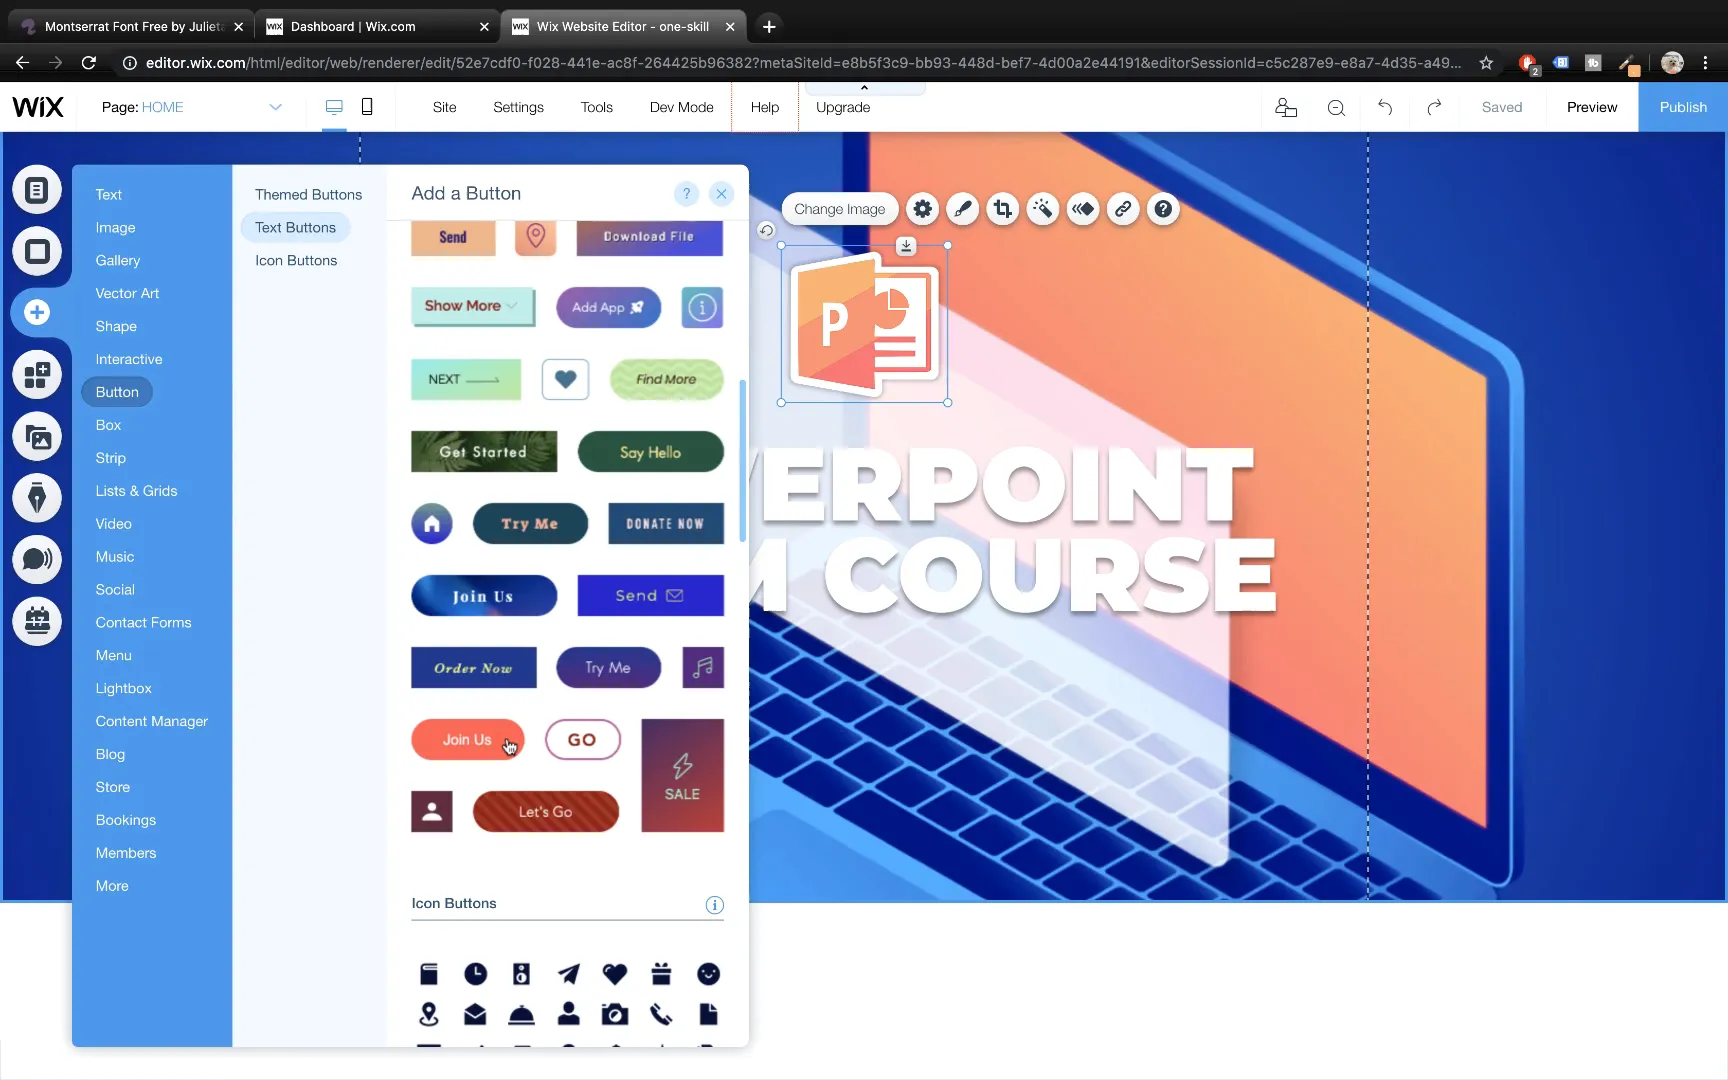
For example, add a rounded button at the bottom of a strip, customize its font to Montserrat Black, set the size to 22 points, and adjust the fill color to match your brand palette. Use tools like the Colorzilla Chrome extension to pick exact colors from images.
Adding Links to Buttons and Interactive Elements
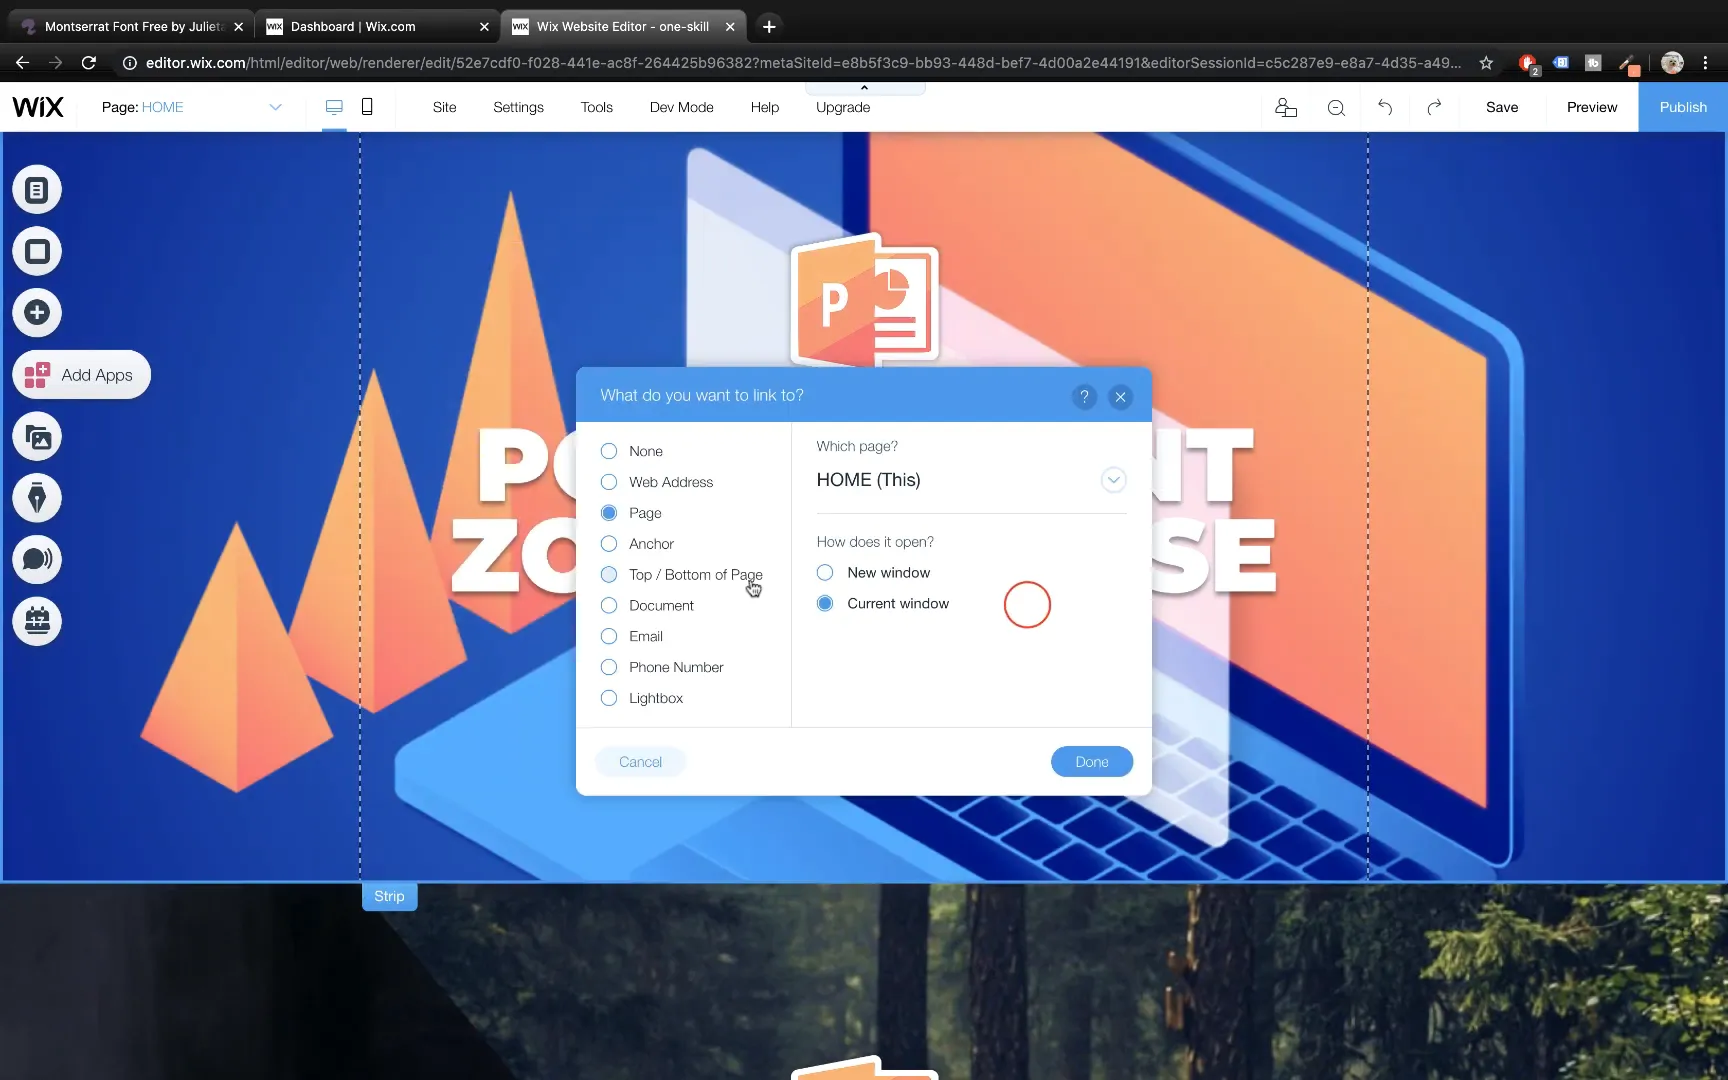
Buttons and images should lead visitors to relevant pages or external sites. Select a button, click the Link icon, choose Web Address, and paste the destination URL. This makes your buttons functional and improves user experience.
Enhancing Website Sections: More Tutorials and Video Backgrounds
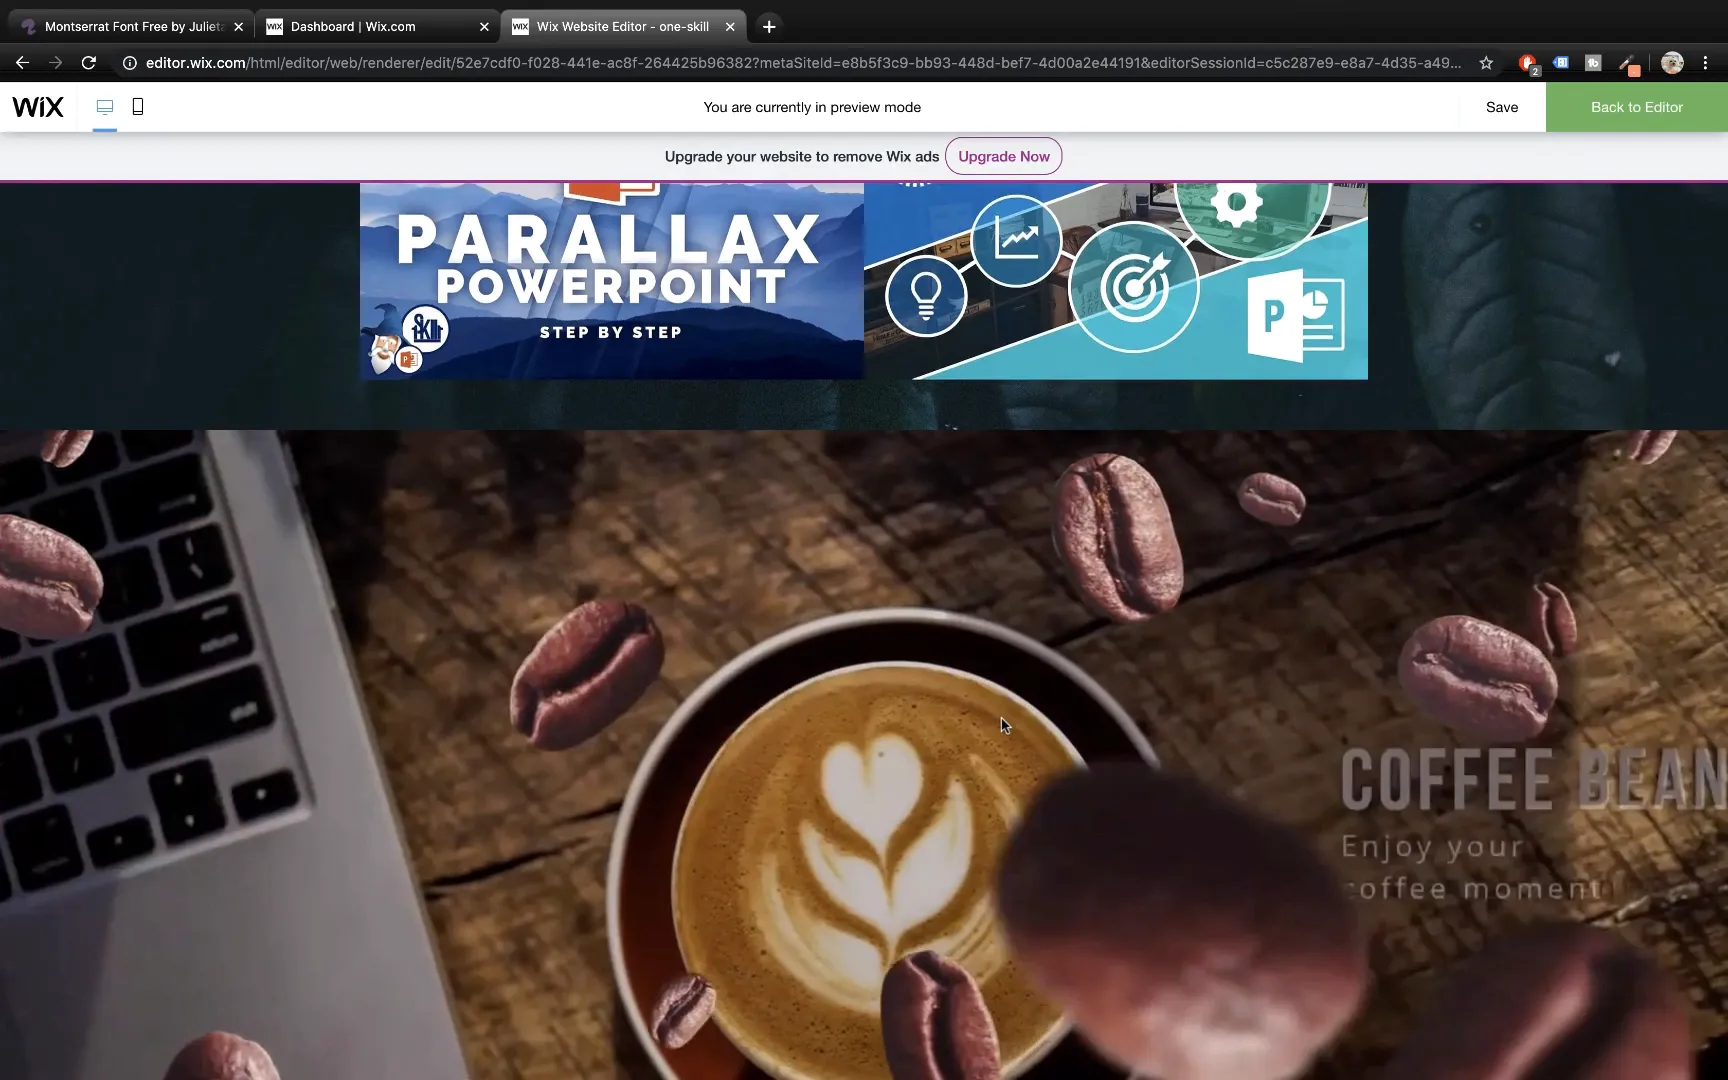
Duplicate sections for more tutorials or content galleries. For video backgrounds, add a black classic strip and upload a video. Since videos can be bright, add a black overlay with adjustable transparency to darken the background and improve text visibility.
Adding Paragraph Text and Formatting
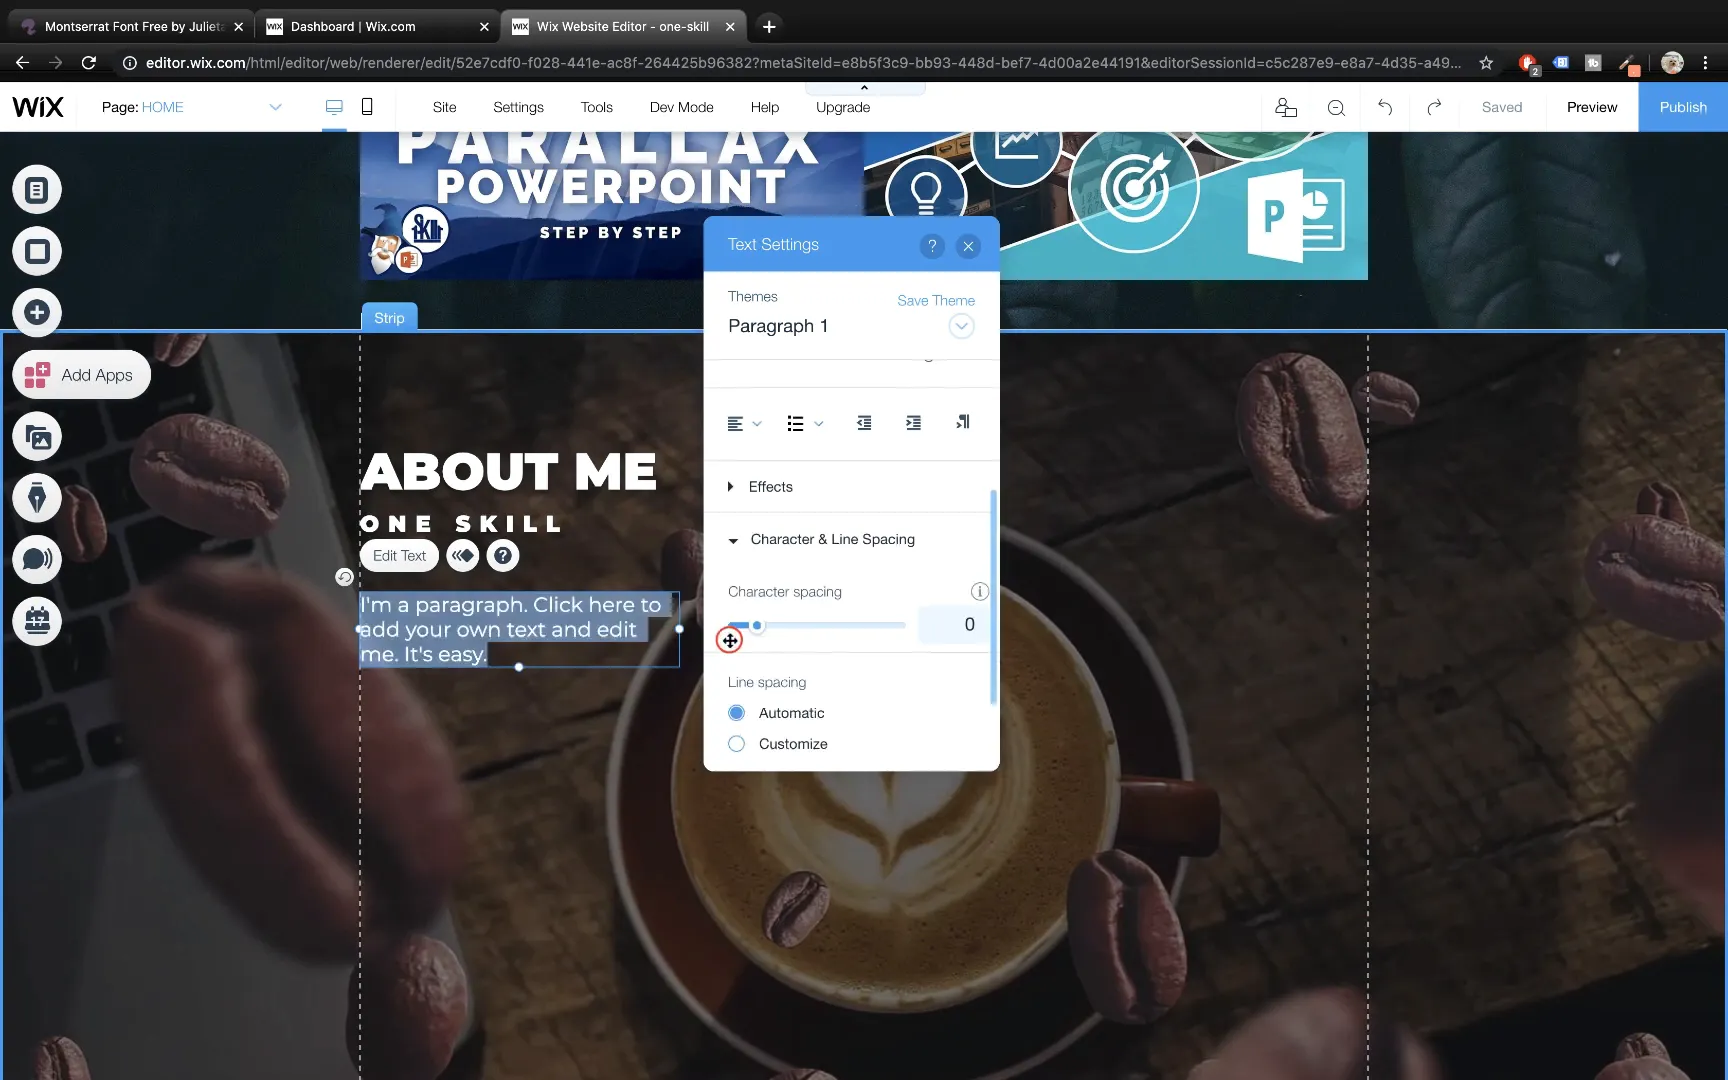
Add paragraph text to explain your offerings or provide additional information. Use the Montserrat font for a clean look, set font size to 20 points, add character spacing (e.g., 0.15), and adjust line spacing (e.g., 1.7) for readability.
Inserting Photos and Completing the Footer
Insert photos by uploading them to your media manager and adding them to the desired strip. Resize appropriately to maintain design balance.
For the footer, add a black classic strip at the bottom of your page. Adjust the height to remove any white gaps and add text like copyright information. Align the text neatly to the left for professionalism.
Creating an Anchor Menu for Easy Navigation
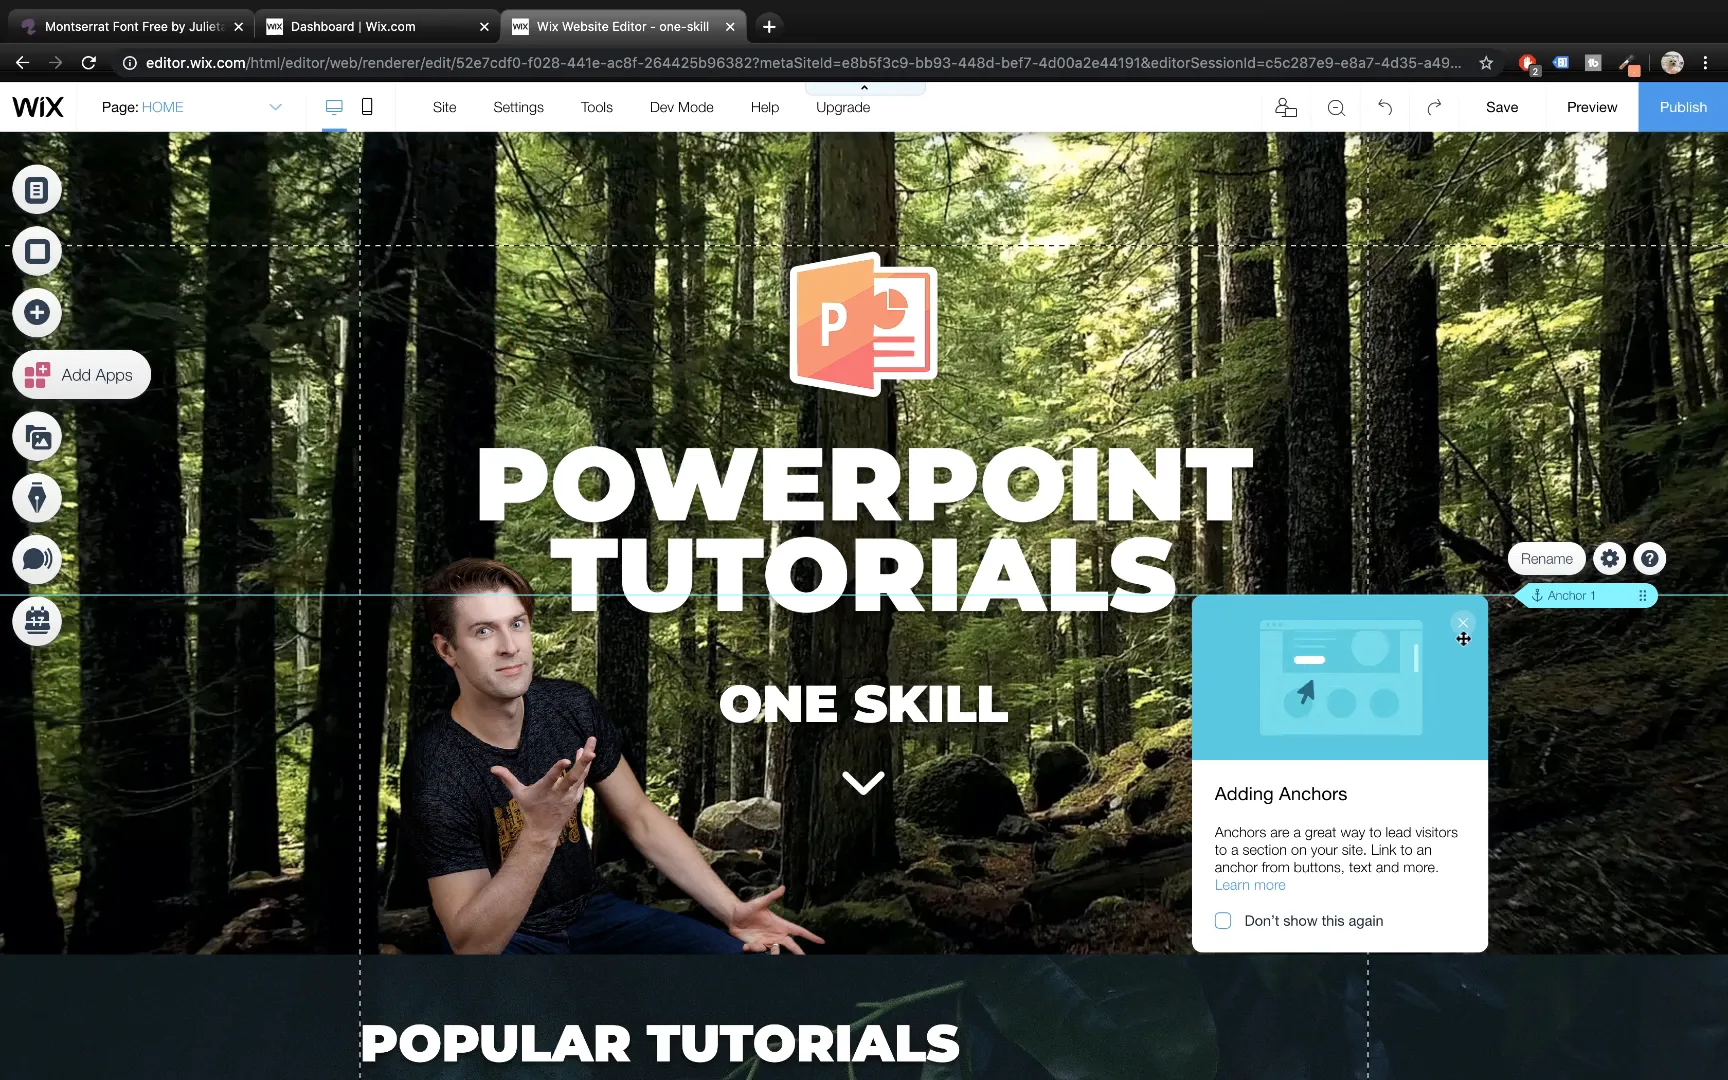
An anchor menu is a set of clickable bubbles that let visitors jump to different sections of your website quickly. To create one, add Anchors from the More section in the Add menu. Place anchors at the top of each strip and name them accordingly (e.g., Popular, Zoom, Parallax Course, More Tutorials, About Me).
After positioning anchors, add an Anchor Menu element and customize its design. Change button colors to white and disable the Match to Background option to ensure visibility. Position and pin the menu to the screen’s right side for consistent access.
Pinning Elements to the Screen
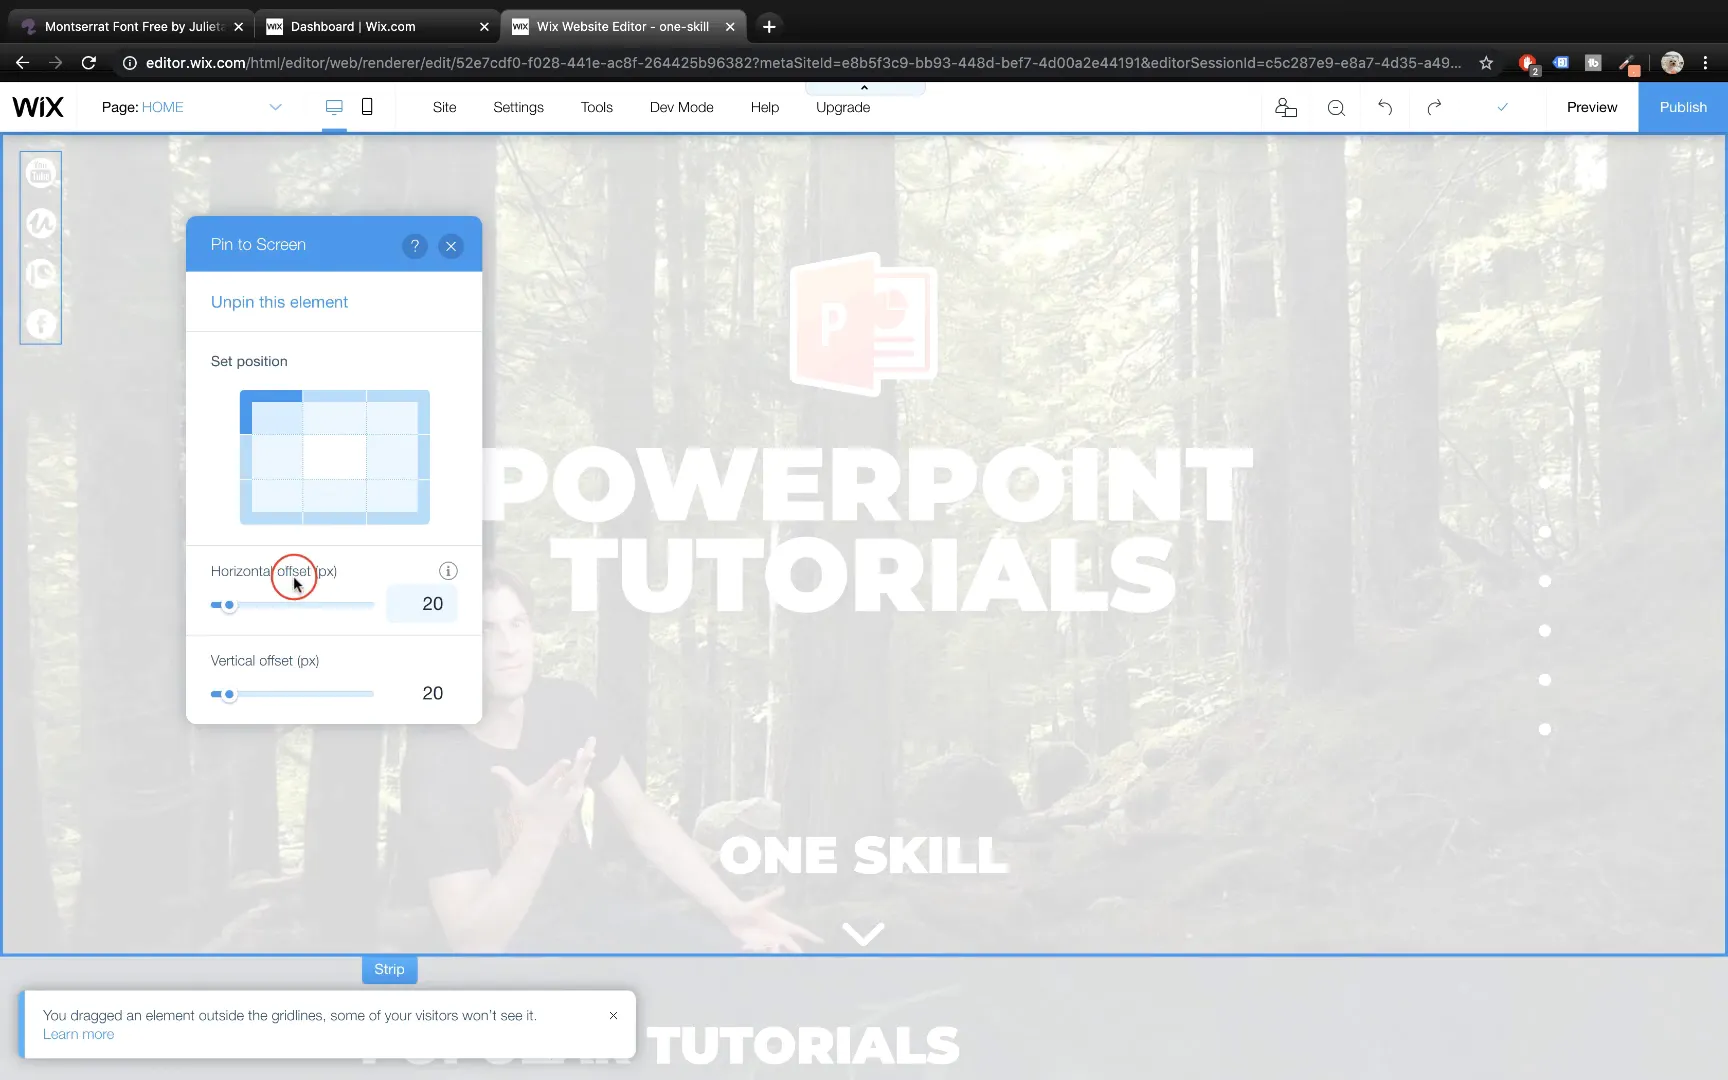
Pinning elements like the anchor menu and social media icons ensures they stay visible as visitors scroll through your site. Right-click on an element and select Pin to Screen. Adjust horizontal offset and position for optimal placement.
Adding and Customizing Social Media Icons
Add social media icons to connect your website with your online presence. Choose icons from the Social menu, set them vertically, and replace default icons with your custom white icons for better visibility.
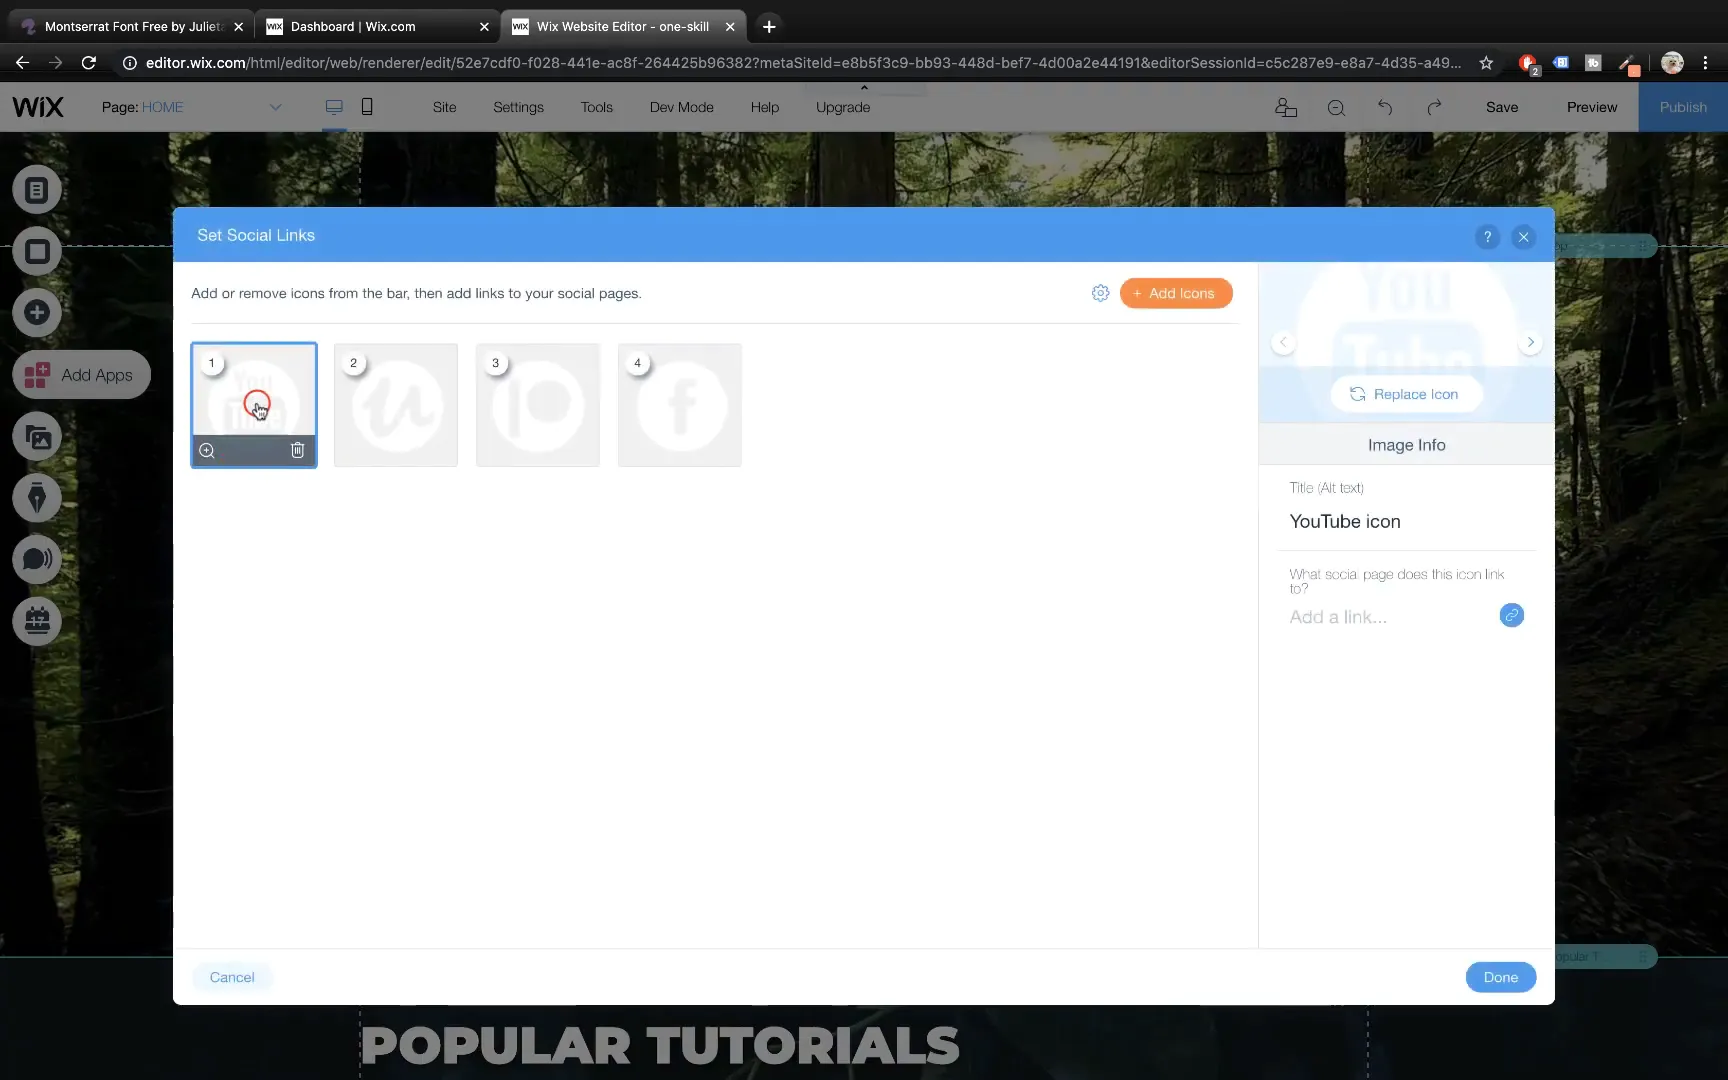
Assign links to each icon by clicking Set Social Links and pasting URLs to your social media profiles. This allows visitors to access your channels directly from your website.
Animating Your Website Elements
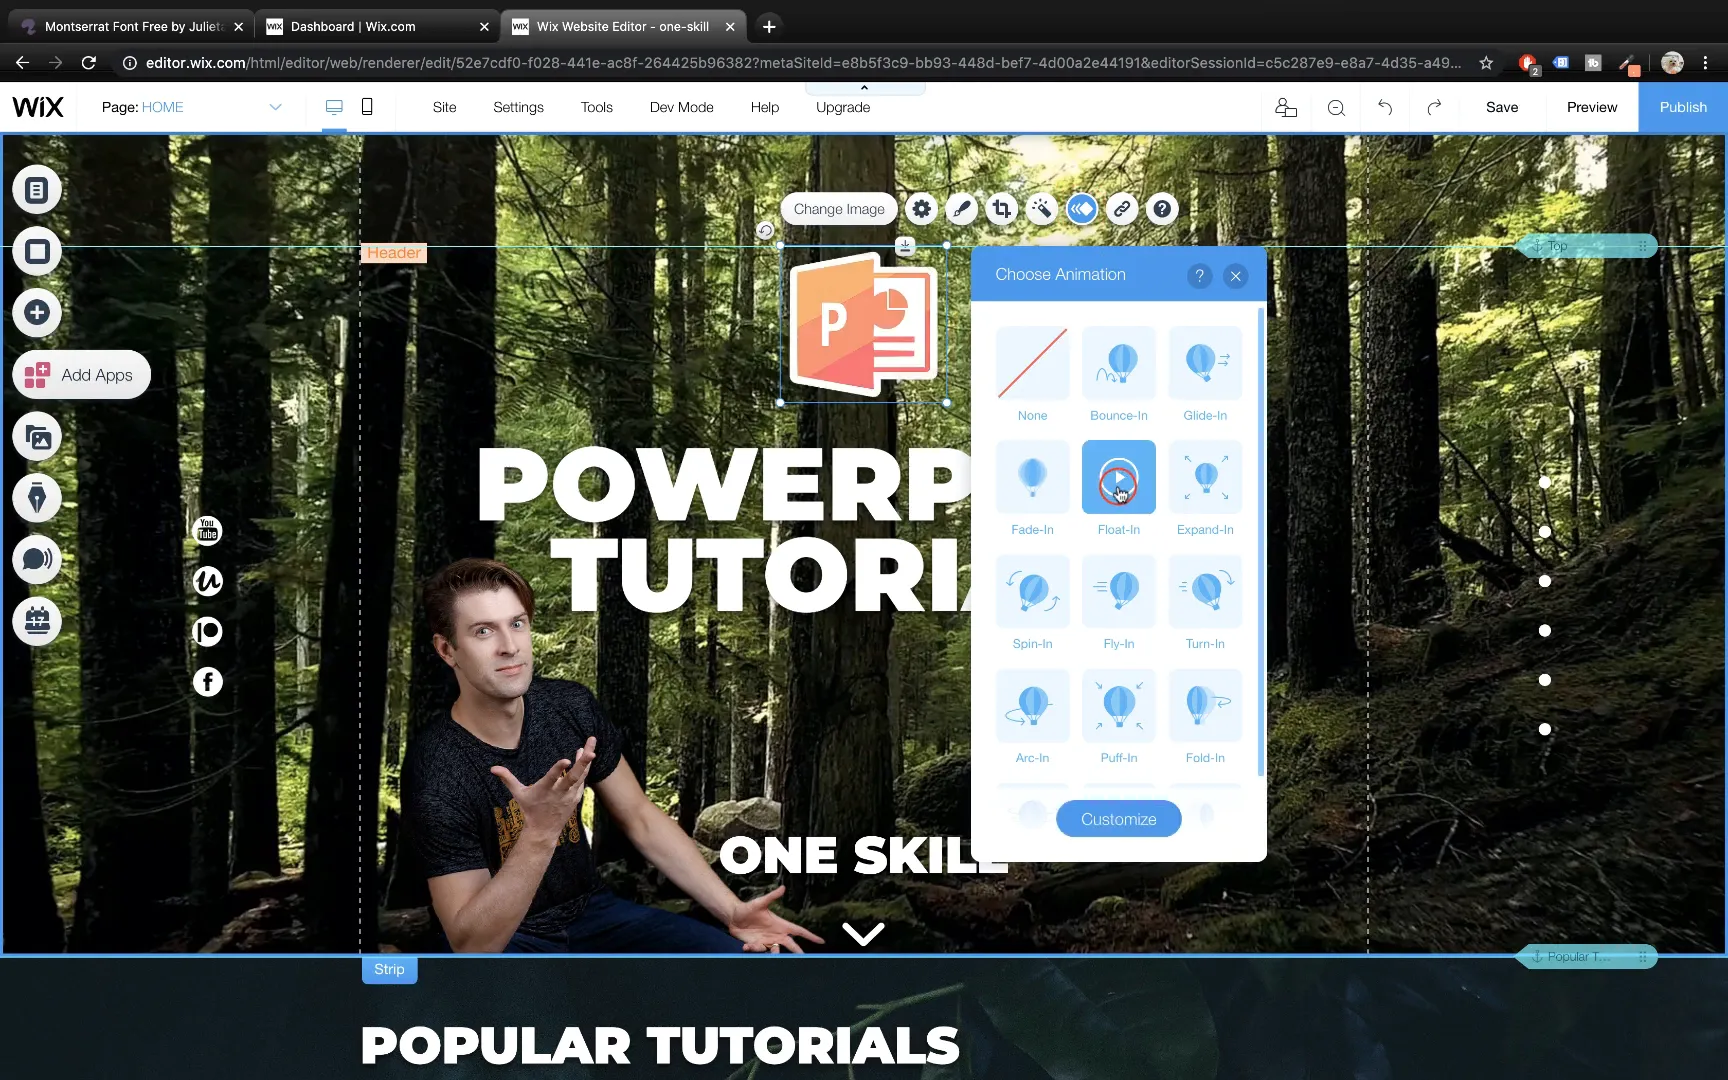
Animations add polish and professionalism to your website. Wix offers a variety of animation options like Float In, Fade In, and more.
To animate an element, select it and click the Animate icon. Choose your desired effect and customize the direction it enters from (e.g., top, left, right). Preview your animations to ensure they enhance your design without overwhelming visitors.
Final Thoughts: Creating a Professional Website with Wix
With the tools and techniques shared here, you can build an impressive parallax scrolling website using Wix without any coding knowledge. The drag-and-drop interface, combined with customizable strips, video backgrounds, galleries, anchor menus, and animations, provides everything you need to create a visually appealing and user-friendly site.
Remember, practice makes perfect. Experiment with different layouts, fonts, colors, and effects to find what best represents your brand or personal style. Wix also offers mobile optimization features to ensure your site looks great on all devices, which you can explore further once you’re comfortable with desktop design.
Whether you’re creating a portfolio, business site, or tutorial hub, Wix empowers you to bring your ideas to life effortlessly.
Frequently Asked Questions (FAQ)
1. Is Wix truly free to use for building a website?
Yes, Wix offers a free plan that allows you to build and publish a website using a Wix subdomain (e.g., yoursite.wixsite.com). However, to connect a custom domain or access advanced features, you need to upgrade to a paid plan.
2. Can I upload custom fonts to Wix?
Absolutely. Wix allows you to upload any font files (e.g., .otf, .ttf) to use in your website, giving you full control over typography and branding.
3. How do I add a parallax scrolling effect in Wix?
To add parallax scrolling, select a strip, open its background settings, go to Scroll Effects, and enable Parallax. This creates a dynamic scrolling experience where the background moves at a different speed than the foreground.
4. Can I add links to images and buttons in Wix?
Yes. Both images and buttons can be linked to external URLs, internal pages, or other resources. Simply select the element, click the link icon, and enter the destination.
5. How do I create a navigation menu that scrolls to different sections on the same page?
You can use Anchors to mark sections and then add an Anchor Menu linked to these anchors. Clicking menu items scrolls the page smoothly to the corresponding section.
6. Are Wix websites mobile-friendly?
Yes, Wix automatically creates a mobile version of your site. You can customize the mobile view separately to optimize user experience on mobile devices.
7. How can I add animations to my Wix website?
Select any element, click the Animate button, and choose from various animation effects such as float, fade, zoom, and more. Customize the direction and timing to suit your design.
8. Can I use video backgrounds on Wix strips?
Yes, you can upload and set videos as backgrounds for strips. You can also add overlays to adjust brightness and contrast for better text readability.
9. Is it possible to pin elements like menus or social icons so they stay visible while scrolling?
Yes, Wix allows you to Pin to Screen elements so they remain fixed in place as visitors scroll, enhancing navigation and accessibility.
10. How do I publish my Wix website and get a custom domain?
After building your site, click Publish to make it live. To use a custom domain, you need to upgrade to a paid Wix plan and connect your domain through Wix’s domain management system.
Check out the full video: WIX Tutorial For Beginners 🔥Parallax Scroll 🔥


