
- Table of Contents
- Introduction
- What you’ll need
- Step-by-step build (hands-on walkthrough)
- Fine-tuning: alignment, colors, and spacing
- Adding the hanging rod and realistic thread
- Animating the hanging options
- Light-background variant and design alternatives
- Design tips, accessibility, and export
- Troubleshooting and common pitfalls
- Advanced customization ideas
- Frequently Asked Questions (FAQ)
- Conclusion and next steps
Introduction
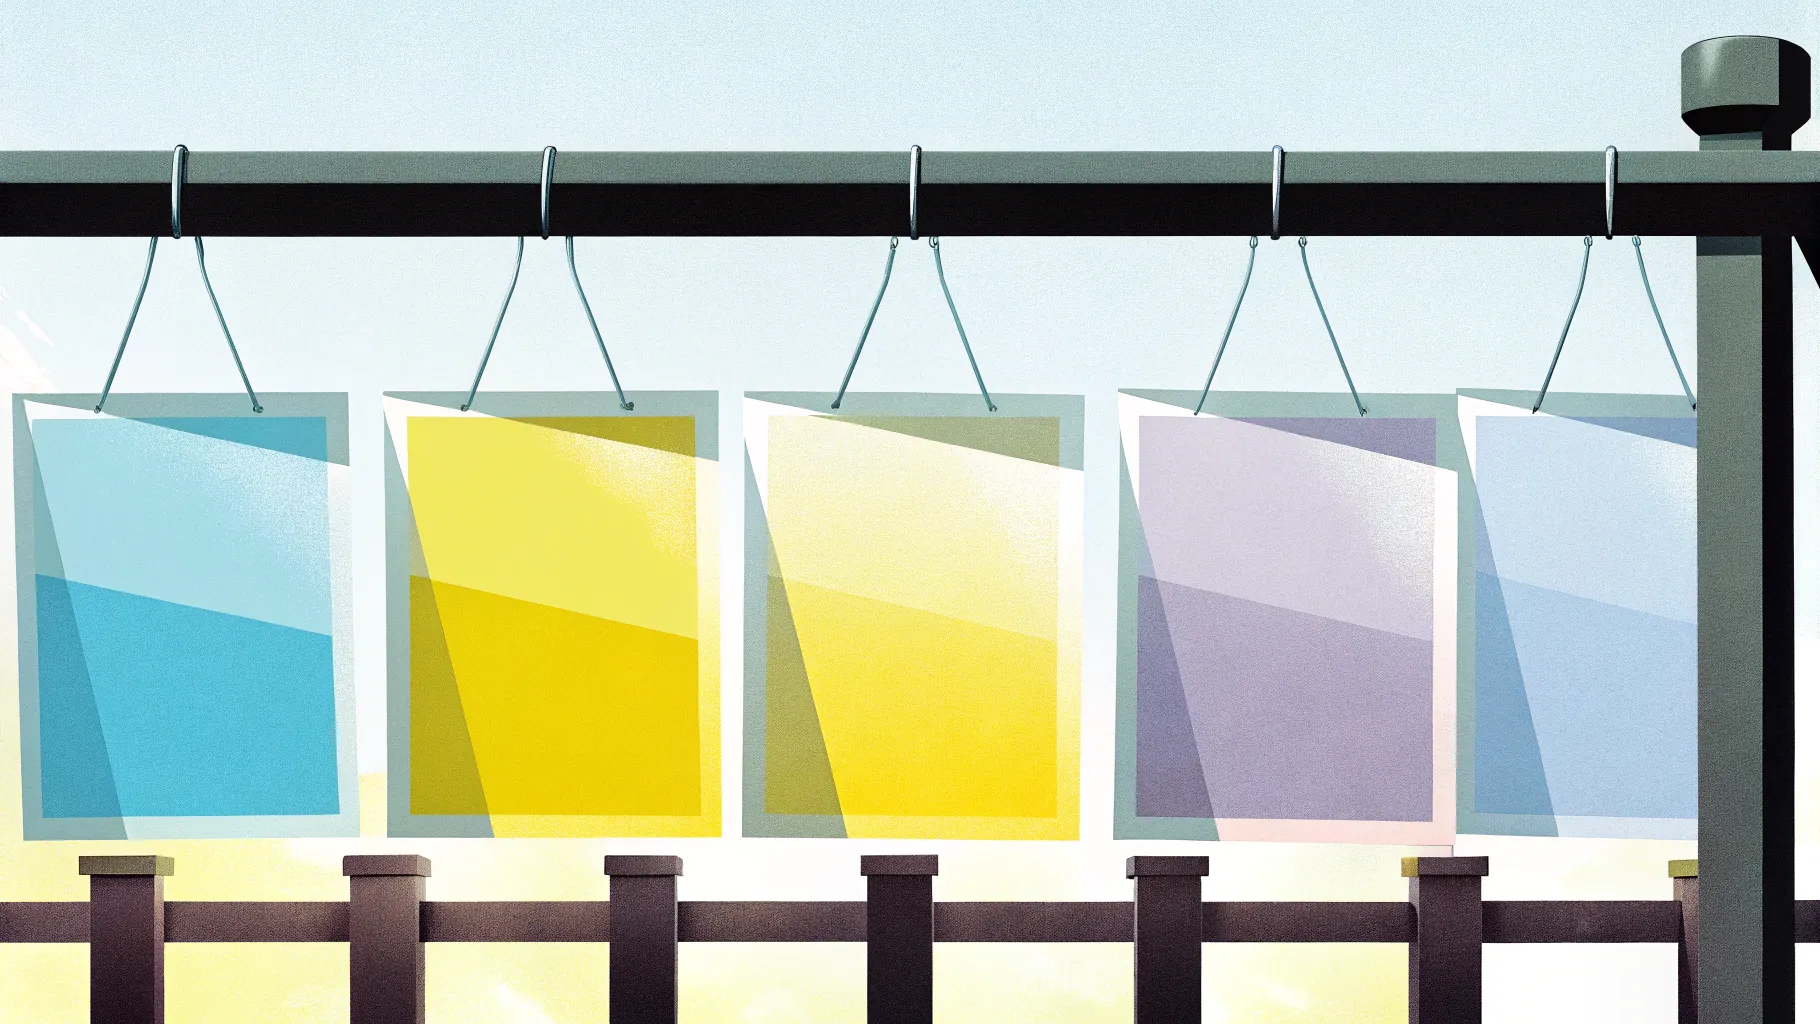
In this guide I walk you through a polished, practical technique for creating a “five hanging options” slide in Microsoft PowerPoint — the kind of slide you can use to show a sequence of choices, product features, step-by-step options, or any scenario where items appear one after another along a horizontal rod. I developed this layout because it’s visually clean, easy to animate, and highly reusable.
I’ll show you exactly how I build every element: from the droplet-shaped hangers and the connecting oval, to the rectangular info panels, the gradient rod, and the subtle reflection. Along the way I’ll include keyboard shortcuts and formatting tricks so you can reproduce the effect quickly and customize it to your brand. If you prefer, the finished animated template is available as a free download so you can skip directly to editing your content.
Whether you’re creating a corporate pitch, an infographic slide, or a product comparison, this single-slide system scales well — you can increase or decrease the number of options, switch colors, change the background from dark to light, and add icons or images. Let’s get started.
What you’ll need
- Microsoft PowerPoint (2016 or later recommended). Most steps use features available in modern PowerPoint versions: Insert Shapes, Merge Shapes, Format Shape, and Animations > Animation Pane.
- Basic familiarity with PowerPoint’s ribbon: Insert, Shape Format, and Animations.
- A few minutes to follow along — this single slide takes about 10–20 minutes to build the first time.
- Optional: the free downloadable template to start from a finished file.
Step-by-step build (hands-on walkthrough)
The approach breaks down into logical chunks: create the drop-shaped hanger, the connecting oval, the rectangular information panel, duplicate to create more options, create and style the top rod, then hang, refine, and animate. I’ll guide you through each step with keyboard shortcuts and small tips that save time.
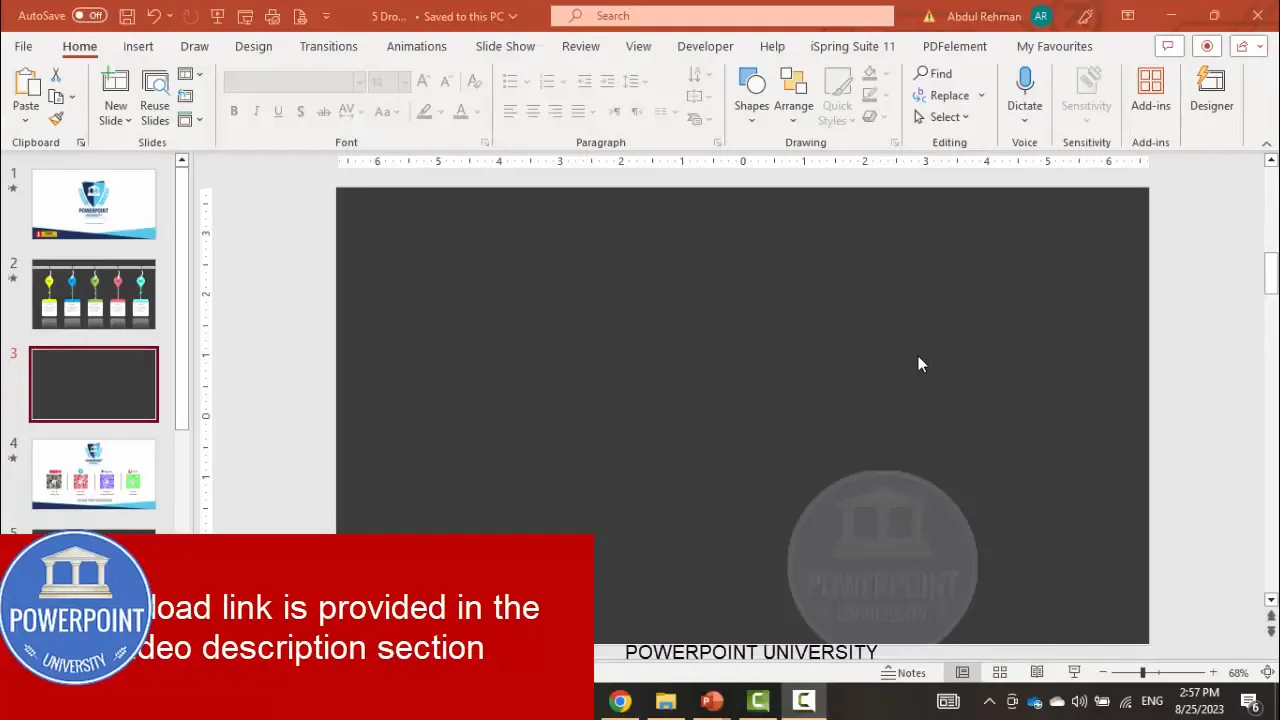
1. Set up the slide and background
- Insert a new blank slide. I like a dark background for contrast, but later I’ll show a light-background variant. To change the background, right-click the slide background and choose “Format Background”.
- Select a dark fill (a deep charcoal or near-black) so colored panels pop. This is purely aesthetic — the same layout works on white backgrounds too.
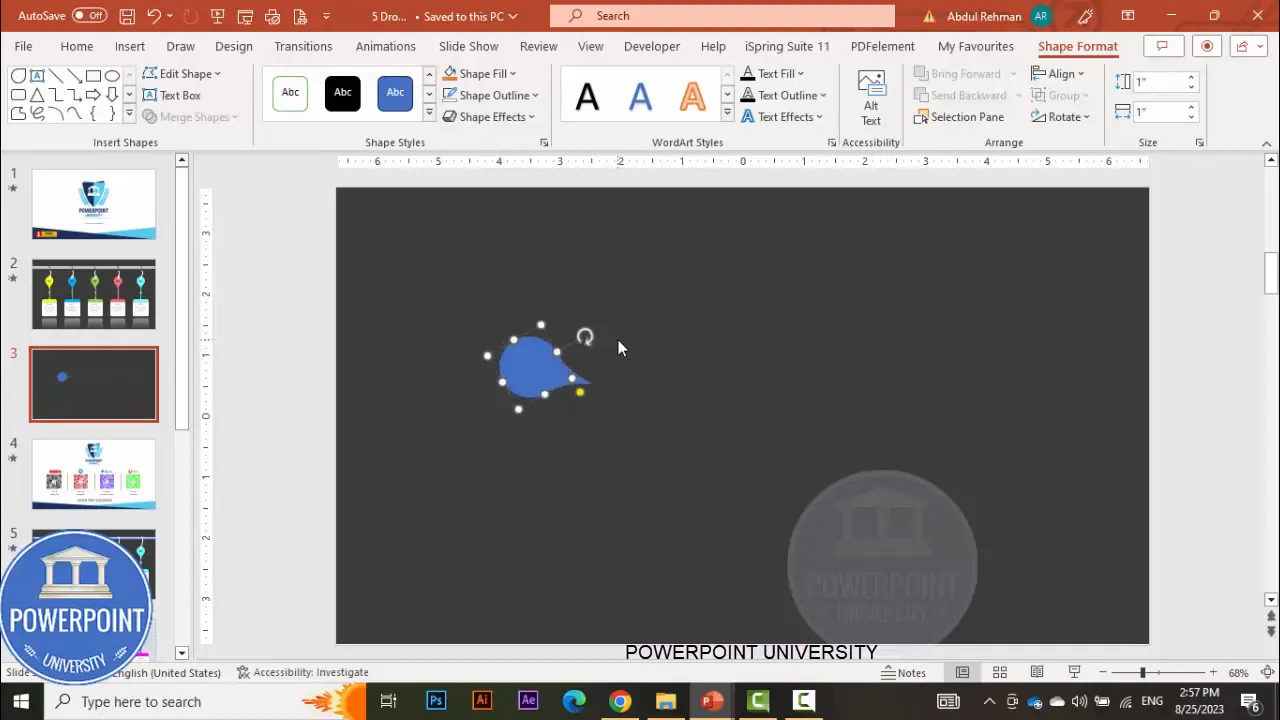
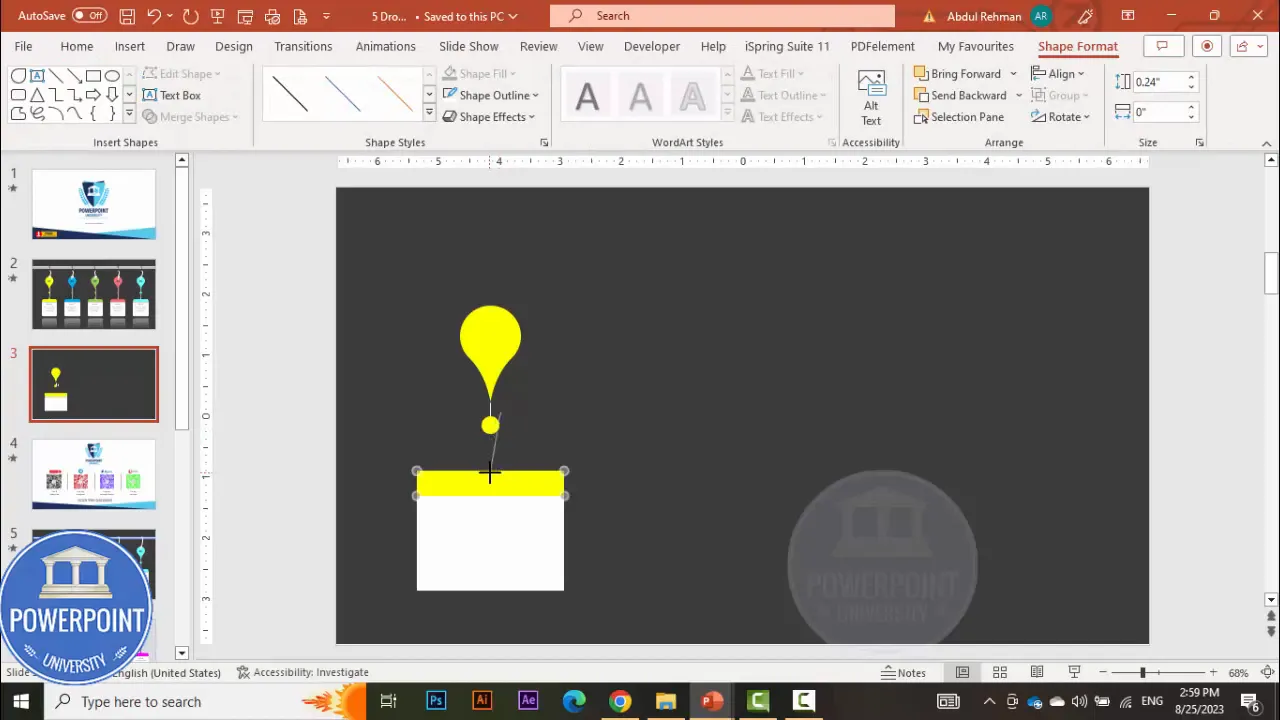
2. Create the teardrop hanger
The teardrop is the visual anchor — it’s the little shape that appears to hang from the rod and connects to the rectangular content box below.
- Go to Insert > Shapes > Teardrop (Basic Shapes).
- Click and drag to draw a narrow teardrop. Remove the outline: Shape Outline > No Outline.
- Resize the height to about 1.0–1.1 inch (or adjust visually). Click the shape and use the height field in the Shape Format ribbon to set exact size.
- Use the rotation control or hold Alt and press the right arrow key repeatedly to rotate and nudge the teardrop precisely until it tilts slightly — this gives a realistic drop shape.
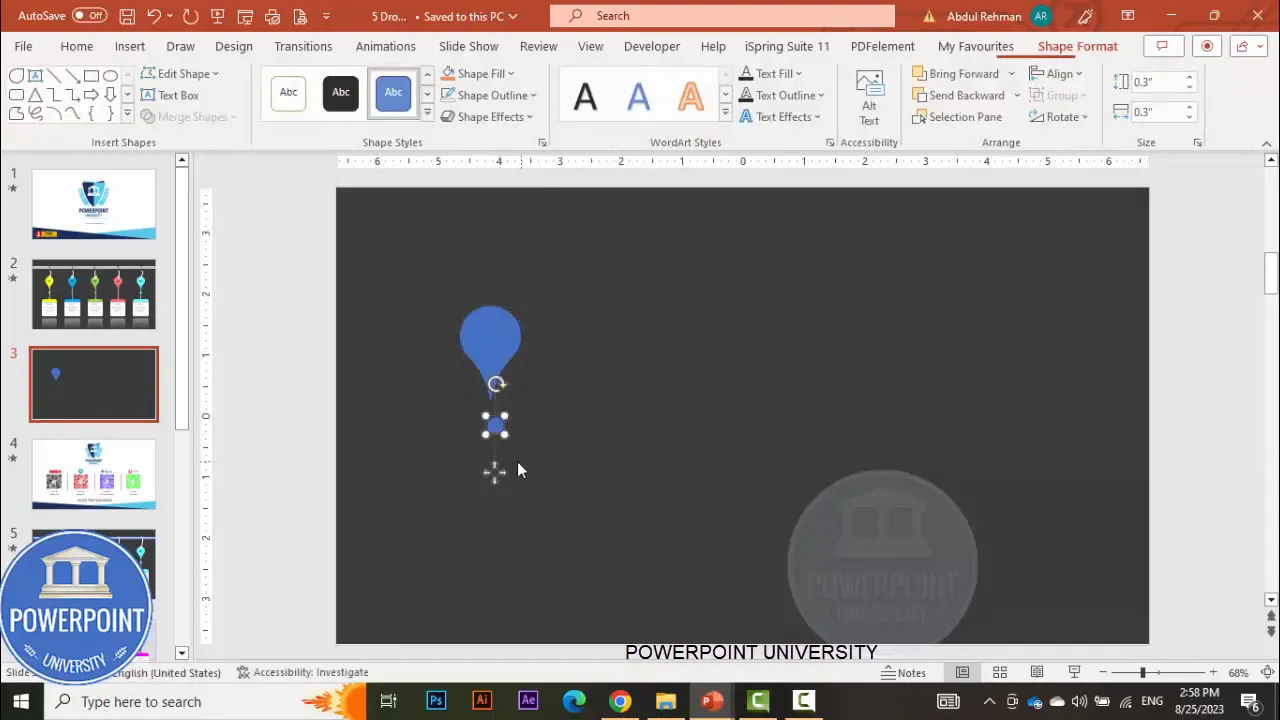
3. Add the oval connector
- Insert > Shapes > Oval. Hold Shift while drawing to make a perfect circle or release to make a small oval — this will act like a “button” where the string connects to the teardrop.
- Place the small oval so it sits just under or overlapping the top of the teardrop, centered horizontally.
- Remove the outline (Shape Outline > No Outline) so it reads as part of the hanger.
4. Create the rectangular info panel
This is the content box where you’ll add the title, number, and descriptive text for each option.
- Insert > Shapes > Rectangle. Draw a rectangle wide enough to contain a brief title and two lines of descriptive text.
- Remove the outline and set a fill color that complements your slide background (brighter on dark backgrounds, muted on white backgrounds).
- To create a two-tone panel (for a subtle visual separation), insert another rectangle on top of the first and use Merge Shapes > Fragment to split the top portion. Delete the extra fragments you don’t need and color the pieces independently (for example, a narrow band at the top white and the main body yellow).
5. Add decorative dividing lines
- Insert > Shapes > Line. Draw short white lines across the info panel to create internal divisions or to emphasize the alignment between the hanging teardrop and the rectangular panel.
- Use Shape Outline settings to change color and increase the weight so the lines read visually at slide scale.
- Duplicate the line with Ctrl+D and position additional lines as needed.
6. Group the hanger components
- Select the teardrop, oval, and rectangle(s) for this option.
- Press Ctrl+G to group them. Grouping lets you move and duplicate the entire option as a single object.
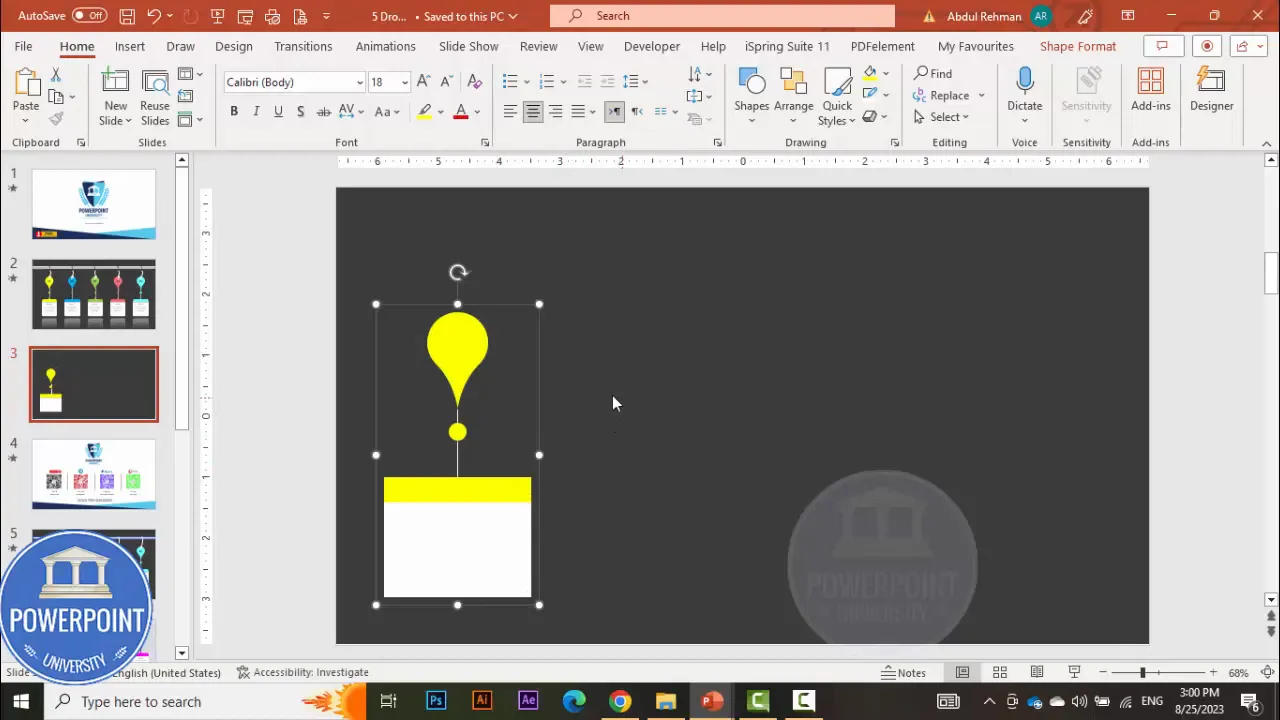
7. Duplicate to create multiple options
Once the first option is set, duplication is the fastest way to create the rest.
- With the grouped option selected, press Ctrl+Shift and drag to create copies along a straight line. This keeps copies aligned horizontally as you drag.
- Create four duplicates so you have a total of five options (one original + four copies).
- If spacing looks off, select the rectangles (or the grouped objects) and go to Shape Format > Align > Distribute Horizontally. This ensures equal spacing between all five options.

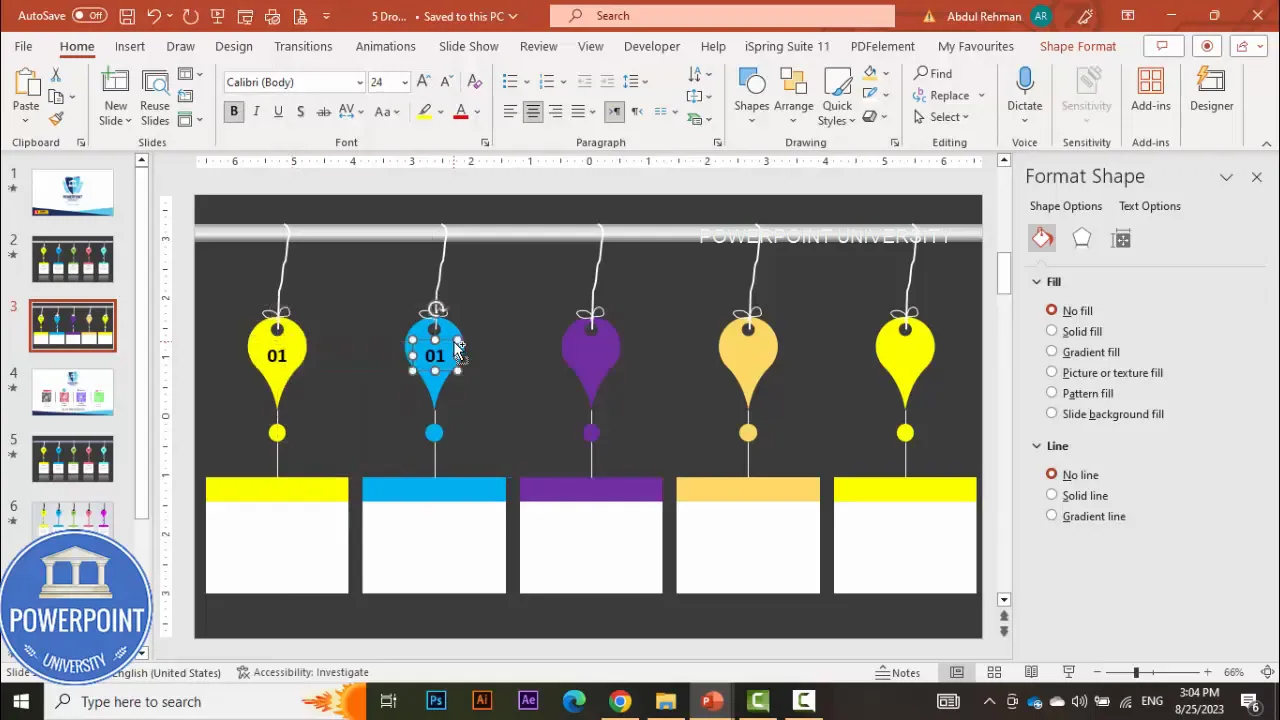
9. Add numbering and titles
- Insert a Text Box above or inside each rectangle for the option number. Center-align, make bold, and increase font size so the number is prominent.
- Duplicate the text boxes with Ctrl+Shift drag to place them on every panel. Edit the numbers (01, 02, 03, 04, 05).
- Insert another text box for the short descriptive title and a smaller box for the detailed text (two to three lines). Keep the detailed text concise. I often use 24 pt minimum for headings and 18–20 pt for body text so content remains legible from a distance.
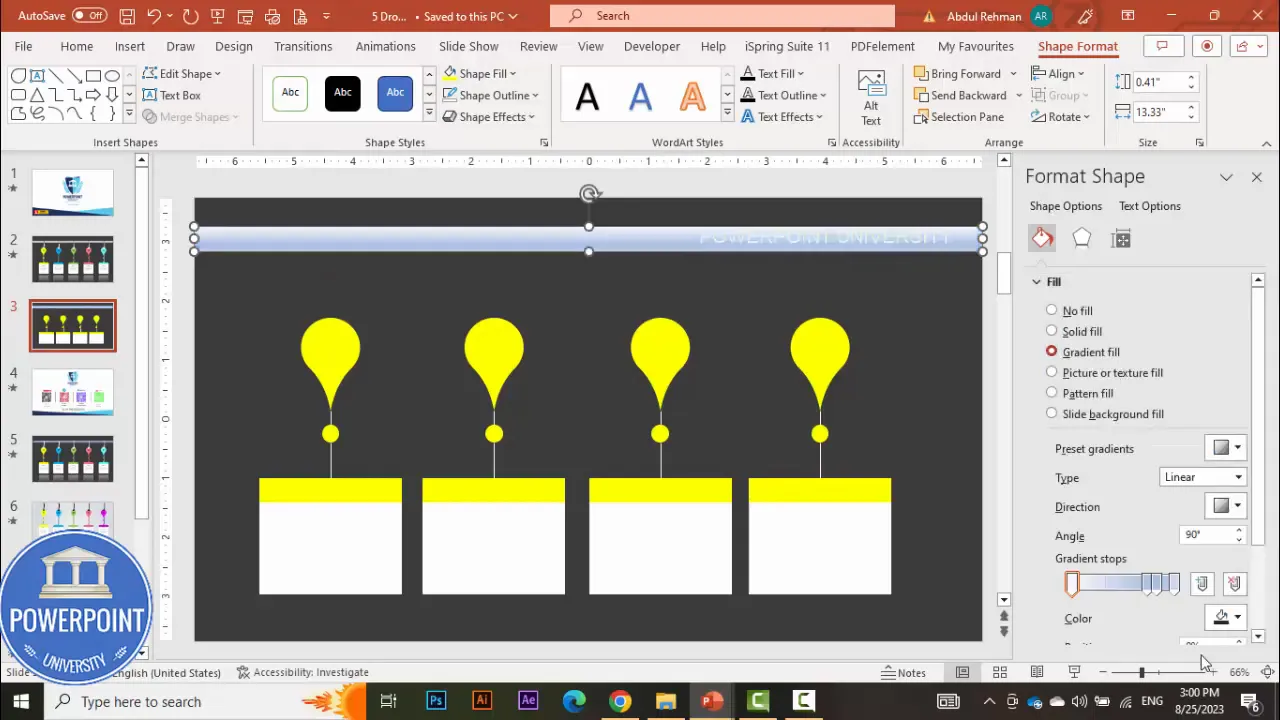
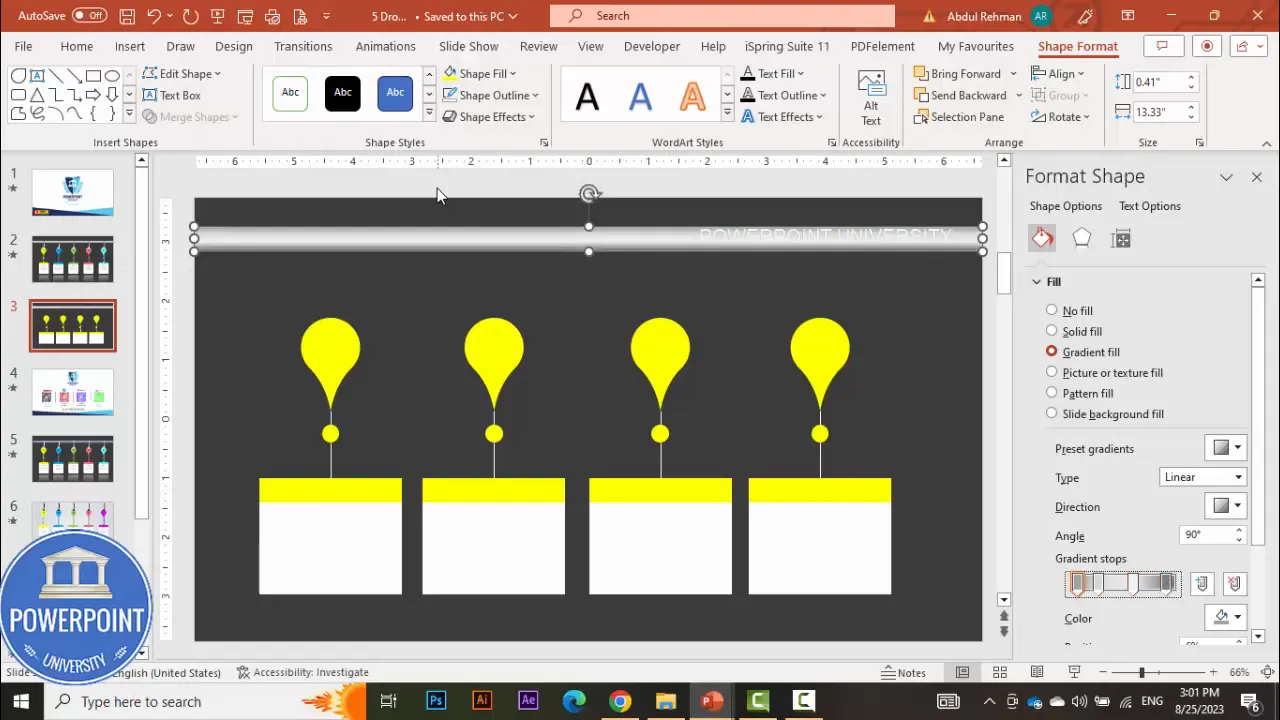
10. Create the hanging rod
The rod is the horizontal bar from which the options hang. I create it using a simple rectangle and a multi-stop gradient to give a metallic look.
- Insert > Shapes > Rectangle. Draw a long thin rectangle across the top of the slide where the hangers will attach.
- Remove outline. Right-click > Format Shape > Fill > Gradient Fill. Create 4 gradient stops: dark gray, light gray, slightly lighter gray, and dark gray again. This simulates a metal sheen and gives subtle depth.
- Tweak the size and position. You can reduce the height of the rod to achieve a slim profile.
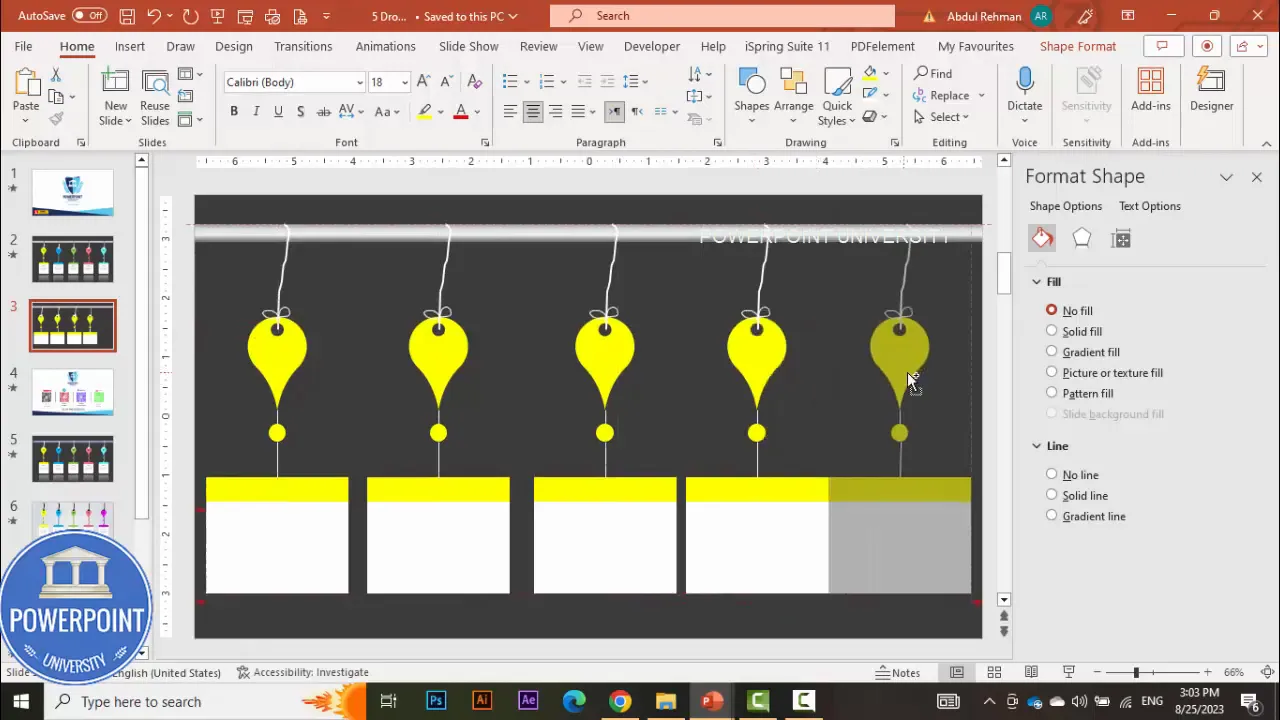
11. Hang the options visually
- Position each grouped hanger so the teardrop lines up directly under the rod. Use PowerPoint’s alignment guides or zoom in for precision.
- If you want an actual hole in the teardrop (so it looks like the rope loops through), ungroup the teardrop and draw a small oval on top of it, centered. Then select both shapes and Merge Shapes > Subtract to cut the oval out of the teardrop.
- For a simple thread effect, use Insert > Shapes > Scribble (Freeform). Draw a thin white line from the rod to the top of the teardrop. Increase weight and round cap for a polished look.
12. Add knot or thread details
To make the hanger look realistic, draw a small knot near the top using the Scribble tool and set the color to white (or a soft highlight color). Increase the line weight slightly and position the knot so it visually ties the string to the teardrop.
13. Final grouping and layout checks
- Select each full option (teardrop + thread + panel + text) and group it. This ensures animations apply to the entire option rather than piece parts.
- Check that grouped objects are stacked behind the rod where necessary. Use Arrange > Bring to Front or Send to Back to adjust layering.
Fine-tuning: alignment, colors, and spacing
Consistent spacing and color harmony matter more than individual effects. Here’s a short checklist I always use before animating:
- Are all five panels evenly spaced? If not, use Align > Distribute Horizontally.
- Do numbers and headings align vertically within each panel? Use gridlines or guides for consistency.
- Do the panel colors form a visually pleasing palette? Use analogous or complementary colors for a professional look.
- Are text sizes consistent across panels? Use the Format Painter to copy typographic styles quickly.
Color and contrast tips
- For dark backgrounds choose saturated panels and light text. For light backgrounds choose muted panels and dark text.
- Maintain a minimum contrast ratio for readability — prioritize legibility over decorative color choices.
- If you’re using brand colors, avoid using too many saturated hues in close proximity; consider using tints (lighter versions) to keep the slide calm.
Adding the hanging rod and realistic thread (detailed)
Let’s revisit the rod and thread so your hangers look convincingly suspended.
Rod styling
- Use a 4-stop linear gradient across the rectangle for subtle highlights and shadows. Place a lighter stop near the center for the sheen and darker stops at the edges to suggest rounded volume.
- Lower the transparency of some stops if you want a softer, more subtle sheen.
- Optionally add a small drop shadow (Format Shape > Effects > Shadow) to give the rod depth against the background.
Thread and hole variations
- Simple thread: Use a straight Line or a slightly curved Scribble with increased weight and rounded end caps. Color it white or a highlight color for visibility.
- Hole in teardrop: Subtract a small oval from the teardrop to make it look like a loop passes through. This uses Merge Shapes > Subtract.
- Knot detail: Use another scribble to draw a small knot at the base of the rod or top of the teardrop. Keep it small and subtle.
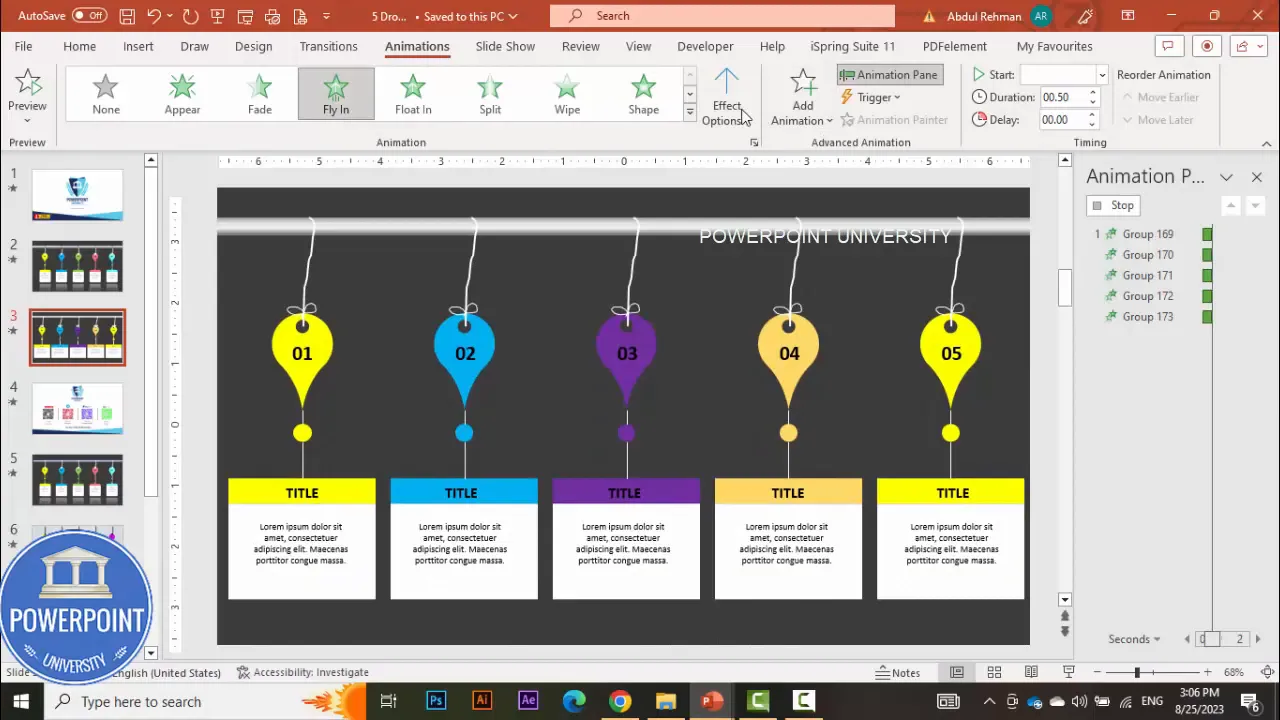
Animating the hanging options
Animations add life and focus to your slide. The goal is simple: each option should appear in order with a clean motion. I use “Fly In” because it’s straightforward and looks neat when the hangers come into view from left to right.
Apply animations
- Open the Animations tab and enable the Animation Pane so you can see the sequence.
- Select each grouped option one-by-one (or select them all and add the same animation then edit the start triggers). I usually apply: Animations > Fly In > From Left.
- Set timing to “On Click” if you want each one to appear with a mouse click, or set a staggered delay using Start = After Previous and a small delay (e.g., 0.25–0.4s) for automatic rhythm.
- Adjust the duration to control speed. Faster durations (0.2–0.4s) feel snappier; slower durations (0.6–1.0s) feel more deliberate.
Polish the motion
- Consider adding a subtle Grow/Shrink or Fade to the rod when the first item appears to draw attention to the starting point.
- Use Easing options where available to make the motion feel more natural (ease in/ease out).
- Preview in Slide Show mode to confirm timing and pacing. Animation often needs small timing tweaks after viewing at full screen.
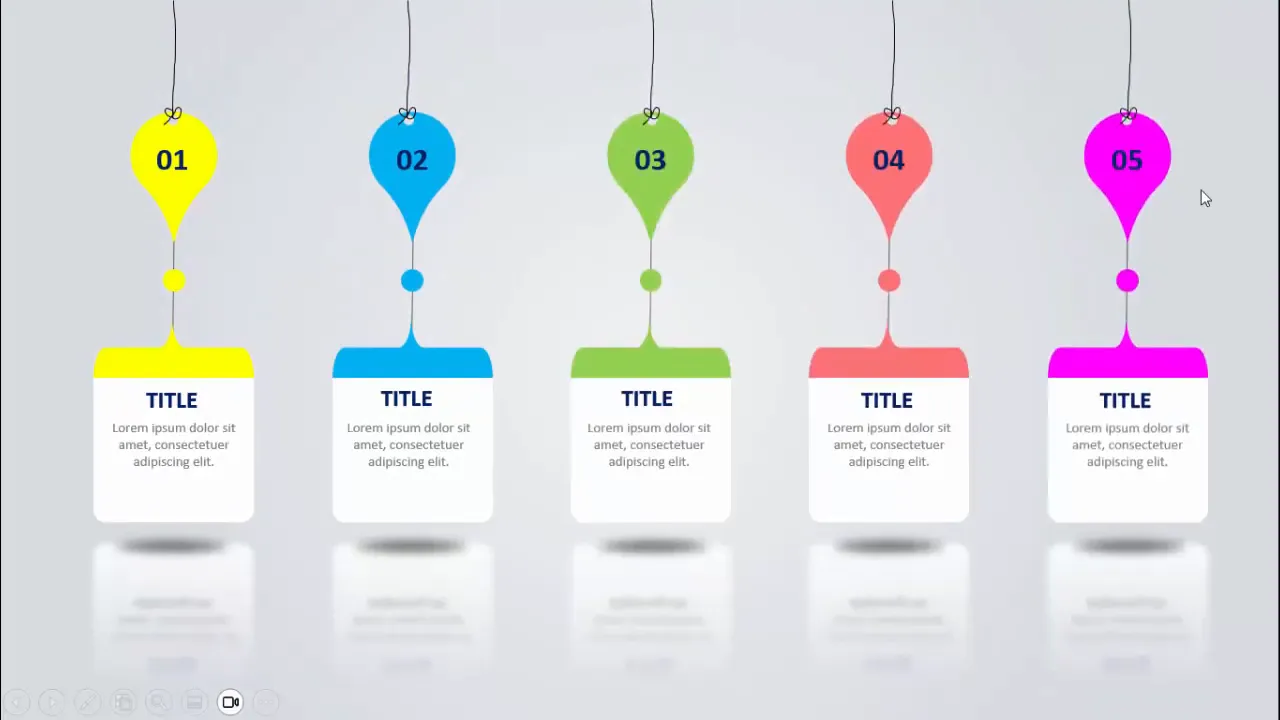
Light-background variant and design alternatives
If you need a lighter, cleaner slide for print or a presentation where a white background is required, follow these adjustments:
- Switch background to white or very light gray.
- Use darker panel colors or darker text for contrast.
- Remove heavy reflections and reduce shadows so elements don’t appear too heavy against white.
- Optionally omit the rod altogether and let panels float with a subtle drop shadow to imply separation. This creates a modern, minimal aesthetic.
Design tips, accessibility, and export
These practical tips help you make the slide presentable, accessible, and ready to share.
Design tips
- Use consistent padding inside each rectangle so text and numbers are visually aligned.
- Copy and paste styles via the Format Painter to keep typography consistent between panels.
- Use fewer than 30 words per panel and keep body text to a maximum of 2–3 short lines.
Accessibility
- Keep font sizes readable: headings 24–36 pt, body 18–20 pt minimum.
- Maintain high contrast between text and background to support viewers with limited vision.
- Add accessible speaker notes or provide a text alternative if you export to PDF so screen readers can access content.
Export and sharing
- To share a static image, go to File > Export > Change File Type > PNG or JPEG. Choose “Just This One” when prompted to export the current slide only.
- To share an animated version, save as a PPTX or export as an MP4 video (File > Export > Create a Video). Ensure animations are timed as you want them before exporting.
- Embed fonts or save to PDF for consistent appearance on other machines: File > Options > Save > Embed fonts in the file (if licensing allows).
Troubleshooting and common pitfalls
Here are problems you may encounter and how to solve them quickly.
Create Slides in Seconds with ExpertSlides AI |
|
Generate AI Presentations today: |
| TRY NOW! |
Shapes won’t merge
- Ensure you select two shapes from the same slide and that neither is a grouped object. If they are grouped, ungroup them first (Right-click > Group > Ungroup).
- Use Merge Shapes from the Shape Format ribbon; if it’s grayed out, confirm both are shapes (not pictures or icons).
Outline unexpectedly appears
- Select the shape and choose Shape Outline > No Outline. Some shapes default to a thin outline which becomes visible after copying.
Duplicated shapes lose formatting
- Press Ctrl+D to duplicate within the same slide; this preserves formatting. If copying to another presentation, use Format Painter after pasting or keep both presentations open and use Paste Special > Keep Source Formatting.
Animations not applying to group
- Apply animations to the grouped object itself rather than to individual pieces inside. If necessary, re-group then add animation.
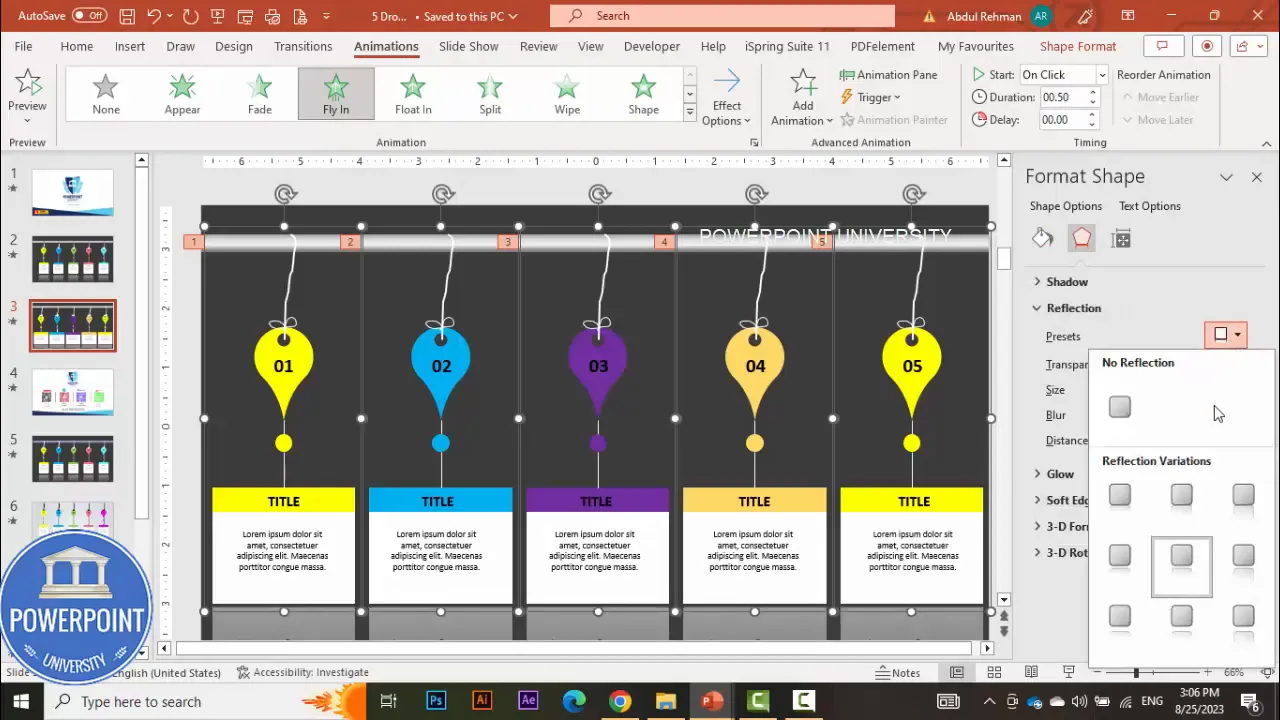
Reflection or shadow not visible
- Check layer order — effects can be obscured if another shape sits above the one with the reflection.
- On white backgrounds, reduce reflection intensity or switch to a subtle drop shadow instead.
 Check out the full video: Create 5 Hanging Options Slide in PowerPoint | Tutorial 1016 | Free Download


