
Creating engaging and professional PowerPoint presentations is easier than ever with the use of drag and drop animated templates. In this comprehensive tutorial, we will walk you through how to edit an animated PowerPoint template shared by PowerPoint School, enabling you to customize slides effortlessly and add your own pictures, animations, and videos.
This guide is perfect for users of all skill levels who want to leverage ready-made templates to produce polished presentations quickly. We’ll cover everything from inserting images into placeholders to adding animations and embedding videos, all while maintaining a clean, attractive design.
Table of Contents
- Getting Started: Understanding Drag and Drop Templates
- How to Add Images to Your Slides
- Customizing the Team Slide with Animations
- Embedding Video Files in Your Presentation
- Where to Download the Template
- Frequently Asked Questions (FAQ)
- Conclusion
Getting Started: Understanding Drag and Drop Templates
When you first open the drag and drop animated PowerPoint template, you may notice that it doesn’t contain any demo pictures. Instead, it uses image placeholders throughout the slides. These placeholders are designed to make editing simple by allowing you to drag and drop your own images directly onto the slides.
This feature is a game changer for those who want to produce professional-looking presentations without spending hours designing each slide from scratch. The drag and drop functionality automates image placement and sizing so your slides maintain a consistent, polished look.
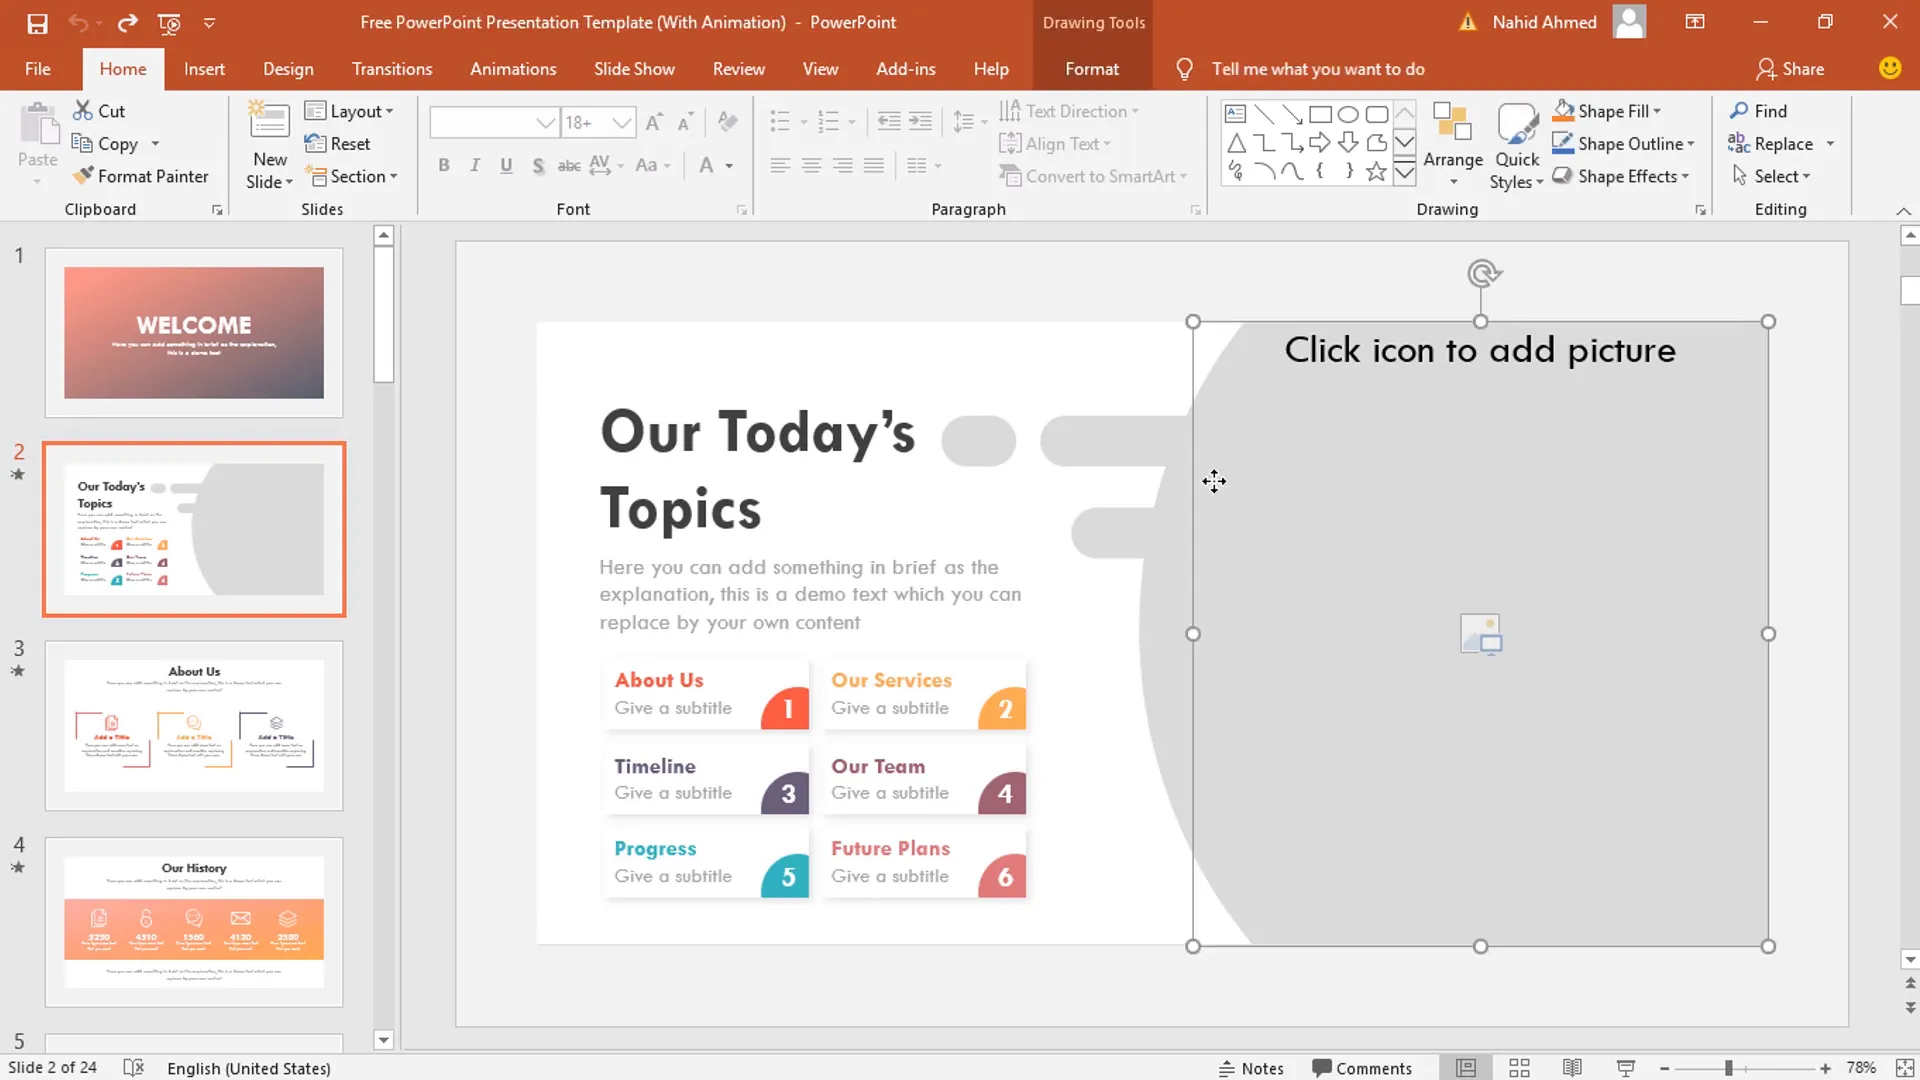
Image placeholders have several advantages:
- Maintain slide layout and proportions automatically
- Allow quick swapping of images without disrupting design
- Support drag and drop functionality for ease of use
- Help preserve the animation and effects applied to image placeholders
Understanding this foundational concept is key before you start customizing the template. Now, let’s dive into how to add your own pictures to the slides.
How to Add Images to Your Slides
Adding your own images to the template is straightforward thanks to the drag and drop design. Here’s a step-by-step guide to inserting pictures into the placeholders:
- Locate the Picture Icon: On each slide, you will see a picture icon within the image placeholder.
- Click the Icon: Click on the picture icon to open the file explorer window.
- Select Your Image: Navigate to the desired image on your computer and select it.
- Insert the Image: Click the Insert button to add the image to the slide.
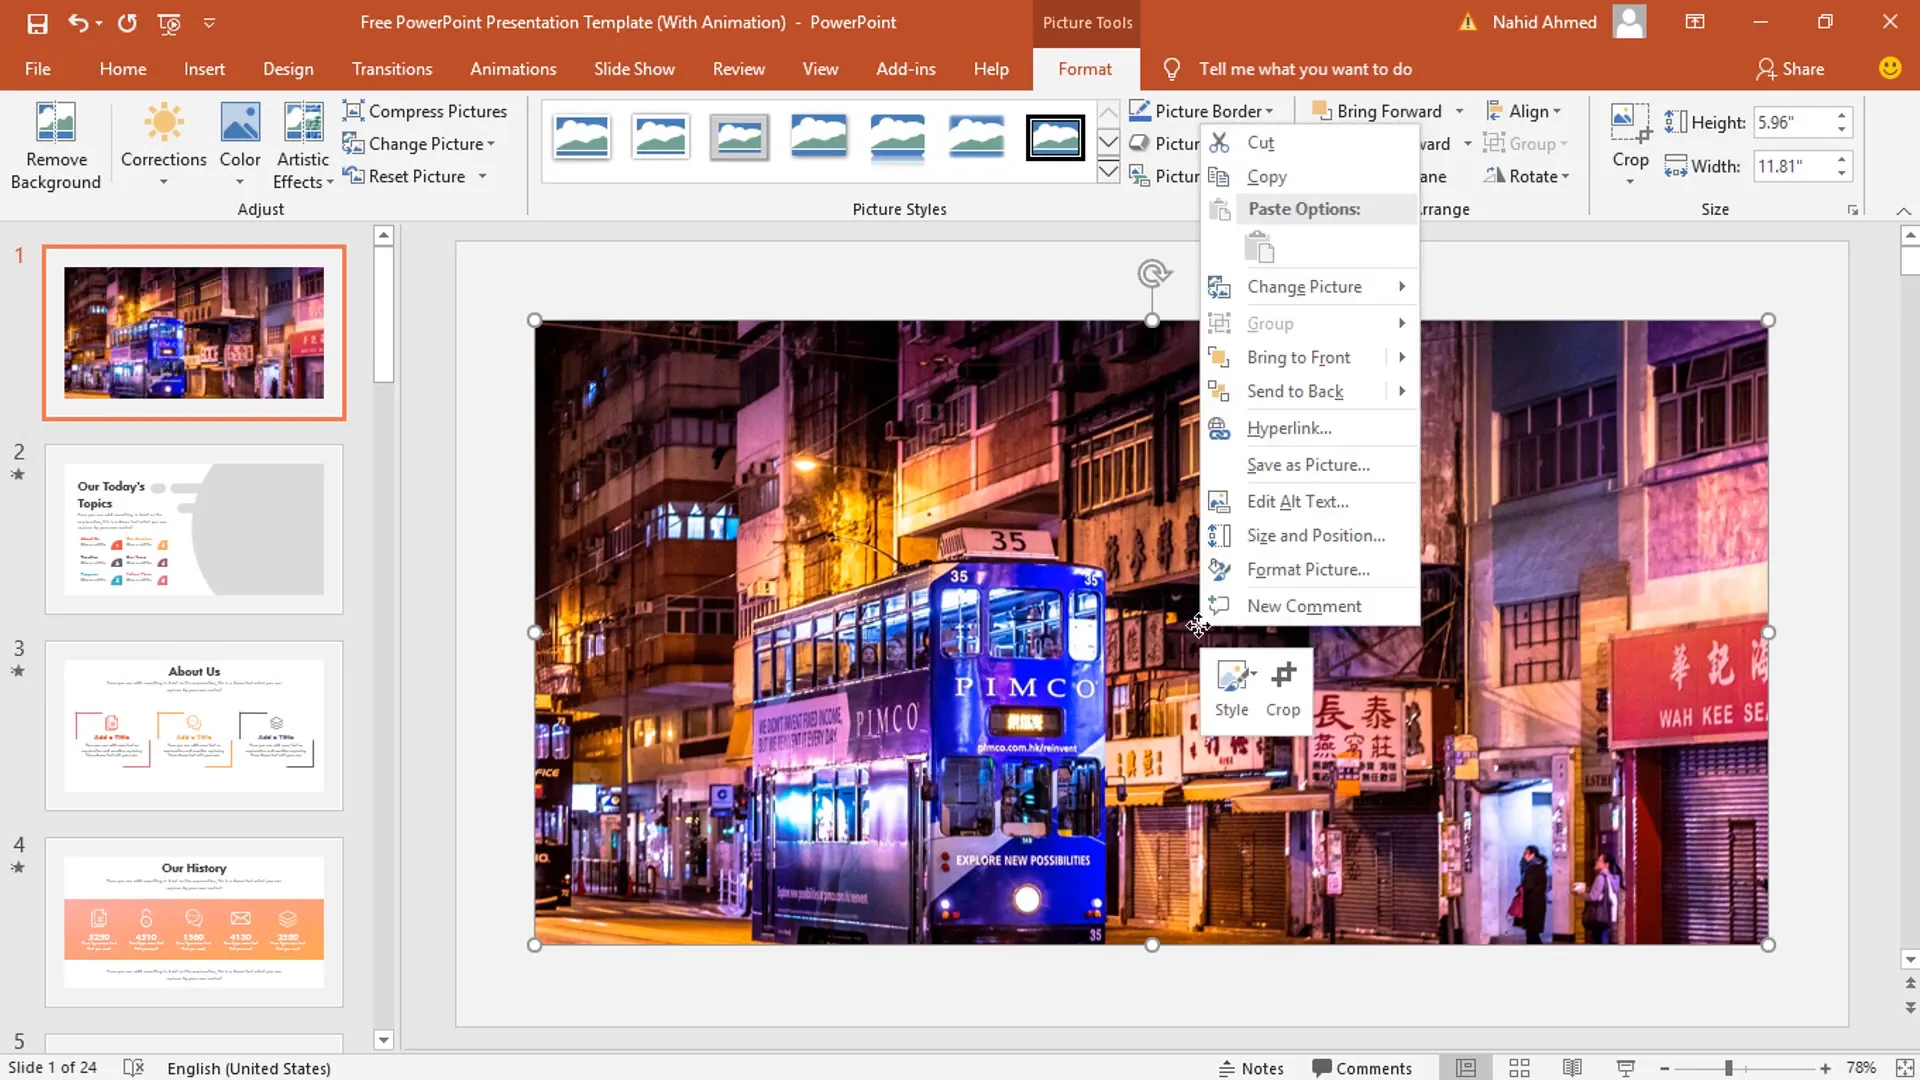
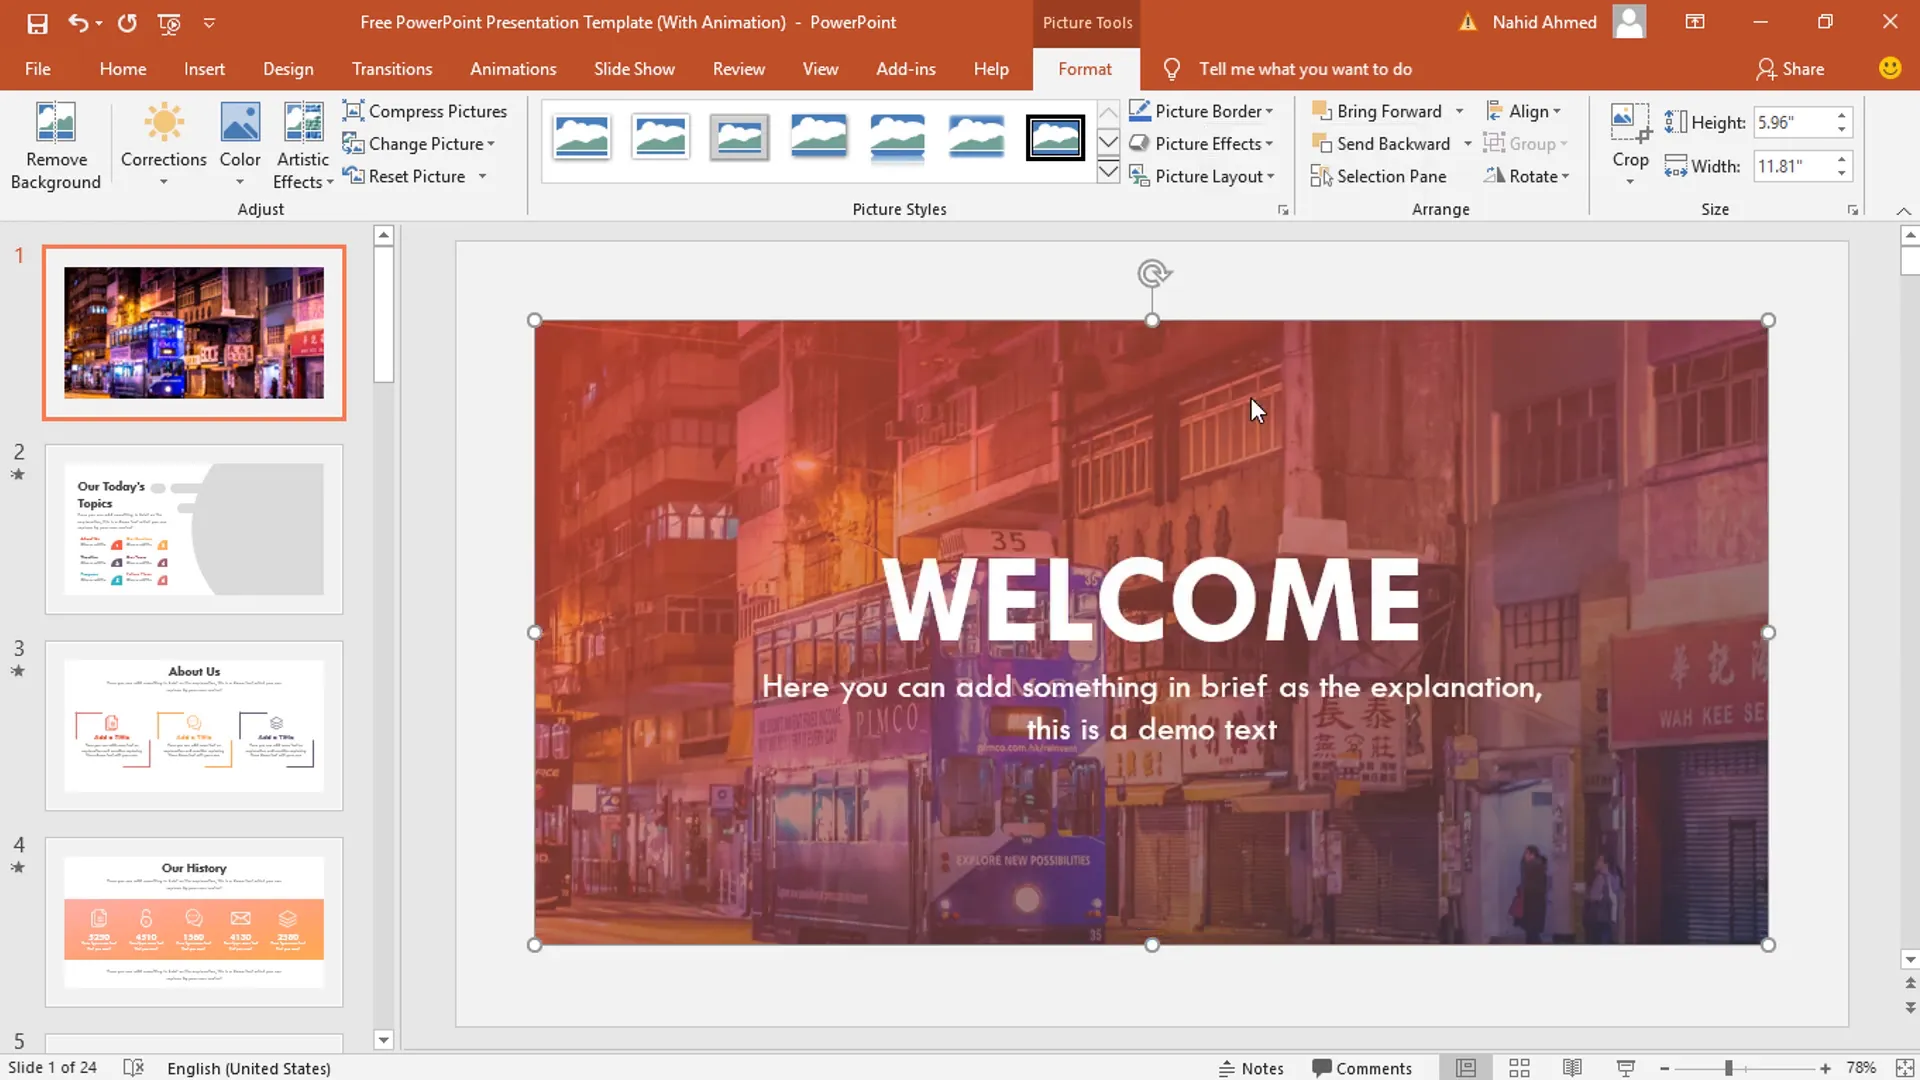
For example, on the very first slide, after inserting the image, you might want to send it to the back so that other slide elements appear on top:
- Right-click on the inserted image
- Select Send to Back from the context menu
This ensures your image forms the background, maintaining the intended slide hierarchy.
The same process applies to the second slide or any other slide with image placeholders. Simply click the picture icon, choose your image, and insert.
Tips for Image Insertion
- Use high-resolution images for better visual quality
- Maintain consistent image styles across slides for a cohesive look
- If necessary, use the crop tool (covered later) to adjust image framing
Customizing the Team Slide with Animations
One of the standout features of this template is the animated team slide, which allows you to showcase team members or groups with smooth floating animations. Here’s how to customize it:
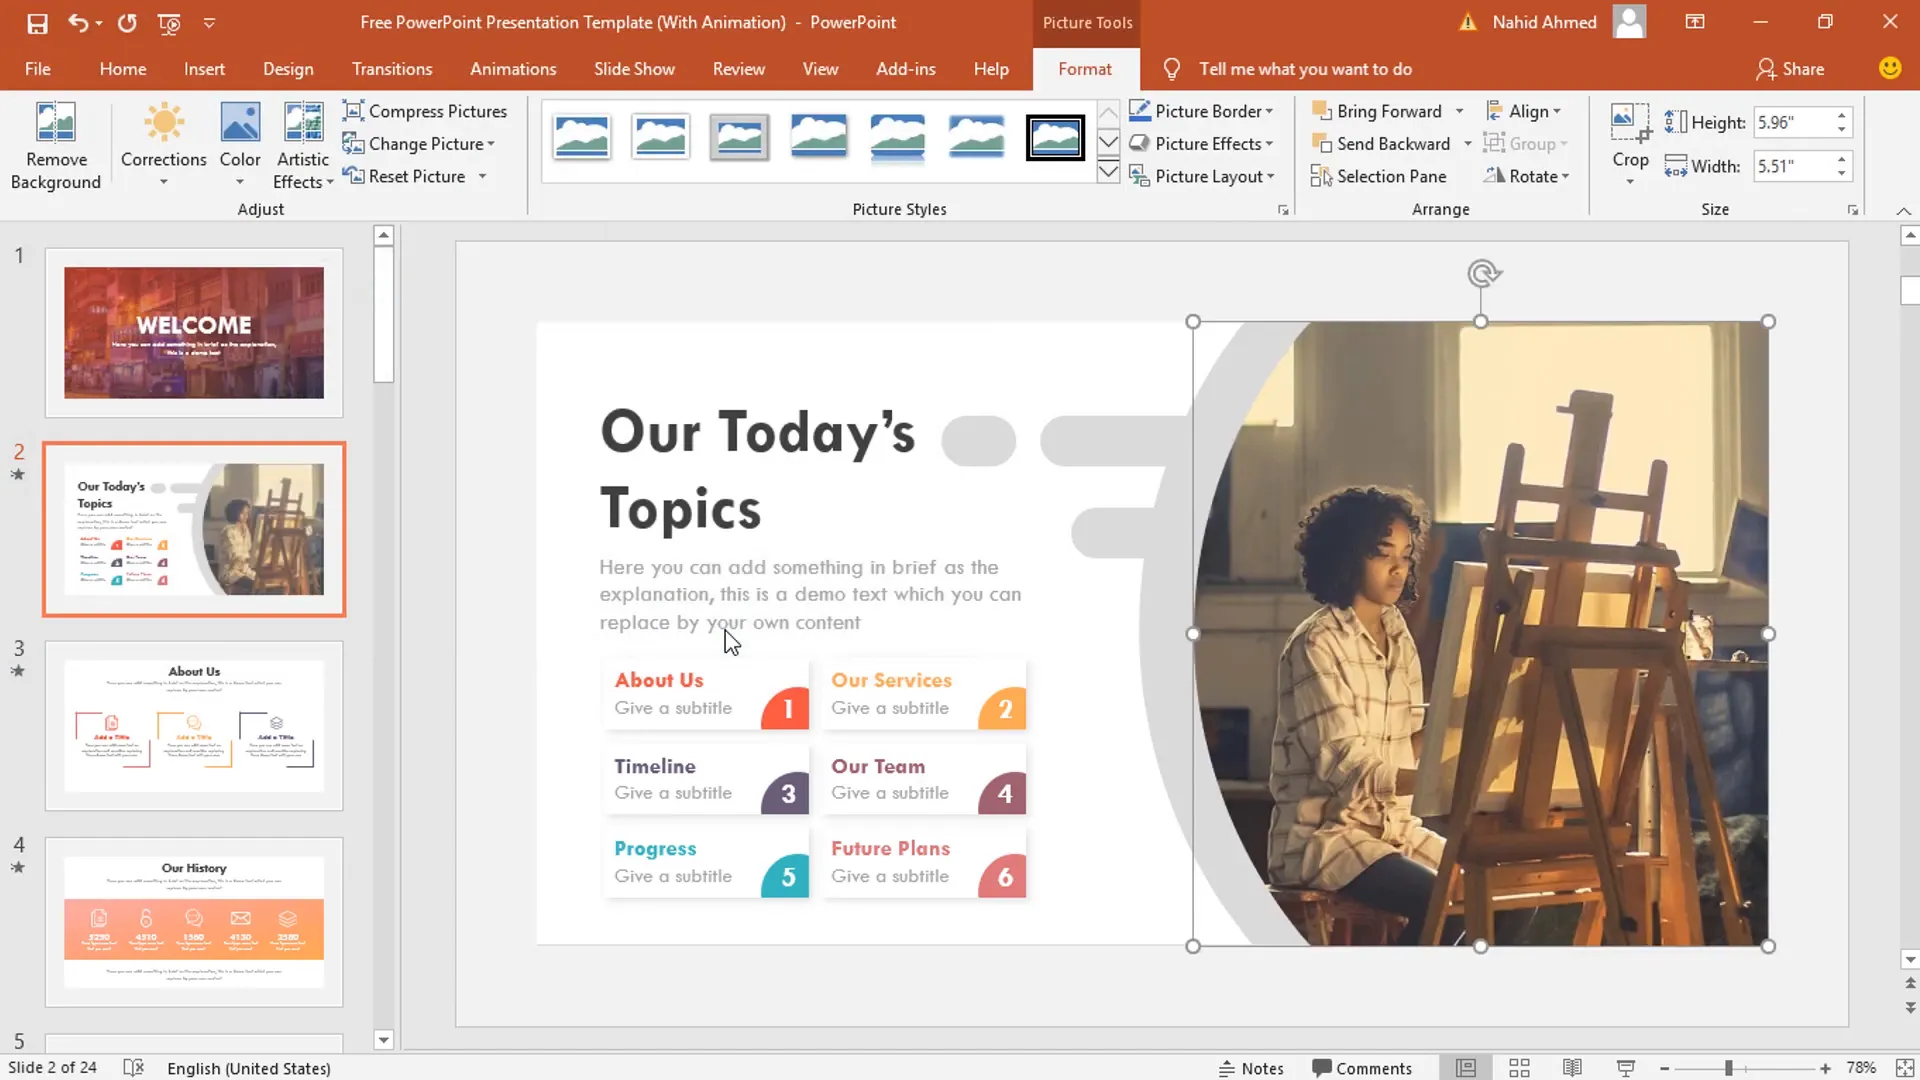
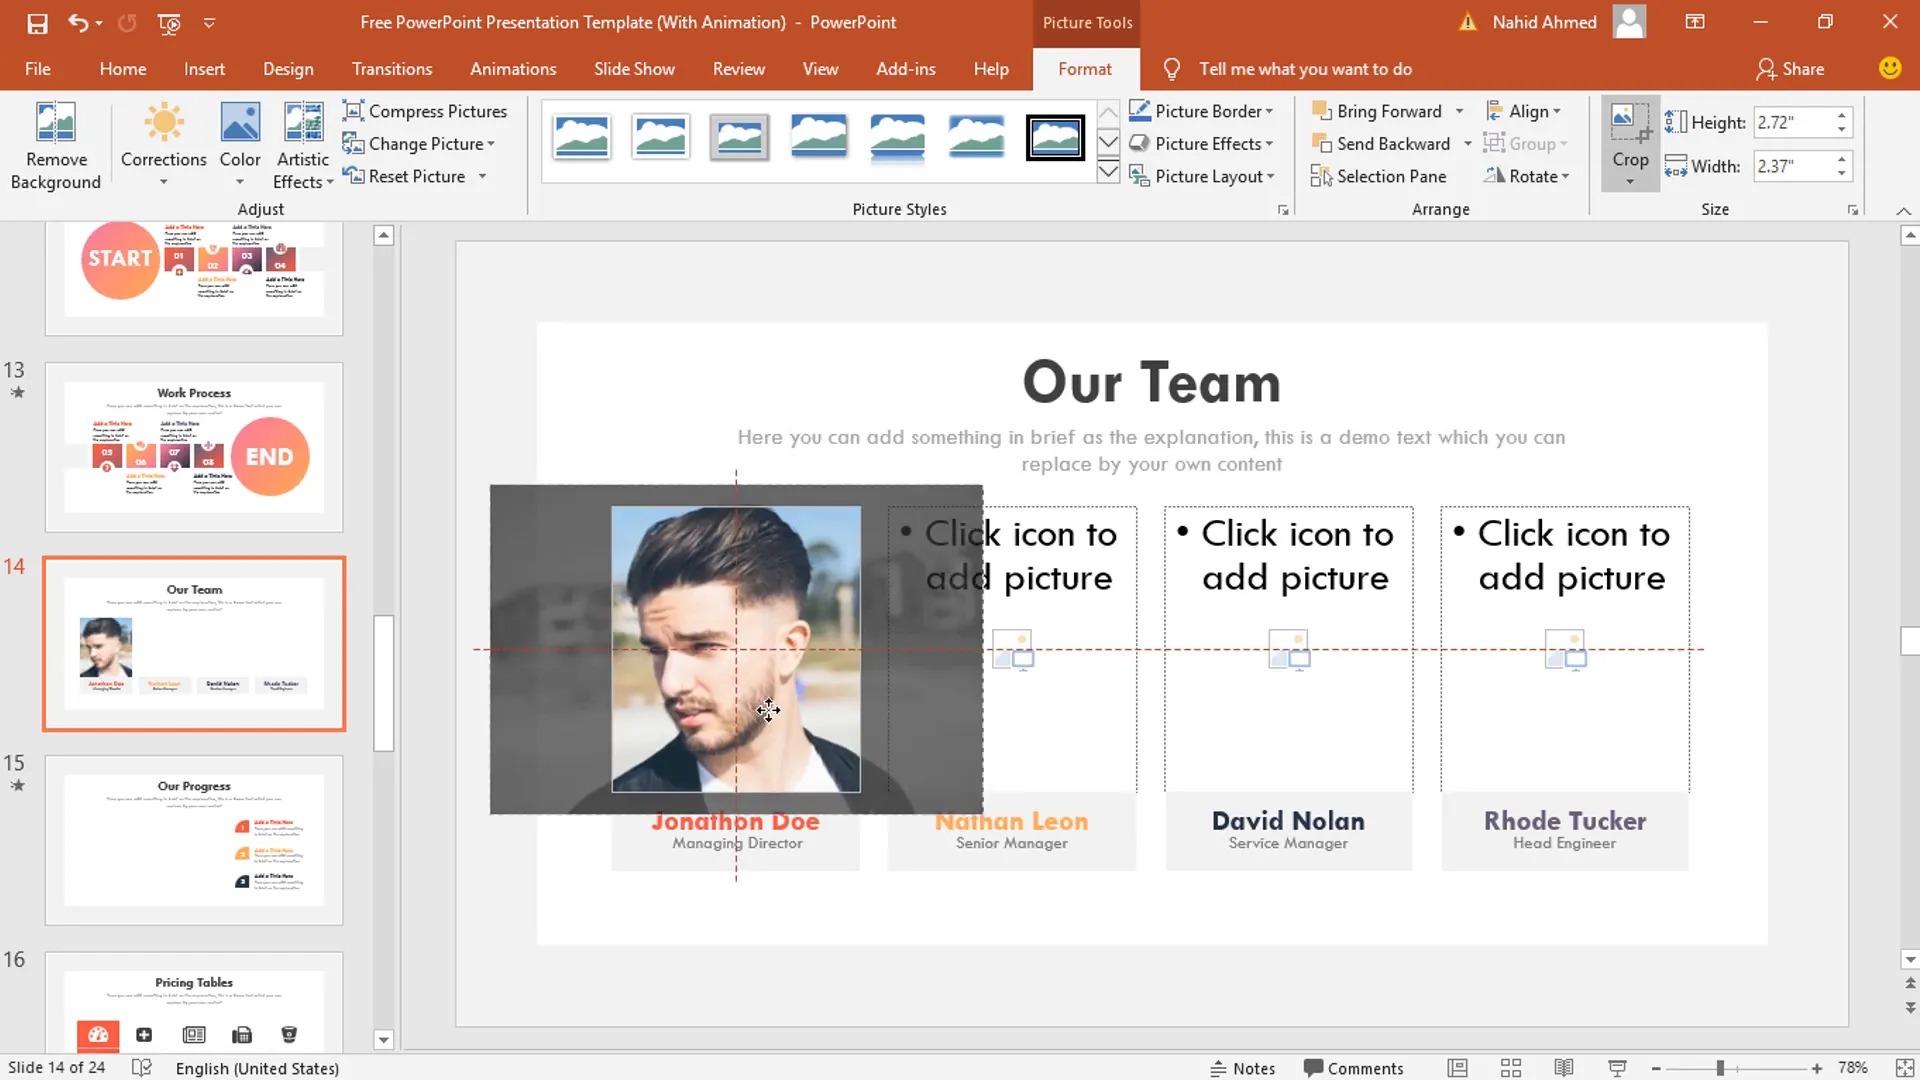
Step 1: Insert the Team Member Images
Like other slides, start by clicking the picture icon in the placeholder and inserting the appropriate team member photo.
Step 2: Adjust Image Size and Crop
If your image needs resizing or reframing, use PowerPoint’s crop tool:
- Select the inserted picture
- Go to the Picture Format tab
- Click Crop and adjust the cropping handles as needed
This allows you to fine-tune the image so it fits well within the placeholder without distortion.
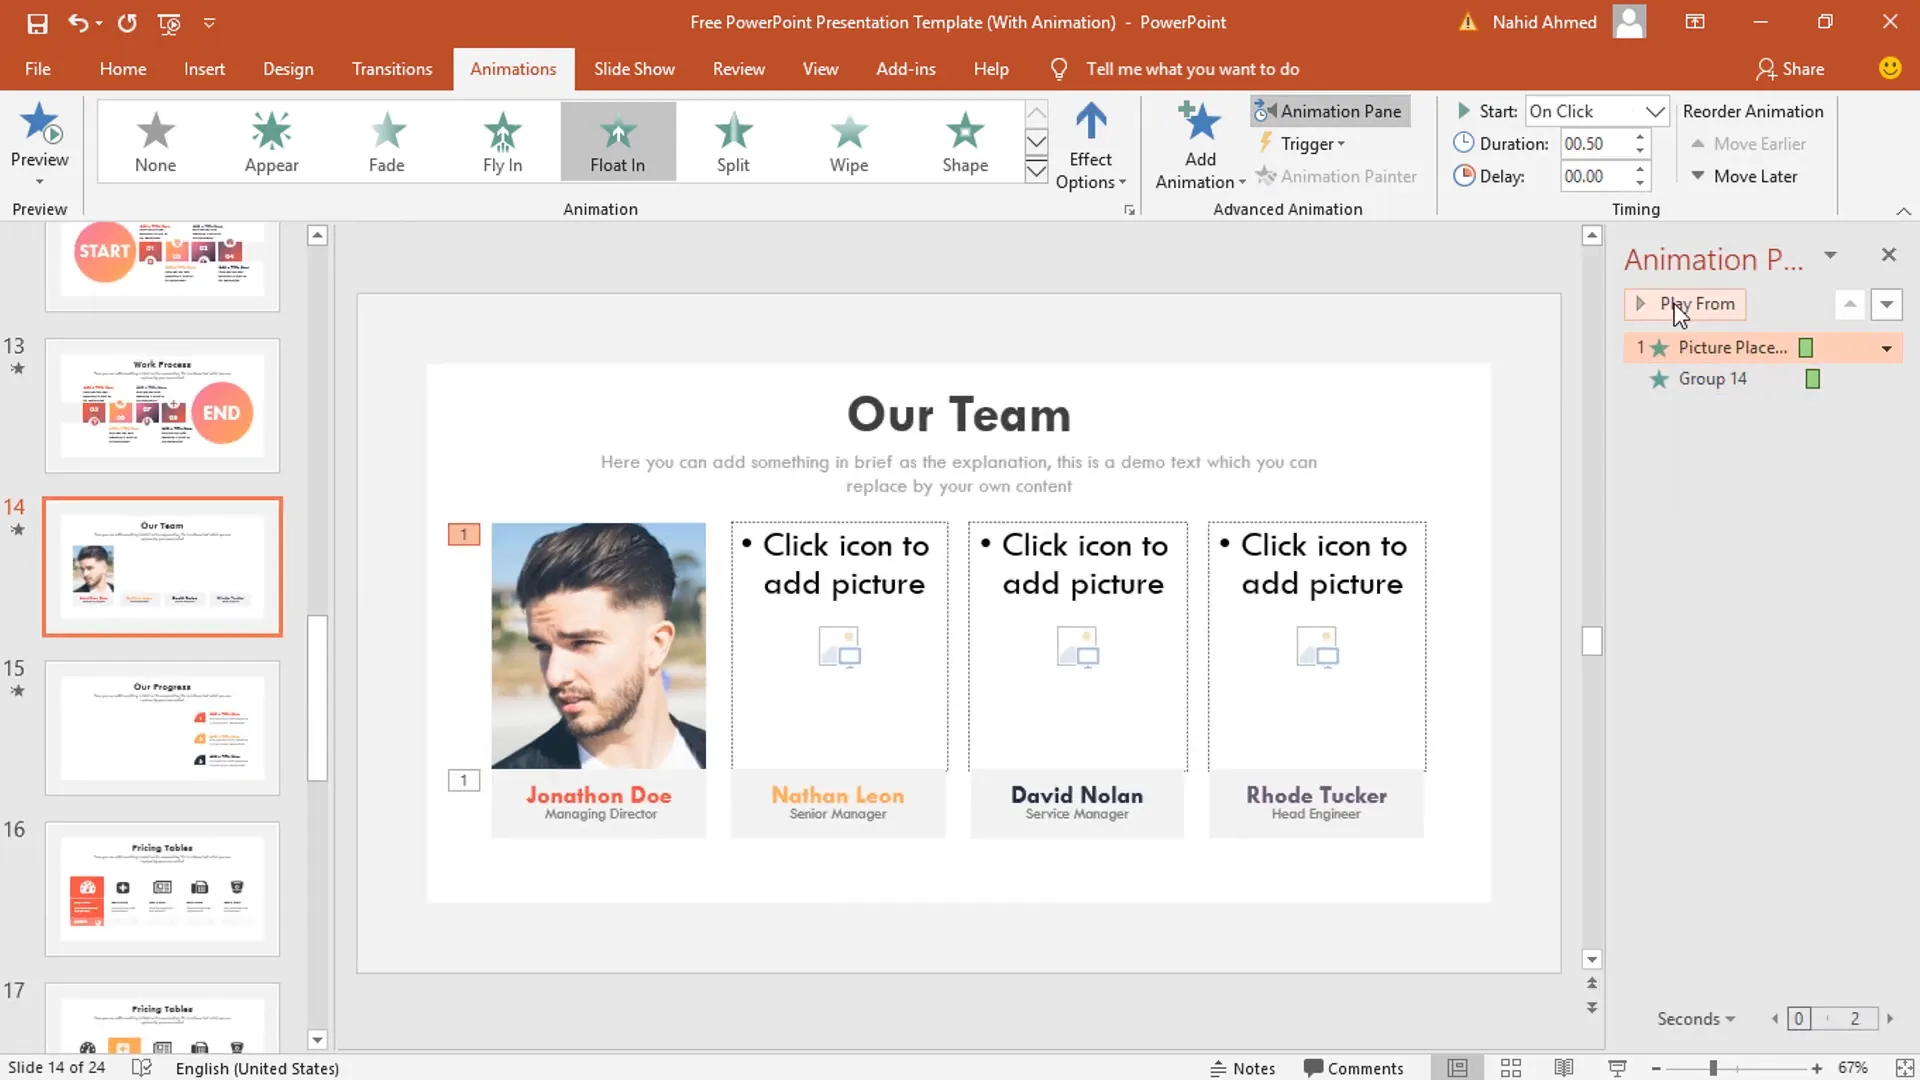
Step 3: Apply Animations to the Images and Objects
Animating the team slide adds dynamic visual interest. Here’s how to add floating animations:
- Select the first image or object you want to animate.
- Navigate to the Animations tab in the PowerPoint ribbon.
- Choose the Float In animation effect.
- Set the animation to start On Click.
- Set the duration to 0.50 seconds.
- For the second group of objects, select them and apply the Float Down effect from the Effect Options.
- Set the second animation to start With Previous, duration 0.50 seconds, and delay 0.25 seconds.
Play the animation to preview how the elements float in and down smoothly, creating a professional effect.

Step 4: Animate Additional Objects
You can repeat the animation process for other objects on the slide to create a cohesive animated sequence. This approach makes your presentation visually engaging without overwhelming the audience.
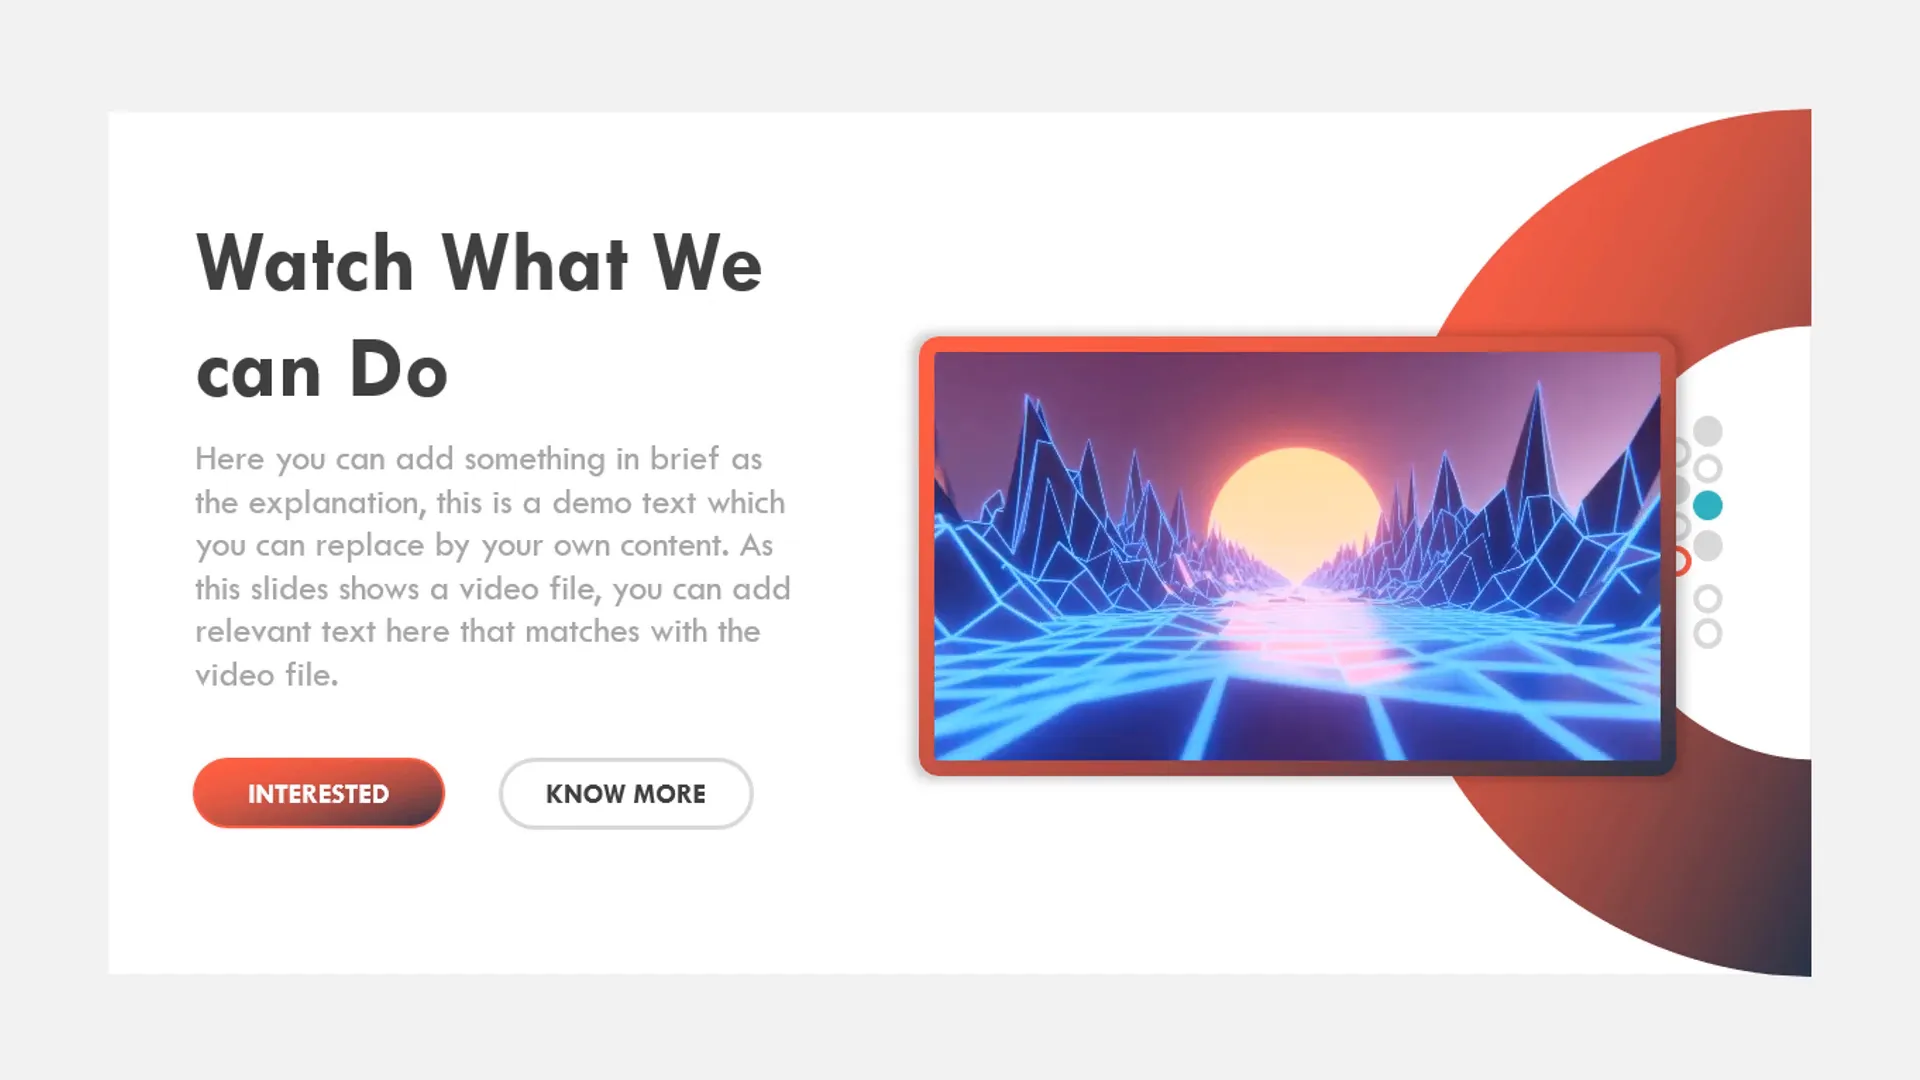
Embedding Video Files in Your Presentation
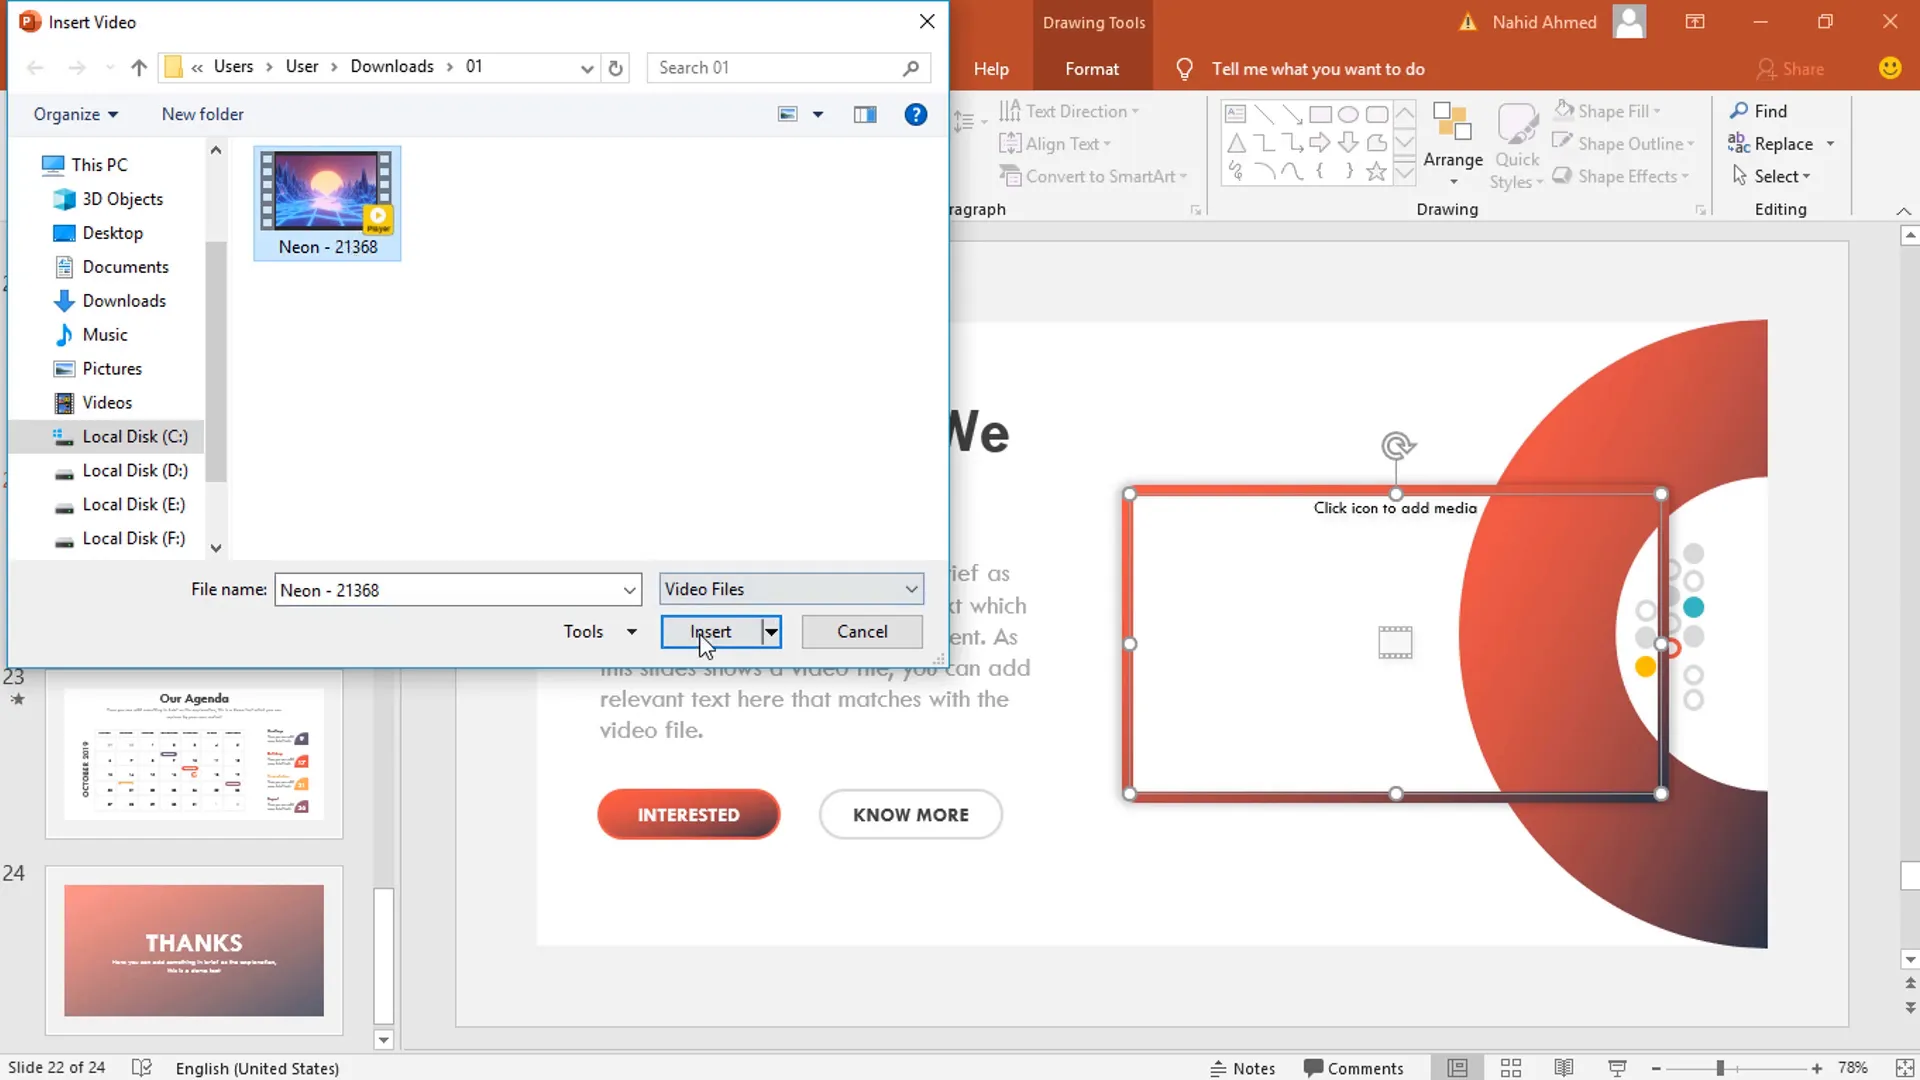
The template also supports embedding videos directly into slides, which is a powerful way to add multimedia content to your presentation. Here’s how to do it:
- Navigate to the video slide in the template.
- Locate the media placeholder, which looks like a media icon.
- Click the media icon to open the file explorer.
- Select the video file you want to embed.
- Click Insert to add the video to the slide.
Once inserted, you can test the video in slideshow mode by pressing the space bar to play it.
Tips for Embedding Videos
- Use video formats compatible with PowerPoint (e.g., MP4 recommended)
- Keep video files in the same folder as your presentation to avoid broken links
- Test video playback before presenting to ensure smooth performance
Where to Download the Template
You can download this free animated PowerPoint template directly from PowerPoint School’s website. Visit:
Additionally, there is a link provided in the description of the original tutorial video on their YouTube channel. Utilizing this template will help you create stunning presentations with ease.
Frequently Asked Questions (FAQ)
1. What is a drag and drop template in PowerPoint?
A drag and drop template uses image placeholders that allow users to insert images simply by dragging them into designated areas. This feature automates image placement and sizing, making it easier to customize slides without disrupting the design.
2. How do I add animations to images in PowerPoint?
Select the image or object, go to the Animations tab, choose an animation effect (e.g., Float In, Float Down), and configure the timing settings such as duration, delay, and start options.
3. Can I embed videos directly into PowerPoint slides?
Yes, you can embed videos using media placeholders or by inserting video files via the Insert tab. Make sure the video format is compatible and test playback before presenting.
4. How do I crop images inside PowerPoint?
Select the image, go to the Picture Format tab, click Crop, and adjust the cropping handles to frame the image as desired.
5. Where can I find free animated PowerPoint templates?
PowerPoint School offers free animated templates on their website, including the one featured in this tutorial. Check out their free templates page for downloads.
Conclusion
Editing an animated PowerPoint template with drag and drop functionality is an incredibly efficient way to create professional presentations. By understanding how to insert images, customize animations, and embed videos, you can transform a ready-made template into a unique presentation tailored to your needs.
Remember to:
- Use image placeholders to quickly add your own photos
- Apply animations thoughtfully to enhance visual storytelling
- Embed videos to engage your audience with multimedia content
- Download templates from trusted sources like PowerPoint School
With these steps, even beginners can produce attractive, animated presentations that capture attention and communicate effectively.
For more tutorials and free templates, visit PowerPoint School’s website or subscribe to their YouTube channel for daily PowerPoint tips.
Happy presenting!
| Step | Action | Details |
|---|---|---|
| 1 | Open Template | Template contains image and media placeholders instead of demo content |
| 2 | Insert Images | Click picture icon in placeholder → select image → Insert → Adjust layering if needed |
| 3 | Crop and Resize Images | Use Crop tool to adjust image framing and size for perfect fit |
| 4 | Add Animations | Apply Float In/Down animations → Set timing and delay for smooth effects |
| 5 | Embed Videos | Click media icon → select video file → Insert → Test playback in slideshow mode |
| Animation | Effect Options | Start | Duration | Delay |
|---|---|---|---|---|
| Float In (First Object) | Default | On Click | 0.50 seconds | 0 seconds |
| Float Down (Second Object) | From Effect Options | With Previous | 0.50 seconds | 0.25 seconds |


