

If you’ve ever wanted to add a touch of cinematic flair to your PowerPoint presentations, then you’re in for a treat. In this comprehensive guide, we will walk you through how to create a stunning cool slide animation that loops seamlessly, using only PowerPoint’s built-in tools. Whether you’re preparing an eye-catching intro slide or want to impress your audience with dynamic visuals, this tutorial will equip you with the skills to do just that.
PowerPoint animations can often feel limiting or overly simplistic, but with the right techniques, you can create professional-quality effects that look like they belong in a movie trailer. This blog post breaks down the process step-by-step, from designing custom shapes to setting up precise animation timings for a smooth, endless loop.
Ready to transform your slides into a cinematic experience? Let’s dive in!
Table of Contents
- Getting Started: Setting Up Your Slide Background
- Designing Custom Pointy Arrows in PowerPoint
- Applying Gradient Fill and Styling the Arrows
- Animating the Arrows with Motion Paths and Zoom Effects
- Looping the Arrow Animations for a Continuous Effect
- Creating a Cinematic Slide Title with Outline and Shadow Effects
- Animating the Slide Title for Dynamic Movement
- Frequently Asked Questions
- Conclusion
Getting Started: Setting Up Your Slide Background
The foundation of any great slide animation is a visually appealing background that sets the mood. In this tutorial, we’ll use a beautiful photo sourced from Unsplash, a popular platform for free high-quality images.
Start with a blank slide in PowerPoint and paste your chosen background photo. Make sure it covers the entire slide area for a cinematic effect. This step is crucial because the animation will interact visually with this backdrop, so choose an image that complements the overall theme of your presentation.

Tip: You can download and use the exact photo from the video’s description link to follow along precisely.
Designing Custom Pointy Arrows in PowerPoint
Next, we’ll craft the star of the animation—the pointy arrows that will move across the slide like cinematic elements gliding over a road. The best part is, these arrows are designed entirely within PowerPoint using its shape tools.
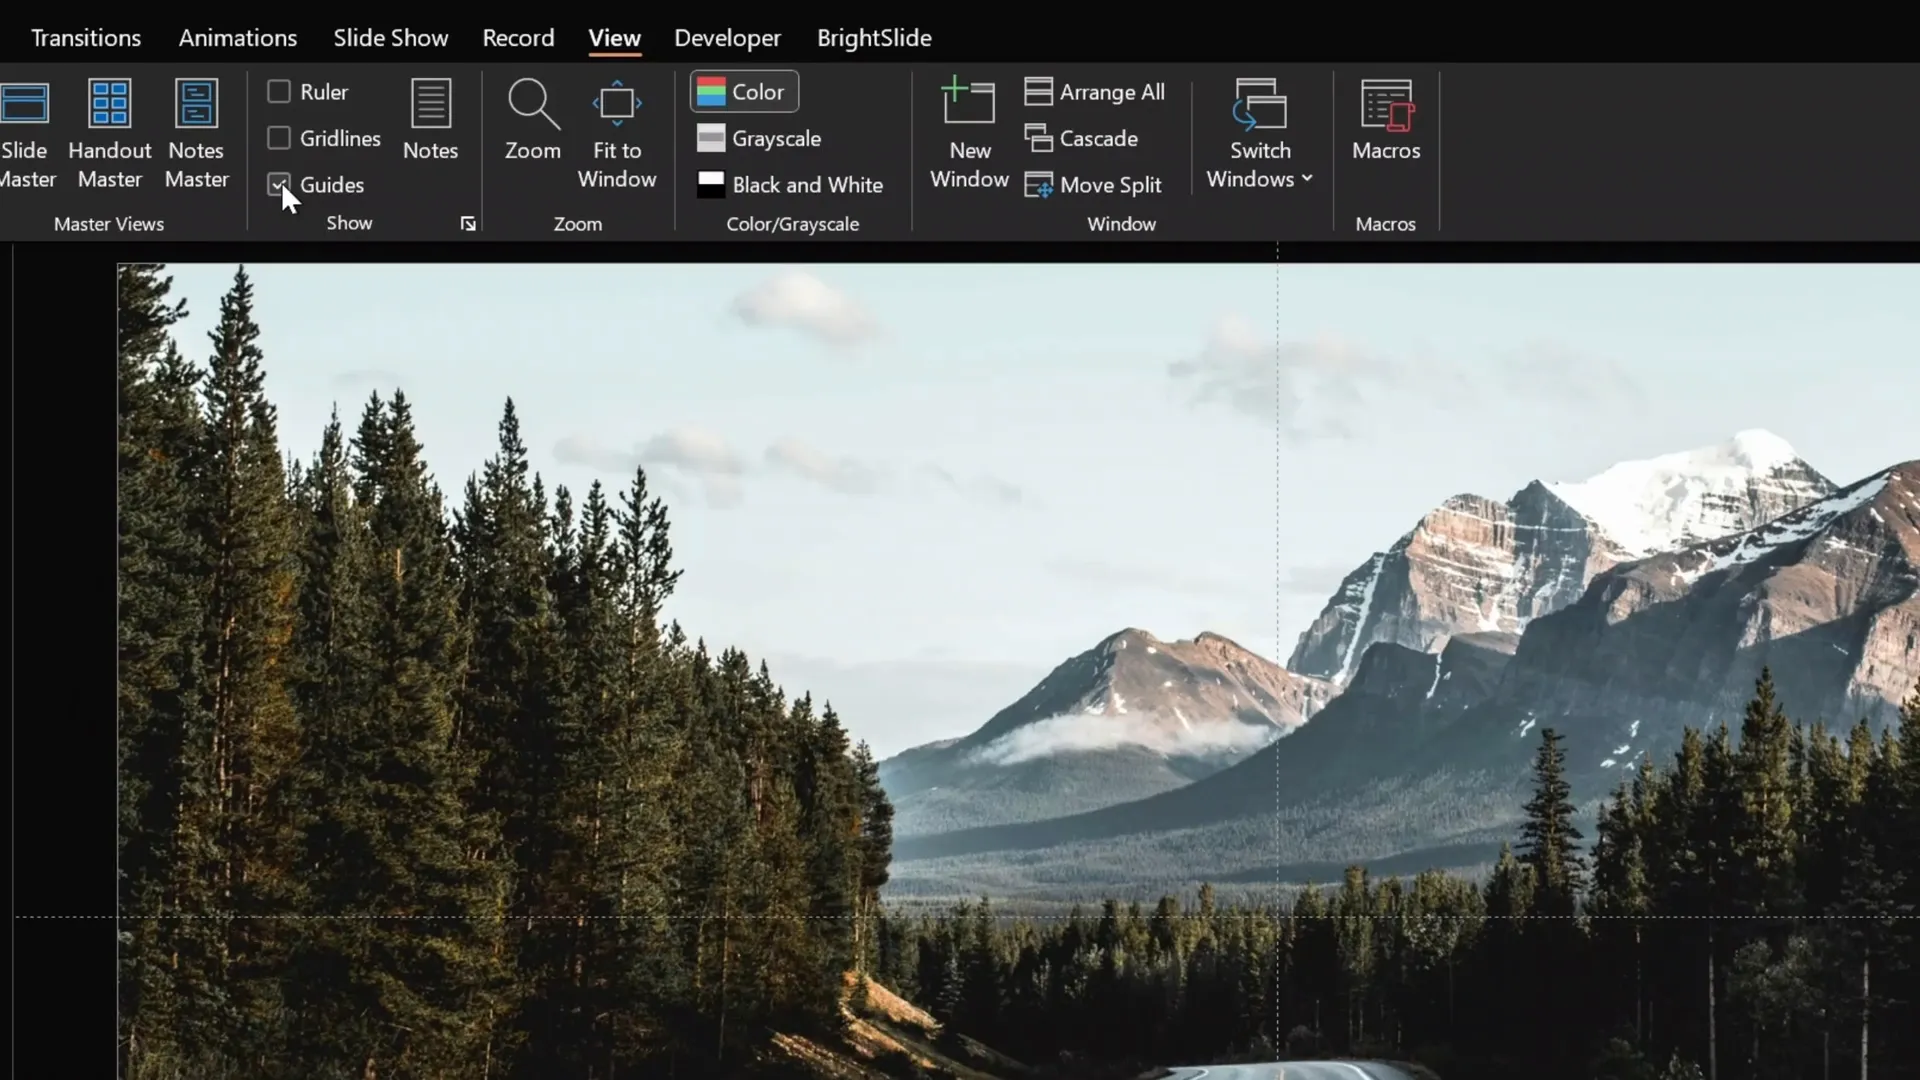
Step 1: Enable Slide Guides for Precision
Turn on the light guides in PowerPoint to help you locate the exact center of the slide. This will make it easier to position and align your arrows accurately.
Step 2: Draw the Base Triangle Shape
- Go to Insert > Shapes and select the triangle tool.
- Hold down the Shift key while drawing to create a perfect equilateral triangle.
- Fill the triangle with an orange color temporarily for visibility.
- Flip the triangle horizontally so it points to the left.
- Position the triangle so that it touches the middle of the slide.

Step 3: Customize the Triangle’s Shape
- Use the yellow adjustment handle to elongate the triangle downward.
- Right-click the triangle and select Edit Points to drag the bottom vertex even lower, creating a sharper arrow tip.
- Squeeze the triangle vertically to flatten it slightly, enhancing the arrow’s look.

Step 4: Duplicate and Create the Arrow’s Right Half
- Duplicate the custom triangle by pressing Ctrl + D.
- Flip the duplicate horizontally to create a mirrored right side.
- Align both halves perfectly side-by-side.
- Select both shapes, go to Shape Format > Merge Shapes, and choose Union to combine them into a single solid arrow shape.
Once your arrow shape is ready, you can turn off the slide guides as they are no longer needed.
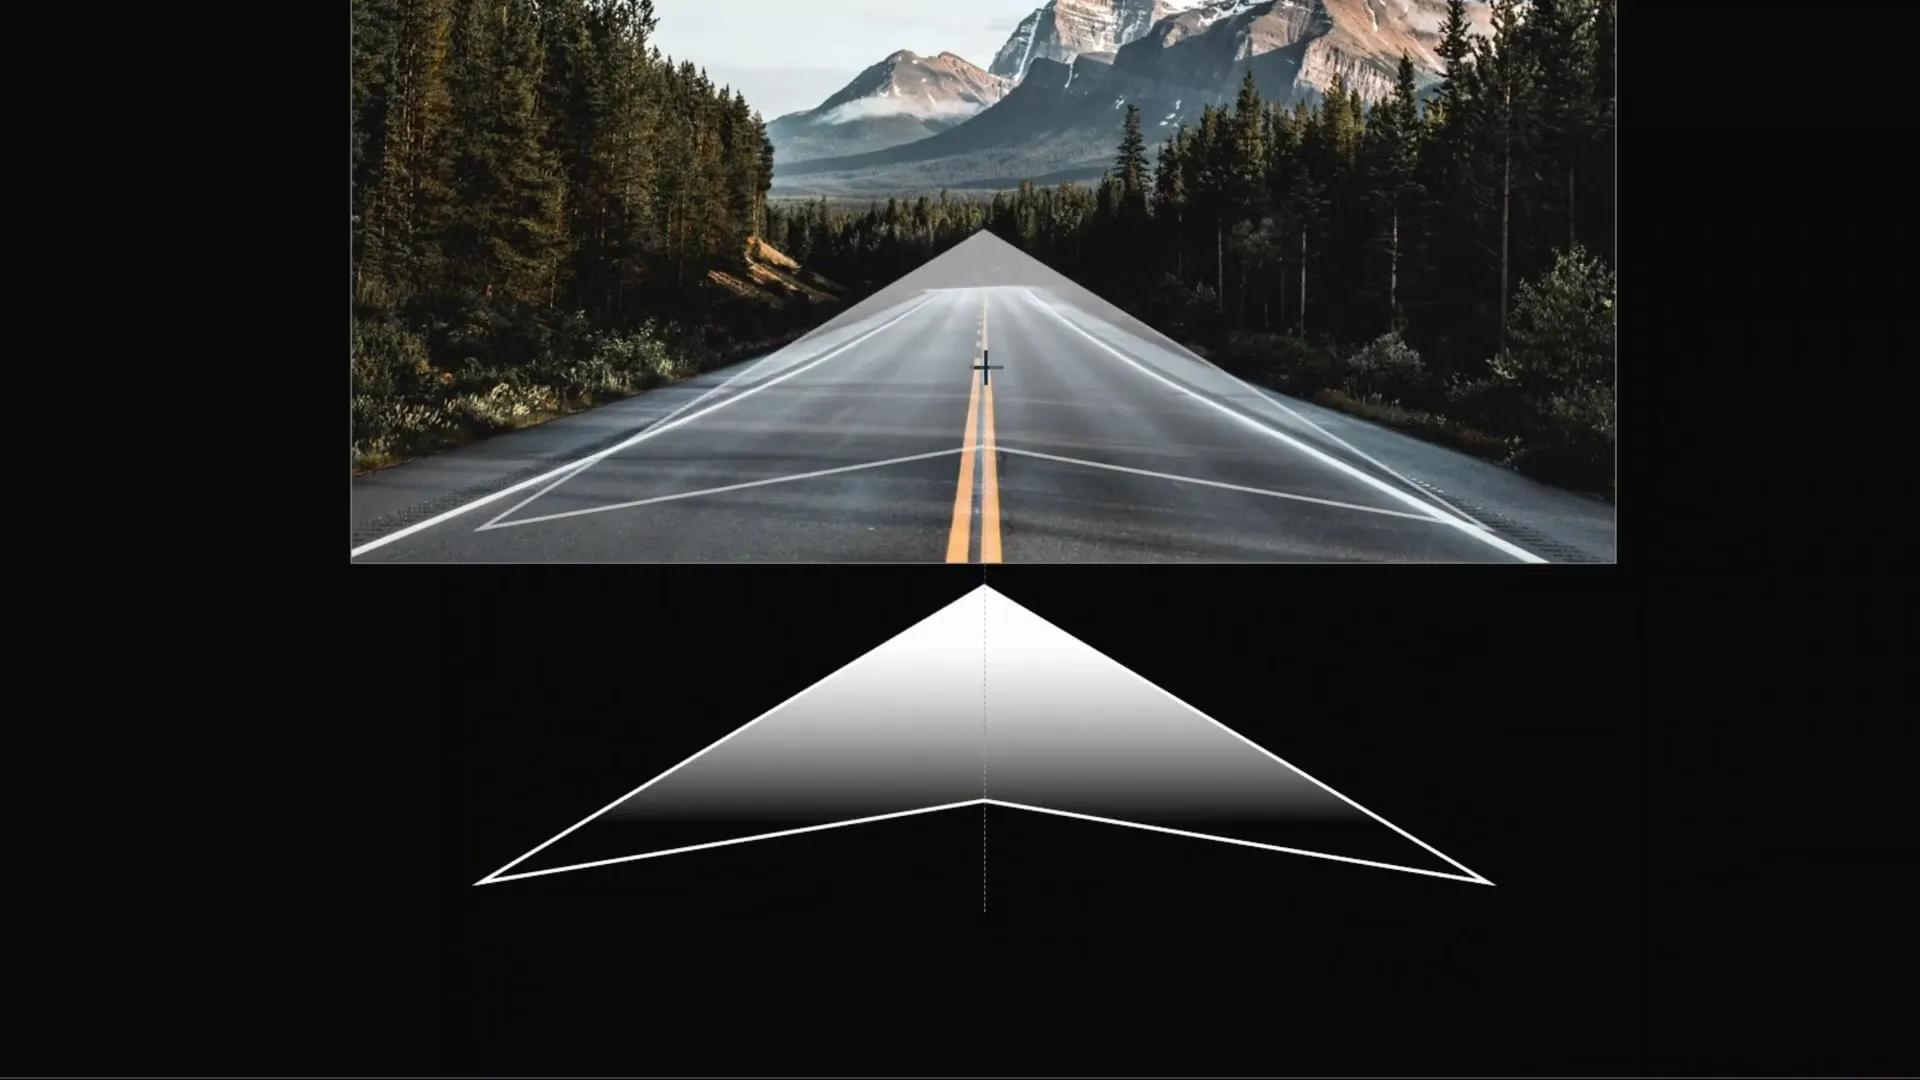
Applying Gradient Fill and Styling the Arrows
To give the arrows a sleek, cinematic look, we’ll apply a gradient fill and white outlines.
Step 1: Add White Outline
- Select the arrow shape.
- Go to Shape Format > Shape Outline and pick white.
- Set the outline thickness to 3 points for a crisp edge.
Step 2: Apply Gradient Fill
- Right-click the arrow and select Format Shape.
- Under the Fill options, choose Gradient Fill.
- Remove any middle color stops so only two remain.
- Set one color stop to solid white at the top and the other to black at the bottom.
- Adjust the black color stop to be 100% transparent, creating a fade effect.
- Position the stops so the gradient transitions smoothly (e.g., 20% and 80%).
- Choose a preset gradient direction with white on top and transparent black fading downward.

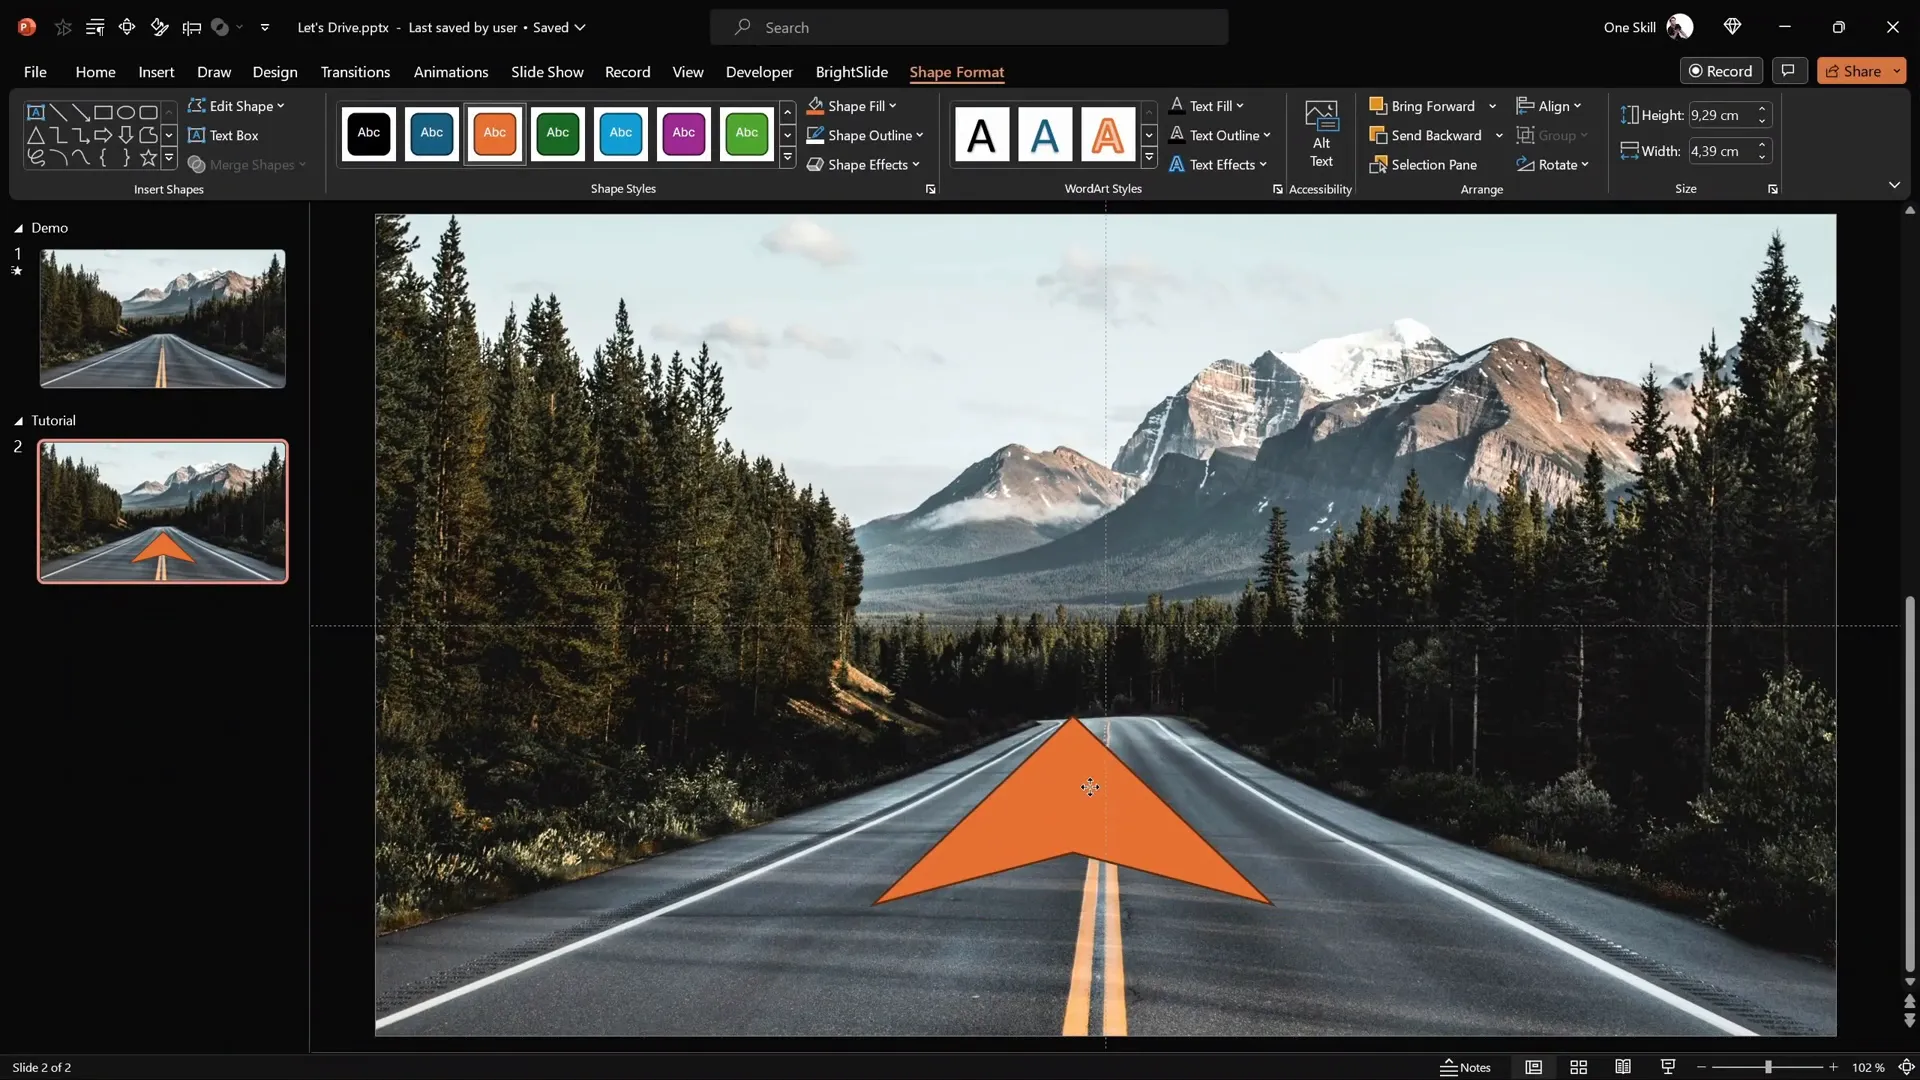
Step 3: Position and Rotate the Arrow
Place the arrow near the bottom of the slide, positioning it below the light source in the background image. Rotate the arrow so that its angle aligns perfectly with the road in the background image, ensuring a natural look.
Animating the Arrows with Motion Paths and Zoom Effects
Now for the magic — animating the arrows to move upward and shrink, creating a dynamic cinematic effect.
Step 1: Add Motion Path Animation
- Select the arrow shape.
- Go to Animations > Add Animation and choose Motion Path – Line.
- Drag the red endpoint bubble upward to set the path’s end position.
- Open the Animation Pane to manage the animation settings.
- Set the animation duration to 4 seconds for smooth movement.

Step 2: Add Zoom Exit Animation
- While the arrow is selected, add a second animation: Exit > Zoom.
- Set this animation to start With Previous to coincide with the motion path.
- Match the duration to 4 seconds.
This combination makes the arrow move upwards while simultaneously shrinking, simulating it disappearing into the distance.

Step 3: Fine-Tune Animation Options
- Double-click the motion path animation to open its options.
- Adjust the Smooth Start and Smooth End to 2 seconds each for a more natural acceleration and deceleration.
Looping the Arrow Animations for a Continuous Effect
To enhance the cinematic feel, we’ll create multiple arrows with staggered delays and loop the animation infinitely.
Step 1: Duplicate Arrows
- Duplicate the animated arrow three times, so you have a total of four arrows.
- Align all arrows perfectly on top of each other at the center of the slide.

Step 2: Set Animation Timing and Delays
- In the Animation Pane, select all animations for all arrows.
- Set all animations to start With Previous.
- Add delays to create a staggered effect:
- First two arrows: 1-second delay
- Next two arrows: 2-second delay
- Last two arrows: 3-second delay
Step 3: Loop Animations
- Select all arrow animations in the Animation Pane.
- Go to Timing > Repeat and select Until End of Slide.
Now, when you run the slide show, the arrows will continuously loop, moving upward and shrinking in a seamless cinematic loop.

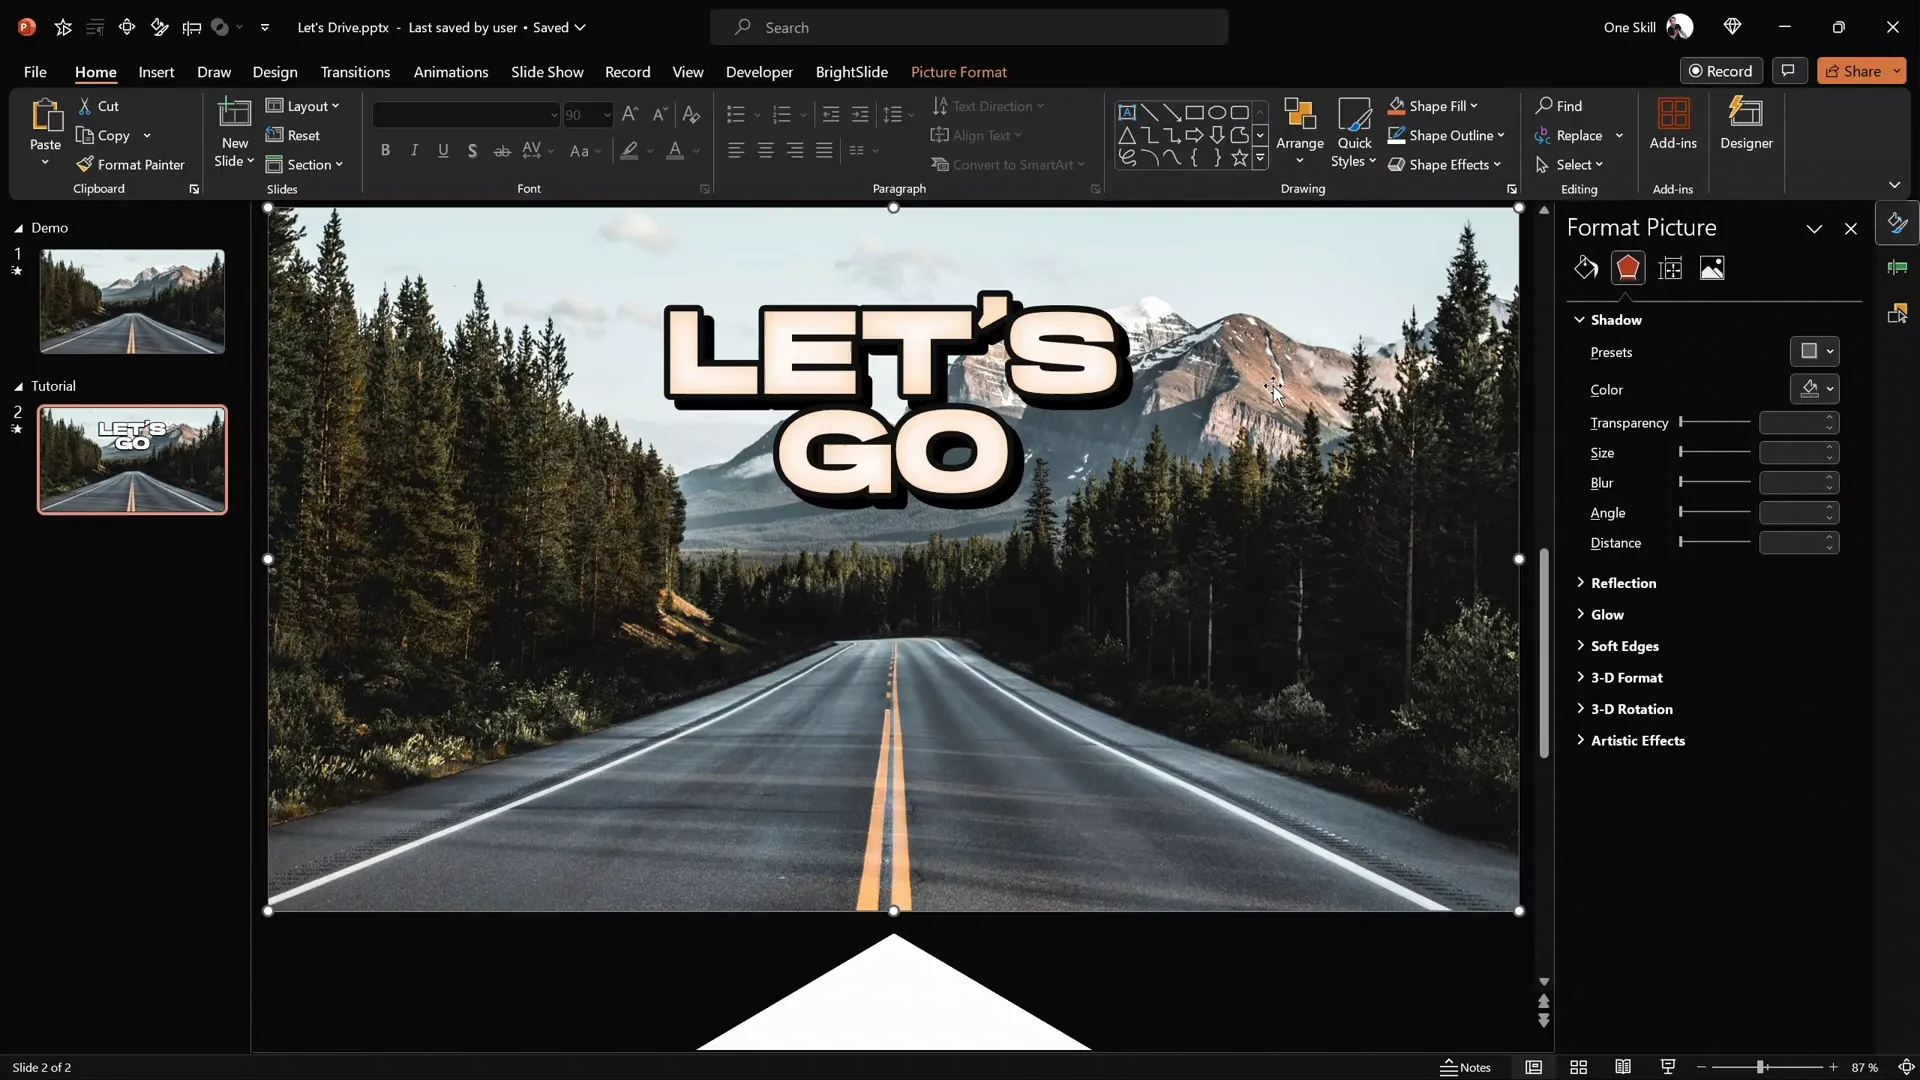
Creating a Cinematic Slide Title with Outline and Shadow Effects
A cinematic slide isn’t complete without a bold, eye-catching title. PowerPoint’s text tools allow you to create a stylish title with outlines and shadows for a 3D effect.
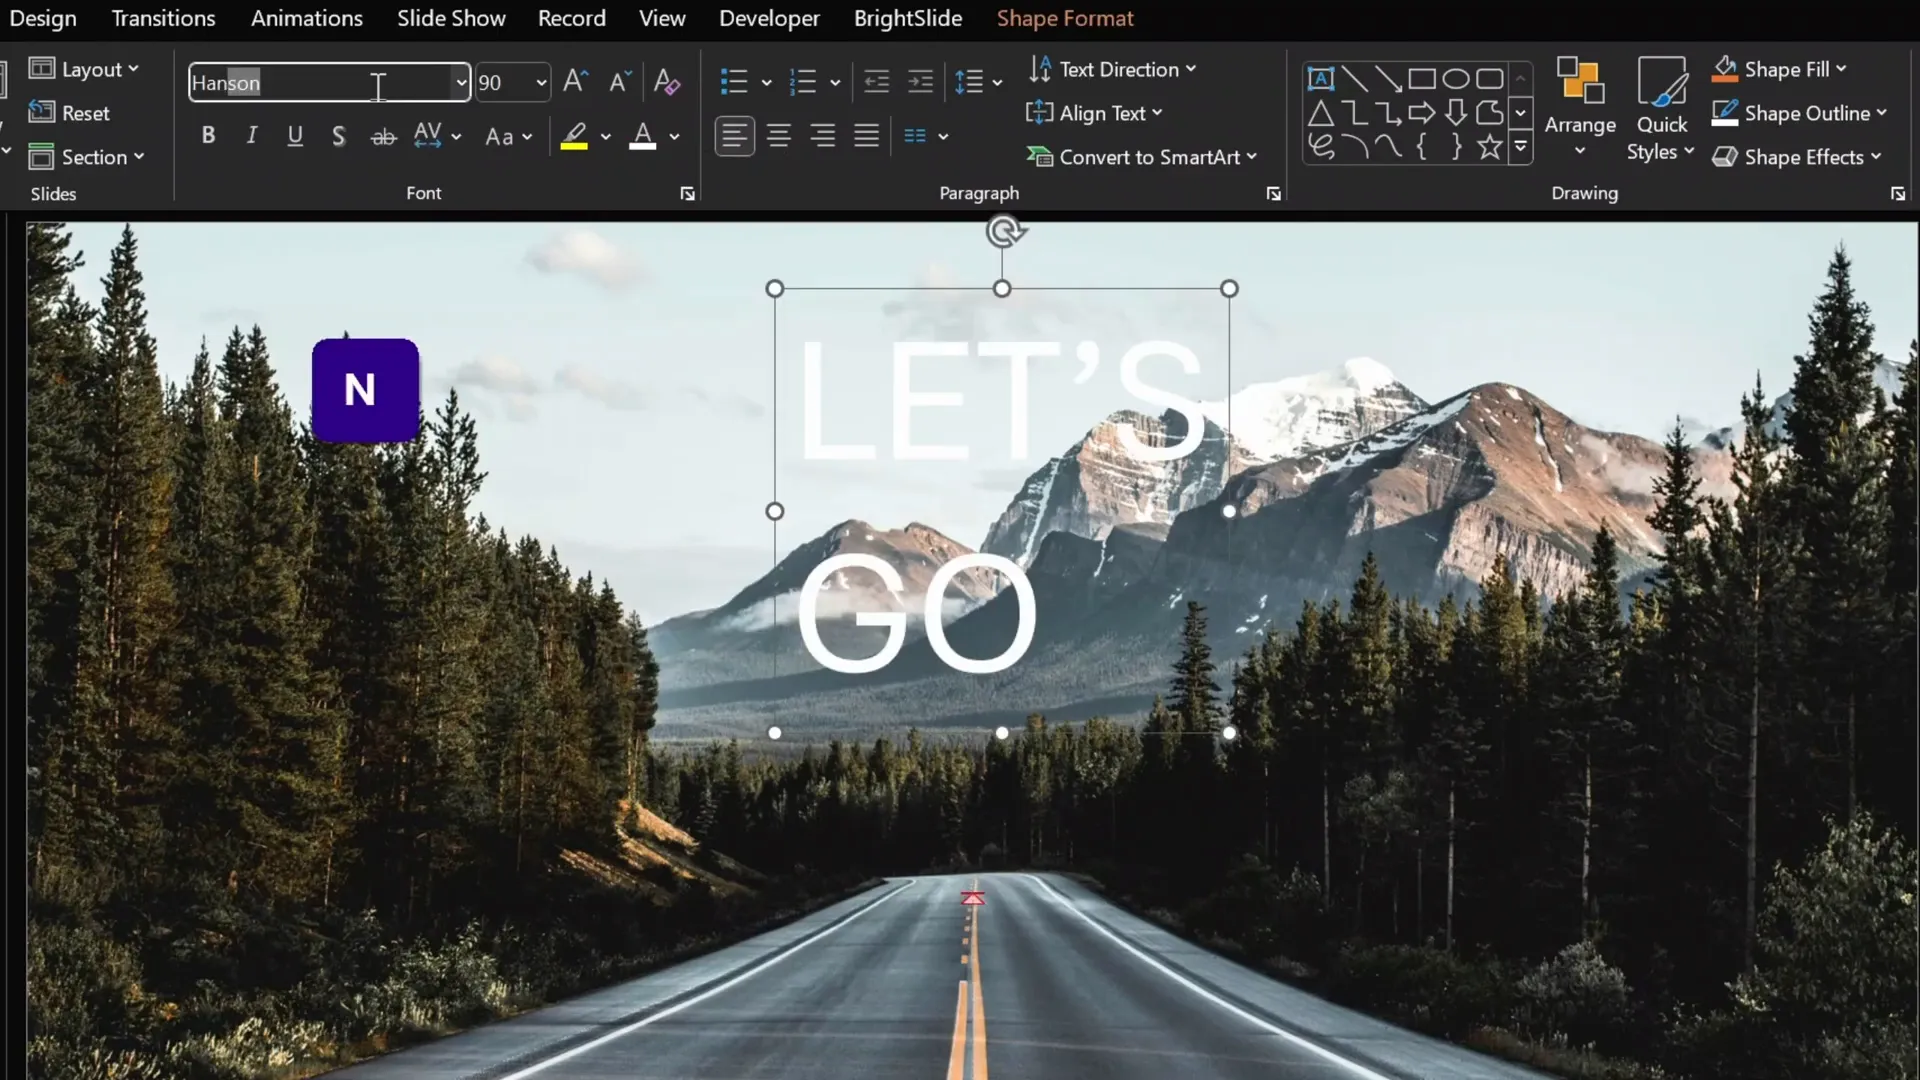
Step 1: Insert and Format Text Box
- Go to Insert > Text Box and click once on the slide.
- Type your title text (e.g., “Go”).
- Increase the font size to 90 points or larger for impact.
- Change the font color to white.
- Use a bold, modern font such as Hanson (link provided in the video description).
- Center-align the text.
Step 2: Adjust Line Spacing
- Open paragraph settings.
- Set line spacing to multiple 0.7 for a narrow gap between lines.
Step 3: Duplicate and Add Outline
- Duplicate the text box by pressing Ctrl + D.
- Select the original text box and go to Text Outline.
- Use the eyedropper tool to pick a dark green color from the slide.
- Set the outline thickness to 10 points for a thick border around letters.
- Align both text boxes perfectly on top of each other.

Step 4: Create 3D Shadow Effect
- Rename the top text box as “text box white” and the outline box as “text box outline” in the Selection Pane.
- Select the outline text box.
- Go to Text Shadow options and choose a preset shadow on the right edge.
- Set transparency to 0%, no blur, and increase the distance.
- This creates a 3D look for the outline.
- Select the white text box and add an inside text shadow.
- Instead of black, use the eyedropper tool to pick a warm orange color from the slide.
- Adjust the blur slider to get a subtle warm glow.
Animating the Slide Title for Dynamic Movement
To bring your slide title to life, we’ll animate it with the same motion path and zoom effects used for the arrows, but at a slower speed for contrast.
Step 1: Group Text Boxes
- Select both text boxes of the title.
- Group them into a single object for easier animation.
- Move the group outside the slide initially.
- Optionally increase the font size for more presence.
Step 2: Copy Animations Using Animation Painter
- Select the animated arrow shape.
- Use the Animation Painter to copy the arrow’s animations.
- Paste the animations onto the grouped slide title.
Step 3: Adjust Motion Path End Position and Timing
- Drag the motion path endpoint bubble to above the road in the background image.
- In the Animation Pane, reorder the title animations to play after the first arrow’s animations.
- Set the duration of the slide title animations to 8 seconds, making the movement slower than the 4-second arrows.
Step 4: Duplicate and Delay Slide Title
- Duplicate the grouped slide title.
- Move the duplicate’s animations below the first title group’s animations.
- Add a 4-second delay to the duplicate to stagger the titles.
- Align both title groups perfectly on top of each other.
Now, when you run the slideshow, you’ll see a continuous cinematic effect with multiple arrows moving and two slide titles traveling up the slide at different intervals.

Frequently Asked Questions
1. Can I use any photo for the background?
Yes! While the tutorial uses a specific photo from Unsplash, you can choose any high-resolution image that fits your presentation theme. Just ensure the image complements the arrow animation and doesn’t distract from the text.
2. Do I need special software besides PowerPoint?
No, all effects in this tutorial are created using PowerPoint’s built-in shape and animation tools. No third-party plugins are required.
3. Can I customize the colors of the arrows and text?
Absolutely. The tutorial uses orange for visibility during design, but you can apply any colors or gradients that match your brand or style.
4. How do I make the animation loop continuously?
Set the animation repeat option to Until End of Slide in the Timing settings of the Animation Pane. This will ensure the animation repeats indefinitely during the slide show.
5. Can I add more arrows or change the number?
Yes, you can duplicate or remove arrow shapes to suit your design. Just adjust the delays accordingly to maintain a smooth loop.
6. What version of PowerPoint is needed?
This tutorial works best in PowerPoint 2016 or later, where the Merge Shapes and advanced animation features are available.
Conclusion
Creating a cool slide animation in PowerPoint that looks cinematic and professional is entirely possible with a bit of creativity and mastery of built-in tools. This tutorial has shown you how to design custom arrows, apply gradient fills, animate motion paths combined with zoom effects, and loop the animation infinitely for a captivating presentation intro.
We also covered how to create a bold slide title with outlines and shadows, animate it smoothly, and synchronize it with the arrow animations for a cohesive visual experience. These techniques elevate a simple PowerPoint slide into a dynamic, looping animation that will impress any audience.
Remember, the key to great animations is precise timing, alignment, and layering. Feel free to experiment with colors, shapes, and animation speeds to tailor the effect to your unique style.
If you want to take your PowerPoint animation skills even further, consider checking out the PowerPoint Animation Mastery Course by the video creator, One Skill PPT, which offers in-depth tutorials and tips to become a PowerPoint animation pro.
Now it’s your turn to create stunning cinematic slides and wow your audience with cool slide animations!


