

Creating a captivating and cinematic presentation in PowerPoint might seem like a daunting task, especially if you’re aiming for something that stands out and impresses your audience. Luckily, with the right techniques and a bit of creativity, you can transform your slides into a visually stunning story that flows seamlessly. In this comprehensive guide, I’ll walk you through the exact process I use to design cinematic presentations using Microsoft PowerPoint 365, inspired by my popular tutorial on the topic.
Whether you’re a student, a professional, or a creative looking to elevate your presentation game, this step-by-step tutorial will equip you with actionable tips and tricks. We’ll cover everything from setting up your slide background and adding images with transparency, to advanced text formatting and creating dynamic timeline effects using PowerPoint’s Morph and Push transitions. By the end, you’ll be able to craft presentations that are not only informative but also visually engaging and cinematic.
Table of Contents
- Introduction to Cinematic Presentation Design
- Step 1: Setting Up Your Slide Background
- Step 2: Adding and Styling Text for Maximum Impact
- Step 3: Incorporating Transparent PNG Images for Visual Flair
- Step 4: Fine-Tuning Layout and Spacing
- Step 5: Creating Cinematic Transitions with Morph
- Step 6: Designing a Professional Timeline – Two Methods
- Final Tips and Where to Get These Slides
- Frequently Asked Questions (FAQ)
- Conclusion
Introduction to Cinematic Presentation Design
Cinematic presentations are all about storytelling and visual impact. They rely heavily on smooth transitions, layered graphics, and thoughtful design choices that guide your audience’s attention and evoke emotion. The key is to combine simplicity with elegance, avoiding clutter while maximizing visual appeal.
In this tutorial, I chose the Roman Empire as the theme for the presentation, which provided rich historical content and imagery to illustrate the timeline and key events. However, the techniques I share are universal and can be adapted to any topic you want to present.
Let’s jump right into how you can start building your cinematic presentation from scratch using PowerPoint.
Step 1: Setting Up Your Slide Background
The foundation of a cinematic presentation is a strong background that supports your content without overpowering it. Here’s how to set up a sleek, dark background that makes your images and text pop:
- Change the Background Color: Right-click on any slide and select Format Background. Choose a solid fill and set the color to black. This dark backdrop provides a dramatic canvas that enhances the cinematic feel.
- Add a Background Image: Find a high-quality image online that fits your theme. For example, an evocative photo related to the Roman Empire can add context and depth. Copy and paste the image into your slide.
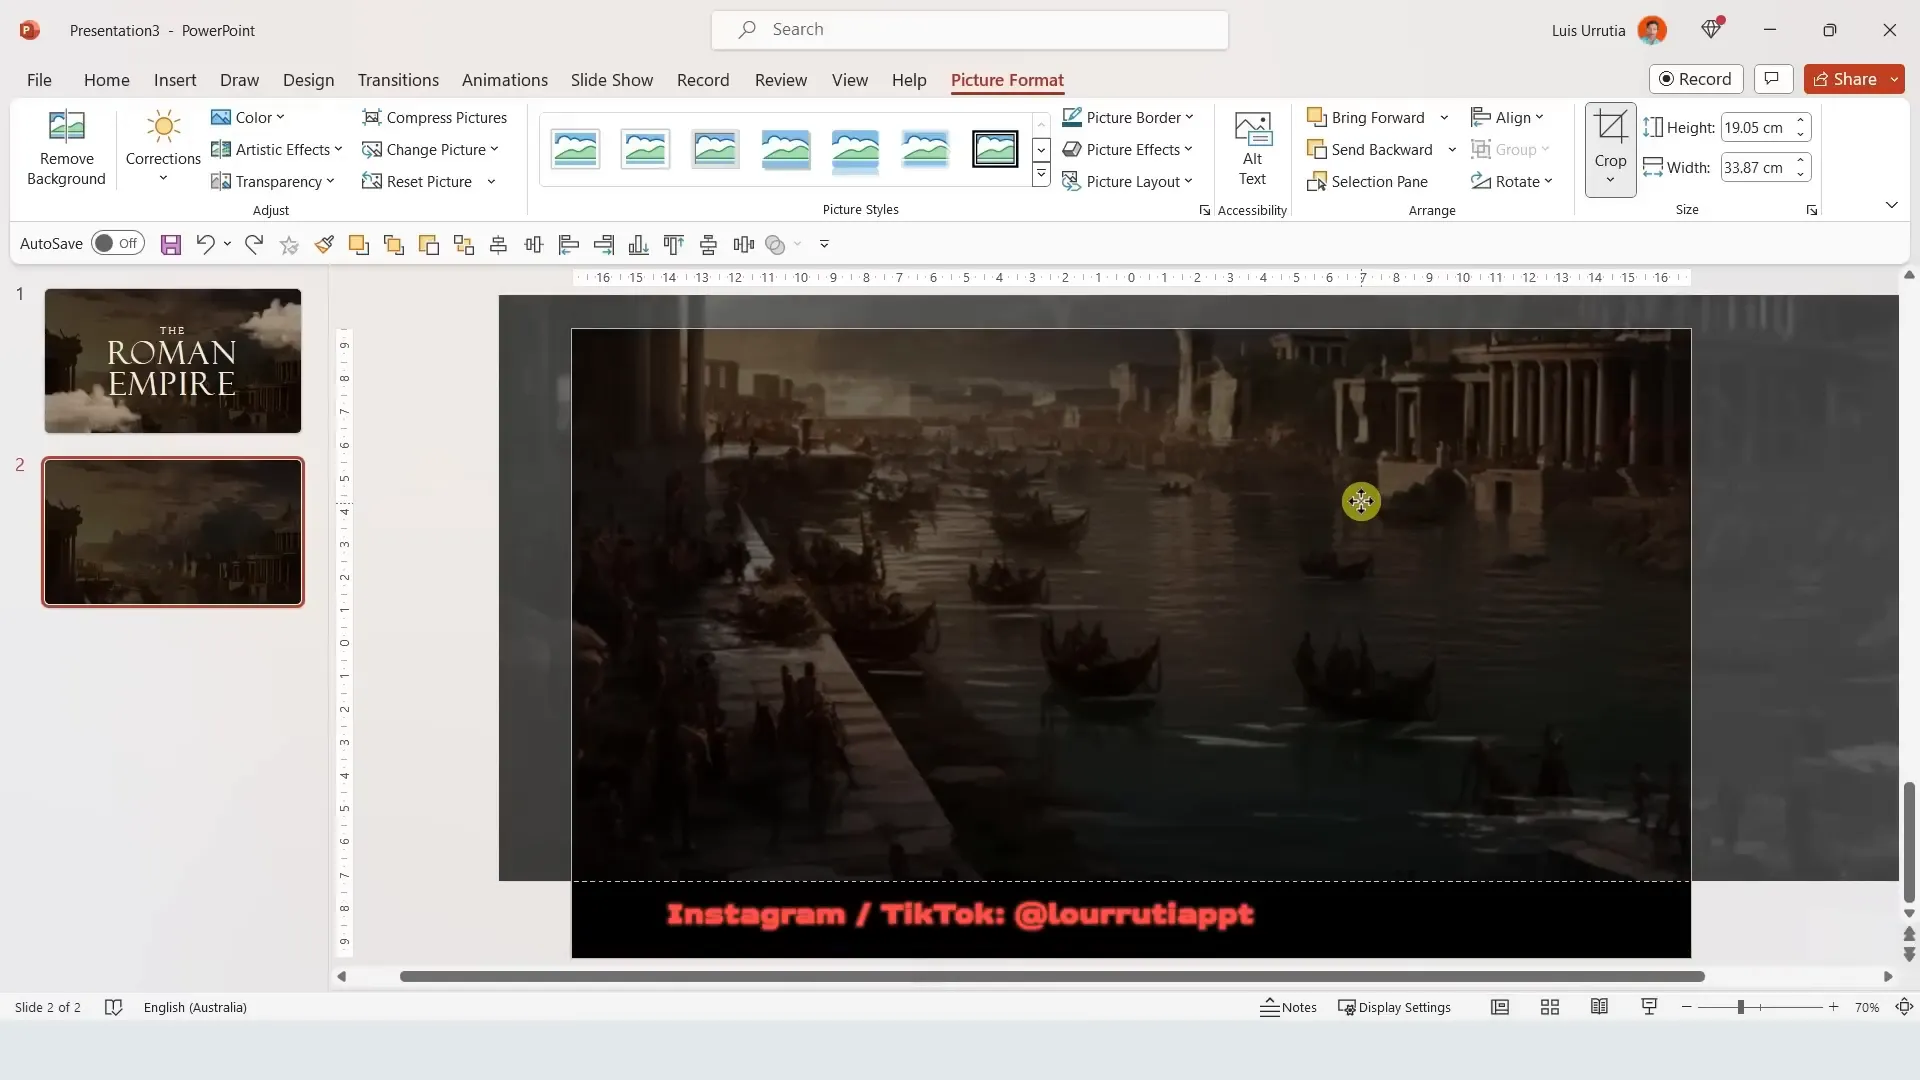
- Crop and Position the Image: Zoom out to see the whole slide and crop the image using the Picture Format tab. The goal is to display about three-quarters of the image, leaving the last quarter hidden at the bottom. This positioning adds intrigue and balance.
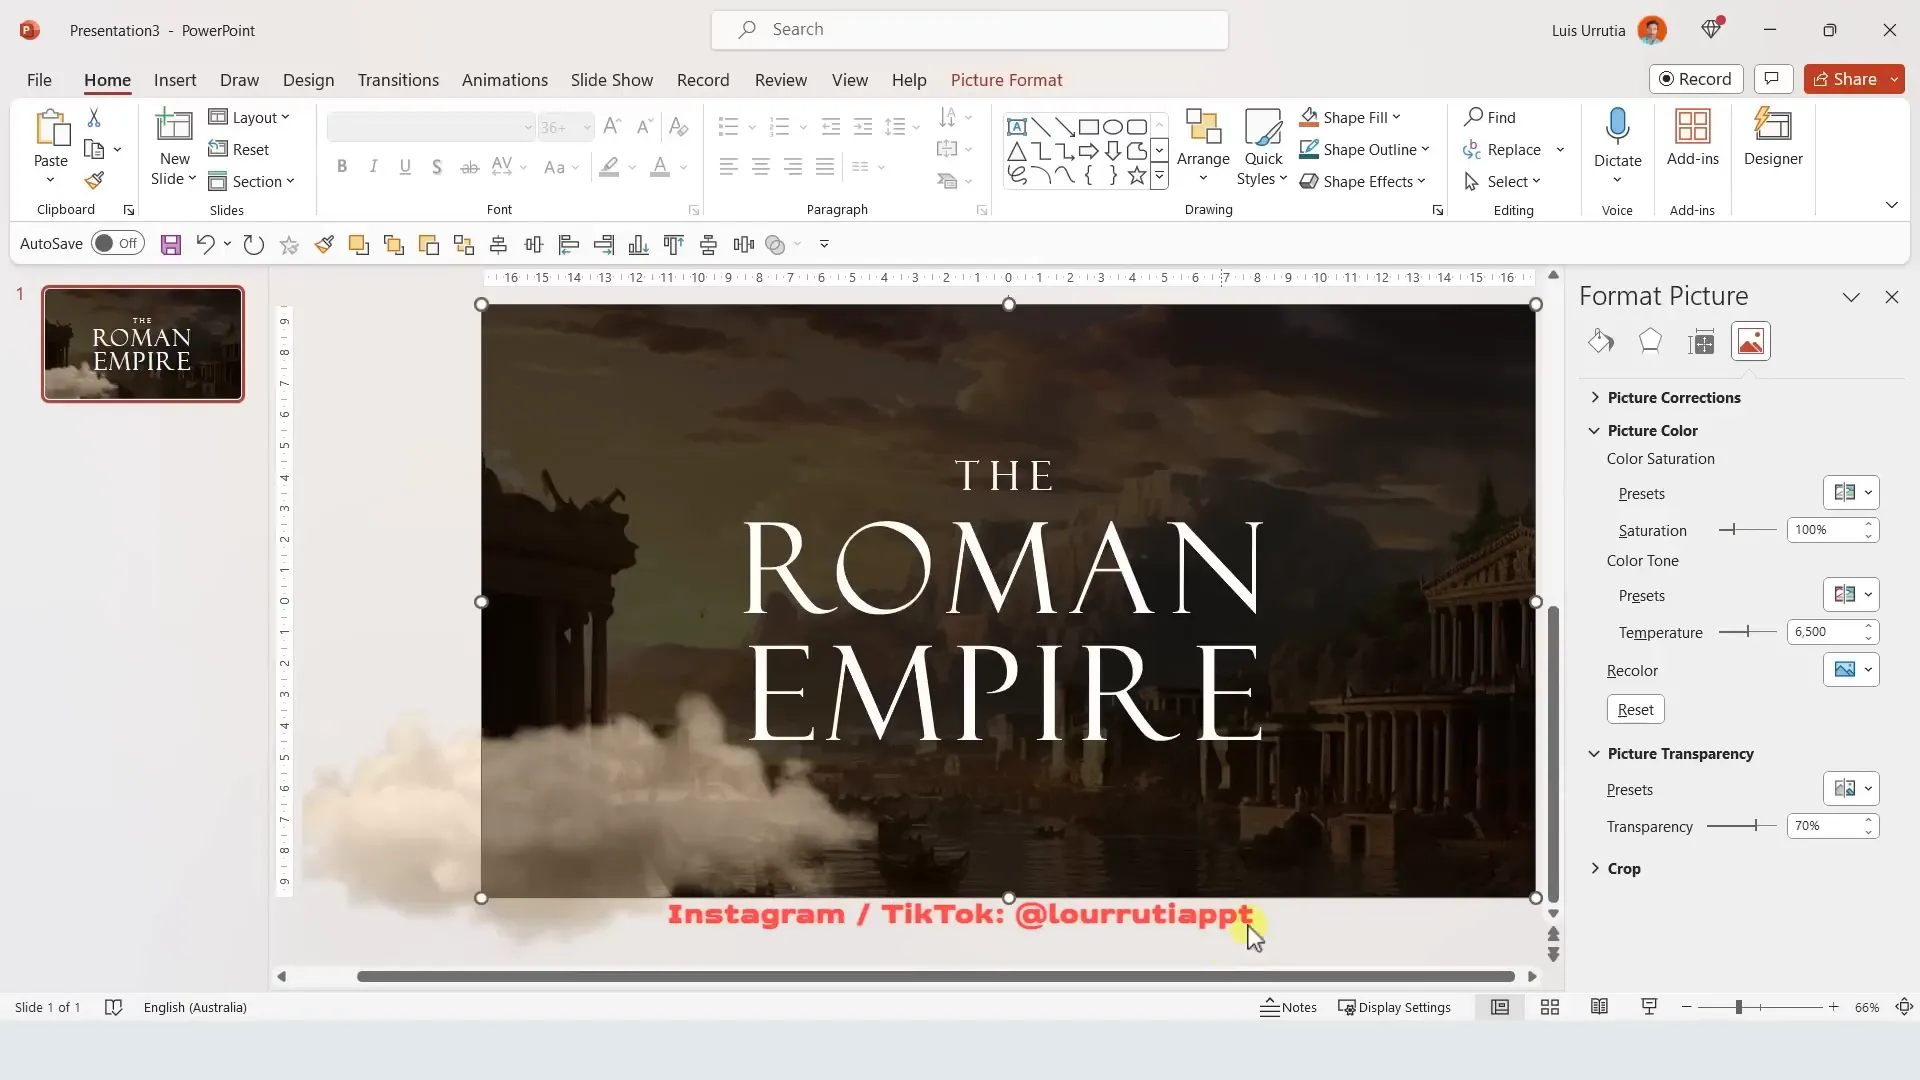
- Adjust Transparency: Right-click the image and select Format Picture. Under the image icon, increase the transparency to around 70%. This subtle fade ensures the image supports rather than distracts from your text.

By carefully balancing the image size and transparency, you create a moody yet inviting background that sets the tone for the entire presentation.
Step 2: Adding and Styling Text for Maximum Impact
Text is a critical element in your presentation. To achieve the cinematic look, you need to focus on typography, alignment, color, and spacing. Here’s how to style your text effectively:
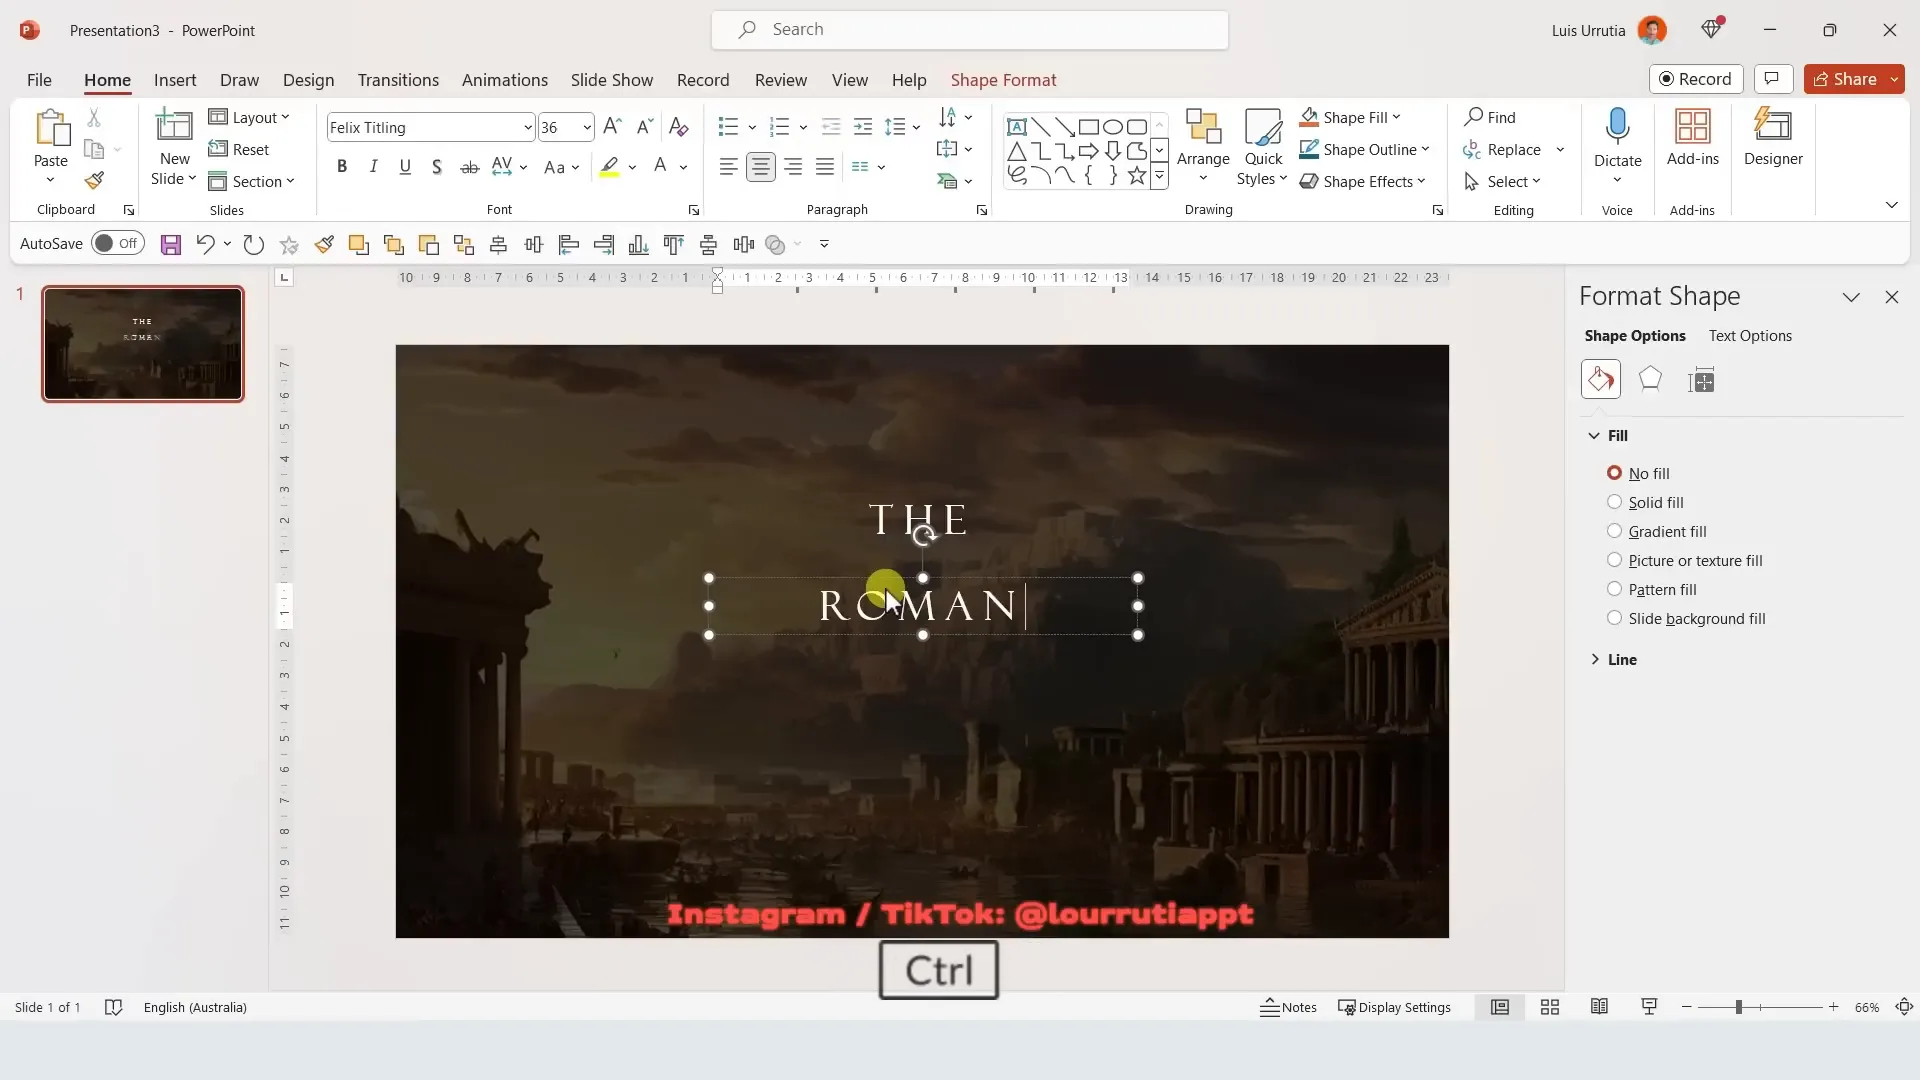
- Insert Text Boxes: Use the Insert Text Box option to add your title and other text elements onto the slide.
- Center Align and Change Text Color: Center your text and change the font color to white for strong contrast against the black background.
- Choose a Stylish Font: I used a font called Felix Titling, which I downloaded online. This font has a classic yet bold look that fits the cinematic style perfectly.
- Increase Font Size: Use the font size adjustment buttons to make your title prominent and easy to read.
- Adjust Character Spacing: Click the character spacing icon, select Expanded, and set the value to 10. This spacing creates a sense of openness and elegance in your text.
- Duplicate Text Boxes: Hold down the Control key and drag the text box down to duplicate it. This makes it easier to create consistent text elements for other parts of your presentation.
These small typography tweaks make a big difference in the overall feel of your slides, lending them a polished and professional look.
Step 3: Incorporating Transparent PNG Images for Visual Flair
Adding decorative elements like clouds or icons can enhance your presentation’s atmosphere. However, it’s important to use images with transparent backgrounds (PNG files) to maintain visual cleanliness. Here’s how to find and add them:
- Search for PNG Images: Use Google Images and look for PNG files. A quick test is to click on the image; if the background turns into a checkerboard pattern, it’s a genuine transparent PNG.
- Copy and Paste: Paste the PNG image into your slide and resize it as needed.
- Adjust Transparency and Color: Increase the image transparency to about 40% using the Format Picture options. Then, tweak the image temperature and saturation to give it a warm, brownish tint. This subtle coloring integrates the image into the slide’s cinematic palette.
- Duplicate and Position: Duplicate your PNG elements by holding Control and dragging, then arrange them strategically around your text for balance and harmony.
Using transparent PNGs with controlled color and transparency allows you to add depth and texture without cluttering the slide.
Step 4: Fine-Tuning Layout and Spacing
Once you have your elements in place, it’s time to adjust the layout for readability and aesthetics:
- Duplicate the Slide: Use Control + D to duplicate your slide, so you can work non-destructively and compare versions.
- Select and Move Elements: Hold Shift and select all clouds and text boxes, then drag them upwards to create more breathing room.
- Adjust Spacing Between Text Boxes: Select individual text boxes and nudge them up or down to ensure even spacing and alignment.
- Use Color to Check Alignment: Temporarily change text color to black to see spacing and alignment clearly, then revert to your chosen color.
- Crop Background Image: Scroll to show the hidden quarter of your background image by cropping upwards, adding visual interest and layering.
These layout adjustments help create a balanced and harmonious slide that guides the viewer’s eye naturally.
Step 5: Creating Cinematic Transitions with Morph
One of PowerPoint’s most powerful features for cinematic presentations is the Morph transition. It allows you to create smooth animations between slides by automatically moving and resizing elements. Here’s how to use it:
- Copy Text to New Slide: Copy text elements from one slide and paste them onto the next slide, changing their position or size as needed.
- Apply Morph Transition: Select the second slide, go to the Transitions tab, and choose Morph. This will animate the movement of elements from the first slide to the second.
- Preview the Effect: Run your slideshow to see the smooth transition in action.
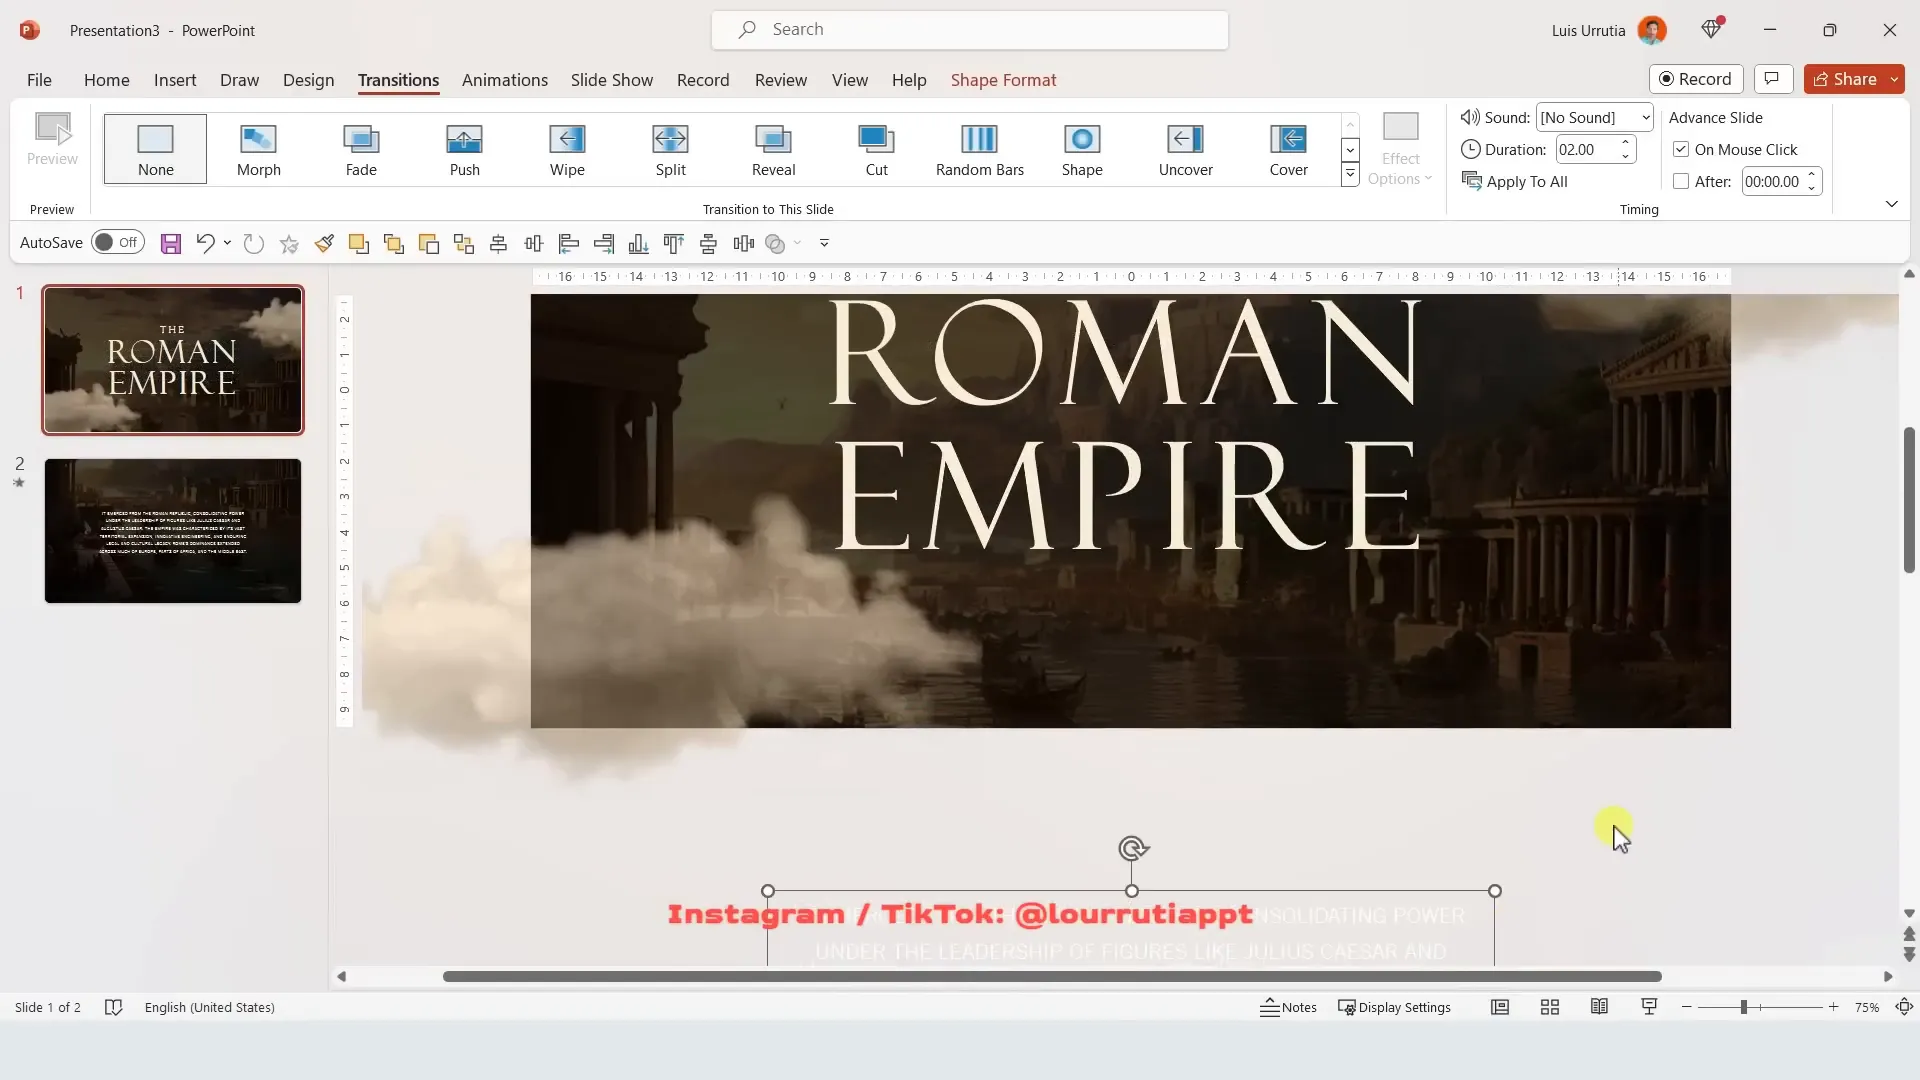
The Morph transition adds a professional and cinematic flair that captivates your audience and makes your presentation feel like a story unfolding.
Step 6: Designing a Professional Timeline – Two Methods
Timelines are a fantastic way to showcase historical events, project milestones, or any sequential information. I’ll show you two approaches to creating timelines in PowerPoint: a pro method with advanced animation and a simpler, more editable version.
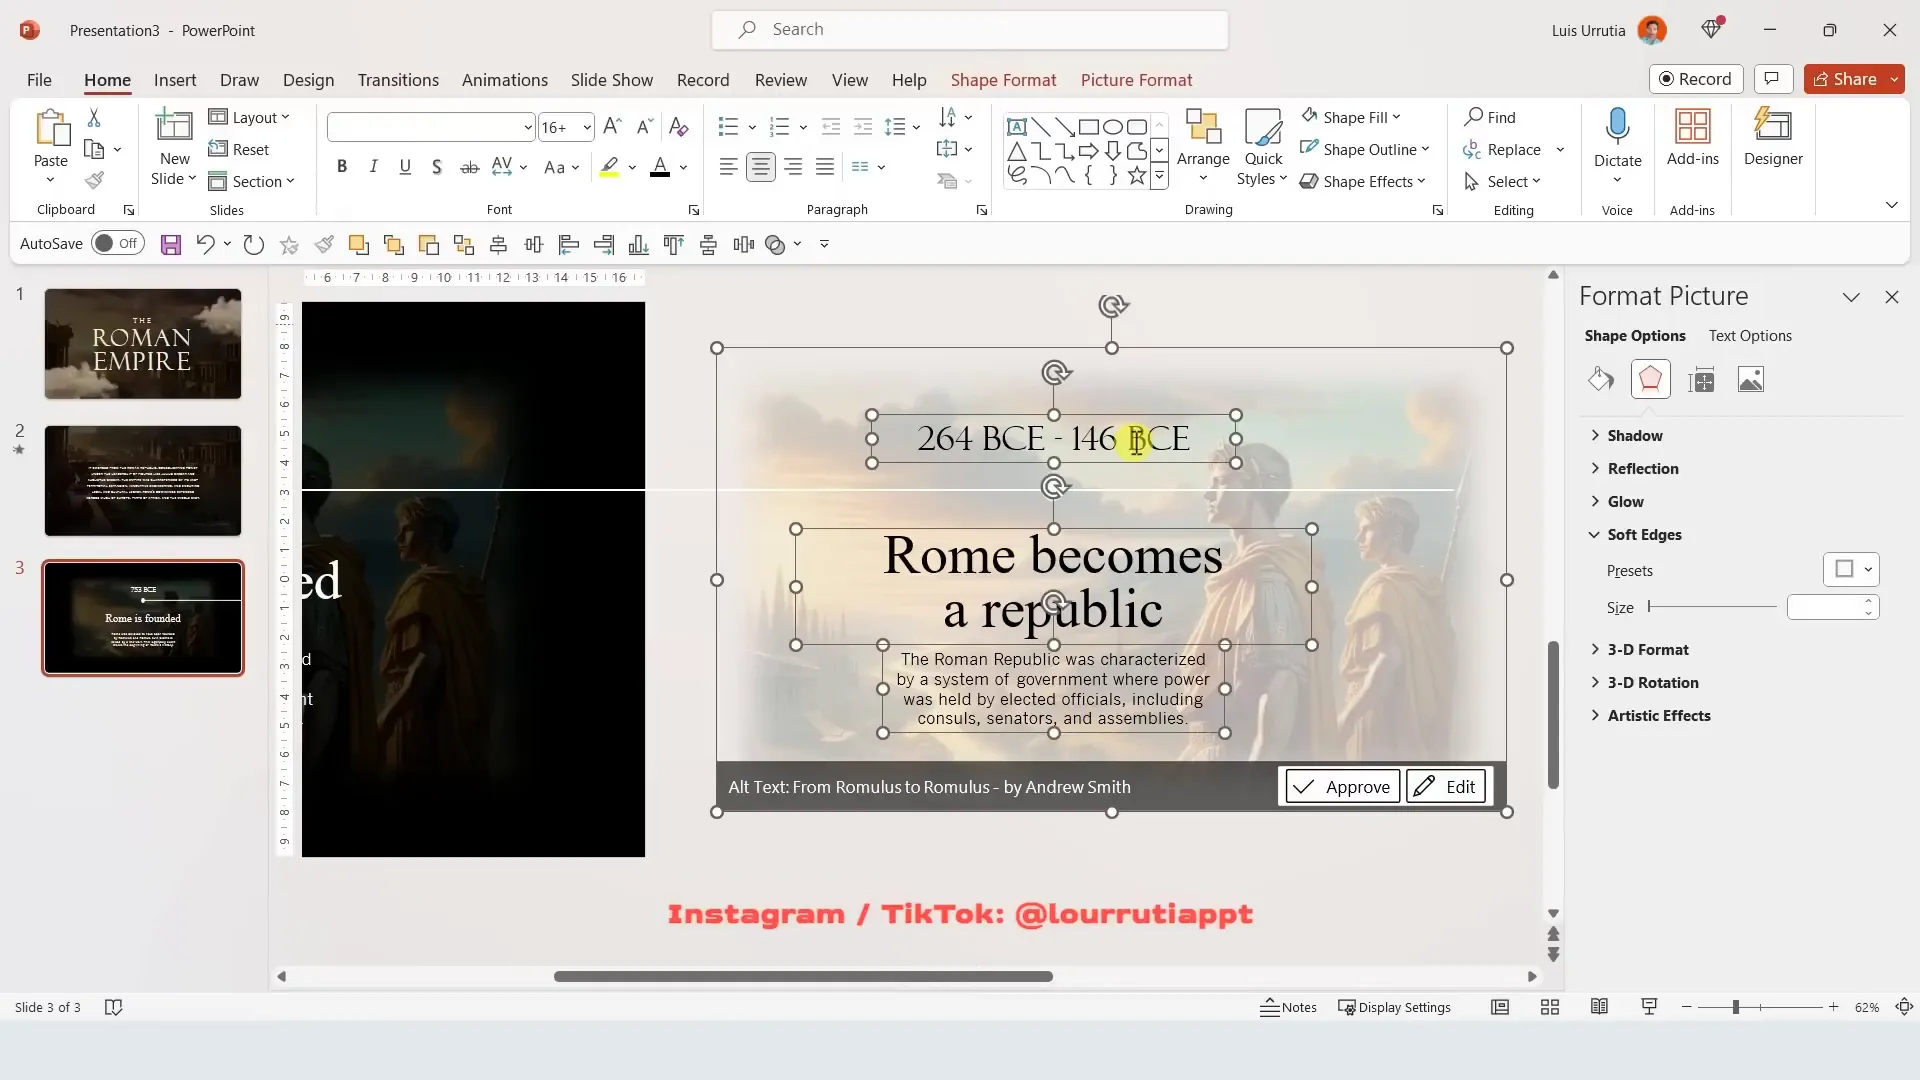
Pro Method: Advanced Timeline with Morph
This approach uses duplicated text boxes and shapes positioned outside of the slide to create dynamic transitions.

- Change Slide Background to Black: Maintain consistency with your cinematic theme.
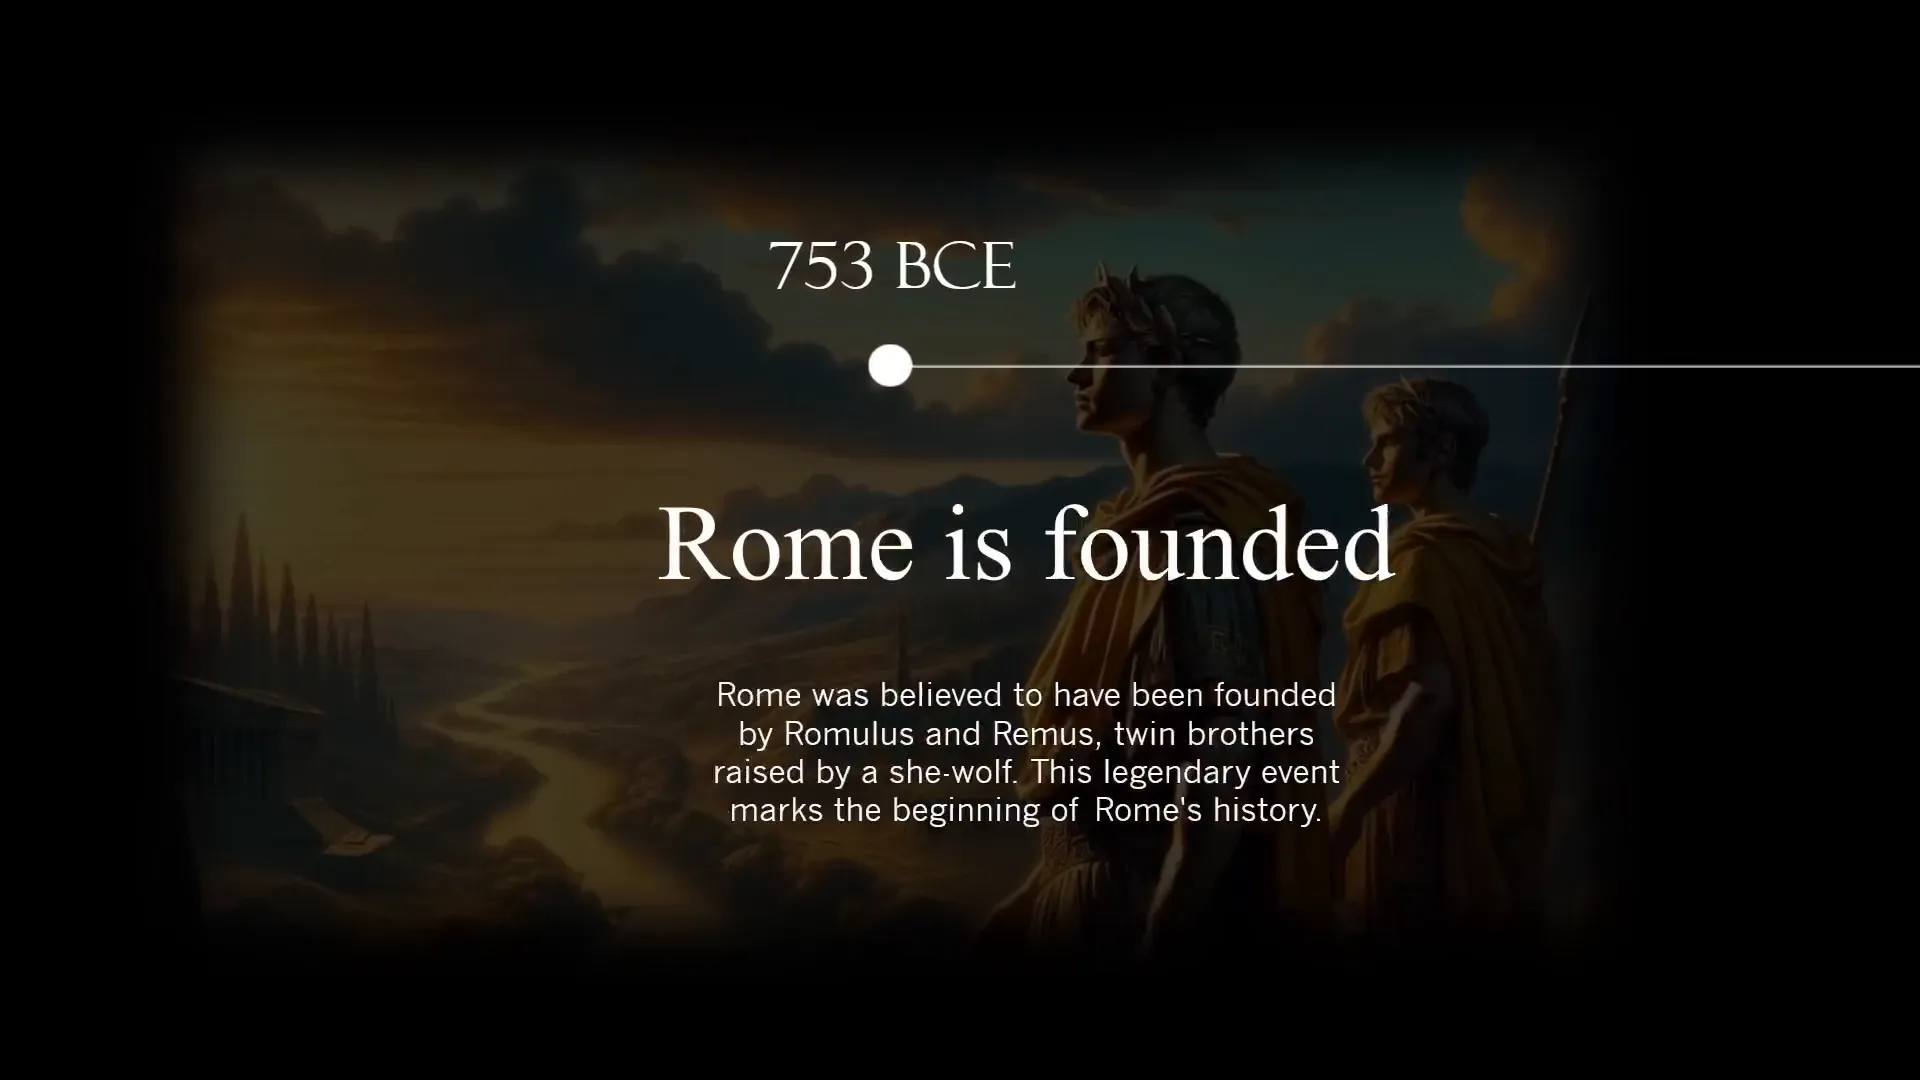
- Add Text Boxes: Insert a date, event title, and short description for your first timeline entry.
- Duplicate Text Boxes: Select all text boxes, hold Control, and drag to the right to create a copy for the next timeline event.
- Change Duplicate Text Color: Temporarily switch text color to black to see what you’re doing clearly.
- Write Second Event: For example, “When Rome becomes a republic.”
- Position Events: One event remains visible on the slide, while the other is positioned just outside the slide boundary to the right.
- Add Timeline Shapes: Insert white circle shapes under each date and a straight white line connecting them. Remove outlines for a clean look.
- Add Background Images: Paste an image behind the first date, increase transparency to about 75%, and apply a soft edge effect for a smooth blend. Right-click and send the image backward.
- Duplicate Slide: Duplicate the slide to create the background for the second event, send the image backward, and align all elements to center.
- Replace Image: Change the background image for the second event by copying a new image and using the Change Picture option from clipboard.
- Apply Transparency: Repeat the transparency and soft edge adjustments for the new image.
- Group Text Elements: Select the title and description for each event, right-click, and group them to keep them together while moving.
- Move Second Date: Shift the second date group to the left outside the slide.
- Duplicate Slide and Animate: Duplicate the slide, select both dates and drag them left so the second date is centered on the slide. Adjust text boxes and images accordingly.
- Expand Timeline Line: Adjust the connecting line’s length to fit the new layout.
- Apply Morph Transition: Use Morph between the slides to animate the timeline moving gracefully from one event to another.
This method creates a sleek, cinematic timeline effect that looks impressive but can be complex to edit as you add more dates.
Basic Method: Simple Timeline with Push Transition
If you prefer a more straightforward and easily editable timeline, this method is for you.
- Duplicate the Slide: Start from your initial timeline slide before duplicating text boxes outside the slide.
- Extend Timeline Line: Drag the connecting line all the way to the left border of the slide.
- Replace Text and Image: Update the date, event title, description, and background image for the next timeline event.
- Use Push Transition: Instead of Morph, go to Transitions, select Push, and set the effect option to push from the right.
- Preview Your Timeline: Run the slideshow to see the slide push effect that moves between timeline events.
This approach is less cinematic but much easier to manage, especially if you have many dates to add. It’s a practical balance between style and simplicity.
Final Tips and Where to Get These Slides
To wrap up, here are some final tips to keep in mind when creating your cinematic presentations:
- Consistency is Key: Maintain consistent colors, fonts, and image styles throughout your presentation for a cohesive look.
- Use High-Quality Images: Always opt for high-resolution images that won’t pixelate when enlarged.
- Leverage Transparency: Use transparency wisely to layer images and text without overwhelming your slides.
- Master PowerPoint Transitions: Experiment with Morph and Push transitions to add life to your presentations.
- Group Elements: Group related items like text and images to make moving and editing easier.
- Test Your Presentation: Always preview your slideshow to ensure transitions and animations flow smoothly.
If you want to save time and get a head start, you can download the exact slides featured in this tutorial from my website. These templates are fully editable and designed to help you create stunning cinematic presentations quickly.
Frequently Asked Questions (FAQ)
What version of PowerPoint do I need to create cinematic presentations?
For the best experience and access to advanced features like the Morph transition, I recommend using Microsoft PowerPoint 365. Some features might not be available in older versions.
How do I find transparent PNG images for my slides?
Use Google Images and search for PNG files. When you preview the image, a checkerboard background indicates transparency. Always verify the image quality before using it.
Can I use any font to create cinematic text effects?
While you can use any font, choosing stylish and readable fonts like Felix Titling helps achieve a cinematic feel. Avoid overly decorative fonts that reduce readability.
What if I want to add more dates to my timeline?
If you’re comfortable with complex editing, the pro timeline method with Morph transitions looks amazing but can get complicated as you add more dates. For easier editing, use the basic timeline with Push transitions.
Are these techniques suitable for all presentation topics?
Absolutely! The design principles and PowerPoint techniques shown here can be adapted to any subject, from business presentations to educational lectures and creative portfolios.
Where can I download the slides and templates used in this tutorial?
You can download the slides featured in this tutorial from my website. The link is provided in the video description and you can use them as a foundation for your own presentations.
Conclusion
Designing cinematic presentations in PowerPoint is a fantastic way to captivate your audience and communicate your message with style. By combining a dark, moody background, transparent images, elegant typography, and powerful transitions like Morph and Push, you can create a presentation that feels more like a movie than a simple slideshow.
Remember, the key to cinematic presentation design is storytelling through visuals and smooth animations. Take your time to experiment with layouts, fonts, and transitions, and you’ll develop your unique style that resonates with viewers.
Thanks for following along with this detailed guide. If you’re interested in diving deeper, consider checking out my full PowerPoint course where I explore many more cinematic effects and presentation techniques.
Happy presenting!
Check out the full video: Cinematic presentations in POWERPOINT 🤯 Step-by-step


