

If you’re looking to elevate your PowerPoint presentations with cool slide animation, interactive menus, and zoomable sections, you’re in the right place. This comprehensive guide will walk you through creating a modern, minimalistic, and highly engaging presentation using PowerPoint’s advanced features. Whether you’re preparing a research thesis presentation or a professional pitch, mastering these techniques will give your slides a polished, professional look and make your content more dynamic and memorable.
This tutorial is inspired by a request from Vishal, a chemistry student who wanted a PowerPoint template suitable for presenting research theses. The template and techniques shared here are versatile and can be adapted for various presentation needs.
Table of Contents
- Getting Started: Setting Up Your Presentation
- Creating Beautiful Glowing Circles for Backgrounds
- Adding Text Boxes and Applying Cool Slide Animation
- Building a Clickable Interactive Menu
- Fixing Icon Transitions with Selection Pane Naming
- Making Text Boxes Follow Active Icons
- Adding Infographics and Zoomable Sections
- Creating Multiple Interactive Sections
- Finalizing Animations and Testing Your Presentation
- Frequently Asked Questions
- Conclusion
Getting Started: Setting Up Your Presentation
To begin crafting your interactive and animated PowerPoint presentation, start with a clean slate. Here’s how to set up your environment:
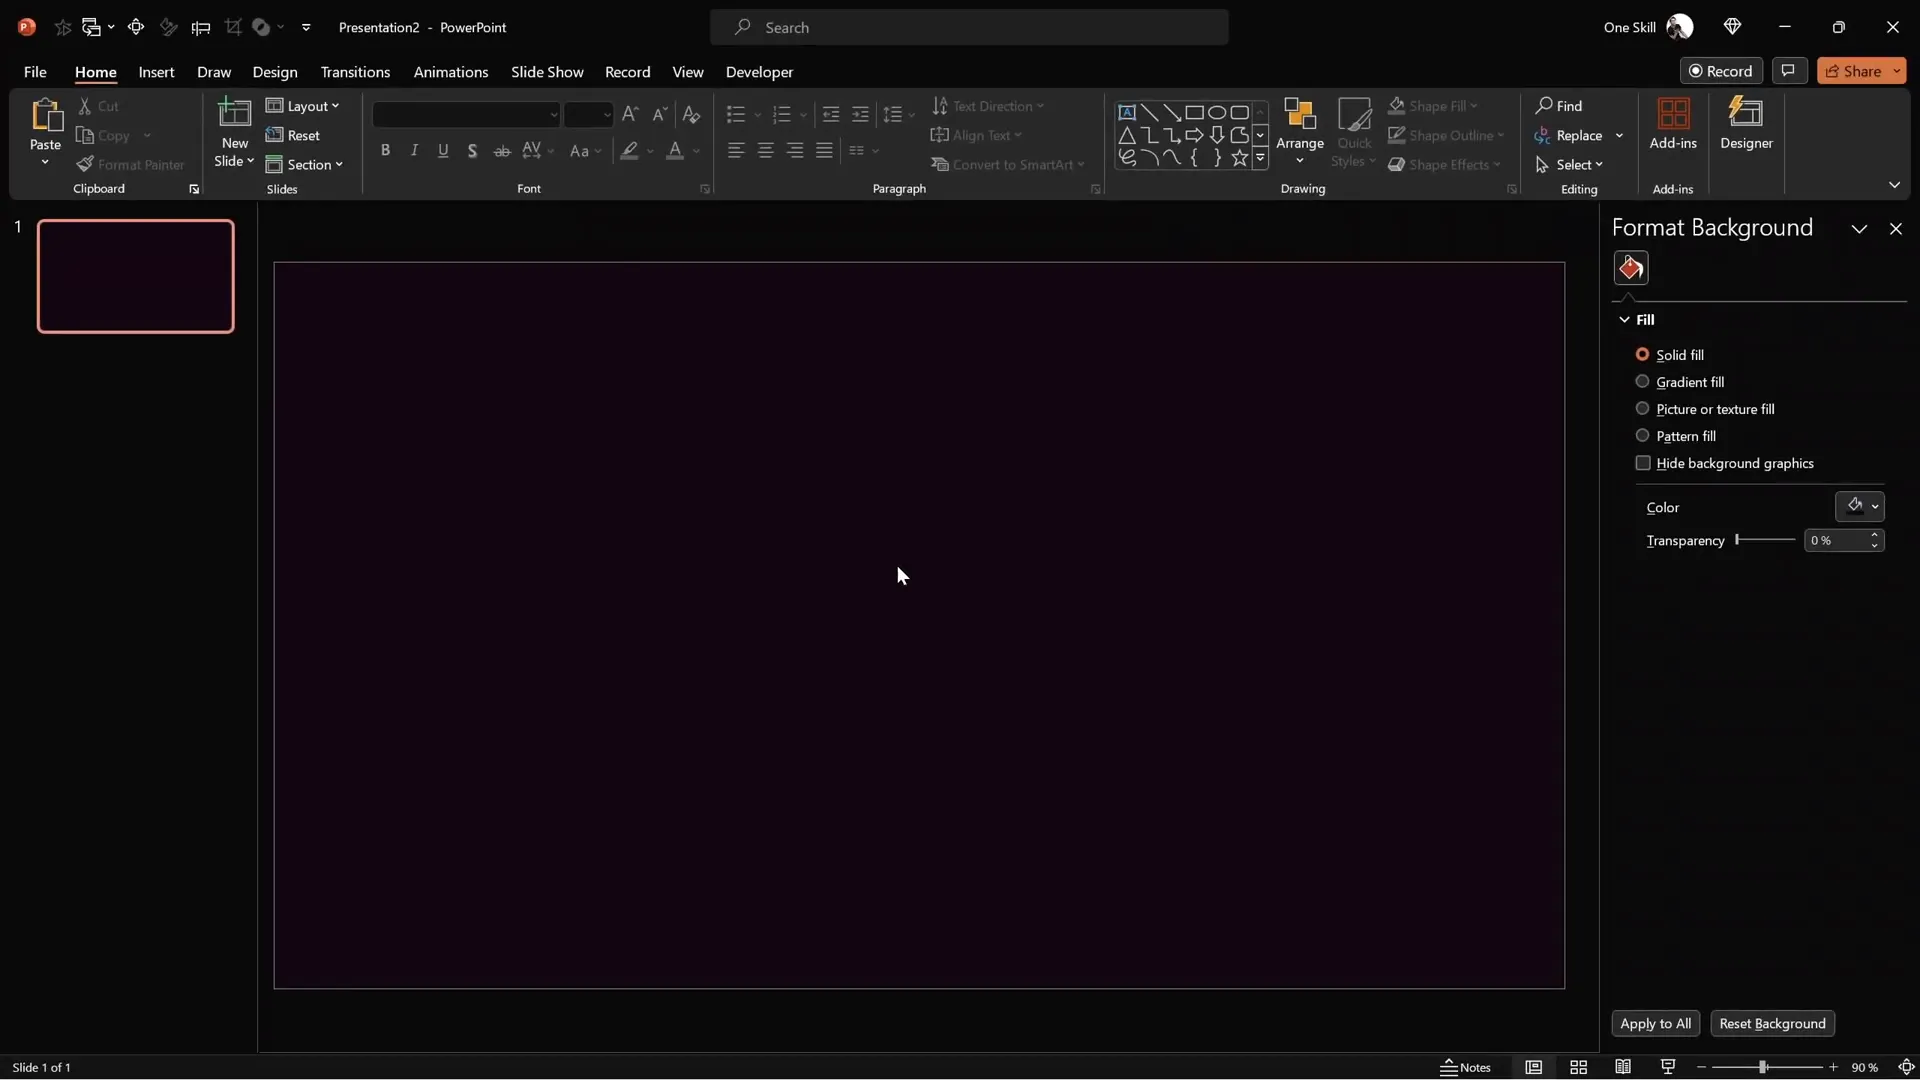
- Open a new blank presentation. Close any open notes to maximize your workspace and select the blank slide layout for a fresh canvas.
- Set a consistent background color. Use a modern color palette by applying a solid fill background with your preferred hex code. This approach gives your presentation a cohesive, minimalist feel.
For example, you can copy a hex color code from a previous presentation or choose one you like. Right-click on the slide, select Format Background, choose Solid Fill, then click More Colors and paste your hex code under the Custom tab.
Once set, apply this background color to all slides to maintain uniformity.
Creating Beautiful Glowing Circles for Backgrounds
Adding subtle glowing circles can enhance the visual appeal of your slides without overpowering your content. Here’s a simple way to create these soft, glowing effects:
- Insert a perfect circle: Use the circle tool while holding down Ctrl + Shift to draw a circle from the center.
- Position the circle: Center it on your slide for a balanced look.
- Remove outlines: Set the circle’s outline to none for a clean appearance.
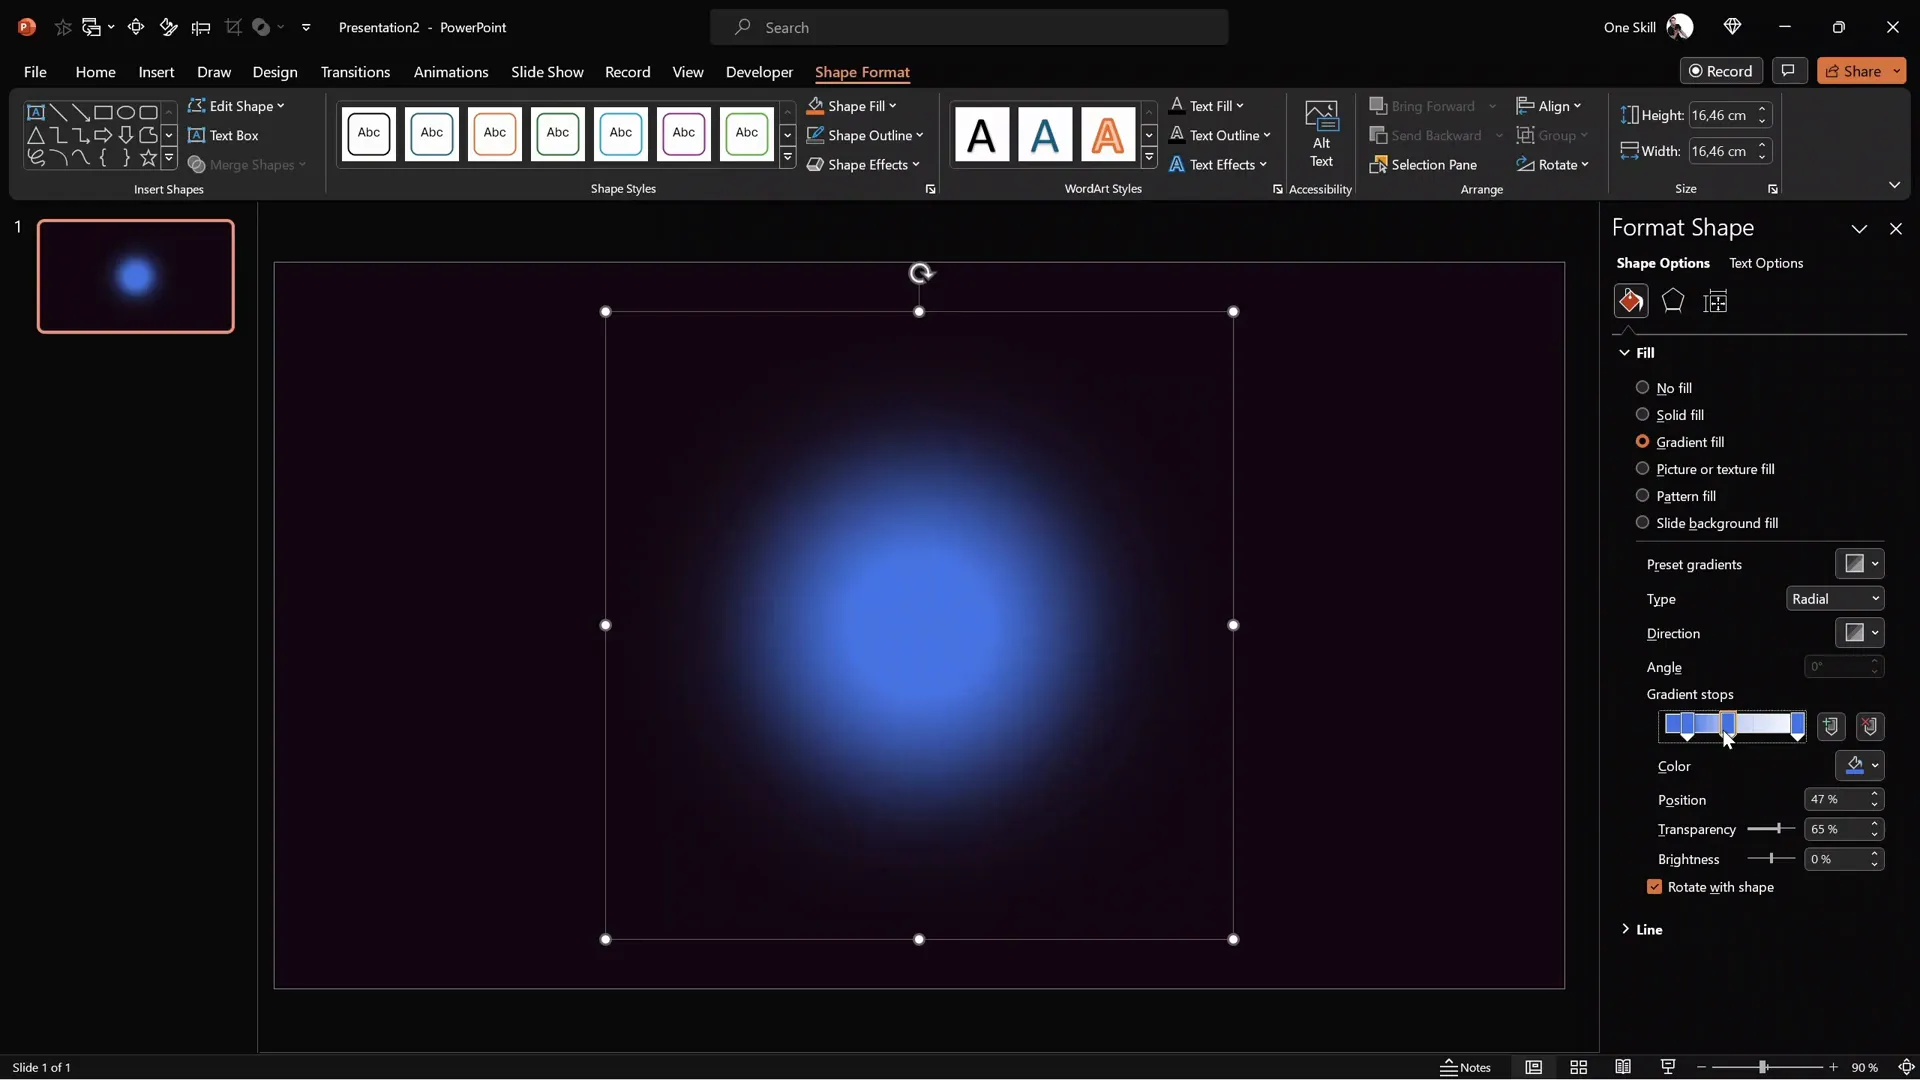
- Apply a radial gradient fill: Choose a gradient that starts from the center. Reduce the color stops to three, all using the same base color (use your hex code for color consistency).
- Adjust transparency for depth:
- Make the rightmost color stop fully transparent.
- Set the middle color stop to 65% transparency.
- Leave the leftmost color stop fully opaque and position it closer to the center (e.g., position 20).
- Soften the edges: Apply maximum soft edges via the Effects menu to create a fuzzy, glowing effect.
This technique produces beautiful fuzzy balls that add a modern, elegant touch to your slides.
Adding Text Boxes and Applying Cool Slide Animation
Text is essential for delivering your message clearly. To make your text engaging, apply cool slide animation techniques like wipes and motion paths. Here’s how:
- Insert text boxes: Add your content by inserting text boxes. To save time, you can copy styled text boxes from previous slides.
- Add icons: Use icons from sites like Phosphor Icons for a clean, professional look. Apply a white shadow with an 8pt blur and zero transparency for a glowing effect.
- Apply wipe animation: Select a text box, choose Wipe animation with the direction set to From Top, and set the duration to 0.8 seconds.
- Add motion path animation: Add a Motion Path (Line) animation to the same text box. Adjust the path direction to move the text box upwards by right-clicking and selecting Reverse Path Direction. Set the duration to 1.25 seconds and start it With Previous.
- Smooth the motion: In motion path options, set the end smoothness to maximum for buttery smooth transitions.
- Copy animations: Use the animation painter to apply the same animations to other text boxes, ensuring consistent timing and effects.
- Set slide transition: Use the Fade transition for slides to complement the animations subtly.
The result is a sleek animation sequence that draws attention to your text without overwhelming the viewer.
Building a Clickable Interactive Menu
One of the most powerful ways to make your presentations interactive is by creating a clickable menu that lets you navigate between sections seamlessly. Follow these steps:
- Create a glowing circle for the menu background: Copy your existing glowing circle and change its color to match the menu’s theme.
- Add basic shapes: Insert a rounded rectangle for the menu background. Fill it with white and set transparency to around 95% for subtlety. Adjust the outline transparency to 90%.
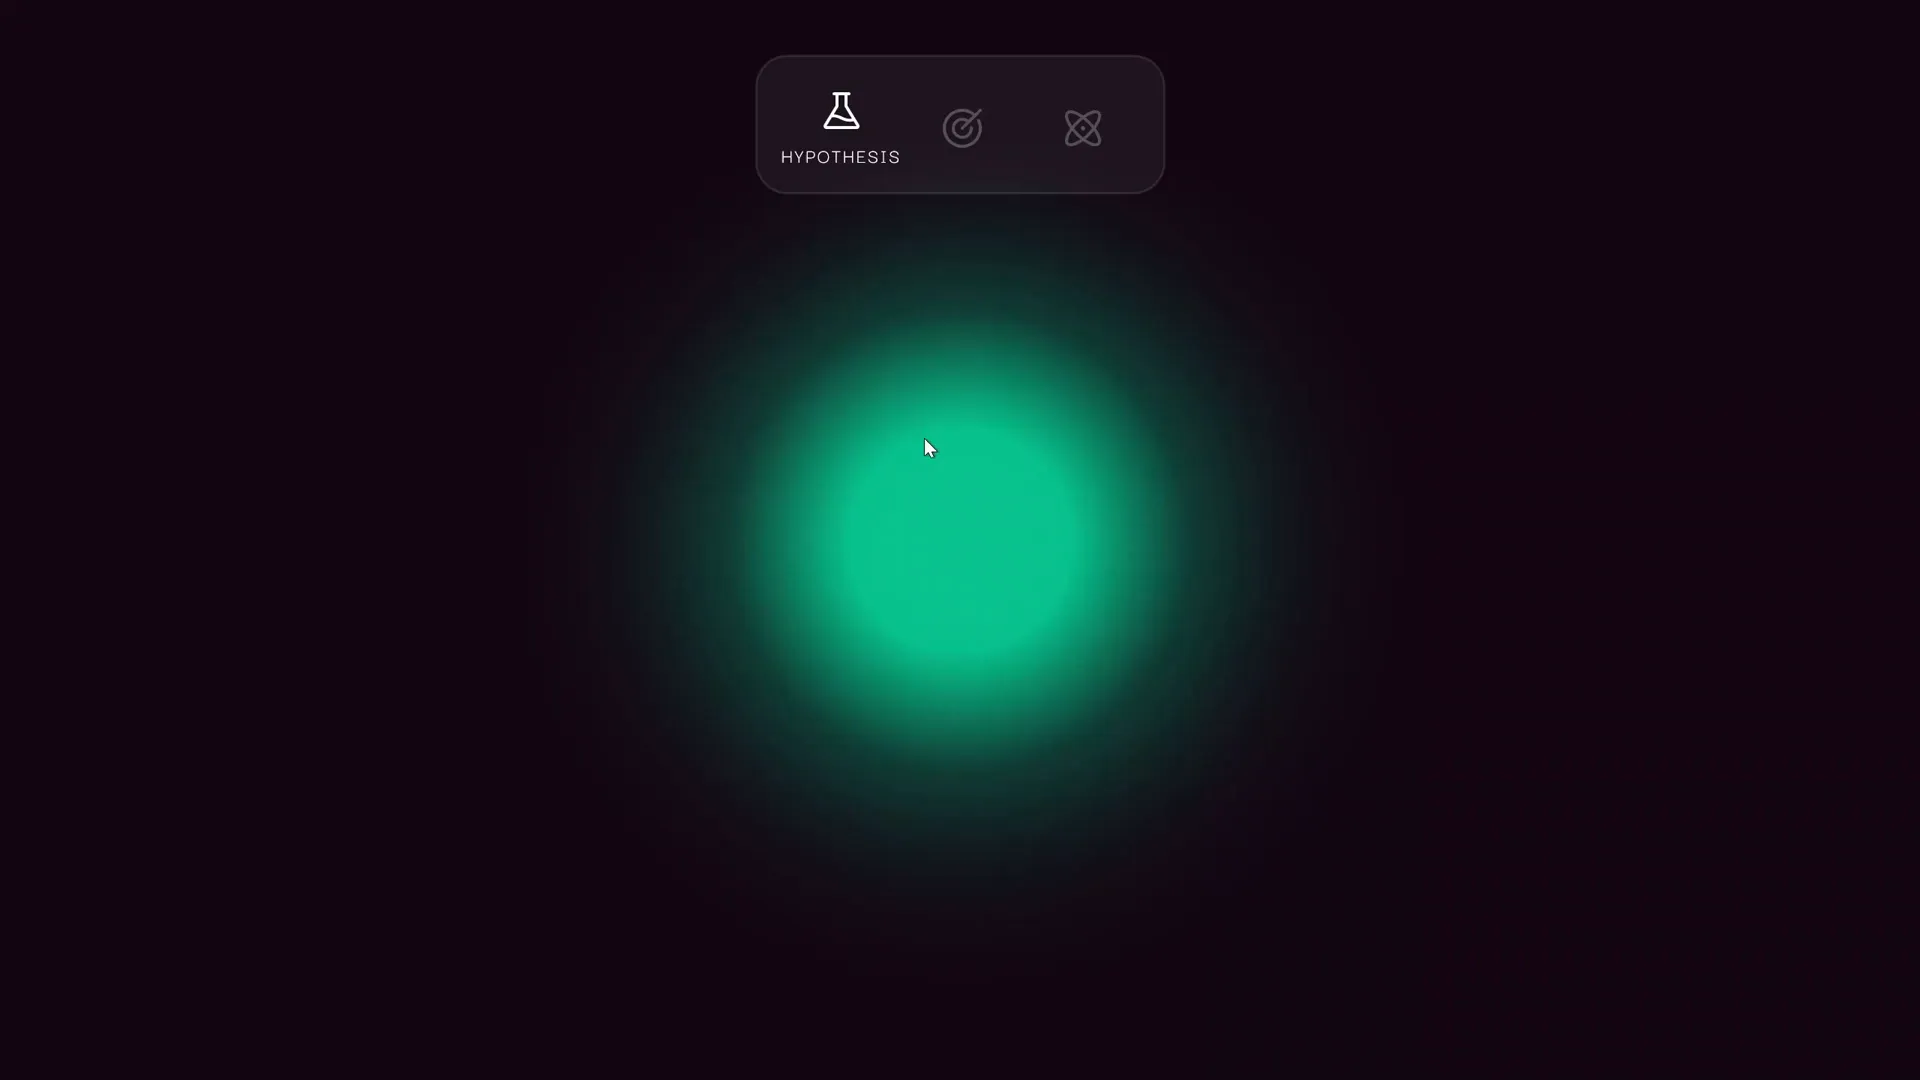
- Insert icons: Add icons representing different sections. Set inactive icons to 75% transparency and the active icon to full white to indicate selection.
- Add labels: Insert text boxes below each icon to label menu sections (e.g., “Introduction,” “Objectives”). Position these precisely below the active icon.
- Adjust icon position: Move the active icon slightly upwards to create spacing between the icon and its label.
- Create additional slides: Duplicate the menu slide to create active states for each menu item, adjusting the active icon and label accordingly.
- Add hyperlinks: Link each icon to its corresponding slide by selecting the icon, clicking Insert > Link, and choosing the target slide.
- Add morph transitions: Apply the Morph transition to the menu slides with a duration of 0.5 seconds to animate the menu smoothly between states.
This interactive menu creates a seamless navigation experience and modernizes your presentation.
Fixing Icon Transitions with Selection Pane Naming
When using morph transitions, PowerPoint sometimes automatically animates one icon into another, which may not be desirable. To prevent this:
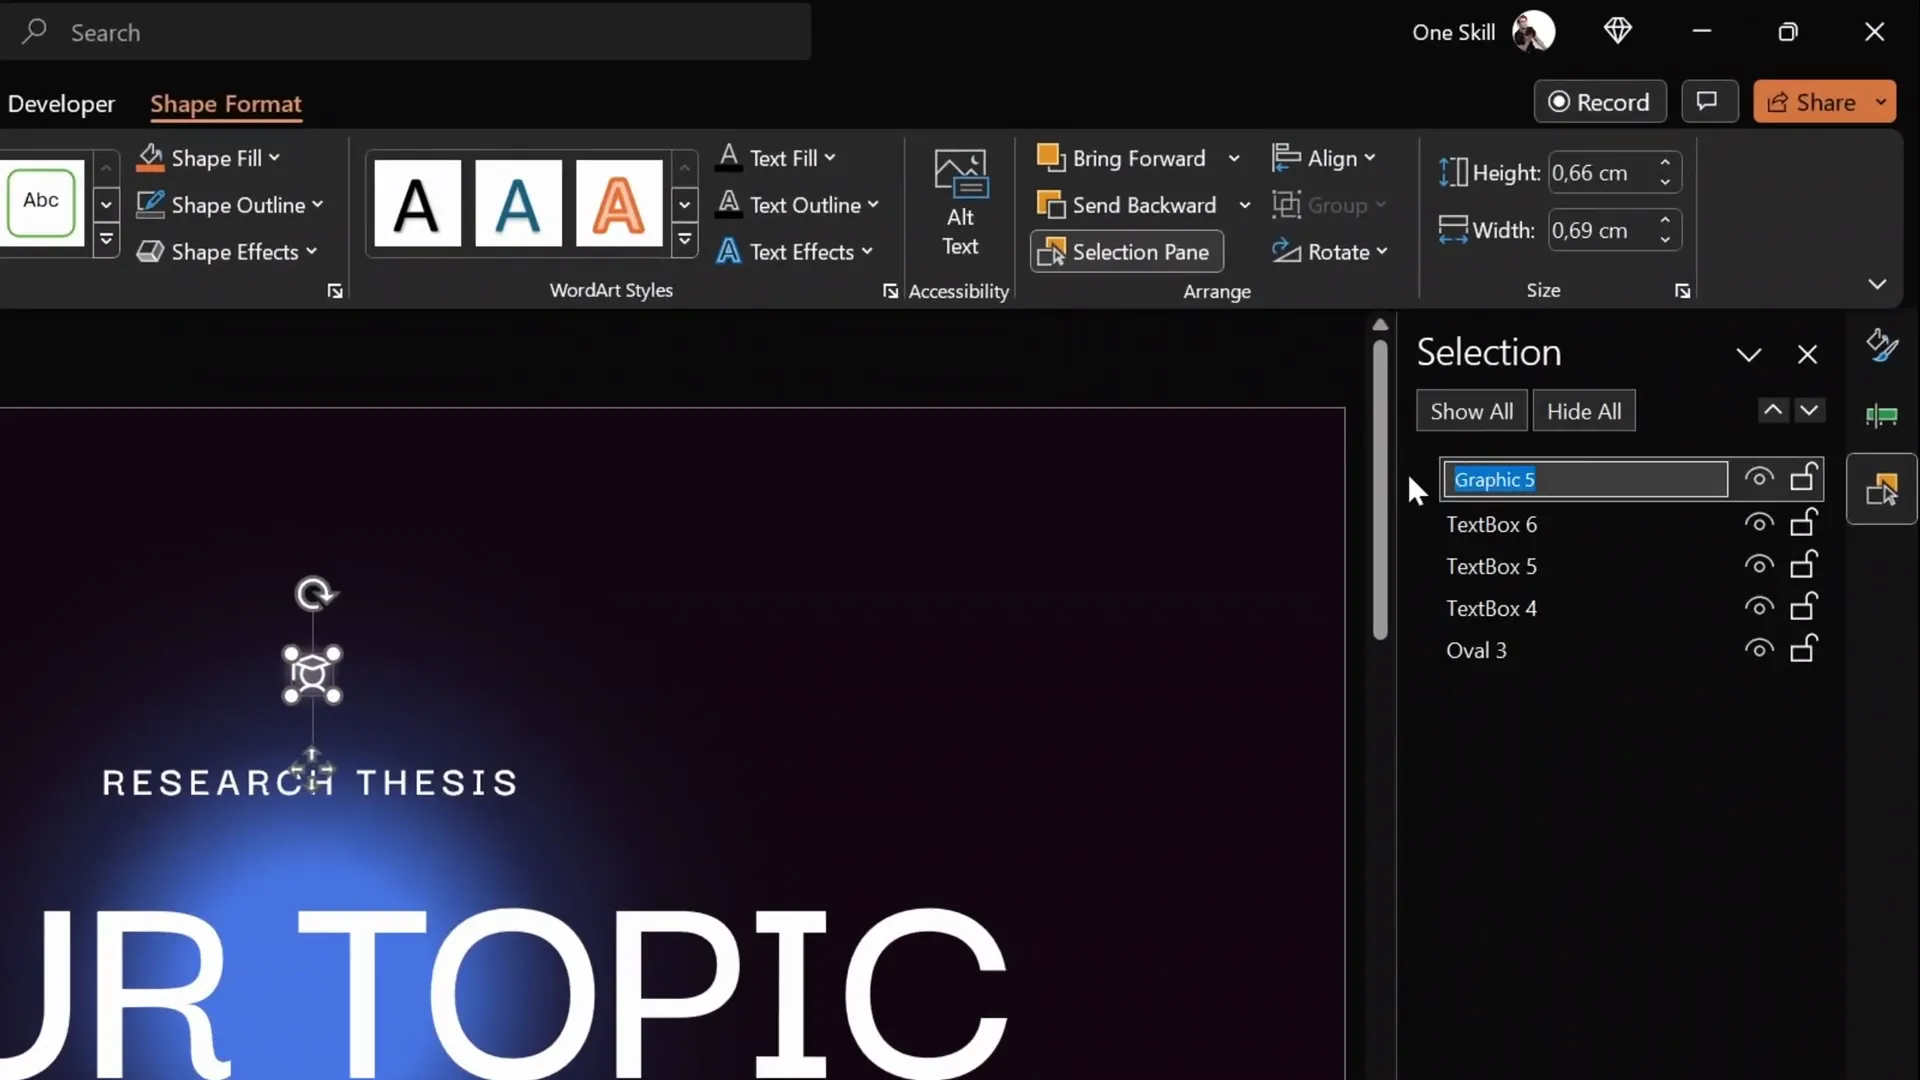
- Open the Selection Pane: Go to Home > Select > Selection Pane.
- Rename icons explicitly: Prefix the icon names with double exclamation marks (!!) and assign unique names (e.g., “!!logo”).
- Apply this naming consistently: Rename corresponding icons on all relevant slides to tell PowerPoint these are different objects, preventing unwanted morphing.
After renaming, check your morph transitions to ensure icons do not transform into each other, preserving a clean, professional look.
Making Text Boxes Follow Active Icons
Instead of text labels simply appearing and disappearing on your menu, you can make them follow the active icon smoothly. Here’s how:
- Assign explicit names to text boxes: In the selection pane, rename the text boxes with the same double exclamation mark prefix and the same name (e.g., “!!text”) across all slides.
- Ensure consistent naming: This tells PowerPoint these text boxes are the same object, allowing morph transitions to animate their movement between slides.
- Test your presentation: Run the slideshow and watch as the text box smoothly moves with the active icon.
This small trick greatly improves the polish and user experience of your interactive menu.
Adding Infographics and Zoomable Sections
To present complex information like hypotheses or objectives visually, infographics are invaluable. You can also add zoomable sections inside your presentation to dive deeper into specific topics. Here’s how:
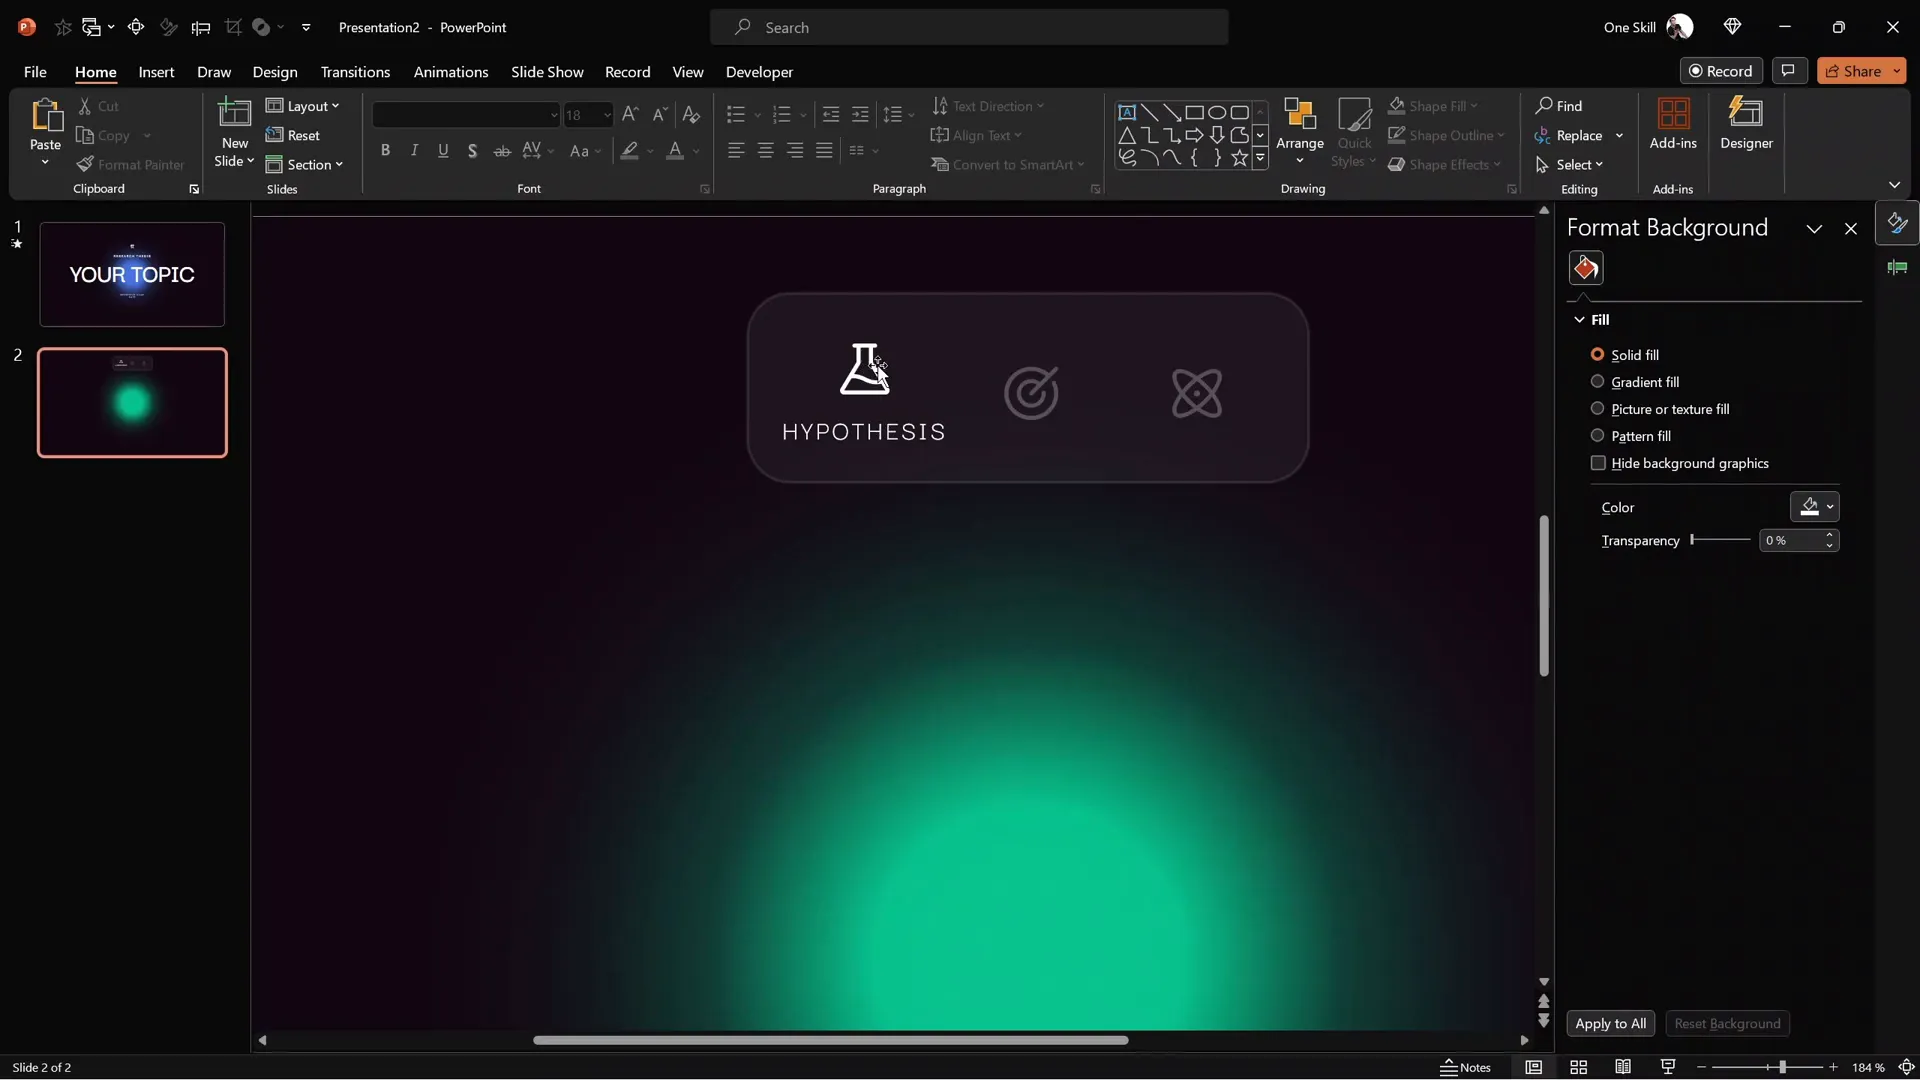
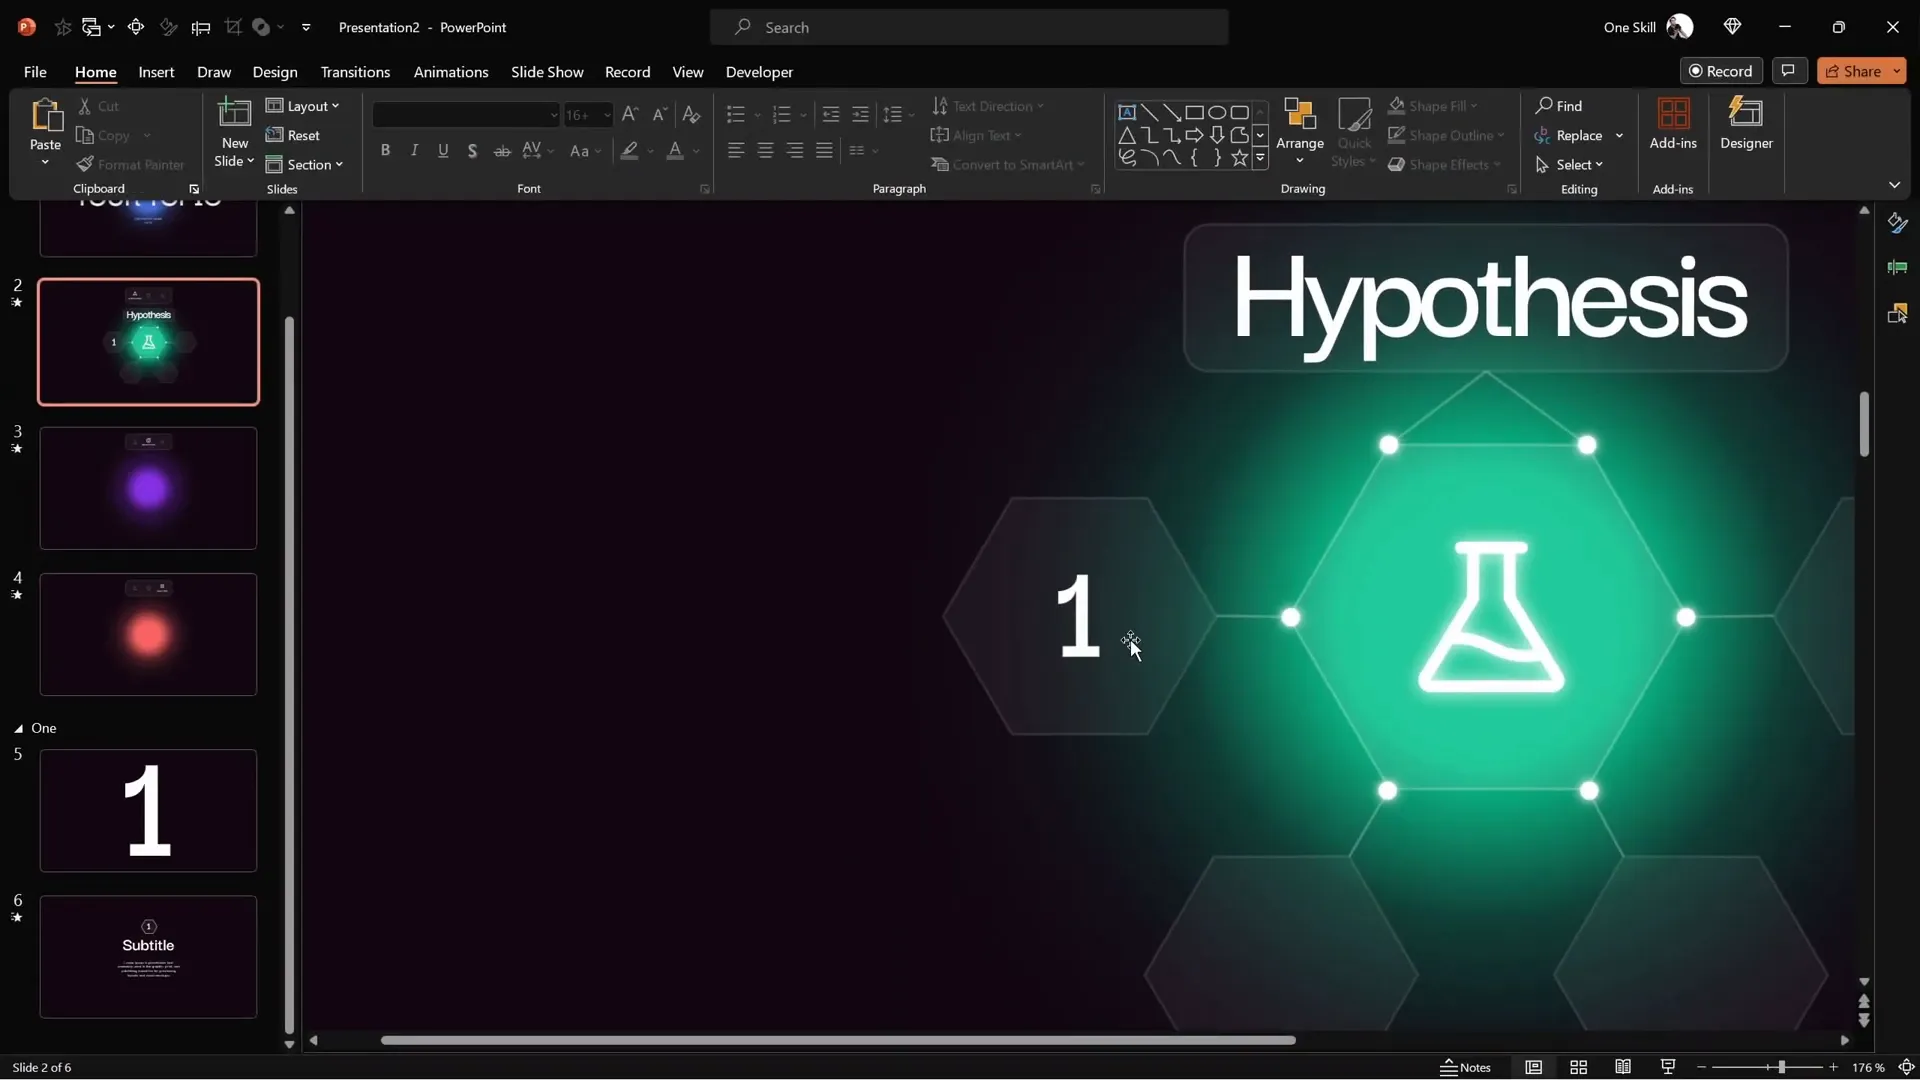
- Insert infographic elements: Use shapes like hexagons, rounded rectangles, lines, and circles with shadows to create a clean infographic.
- Add icons: Place relevant icons (e.g., a flask for hypothesis) in the infographic center, applying white shadows for glow effects.
- Create sections: In the PowerPoint sections pane, add new sections (e.g., “One,” “Two”) to organize content logically.
- Create section slides: For each section, add slides that will serve as zoom targets. For example, add a slide with a huge number (like “1”) for the section, styled with a large font and centered.
- Add detailed content slides: Add subsequent slides with detailed content for each section, using sample text or your own.
- Apply morph transitions: Set morph transitions with 1-second duration between the section number slide and detailed content slide for smooth zoom effects.
- Insert section zooms: On your infographic slide, insert Section Zooms by selecting the relevant section. Resize and position the zoom object inside the corresponding hexagon.
- Make zoom backgrounds transparent: Use the zoom tab to toggle off the zoom background, creating seamless integration with your slide design.
When presenting, clicking on a hexagon zooms into the section slides, allowing you to explore content in depth before returning to the main infographic.
Creating Multiple Interactive Sections
You can replicate the above steps to create as many interactive sections as needed. For instance, create a second section called “Two” by duplicating and modifying the first section’s slides. Adjust numbers, titles, and icons accordingly.
On your main infographic slide, insert additional section zooms for the new sections and size them to fit corresponding infographic shapes.
This approach allows you to build a rich, multi-layered presentation where each section has its own starting slide and detailed content, all accessible via interactive zooms.

Finalizing Animations and Testing Your Presentation
After building your slides and interactive elements, it’s important to:
- Group infographic elements: Group shapes and icons to manage them as a single object.
- Apply consistent animations: Use wipe and motion path animations on your infographic groups to add subtle entrance effects.
- Set animations to start automatically: This ensures smooth flow without extra clicks.
- Test your clickable menus and section zooms: Run the slideshow to verify all links, morph transitions, and zooms function correctly.
By following these steps, your presentation will have a next-level, interactive feel with cool slide animation that impresses your audience.

Frequently Asked Questions
What version of PowerPoint do I need for these features?
This tutorial uses Microsoft 365 (formerly Office 365) for access to features like morph transitions and section zooms. Some features may not be available in older versions.
Can I use other fonts and icons?
Yes! The tutorial uses Darker Grotesque font and Phosphor Icons, but feel free to customize fonts and icons to fit your brand or style.
Are these templates free to use?
Yes. The PowerPoint template inspired by this tutorial is free to download, with the link provided in the original video description.
How do section zooms differ from slide zooms?
Section zooms link to entire sections of slides, allowing you to zoom into multiple slides grouped together. Slide zooms link to a single slide, and summary zooms provide an overview with thumbnails of linked sections or slides.
Can I add more than three items in the clickable menu?
Absolutely. The tutorial shows three icons for simplicity, but you can add as many as your presentation requires. Just be sure to manage hyperlinks and active states accordingly.
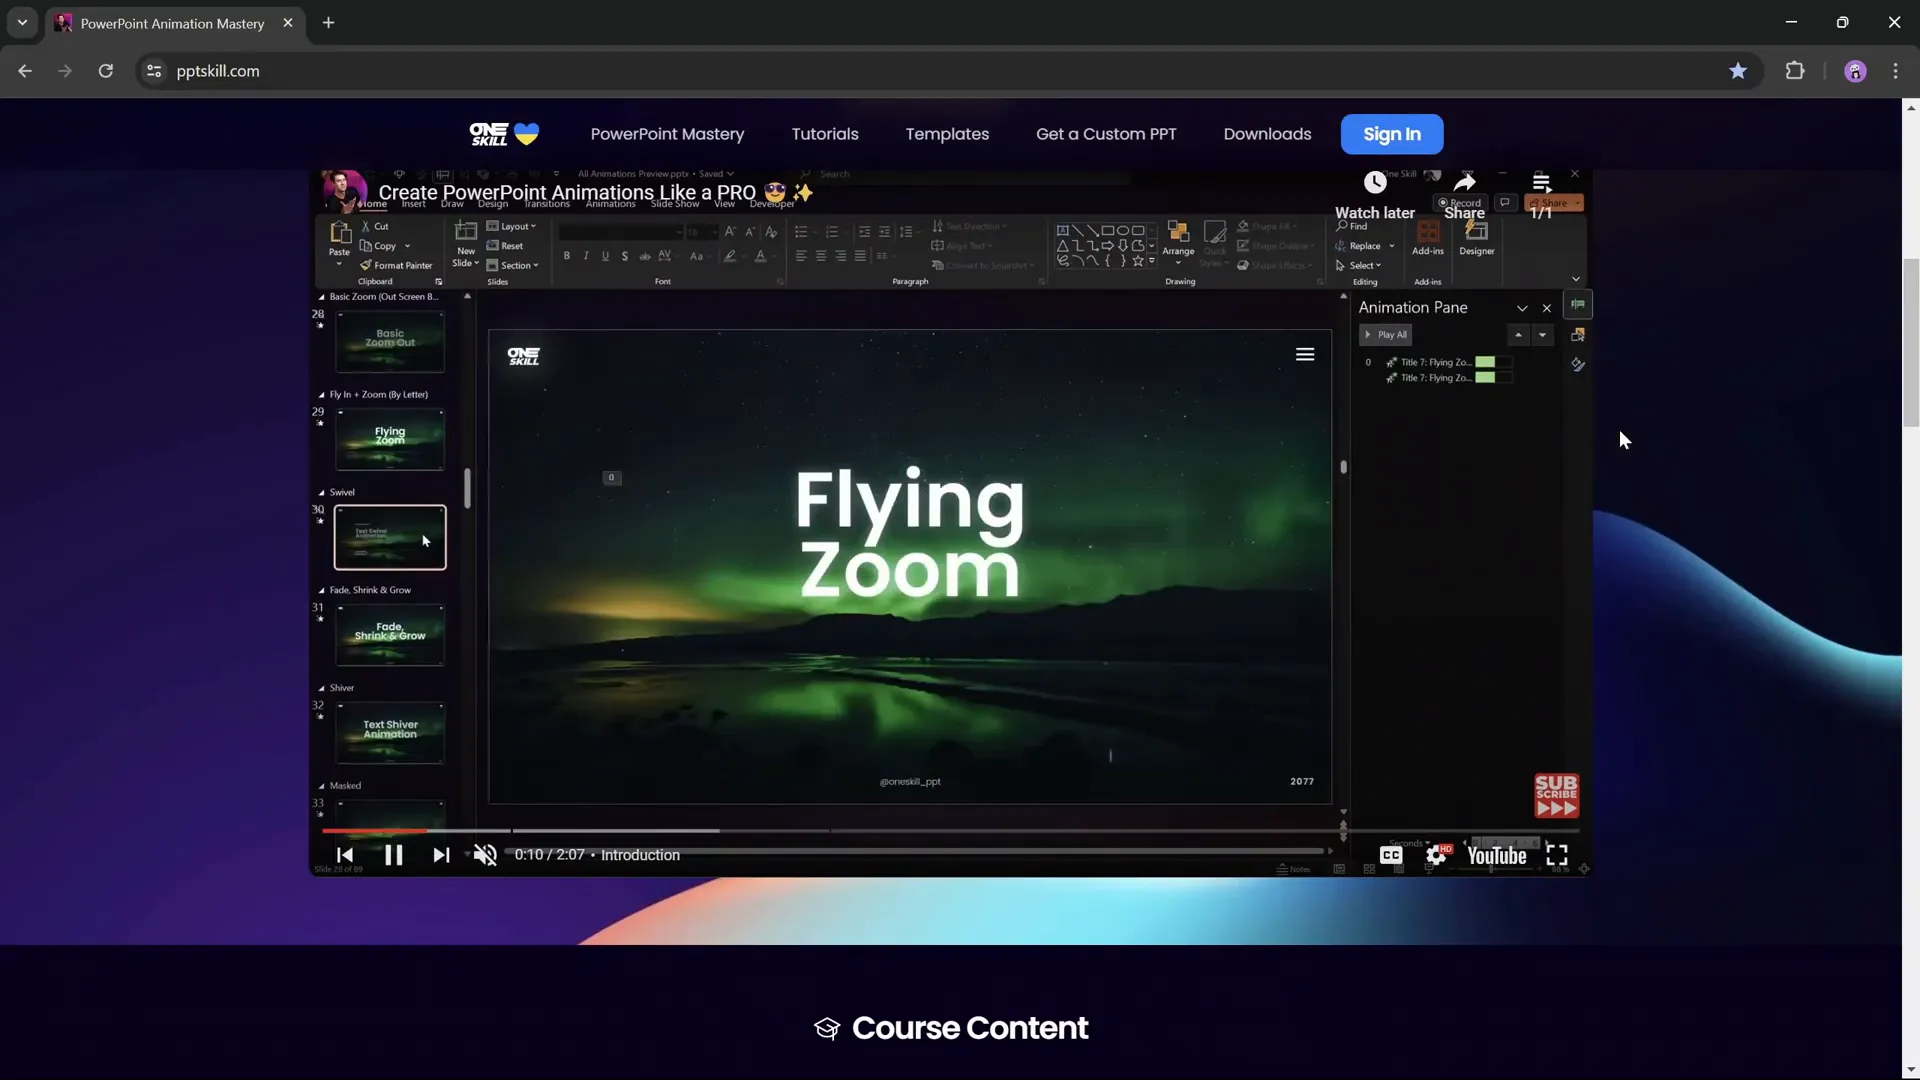
How can I learn more about PowerPoint animations?
The video creator recommends a comprehensive PowerPoint Animation Mastery Course at pptskill.com, which covers animation techniques in detail.
Conclusion
Creating an interactive PowerPoint presentation with cool slide animation, clickable menus, and zoomable sections is easier than you think with the right techniques. By starting with a clean design, adding glowing visual elements, applying smooth animations, and building an interactive menu with section zooms, you can transform your slides into a dynamic storytelling tool.
These techniques not only enhance the visual appeal but also improve navigation and audience engagement. Whether you’re a student presenting your thesis or a professional pitching ideas, mastering these features will make your presentations stand out.
Feel free to download the free template inspired by this tutorial and customize it to your needs. And remember, the more you practice and explore PowerPoint’s capabilities, the more creative and effective your presentations will be.
For those eager to dive deeper, exploring slide zooms and summary zooms can add even more interactivity to your slides — check out additional tutorials to master these features.
Happy presenting!


