
Creating engaging animated videos, often called explainer videos, doesn’t have to be complicated or expensive. Believe it or not, one of the simplest tools you can use to craft these animations is Microsoft PowerPoint. Yes, the same presentation software many of us have installed on our computers and have used countless times for slide decks can also be transformed into a powerful animation studio.
Hi, I’m Eduard Stinga from VideoPlasty, and I’m excited to guide you through an easy, step-by-step process to create your own animated explainer videos using PowerPoint. Whether you’re a beginner with no animation or graphic design experience or someone looking for a quick and cost-effective solution, this tutorial is for you. By the end, you’ll see how to leverage PowerPoint’s features combined with animated GIFs to produce videos that captivate your audience.
Table of Contents
- Why Use PowerPoint for Creating Animated Explainer Videos?
- Getting Started: Planning Your Explainer Video
- Using GIF Animations to Bring Your Video to Life
- Design Tips: Backgrounds, Text, and Colors
- Adding and Syncing Voiceover Audio
- Animating Slide Elements for a Dynamic Video
- Working with Multiple Animated Elements on One Slide
- Adding Slide Transitions for Smooth Scene Changes
- Previewing and Perfecting Your Animation
- Rehearsing Timings to Automate Slide Progression
- Exporting Your PowerPoint Animation as a Video
- Where to Find High-Quality GIF Animations
- Final Thoughts: Making Your Own Explainer Videos Today
- Frequently Asked Questions (FAQ)
Why Use PowerPoint for Creating Animated Explainer Videos?
PowerPoint might seem like an unlikely candidate for making animations, but it has several advantages that make it a great choice, especially if you are just starting out:
- User-Friendly Interface: PowerPoint’s intuitive slide-based layout is familiar to millions. If you’ve used it before, you already know the basics of adding and animating elements.
- Widely Available: Most Windows PCs come with PowerPoint installed, so there’s no need to buy specialized animation software.
- Simple Animation Tools: PowerPoint lets you animate individual elements easily with effects like fly-in, fade, and dissolve without any coding or complex timelines.
- Export to Video: You can export your animated slideshow as an MP4 video file, making it easy to share or upload anywhere.
That said, while PowerPoint is fantastic for beginners, if you want to dive deeper into high-quality animations with advanced features, video editing software is your best bet. However, PowerPoint still offers a great balance between simplicity and functionality, especially if you’re pressed for time or budget.
Important note: Unfortunately, PowerPoint’s video export with audio currently does not work on Macs. While the animations export fine, the audio does not get included due to software limitations. If you’re a Mac user, don’t worry—there’s a great alternative using Keynote, which I’ll cover in another tutorial. For Windows users, however, this method works seamlessly.
Getting Started: Planning Your Explainer Video
Before jumping into PowerPoint, it’s crucial to have a clear plan. This planning phase will save you time and headaches later.
1. Write a Script and Record a Voiceover
Your script is the backbone of your explainer video. It should be concise, clear, and focused on the message you want to convey. Once you have your script, record a voiceover. This audio track will guide the timing and flow of your animation.
2. Create a Storyboard
A storyboard is a visual outline of your video, breaking down the scenes and key elements per slide. It helps you visualize how the story unfolds and what graphics or animations you need for each part.
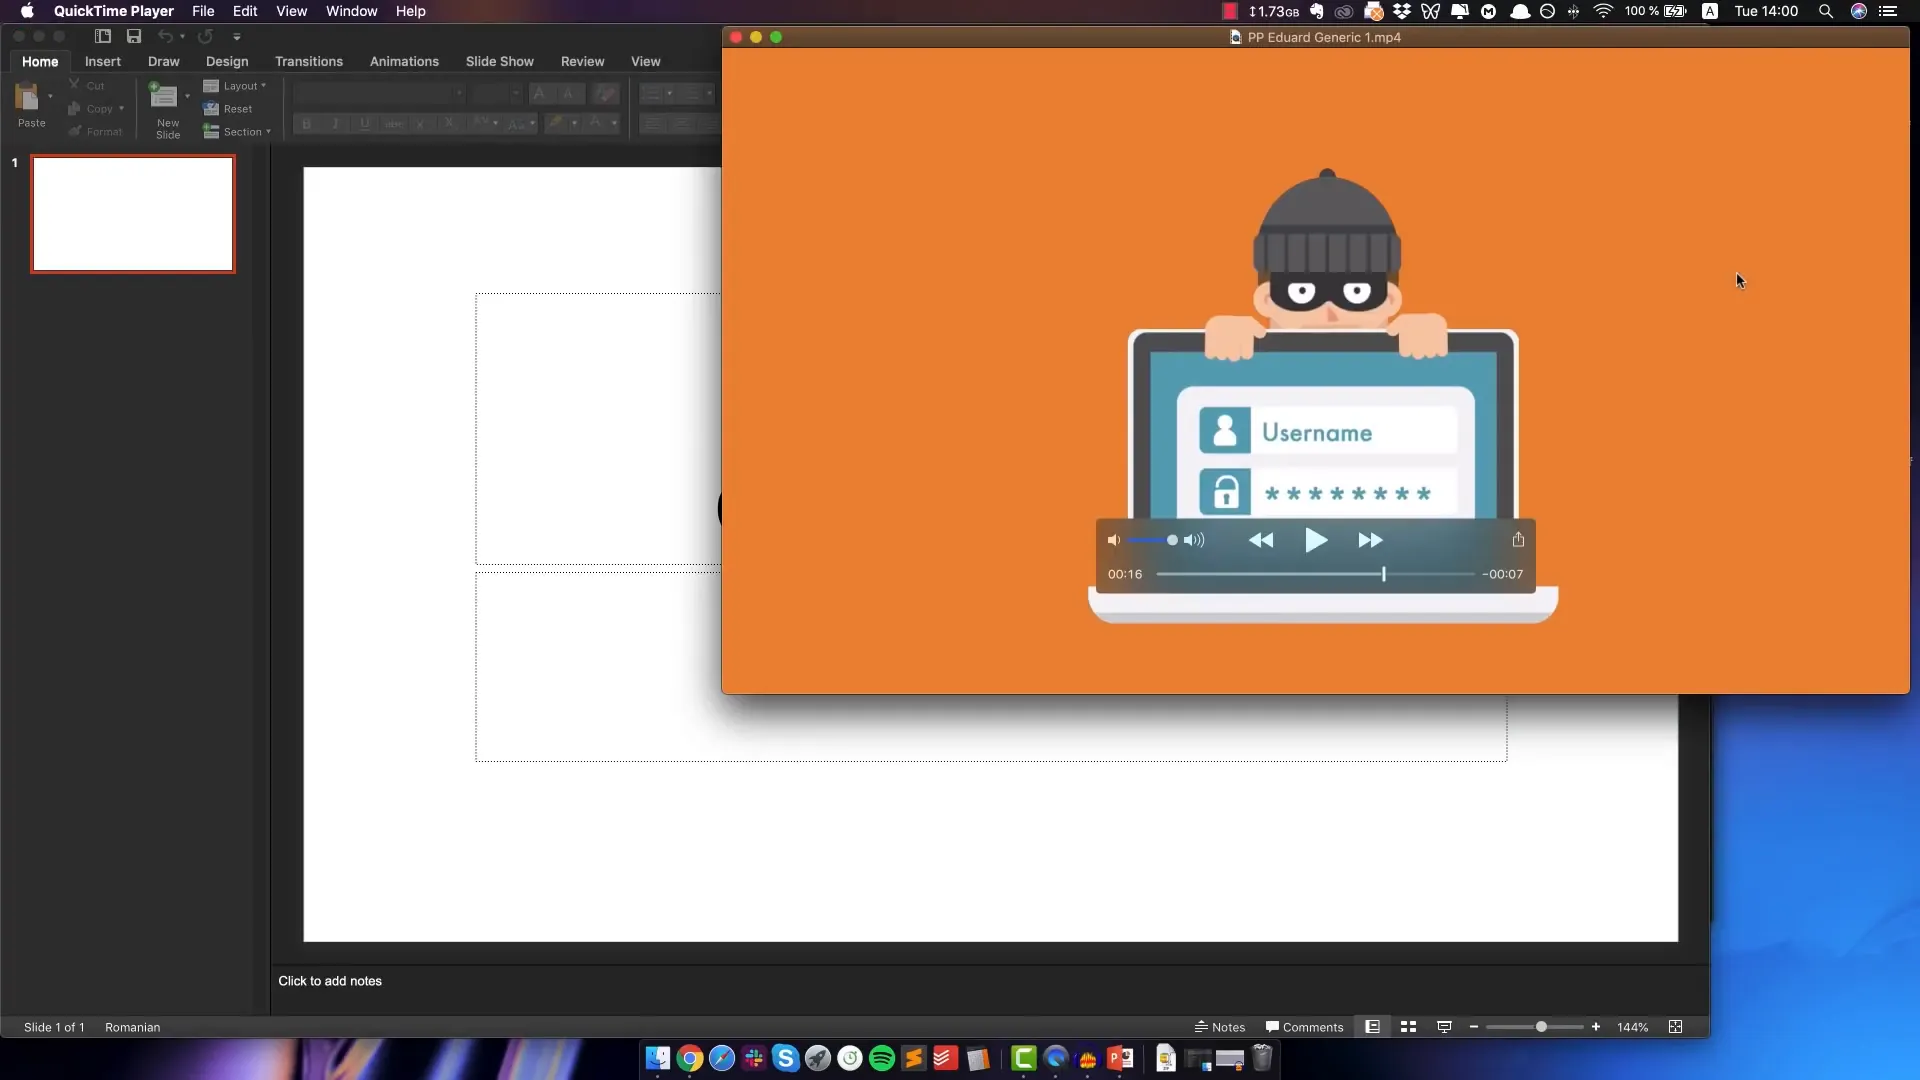
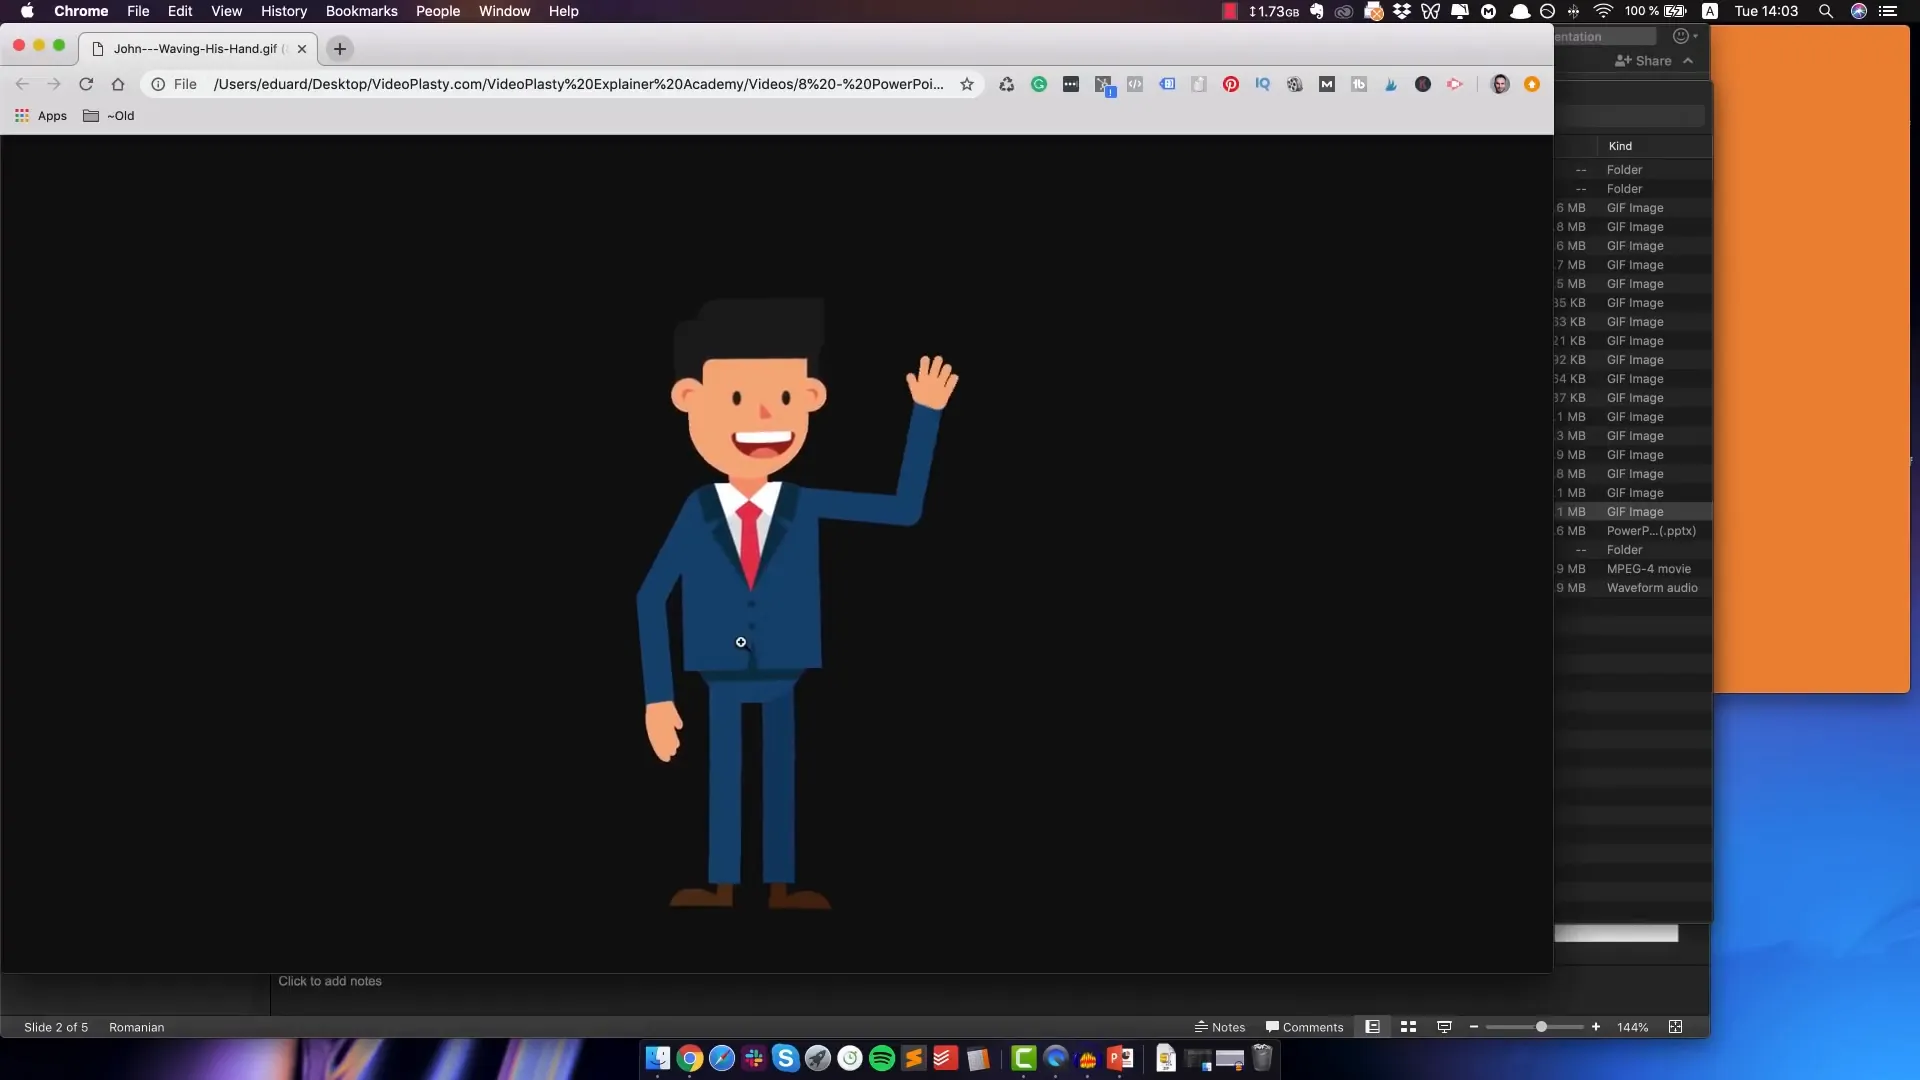
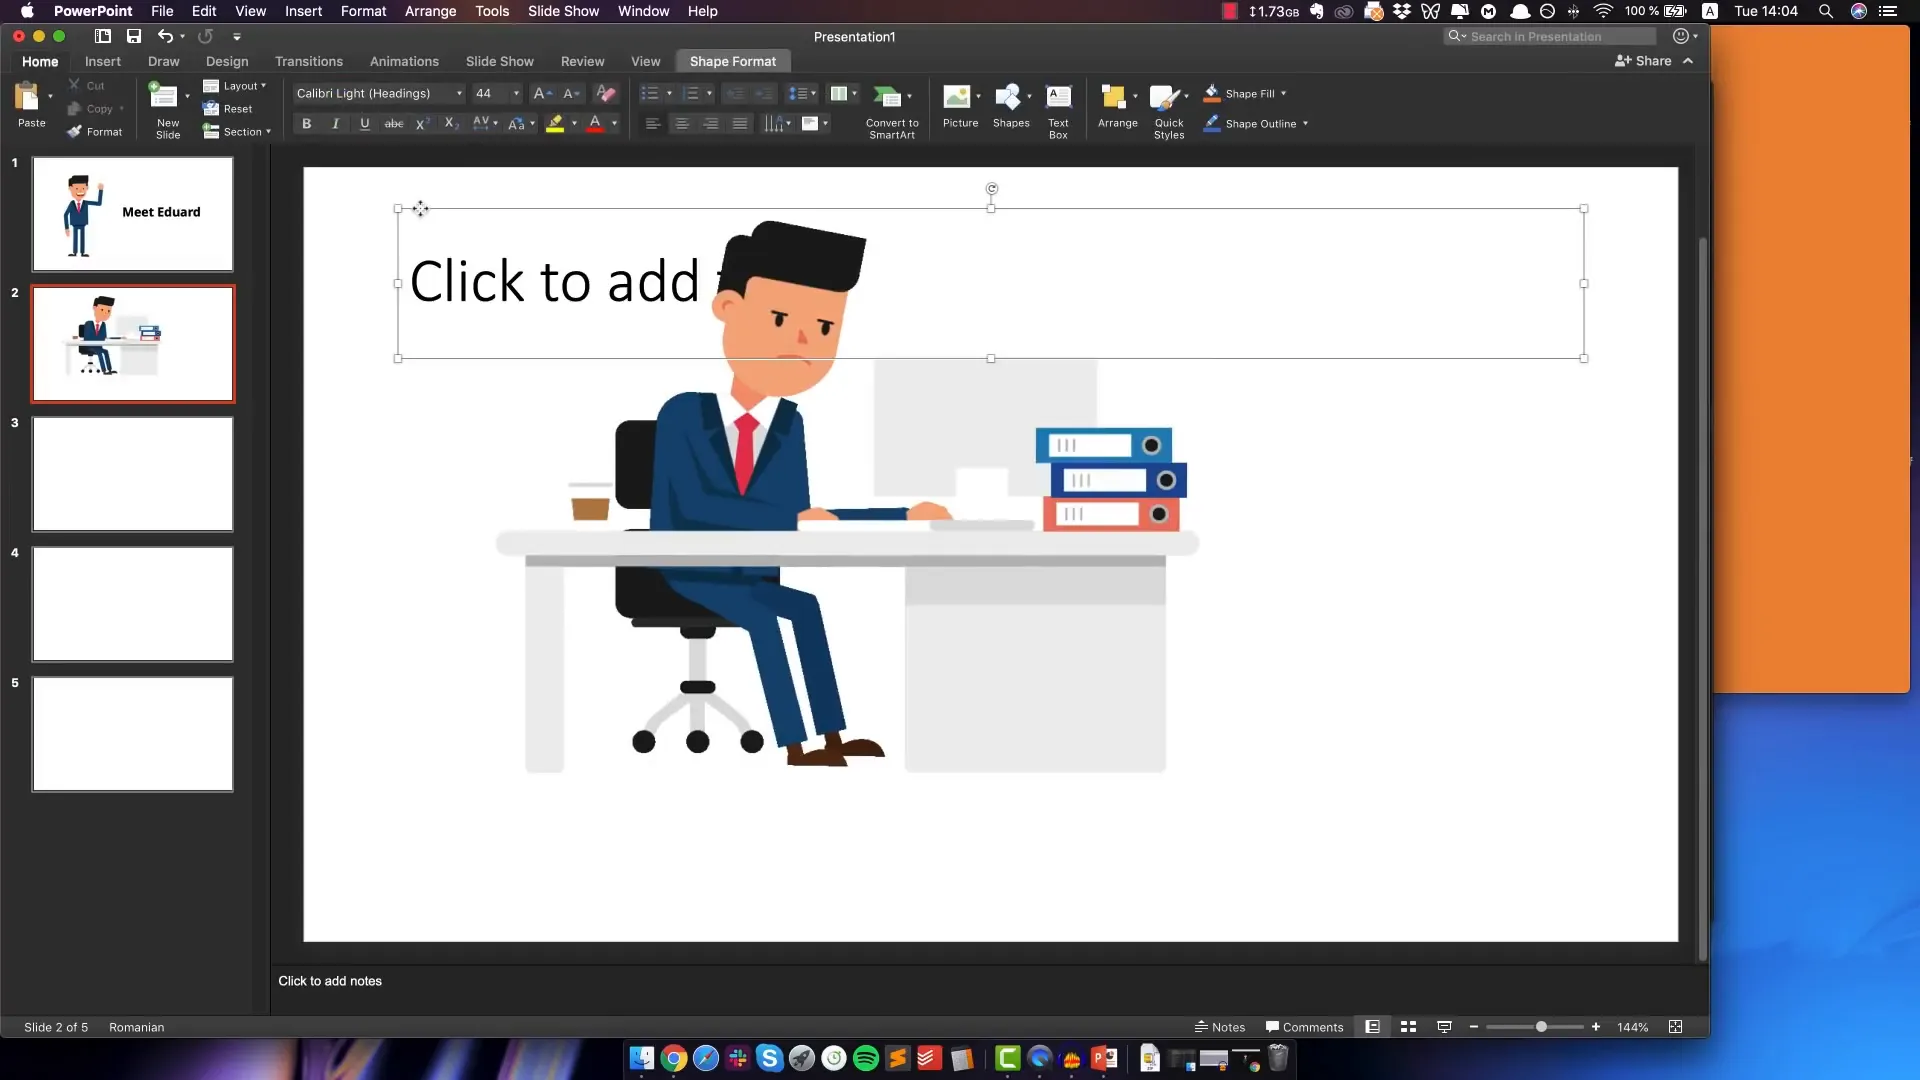
For this tutorial, I created a short video with five slides. The story revolves around a character named Edward, who is working hard to protect users from hackers online. I’ll use this example to demonstrate the process.

Using GIF Animations to Bring Your Video to Life
One of the key tricks to making animated videos in PowerPoint is using GIF files. GIFs are animated images that loop continuously and often come with transparent backgrounds, making them perfect for layering on any slide background.
Here’s what you need to know about using GIFs:
- High-Quality Stock GIFs: For professional-looking videos, use high-quality GIFs. These can include characters performing actions, icons, or any other animated elements.
- Transparent Backgrounds: Most stock GIFs designed for video use have transparent backgrounds, so they blend seamlessly with your slide designs.
- Looping Animation: GIFs usually loop, which keeps your characters or icons moving without extra effort.
At VideoPlasty, we have a huge collection of animated GIFs across categories like business, education, medical, fitness, and many more. These are perfect to jumpstart your animations without creating graphics from scratch.
Adding GIFs to Your Slides
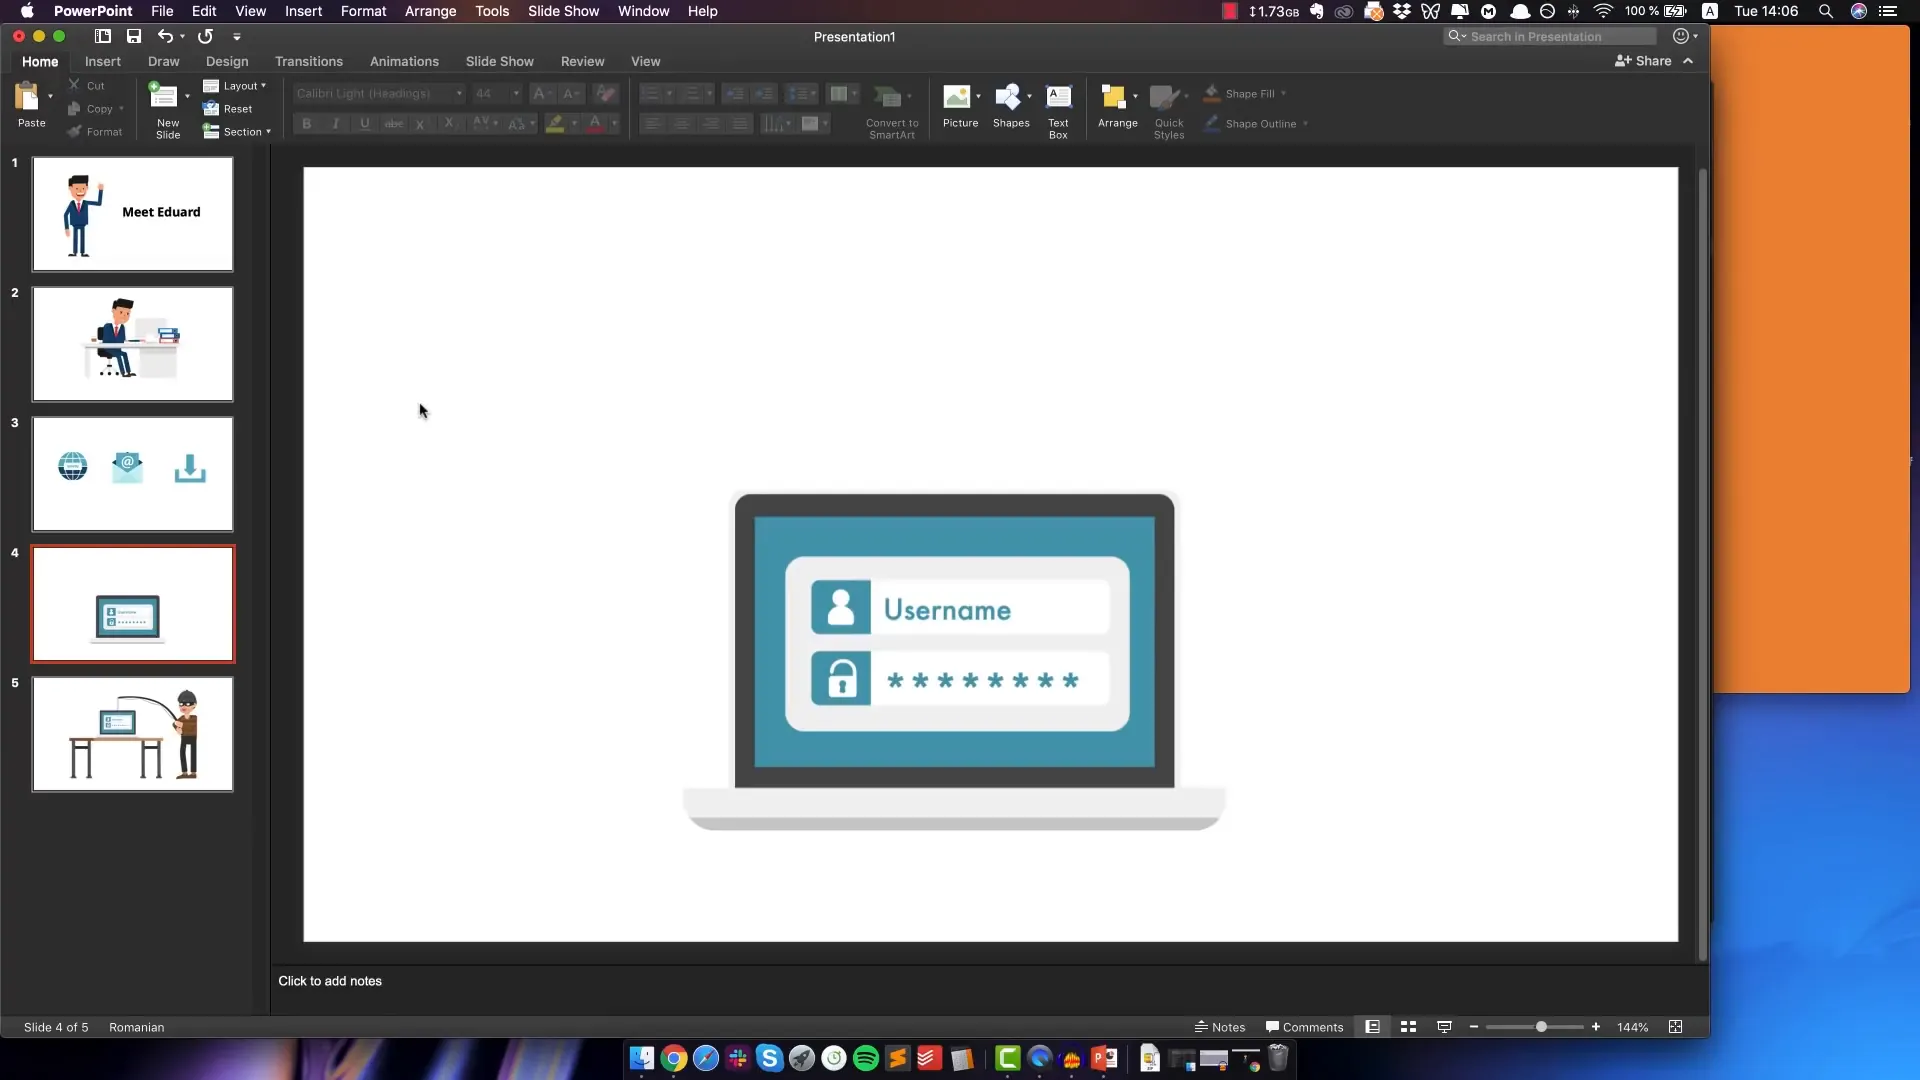
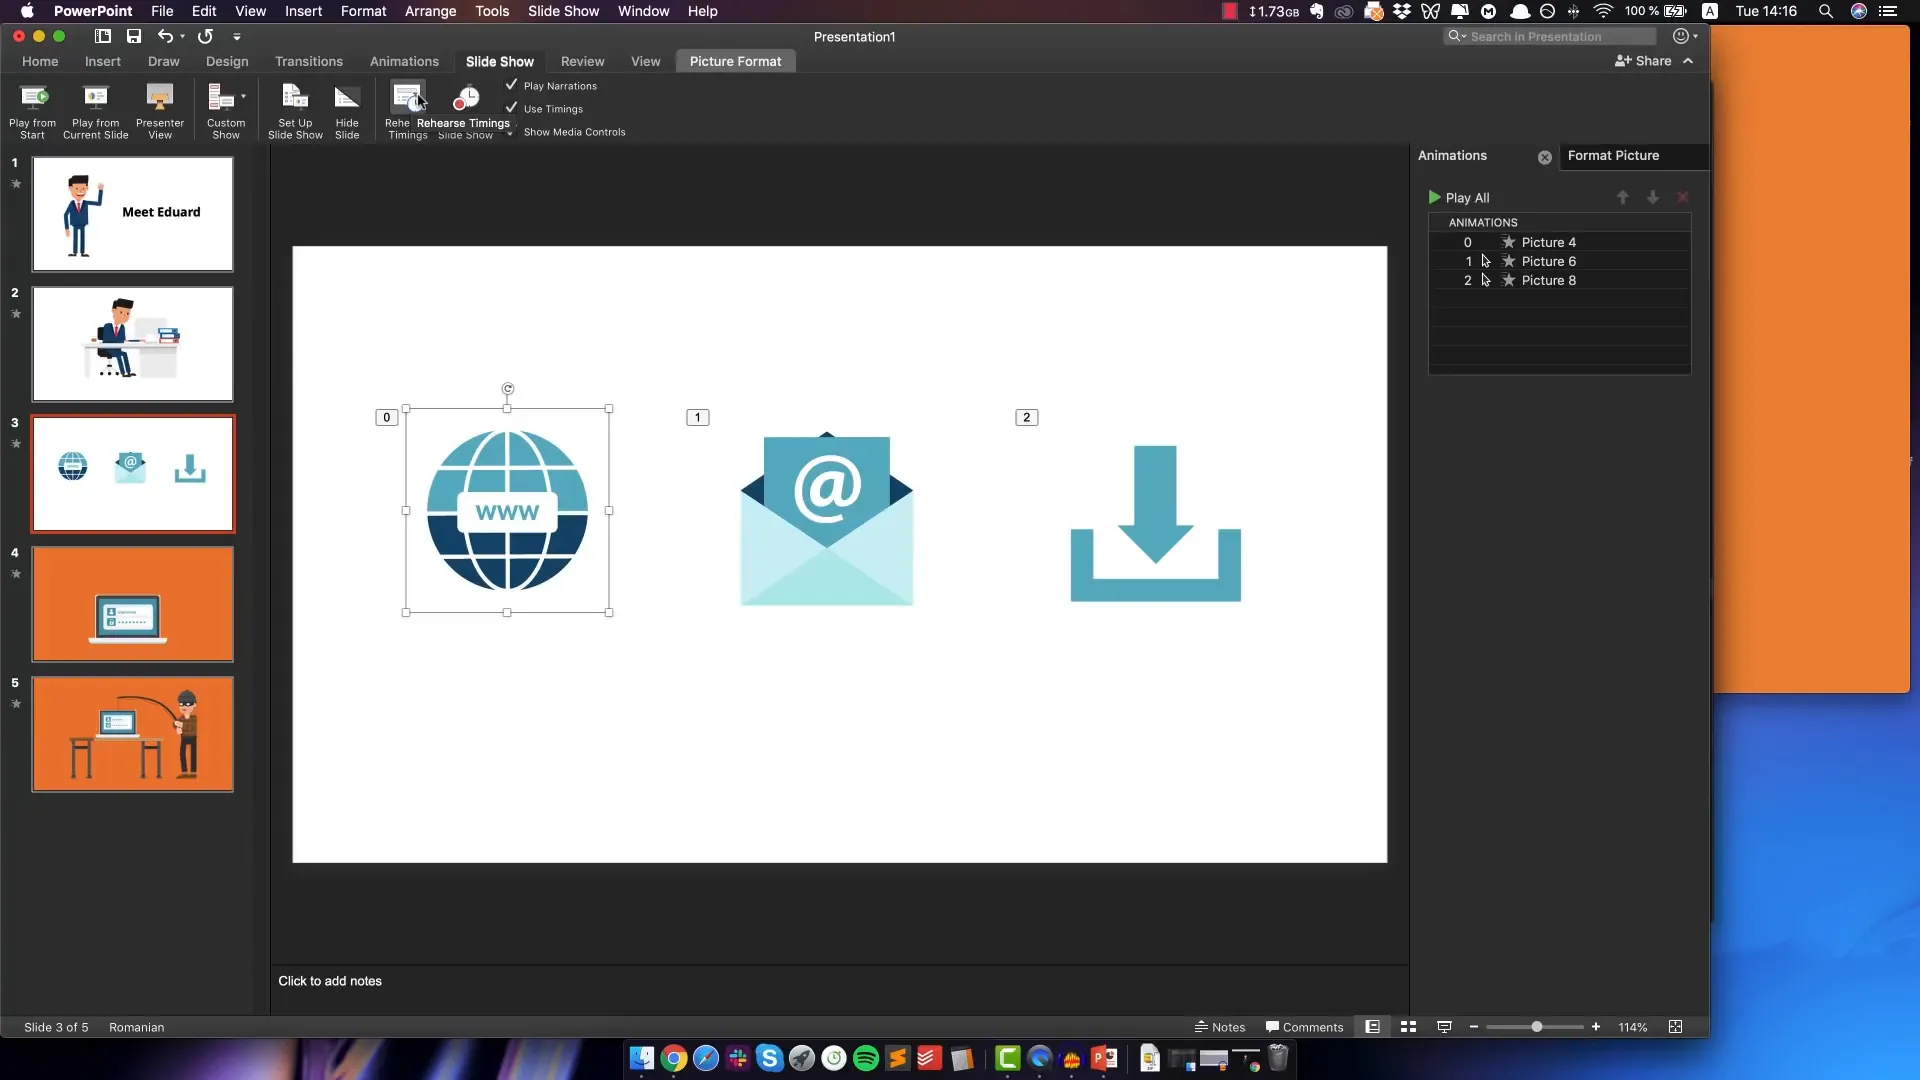
After planning your storyboard, add the GIFs to the appropriate slides. For example, on the first slide, I added a GIF of a character waving. On the next slide, I placed a GIF of the character working hard. For the third slide, I used animated icons representing the internet, email, and downloading.
When placing GIFs, you can resize and position them freely. Remember to keep your design clean and aligned for a professional look. Don’t worry about perfecting the colors or fonts on your first pass—focus on the concept and flow.
Design Tips: Backgrounds, Text, and Colors
Once your GIFs are in place, you can add text and backgrounds to complement the animation. Here are some quick tips:
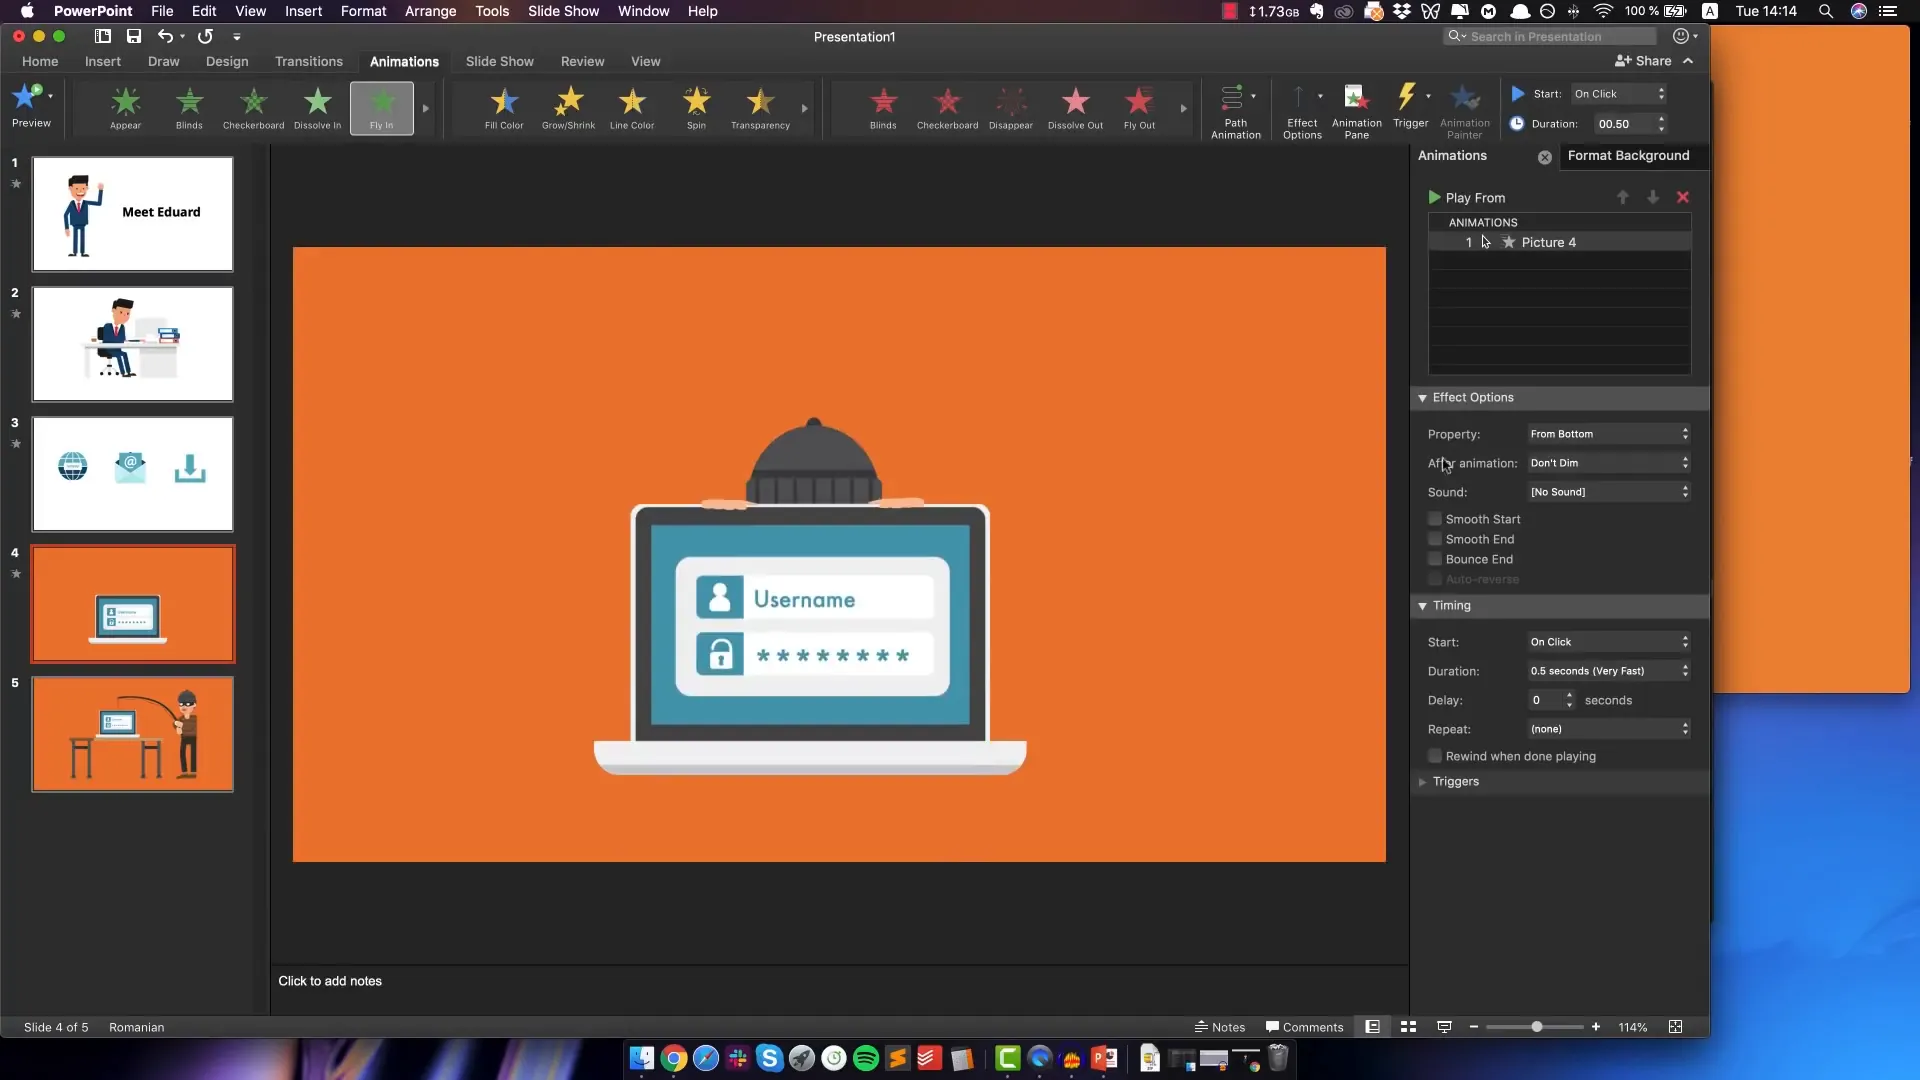
- Background Colors: Use solid fills to add color backgrounds to your slides. For example, I used an orange background on the last two slides to add visual interest and differentiate sections.
- Text Styling: Keep fonts simple and readable. Bold text can help emphasize important points. Experiment with font types but keep branding consistency in mind.
- Alignment: Properly align your text and graphics to maintain a clean and professional look. Use PowerPoint’s alignment guides to help.
To change a slide’s background color, right-click the slide, select “Format Background,” then choose a solid fill and pick your desired color.
Adding and Syncing Voiceover Audio
With your visuals ready, it’s time to add your voiceover. This is a crucial step as it will drive the timing of your animations and transitions.
Steps to Add Voiceover in PowerPoint
- Select the first slide where you want the audio to start.
- Drag and drop the voiceover audio file onto the slide.
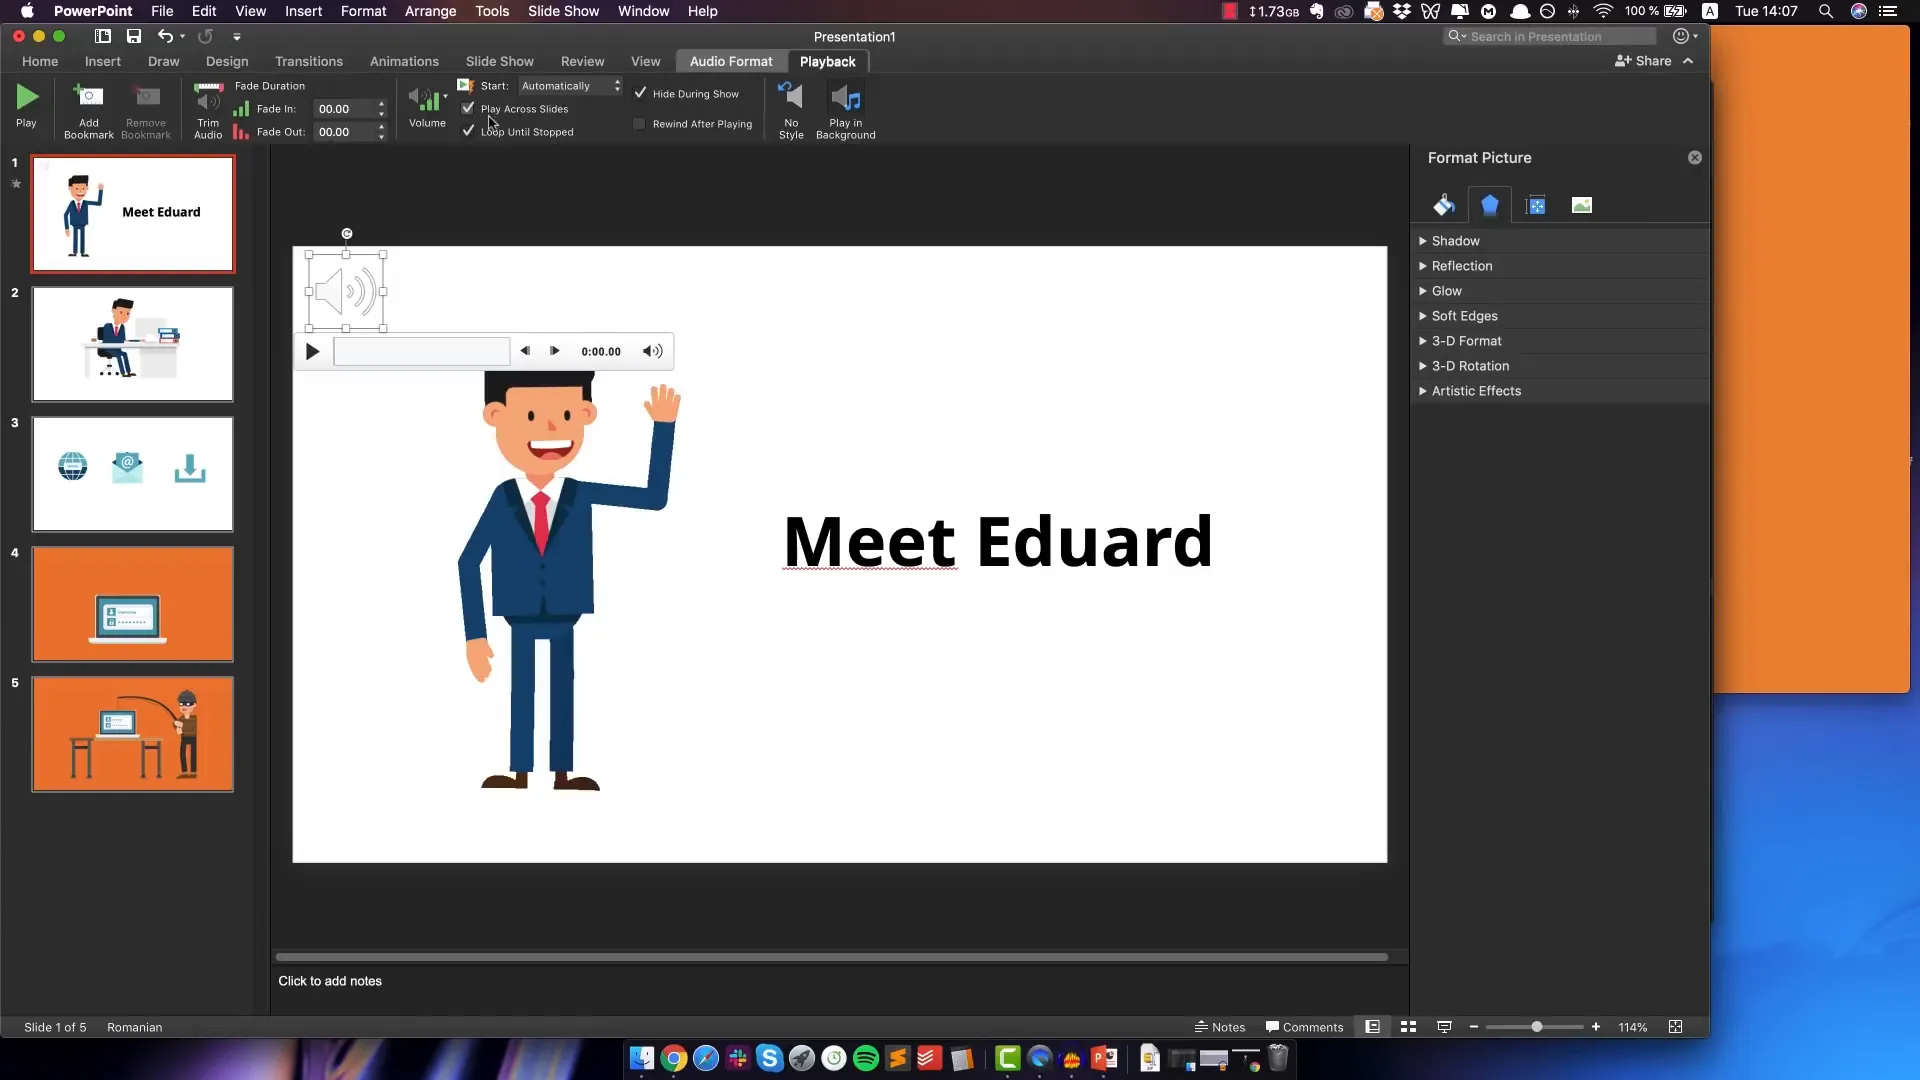
- Go to the Playback tab and configure the audio to “Play in Background.” This setting makes the audio start automatically, hide during the slideshow, and play across slides.
- Optionally, move the audio icon outside the slide area to keep your workspace clean.
Once added, play the slideshow to check that the audio is playing correctly and matches the visuals.
Animating Slide Elements for a Dynamic Video
Even though your GIFs are animated, the slide itself can feel static without additional animation or transitions between elements. PowerPoint provides a range of animation effects that can make your video more engaging.
Common Animation Effects to Use
- Fly In: Elements enter the slide from a chosen direction (left, right, top, bottom).
- Dissolve: Elements fade into view smoothly.
- Appear: Elements simply show up instantly.
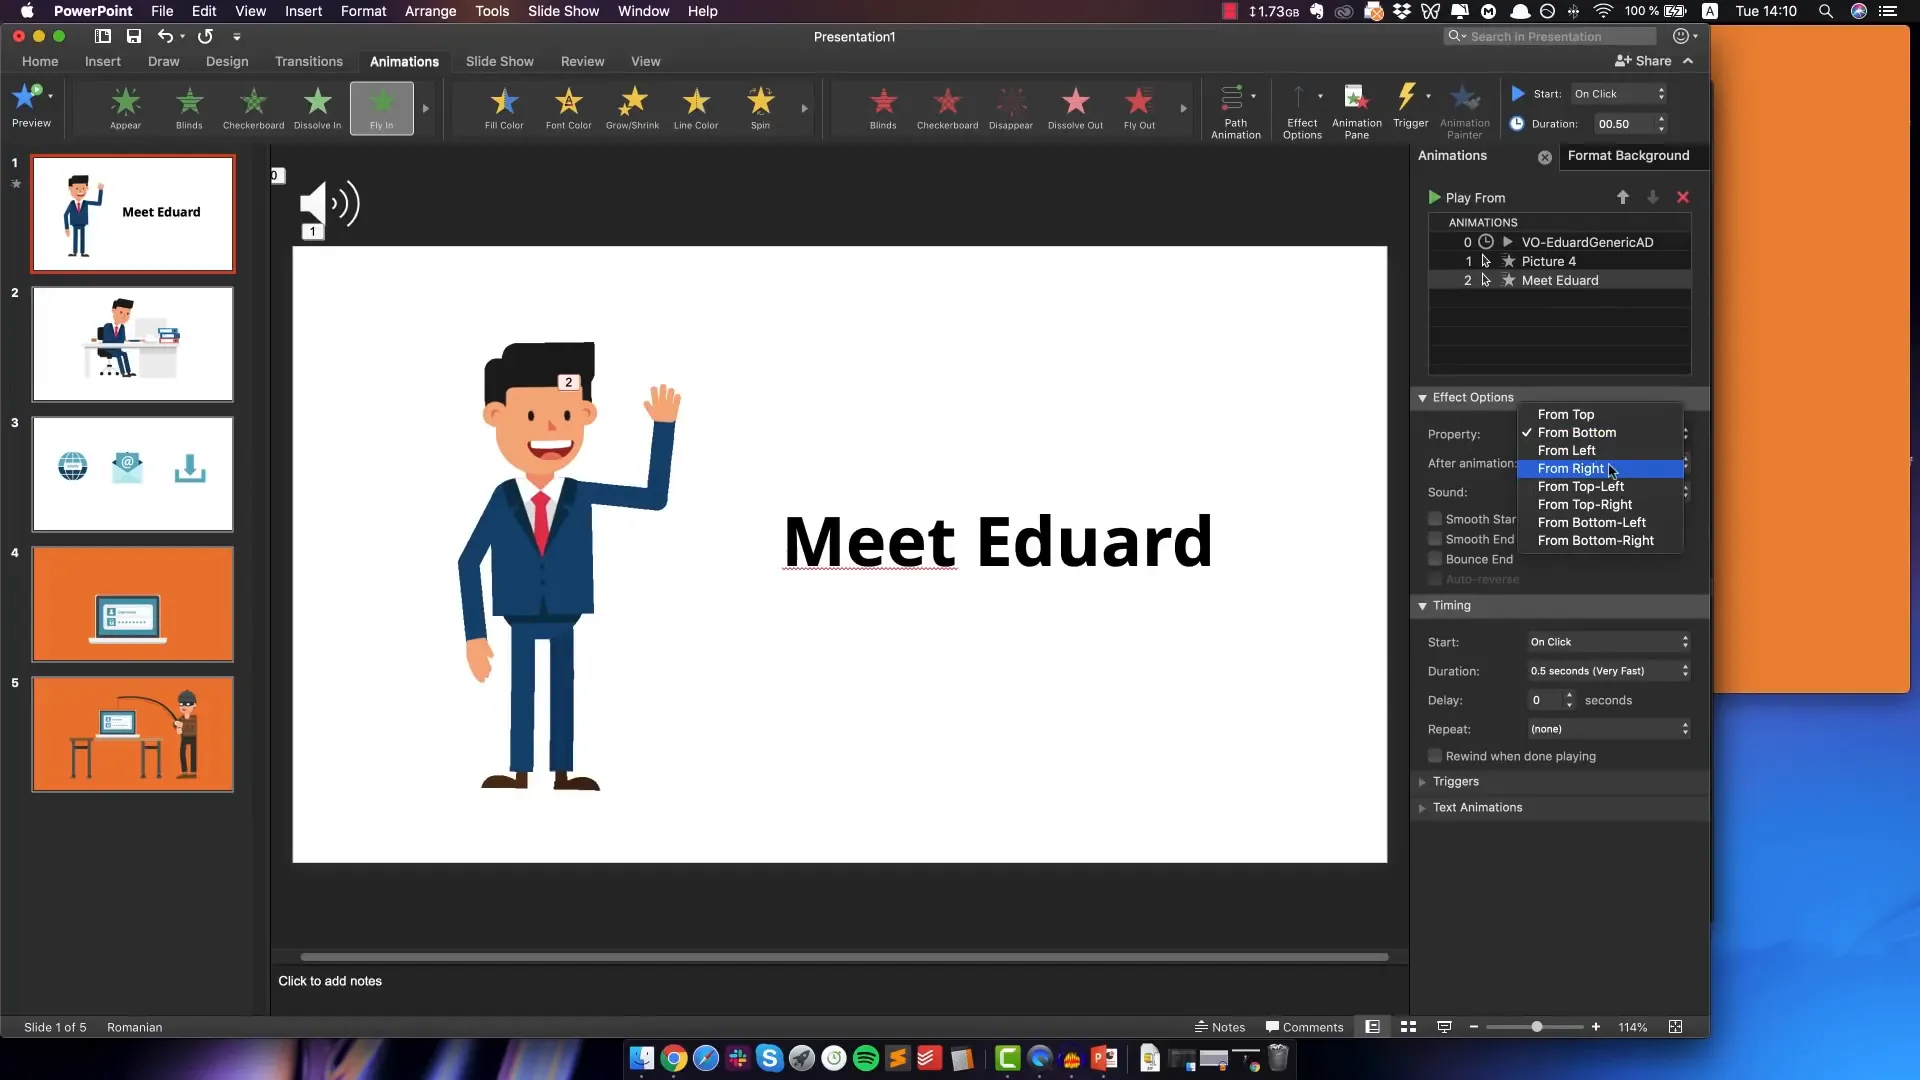
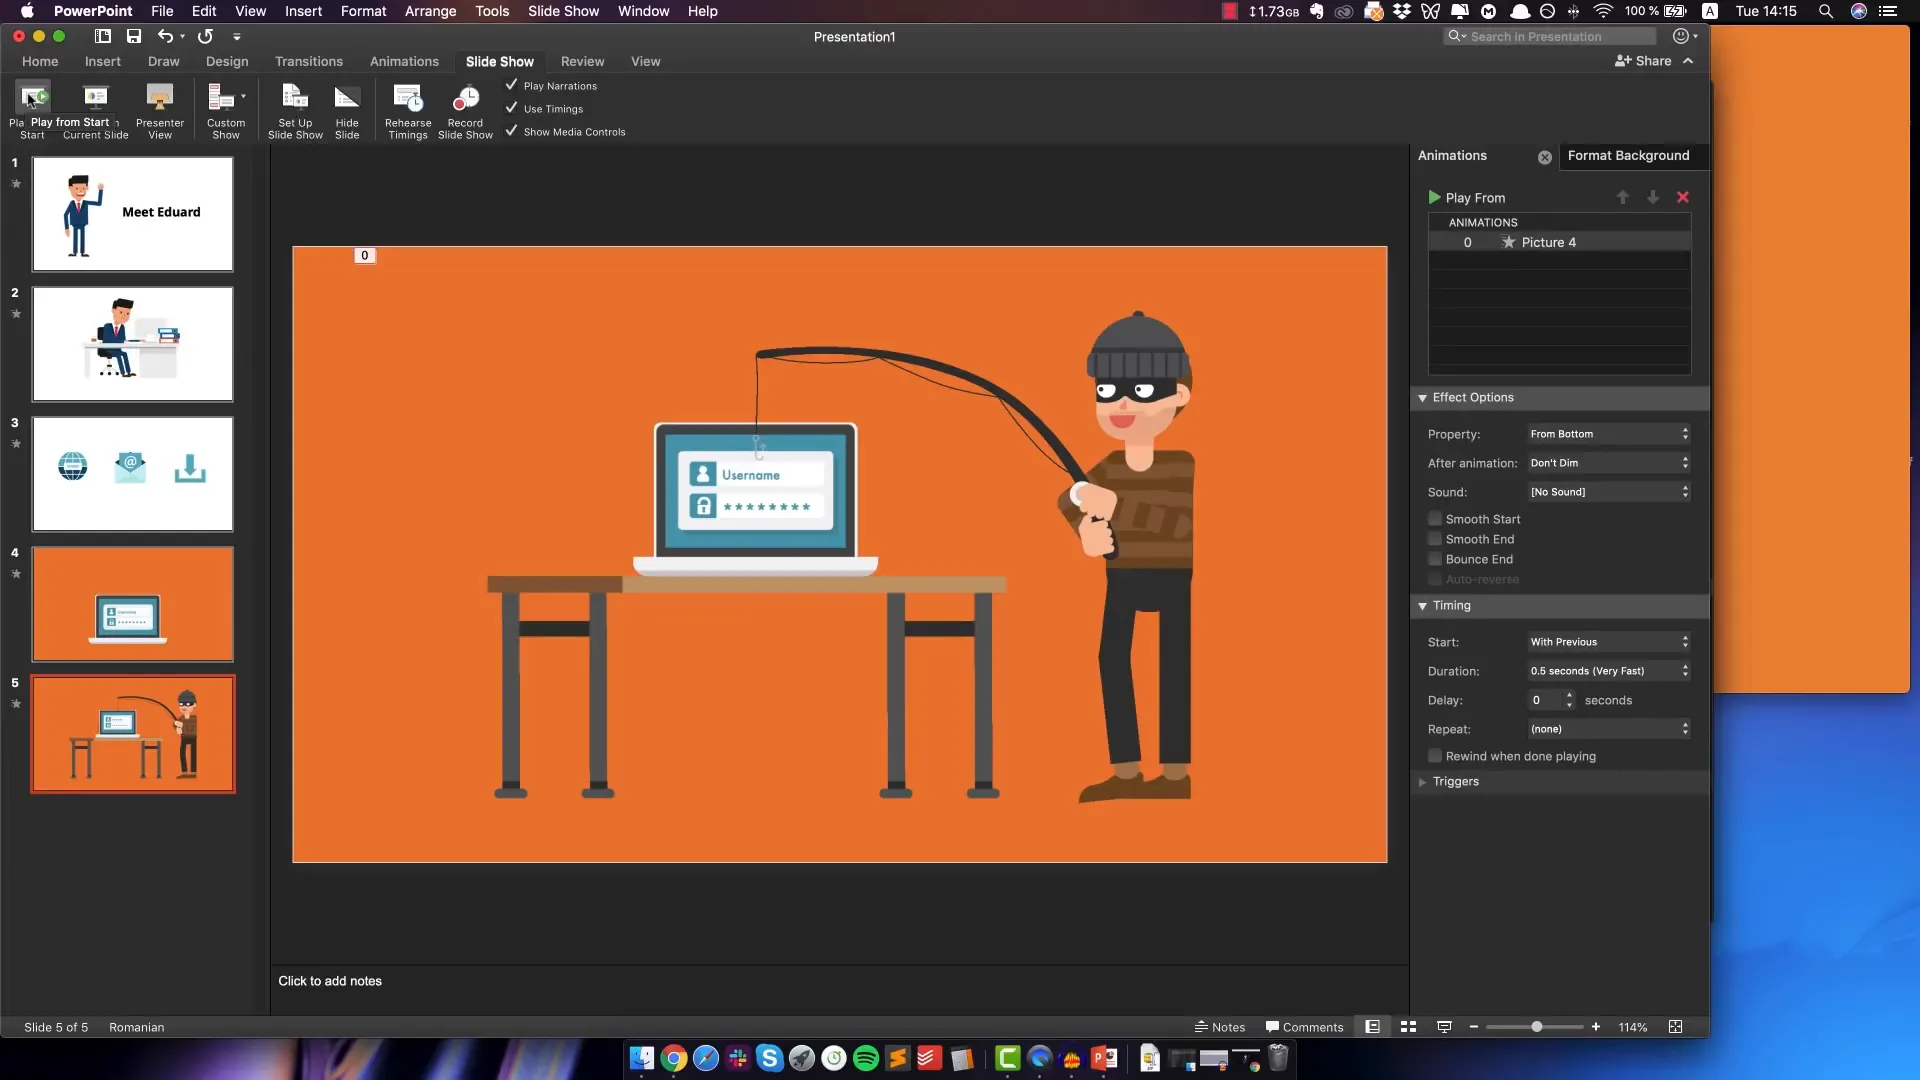
For my video, I like to use simple animations like “Fly In” because they add movement without distracting from the message. For example, I animated Edward’s character to fly in from the left while the text flies in from the right, creating a balanced entrance.
Synchronizing Animations
To make the animations flow naturally, set them to start “With Previous,” so they happen simultaneously when the slide appears, rather than requiring clicks. For elements that need precise timing with the voiceover (like multiple icons appearing sequentially), set their animations to start “On Click.” This lets you control the timing manually when rehearsing.
Working with Multiple Animated Elements on One Slide
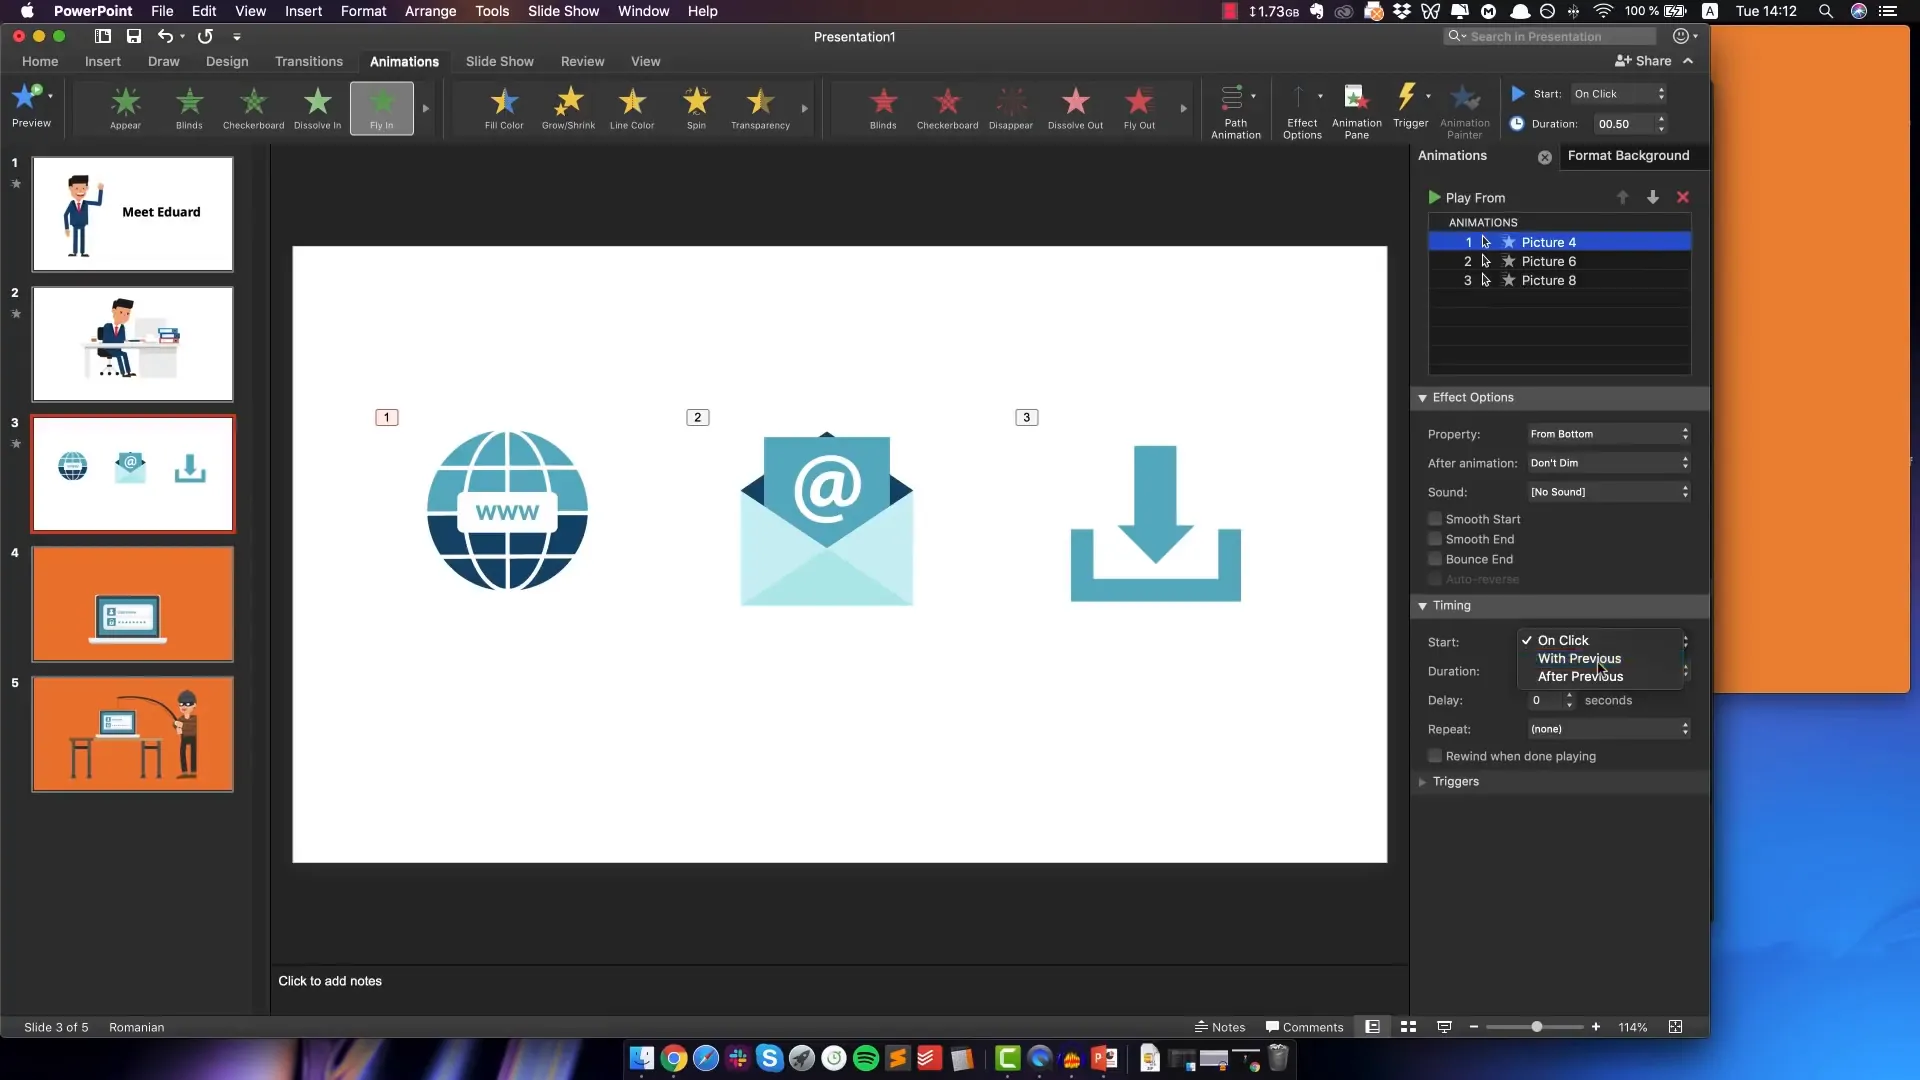
Some slides have several elements that need to appear in a specific order matching the voiceover. For example, on the third slide, I had three icons: Internet, Email, and Download. I animated all three with “Fly In” from the bottom but set only the first icon to start automatically and the other two to start on clicks.
This setup allows you to manually advance each icon’s animation in sync with the voiceover during rehearsal, ensuring perfect timing.
Adding Slide Transitions for Smooth Scene Changes
Transitions create smooth visual effects when moving from one slide to the next. For slides with different background colors or themes, transitions like “Push” or “Fade” can enhance the viewer’s experience.
In my example, I used a simple “Push” transition when moving to the slide with the orange background, which looked clean and professional.
Previewing and Perfecting Your Animation
Once all animations and voiceovers are in place, it’s time to preview your work. Play the slideshow from the beginning and manually advance through the slides and animations to check the flow and timing.

It’s normal to find some animations too fast or slow or misaligned with the audio. Don’t worry—you can easily adjust animation start times, durations, and effects until you get it right. Repeat this preview and adjustment process several times to polish your video.
Rehearsing Timings to Automate Slide Progression
Manually clicking through slides during a presentation is fine, but for a video, you want the entire animation to run smoothly without intervention. PowerPoint has a “Rehearse Timings” feature that lets you record how long each slide should stay on screen and when to trigger animations.
How to Rehearse Timings
- Go to the Slideshow tab and select “Rehearse Timings.”
- Play through your slideshow as usual, pressing the right arrow key to advance elements exactly when the voiceover cues them.
- After finishing, save the timings when prompted.
PowerPoint will now remember these timings and play your slideshow automatically, matching your rehearsed pace.
Exporting Your PowerPoint Animation as a Video
With everything timed perfectly, you can export your slideshow as a video file. This is what turns your animated presentation into a shareable MP4 or MOV file.
Steps to Export
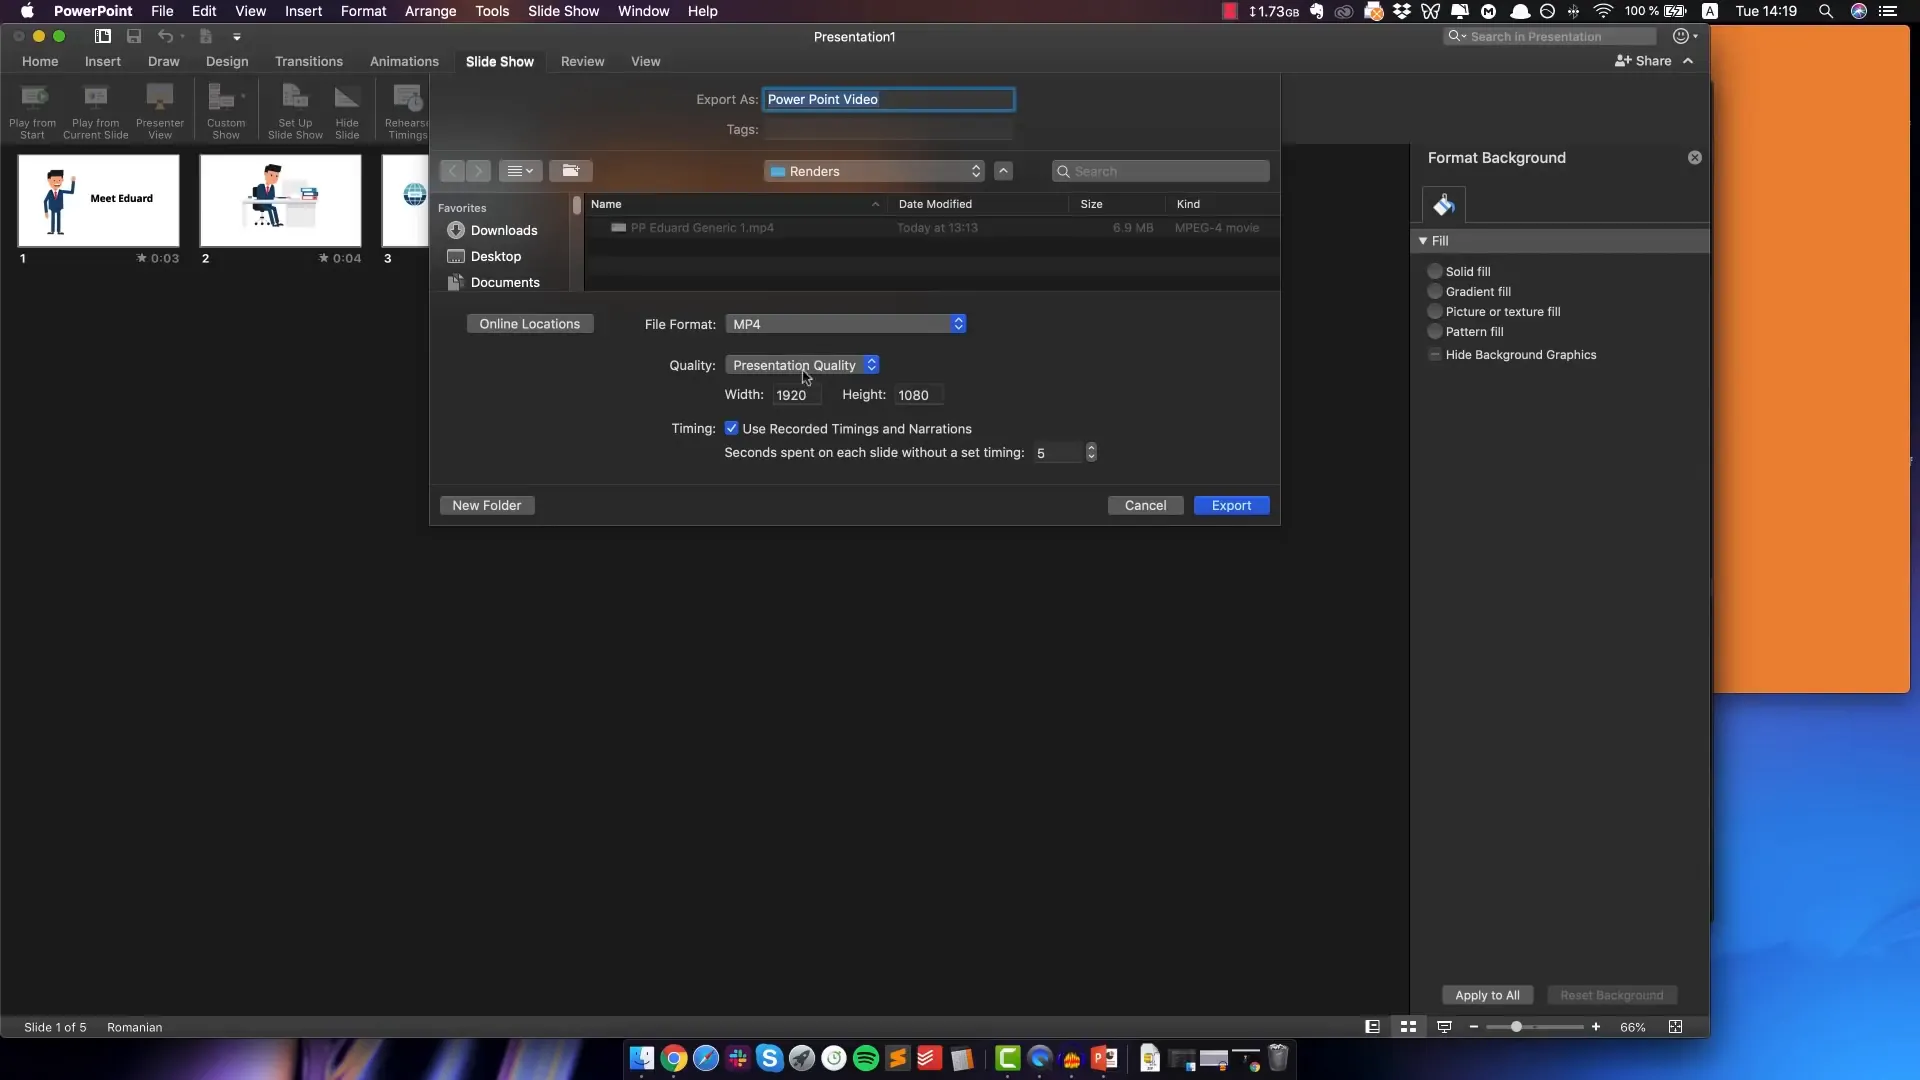
- Go to File > Export.
- Choose the destination folder and file name.
- Select MP4 as the file format (recommended for compatibility).
- Choose the highest quality and full HD resolution for the best output.
- Make sure “Use Recorded Timings and Narrations” is checked.
- Click Export and wait for the process to complete.
Note that exporting can take several minutes depending on your computer’s speed and the video length.
Remember: This export with audio works only on Windows PowerPoint. Mac users will have the video but no audio in the export.
Where to Find High-Quality GIF Animations
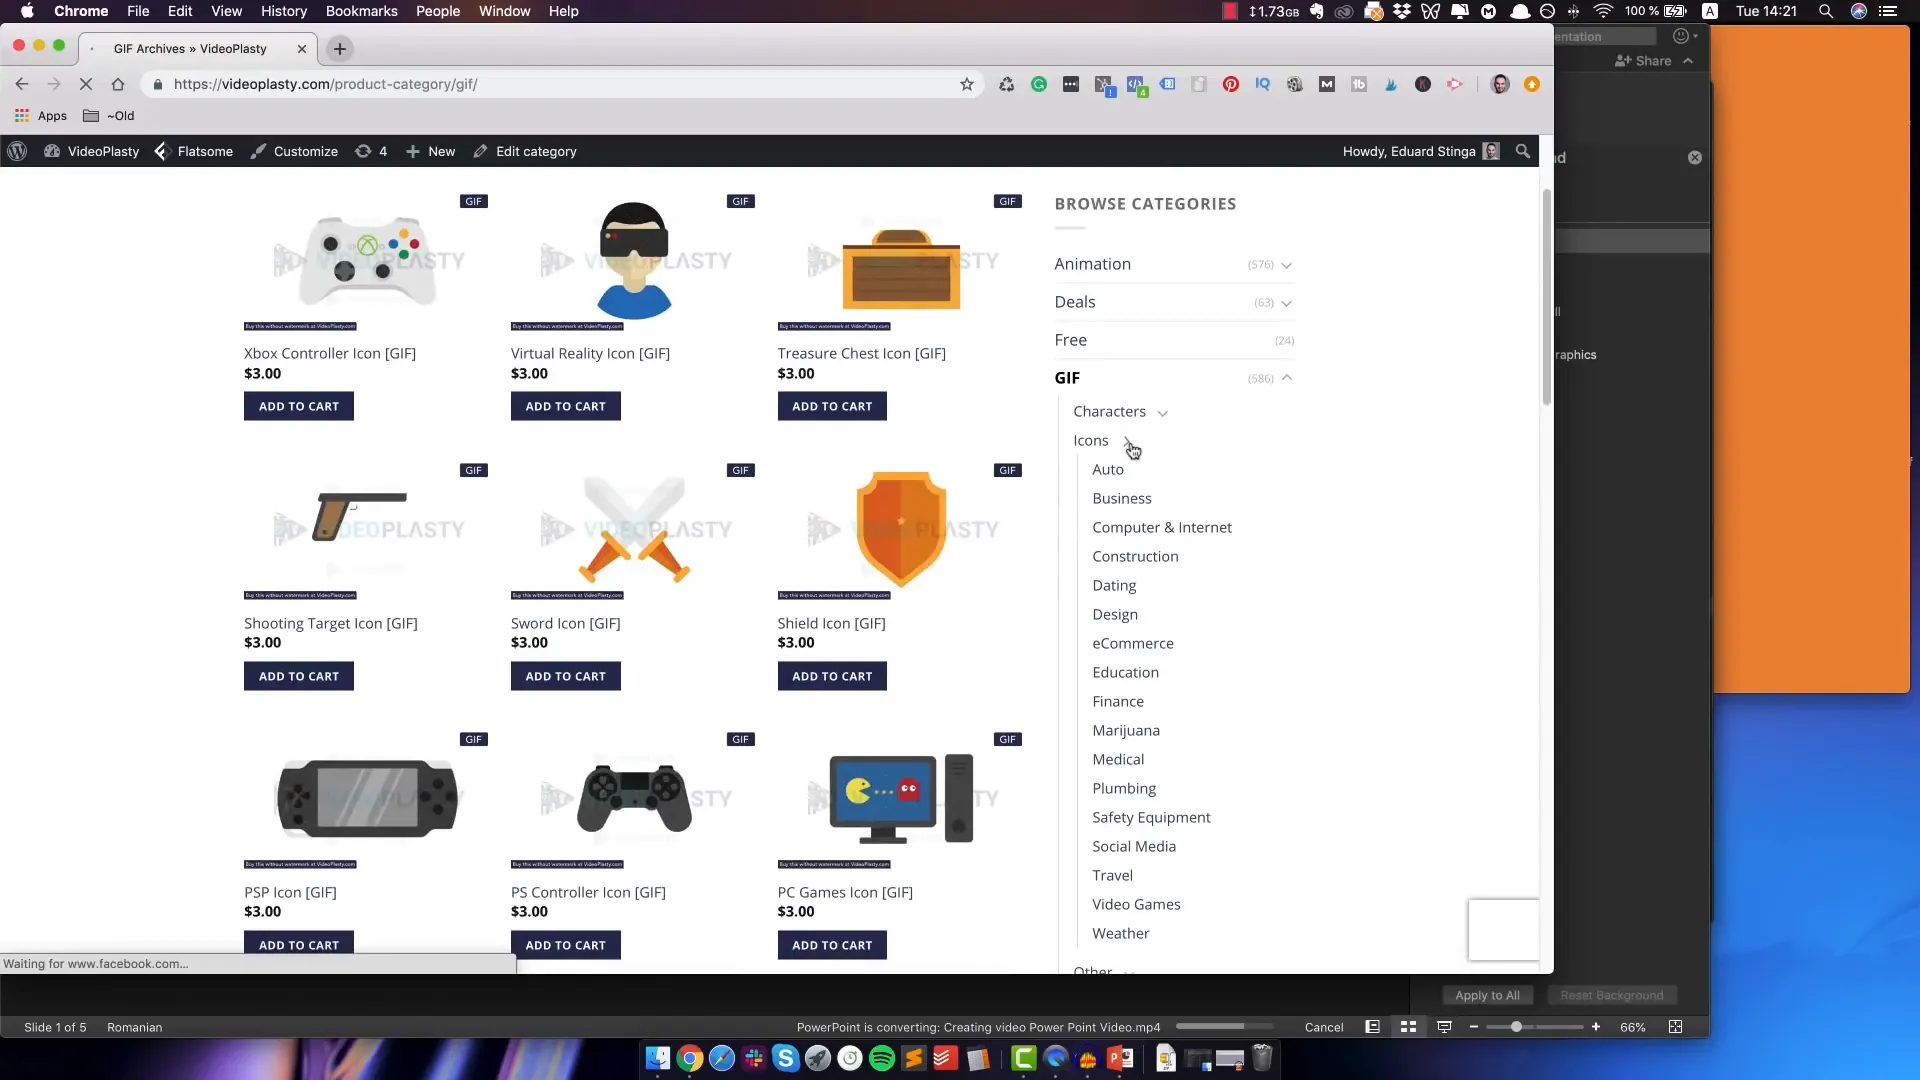
To create professional explainer videos, you need great animated assets. While you can find many free GIFs online, high-quality stock animations make a huge difference in the final look of your video.
At VideoPlasty, we offer a dedicated marketplace for stock animated GIFs and icons across various categories:
- Business and corporate characters
- Medical and fitness animations
- Education and casual characters
- Icons for internet, email, download, and more
These GIFs come with transparent backgrounds, loop perfectly, and are designed for easy integration into videos and presentations.
Full disclosure: I own VideoPlasty, but I genuinely believe it’s a fantastic resource if you want to elevate your explainer videos without spending hours creating animations yourself.
Final Thoughts: Making Your Own Explainer Videos Today
Hopefully, this guide has shown you that creating animated explainer videos doesn’t have to be intimidating or expensive. With just PowerPoint and some animated GIFs, you can produce engaging videos that tell your story effectively.
Here are the key takeaways:
- PowerPoint is a surprisingly powerful tool for animation, especially for beginners.
- Planning your script and storyboard is essential before starting.
- Use high-quality GIF animations to bring your slides to life.
- Take advantage of PowerPoint’s animation and transition features to add polish.
- Rehearse timings to sync animations with your voiceover perfectly.
- Export your slideshow as a video to share or upload anywhere.
Don’t be afraid to experiment and make the process your own. And if you want to dive deeper into explainer videos, check out additional tutorials and resources available online, including the VideoPlasty Explainer Academy.
Now it’s your turn—grab your PowerPoint, some animated GIFs, and start creating your own animated explainer video today!
Frequently Asked Questions (FAQ)
Can I create animated explainer videos on a Mac using PowerPoint?
Currently, PowerPoint on Mac cannot export videos with audio included. While animations export correctly, the audio track is lost. However, you can use Keynote, Apple’s presentation software, which supports video export with audio on Mac. I have a separate tutorial showing how to do this with Keynote.
Do I need to be an expert in animation or graphic design to create these videos?
No! That’s the beauty of this method. Using PowerPoint’s simple animation tools combined with pre-made animated GIFs allows anyone to create professional-looking explainer videos without prior animation experience.
Where can I find animated GIFs suitable for explainer videos?
There are many sources online, but for high-quality, transparent, and loopable GIFs, I recommend VideoPlasty’s marketplace. It offers a wide range of characters and icons perfect for explainer videos.
Can I add background music or sound effects to my PowerPoint animation?
Yes, you can add additional audio files to your slides similar to how you add voiceover. Just be sure to manage playback settings so that the audio plays across slides as needed.
Is exporting my PowerPoint animation as a video a quick process?
The export time depends on your computer’s specs and the length/complexity of your video. It can take a few minutes, so be patient while PowerPoint processes the slideshow into a video file.
Can I use this method for longer or more complex videos?
While PowerPoint works great for short to medium-length explainer videos, very long or highly complex animations might be better suited for dedicated video editing or animation software. However, for many business and educational videos, PowerPoint is more than sufficient.
How do I ensure my animations sync perfectly with the voiceover?
Use the “Rehearse Timings” feature in PowerPoint. This tool lets you manually advance slides and animations in sync with your voiceover, and PowerPoint will remember these timings for automatic playback.
Can I customize the animation effects in PowerPoint?
Yes, PowerPoint offers a variety of animation effects and options to adjust direction, timing, and duration. You can experiment to find what works best for your video style.
Is it possible to add text animations along with GIF animations?
Absolutely. You can animate text boxes using the same animation tools available for images and GIFs. Combining animated text with GIFs adds more dynamism to your explainer video.
Check out the full video: How to Make Explainer Animation in PowerPoint [Beginner Friendly]


