
Creating an Incredible PowerPoint Presentation that captivates your audience while being functional and interactive is easier than you might think. With the right tools and techniques, you can design a clickable menu with animated icons and smooth transitions that make navigating your slides both engaging and intuitive.
In this comprehensive guide, inspired by the popular tutorial from One Skill PPT, we’ll walk you through the step-by-step process of building a stunning interactive PowerPoint presentation. You’ll learn how to use animated icons, hyperlinks, morph transitions, and design elements to create a professional and dynamic slideshow. Plus, you’ll discover useful resources, shortcuts, and pro tips to elevate your presentation skills.
Table of Contents
- Getting Started: Setting Up Your Presentation
- Designing the Blurry Photo Header
- Creating Clickable Circles and Active Section Indicators
- Setting Up Slides and Hyperlinks for Navigation
- Adding Beautiful Animated Icons from Lordicon
- Finalizing Content and Adding Animations
- Testing Your Interactive Presentation
- Frequently Asked Questions
- Conclusion
Getting Started: Setting Up Your Presentation
Before diving into the creative elements, it’s important to start with a clean slate. Here’s how to prepare your PowerPoint workspace for your incredible interactive presentation.
1. Open a New Blank Slide
Begin by scrolling to a fresh, blank slide in your presentation or insert a new one. This will serve as the canvas for your interactive menu.
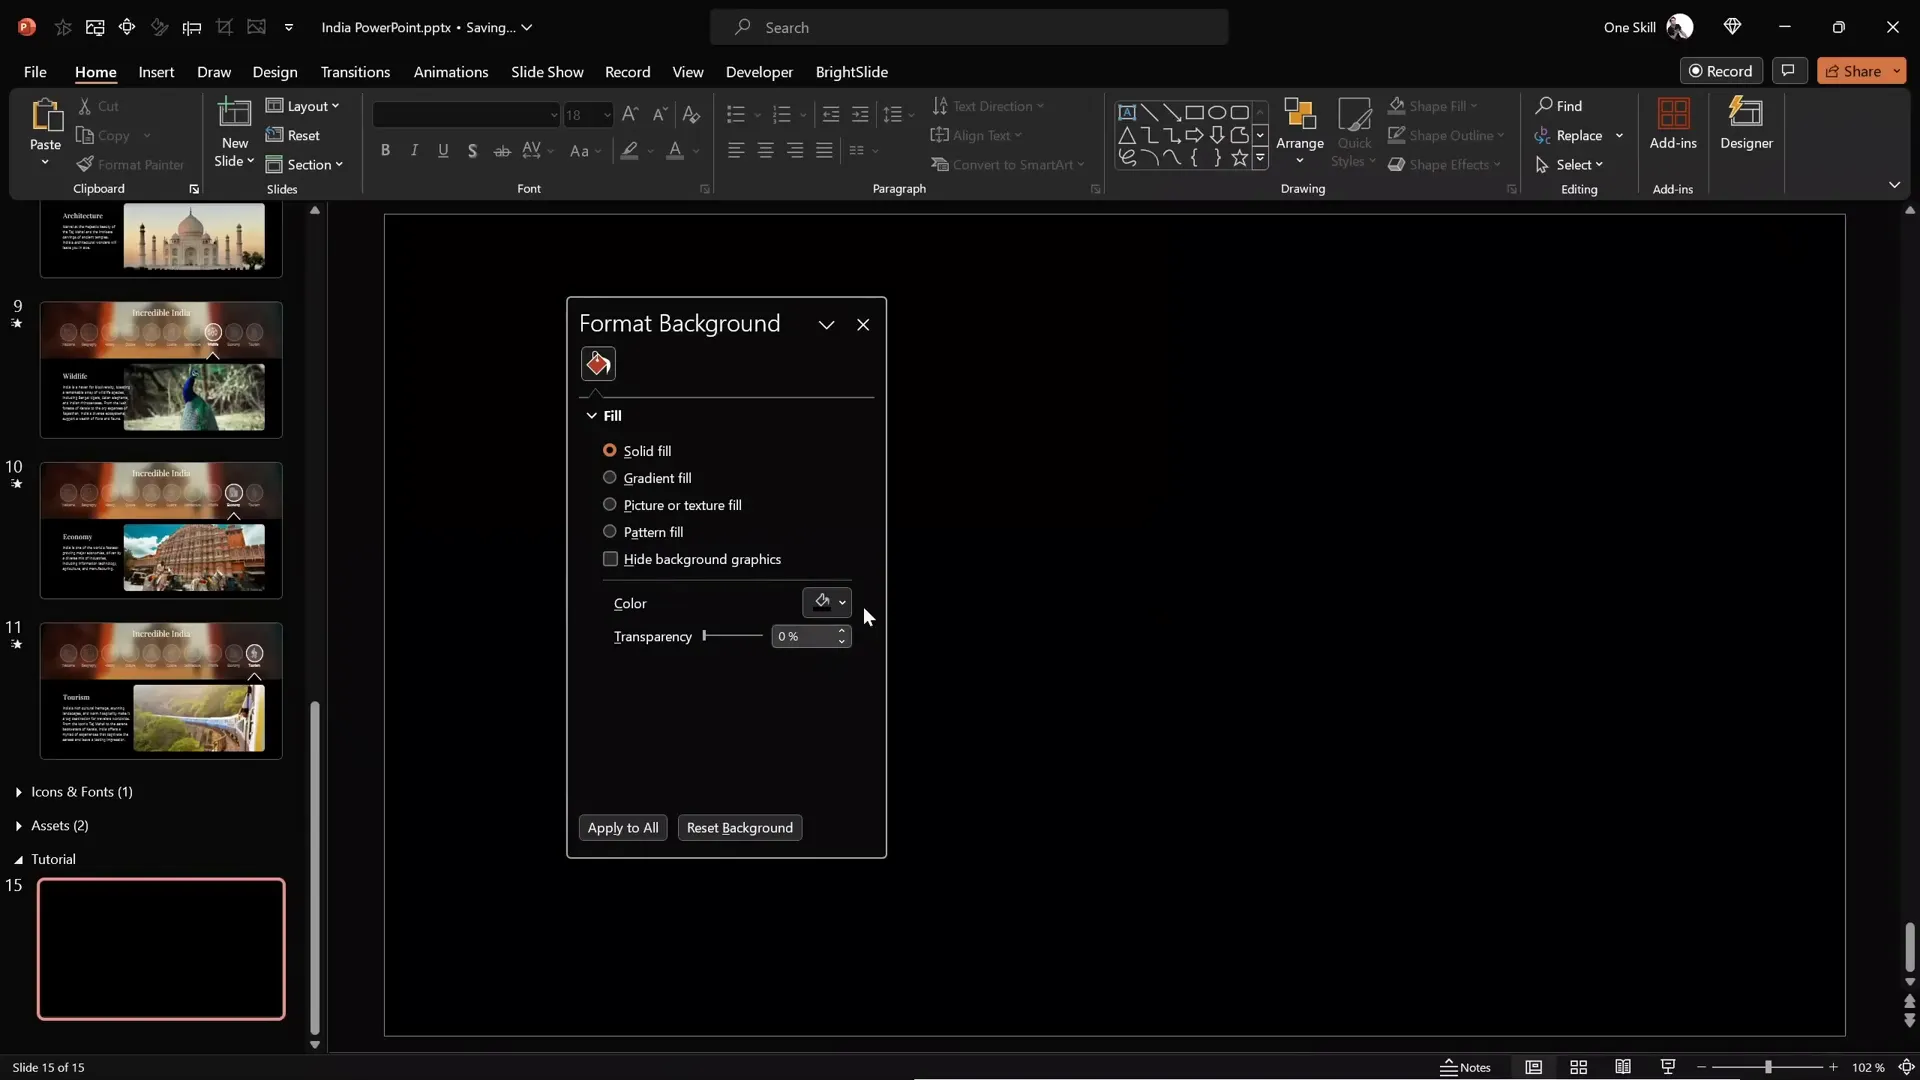
2. Change the Slide Background to Black
To make your icons and text stand out, change the slide background fill to a dark color, preferably black. This creates a sleek and modern look that enhances readability and visual appeal.
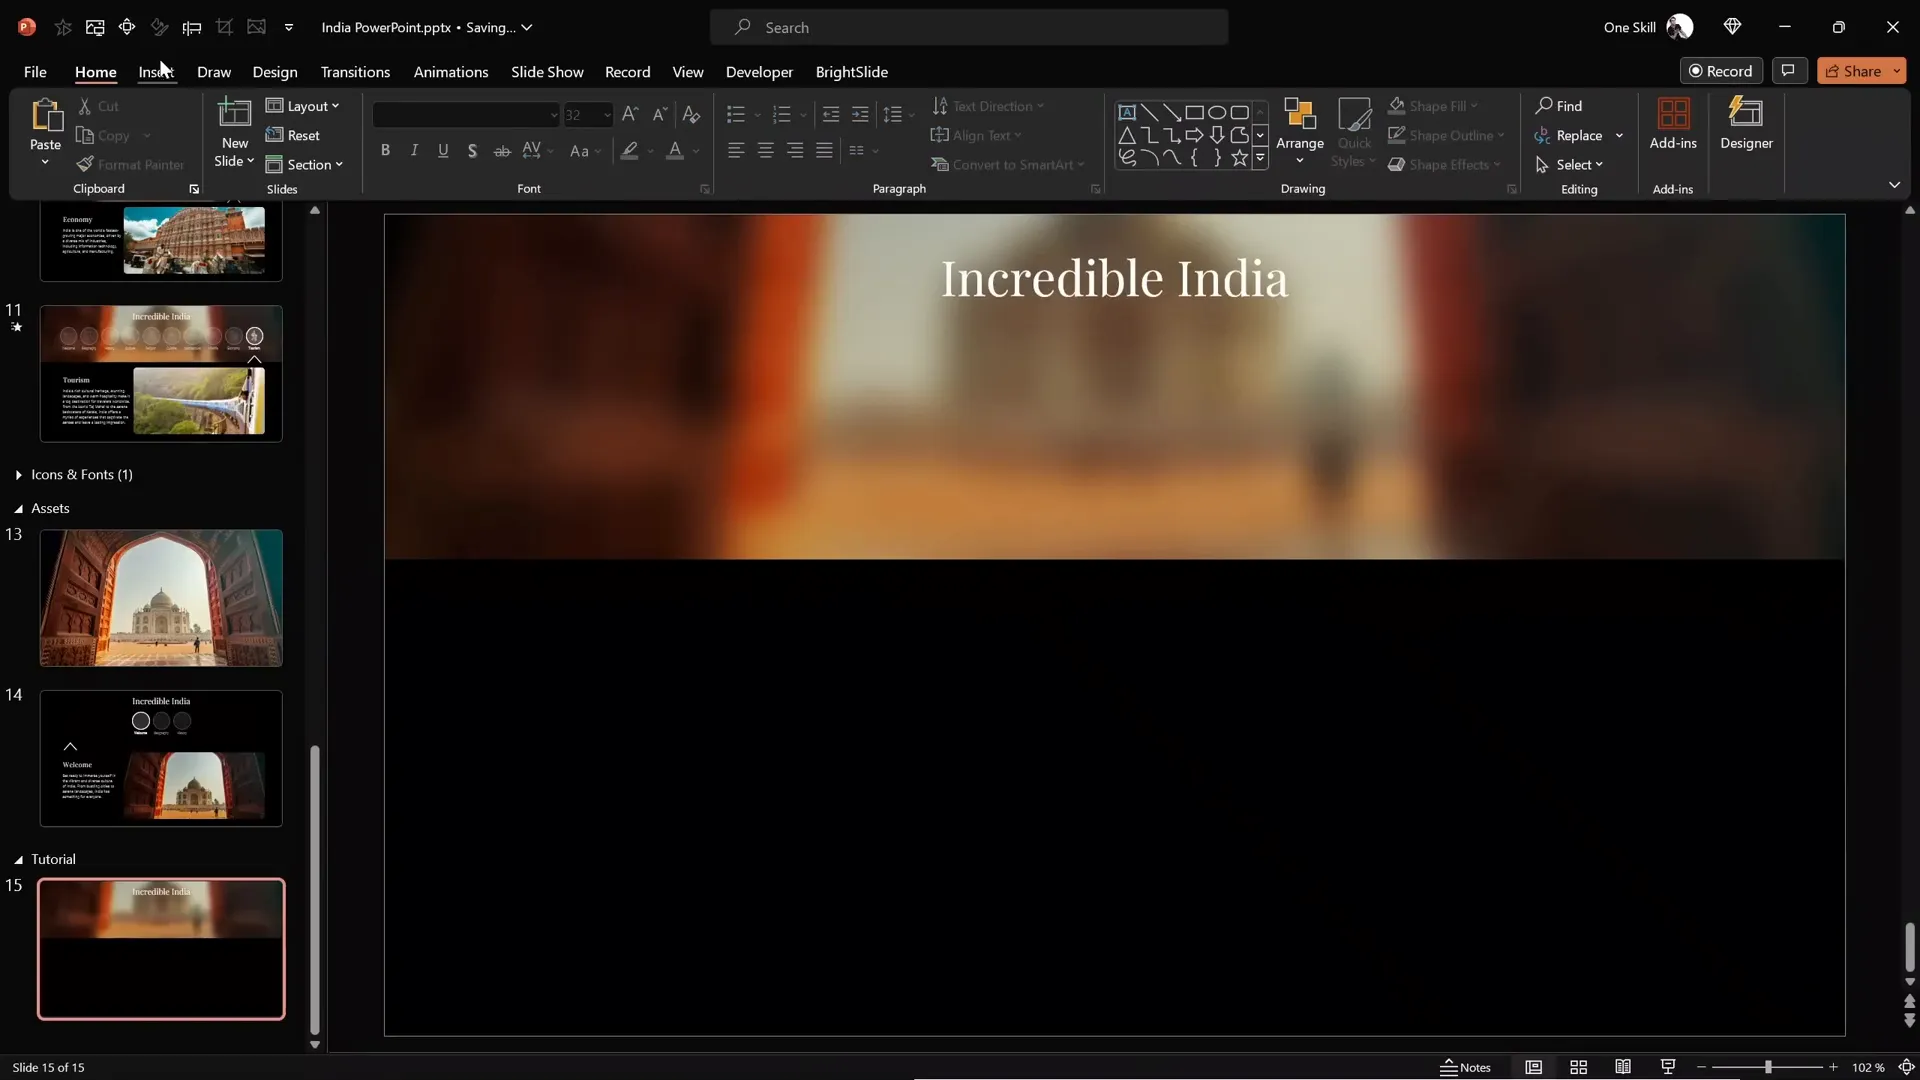
Designing the Blurry Photo Header
One of the visually appealing elements of this presentation is the blurry photo header at the top of the slide. It adds depth and context without overpowering the text.
Step-by-Step: Creating the Blurry Photo Mask
- Insert a Rectangle Shape: Go to Insert > Shapes and select the rectangle tool. Draw a rectangle aligned to the top-left corner of the slide.
- Set Rectangle Dimensions: Set the height of the rectangle to 8 cm and stretch it to cover the entire width of the slide.
- Find and Insert a Photo: Use a beautiful photo that fits your presentation’s theme. For example, a photo of the Taj Mahal was used in this tutorial. Insert the photo onto the slide.
- Send the Photo to Back: Right-click the photo and select Send to Back so the rectangle remains visible on top.
- Adjust Rectangle Transparency: Select the rectangle and add transparency so the photo beneath is visible but muted.
- Move Photo to Desired Position: Select the photo and adjust its vertical position so the desired part is visible through the rectangle.
- Crop the Photo to the Rectangle Shape: Select the photo, hold Shift, select the rectangle, then go to Shape Format > Merge Shapes > Intersect. This crops the photo to the rectangle’s shape.
- Adjust Photo Brightness and Contrast: Reduce brightness by 20% and increase contrast by 20% for better text readability.
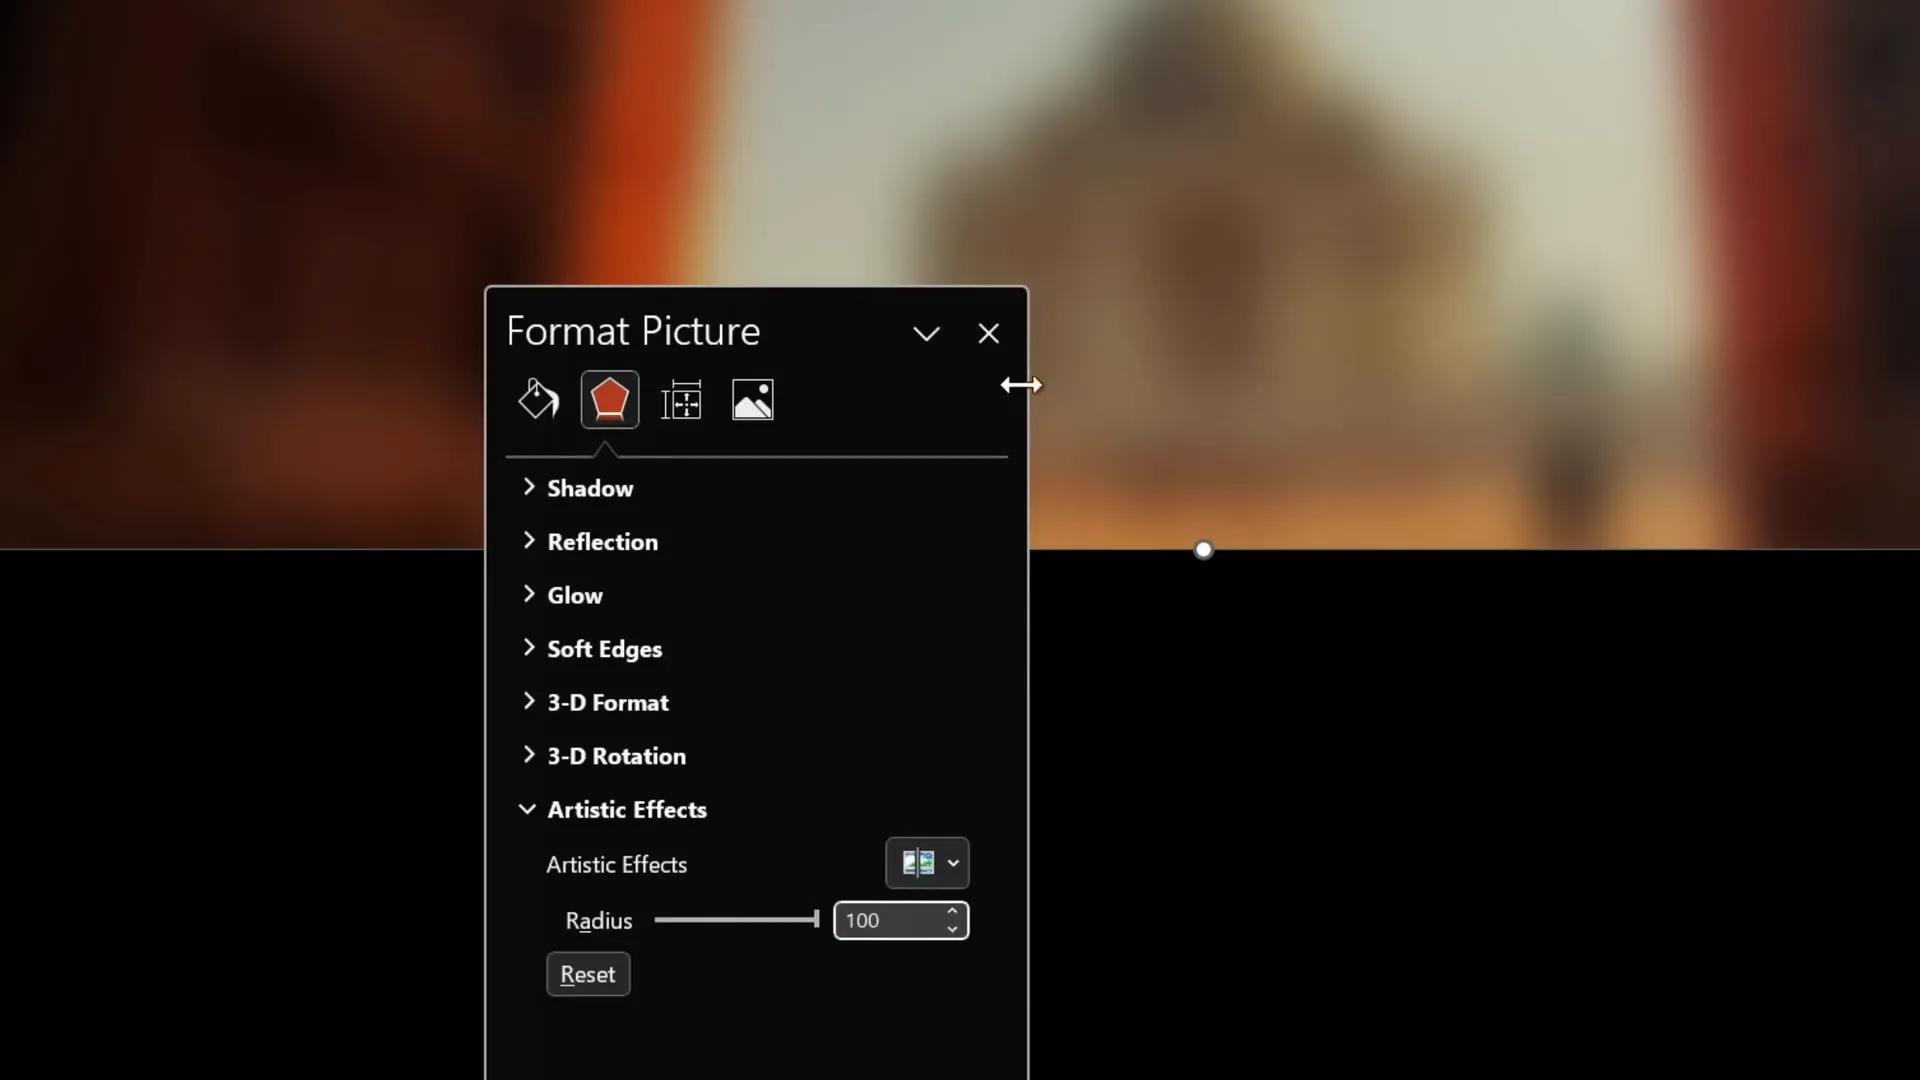
- Add Blur Effect: Apply the maximum blur effect (100%) under Artistic Effects to soften the image.
This technique creates a stylish blurry header that enhances the overall design without distracting from the content.
Adding Readable Text Over the Photo
To make the text stand out over the blurry photo, use a contrasting font. In this tutorial, the Playfair Display font was used for its elegant serif style, enhancing readability and aesthetics.
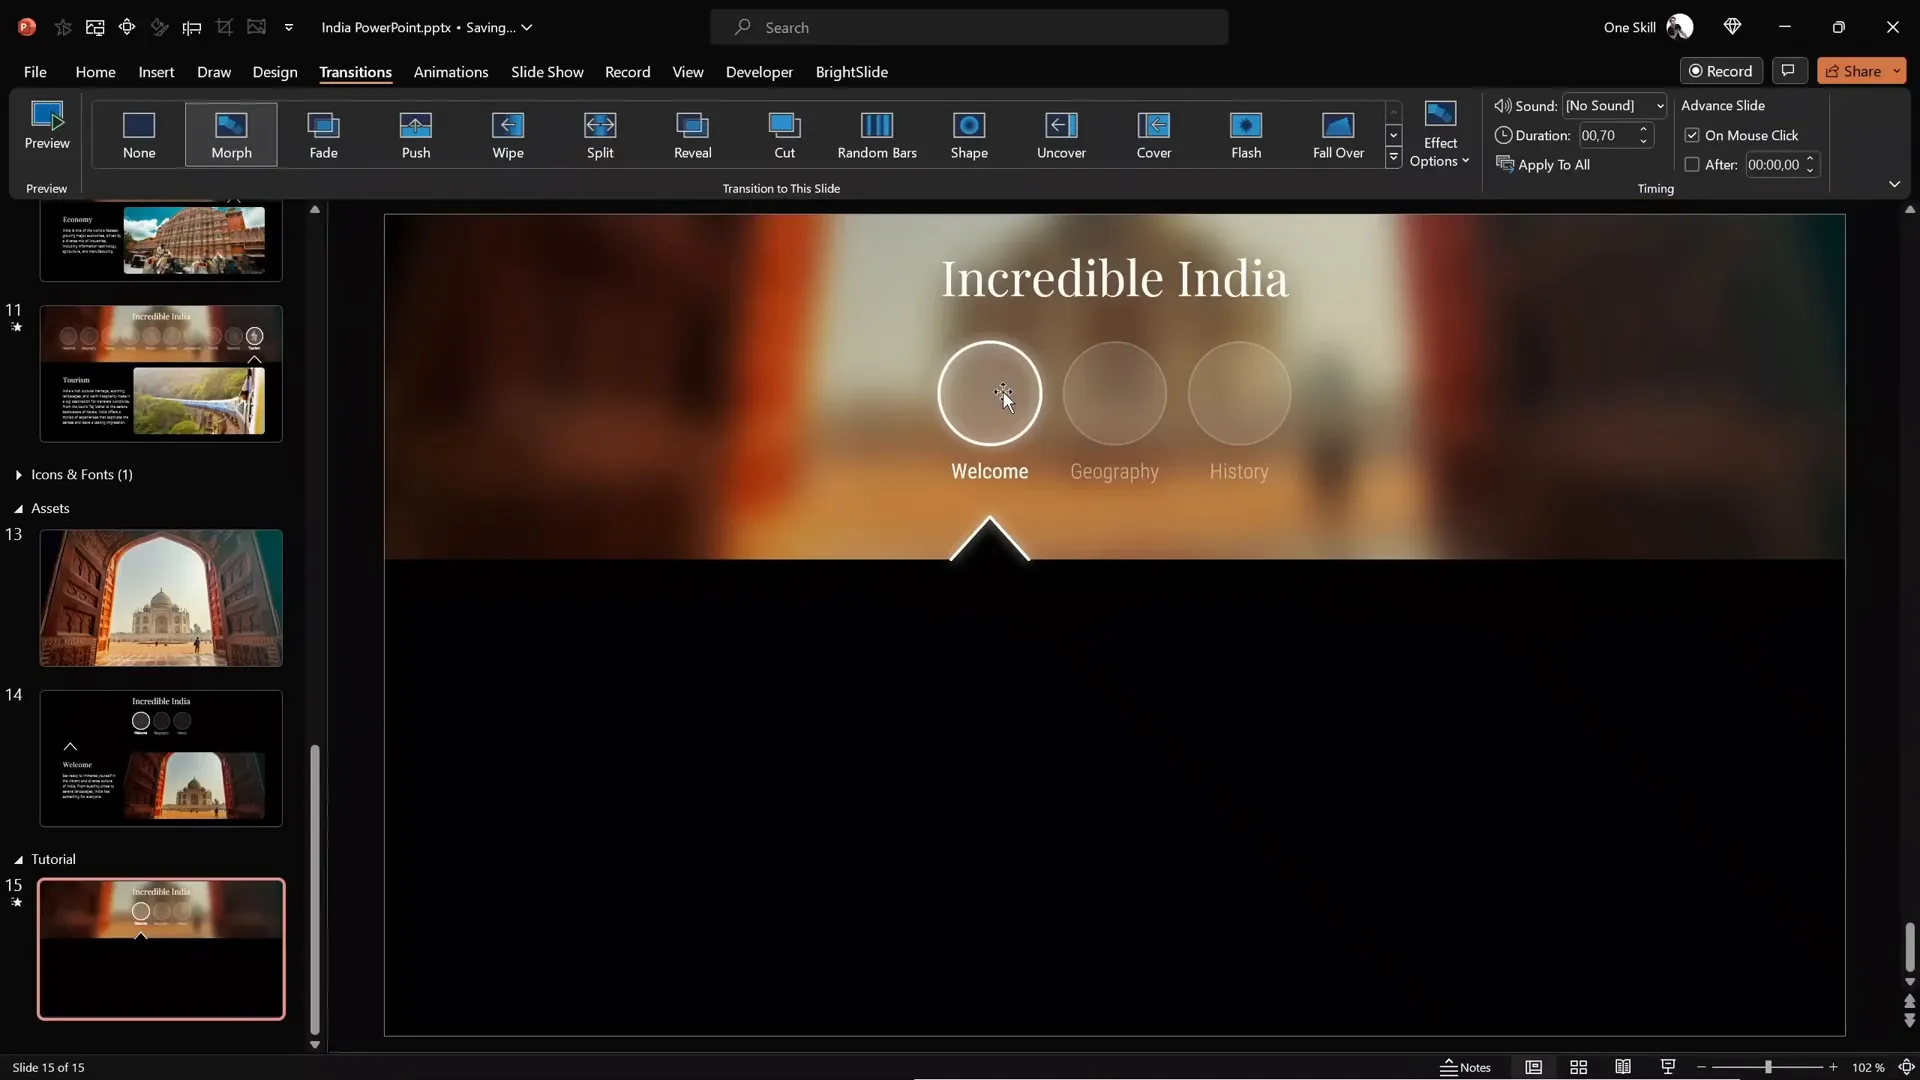
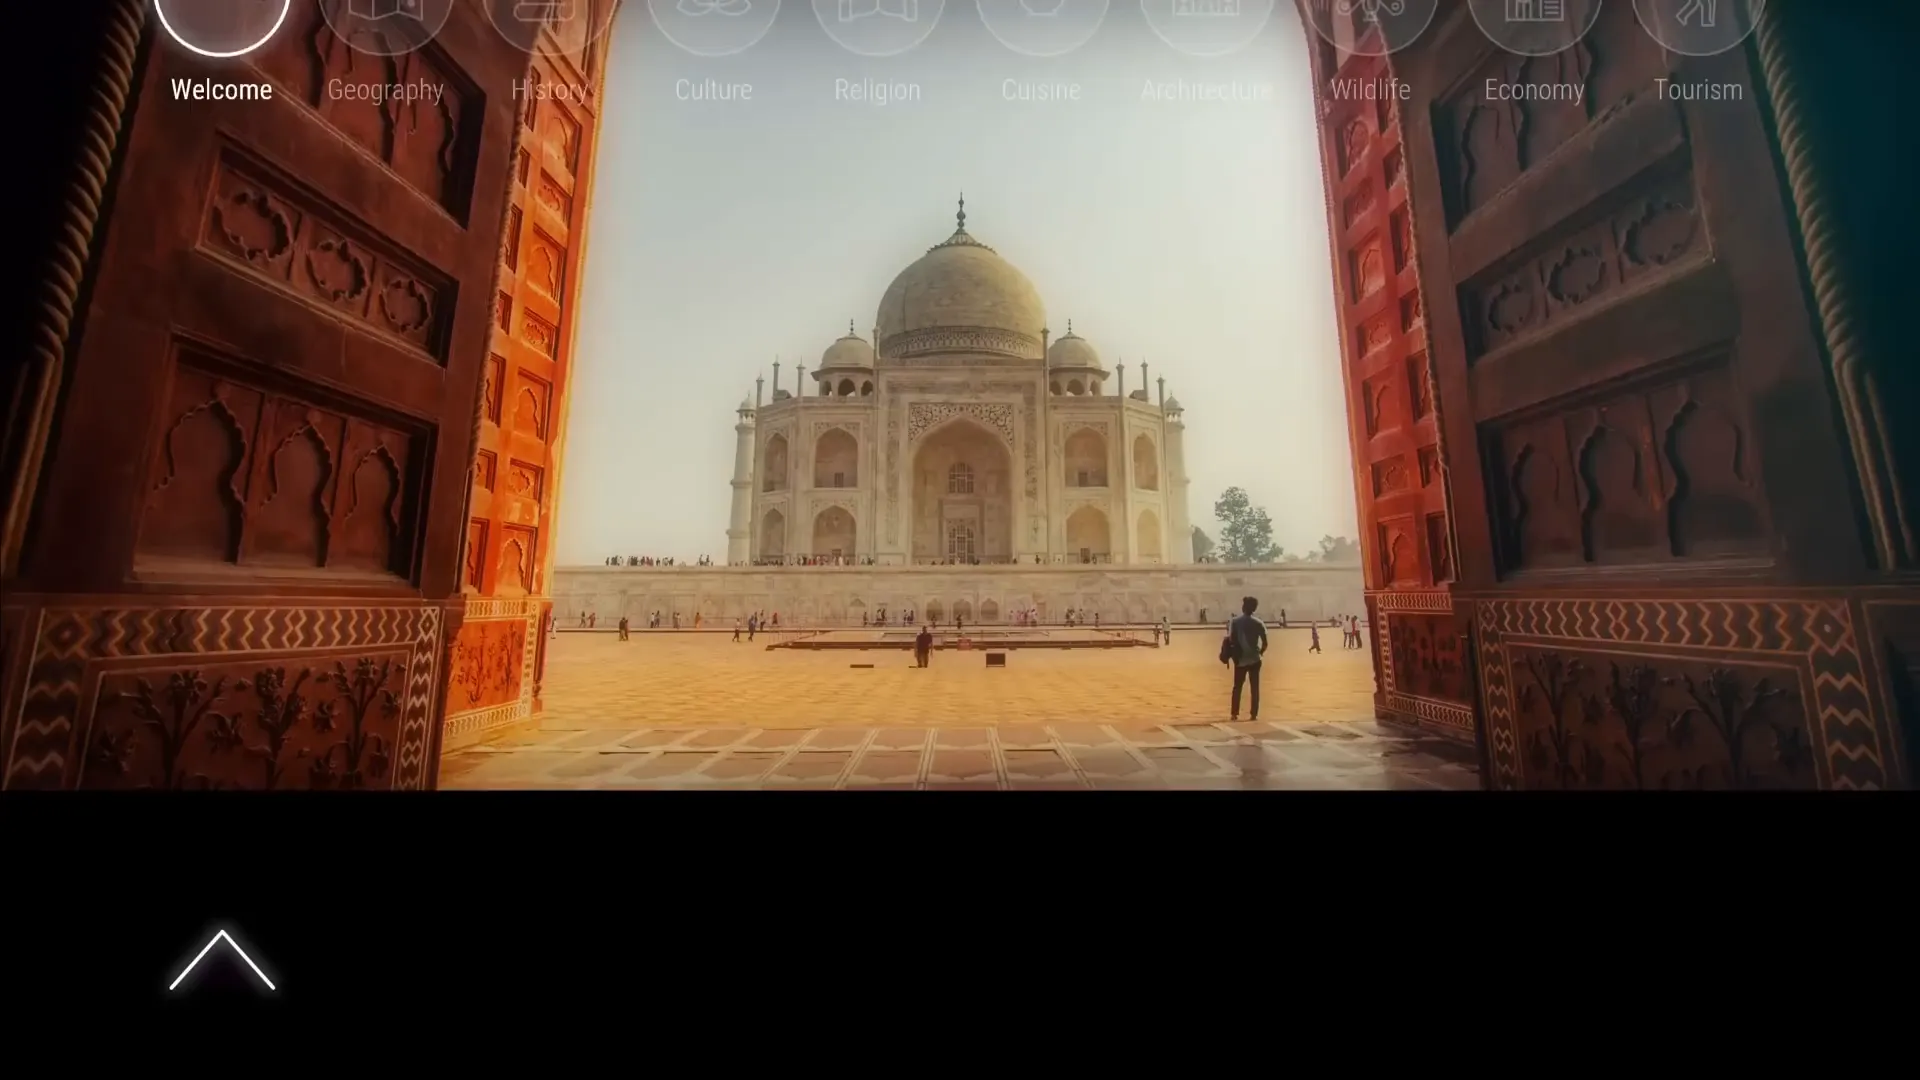
Creating Clickable Circles and Active Section Indicators
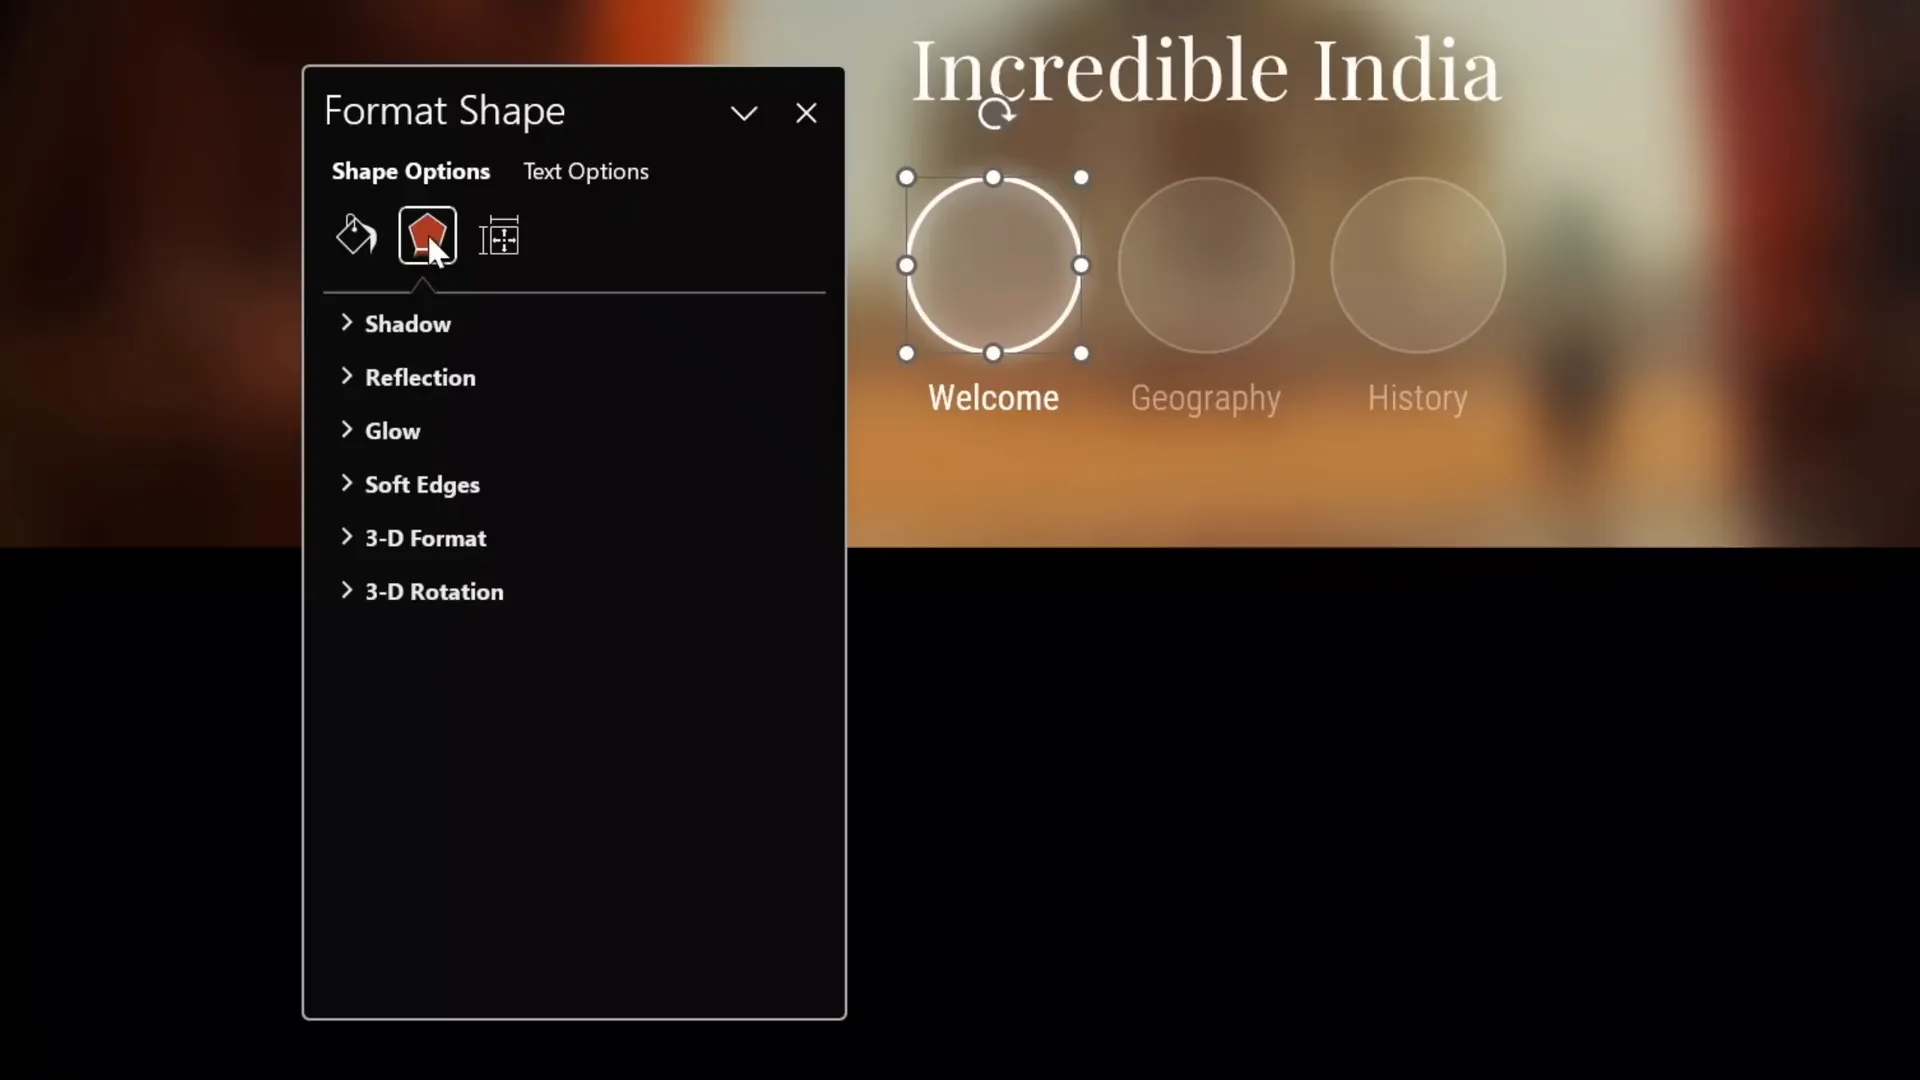
Clickable circles serve as interactive buttons for navigating between slides. Differentiating between active and inactive circles improves user experience by indicating the current section.
How to Create Circles with Glow Effects
Instead of drawing circles from scratch, you can save time by copying pre-formatted circles that include text boxes. Here’s how to style them:
| Circle Type | Fill | Fill Transparency | Line | Line Width | Line Transparency | Shadow (Glow) |
|---|---|---|---|---|---|---|
| Active Circle | Solid White | 90% | Solid White | 2 pt | 0% | White shadow with 10 pt blur |
| Inactive Circle | Solid White | 90% | Solid White | 1 pt | 75% | No shadow (no glow) |
Additionally, inactive text boxes inside the circles have 50% transparency to subtly indicate they are not currently active.
Naming Elements for Smooth Morph Transitions
Use the Selection Pane to assign specific names to your circles. Prefix each name with double exclamation marks (!!) to ensure PowerPoint’s morph transition recognizes and animates these elements correctly without mixing them up.
This small naming convention is crucial when working with morph transitions involving multiple similar objects.
Creating an Active Section Arrow
To visually indicate the active circle, create a simple arrow using lines and a triangle. Style the lines with a white color, 2 pt width, and add a white shadow with a 10 pt blur for a glowing effect.
Group the lines and triangle into one element and position it under the active circle, center-aligned horizontally.
Setting Up Slides and Hyperlinks for Navigation
Interactivity is achieved by linking each circle to its corresponding slide. Here’s how to set this up effectively.
Adding Slides for Each Section
- Add two more slides so you have three in total, each representing a different section or bubble.
- Apply the morph transition to all three slides with a duration of 0.7 seconds for smooth animations.
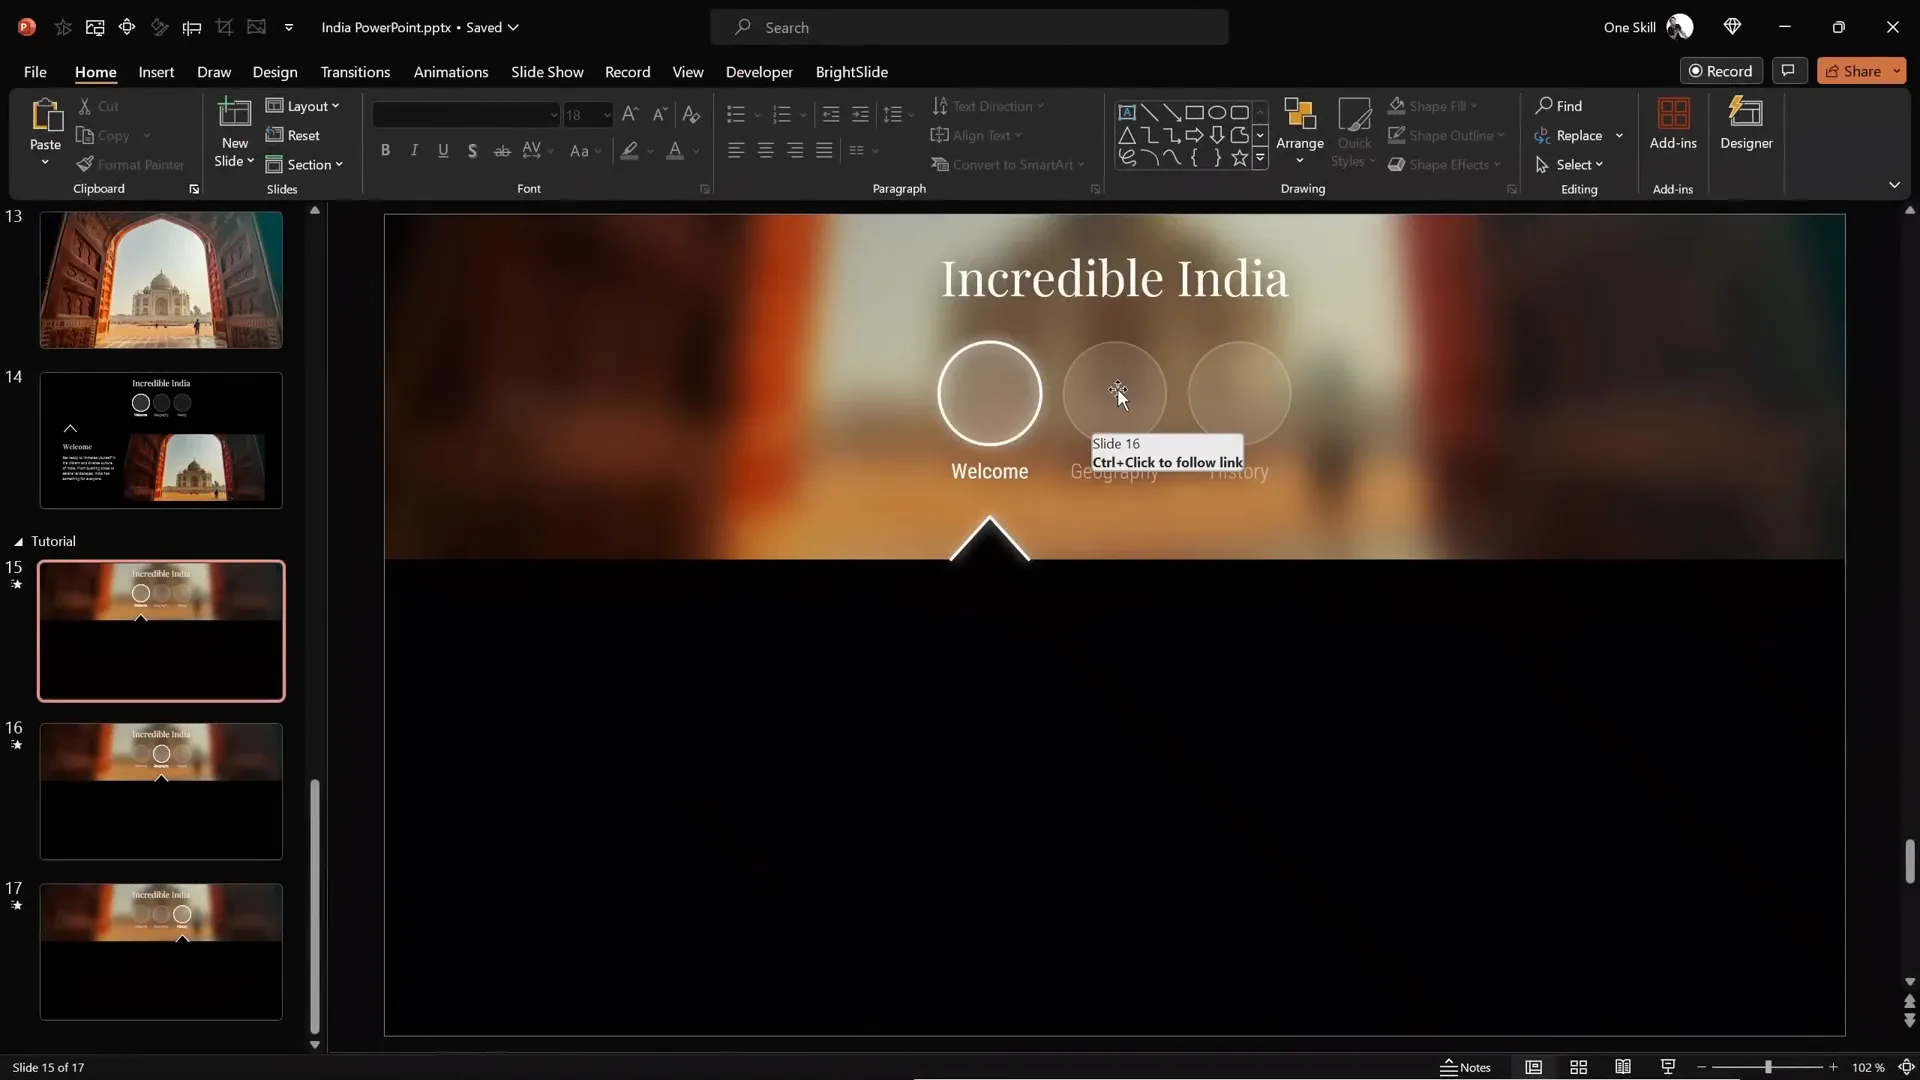
Linking Circles to Slides
- Select the first circle, go to Insert > Link, and link it to Slide 1 (or the corresponding slide number).
- Repeat for the second and third circles, linking them to their respective slides.
- Use the shortcut Ctrl + K to quickly open the link menu.
Duplicating and Adjusting Slides
- Copy all elements on the first slide and paste them onto the second and third slides.
- Move the active indicator arrow to the appropriate circle for each slide.
- Use the format painter to quickly swap active and inactive circle styles.
- Ensure the circles maintain their specific names with the double exclamation marks on all slides.
This setup ensures that when you click a circle, PowerPoint navigates to the corresponding slide with a smooth morph transition.
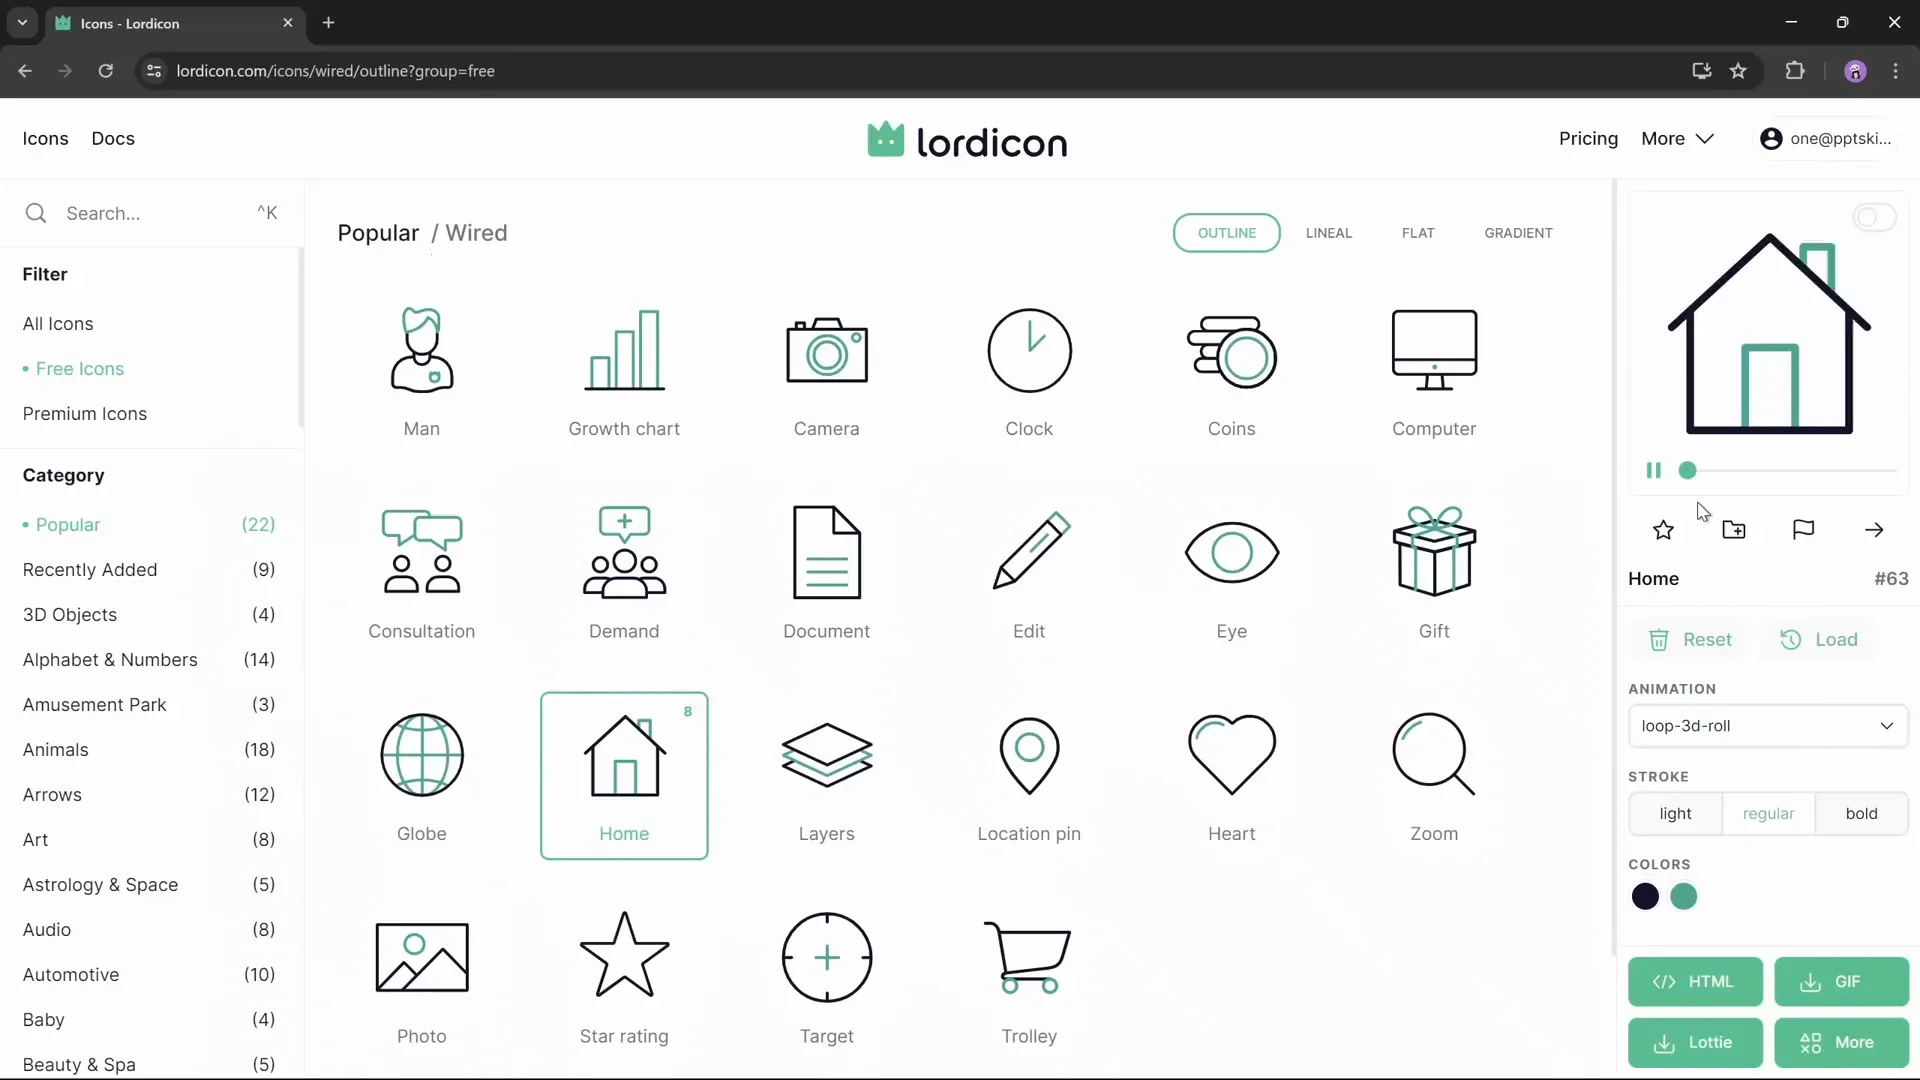
Adding Beautiful Animated Icons from Lordicon
Animated icons add life and professionalism to your presentation. Lordicon.com offers a vast library of high-quality animated icons, both free and premium, perfect for PowerPoint.
Exploring Lordicon’s Library
- Visit lordicon.com to browse over 20,000 animated icons.
- Filter by icon type, style, and free vs. premium options.
- Choose icons that match your presentation’s theme and style.
Customizing Icons
Lordicon allows you to customize:
- Animation styles (e.g., spinning, morphing)
- Line thickness
- Colors (set to white for dark backgrounds)
Downloading Icons
- Export animated icons as GIFs with transparent backgrounds (recommended size: 400px).
- Download PNG versions for inactive icon states.
- For each icon, download both GIF (active) and PNG (inactive) versions.
Importing Icons into PowerPoint
- Go to Insert > Pictures > This Device and insert all GIF and PNG icons.
- Resize all icons uniformly (e.g., 1.4 cm width/height).
- Arrange animated GIFs above and PNGs below for easy management.
- Apply 75% transparency to PNG icons to indicate inactive states.
- Use the format painter to apply transparency consistently.
Naming Icons for Morph Transition
Just like with circles, assign specific names to icons in the selection pane with double exclamation marks (!!) to avoid morph transition issues. Ensure active and inactive icons share the same base name.
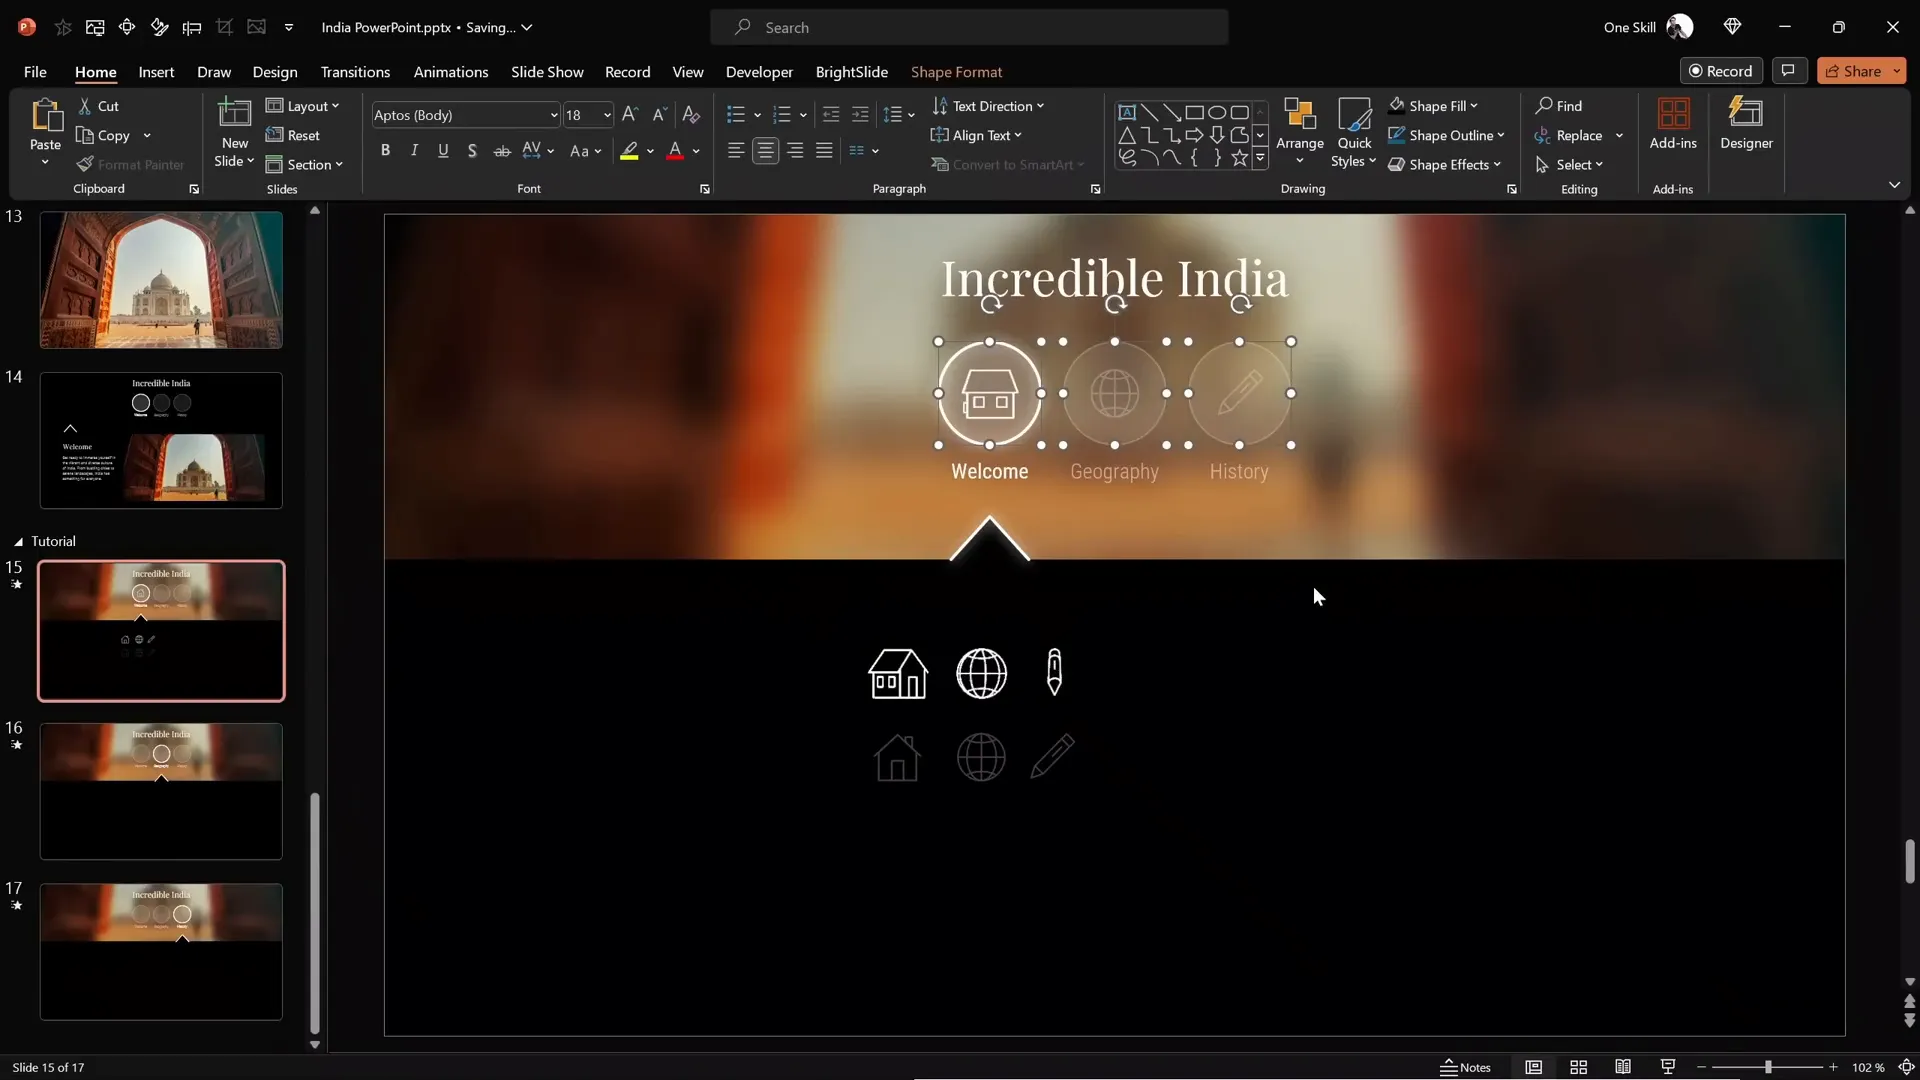
Positioning Icons in Circles
- Place the animated (GIF) icon inside the active circle on each slide.
- Place the transparent PNG icons inside inactive circles.
- Bring circles to the front to ensure icons don’t interfere with clickability.
Repeat the icon placement for each slide, moving the animated icon to the active circle accordingly.
Finalizing Content and Adding Animations
With the interactive menu and icons in place, it’s time to add your slide content and polish the presentation with subtle animations.
Adding Text and Photos
- Copy text boxes and photos from previous slides or create new ones.
- Paste them onto each slide, ensuring consistent formatting and placement.
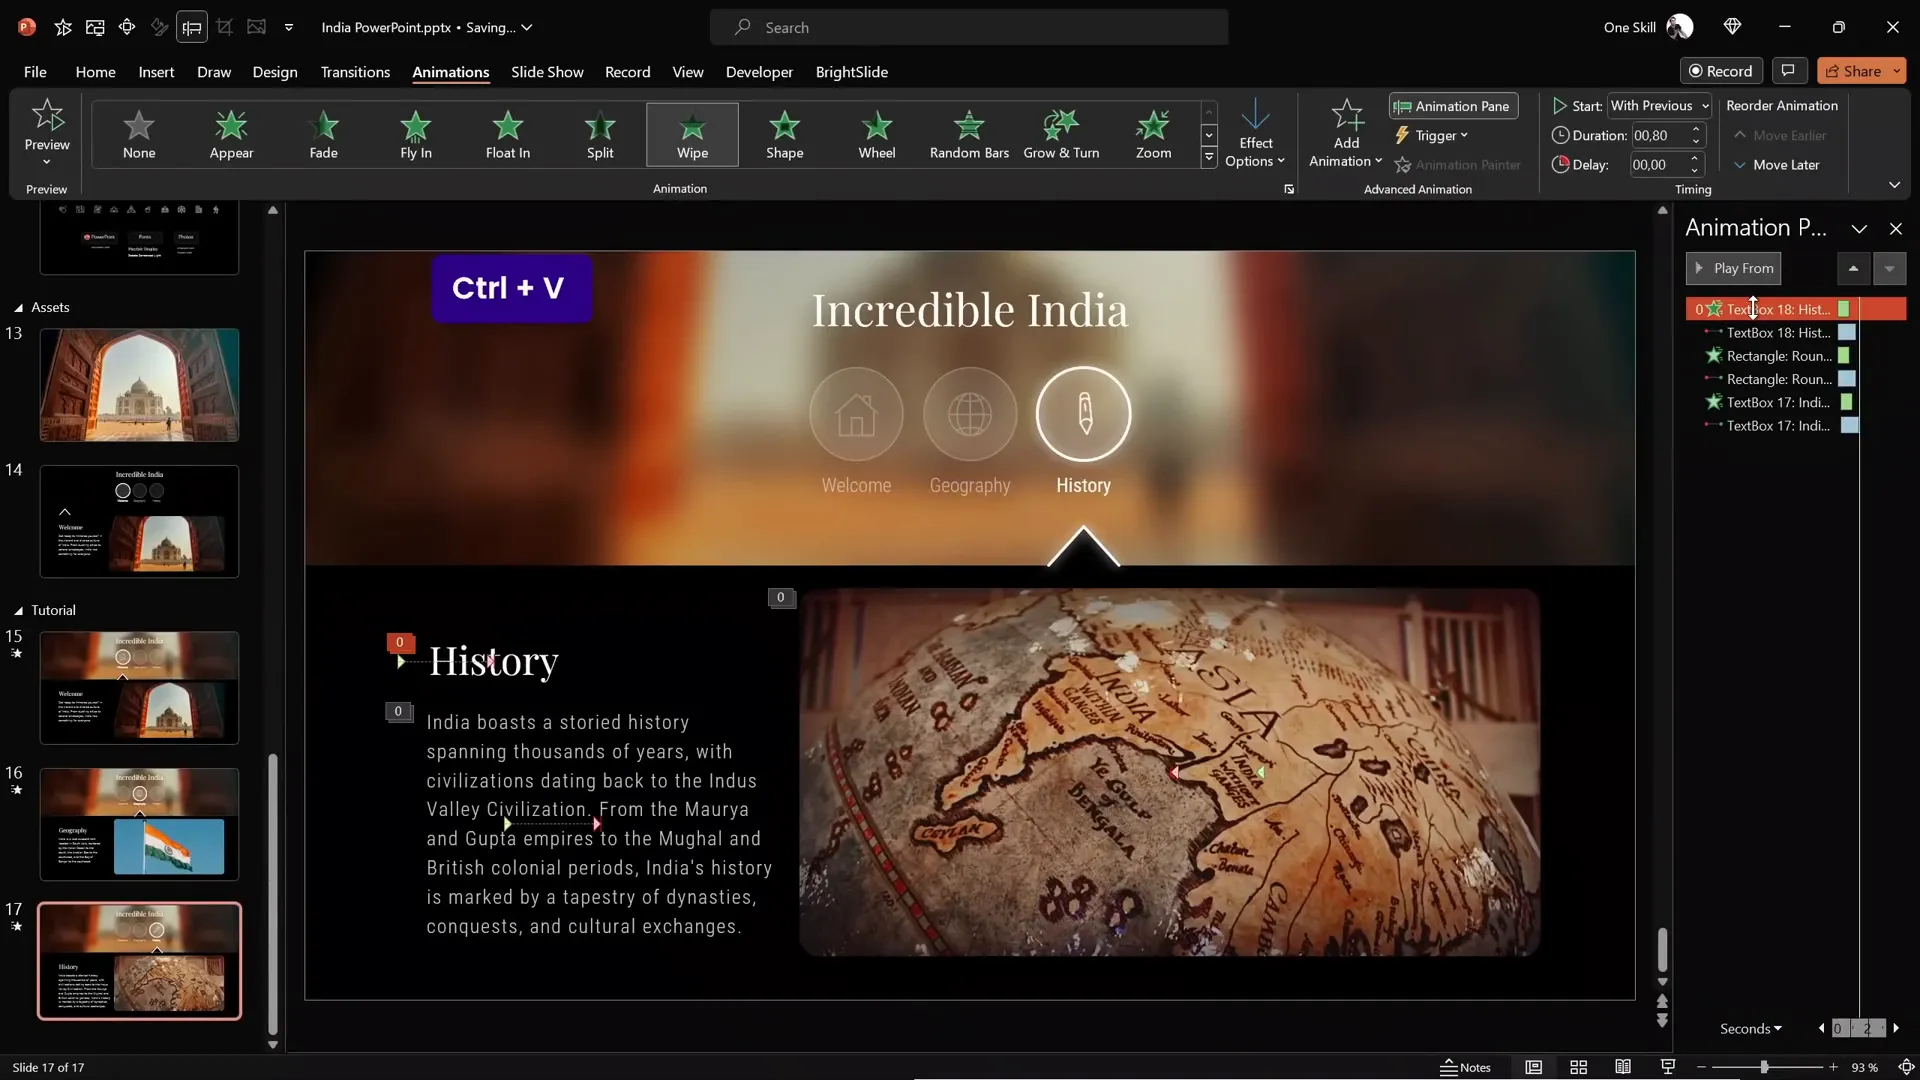
Applying Wipe Animations
To add visual interest, apply wipe animations to your text boxes and photos:
- Go to the Animations tab.
- Select the object and choose the Wipe animation.
- Adjust timing and direction as needed.
This subtle effect enhances the flow of information without distracting from the interactive menu.
Testing Your Interactive Presentation
Before delivering your presentation, thoroughly test the interactive features.
How to Test
- Enter full-screen presentation mode.
- Click each circle to verify it navigates to the correct slide.
- Confirm that the morph transition animates smoothly.
- Check that animated icons appear in the active circles and static icons in inactive ones.
- Ensure all hyperlinks and animations work as expected.
By following these steps, you can be confident that your incredible PowerPoint presentation functions seamlessly and impresses your audience.
Frequently Asked Questions
Can I use this interactive menu technique with more than three circles?
Absolutely! The tutorial demonstrates three circles for clarity, but you can create as many clickable circles as you like. Just make sure to add enough slides and maintain consistent naming conventions for smooth morph transitions.
Is Lordicon free to use for animated icons?
Lordicon offers a selection of free animated icons alongside premium options. You can filter for free icons on their website and use those in your presentations without cost. For more advanced icons, a premium subscription may be required.
What version of PowerPoint do I need to follow this tutorial?
The tutorial uses Microsoft 365 (formerly Office 365), which supports morph transitions and inserting GIFs. If you have an older version, some features like morph transition may not be available or work differently.
How do I ensure morph transitions animate correctly?
Use consistent and unique names for elements involved in morph transitions. Prefix names with double exclamation marks (!!) as a best practice to prevent PowerPoint from mixing up objects between slides.
Can I customize the icons’ colors and animations?
Yes! Lordicon allows you to customize icon colors, line thickness, and select from multiple animation styles before exporting. This flexibility helps you match icons to your presentation’s theme.
What if I want to add more content to each slide?
You can add as much content as you want, but keep slides clean and visually balanced. Use animations sparingly to maintain focus on your interactive menu and key messages.
Conclusion
Creating an Incredible PowerPoint Presentation with animated icons, interactive menus, and smooth transitions is a powerful way to engage your audience and elevate your storytelling. By combining thoughtful design, smart use of PowerPoint’s features, and resources like Lordicon, you can build presentations that are not only visually stunning but also highly functional.
Remember these key takeaways:
- Start with a clean, dark background and add a blurry photo header for style and readability.
- Create clickable circles with clear active indicators using glow effects and arrows.
- Use morph transitions and consistent naming to enable smooth slide navigation.
- Incorporate animated icons from Lordicon for dynamic visual cues.
- Add content with subtle animations like wipe effects to enhance flow.
- Test thoroughly to ensure all interactive elements function flawlessly.
With practice and creativity, your presentations will stand out and leave lasting impressions. If you enjoyed this guide, be sure to explore more tutorials from One Skill PPT to continue improving your PowerPoint skills.
Happy presenting!


