

PowerPoint presentations are a powerful tool to communicate ideas effectively, but sometimes the challenge lies in making your slides stand out and captivate your audience. If you want to elevate your presentations to the next level, mastering the Morph transition can be a game-changer. In this comprehensive guide, I’ll walk you through three creative ways to use the Morph transition in PowerPoint that will not only impress your viewers but also bring a fresh dynamic to your slides.
My name is Luis Urrutia, and as a presentation designer, I’ve found Morph to be one of the most versatile and visually engaging features in Microsoft PowerPoint 365. Whether you’re designing for business, education, or creative projects, these techniques will inspire you to unlock new possibilities for your slide decks.
Table of Contents
- Why Use the Morph Transition?
- Creative Way #1: Cinematic Scrolling Image Reveal with Masked Text
- Creative Way #2: Abstract 3D Reveal with Layered Shapes and Images
- Creative Way #3: LEGO-Style Slideshow with Artistic Blur Effects
- Wrapping Up: Elevate Your Presentations with Morph
- Frequently Asked Questions (FAQ)
- Additional Resources
Why Use the Morph Transition?
The Morph transition in PowerPoint allows you to create smooth animations between slides by automatically transitioning shared objects from one slide to the next. This means you can simulate movement, resizing, color changes, and more without complex animation settings or external software. Morph is perfect for storytelling, visual emphasis, and keeping your audience engaged.
In the following sections, I’ll guide you through three distinct projects that showcase how Morph can be applied creatively:
- A cinematic scrolling image reveal with masked text
- An abstract 3D reveal with layered shapes and images
- A LEGO-style slideshow with artistic blur effects
Let’s dive into each one step-by-step.
Creative Way #1: Cinematic Scrolling Image Reveal with Masked Text
This technique is perfect for presentations that want to blend large impactful images with text in a stylish way. Imagine a title slide that smoothly scrolls down to reveal both an image and your content. Here’s how to create it:
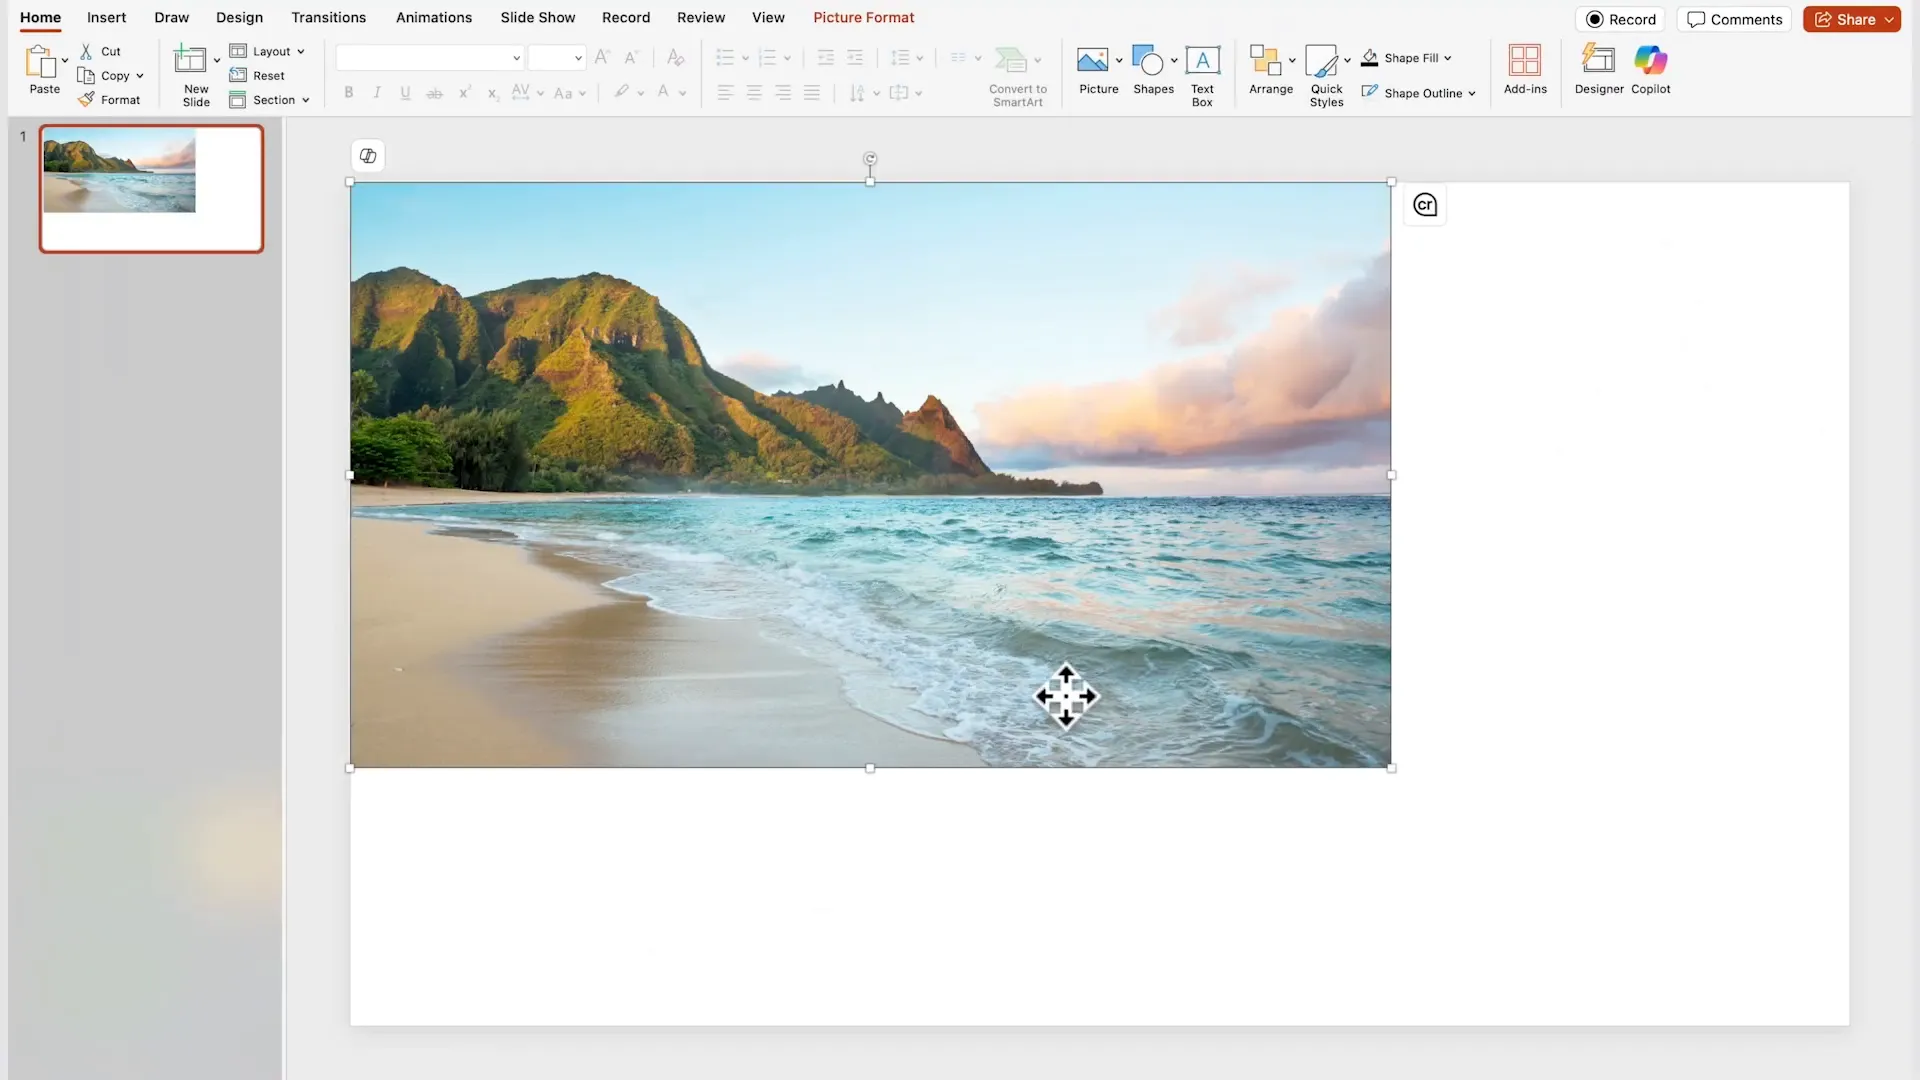
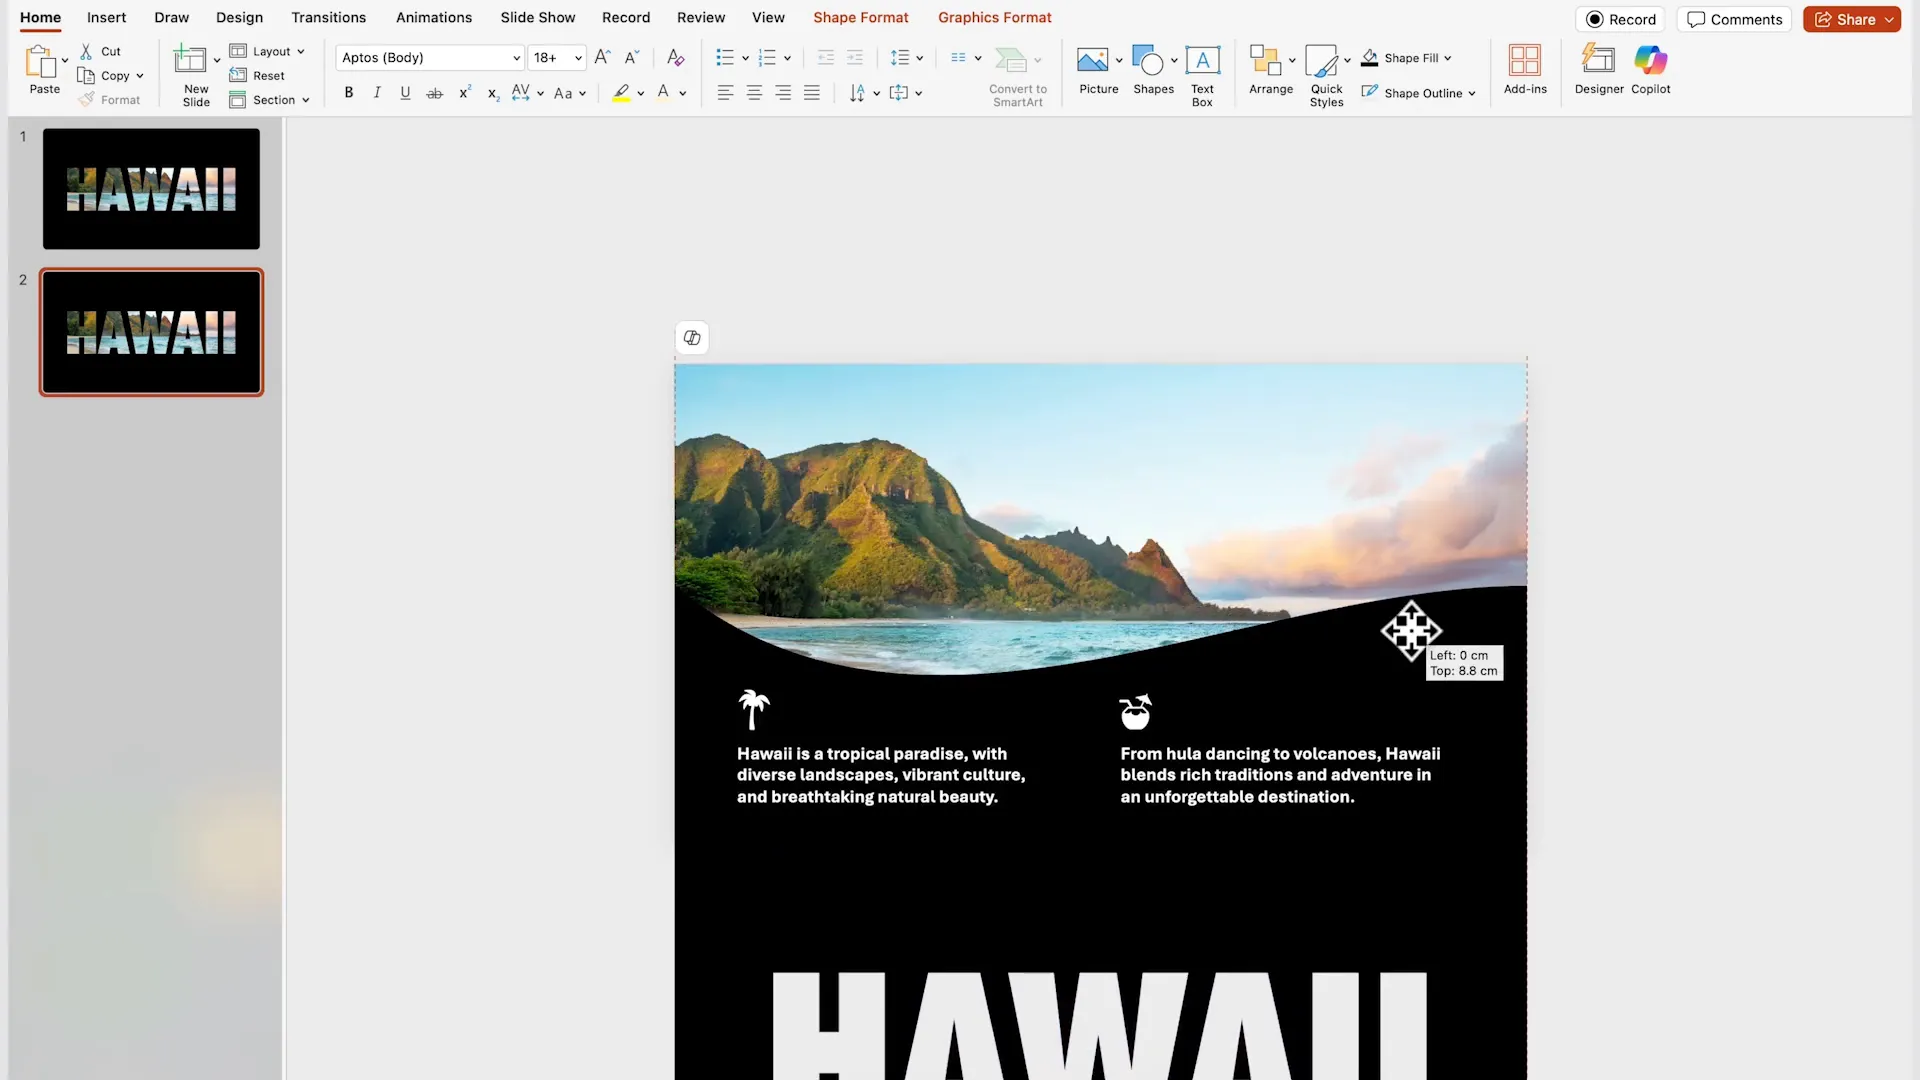
Step 1: Insert a Full-Slide Image
Start by selecting a high-quality image that fills the entire slide area. I recommend using Unsplash.com for free, professional images. Once you have your image, insert it into PowerPoint so that it covers the entire slide.
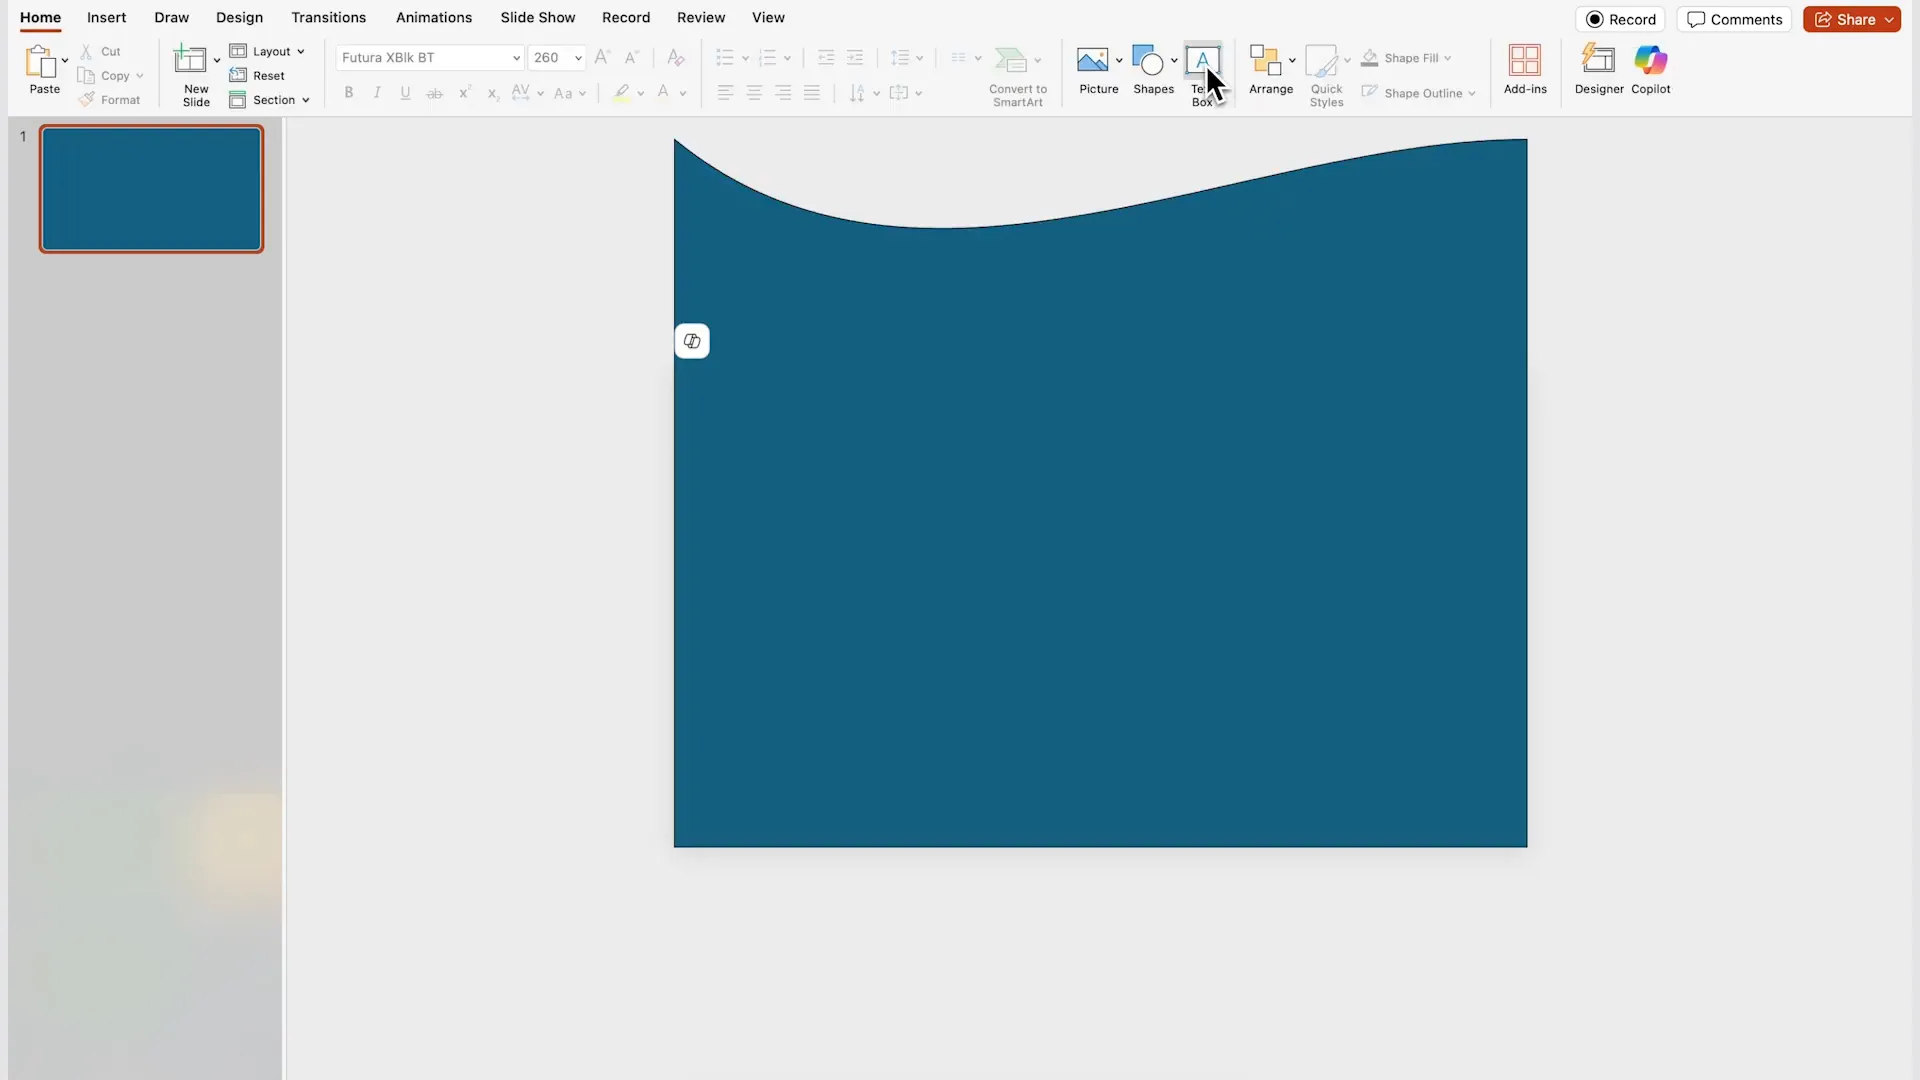
Step 2: Create a Wavy Mask Shape
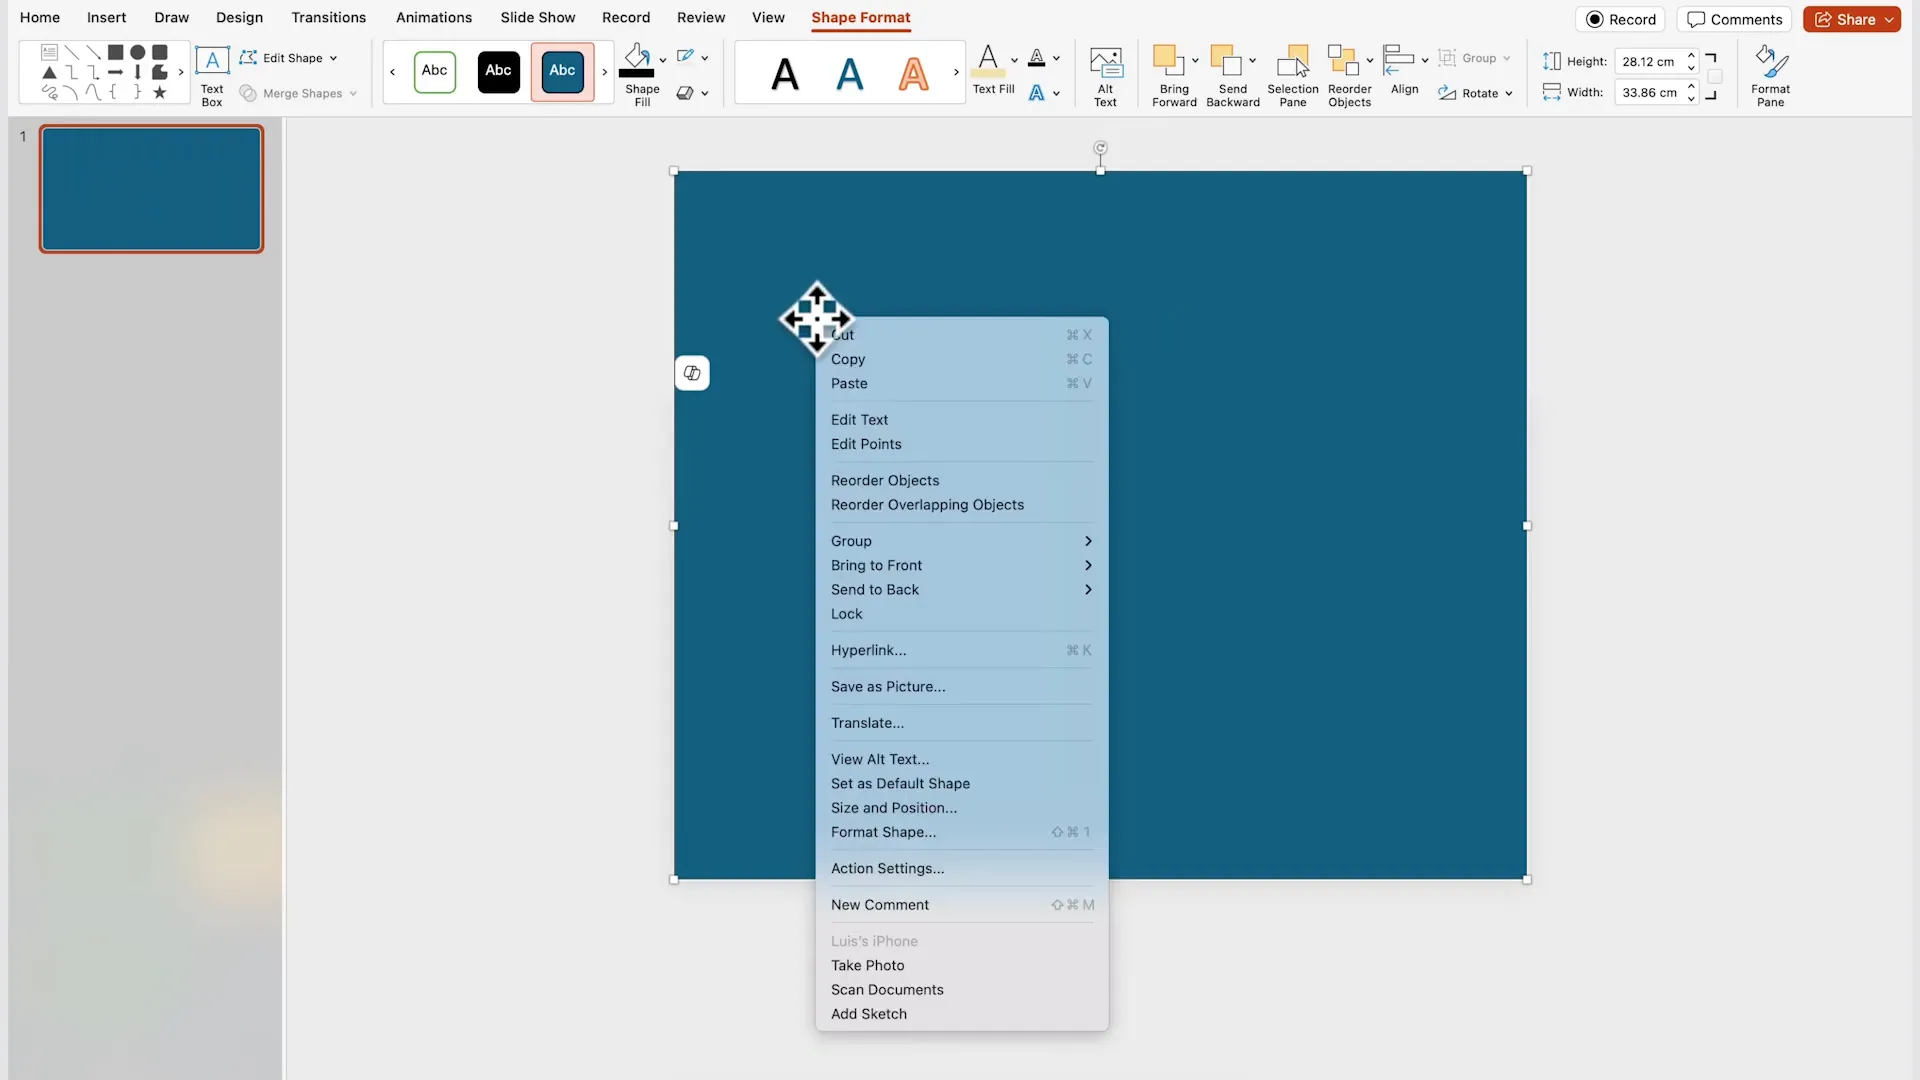
Next, from the Shapes panel, insert a rectangle that also covers the entire slide. This rectangle will serve as the base for your mask. Right-click the rectangle and select Edit Points. Click on one of the top points and drag its white handle downwards to create a wave shape. You can adjust the handle left or right to vary the wave’s appearance. This wave will add a fluid, organic feel to your text mask.
Step 3: Add Large Text Over the Mask
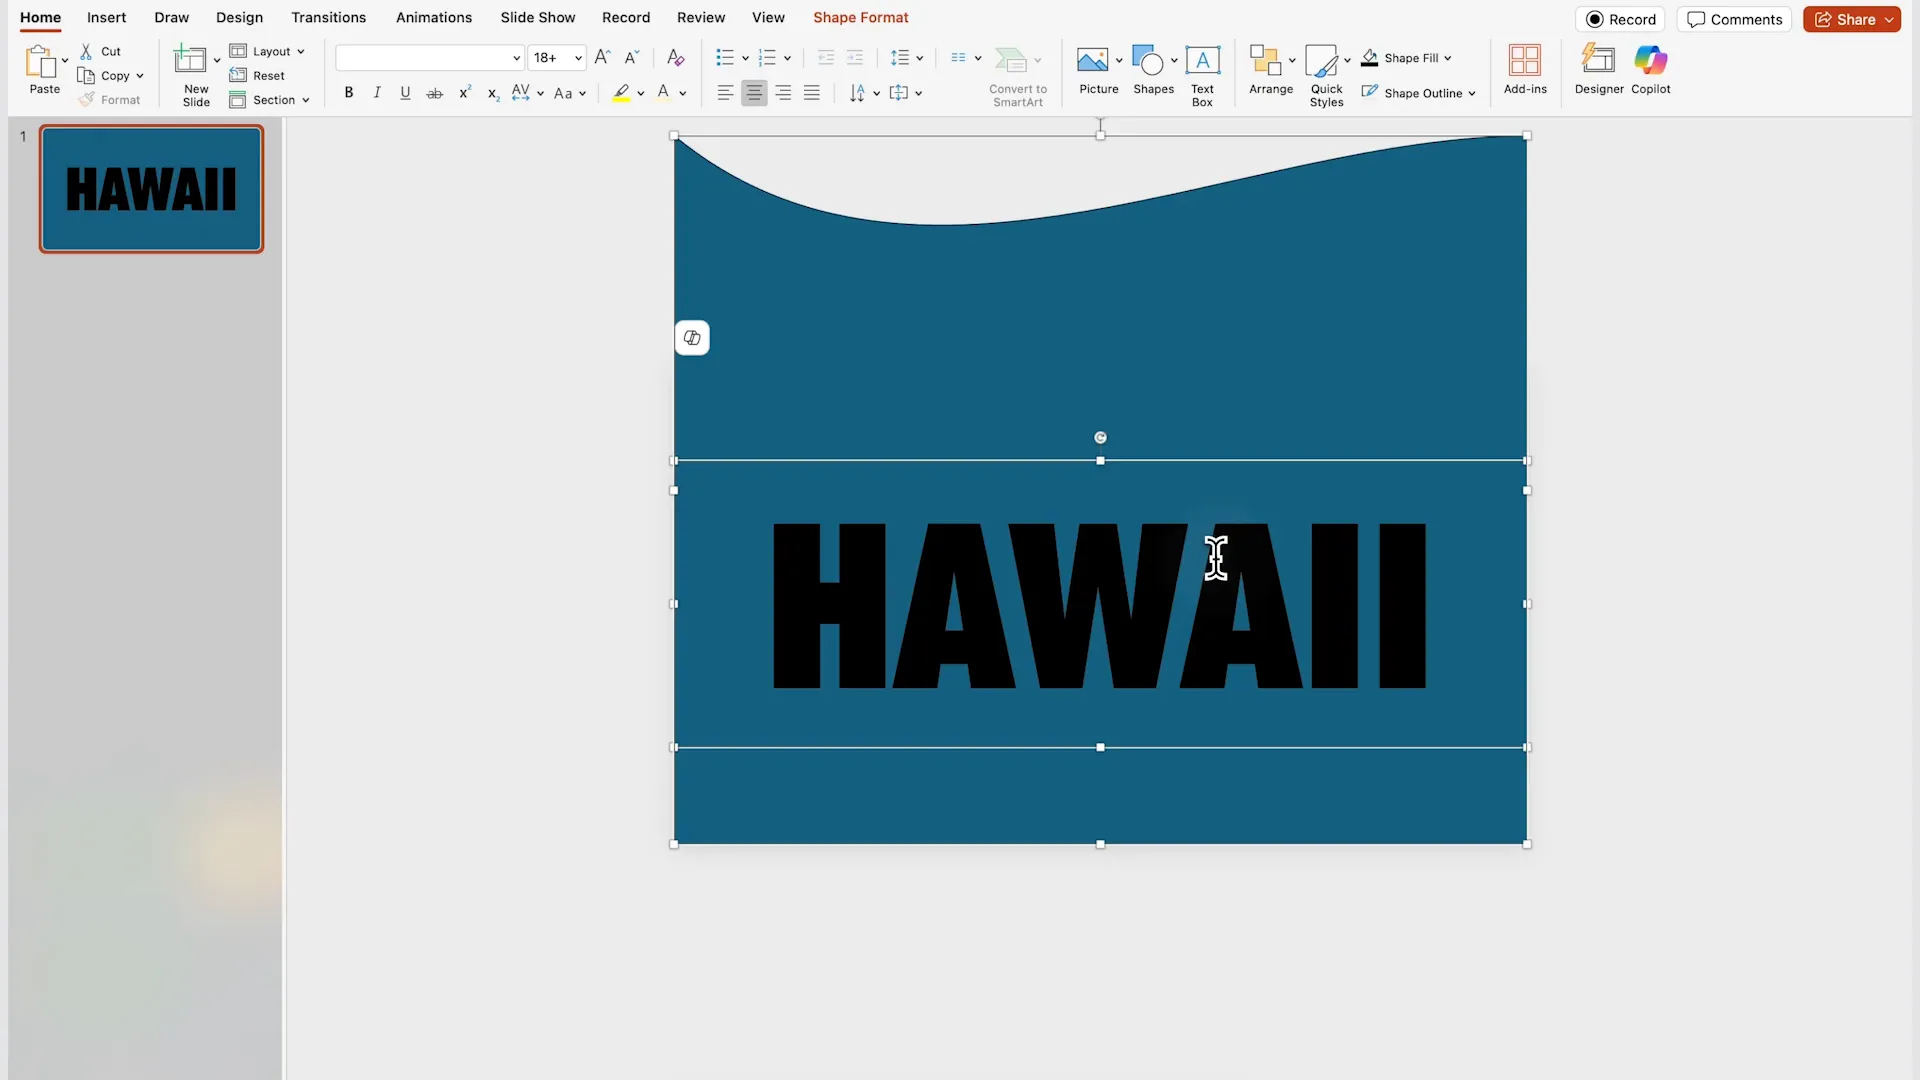
Insert a text box over the wavy mask shape. Center-align the text both horizontally and vertically for balance. For this project, I used the Futura Extra Black Condensed font with a very large font size (260 pt) to make a bold statement. Type your main word or phrase here — I chose “Hawaii” for a tropical vibe.
Step 4: Combine the Text and Shape to Create a Mask
Select both the wave-shaped rectangle and the text box by holding Shift and clicking each. Then, navigate to Shape Format > Merge Shapes > Combine. This merges the text and shape into a single mask object, cutting out the text from the shape. Remove the outline and fill the shape with black to create a strong contrast against the background image.
Step 5: Add Content Above the Mask
Above your mask, add text boxes and icons to provide additional information about your slide. This area will serve as your content zone while the masked text remains visually striking behind.
Step 6: Duplicate and Modify the Slide for the Morph Effect
Duplicate the slide using Ctrl + D. On the duplicated slide, select all elements except the background image and drag them downwards to simulate scrolling. Make the background image slightly larger by holding Ctrl + Alt while resizing. This subtle zoom adds a cinematic effect.
Step 7: Apply the Morph Transition
Finally, select the second slide, go to the Transitions tab, and apply the Morph transition. When you present, the slide will smoothly scroll down, revealing the image and content in a dynamic way.

Bonus Tip: Use Kittl.com for Design Inspiration and Assets
Many viewers ask how to get creative when inspiration runs dry. I highly recommend Kittl.com, an online design tool that offers editable templates and a huge library of images, shapes, and textures. You can customize designs directly in your browser without extra software.
For example, you can create a new artboard sized 1920×1080 pixels (perfect for slides) and copy elements from reference designs into your canvas. You can add images, masks, and textures easily, then export your final design as an image to insert into PowerPoint.
Kittl also offers a free plan with up to 20 projects and paid plans starting at $10/month, which include commercial licenses and AI tools. Use code LOURRUTIAYT to get 25% off your first month or year! This tool has saved me tons of time and boosted my creativity.

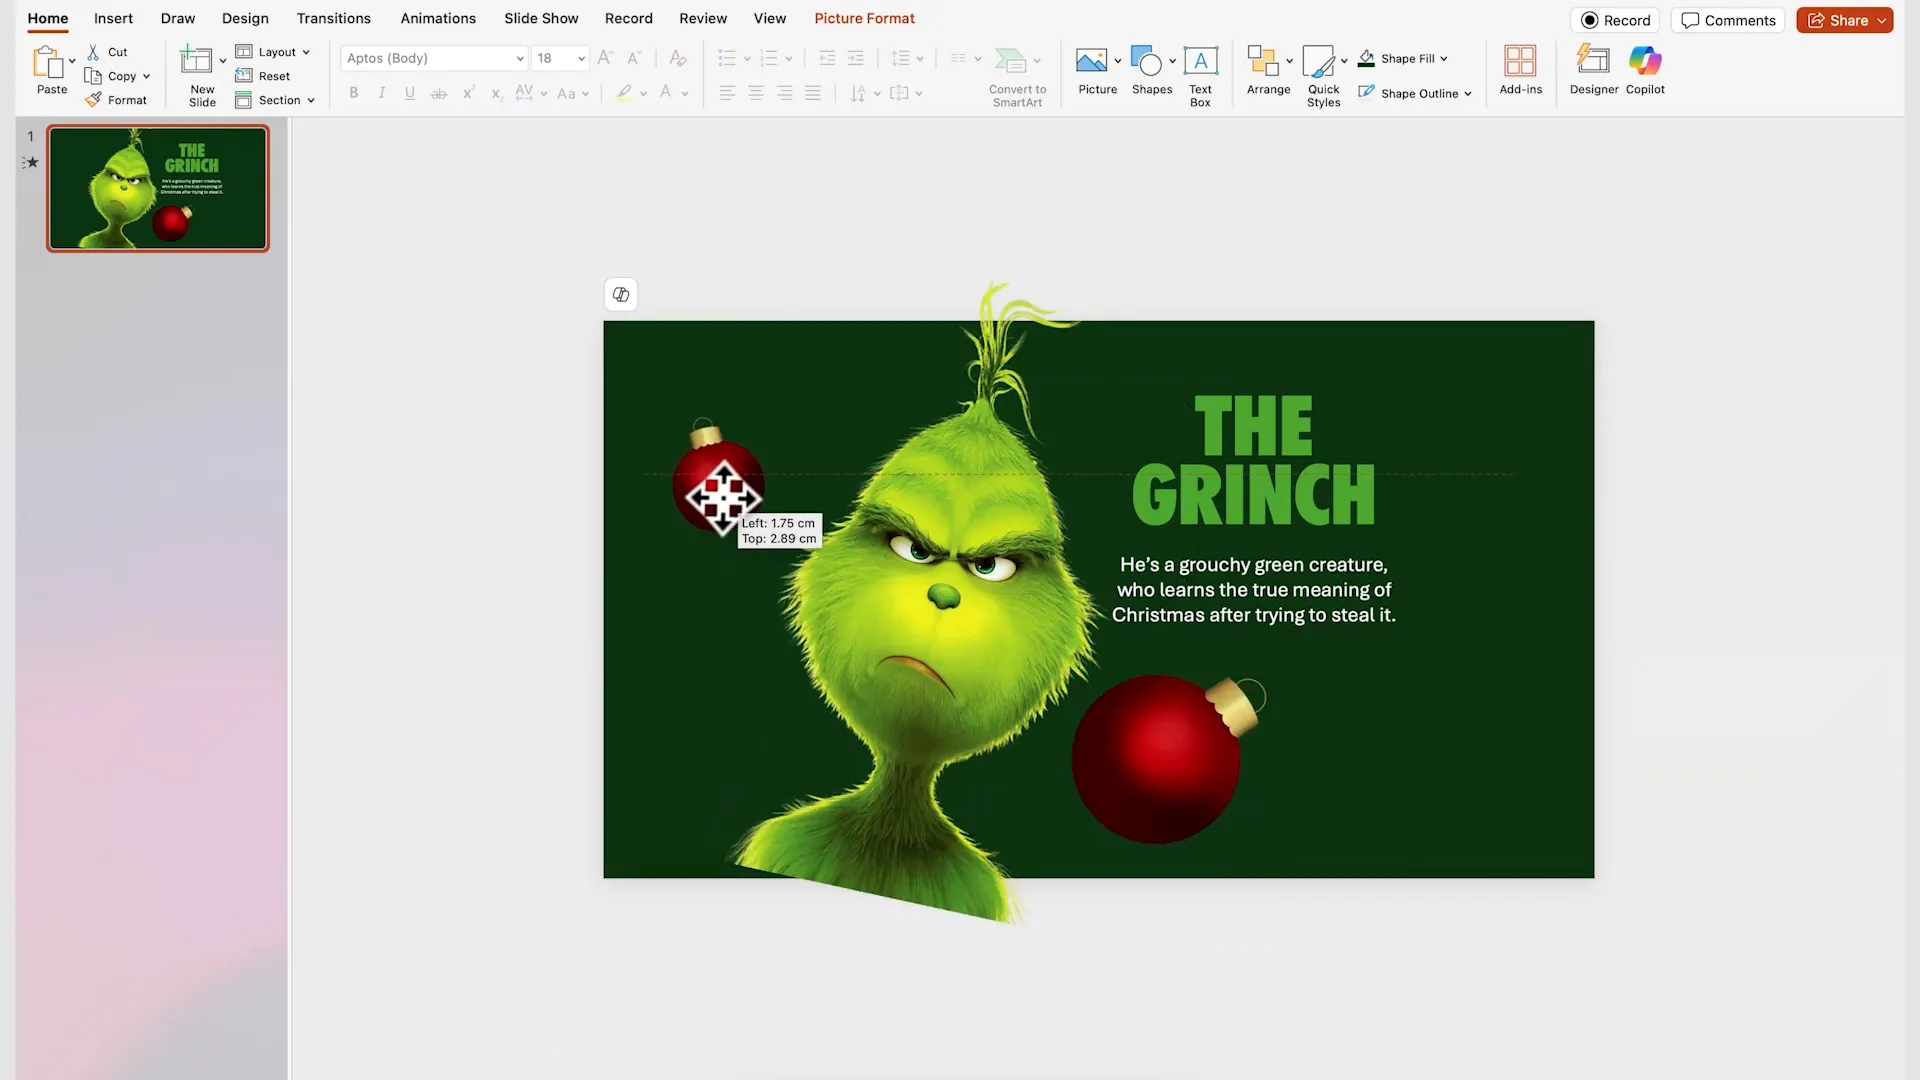
Creative Way #2: Abstract 3D Reveal with Layered Shapes and Images
For the second technique, we’ll explore how to use Morph to create a 3D reveal effect that feels modern and sophisticated. This style works well for thematic presentations like holiday specials or product launches.
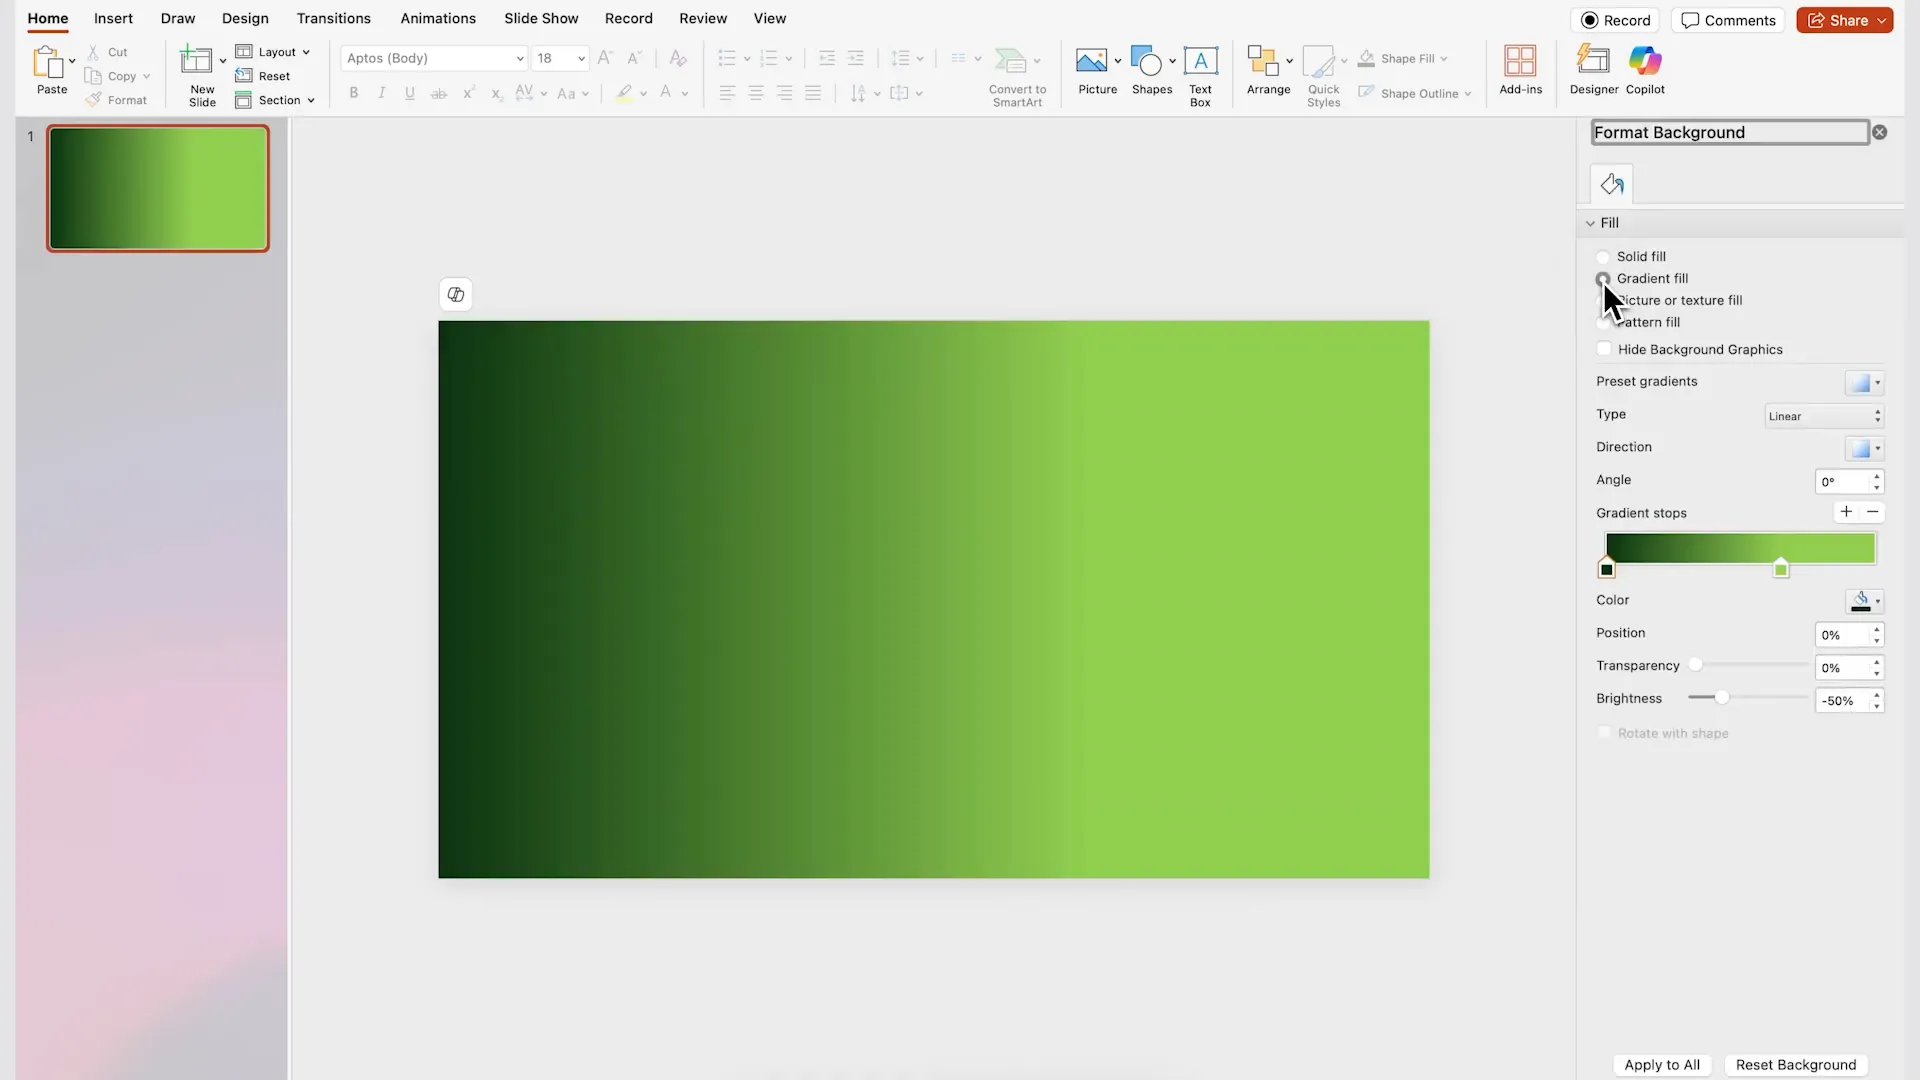
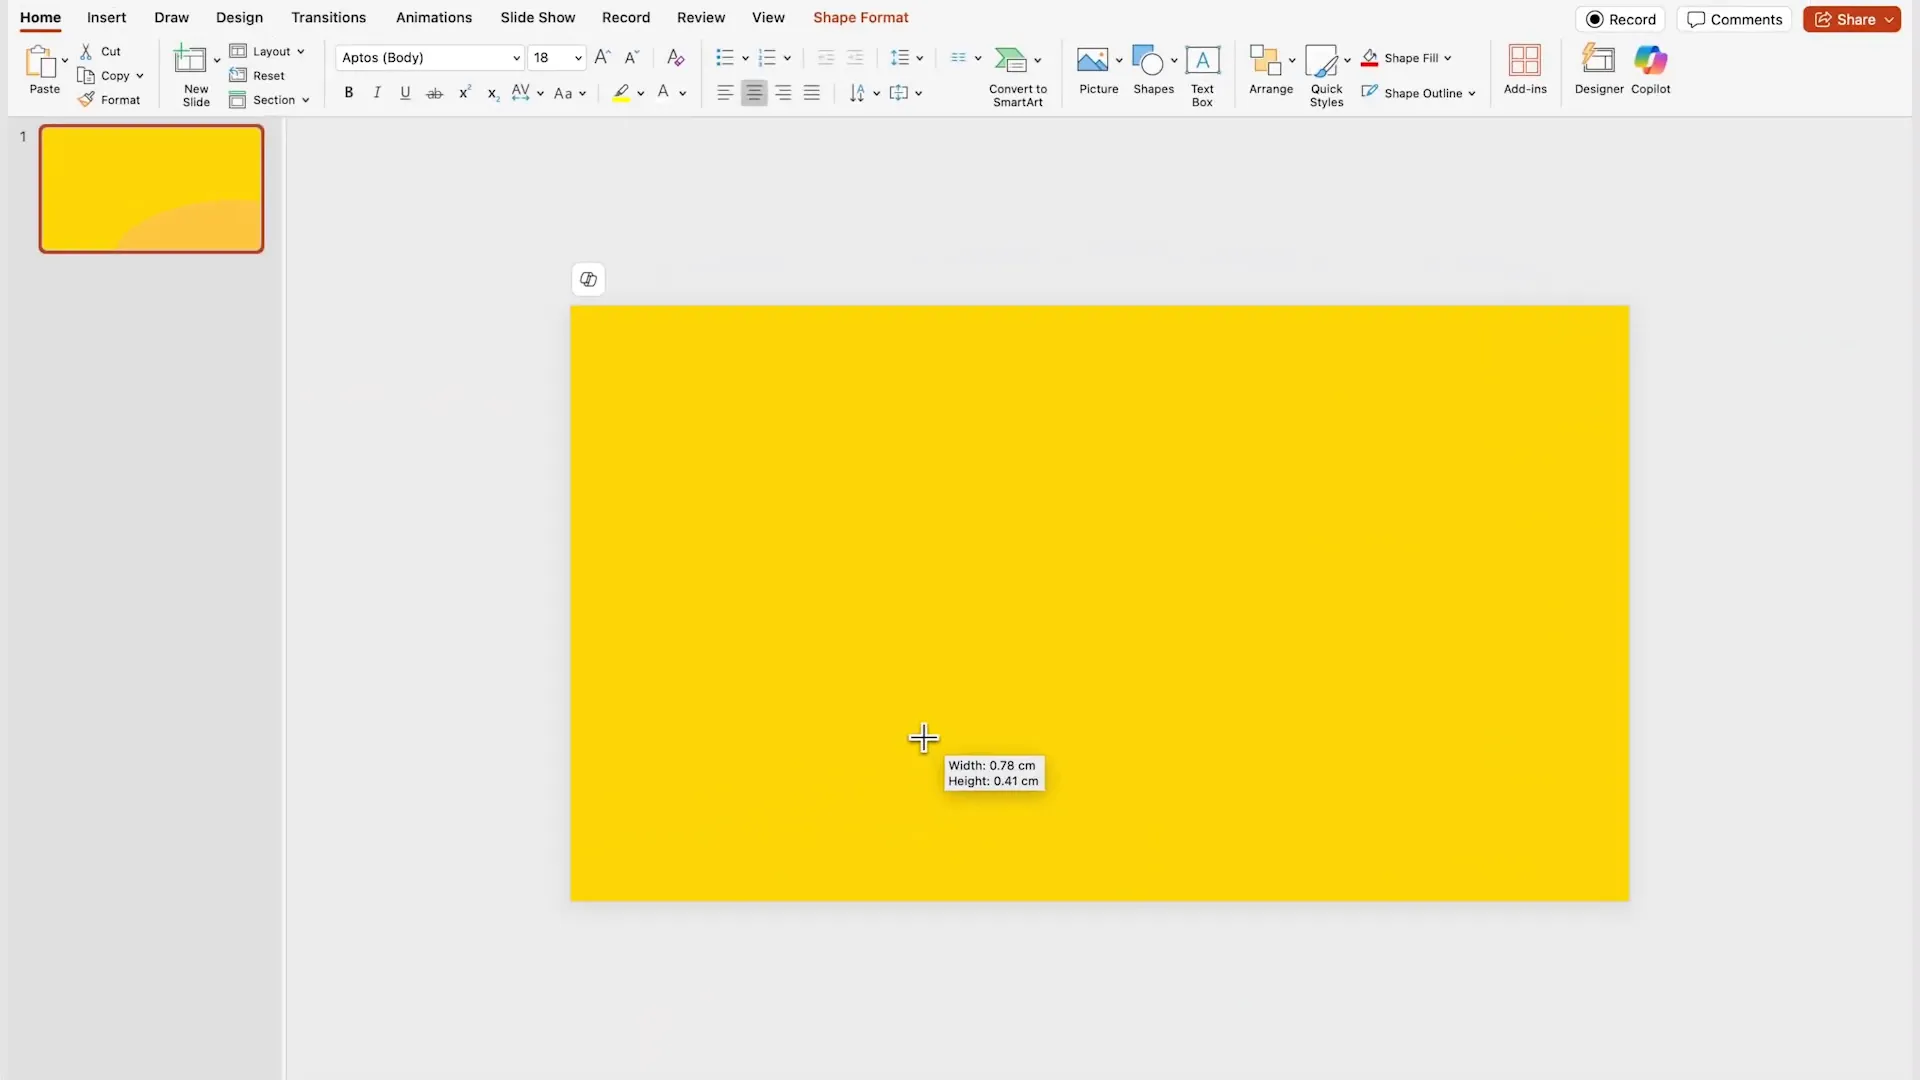
Step 1: Set a Gradient Background
Start by choosing a gradient fill for your slide background. You can customize the colors and direction of the gradient to match your theme. For example, I used a smooth green gradient for a “Grinch” inspired presentation.
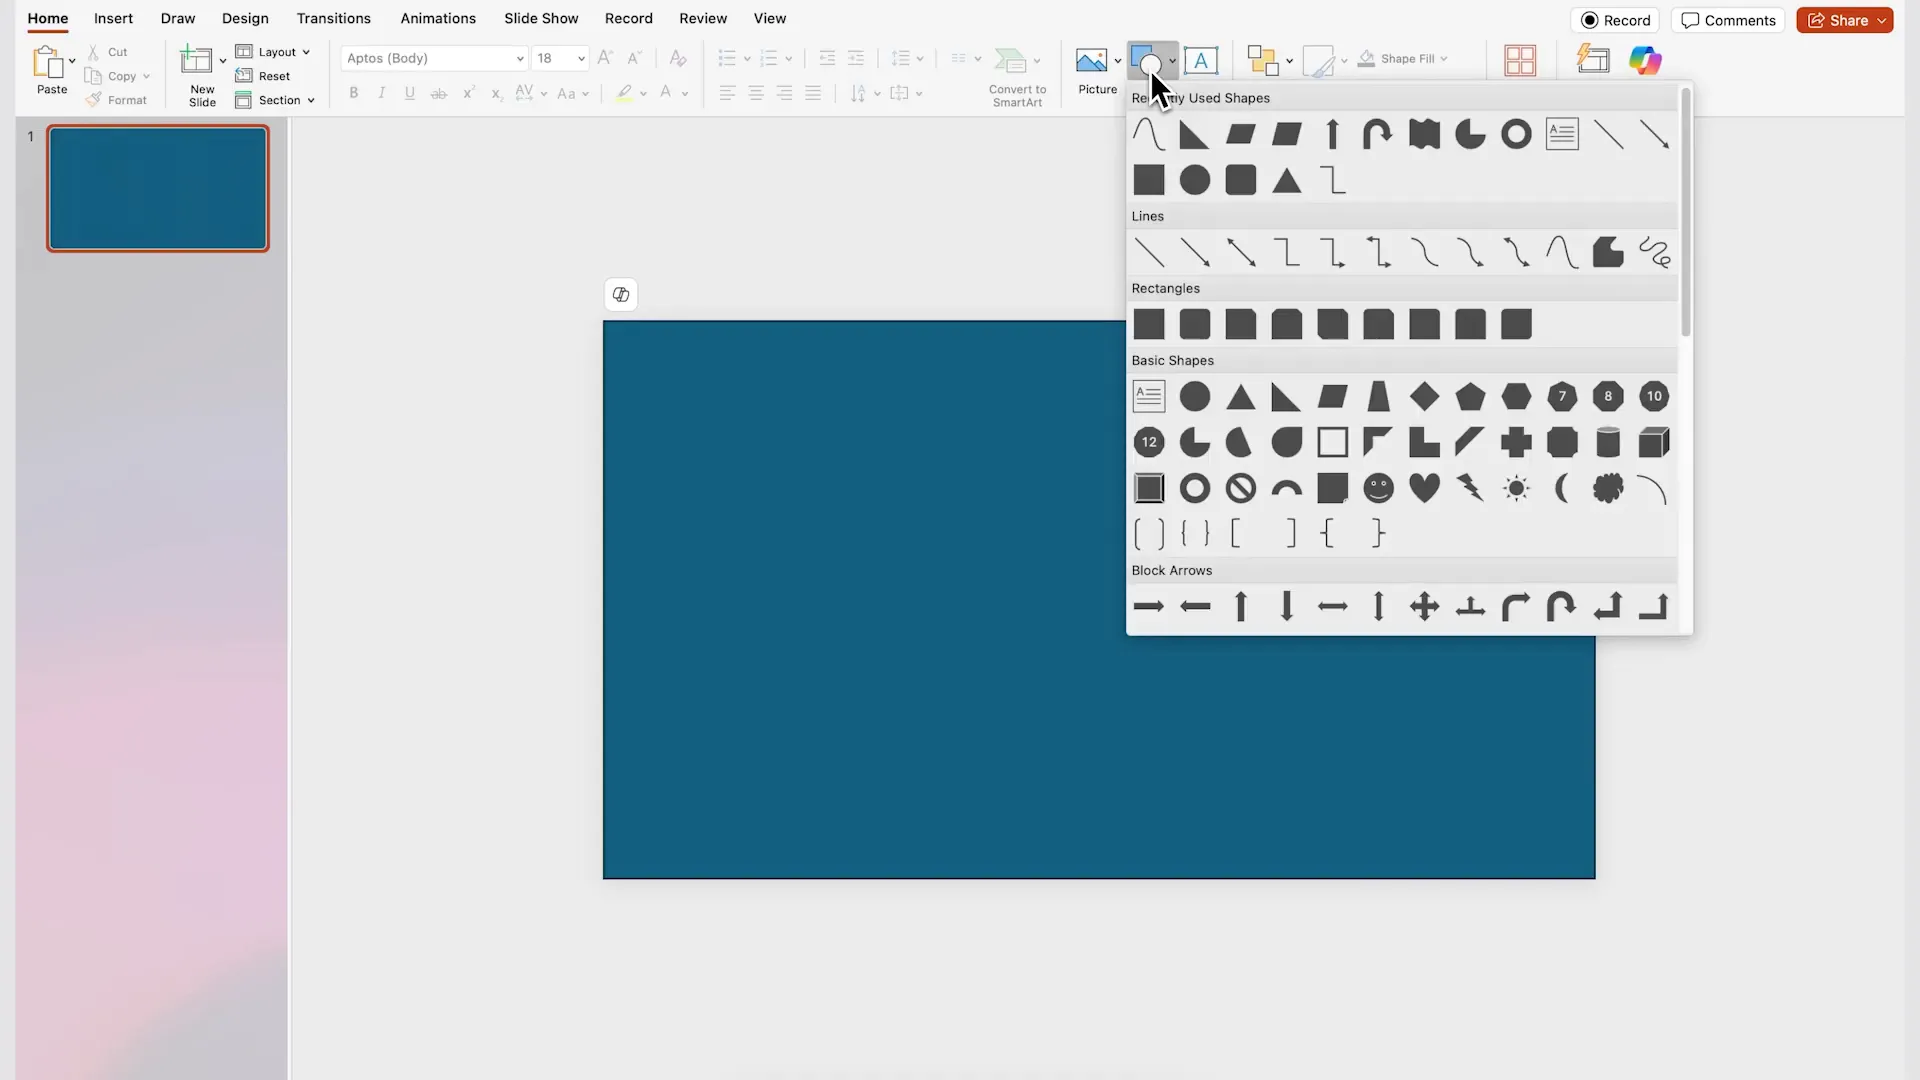
Step 2: Create an Abstract Wavy Shape
Insert a rectangle covering the entire slide. Then, from the Shapes panel, select the wavy line tool. Click once to start creating an abstract shape by adding points and dragging your mouse to form curves and waves. Close the shape by clicking back on the starting point.
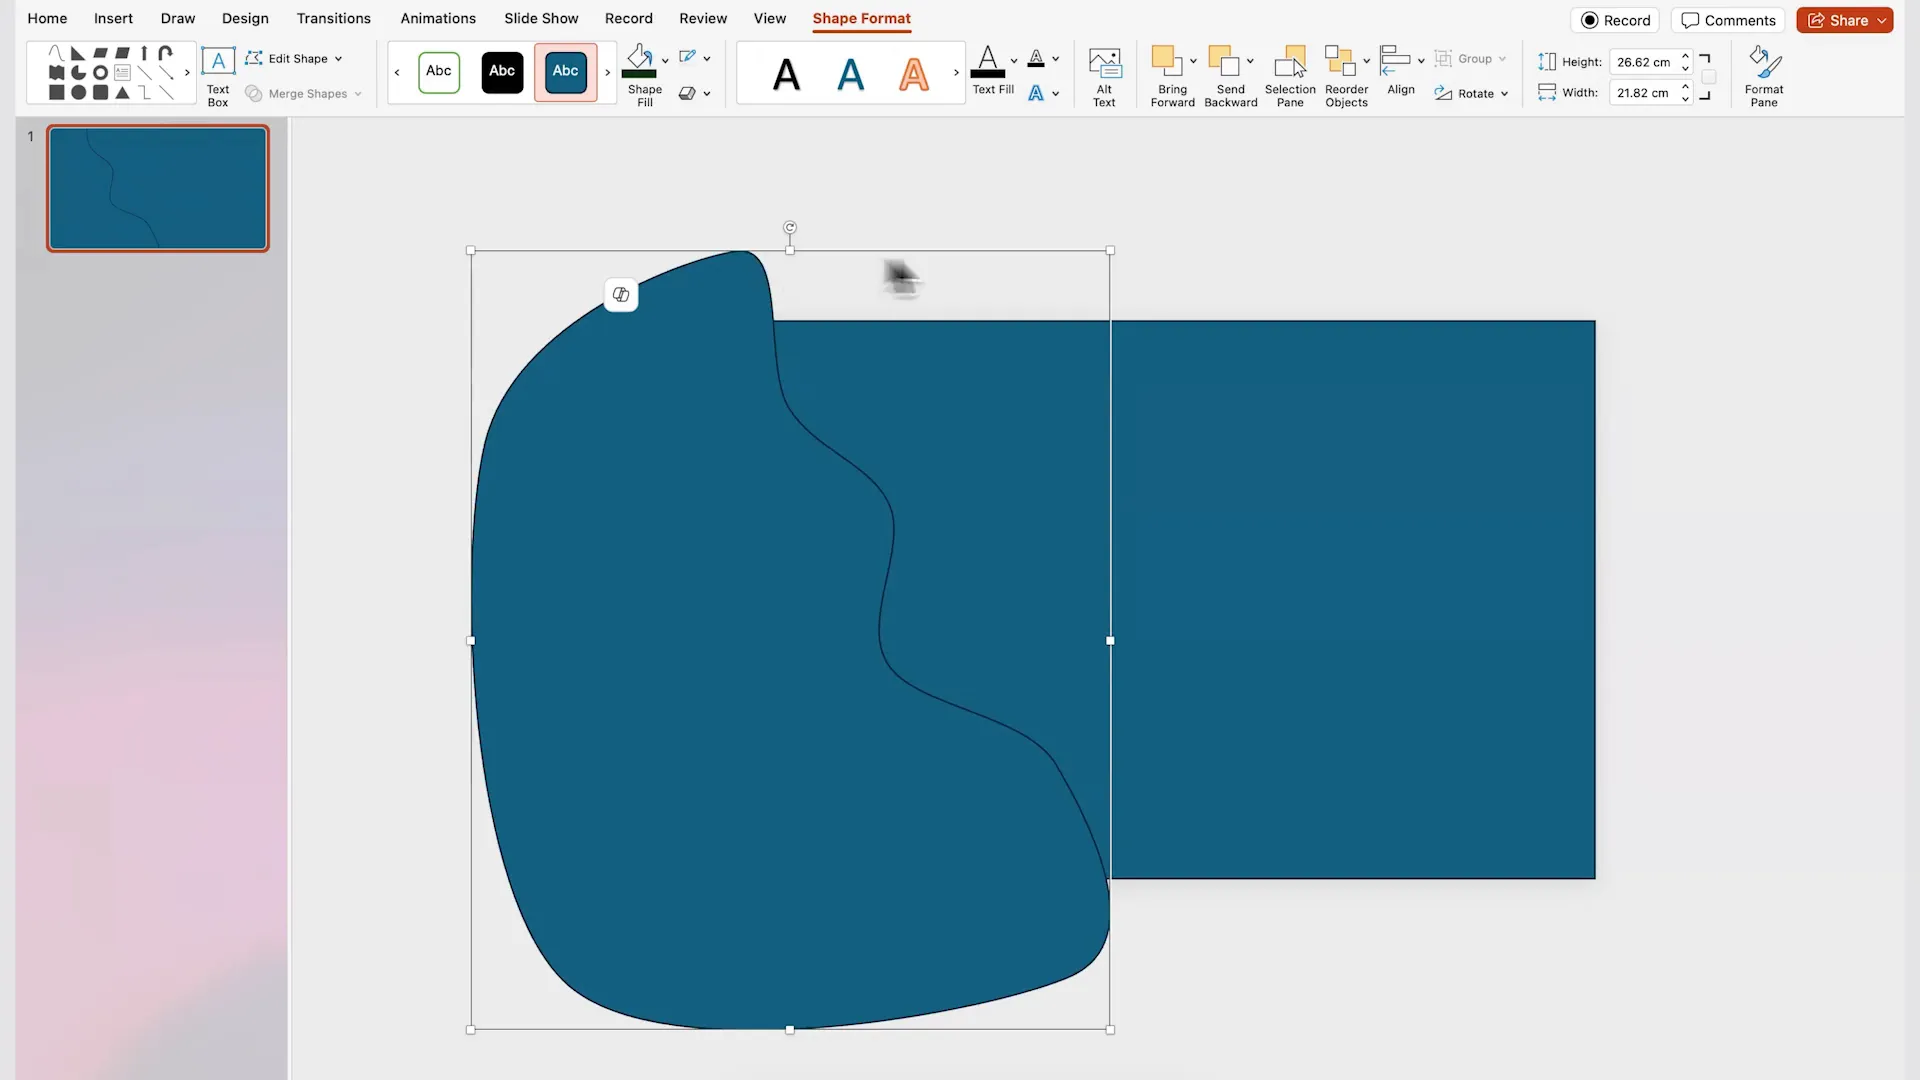
Step 3: Fragment and Clean Up the Shape
Select your shapes and use Merge Shapes > Fragment to break the shapes into smaller segments. Delete any excess parts outside the slide area. Remove outlines and fill the main shape with your preferred color (I picked a dark green).
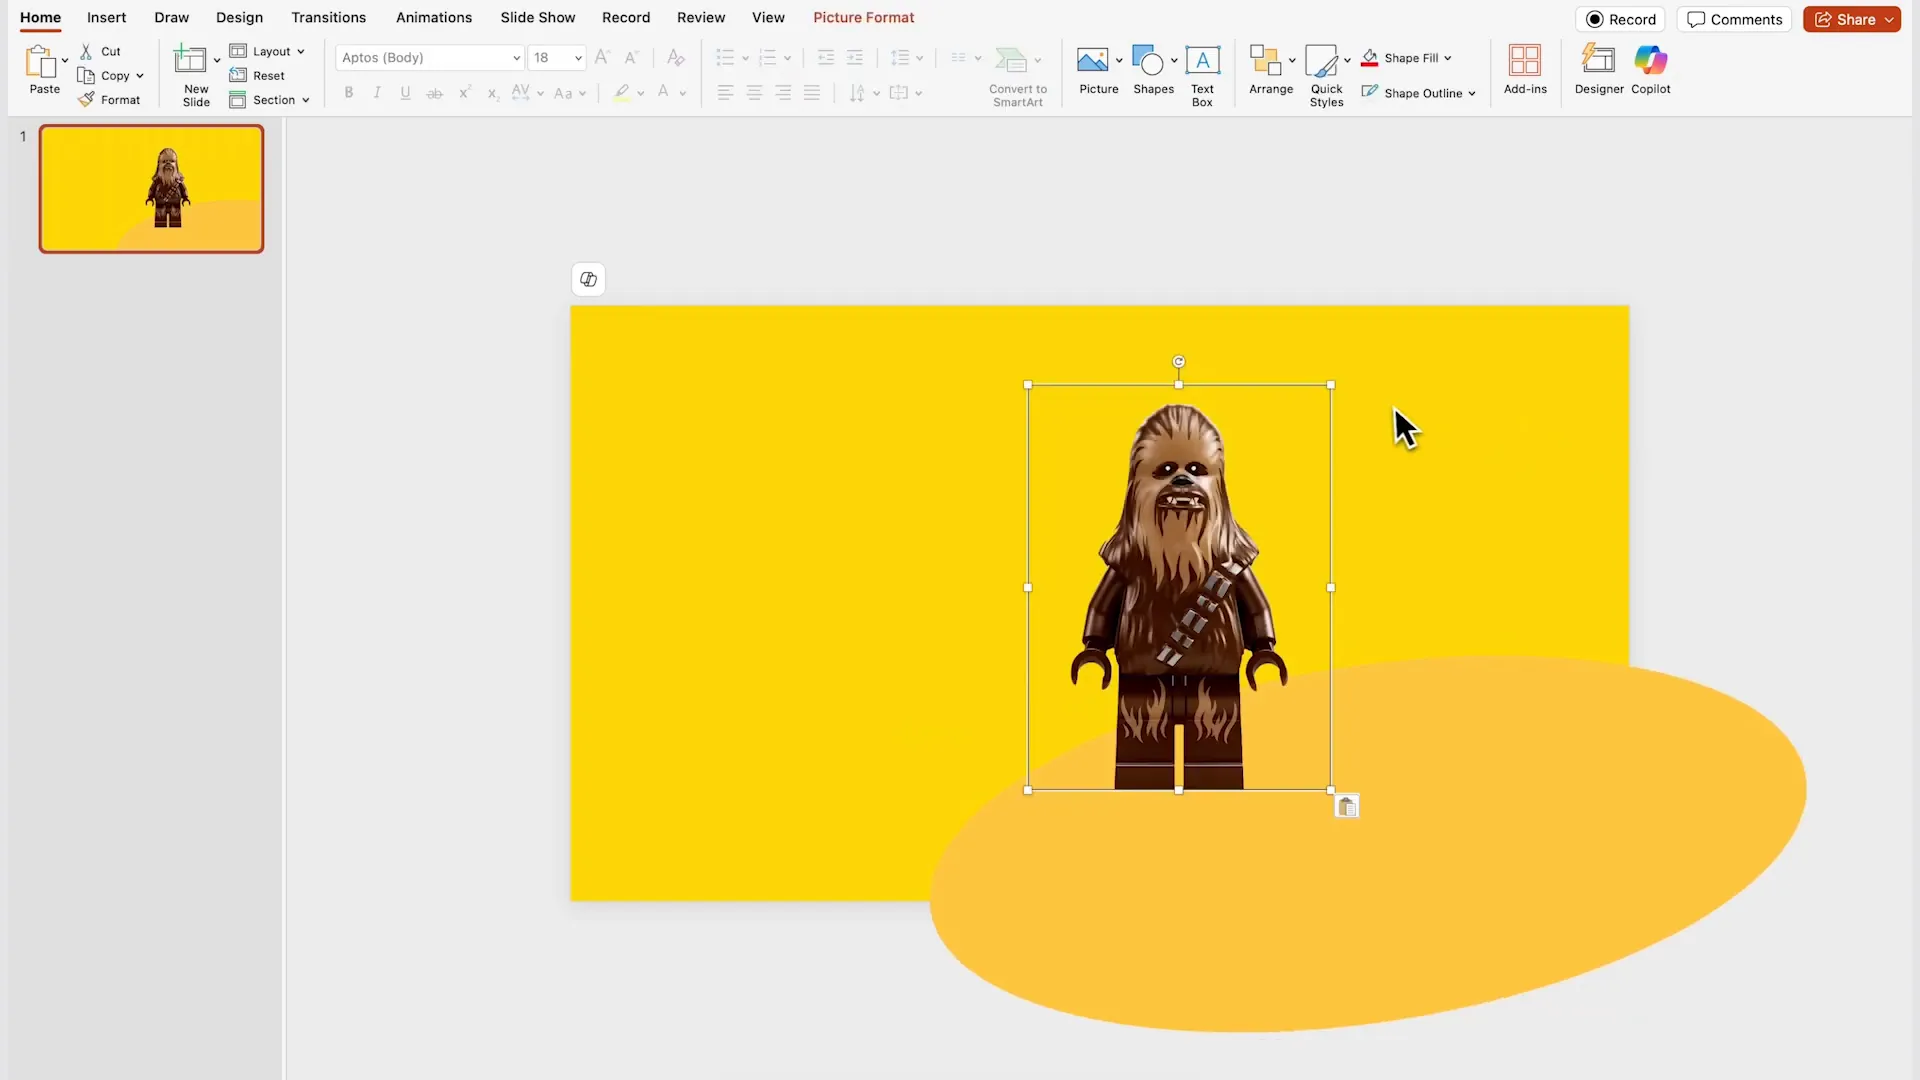
Step 4: Add PNG Images as Content
Gather PNG images with transparent backgrounds to add visual interest. You can find these on Google Images or stock photo sites. Place them strategically on the slide, layering them with the abstract shapes. Bring some images to the front to create depth.
Step 5: Duplicate Slide and Rearrange Elements
Duplicate the slide with Ctrl + D. On the second slide, drag all images down and close gaps between shapes to simulate a 3D reveal. Move text boxes outside the slide area to create a clean focus on the central content. Increase the font size of your title and position it centrally.
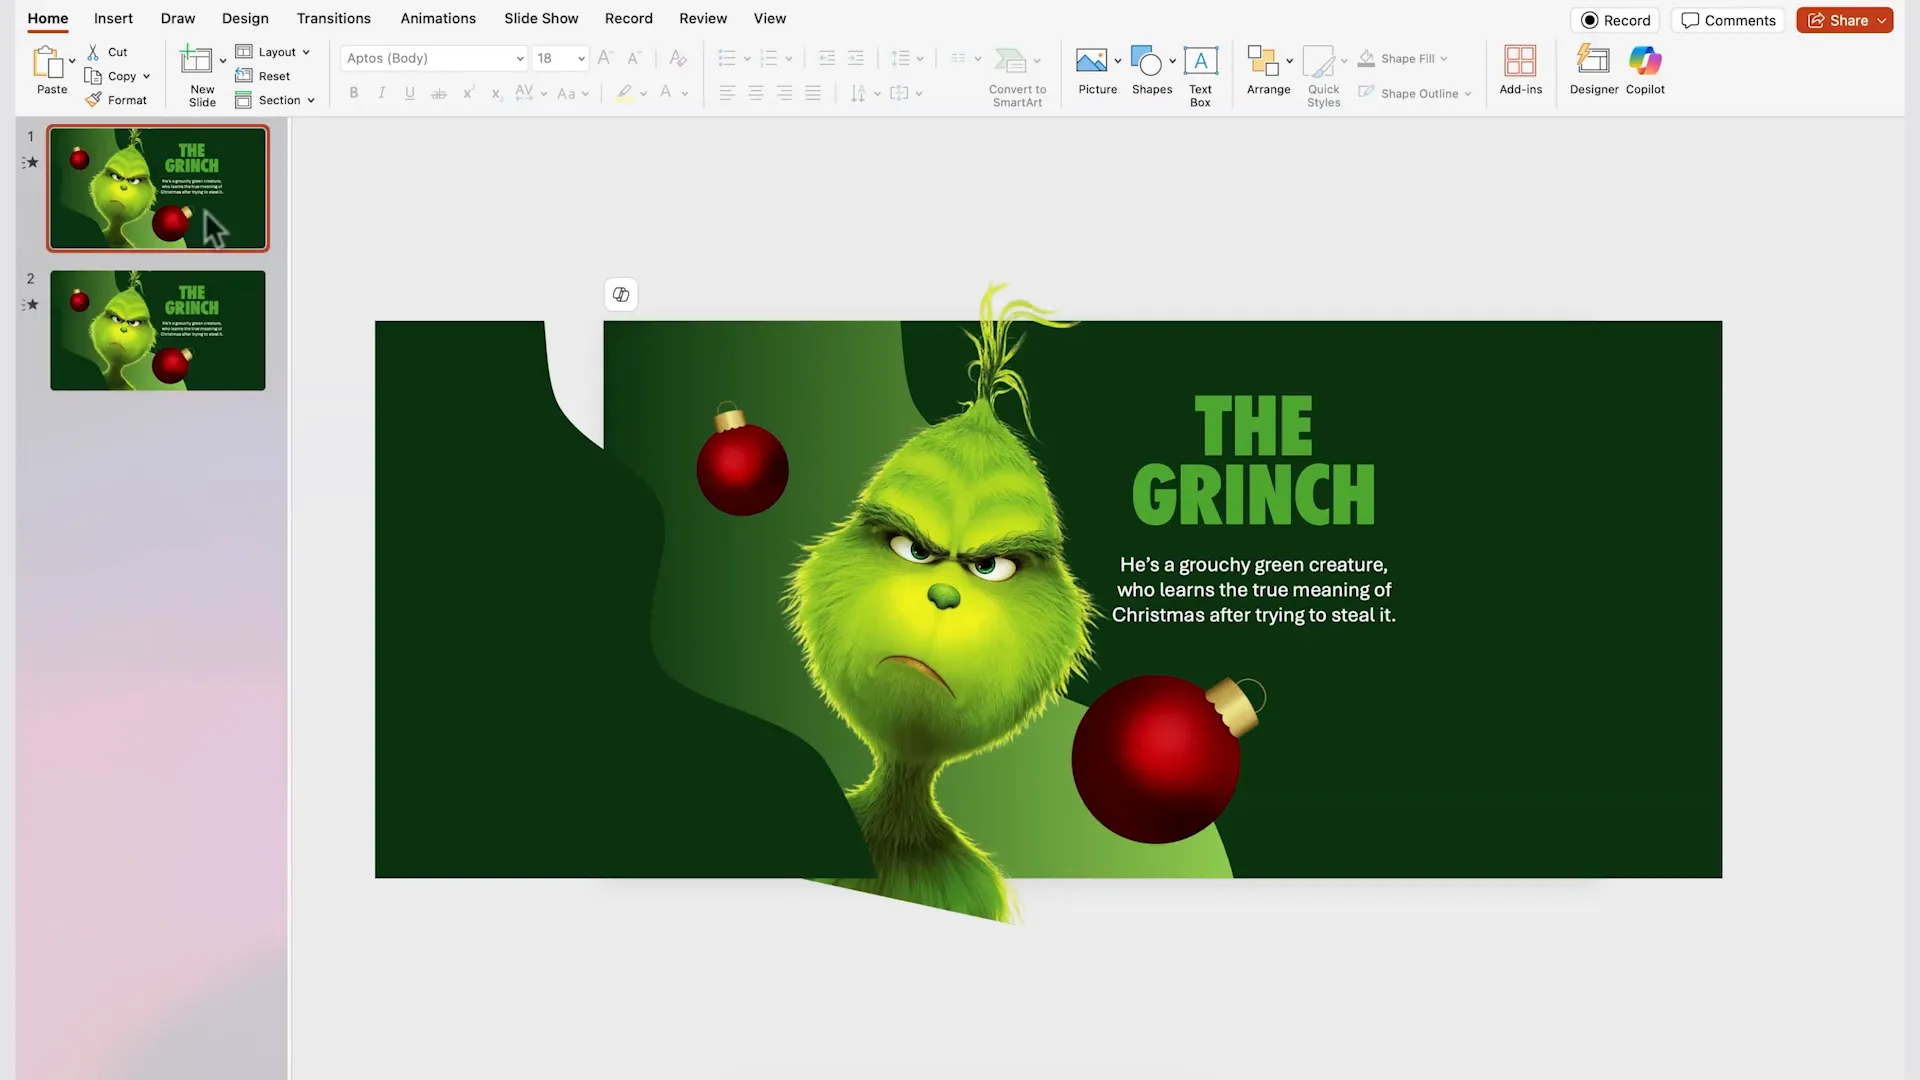
Step 6: Apply Morph Transition
Make sure this slide is the first in your deck. Select the second slide, go to Transitions, and apply Morph. The result is a smooth 3D-like reveal as elements move and adjust seamlessly.

Creative Way #3: LEGO-Style Slideshow with Artistic Blur Effects
The third technique adds a playful and professional touch by using artistic blur effects combined with Morph. This style is perfect for showcasing a series with a highlight effect, such as product features or character introductions.
Step 1: Insert a Circle as a Base Element
Begin by inserting a circle in one corner of the slide. This will anchor your design and add visual balance as you add other elements.

Step 2: Add Images in a Progressive Size Order
Collect PNG images with transparent backgrounds (I used Adobe Stock for high-quality assets). Add images from the right edge of the slide to the left, making each subsequent image slightly larger than the previous one. The last image added will be the highlighted one on that slide.
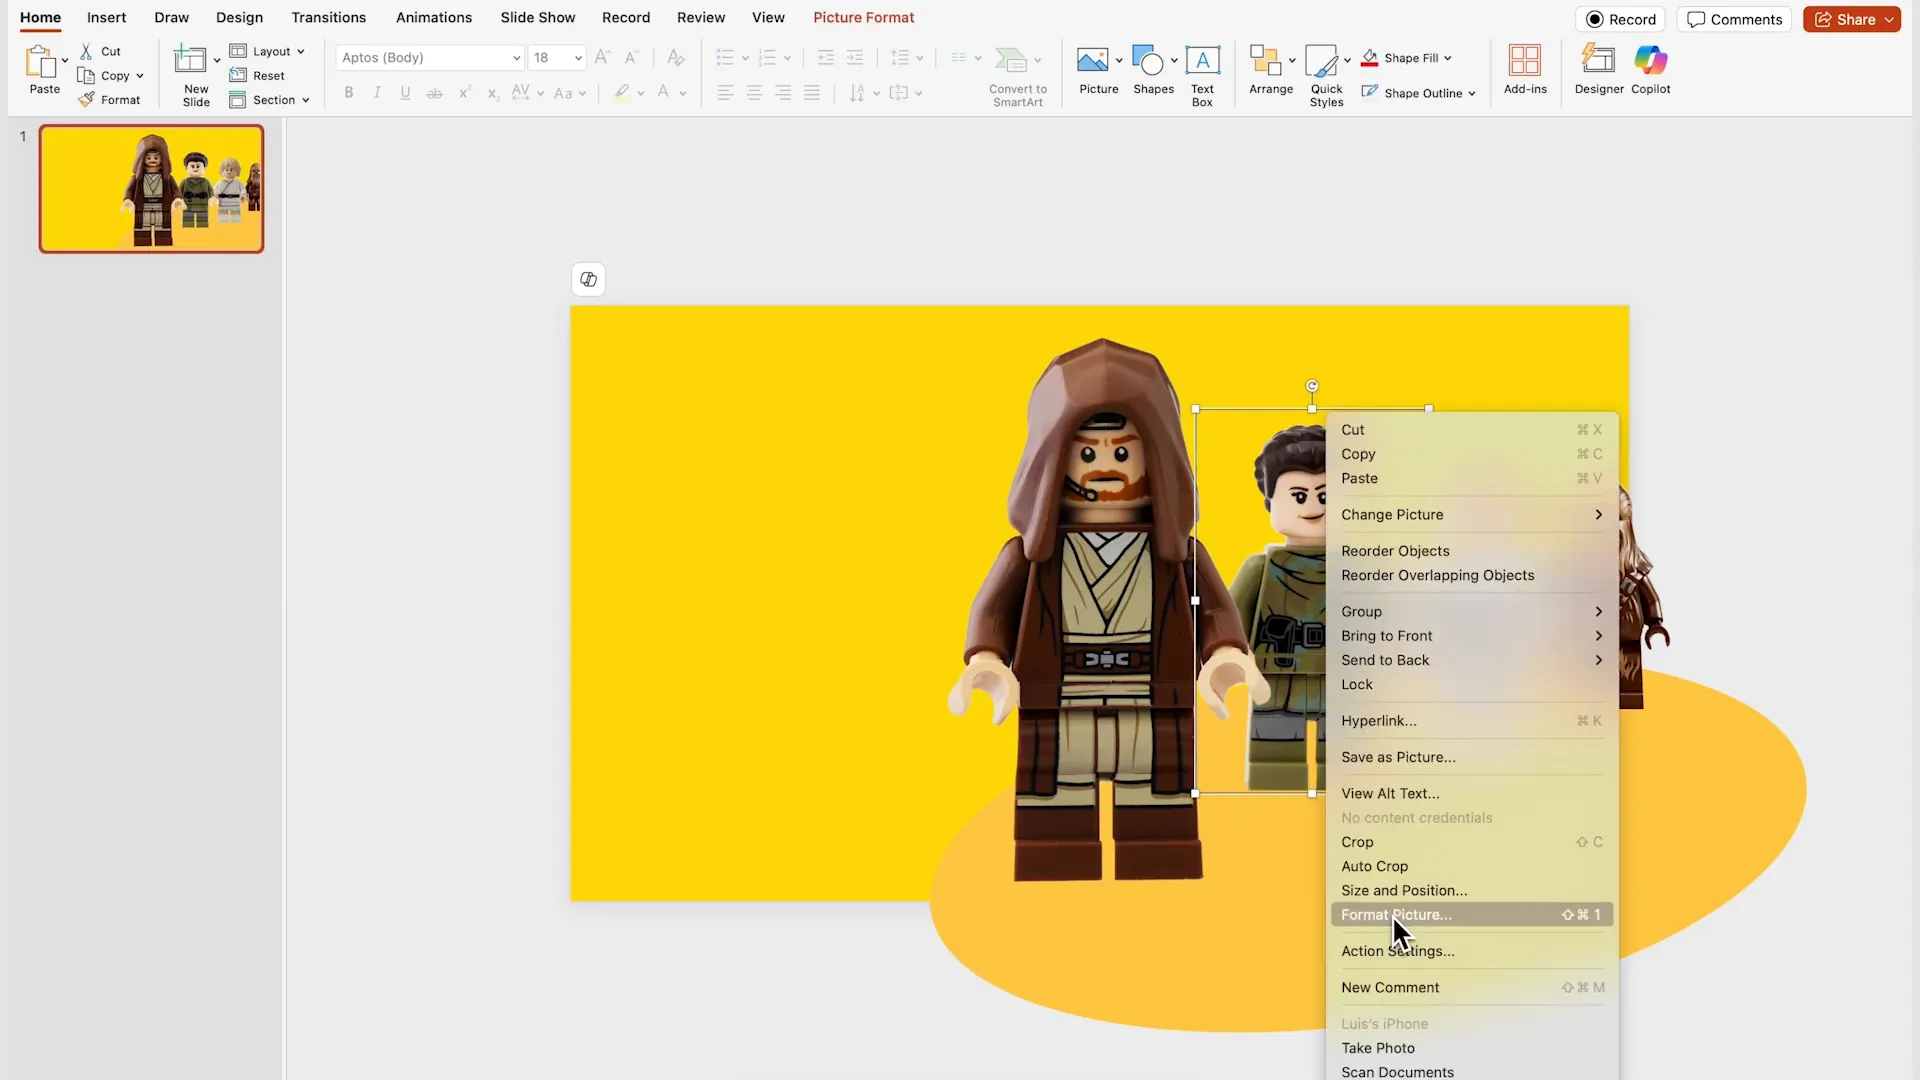
Step 3: Apply Blur Effect to Non-Highlighted Images
Right-click on images you want to de-emphasize and select Format Picture. Go to the Artistic Effects tab and apply the Blur effect, increasing the radius to 100% for maximum blur. Repeat this for all images except the one you want to highlight.
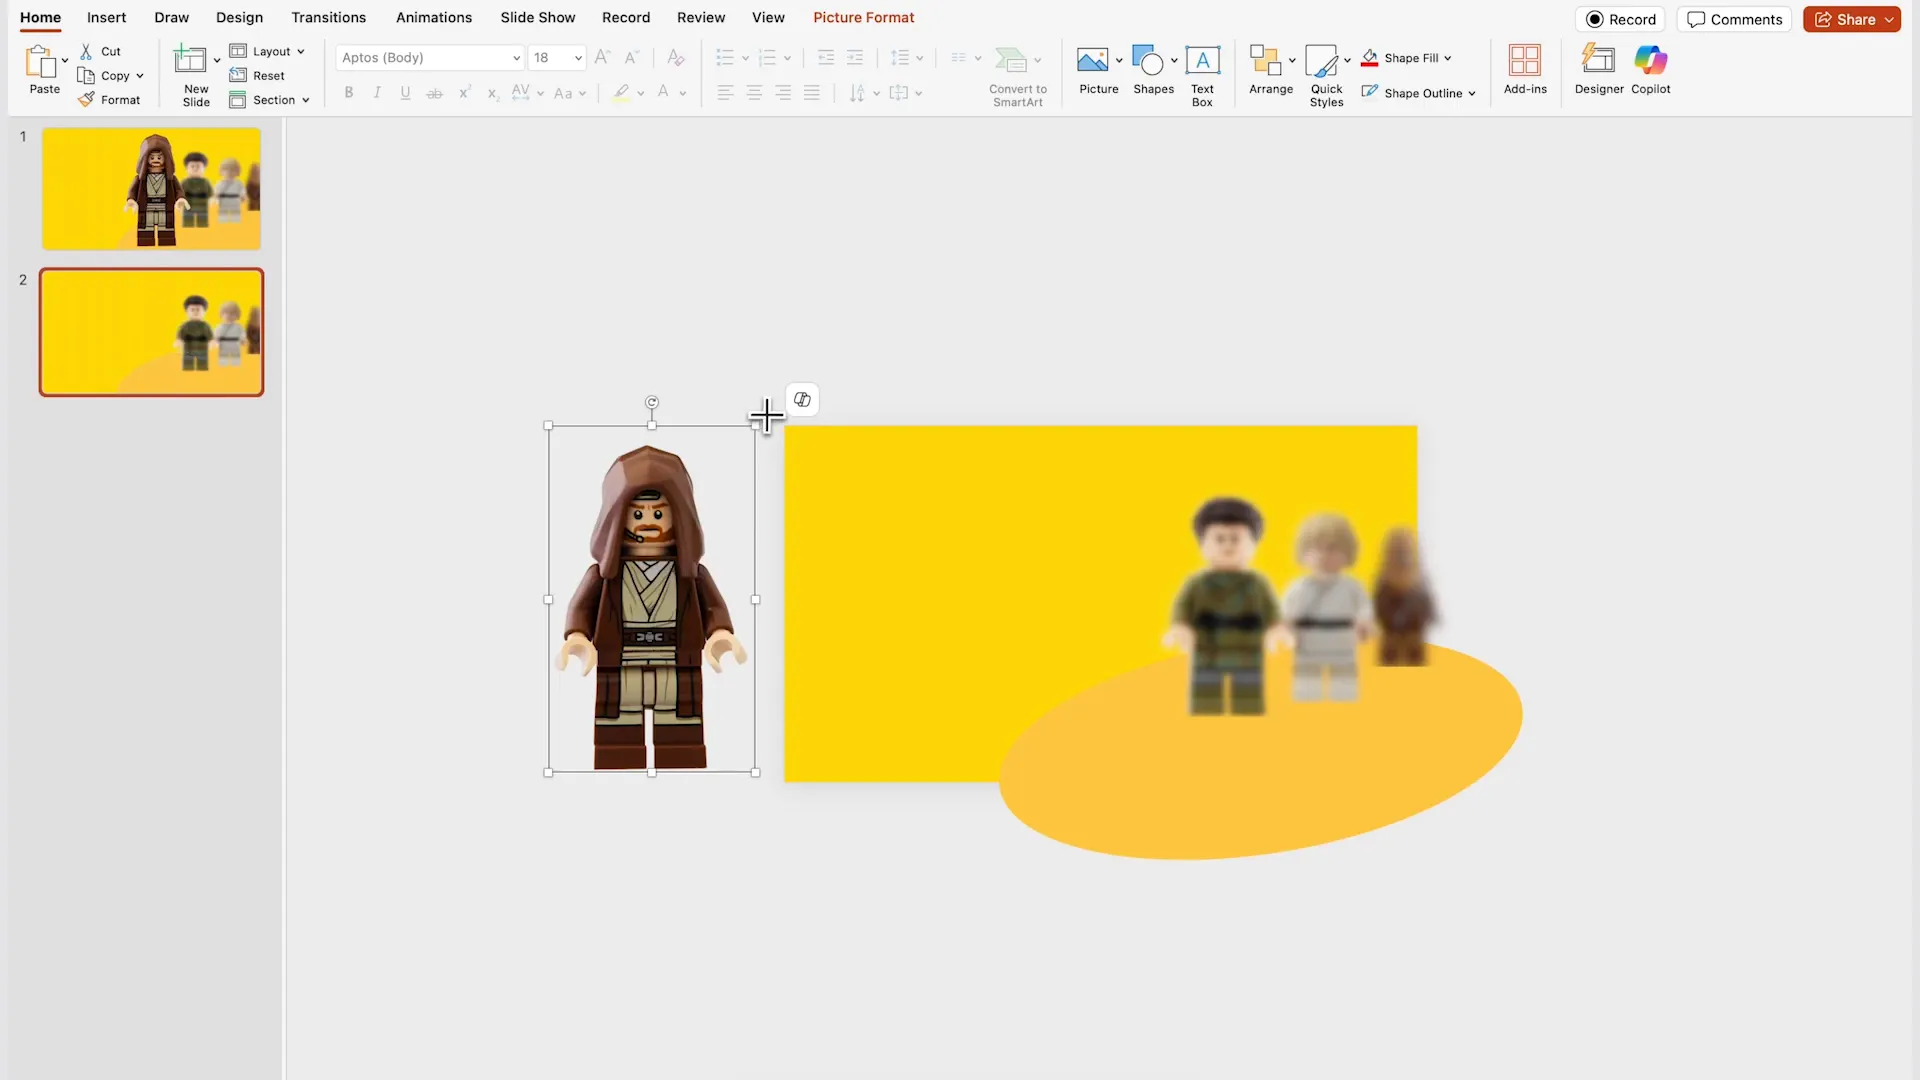
Step 4: Duplicate Slide and Shift Image Positions
Duplicate the slide and slightly enlarge the highlighted image while moving it towards the center or the gray area. Shift other images accordingly, so the next image becomes the highlight. Remove the blur effect from the newly highlighted image by selecting None under Artistic Effects.
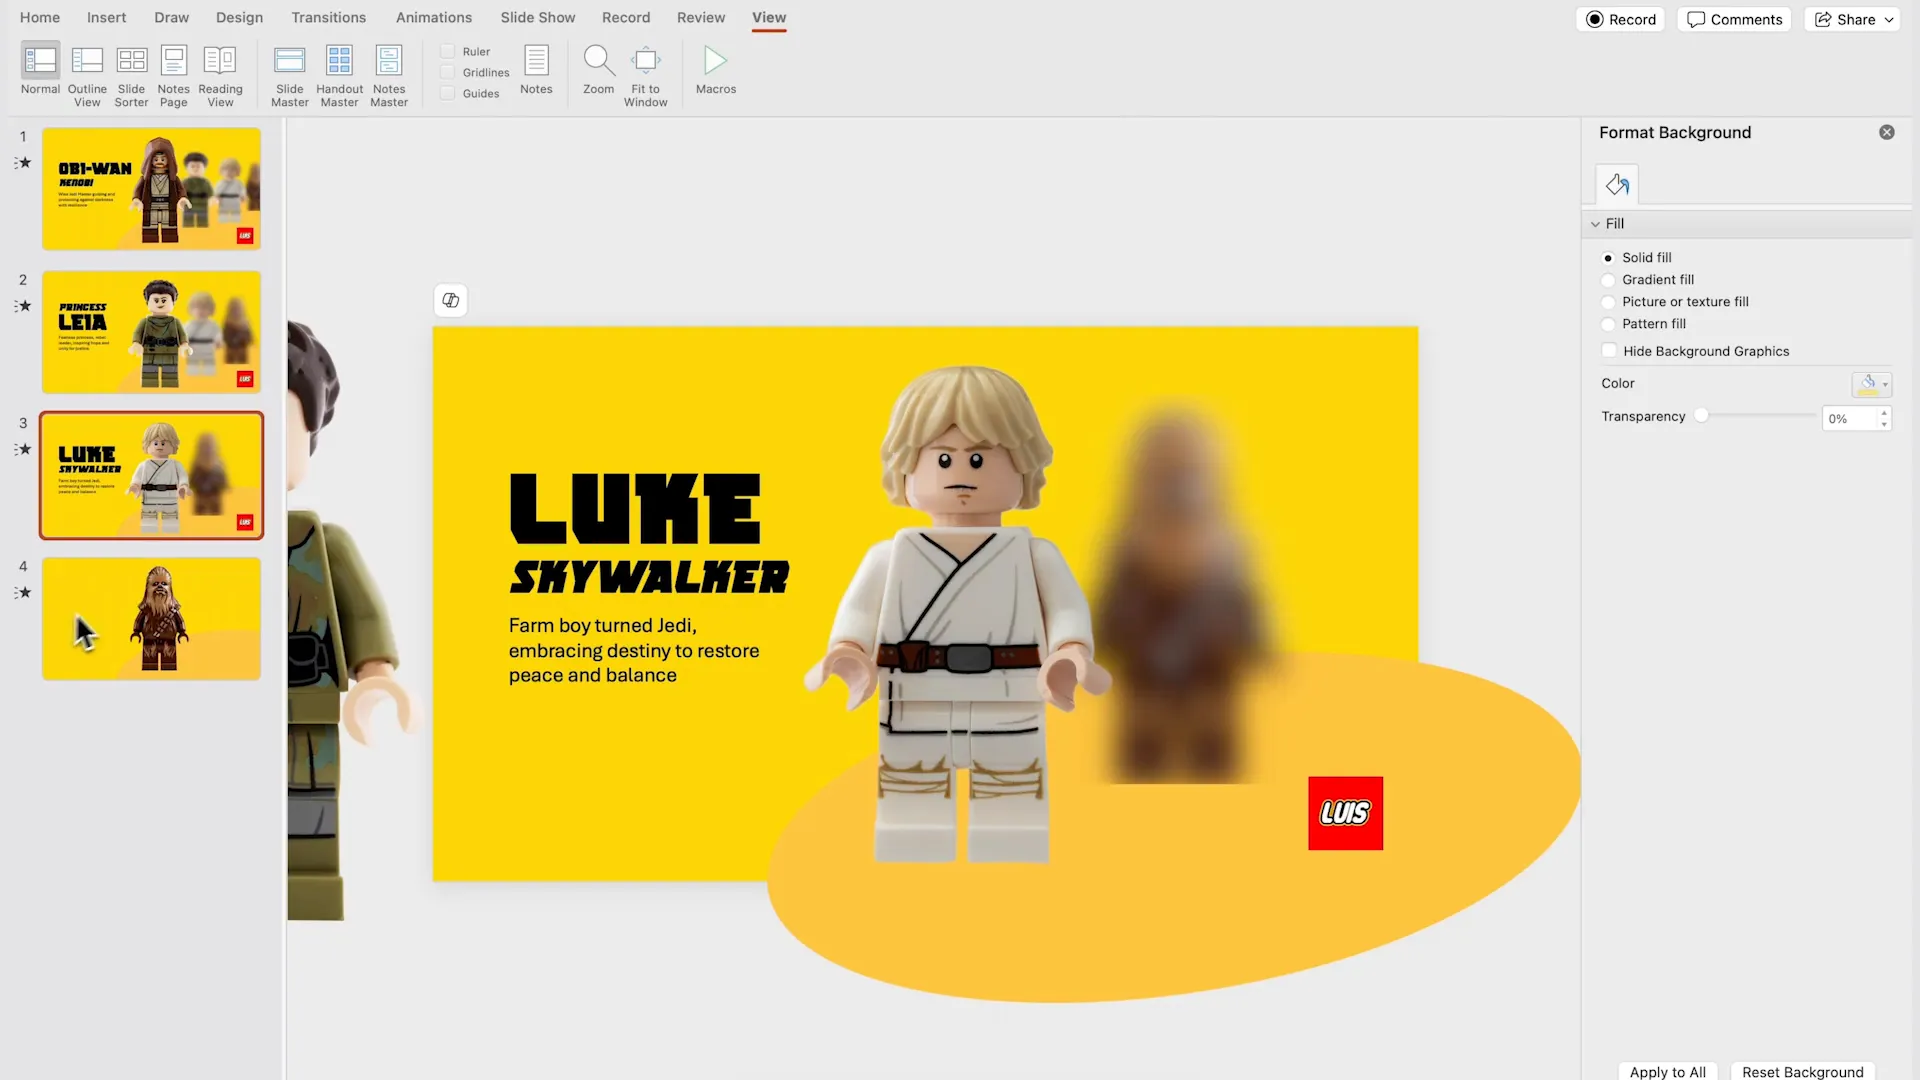
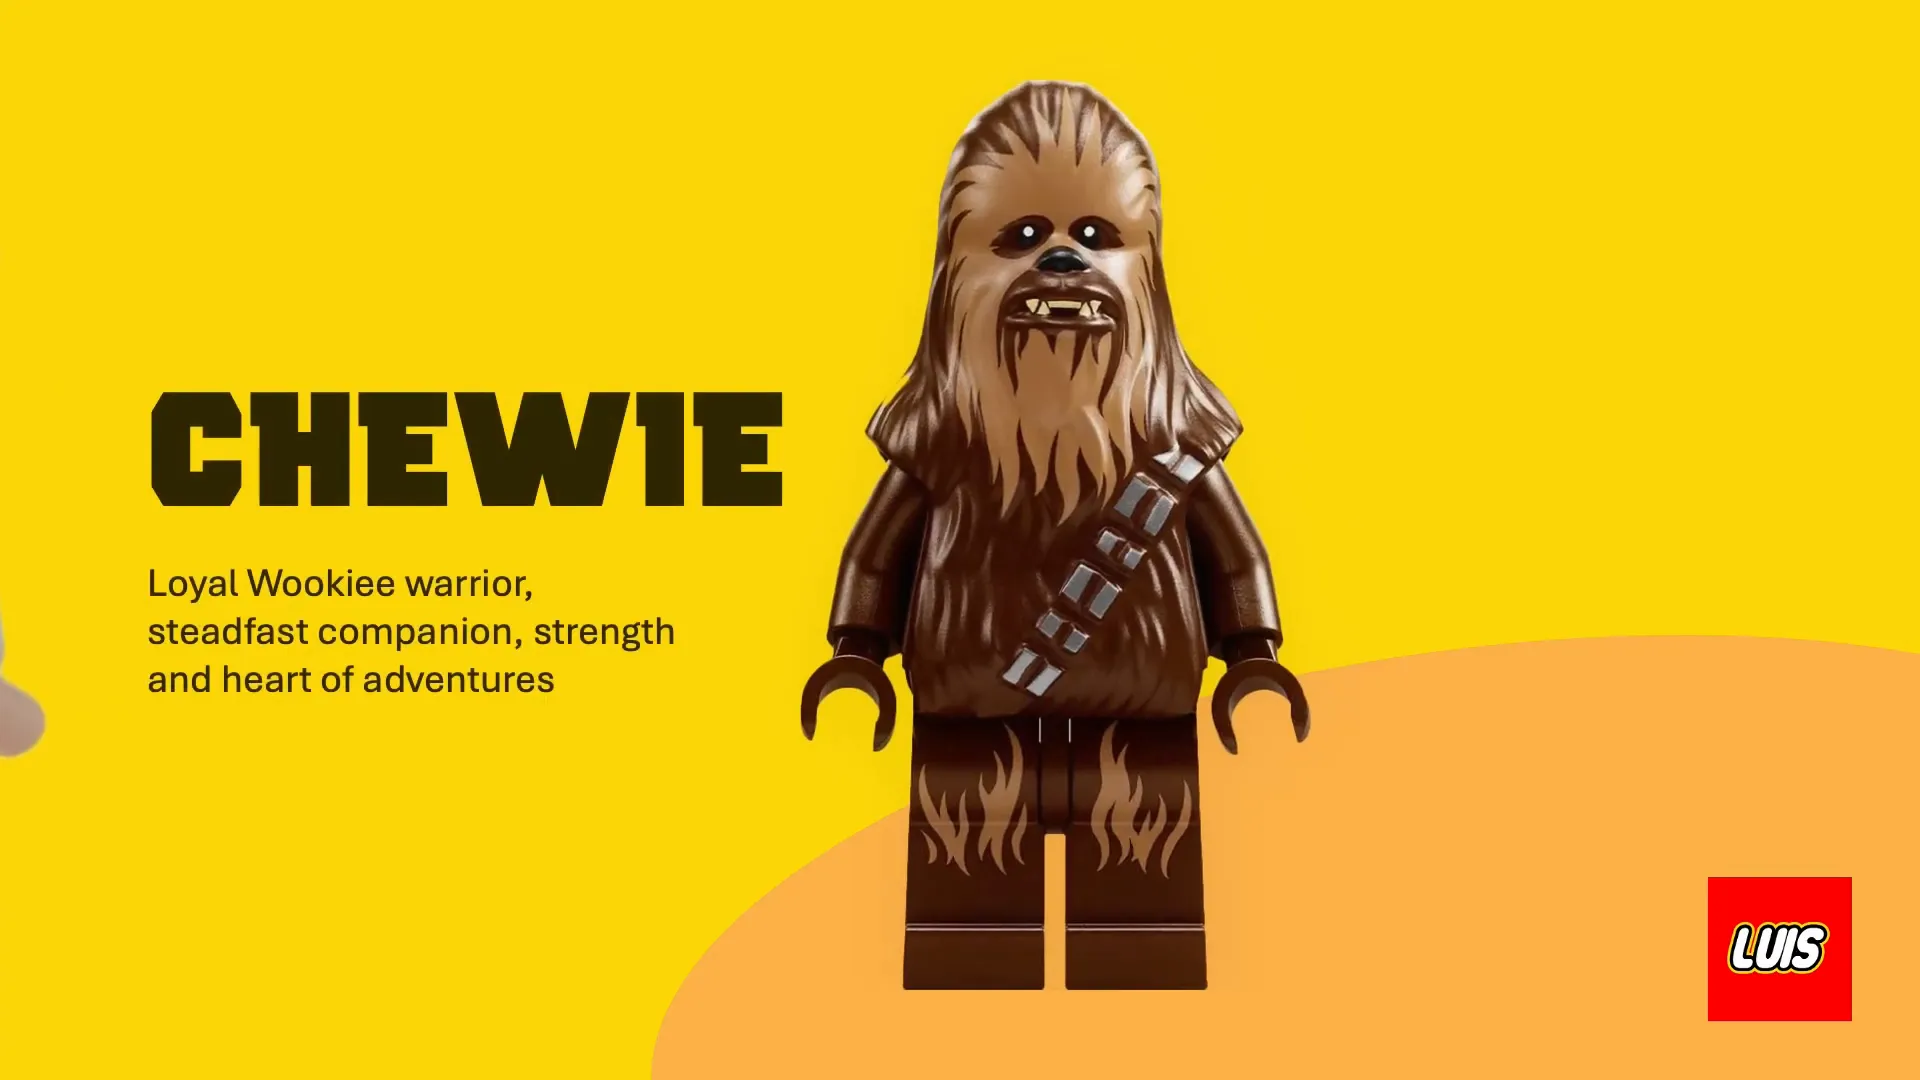
Step 5: Add Content and Fun Logo
Add text to the left of the highlighted image to provide context or information. For a creative touch, I designed a fun logo using an online LEGO logo generator and placed it alongside the text. This adds personality and branding to your slides.
Step 6: Apply Morph to All Slides
Select all slides in this series by holding Shift and clicking each one. Then, apply the Morph transition to create seamless animations as the highlight shifts from image to image. This technique makes your slideshow engaging and visually dynamic.
Wrapping Up: Elevate Your Presentations with Morph
These three creative ways to use the Morph transition in PowerPoint demonstrate how a simple tool can transform your presentations into visually stunning experiences. Whether you want to create a cinematic scrolling reveal, a sophisticated 3D abstract effect, or a playful LEGO-style slideshow, Morph provides the flexibility and polish to make your slides memorable.
Remember, the key to mastering Morph is in the preparation of your slides—careful layering, consistent object naming, and thoughtful design will ensure smooth transitions. Don’t hesitate to experiment with shapes, images, and effects to discover your own unique style.
If you want to get started quickly, I offer downloadable PowerPoint templates featuring these designs on my website. Feel free to customize them and make them your own.
Thank you for reading! I hope these techniques inspire you to push the boundaries of your PowerPoint presentations.
Frequently Asked Questions (FAQ)
What is the Morph transition in PowerPoint?
The Morph transition is a feature in Microsoft PowerPoint that creates smooth animations between slides by transitioning shared objects’ positions, sizes, colors, and other properties automatically. It allows for dynamic storytelling without complex animation setups.
Which version of PowerPoint supports Morph?
Morph is available in PowerPoint for Microsoft 365 (formerly Office 365), PowerPoint 2019, and later versions. It is not supported in older versions like PowerPoint 2016 or earlier.
Can I use Morph with images and text together?
Yes! Morph works with any slide objects including images, shapes, and text boxes. The key is to keep the objects consistent between slides so Morph can identify and animate them smoothly.
How do I create a mask effect in PowerPoint?
You can create a mask by combining shapes and text using the Merge Shapes feature. For example, combining a wavy rectangle with large text using the “Combine” option cuts out the text shape from the background, creating a mask effect.
Are there free resources for images and design elements?
Absolutely! Websites like Unsplash offer free high-quality images. For editable design templates and assets, tools like Kittl.com provide extensive libraries with free and paid options.
How can I make my Morph transitions smoother?
Ensure that objects you want to animate have the same name on both slides. Also, avoid drastic resizing or moving objects too far apart between slides. Keeping a consistent color scheme and design style helps the transition appear seamless.
Can Morph be used for professional business presentations?
Definitely! Morph adds a modern touch to business presentations, making data, concepts, and narratives more engaging. Just tailor the design to your brand and audience for the best impact.
Is Morph difficult to learn?
Not at all. Morph is user-friendly and intuitive. With a bit of practice in duplicating slides and adjusting objects, you can create impressive animations without needing advanced skills.
Where can I find templates or examples to practice Morph?
You can download ready-made Morph templates from my website or explore Microsoft’s official template gallery. Additionally, watching tutorials and experimenting with your own slides is a great way to learn.
Can I combine Morph with other PowerPoint animations?
Yes, but use caution. Morph works best when it is the primary transition, and layering too many animations may cause distractions or slow performance. Test your presentation to ensure smooth playback.
Additional Resources
- Try Kittl.com for free design templates and assets
- Download free PowerPoint templates
- Follow me on Instagram for tips and tutorials
- Watch short tutorials on TikTok
Check out the full video: 3 CREATIVE ways to use MORPH in your PowerPoint presentations 😱


