
Hello, my friends! I hope you’re doing super wonderful. Today, I’m excited to share with you a detailed guide on how to create a super cute and interactive pitch deck presentation in PowerPoint. This tutorial will walk you through designing a presentation featuring a clickable scroll bar for seamless navigation and a dynamic table of contents with clickable buttons that open additional slides. This approach not only makes your presentation visually appealing but also enhances interactivity and user engagement.
Whether you’re preparing a pitch for investors, presenting a project, or creating a business proposal, this tutorial will empower you to build a professional and charming PowerPoint deck that stands out. So, let’s dive right in and explore all the steps and tips you need to bring this interactive pitch deck to life!
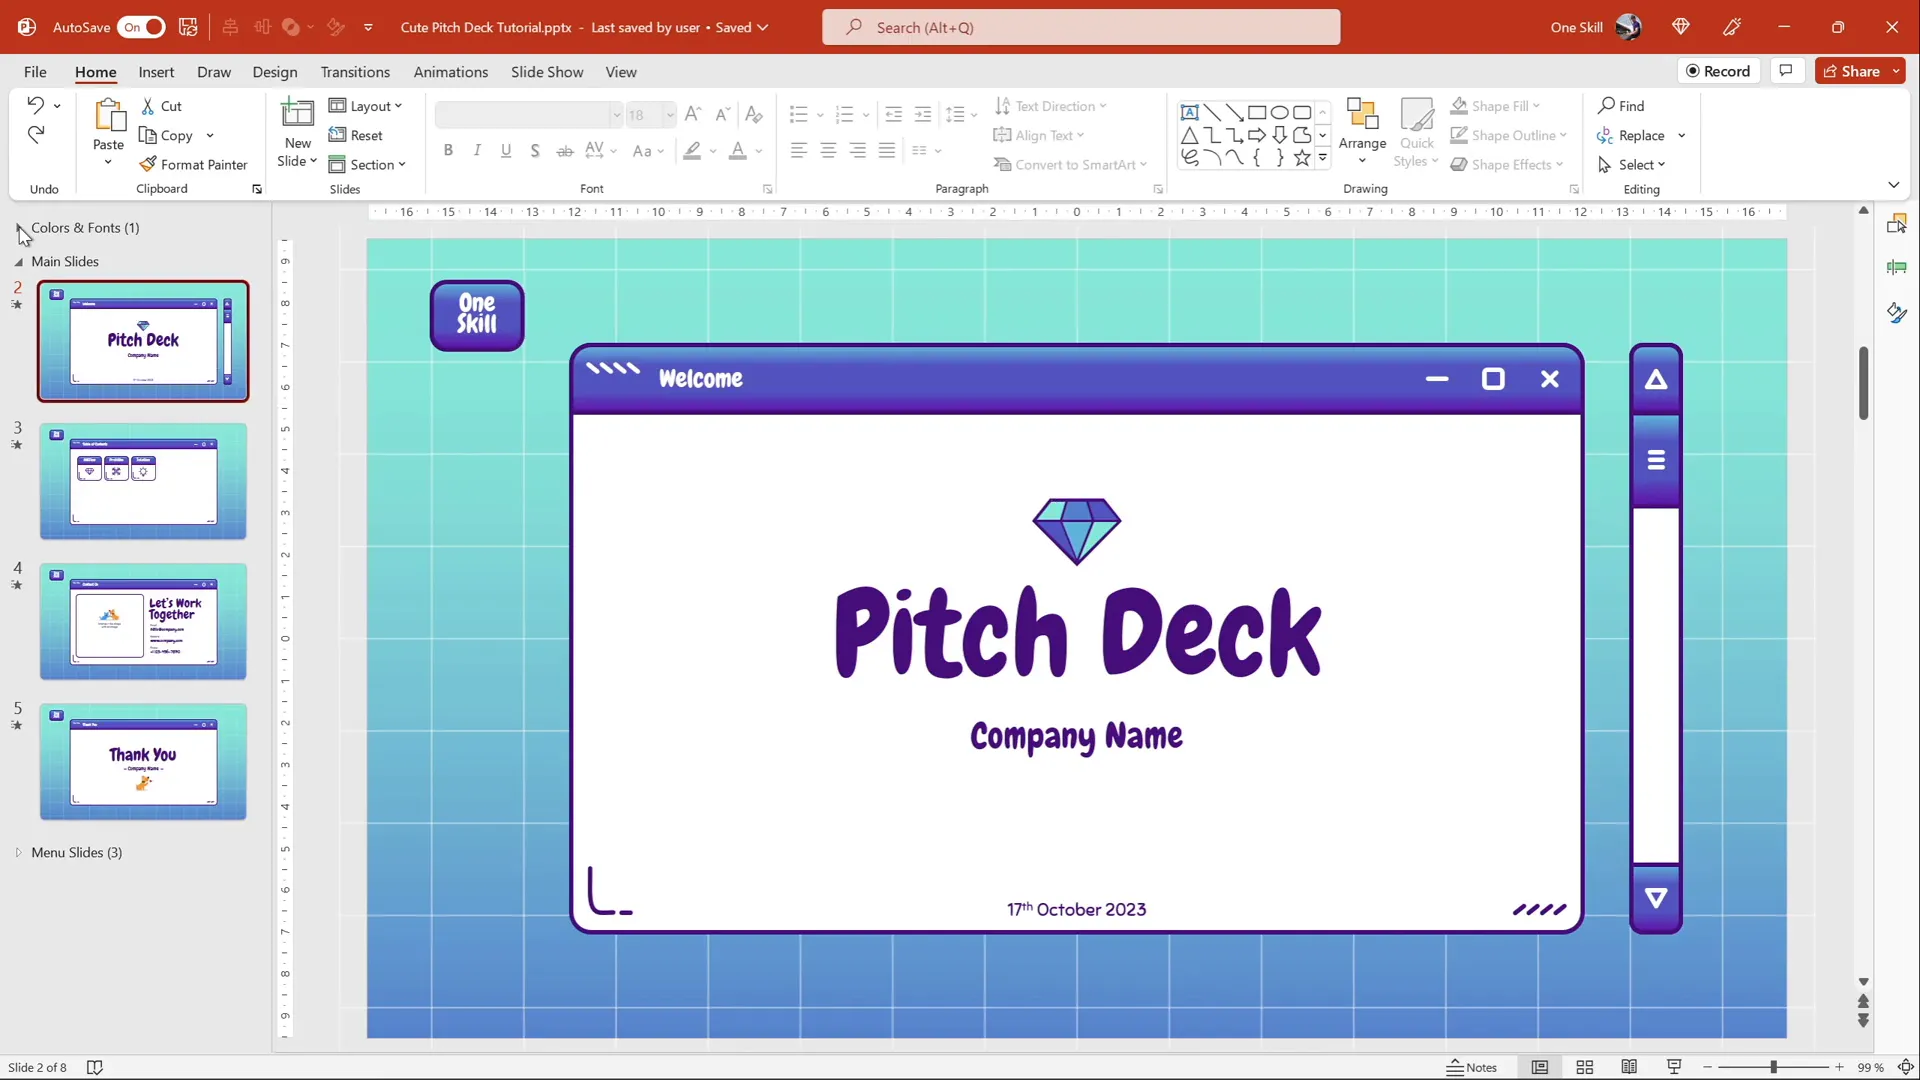
Table of Contents
- Choosing the Right Colors and Fonts
- Understanding the Presentation Structure
- Creating an Interactive Scroll Bar
- Creating a Clickable Table of Contents Menu
- Testing and Finalizing Your Interactive Pitch Deck
- Exploring the Full Version and Additional Resources
- Frequently Asked Questions (FAQ)
- Final Thoughts
Choosing the Right Colors and Fonts
Before diving into slide creation, it’s essential to set a cohesive visual style. Colors and fonts define the mood and readability of your presentation, and in this tutorial, we’re opting for a bright, cheerful, and modern aesthetic.
Here’s what we’ll use:
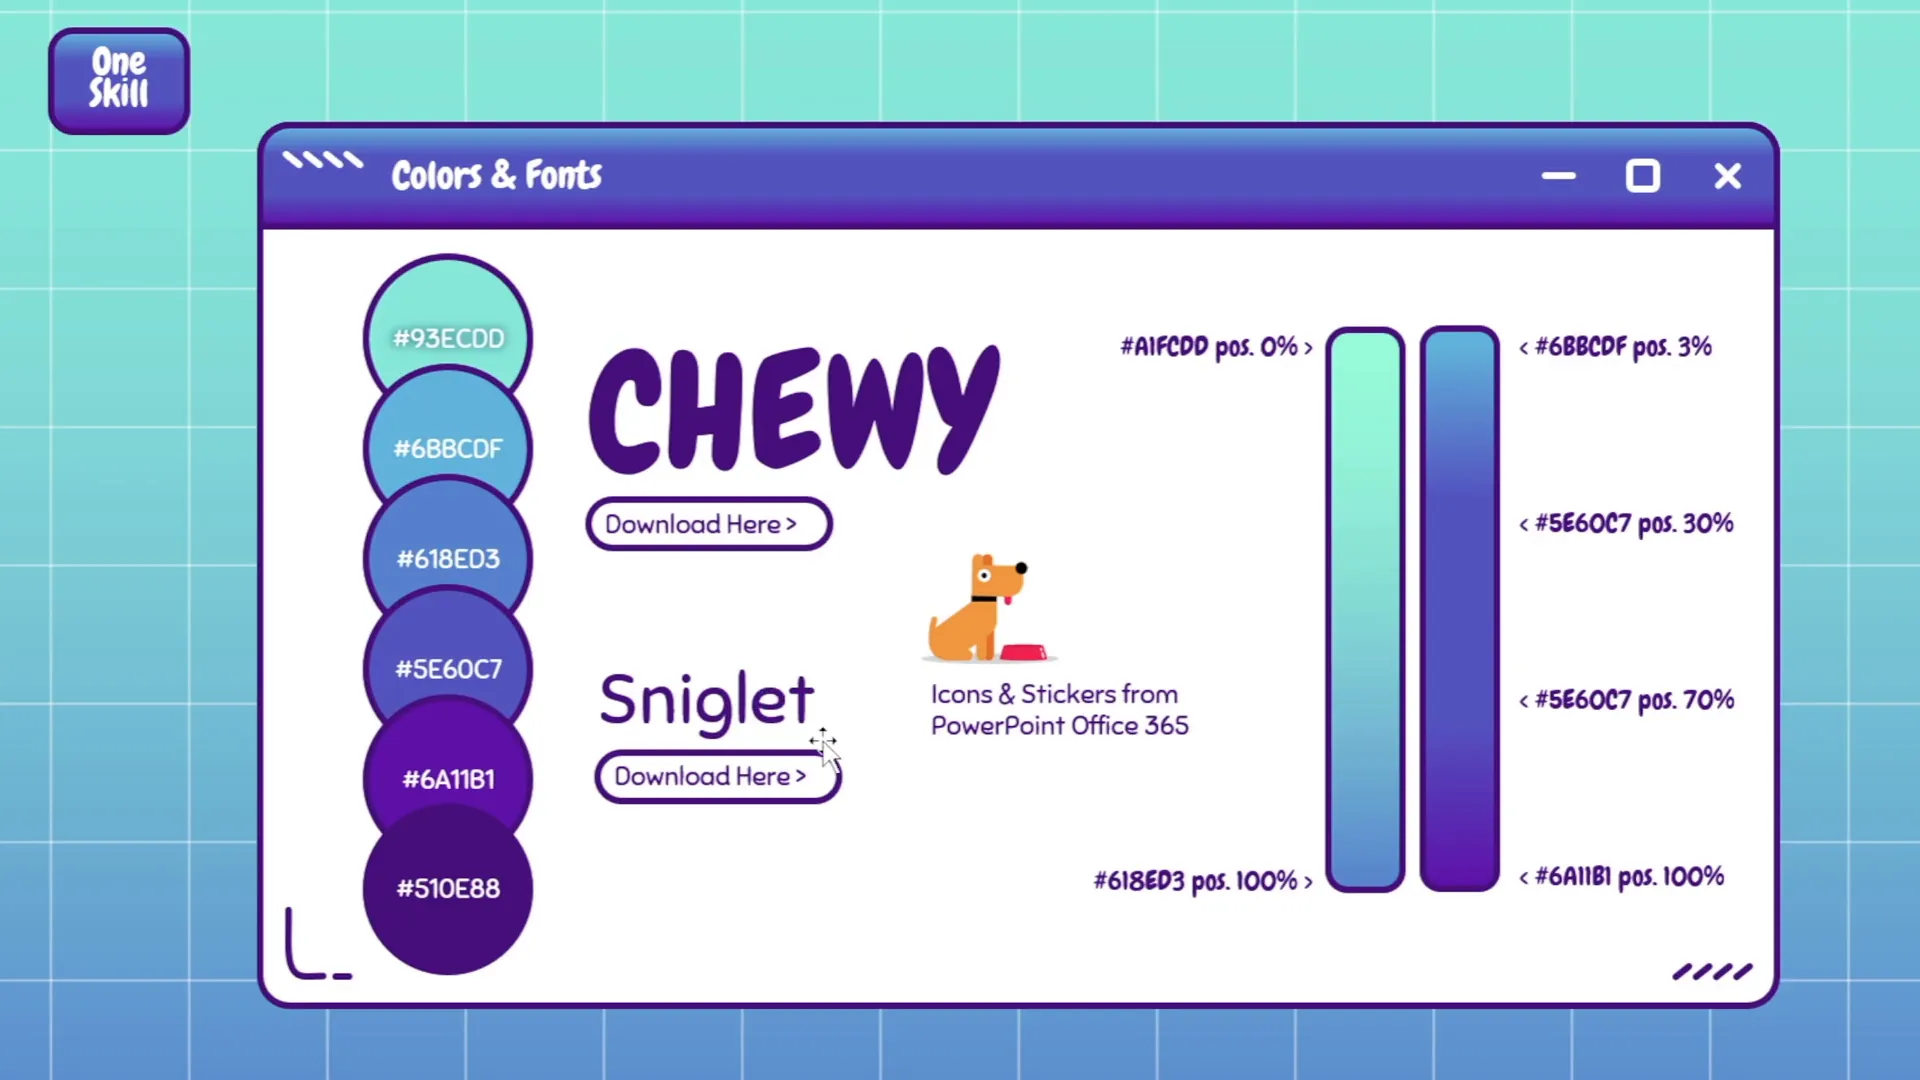
- Colors: I’ve selected a palette of beautiful colors with specific hex codes, which you can replicate exactly to achieve the same fresh look. These colors are displayed on the left side of the screen in the tutorial, and I encourage you to use them to maintain consistency.
- Fonts: We’ll use two super cute and free fonts, Chewy and Sniglet. Both fonts are playful yet professional, perfect for a pitch deck that needs to be inviting without losing credibility. You can find direct links to these fonts in the resources section or the video description.
Additionally, the overall slide design was inspired by the adorable kawaii-style slides found on SlidesGo, which offer a wealth of creative inspiration for your presentations.
Understanding the Presentation Structure
To create an interactive pitch deck, it’s vital to organize your slides thoughtfully. Here’s the structure we’ll be working with:
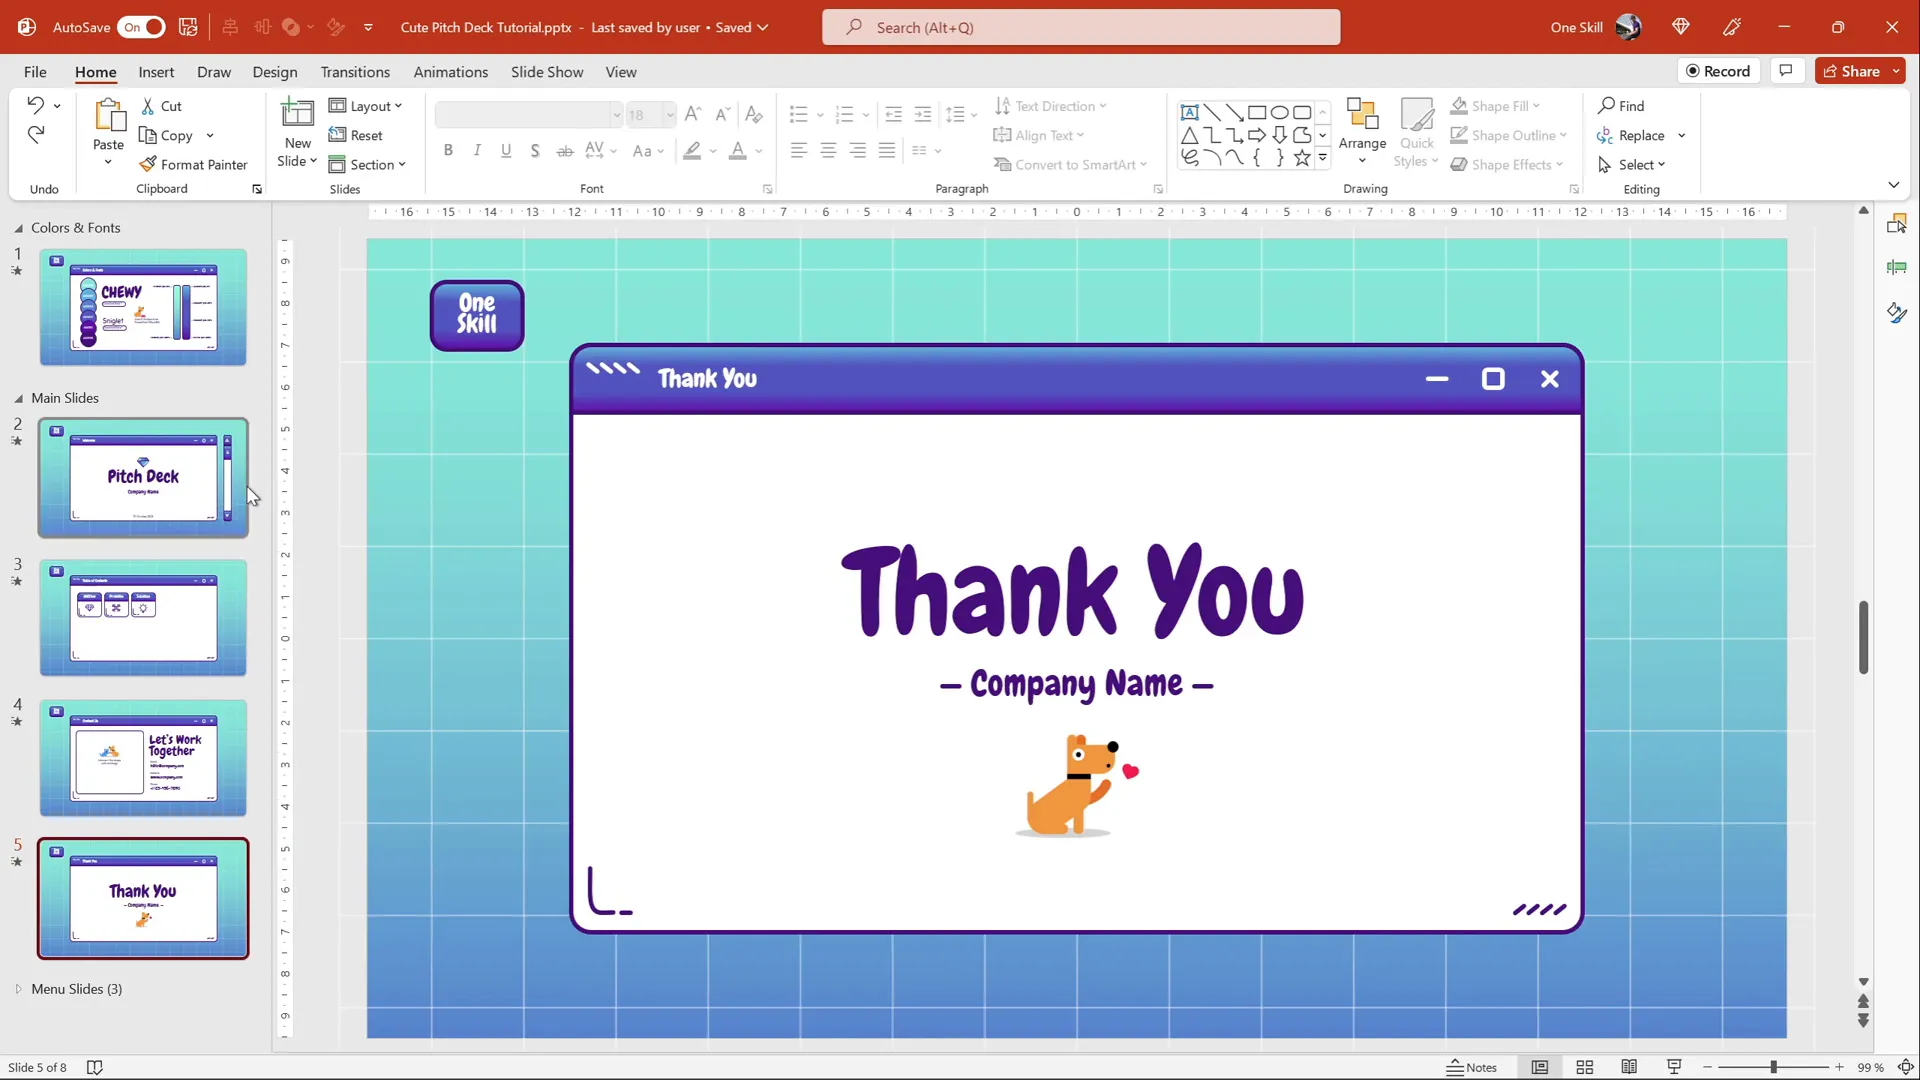
- Main Slides: These are the primary slides that convey your core message. In our example, we have four main slides.
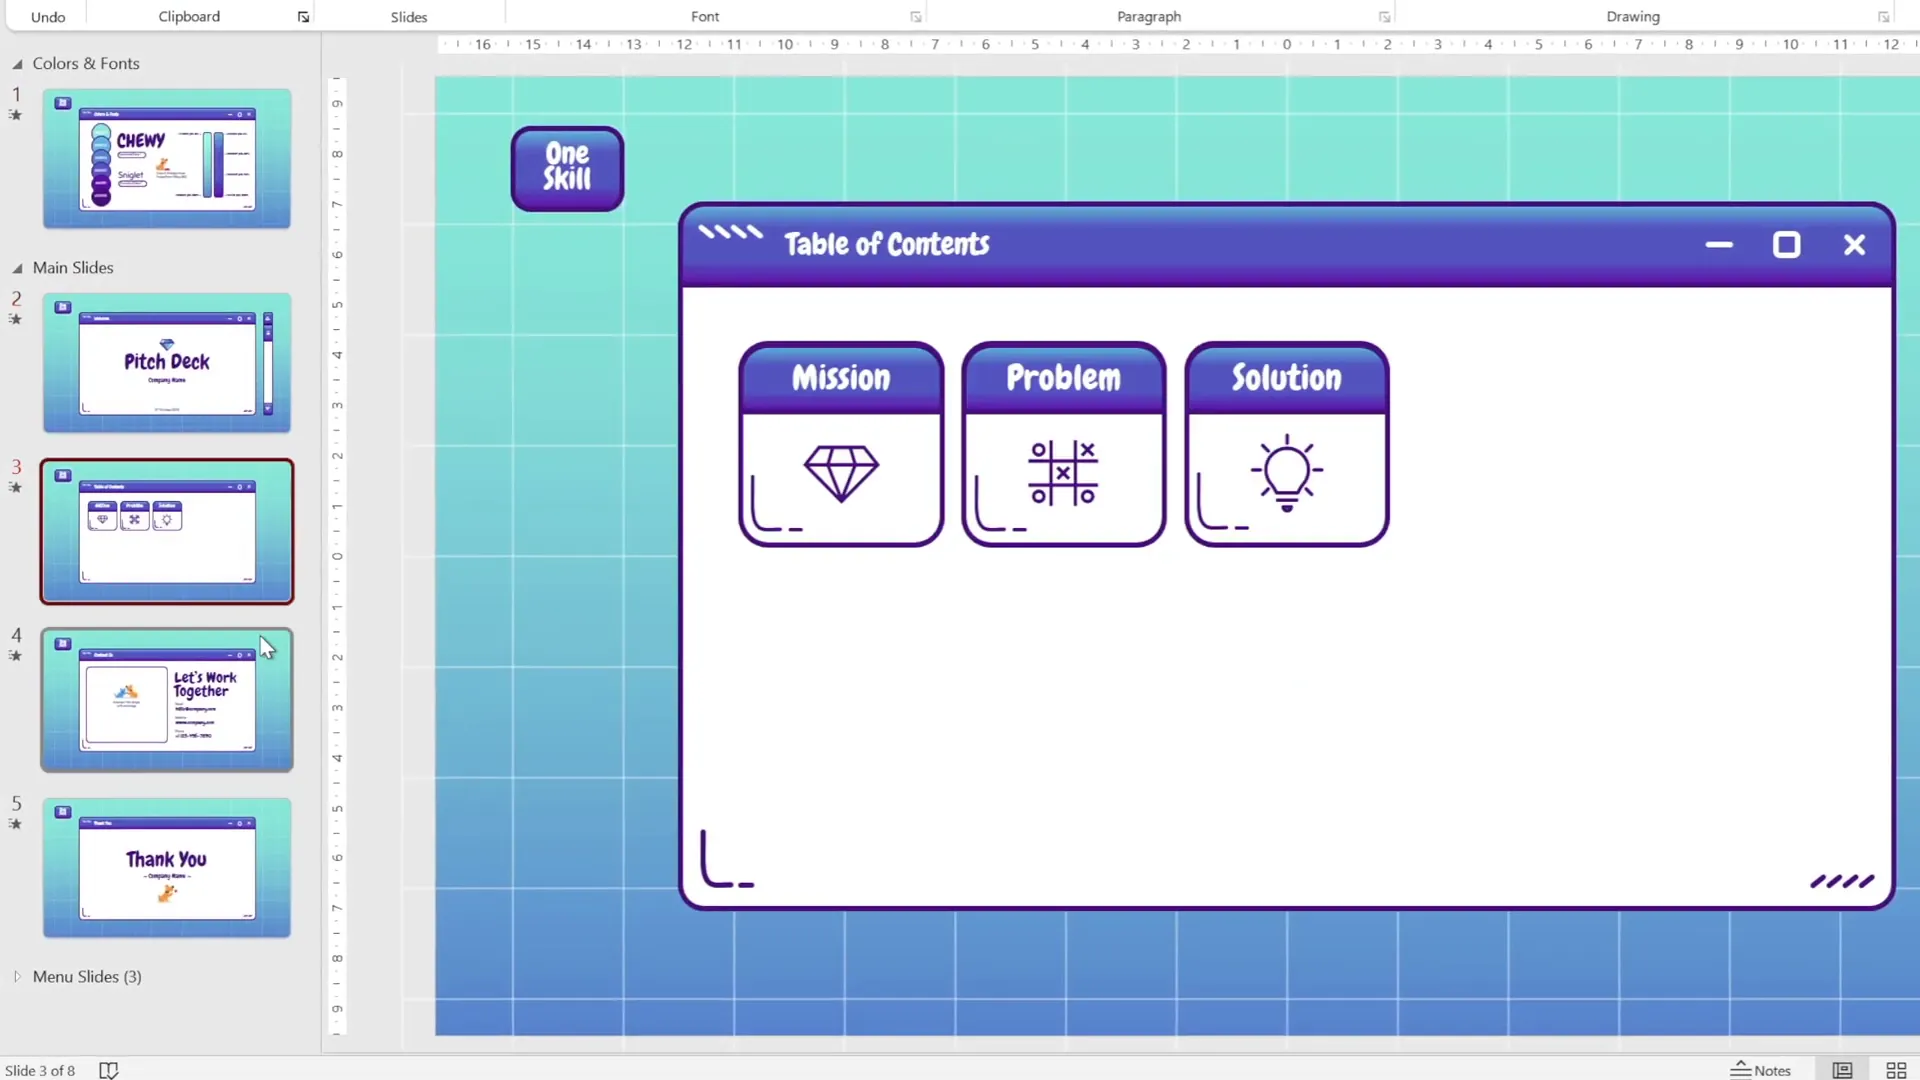
- Table of Contents Slide: This slide serves as the navigation hub, featuring clickable buttons that lead to additional slides.
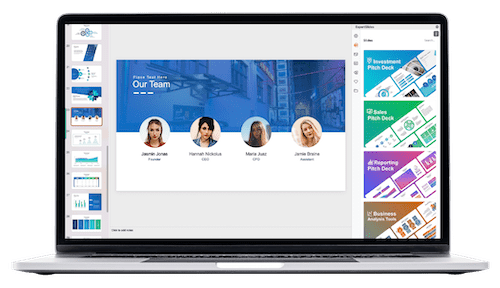
- Menu Slides: Located at the bottom of the slide deck, these slides pop up when you click on buttons in the table of contents. They provide detailed information related to each section of your pitch.
One of the best parts is that the starting slides are completely free for anyone to download and use. For those wanting more advanced features and additional content, a full version with ten clickable buttons and sliding windows is available exclusively to supporters on Patreon at the PowerPoint Hero membership level or higher. This tier includes slides covering mission, problem, solution, market, competition, model, growth, product, timeline, and team.
Creating an Interactive Scroll Bar
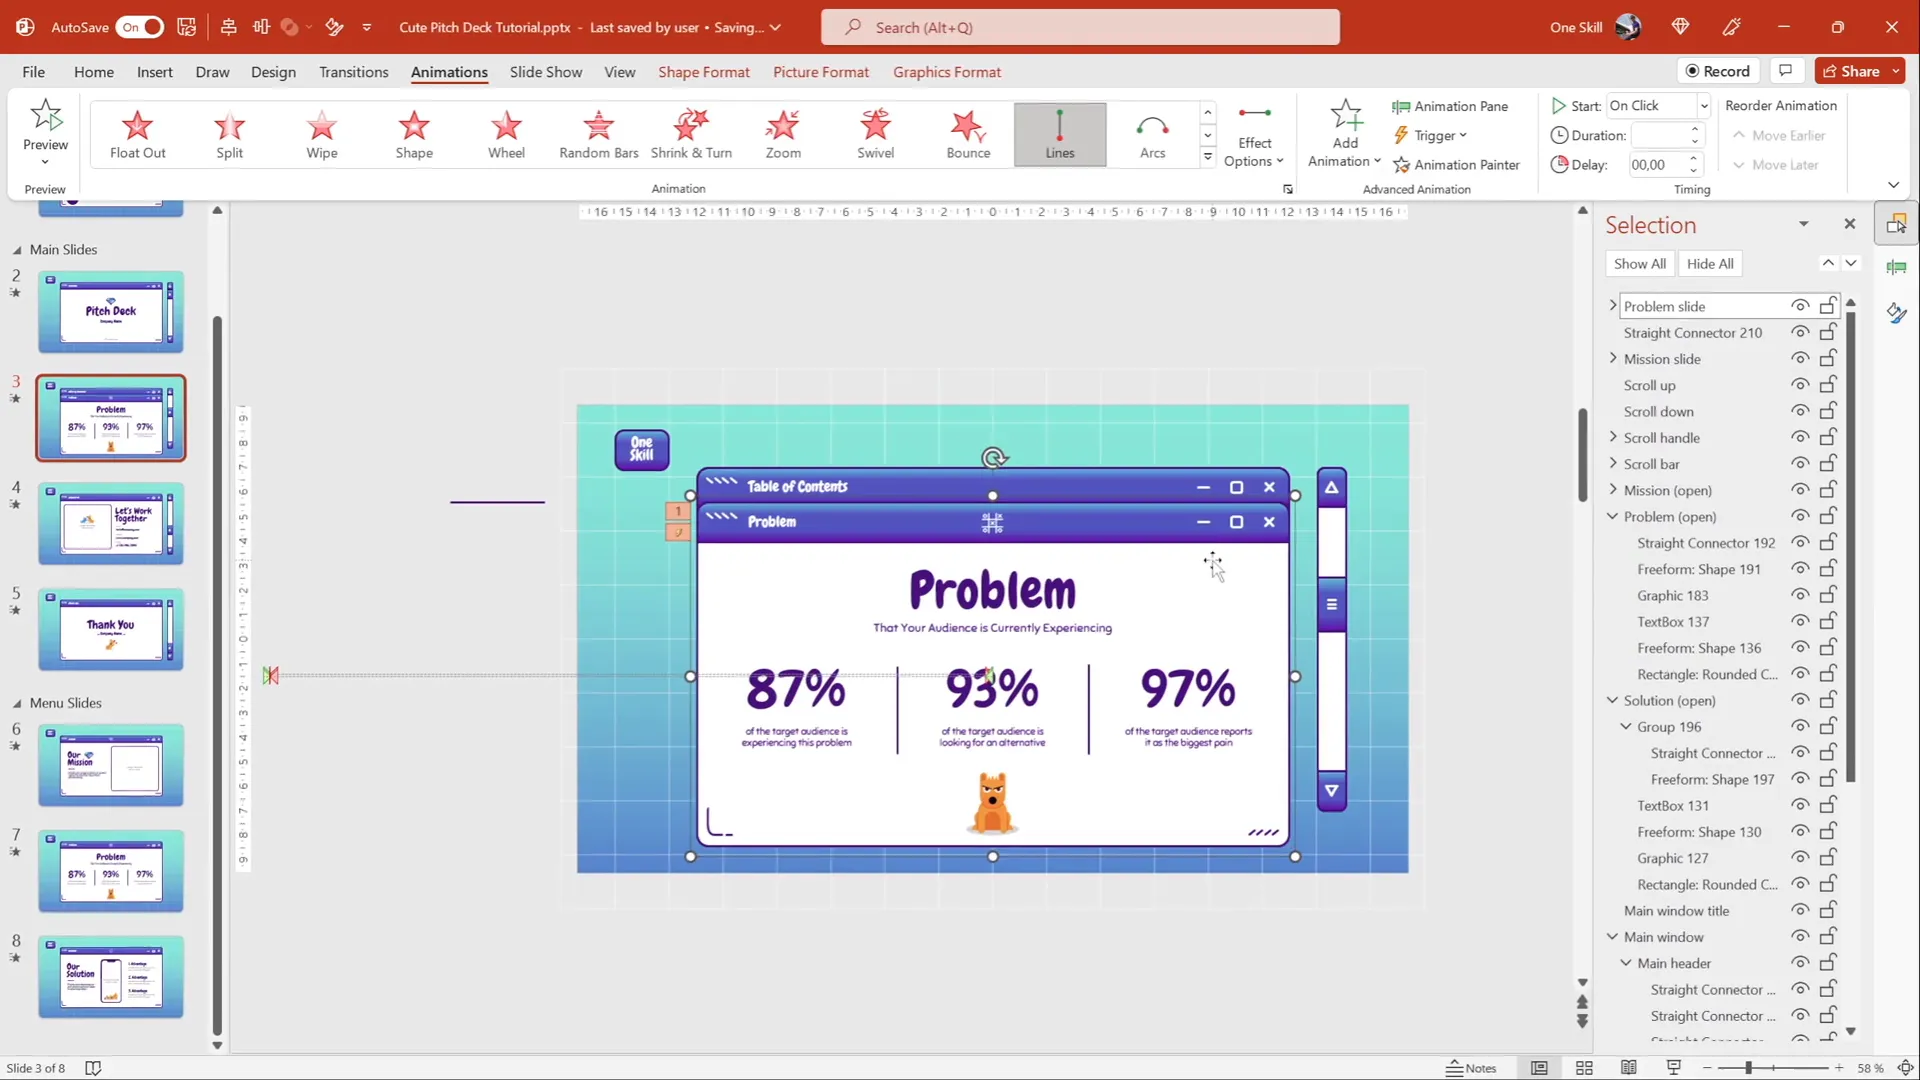
One of the standout features of this pitch deck is the clickable scroll bar that allows users to navigate through slides smoothly. Let’s break down how to construct and implement this feature step-by-step.
Scroll Bar Components
The scroll bar consists of two main parts:
- Main Scroll Bar: The vertical track along which the scroll handle moves.
- Scroll Handle: The small draggable element that visually indicates the current slide position.
Our goal is to make the scroll handle move up and down as the user navigates through the slides, providing a clear visual cue of their position within the presentation.
Positioning the Scroll Handle Across Slides
We have four main slides, meaning the scroll handle must have four distinct positions, one for each slide.
- Start by copying the scroll bar to the first slide and position the scroll handle at the top.
- Paste the scroll bar on the last slide and move the scroll handle to the bottom to indicate the end of the deck.
- For the slides in between, create four copies of the scroll handle and distribute them evenly along the scroll bar to represent the intermediate positions.
- Copy the entire scroll bar with all four handles and paste it onto each of the intermediate slides.
- Remove the unnecessary handles on each slide so that only the one corresponding to that slide remains visible.
This method ensures the scroll handle is perfectly positioned for every slide, creating a smooth and intuitive navigation experience.
Adding Smooth Movement with Morph Transition
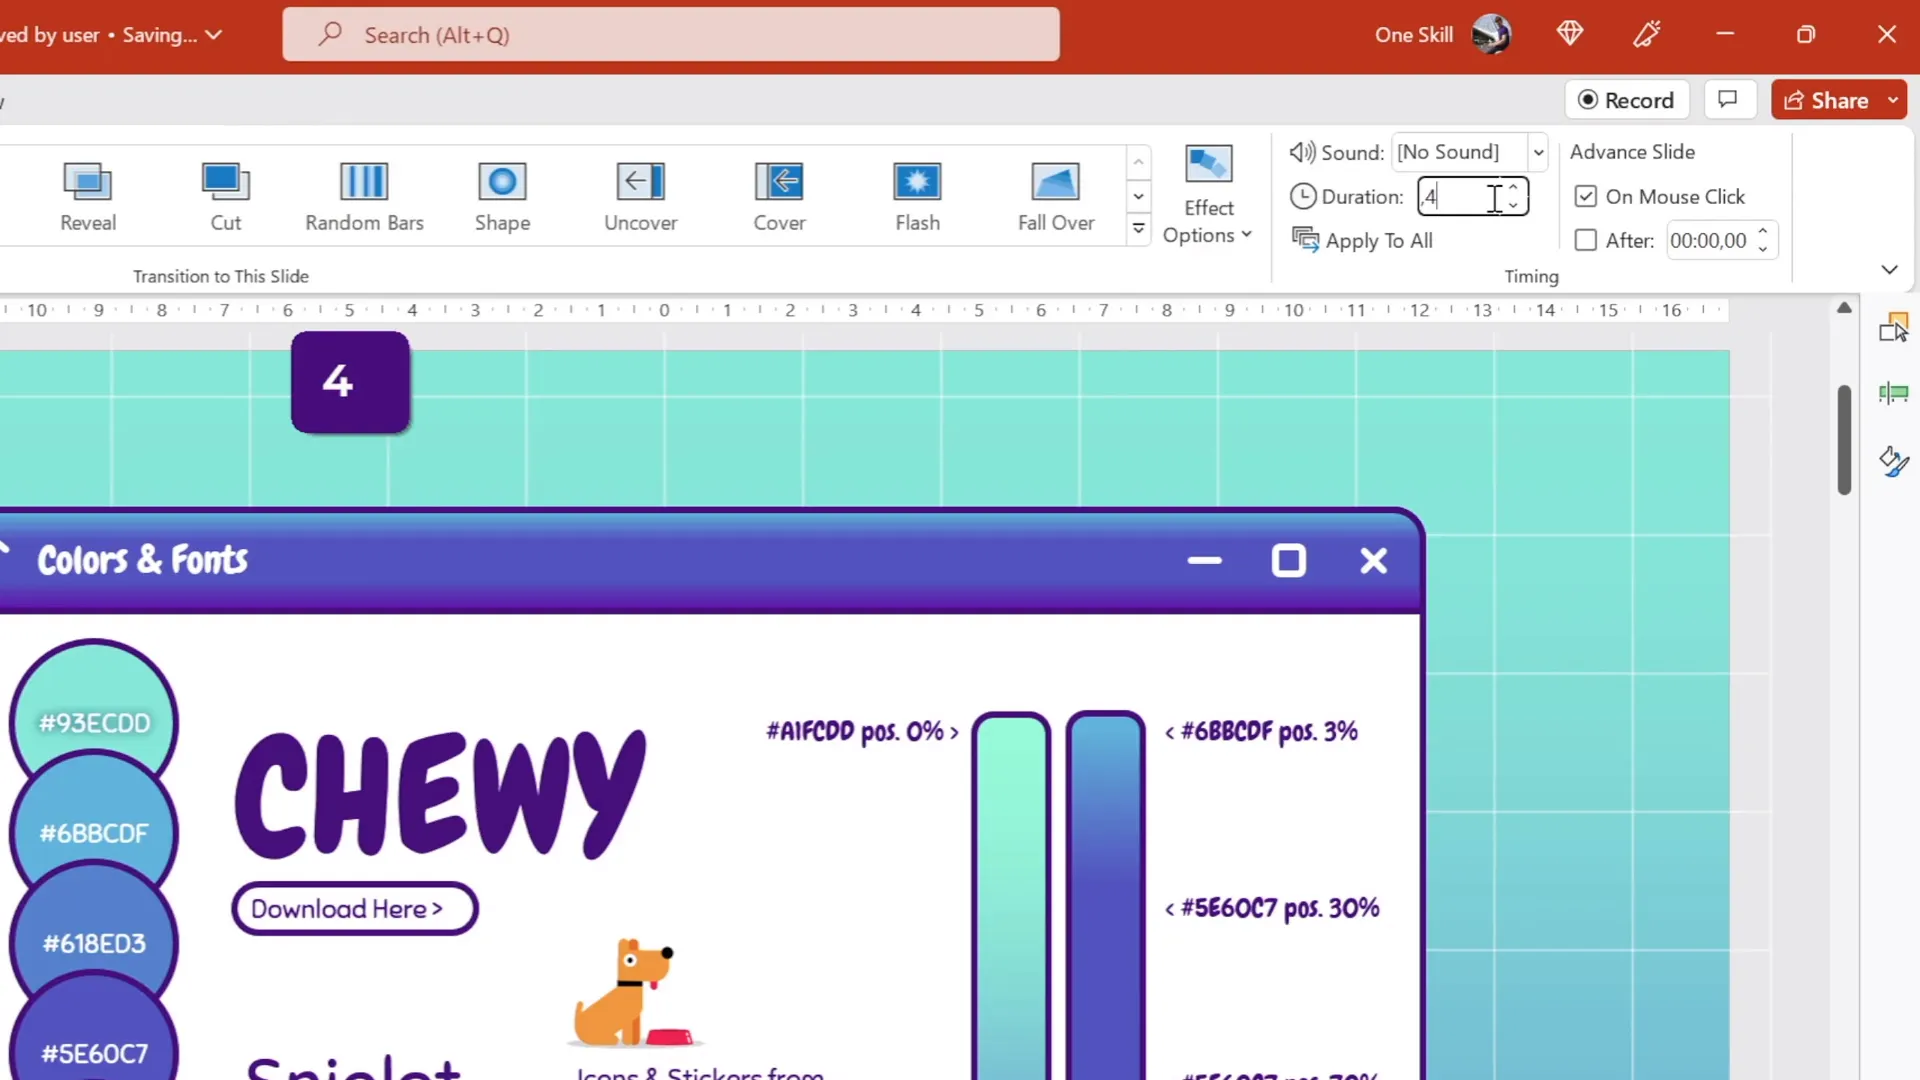
To make the scroll handle move smoothly between positions as you navigate the slides, we’ll apply the Morph transition to all four main slides.
- Select all four slides with the scroll bars.
- Apply the Morph transition.
- Set the transition duration to 0.4 seconds (or adjust to your preference for speed).
Now, when you scroll through your slides, the scroll handle will animate its movement up or down, enhancing the interactive feel of your pitch deck.
Enabling Scroll Bar Navigation in Kiosk Mode
While the scroll bar works beautifully with mouse wheel scrolling, many presentations are delivered in Kiosk Mode—a slideshow setting that disables mouse clicks and scrolling to control navigation strictly through programmed buttons.
Since Kiosk Mode disables scrolling, we need to add clickable buttons for scrolling up and down:
- Duplicate the top part of the scroll bar and remove its outline.
- Fill it with a solid color for visibility.
- Insert a hyperlink (Control + K) linking it to the previous slide.
- Name this shape “Scroll Up” in the selection pane.
- Duplicate the “Scroll Up” button, flip it vertically, and move it to the bottom of the scroll bar.
- Name this bottom button “Scroll Down” and hyperlink it to the next slide.
- Make both buttons transparent by setting their fill transparency to 100% so they don’t obstruct the design.
- Copy and paste these buttons onto all slides with scroll bars.
- Delete the “Scroll Up” button on the first slide and the “Scroll Down” button on the last slide to avoid navigation beyond the slide range.
Now, even in Kiosk Mode, users can click the transparent buttons to navigate up or down through your slides, keeping the scroll bar fully functional.
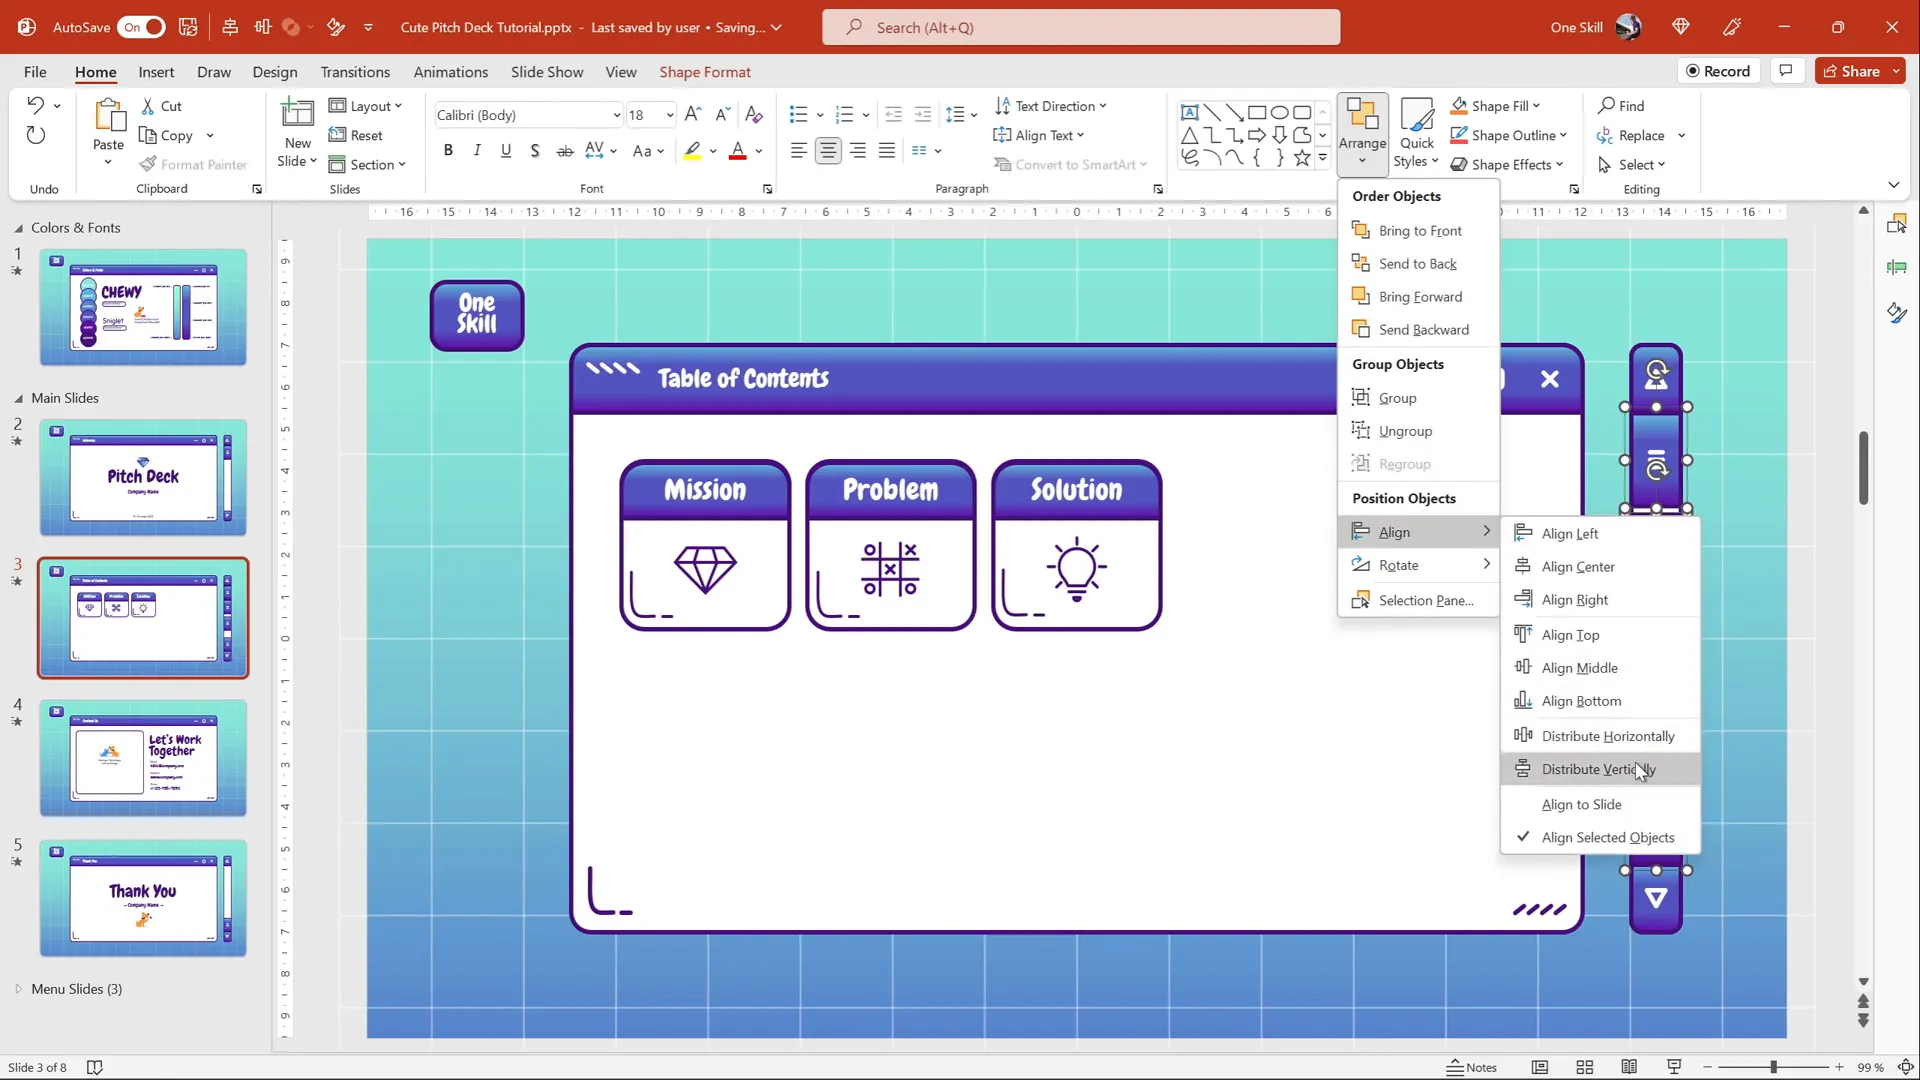
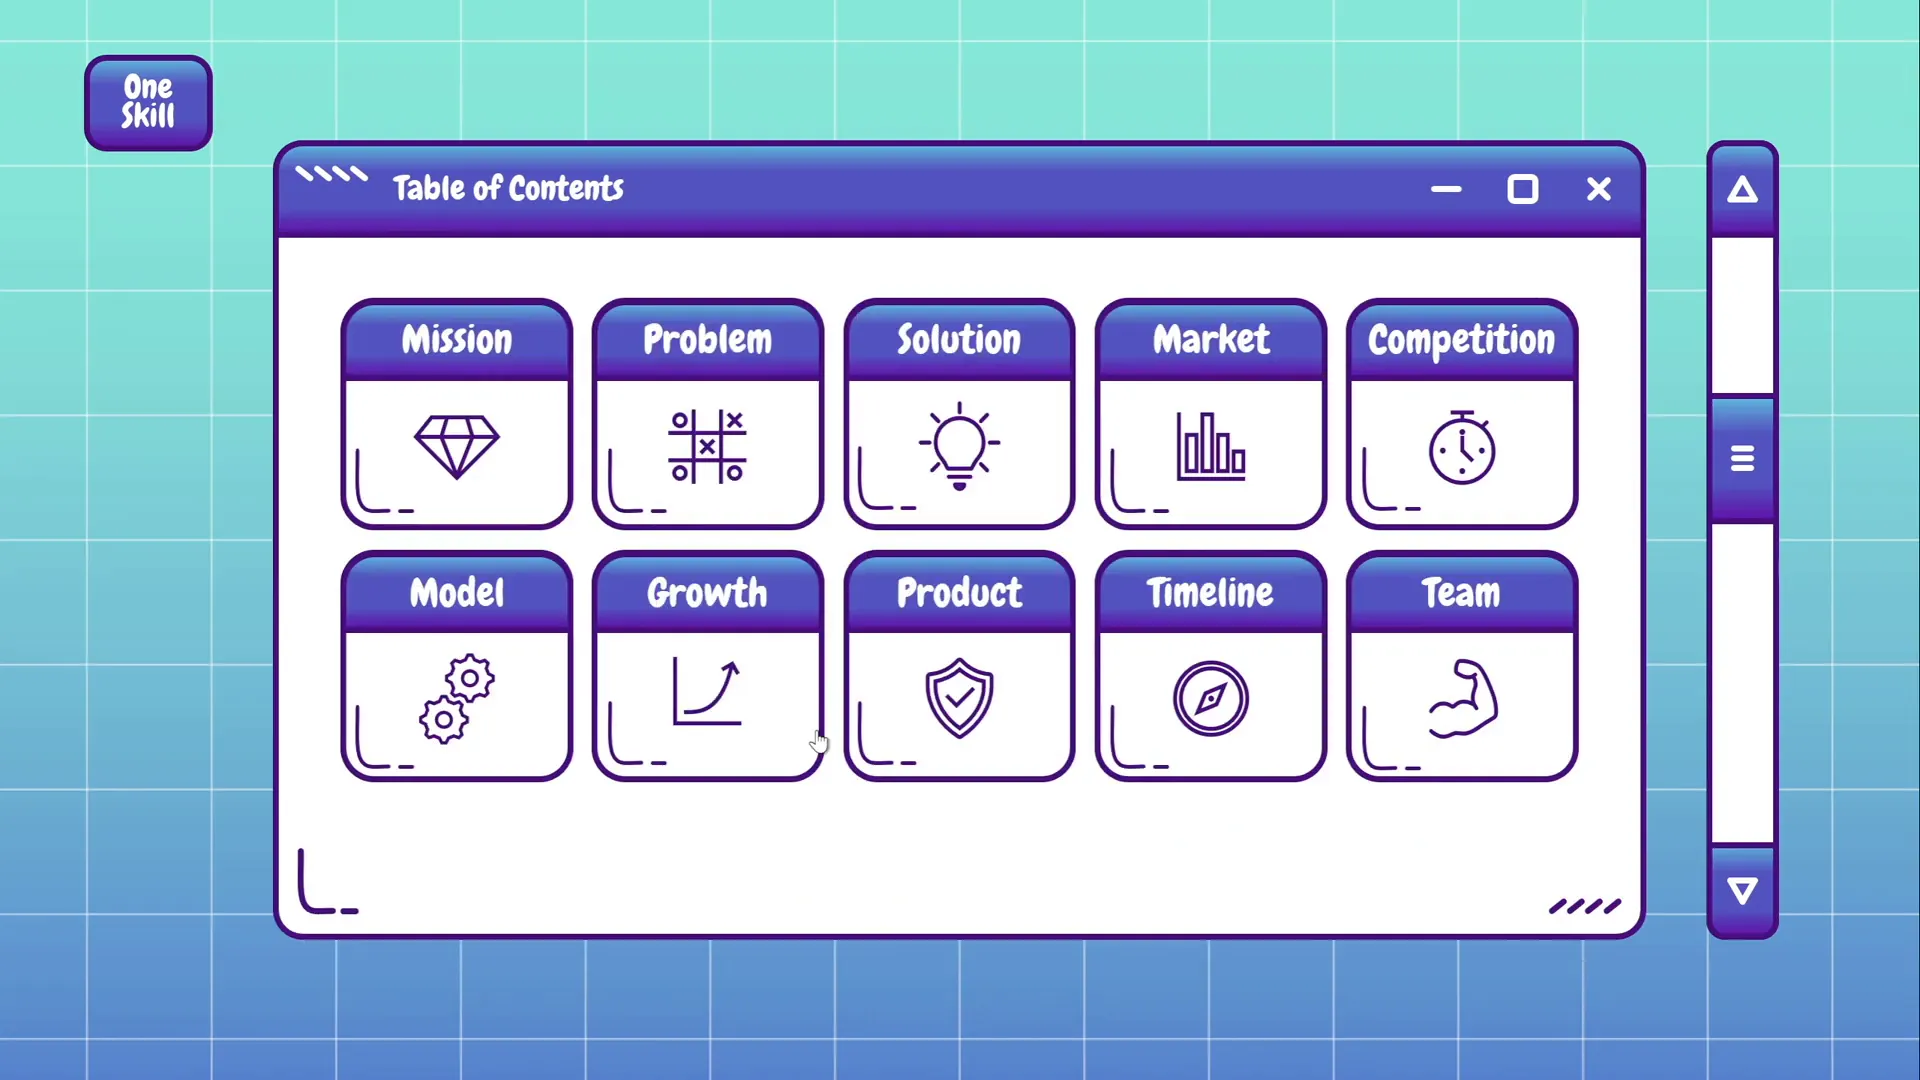
Creating a Clickable Table of Contents Menu
Next, let’s build an interactive table of contents with clickable cards that open additional “menu” slides, providing extra information without cluttering the main presentation flow.
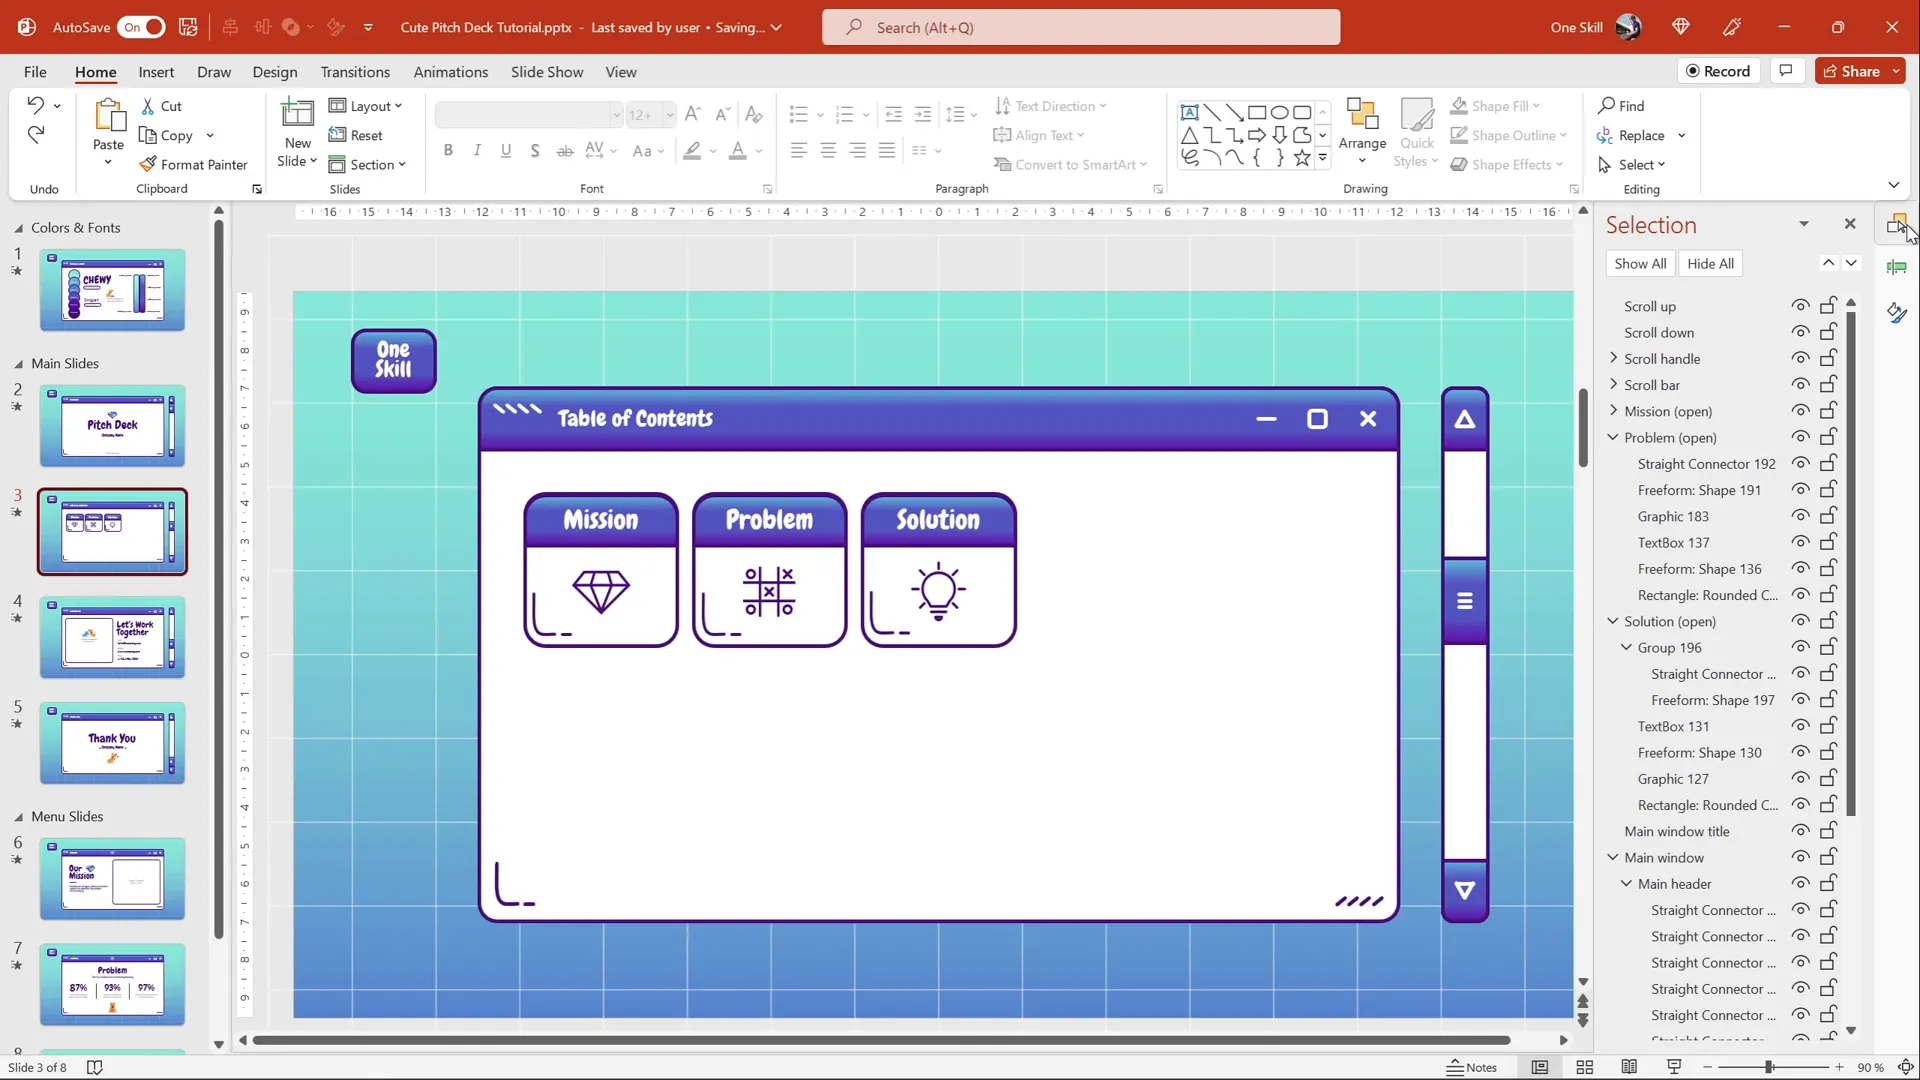
Identifying Buttons and Menu Slides
Each clickable card in the table of contents is linked to a corresponding menu slide. For example:
- Mission Card: Named “mission open” in the selection pane.
- Mission Menu Slide: Named “mission slide,” grouped into a single object for easy manipulation.
We’ll copy the grouped menu slide and paste it onto the table of contents slide, positioning it where the popup window will appear when triggered.
To maintain a clean look, you can adjust the position of the menu slide so that it doesn’t cover critical parts of the table of contents but still appears prominently.
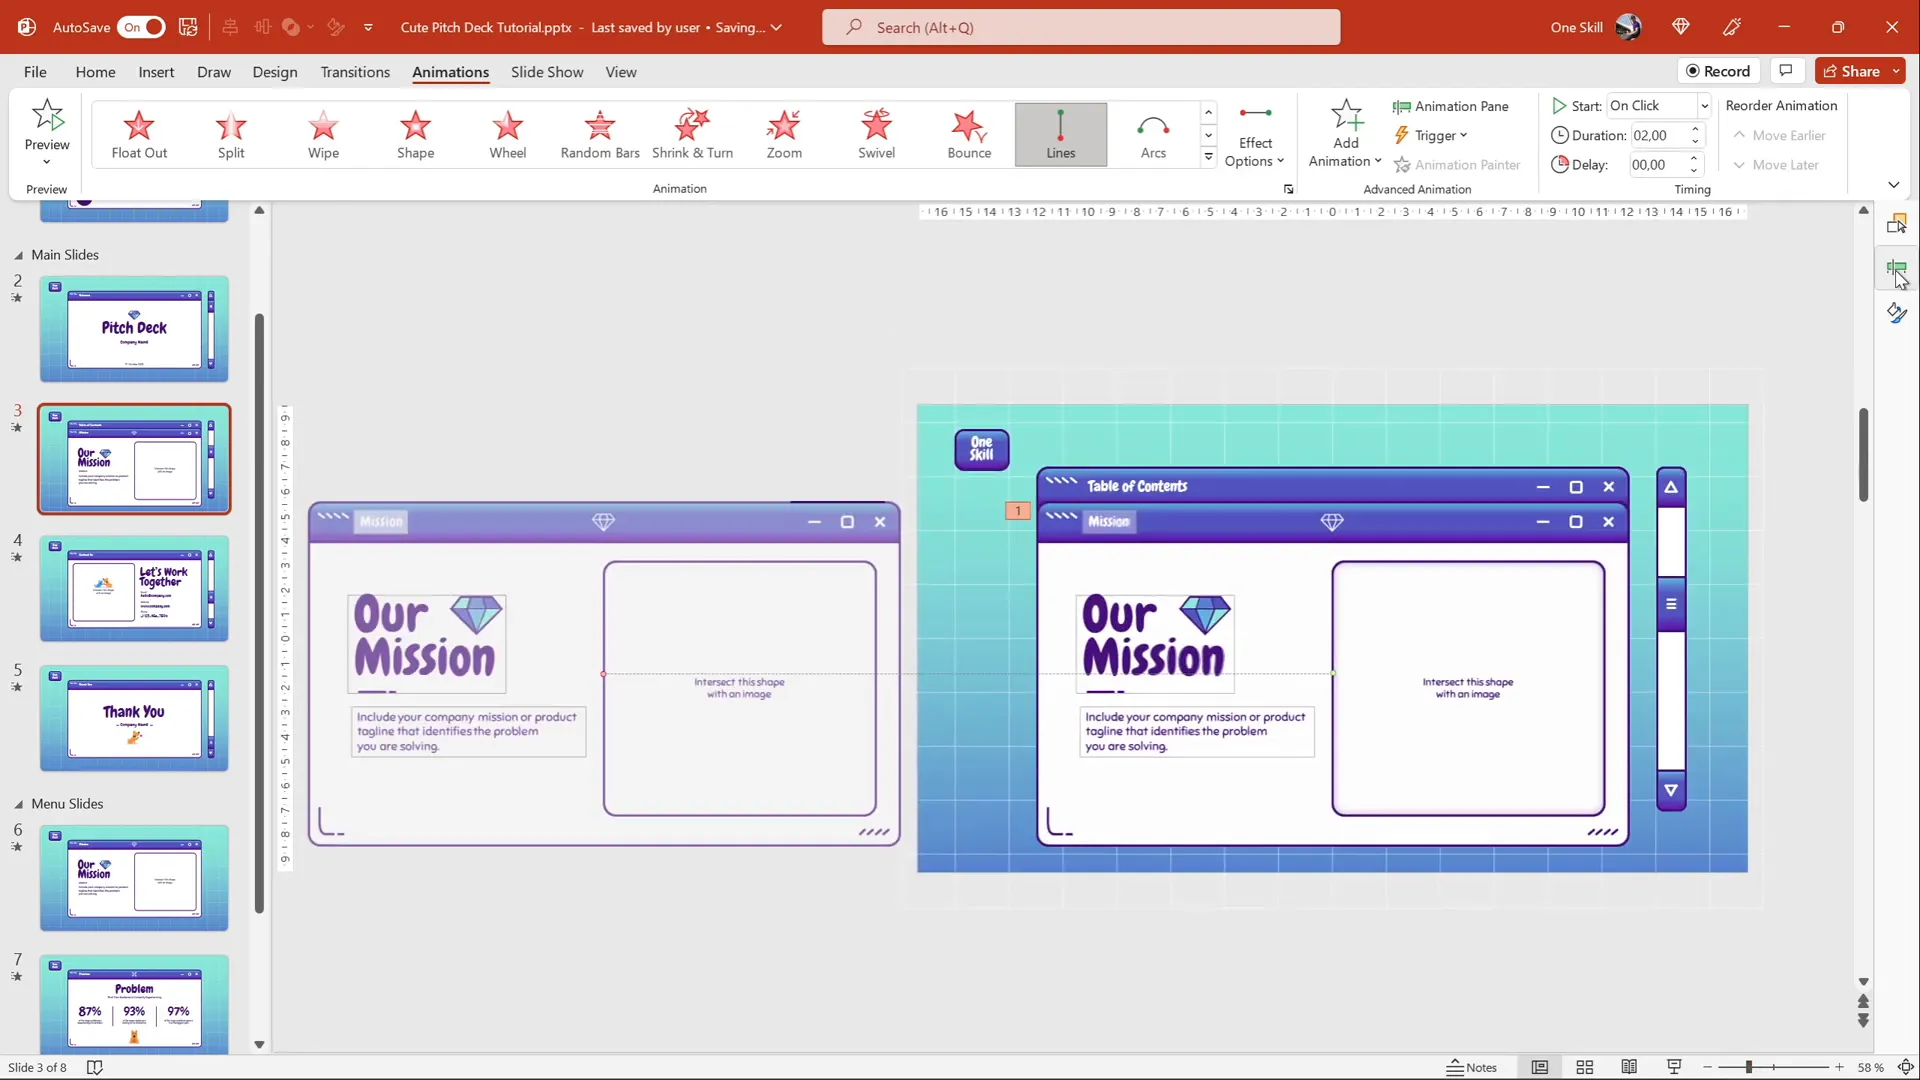
Adding Motion Path Animations for Slide Popups
To create a smooth popup effect, we’ll use motion path animations:
- Select the menu slide (e.g., mission slide).
- Go to the Animations tab and choose Motion Path → Line → Left direction.
- Drag the red end point of the motion path to position the slide just outside the visible slide area, so it starts off-screen.
- Open the Animation Pane to view the animation.
- Reverse the path direction so the slide moves into the visible area when triggered.
- Set the animation duration to 1 second and apply maximum smooth end for a polished effect.
- Set the animation trigger to the corresponding button (e.g., “mission open”).
This setup ensures the menu slide will slide in smoothly when you click the button.
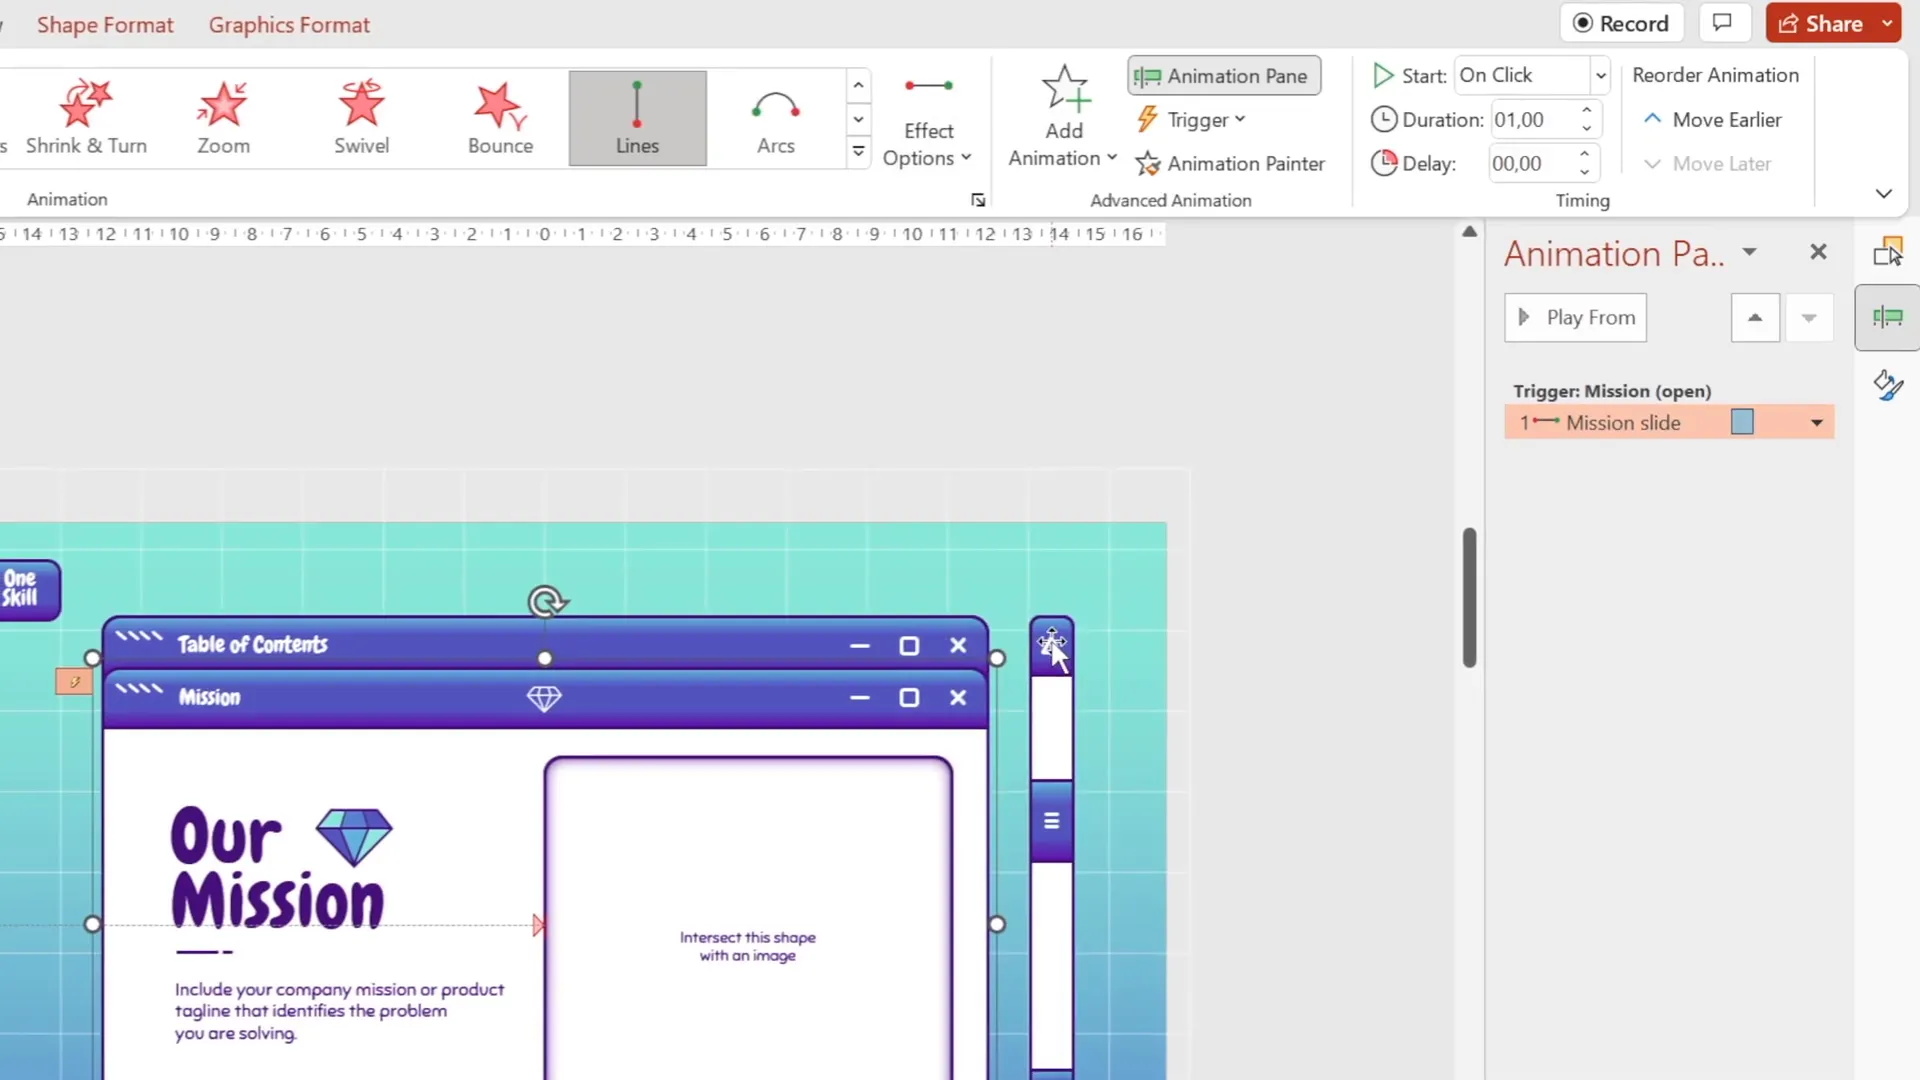
Fixing the Button Visibility Issue
One common issue is that the button triggering the animation can become hidden behind the popping slide. To fix this:
- Move the menu slide back to its original position.
- In the motion path effect options, enable the Locked option.
This locks the motion path animation in place, allowing you to move the menu slide freely without affecting the animation’s start and end positions.
Now, the button remains visible and clickable even when the menu slide is off-screen, preserving interactivity.
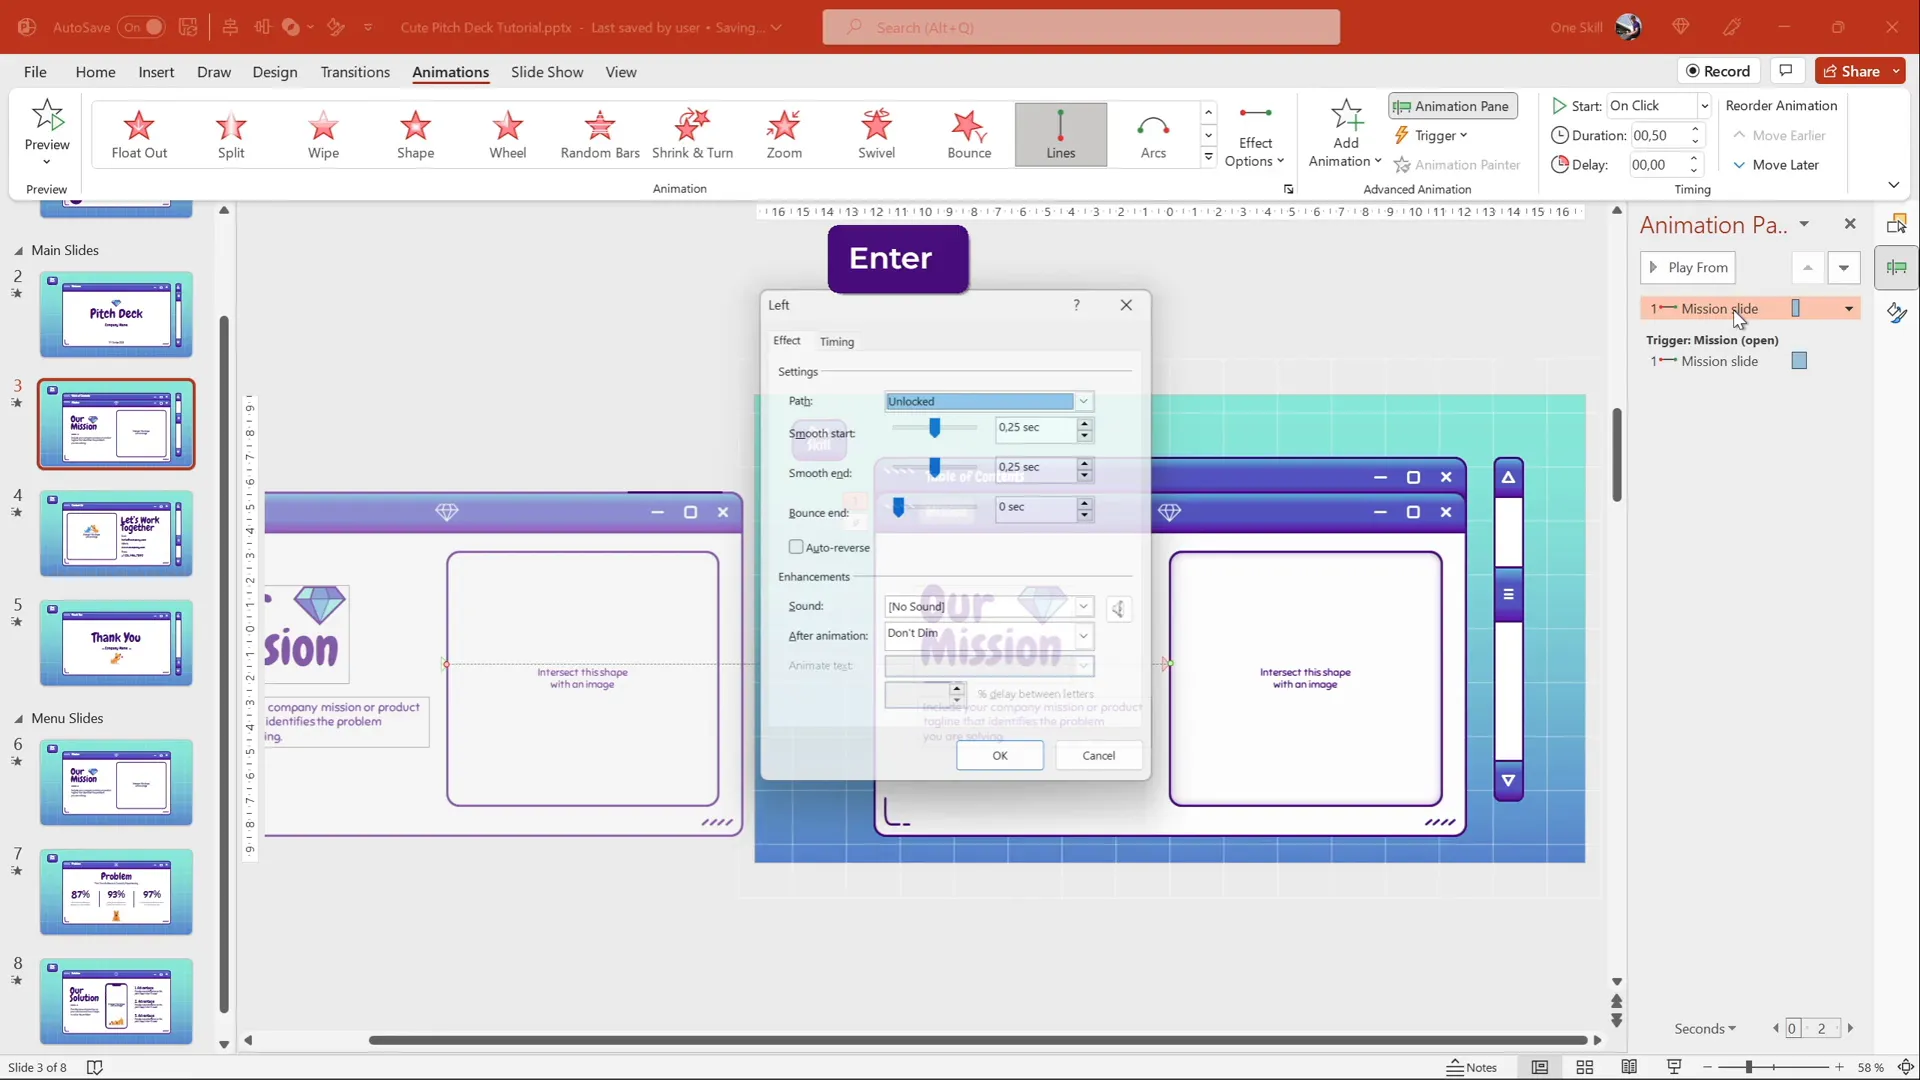
Adding Exit Animations to Close Menu Slides
To close the popup menu slides, we’ll add exit animations triggered by clicking the menu slide itself:
- Select the menu slide and apply a motion path animation moving it off-screen to the left.
- Set the duration to 0.5 seconds and apply maximum smooth start for a smooth exit.
- Set the trigger to the menu slide itself, so clicking anywhere on it closes the popup.
- Ensure both entrance and exit animations have the Locked option enabled.
With this setup, clicking the menu button opens the slide, and clicking the slide closes it, providing an intuitive user experience.
Duplicating Animations for Additional Menu Slides
To add more menu slides (e.g., problem and solution slides), you can reuse the animations you created:
- Align the new menu slide to the same position as the first one using guides or reference lines.
- Select the first menu slide and use the Animation Painter tool to copy all animations.
- Click on the new menu slide to apply the copied animations.
- Adjust triggers for the new animations to match the corresponding buttons (e.g., “problem open”).
- Ensure all animations are set to Locked so you can freely move slides without breaking animations.
This method saves time and keeps your animation effects consistent across all menu slides.
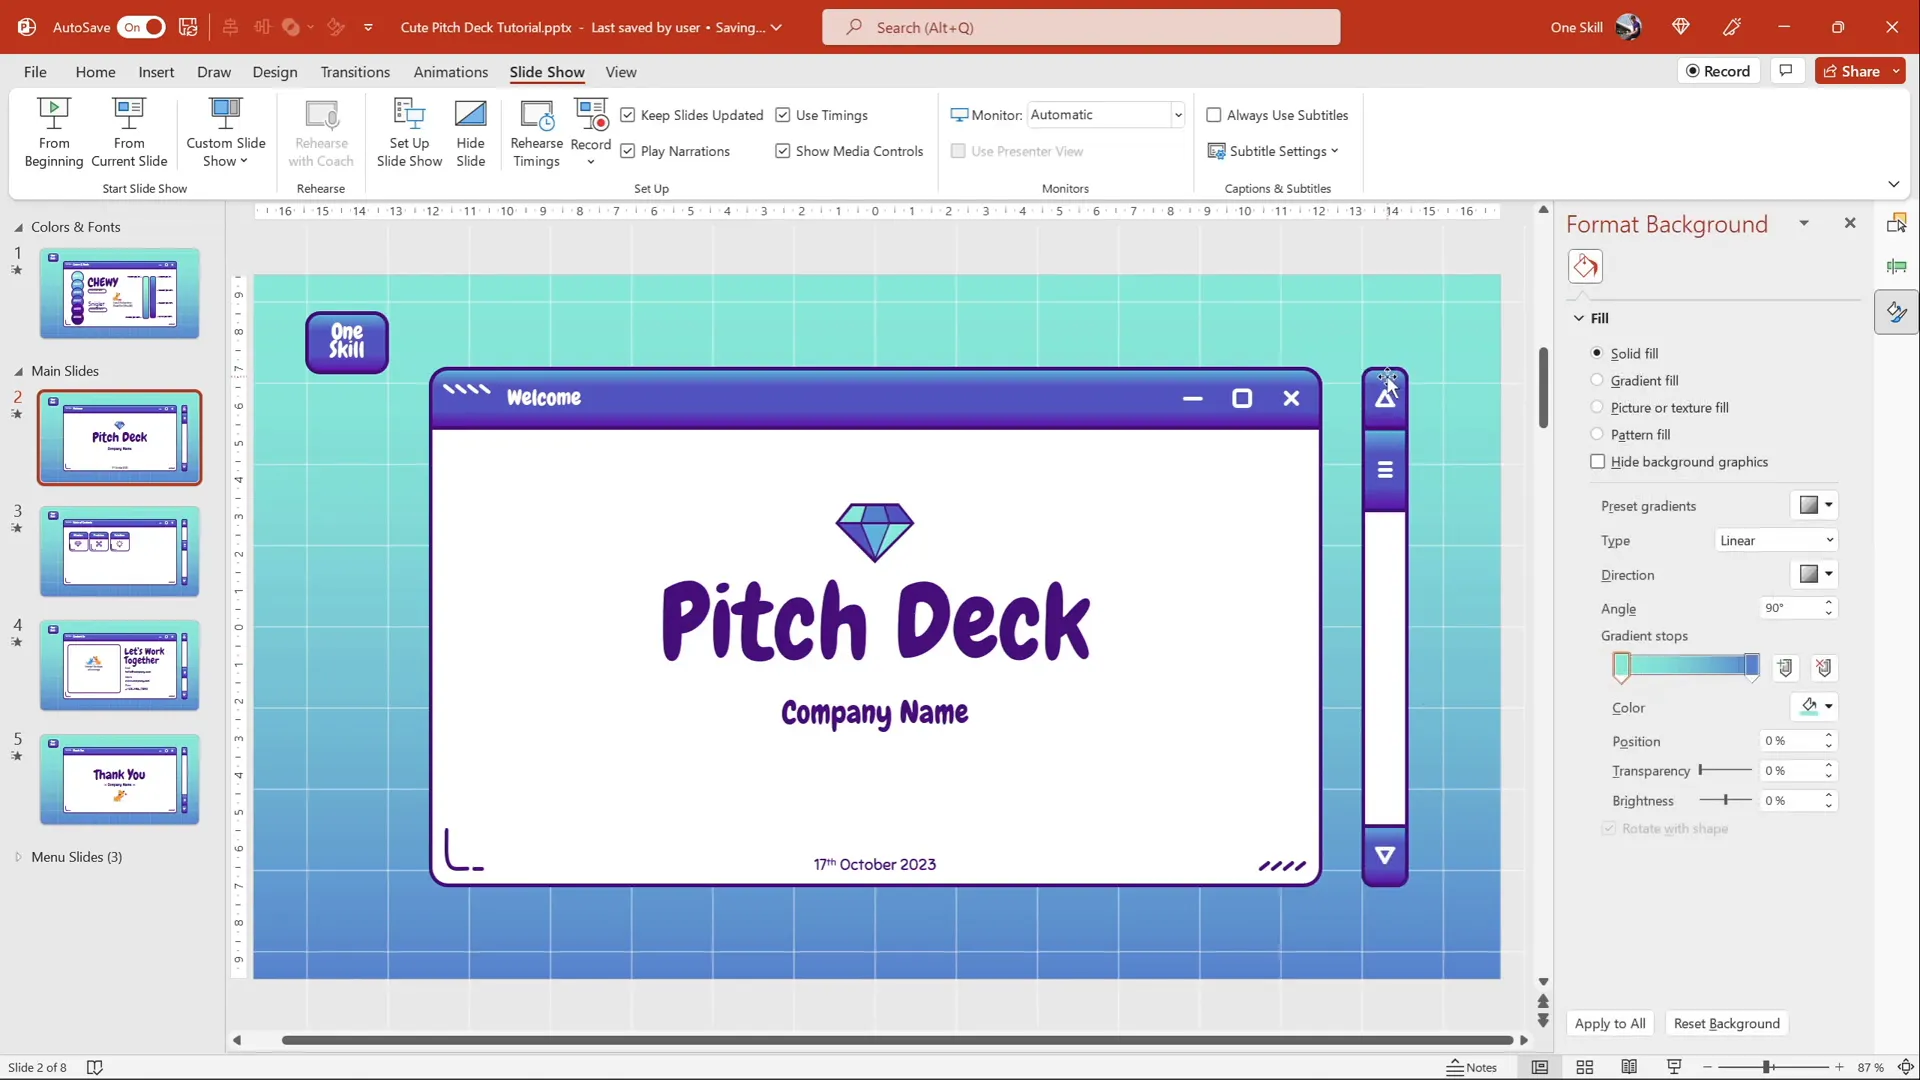
Testing and Finalizing Your Interactive Pitch Deck
Once you’ve set up all your scroll bars, clickable buttons, and menu slides with animations, it’s time to test everything carefully:
- Click each scroll button to ensure smooth navigation up and down your main slides.
- Click each table of contents button to verify the corresponding menu slide pops up correctly.
- Click the menu slides to check if they close properly.
- Ensure that the scroll bar’s handle moves fluidly with the morph transition as you navigate.
- Confirm that no buttons are hidden or unresponsive.
After thorough testing, your interactive pitch deck is ready to impress your audience with its professional design and seamless navigation.

Exploring the Full Version and Additional Resources
The full version of this interactive pitch deck includes ten clickable buttons and ten sliding menu windows, covering sections such as:
- Mission
- Problem
- Solution
- Market
- Competition
- Model
- Growth
- Product
- Timeline
- Team
This expanded deck offers a comprehensive toolset for delivering detailed presentations with rich interactivity and engaging visuals.
The starter slides used in this tutorial are free and available to everyone, while the full version is an exclusive benefit for Patreon supporters at the PowerPoint Hero membership level or above.
For those interested in further enhancing their PowerPoint skills, there are many recommended templates and tutorials available, including business templates, infographics, morph and parallax effects, and more.
Frequently Asked Questions (FAQ)
Can I use this interactive pitch deck template with any version of PowerPoint?
This tutorial is designed for modern versions of Microsoft PowerPoint that support the Morph transition and advanced animation triggers, such as PowerPoint 2019, Office 365, or later. Earlier versions may not support all features.
How do I download the free starter slides?
The free starter slides are available through the provided links in the resources section or the video description. They are ready for you to download and customize according to your needs.
Is it possible to customize the colors and fonts?
Absolutely! While this tutorial uses specific colors and fonts for a cute and cohesive look, you can easily change hex codes and font choices to fit your brand or personal style.
Can I add more than four main slides?
Yes, you can expand the number of main slides. Just remember to adjust the number of scroll handle positions accordingly and distribute them evenly along the scroll bar.
How do I enable Kiosk Mode in PowerPoint?
Kiosk Mode can be activated by going to Slide Show → Set Up Slide Show and selecting Browsed at a kiosk (full screen). This mode disables mouse clicks and requires navigation through programmed buttons.
Can I use this method to create interactive presentations for topics other than pitch decks?
Definitely! The techniques demonstrated here—clickable scroll bars, animated menu slides, and interactive buttons—can be adapted for any presentation where you want to enhance user engagement and navigation.
Where can I find the free fonts Chewy and Sniglet?
You can download these fonts for free from Google Fonts:
What if I want to add more menu slides beyond the full version?
You can create additional menu slides by following the same process: design the slide, group it, position it off-screen, and add motion path animations with triggers linked to new buttons. Just ensure you maintain consistent animation settings and locked motion paths.
Final Thoughts
Creating an interactive and cute pitch deck in PowerPoint is a fantastic way to captivate your audience and deliver your message effectively. By combining thoughtful design choices—such as adorable fonts and a bright color palette—with advanced PowerPoint features like morph transitions, motion path animations, and clickable buttons, you can build a presentation that’s both engaging and professional.
This tutorial has walked you through every step—from setting up the scroll bar to animating pop-up menu slides—so you can recreate and customize this pitch deck for your unique needs. Remember, the key to success is testing your presentation thoroughly and ensuring all interactive elements work smoothly.
Thank you for following along, and I hope this guide inspires you to create your own beautiful and interactive presentations. Stay happy, stay healthy, and happy presenting!
Check out the full video: Cute PowerPoint Presentation Tutorial ❤️ Pitch Deck


