

Creating engaging and interactive PowerPoint presentations is an essential skill whether you’re a student, educator, marketer, or business professional. Incorporating cool slide animation effects, clickable menus, and animated icons can elevate your presentations, making them more dynamic and memorable. In this comprehensive tutorial, we’ll guide you step-by-step on how to create an incredible PowerPoint presentation featuring beautiful animated icons, hyperlinks, and morph transitions to build a fully functional interactive menu.
This tutorial is inspired by a viewer’s request to create a PowerPoint presentation about India, and it utilizes resources like Lordicon for animated icons and Microsoft 365 PowerPoint’s advanced features. Whether you want to learn to make clickable interactive menus or add smooth morph transitions with animated icons, this guide has you covered.
Table of Contents
- Getting Started: Setting up Your Slide Background
- Creating a Blurry Photo Mask for a Stylish Header
- Designing Clickable Circles for Navigation
- Adding an Arrow to Indicate Active Navigation
- Setting up Slides and Hyperlinks for Navigation
- Inserting Animated Icons from Lordicon
- Positioning and Formatting Animated and Static Icons
- Finalizing Slide Content and Animations
- Testing Your Cool Slide Animation Presentation
- Frequently Asked Questions
- Conclusion
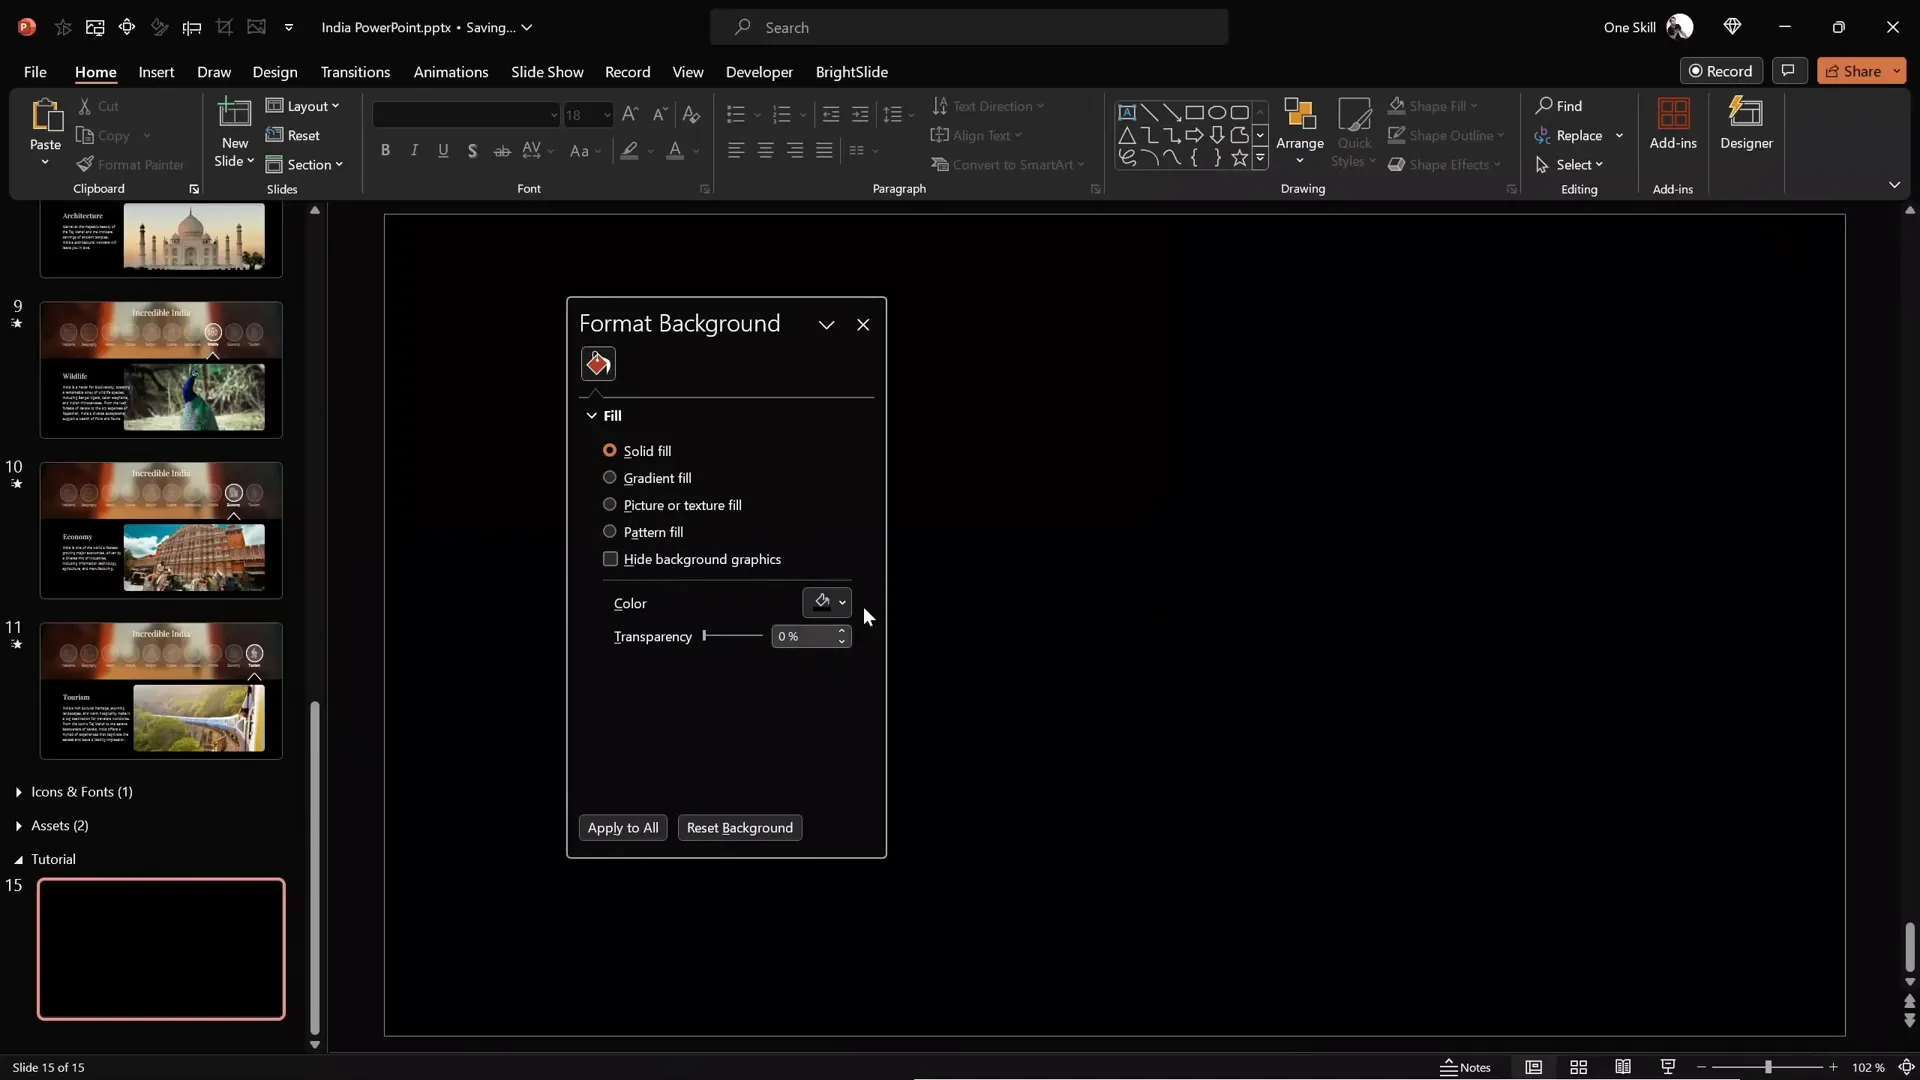
Getting Started: Setting up Your Slide Background
The first step to creating a visually appealing PowerPoint presentation with cool slide animation is to start with a clean, dark background that makes other elements pop.
- Open a blank slide: Scroll to a fresh blank slide in your PowerPoint where you can start designing from scratch.
- Change slide background fill: Change the slide background to a solid dark color, such as absolute black, to create a stunning contrast for your content.
This simple setting establishes a professional and sleek foundation for your presentation design.
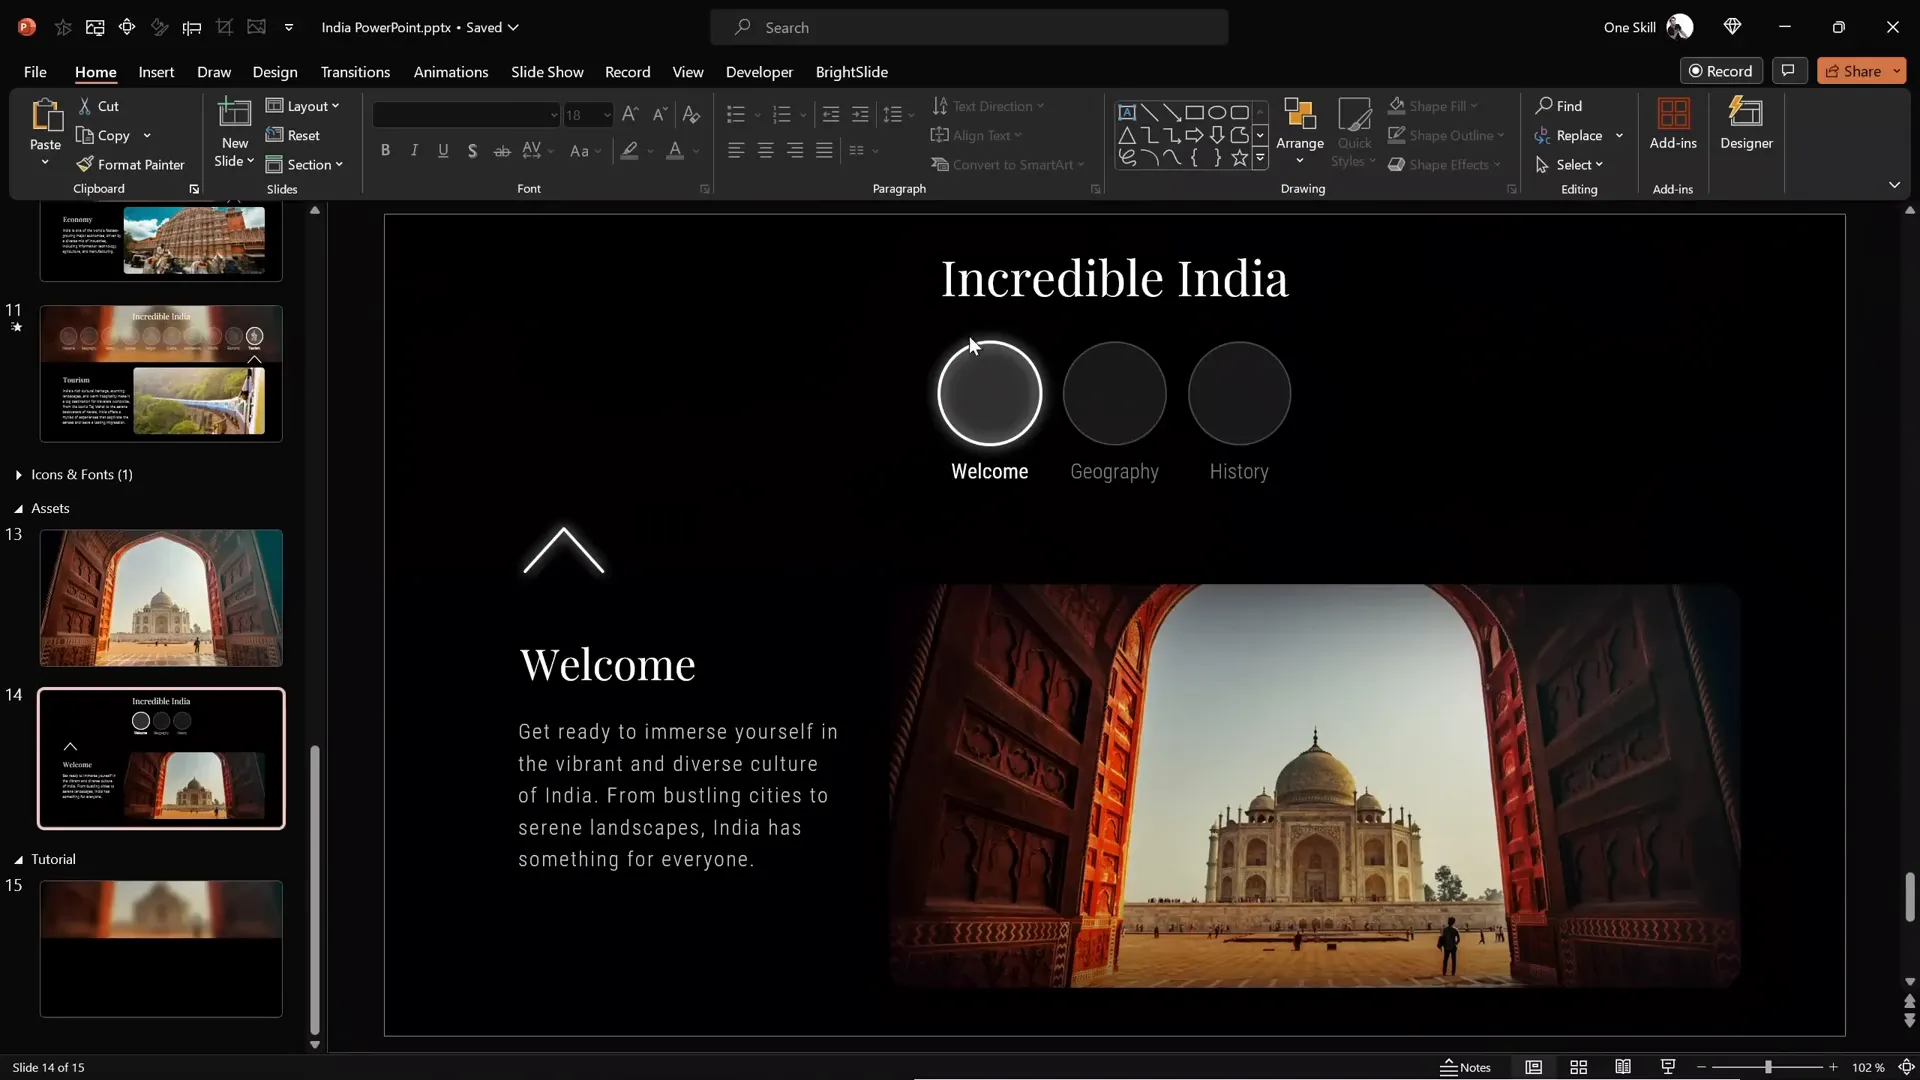
Creating a Blurry Photo Mask for a Stylish Header
Adding a blurry photo mask at the top of your slide is a great way to incorporate beautiful imagery without overpowering your text. Here’s how to create this effect:
- Insert a rectangle shape: Go to Insert > Shapes and select the rectangle tool.
- Draw and position the rectangle: Align the rectangle to the top left corner of your slide. Set its height to 8 centimeters and stretch it horizontally to cover the entire width of the slide.
- Use the rectangle as a photo mask: Find a beautiful photo to use as a background. For this tutorial, a stunning photo of the Taj Mahal is used (available via the video description).
- Paste and send the photo backward: Paste the photo onto the slide and send it behind the rectangle shape so you can see the rectangle on top.
- Add transparency to the rectangle: Select the rectangle and add transparency so the photo is visible through it.
- Adjust the photo position: Move the photo upward until the area visible through the rectangle looks perfect.
- Crop the photo using the rectangle: Select the photo, hold Shift, select the rectangle, then go to Shape Format > Merge Shapes > Intersect. This crops the photo exactly to the rectangle’s shape.
- Apply photo adjustments: Reduce brightness by 20%, increase contrast by 20%, and add a blur artistic effect set to 100% to make any text over it more readable.
- Add text on top: Use a stylish font such as Playfair Display (linked in the description) and place your header text over the blurry photo mask.
This technique adds an elegant, modern touch while maintaining readability and focus on your content.
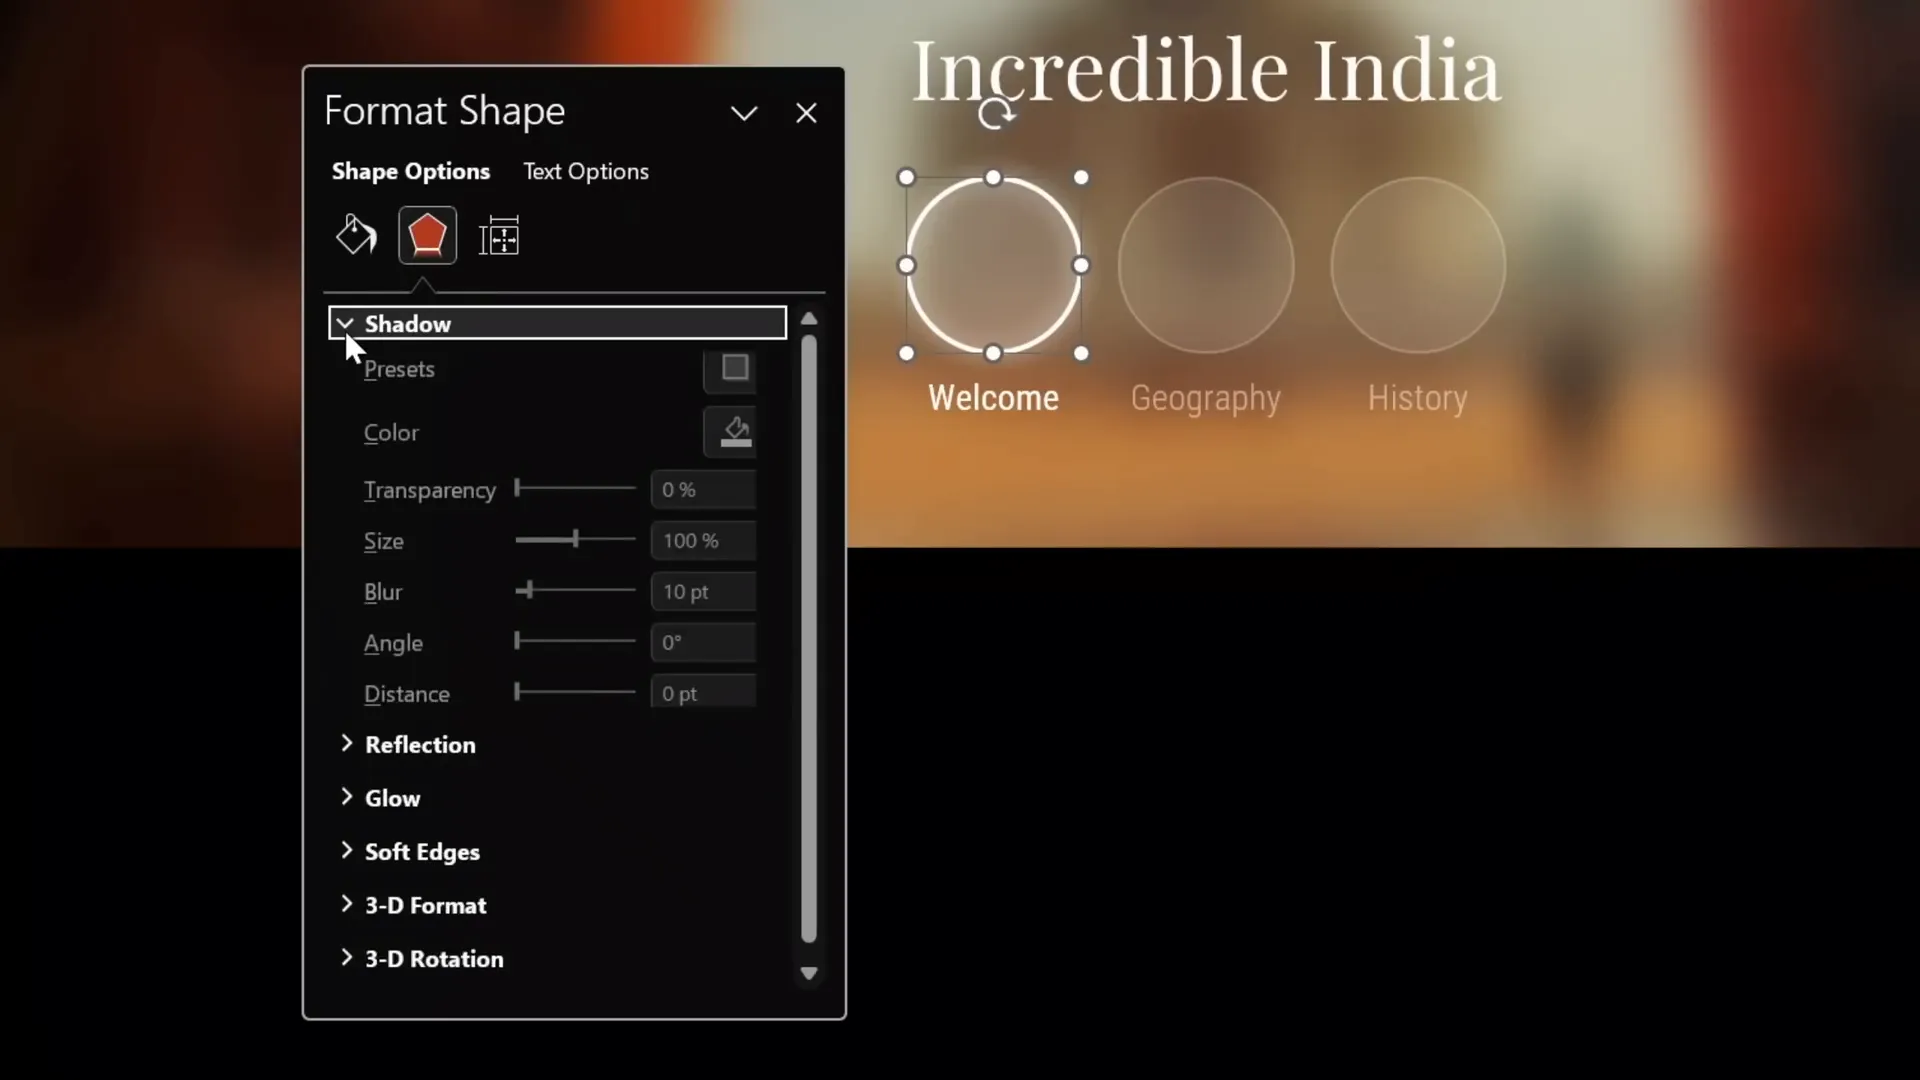
Designing Clickable Circles for Navigation
Clickable circles act as interactive buttons to navigate between slides, enhancing user engagement and creating a cool slide animation effect.
- Create circles: You can hold the Shift key while drawing a circle to keep it perfect, or save time by copying pre-designed circles from previous slides.
- Design active vs inactive circles:
- Active circle: Use a solid white fill with 90% transparency, a white outline with 2pt thickness, and add a white shadow with 10pt blur for a glowing effect.
- Inactive circles: Use white fill with 90% transparency but no glow, a thinner white outline (1pt) with 75% transparency, and text boxes with 50% transparency.
- Name your circles for morph transition: Open the selection pane and name each circle with double exclamation marks (!!) prefix (e.g., !!circle1) to prevent morph transition glitches.
This styling visually distinguishes the active navigation button from the inactive ones, guiding users intuitively.
Adding an Arrow to Indicate Active Navigation
To make your navigation clearer, add an arrow that points to the active circle.
- Create the arrow: Construct it using simple lines and a triangle.
- Style the arrow: Use a white line color with 2pt width and add a white shadow with 10pt blur for a glowing effect.
- Group the elements: Select all parts of the arrow and group them for easy positioning.
- Position the arrow: Place it centered below the active circle at the bottom edge of the photo mask.
This arrow will move along with the active circle during slide transitions, enhancing the interactive feel.
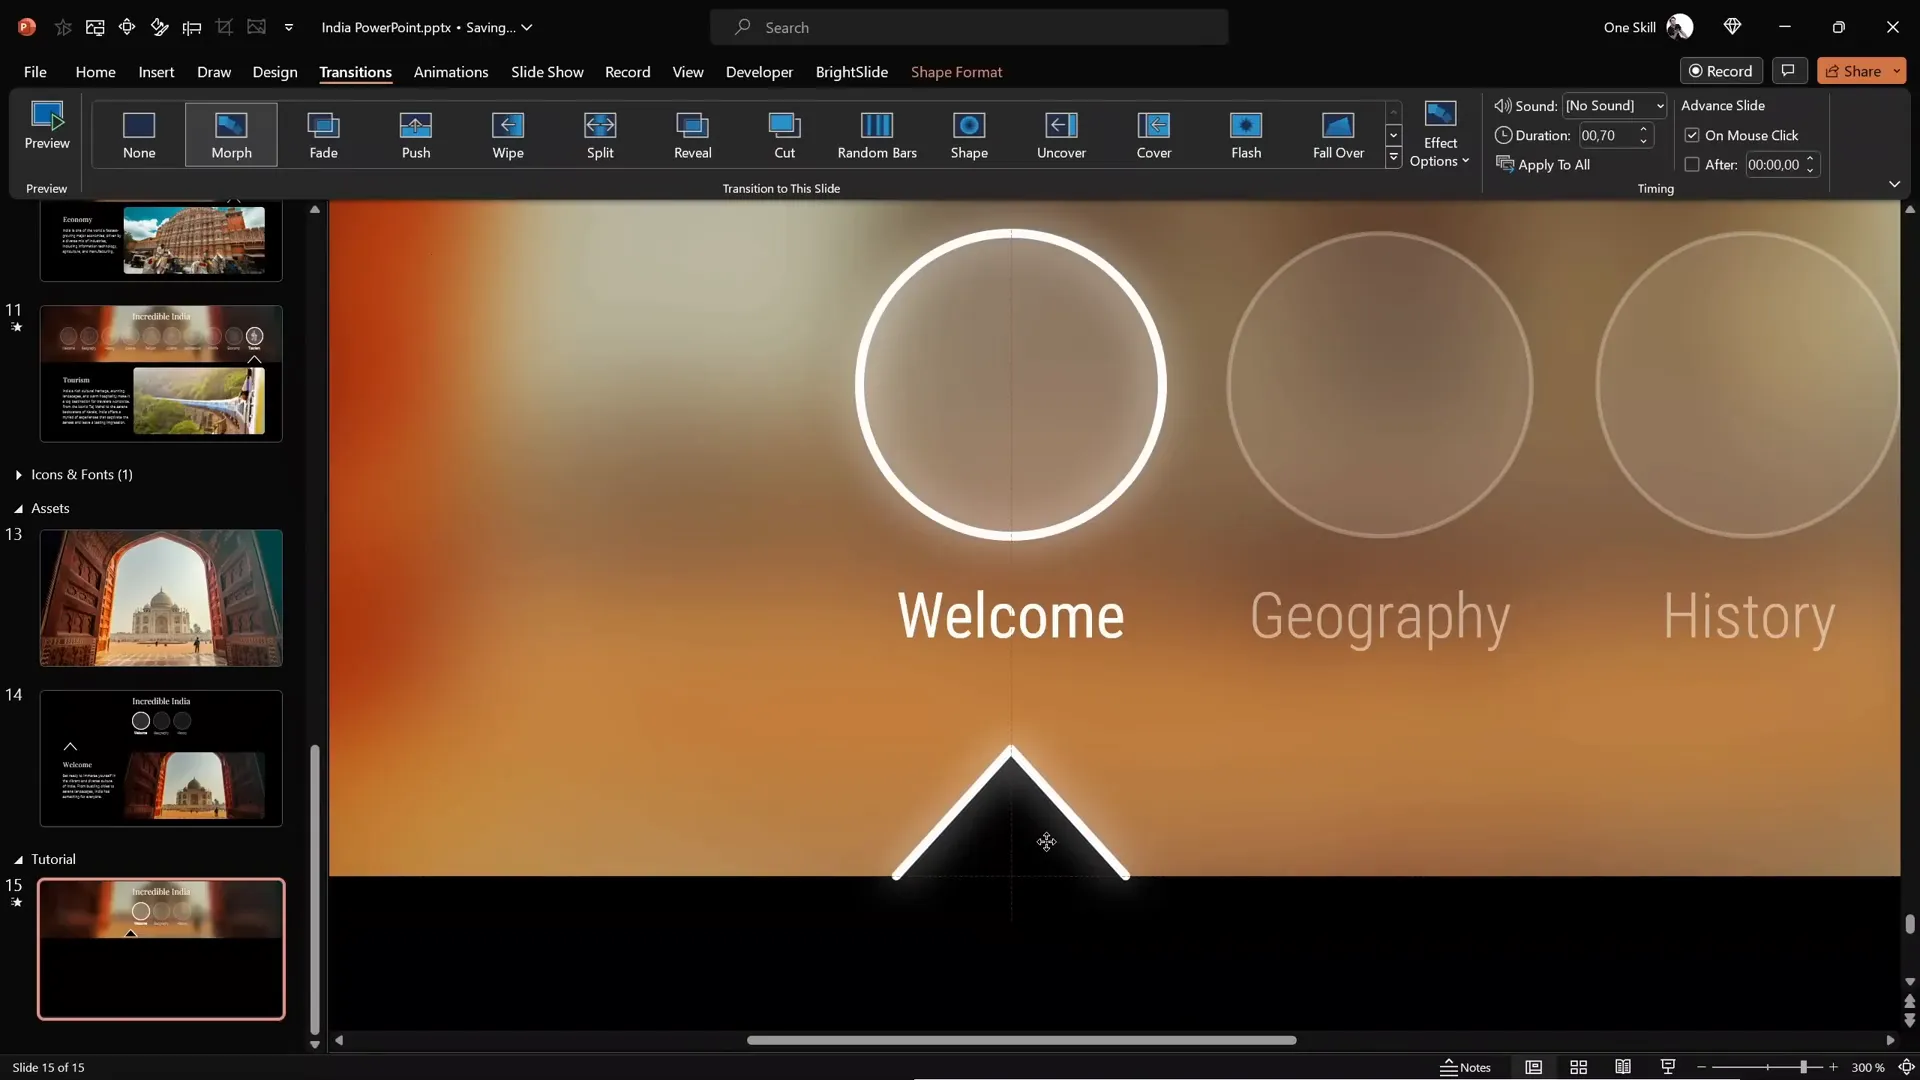
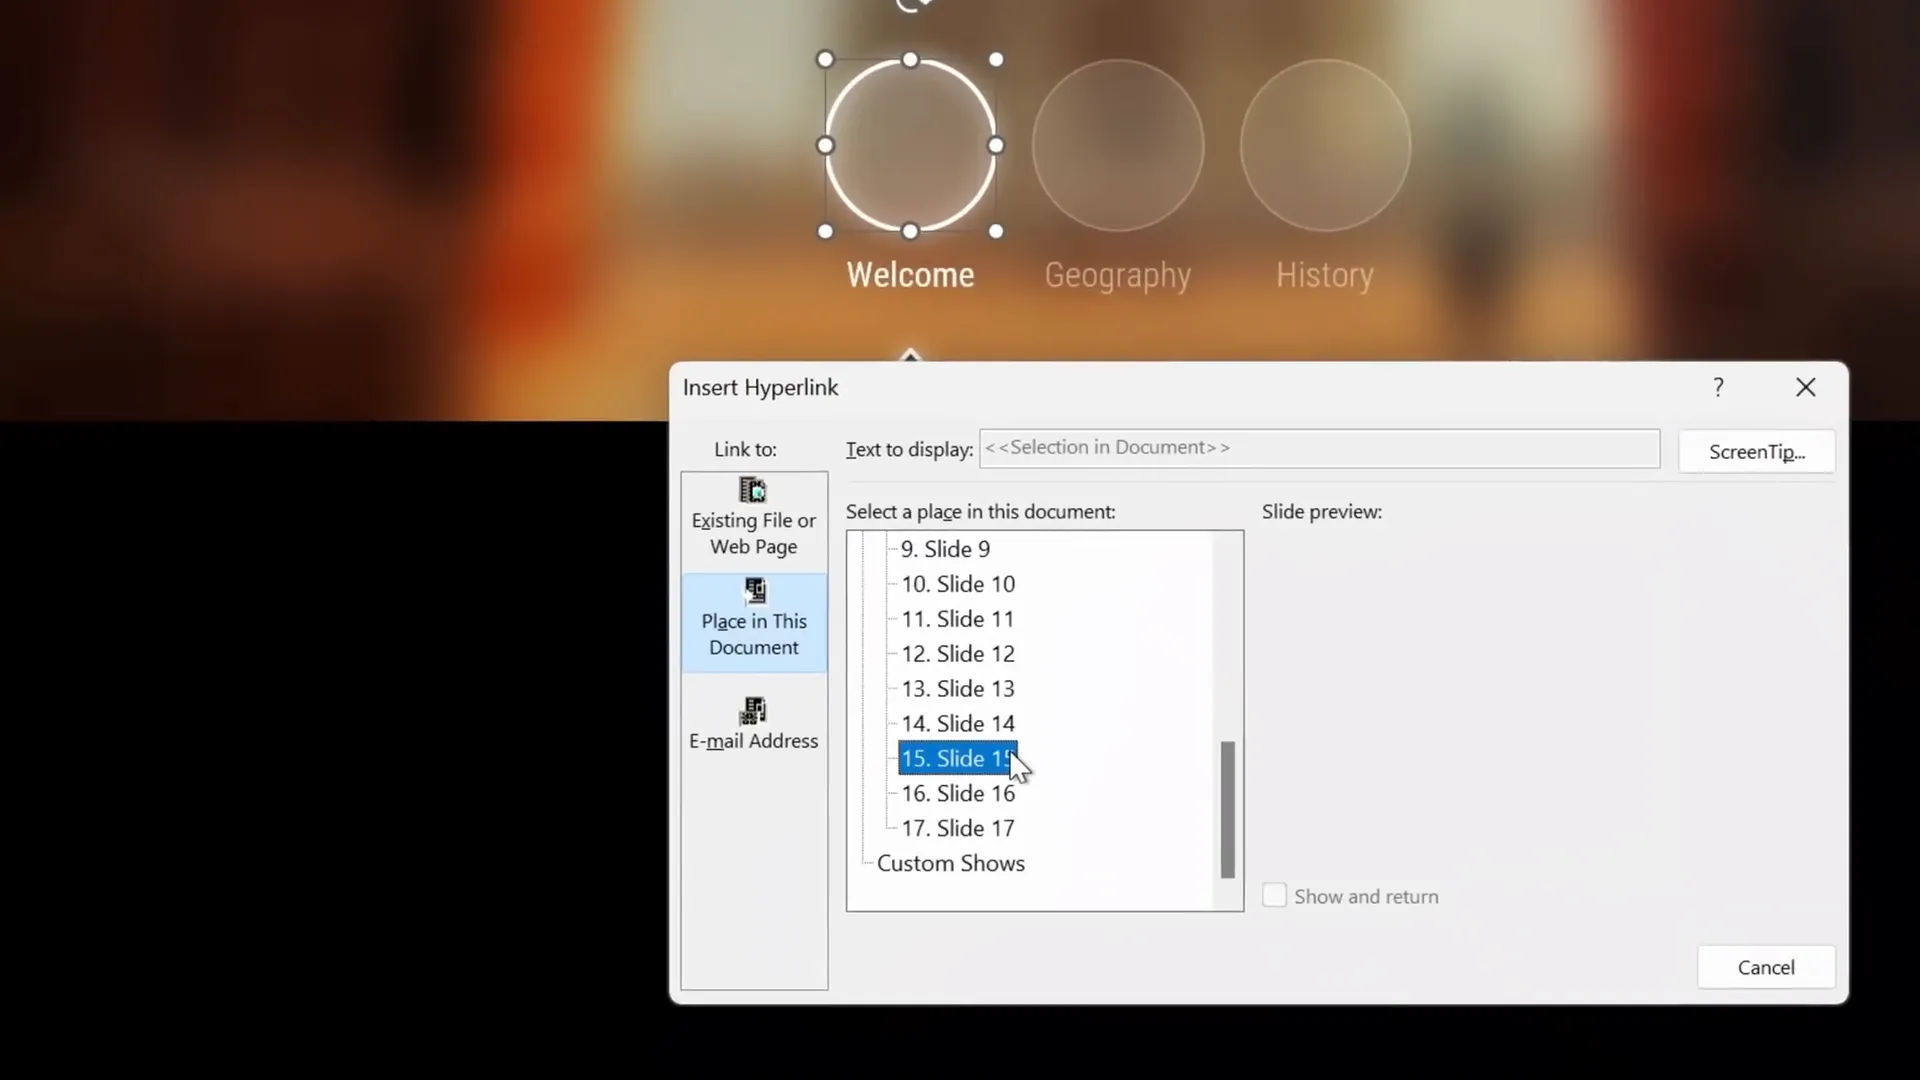
Setting up Slides and Hyperlinks for Navigation
Creating multiple slides and linking your clickable circles to each slide is key to building an interactive menu.
- Add enough slides: For three navigation circles, add two more slides to have three slides total — one for each circle.
- Apply morph transition: Set all slides to use the Morph transition with a duration of 0.7 seconds for smooth animation.
- Link circles to slides: Select each circle, go to Insert > Link, and link each circle to its corresponding slide.
- Duplicate navigation elements: Copy all navigation elements from the first slide and paste them onto the second and third slides.
- Adjust active states on subsequent slides: Move the arrow to align with the active circle on each slide, and update the circle formatting to reflect the active/inactive states using the format painter.
- Confirm naming consistency: Ensure all circles retain their double exclamation mark names across slides to maintain morph transition integrity.
With these steps, your clickable menu will work seamlessly across slides with smooth morph animations.
Inserting Animated Icons from Lordicon
Animated icons add personality and polish to your presentation. Lordicon.com offers a vast library of over 20,000 animated icons that are perfect for PowerPoint.
- Explore Lordicon: Visit lordicon.com to browse free and premium animated icons.
- Choose icon style: Select the “white outline” style for a sleek look that fits dark backgrounds.
- Select icons: Filter for free icons and pick ones relevant to your presentation (e.g., home, globe, pen).
- Customize animation: Use the animation dropdown to choose from different effects like spinning, morphing, or looping 3D.
- Adjust line thickness and color: Set colors to white and preview on a dark background for best visibility.
- Download animated GIFs: Export icons as GIFs with transparent backgrounds at 400px size and zero delay for smooth looping animations.
- Download PNGs: Also download static PNG versions of the icons to use as inactive states.
This combination of animated and static icons lets you create visually dynamic buttons that signal active/inactive states effectively.

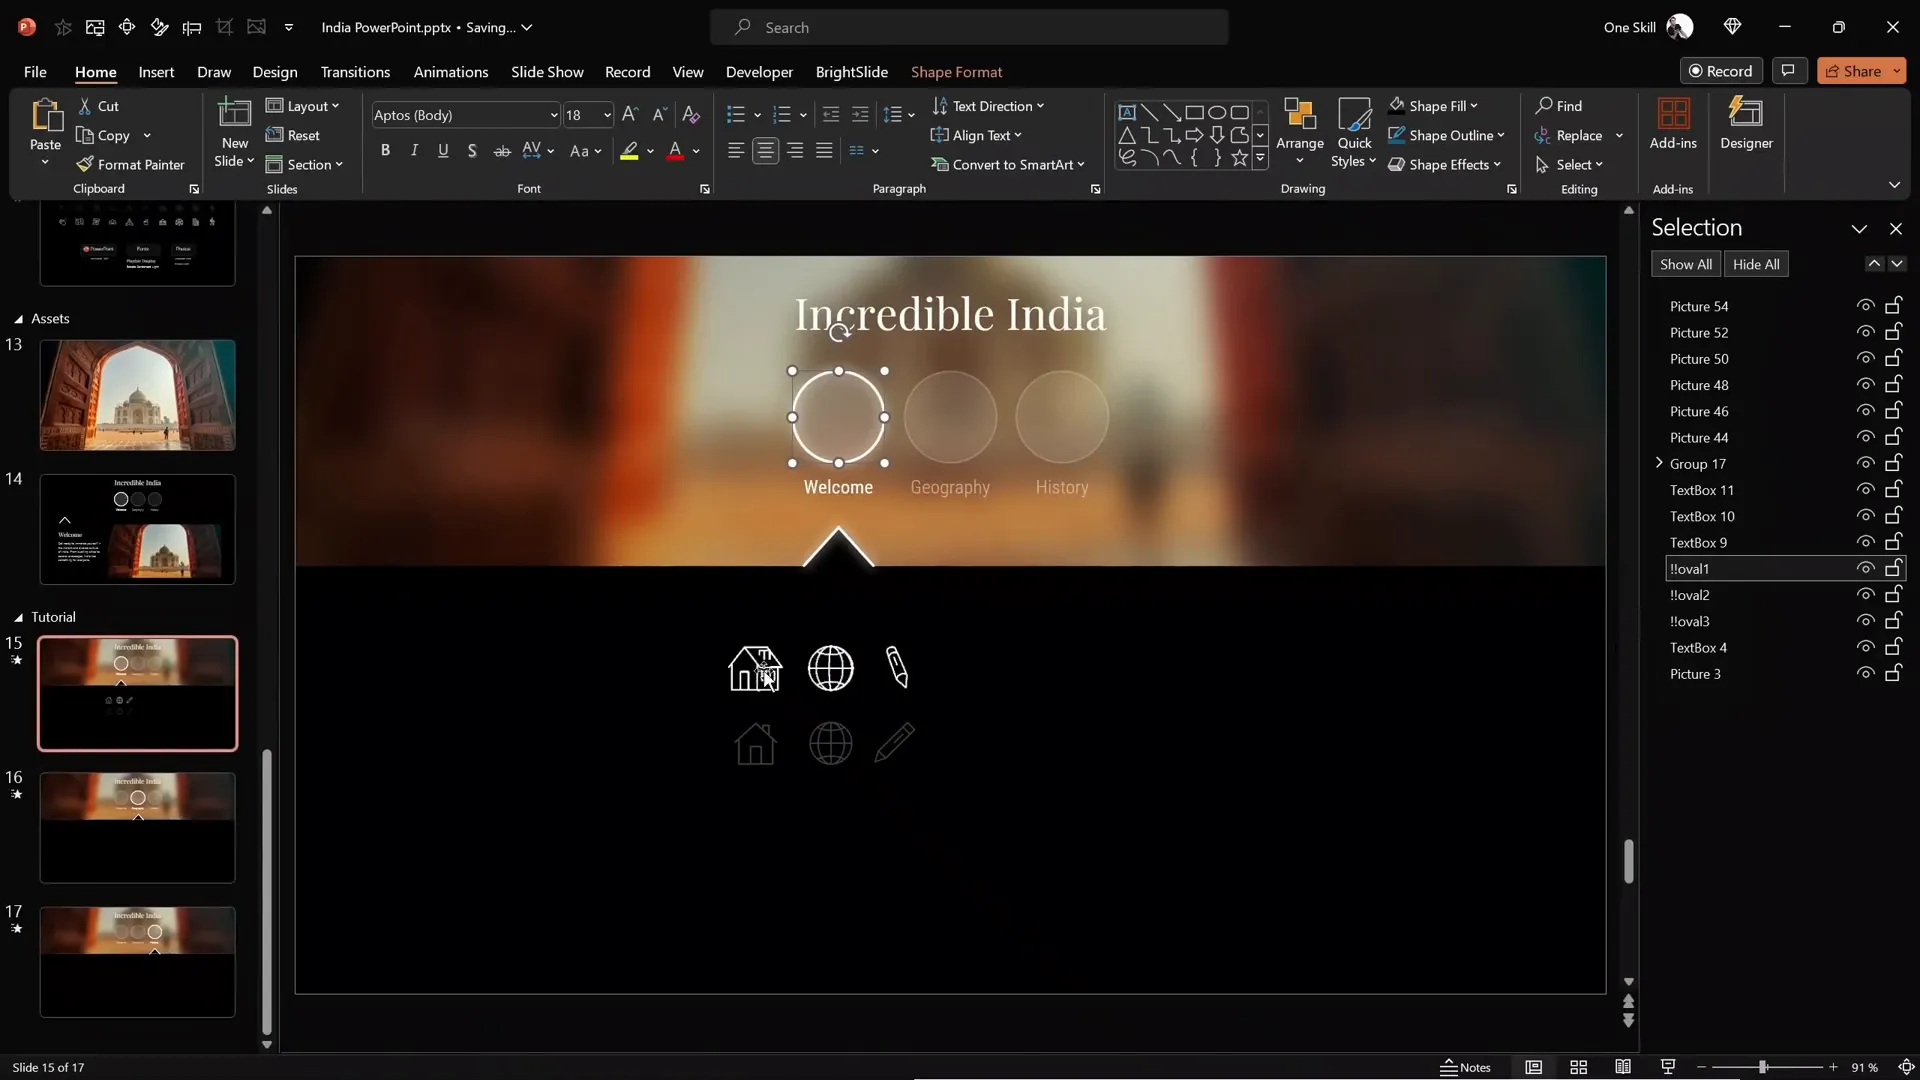
Positioning and Formatting Animated and Static Icons
Now that you have your animated GIF icons and static PNG versions, it’s time to insert them into your PowerPoint slides and format them correctly.
- Insert all icons: Go to Insert > Pictures > This Device and select all your downloaded GIFs and PNGs.
- Resize icons: Select all icons and resize them to 1.4 cm width and height for consistency.
- Arrange icons: Place animated GIFs on top and corresponding PNGs below each other for easy visibility.
- Add transparency to PNGs: Set PNG icons’ transparency to 75% to indicate inactive state visually.
- Use format painter: Apply the same transparency to all inactive PNG icons for uniformity.
- Name icons consistently: Name both animated and static icons with double exclamation marks and matching numbers (e.g., !!icon1 for both active and inactive versions) to avoid morph transition issues.
- Position icons in circles: On each slide, place the animated icon inside the active circle and the semi-transparent PNG icons inside the inactive circles.
- Bring circles to front: Select all circles and bring them to the front layer so they are clickable and icons stay behind.
- Repeat for all slides: Paste these icons and circles on each slide, adjusting the active icon position based on the active circle.
Using these techniques, your icons will animate only when their corresponding circle is active, providing a smooth user experience.
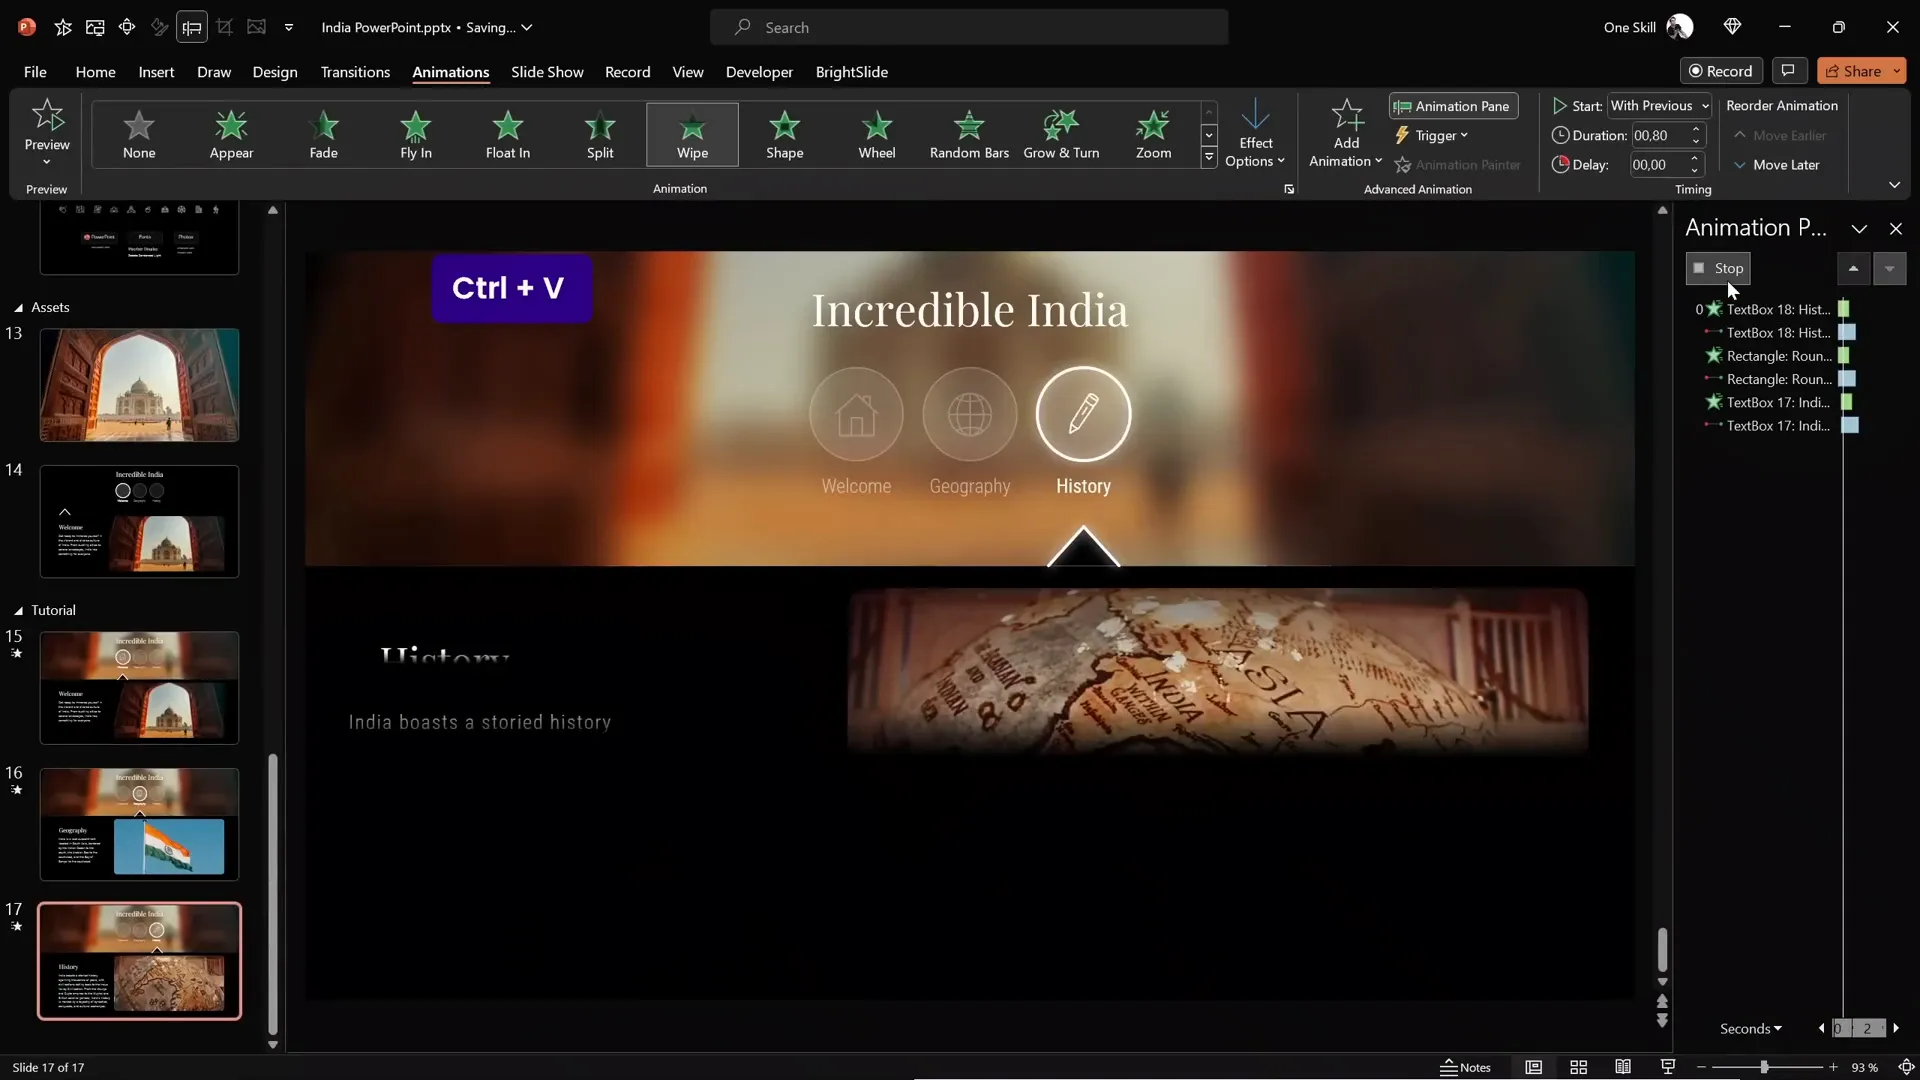
Finalizing Slide Content and Animations
With your interactive menu and animated icons ready, it’s important to add content and polish your slide animations.
- Add content to slides: Use text boxes and photos relevant to your presentation topic. For this tutorial, content about India was added.
- Reuse content: Copy and paste content boxes across slides to maintain consistency and save time.
- Apply animations: Use wipe animation effects on text boxes and images to add dynamic entrance effects.
- Check animation order: Ensure animations play smoothly with your morph transitions for a cohesive effect.
Adding animated entrance effects to your content complements your cool slide animation menu and keeps your audience engaged.

Testing Your Cool Slide Animation Presentation
Before finalizing, it’s crucial to test your presentation in full-screen mode to verify that animations, hyperlinks, and transitions work as expected.
- Start presentation mode: Click Slide Show > From Beginning.
- Test clickable circles: Click on each navigation circle and observe if the slide transitions smoothly with the morph effect and if the animated icons update properly.
- Check content animations: Verify that text boxes and images animate with the desired wipe effect on each slide.
- Adjust as needed: If any transitions or animations feel off, revisit the morph naming, animation order, or hyperlink settings.
After confirming everything works smoothly, your cool slide animation PowerPoint is ready to impress!
Frequently Asked Questions
What is a cool slide animation in PowerPoint?
A cool slide animation typically involves using smooth transitions like the Morph effect, animated icons, and interactive clickable elements that enhance user engagement and make presentations visually appealing.
How do I create clickable interactive menus in PowerPoint?
You can create clickable menus by designing navigation shapes (like circles), hyperlinking them to corresponding slides, and using transitions such as Morph to animate the changes smoothly.
Where can I find animated icons for PowerPoint presentations?
Websites like Lordicon offer thousands of animated icons in various styles, which you can download as GIFs and PNGs for use in PowerPoint.
Can I use the Morph transition with animated icons?
Yes! By carefully naming your objects with unique prefixes (e.g., double exclamation marks), you can ensure the Morph transition works smoothly with animated icons and other shapes.
Is this tutorial limited to Microsoft 365 PowerPoint?
This tutorial uses Microsoft 365 PowerPoint, which supports Morph transitions and animated GIFs. Some features may not work in older versions of PowerPoint.
Conclusion
Creating a cool slide animation PowerPoint presentation with clickable interactive menus and animated icons is easier than you think. By combining simple design principles, PowerPoint’s advanced features like Morph transitions, and resources like Lordicon for animated icons, you can elevate your presentations to a professional level.
From setting a sleek background and creating blurry photo masks to designing glowing clickable circles and positioning animated icons, each step adds layers of polish and interactivity. Remember to test your presentation thoroughly to ensure all hyperlinks and animations work seamlessly.
Whether you’re crafting a presentation about India or any other topic, these techniques empower you to engage your audience with dynamic visuals and smooth navigation. Feel free to experiment with more clickable buttons and icons to suit your content.
If you enjoyed this guide, consider exploring more tutorials on creating interactive presentations to keep enhancing your PowerPoint skills.
Thank you for reading! Stay creative and keep presenting with confidence.


