

PowerPoint is a powerful tool, capable of turning ordinary presentations into extraordinary interactive experiences. If you want to learn how to create a cool slide animation presentation with modern design, clickable menus, zoomable sections, and subtle animations, you’re in the right place. This guide will walk you through the entire process, inspired by a real-world request for a research thesis presentation template, tailored for chemistry students but fully customizable for any subject.
From setting up your slide backgrounds and glowing design elements to building an interactive menu with clickable icons and zoomable content sections, this tutorial covers it all. Plus, you’ll learn how to use PowerPoint’s advanced features like section zooms and morph transitions to create seamless, engaging presentations that keep your audience hooked.
Table of Contents
- Getting Started: Setting Up Your Presentation
- Design Elements: Creating Glowing Circles and Typography
- Animations: Adding Motion and Wipe Effects
- Building an Interactive Clickable Menu
- Fixing Icon Transitions and Text Box Behavior
- Creating Zoomable Sections with Section Zooms
- Final Touches: Polishing Animations and Testing
- Frequently Asked Questions (FAQs)
- Conclusion
Getting Started: Setting Up Your Presentation
Before diving into the creative and interactive features of PowerPoint, the first step is to open a fresh blank presentation and prepare the slide background to set the tone for your design.
1. Open a Blank Presentation
Start by launching PowerPoint (Microsoft 365 recommended) and opening a new blank presentation. Close the notes pane to maximize your workspace. Choose a blank slide layout to work with a clean canvas.
2. Set Up Slide Background Color
To achieve a consistent and modern look, use a custom background color throughout your slides. You can pick a color from your previous presentations or any hex color code you prefer. Here’s how:
- Right-click on your slide and select Format Background.
- Choose Solid Fill.
- Click More Colors, then go to the Custom tab.
- Paste your desired hex color code (for example, a deep blue) into the color field.
- Click OK and then Apply to All to set this background for every slide.
This simple step lays the foundation for a cohesive and professional design.

Design Elements: Creating Glowing Circles and Typography
To add visual interest and a modern aesthetic, glowing soft circles and elegant typography are key. Let’s explore how to create these elements.
3. Creating Glowing Soft Circles
These glowing circles provide a subtle yet eye-catching background effect. Here’s how to create one:
- Insert a perfect circle by holding down Ctrl + Shift while dragging with the circle shape tool. Position it centered on the slide.
- Remove the outline (set to none).
- Apply a Radial Gradient Fill starting from the center.
- Adjust the gradient stops: remove one color stop to have three stops all with the same base color (e.g., dark blue).
- Set transparency levels for the stops: fully transparent on the outer stop, 65% transparent in the middle, and fully opaque in the center.
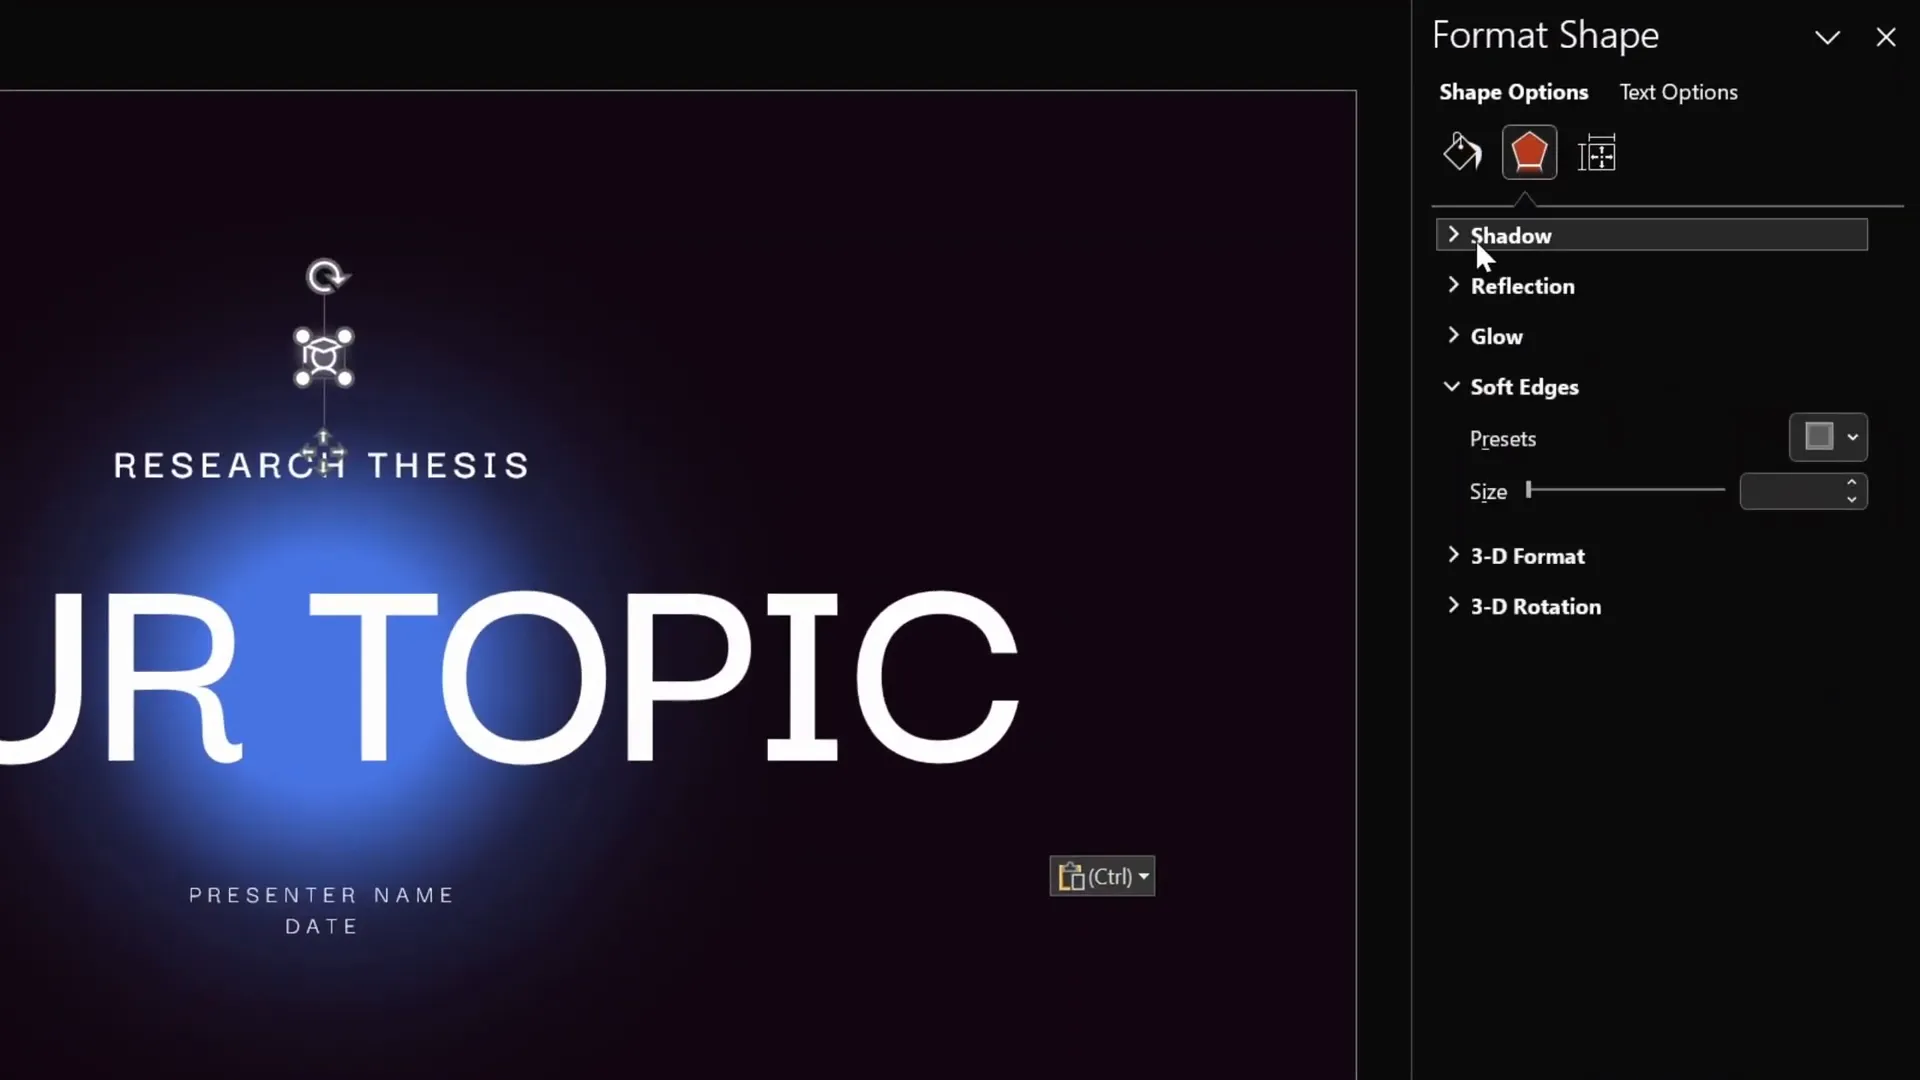
- Apply Soft Edges effect at maximum to soften the circle’s edges, creating a fuzzy glowing ball look.
Feel free to tweak the colors and transparency until you get a glow that fits your style.

4. Typography and Text Boxes
Typography is crucial for readability and style. Use modern fonts like Darker Grotesque Semi Bold for headings and clean, minimal fonts for body text. Insert text boxes for titles, subtitles, and descriptions. You can copy existing text styles for consistency.
For icons, consider using resources like Phosphor Icons, which provide free, beautiful icons that complement modern designs.
Animations: Adding Motion and Wipe Effects
Animations can elevate your presentation, making it dynamic and engaging. However, subtlety is key to avoid distractions. Here’s how to create smooth, elegant animations for text and icons.
5. Applying Wipe and Motion Path Animations
To animate text boxes with a wipe effect followed by a smooth motion, follow these steps:
- Select a text box.
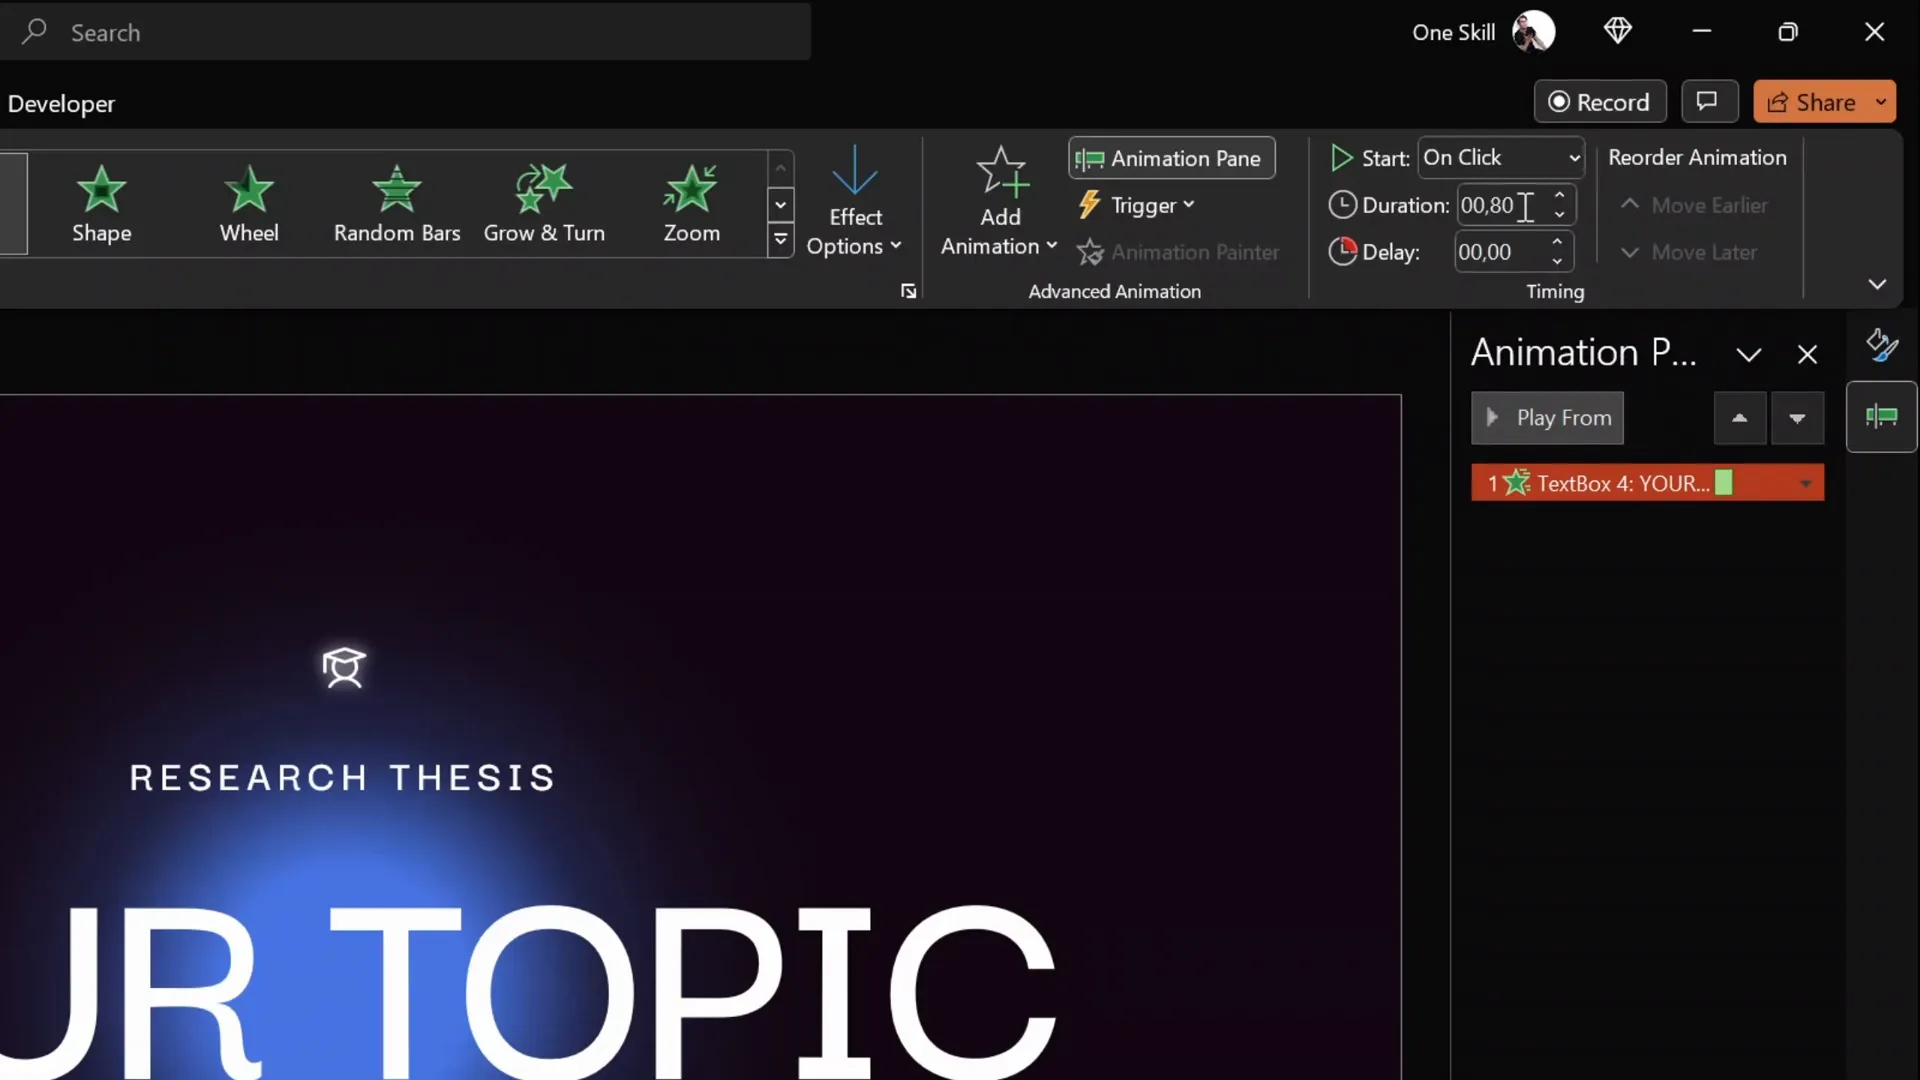
- Add a Wipe animation with direction From Top and duration around 0.8 seconds.
- Add a second animation: Motion Path – Line.
- Adjust the motion path’s end point to create a subtle vertical movement (reverse path direction if needed so the text moves upward).
- Set the second animation to Start With Previous and a duration around 1.25 seconds.
- For smoothness, set the motion path to have a Smooth End.
- Use the Animation Painter tool to copy these animations to other text boxes for consistency.
6. Slide Transitions
Use subtle Fade transitions between slides to maintain a professional flow. Avoid overly flashy transitions that can detract from your message.
Building an Interactive Clickable Menu
An interactive menu lets viewers navigate your presentation easily, making it feel like a modern app or website.
7. Designing the Menu
Here’s how to build a clickable menu at the top of your slides:
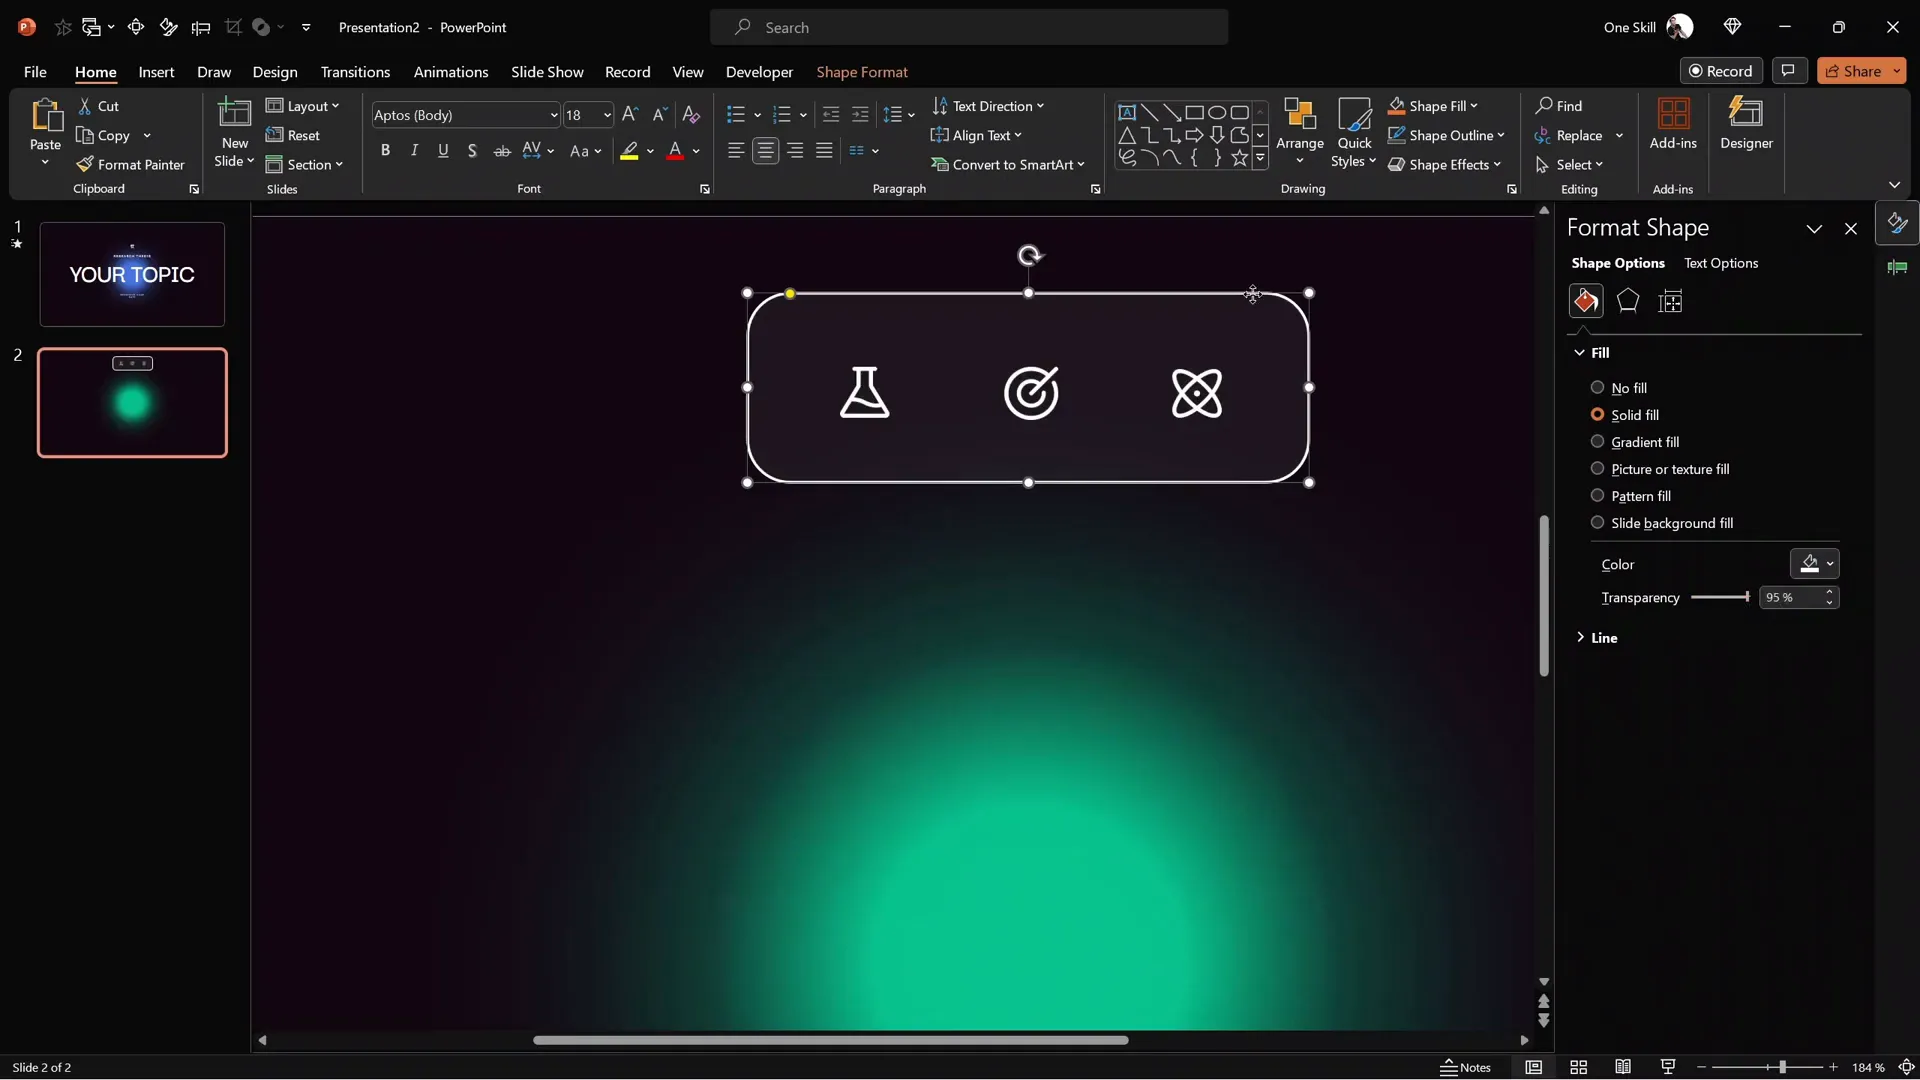
- Create a rounded rectangle with a white fill and high transparency (around 95%) to act as the menu background.
- Add icons representing different sections of your presentation. Use a consistent style from icon libraries like Phosphor Icons.
- Apply transparency to inactive icons (around 75%) and keep the active icon fully opaque to indicate the current section.
- Place a small text box below the active icon to label the section.
- Use glowing balls (radial gradient circles) behind the icons to enhance visual appeal and indicate active states.
8. Linking Menu Icons with Hyperlinks
To make the menu functional:
- Add new slides to represent each section.
- Select each menu icon, then go to Insert > Link (or press Ctrl + K).
- Choose Place in This Document and link the icon to the corresponding slide.
- Repeat for all menu icons to enable navigation.
9. Creating Active States for Menu Icons
Duplicate the menu slide for each active state, adjusting which icon is fully opaque and which text box label is shown beneath it. Use the Morph transition between these slides for a smooth animated effect as the menu changes states.
Fixing Icon Transitions and Text Box Behavior
Sometimes PowerPoint tries to morph icons between slides in unwanted ways, which can look awkward.
10. Preventing Unwanted Icon Morphing
To stop icons from morphing into each other during transitions:
- Open the Selection Pane (Home > Select > Selection Pane).
- Name each icon with a unique prefix, such as starting with double exclamation marks (!!) followed by a name (e.g., “!!logo”).
- PowerPoint will treat these as distinct objects and not morph them during transitions.
11. Making Text Boxes Follow Active Icons
To make the small text box below the active icon appear to move smoothly with the icon instead of just appearing/disappearing:
- Name the text boxes on all slides with the exact same unique name (e.g., “!!text”) using the Selection Pane.
- This way, PowerPoint understands that these text boxes are the same object across slides, enabling smooth morphing transitions.
Creating Zoomable Sections with Section Zooms
One of the most powerful features for interactive presentations is the Section Zoom, allowing you to zoom into specific content sections and then return back seamlessly.
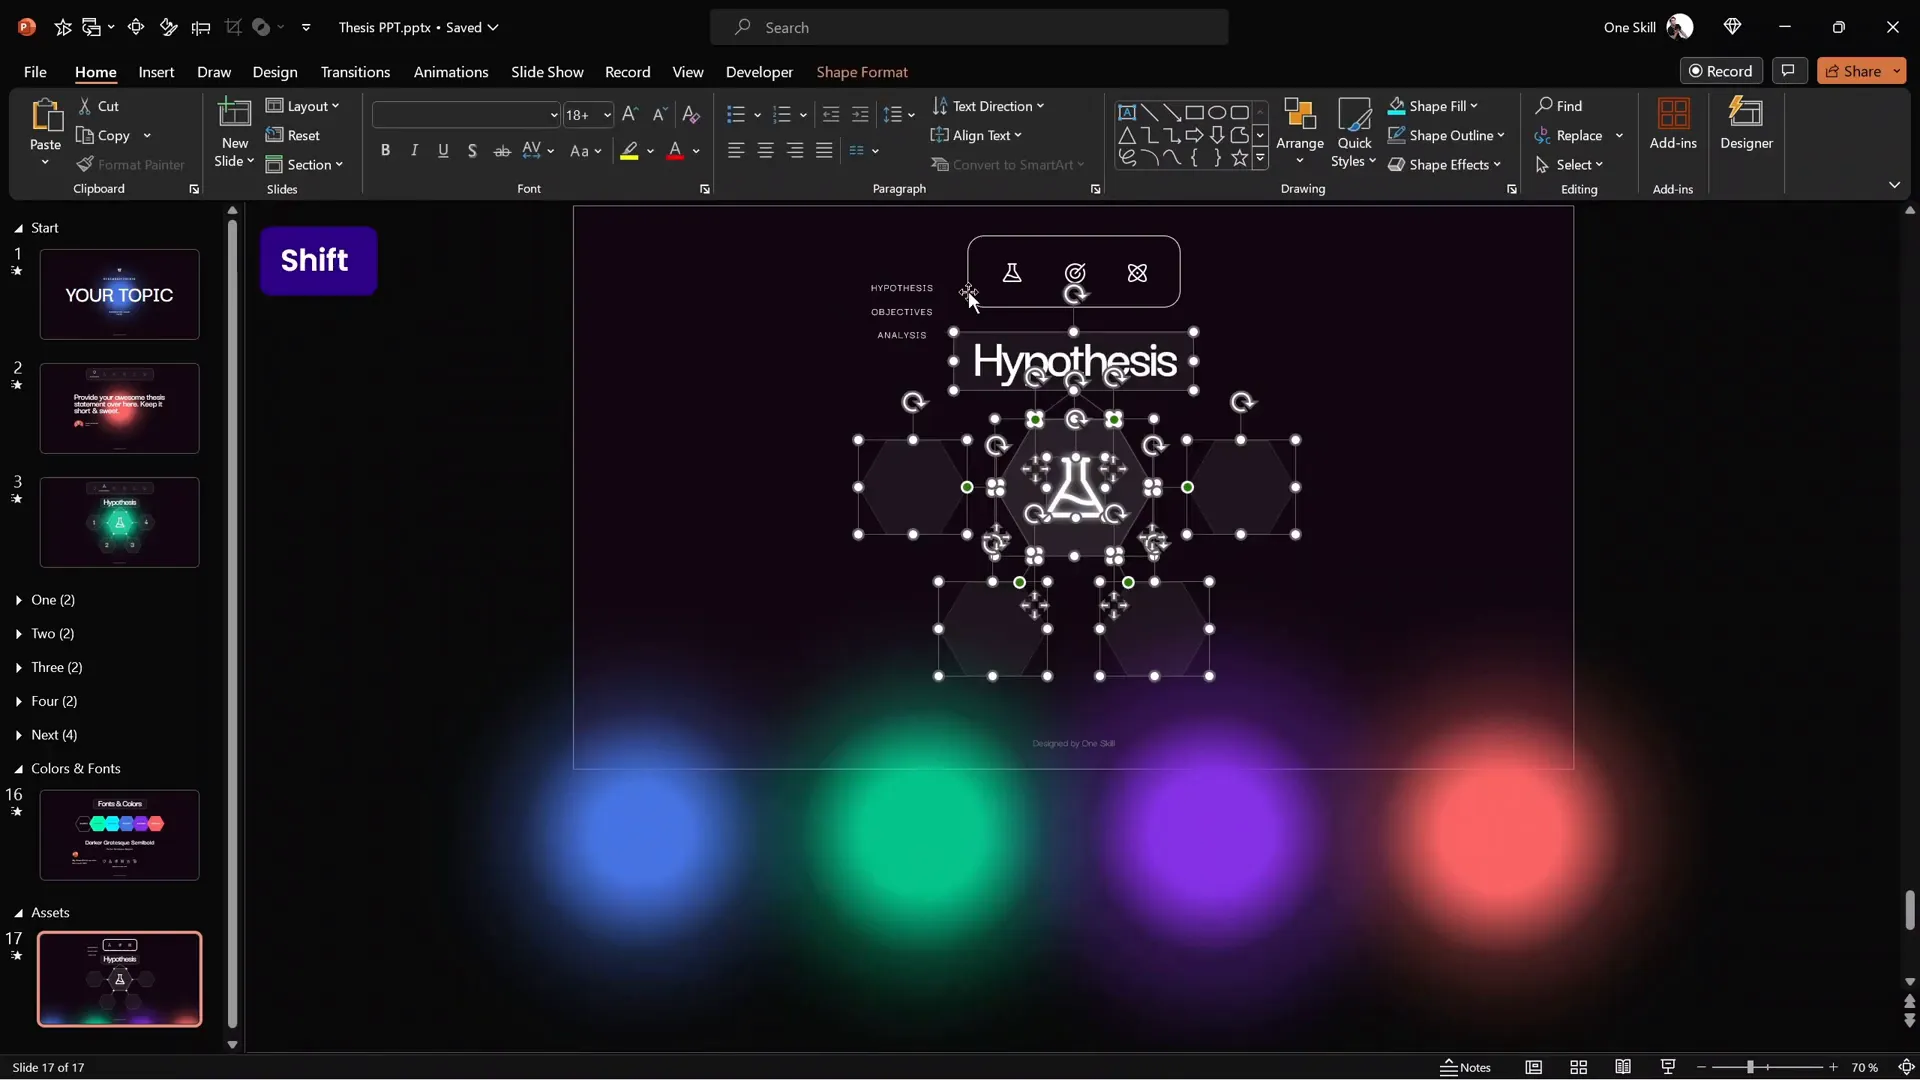
12. Building Infographics with Hexagons
Create a visually appealing infographic with hexagons and lines to represent different topics or sections:
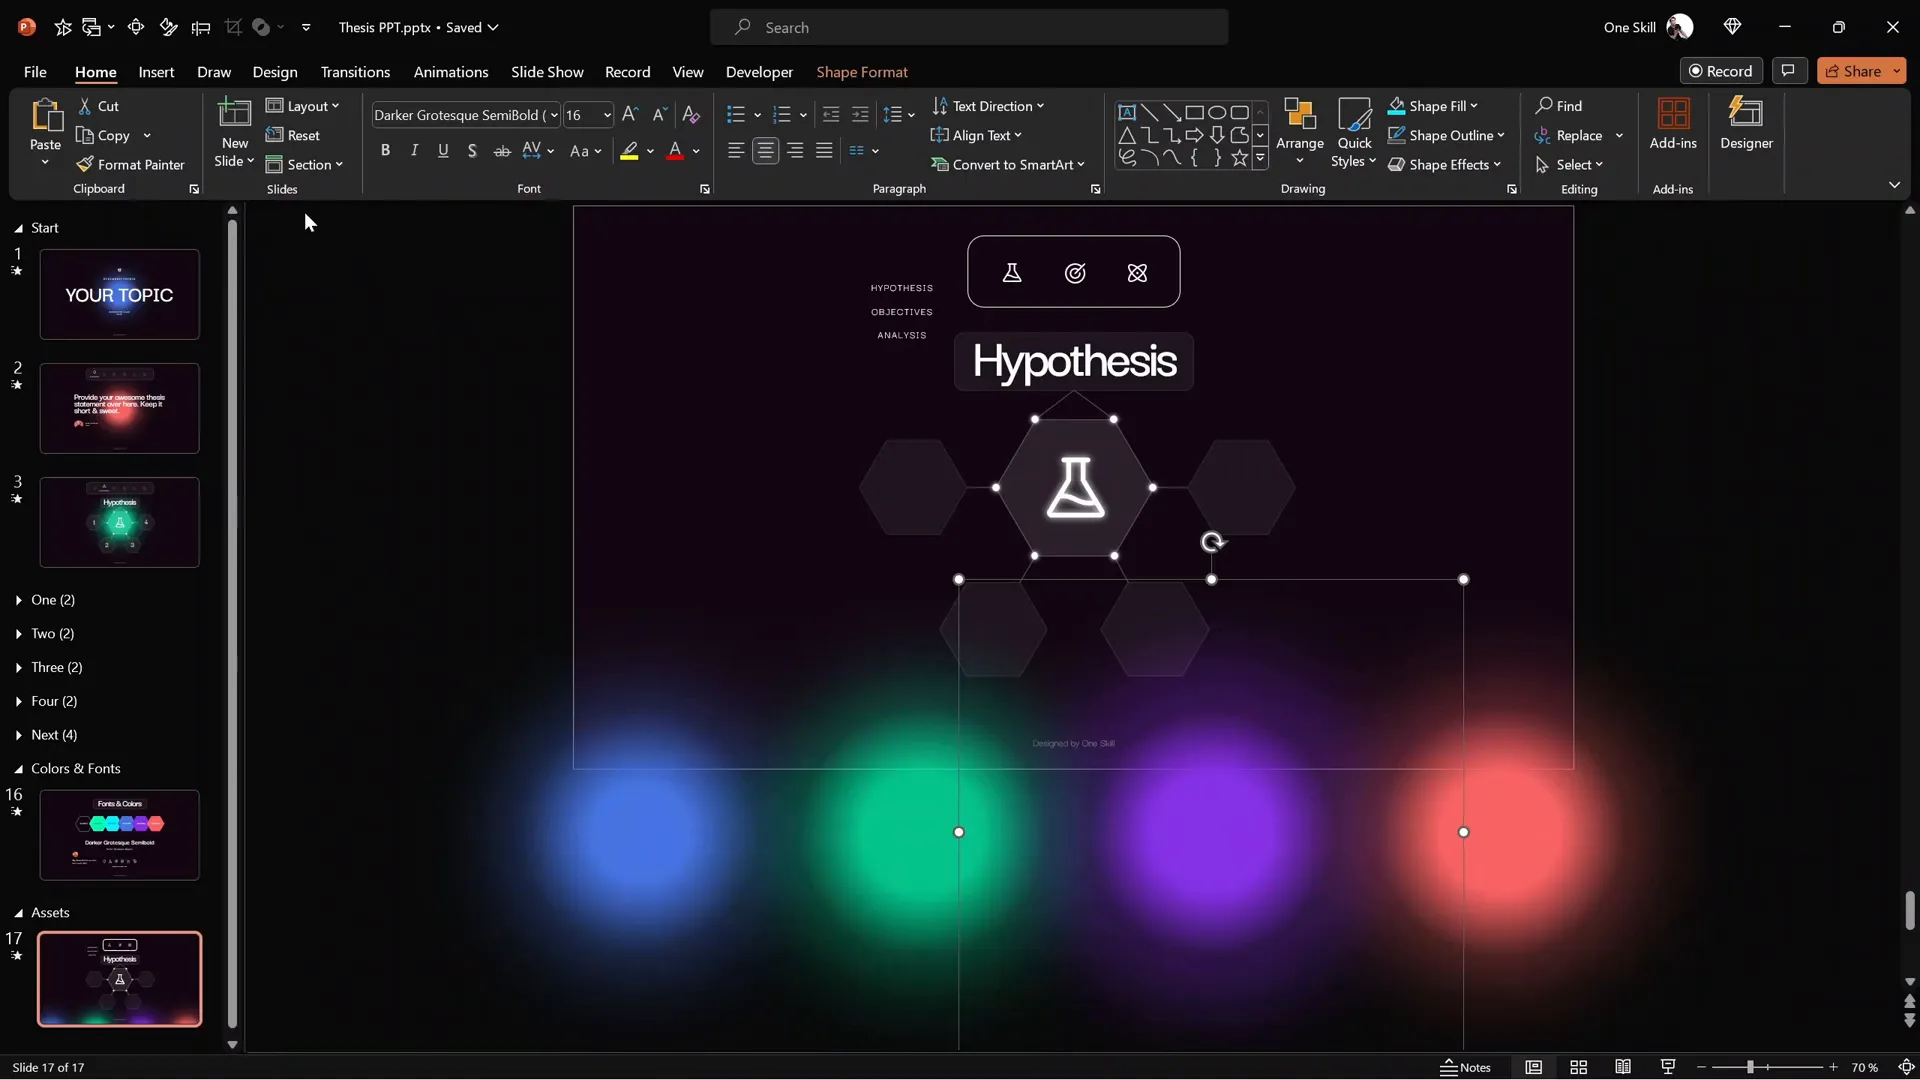
- A large hexagon in the center with smaller semi-transparent hexagons around it.
- Rounded rectangles with section titles (e.g., “Hypothesis”).
- Small glowing circles at edges to add a soft glow effect.
- Icons in the center of hexagons to symbolize topics (e.g., a flask for chemistry).
13. Creating Sections and Slides for Zoom
To add zoomable sections:
- Create sections in PowerPoint (right-click slide thumbnail > Add Section) and name them (e.g., “1”, “2”, etc.).
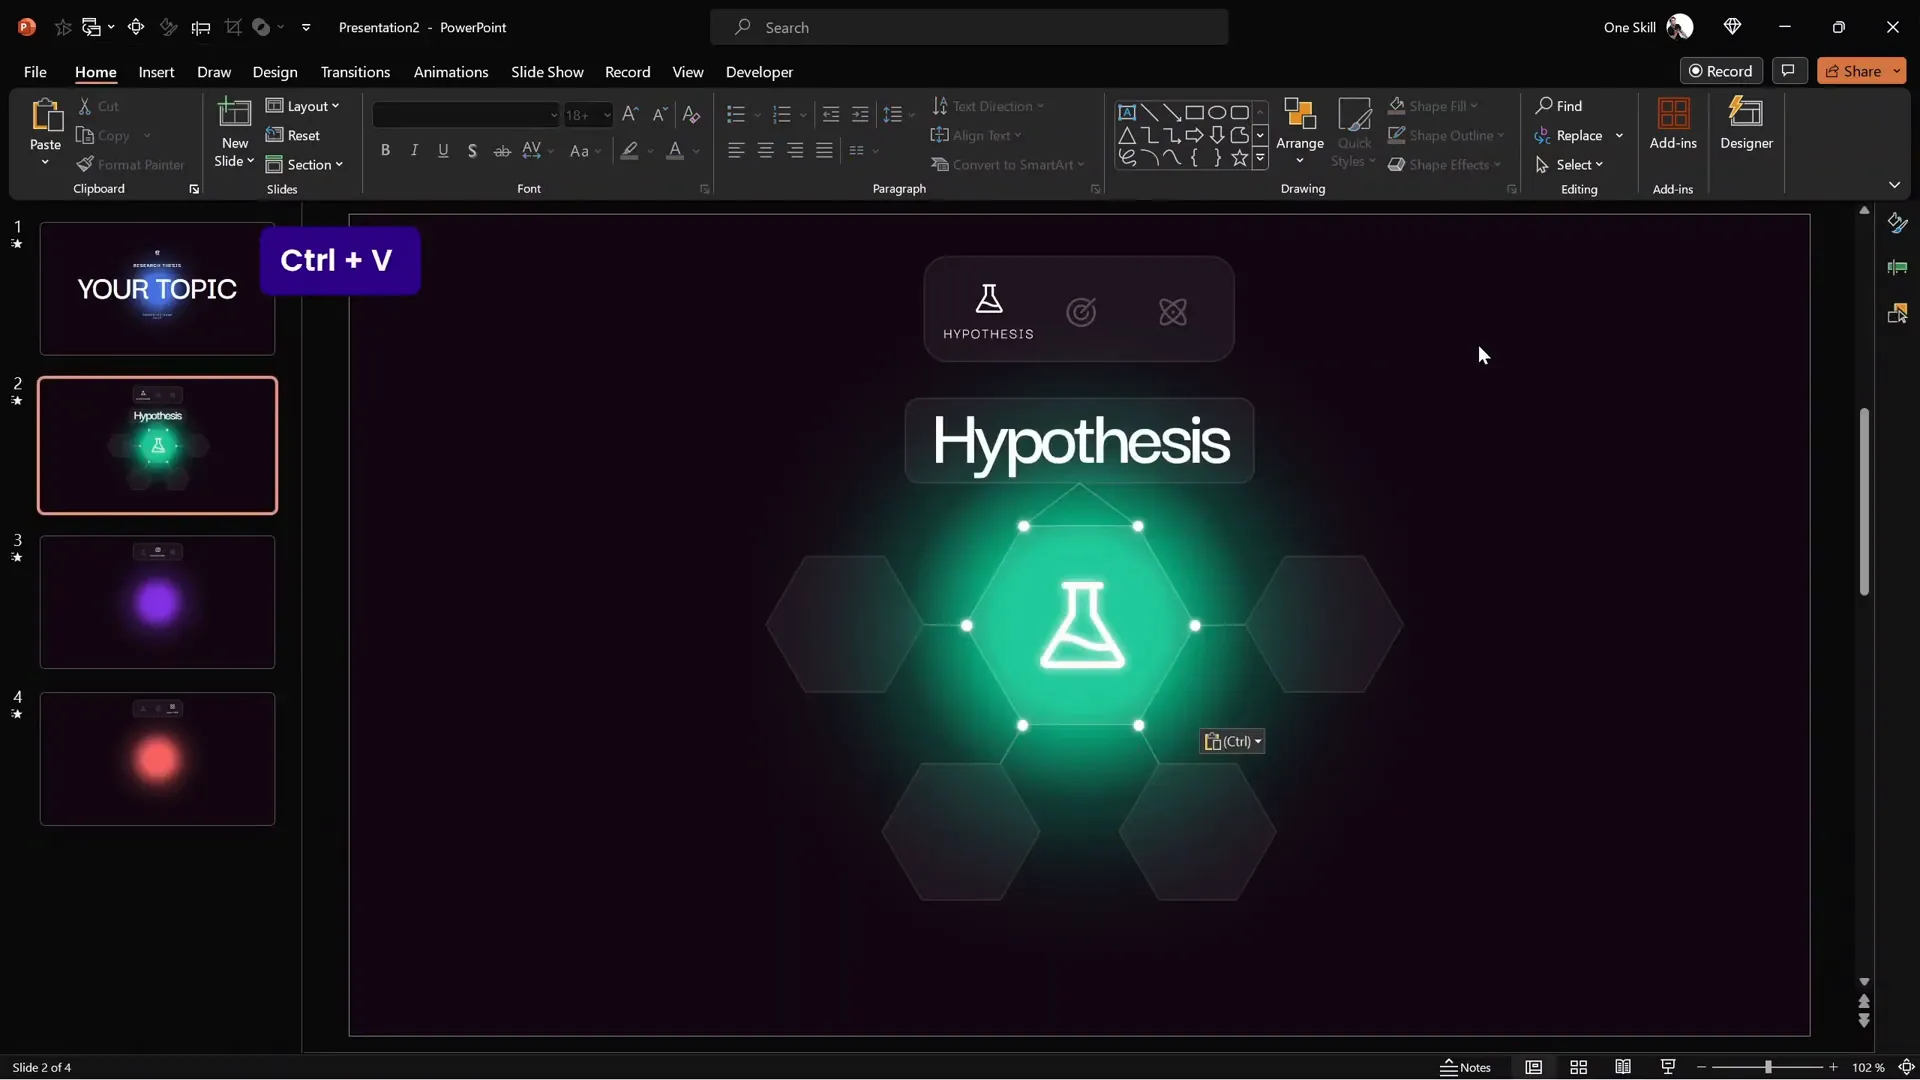
- Within each section, add a slide with a huge number text box (e.g., number “1”) centered and styled with a large font size (~715 pt) and white color.
- Add another slide in the section with your detailed content.
- Apply the Morph transition to the detailed slide with a duration around 1 second.
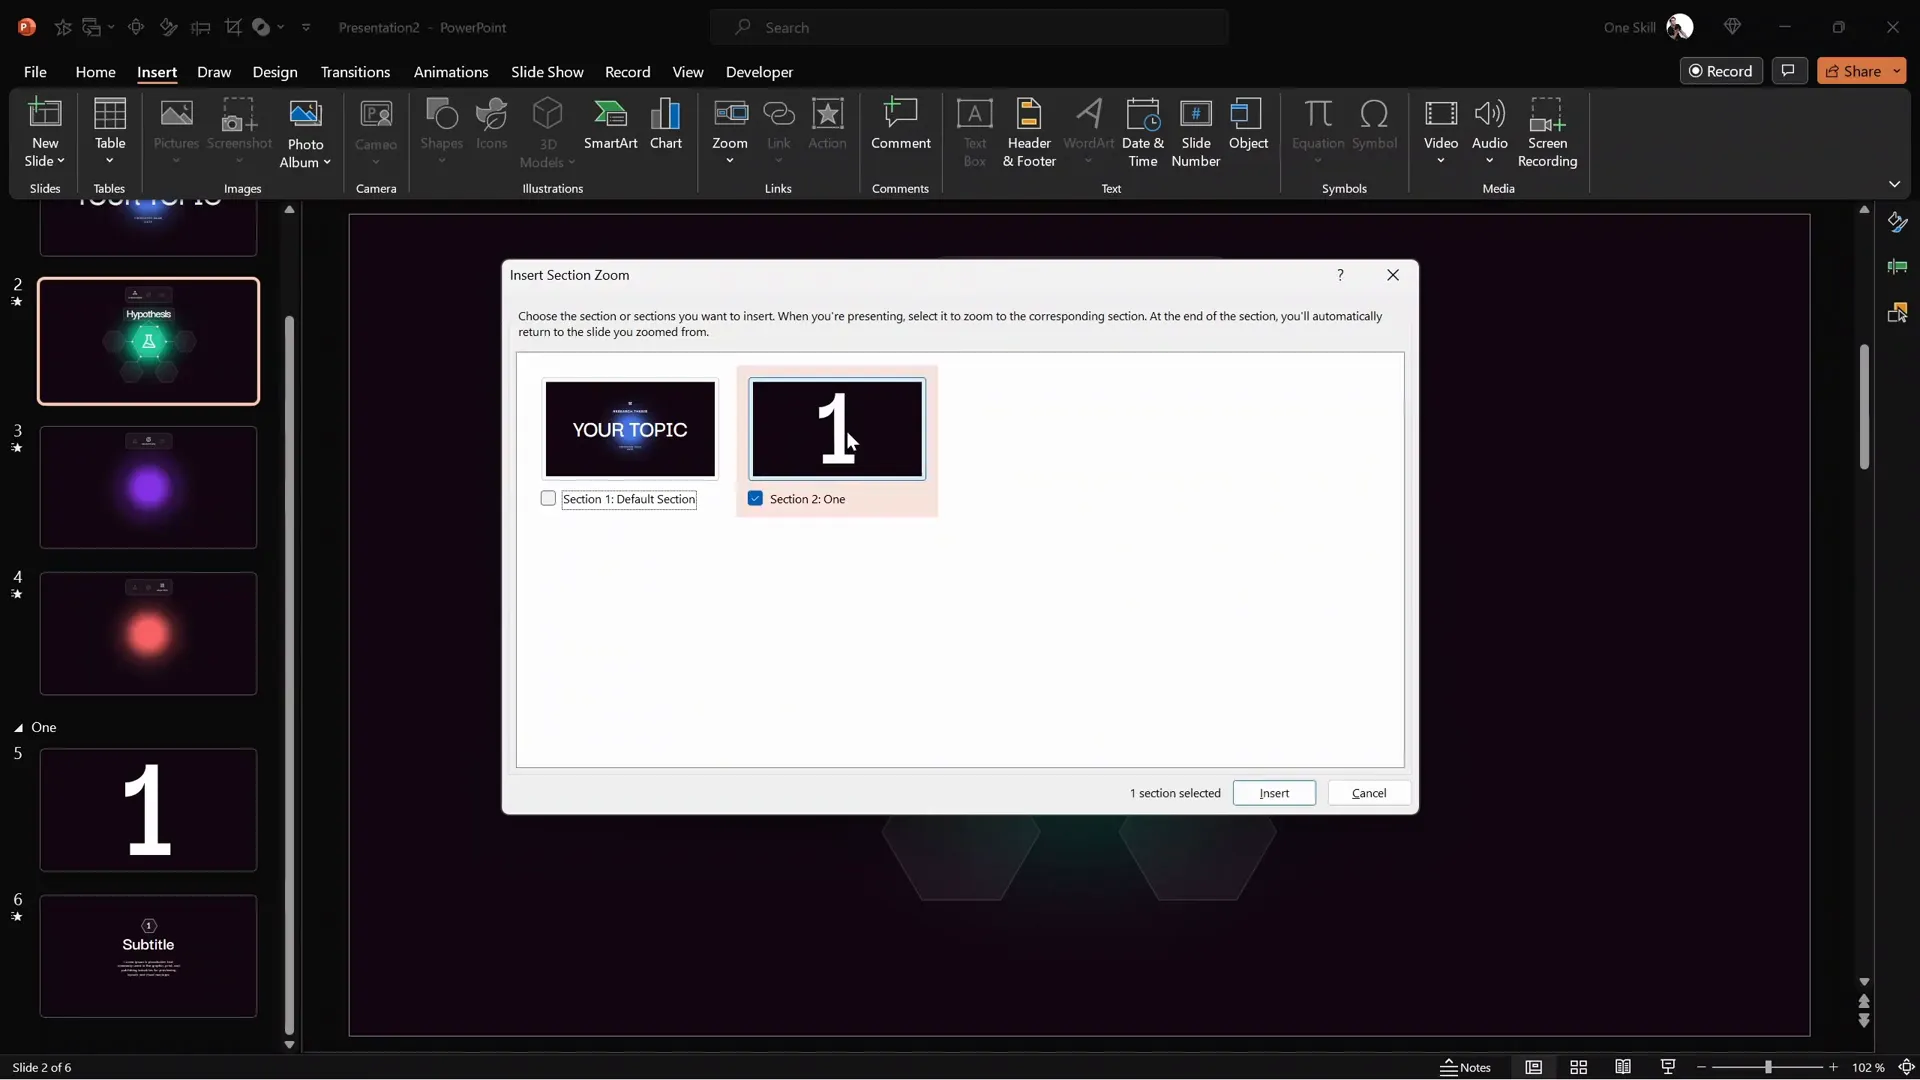
14. Inserting Section Zooms
Back on your main infographic slide, insert section zooms inside the semi-transparent hexagons:
- Go to Insert > Zoom > Section Zoom.
- Select the desired section and insert.
- Resize and position the zoom thumbnail to fit perfectly inside the hexagon.
- Make the zoom background transparent by selecting the zoom object and clicking Zoom Background in the Zoom tab.
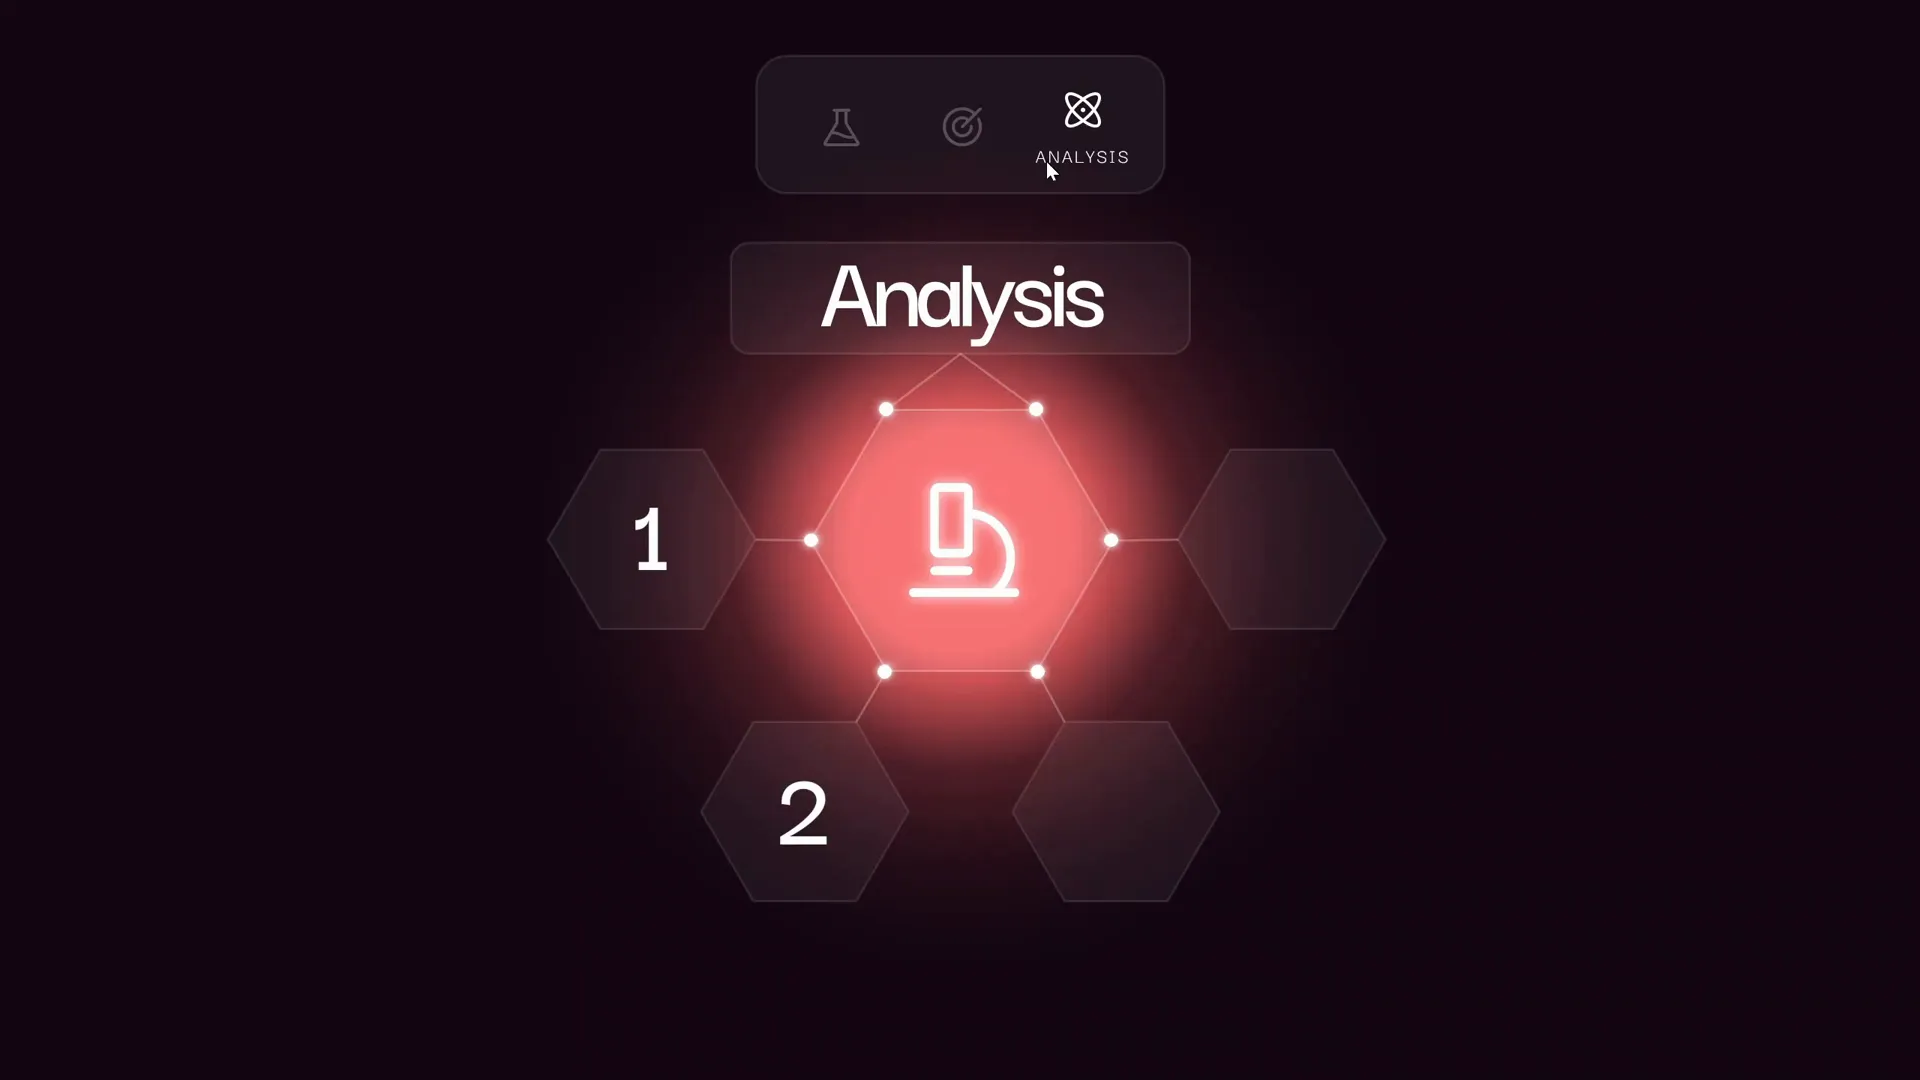
Clicking these zooms will jump you into the section slides, and after viewing, you’ll automatically return to the main slide.
15. Automating Slide Transitions for Seamless Experience
To improve user experience, set slides within sections to transition automatically:
- Go to the slide within the section.
- Open the Transitions tab.
- Check After and set the time to 0 seconds (or desired delay).
This minimizes mouse clicks and creates a smooth flow through your content.
16. Replicating Sections
Repeat the process to create multiple sections, copying and modifying the content and zooms to match your presentation needs. You can add as many zoomable sections as needed for your content depth.
Final Touches: Polishing Animations and Testing
17. Grouping and Animating Infographics
Group all infographic elements into one group to animate them as a unit. Add the same wipe and motion path animations used earlier to create consistent entrance effects.
18. Preview and Test Your Presentation
Run your presentation in full-screen mode to test all interactive elements, animations, and transitions. Ensure:
- The clickable menu icons navigate correctly.
- Section zooms work smoothly and return to the main slide after completion.
- Animations are timed well and enhance rather than distract.
Frequently Asked Questions (FAQs)
Q1: What version of PowerPoint do I need to create these interactive presentations?
For best results, use Microsoft 365 PowerPoint, which supports advanced features like Section Zooms and Morph transitions. Some features may not be available or work differently in older versions.
Q2: Can I customize the colors and fonts used in this template?
Absolutely! The template uses hex color codes and Google Fonts (such as Darker Grotesque). You can replace these with your brand colors and preferred fonts to match your style.
Q3: Where can I find the icons used in this tutorial?
The icons come from Phosphor Icons, a free and extensive icon library. You can download and customize icons to fit your presentation.
Q4: How do Section Zooms differ from Slide Zooms and Summary Zooms?
Section Zooms link to entire sections, Slide Zooms link to individual slides, and Summary Zooms create an overview slide linking to multiple slides or sections. Each type offers different navigation and interactive possibilities.
Q5: Can I use this interactive presentation format for non-chemistry topics?
Yes! While this tutorial was inspired by a chemistry thesis presentation, the template and techniques are adaptable to any subject or presentation type.
Conclusion
Creating a cool slide animation interactive PowerPoint presentation may seem daunting at first, but with the right steps and tools, it becomes a rewarding and creative process. This tutorial has guided you through setting up a modern, minimalistic design, building an interactive clickable menu, incorporating smooth animations, and adding zoomable sections for deep content exploration.
By using PowerPoint’s advanced features like Section Zooms and Morph transitions, you can craft presentations that are not just visually appealing but also intuitive and engaging for your audience. Whether you’re presenting a research thesis, a business proposal, or any other topic, these techniques will help your slides stand out and leave a lasting impact.
Remember, the key to a successful presentation is a balance of design, clarity, and interactivity. Use these tools thoughtfully to support your message and keep your audience focused.
Feel free to download the free PowerPoint template linked in the original tutorial and customize it to your needs. And don’t forget to explore other Zoom features like Slide Zoom and Summary Zoom to further enhance your presentations.
Happy presenting!


