
Welcome to an exciting journey into the magical world of PowerPoint animations! Today, we’re diving deep into the creation of a stunning 3D laptop opening animation, crafted entirely within Microsoft PowerPoint 365. This tutorial will show you how to bring simple shapes and photos to life with perspective morphing and 3D depth effects, resulting in a highly customizable laptop animation where you can add your own text, images, or even videos.
While this animation looks like a sophisticated 3D model, it’s actually a clever composition of basic PowerPoint shapes enhanced with 3D rotation and morph transitions. This method is not only accessible but also incredibly flexible, allowing you to tailor the animation to your specific presentation needs. Whether you want to showcase a product, highlight content on a laptop screen, or simply add flair to your slides, this tutorial has got you covered.
Before we jump in, a special thanks to Parpon Skills from Presentation Design Mastery for inspiring this animation concept with his amazing flipping phone animation. His work is linked in the resources and is well worth checking out for anyone passionate about PowerPoint animation mastery.
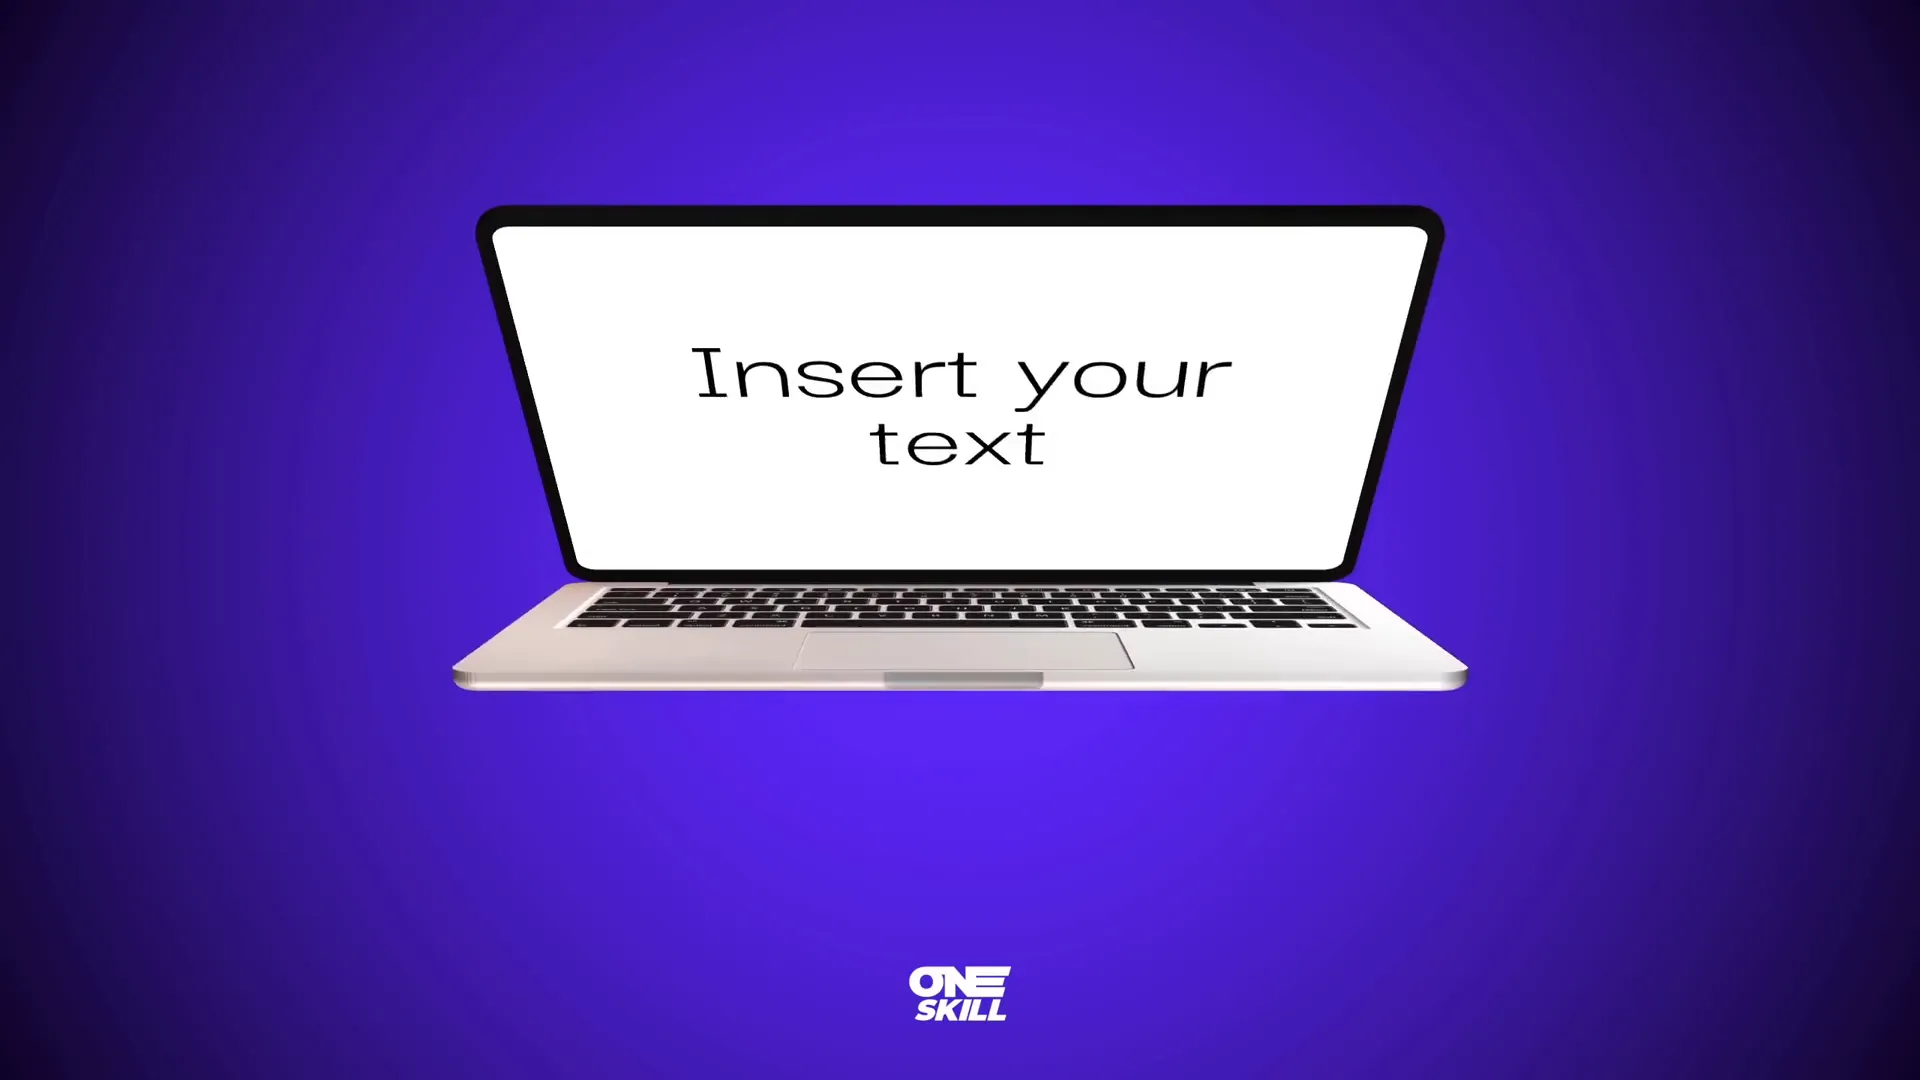
Table of Contents
- Getting Started: Setting the Stage with a Gradient Background
- Building the Laptop: Creating Keyboard and Screen with Rounded Rectangles
- Animating the Keyboard: Customizing the Rotation Axis
- Adding Depth and Bevel: Enhancing the 3D Look
- Animating the Screen: Mirroring the Keyboard Setup
- Creating the Laptop Open and Close Animation Using Morph Transition
- Crafting a Realistic Laptop Using a Photo
- Preparing the Screen for Realistic Animation
- Customizing the Laptop Screen: Adding Text, Pictures, and Videos
- Tips for Mastering PowerPoint Animations
- Conclusion: Unlock Your Creativity with PowerPoint
- Frequently Asked Questions (FAQ)
Getting Started: Setting the Stage with a Gradient Background
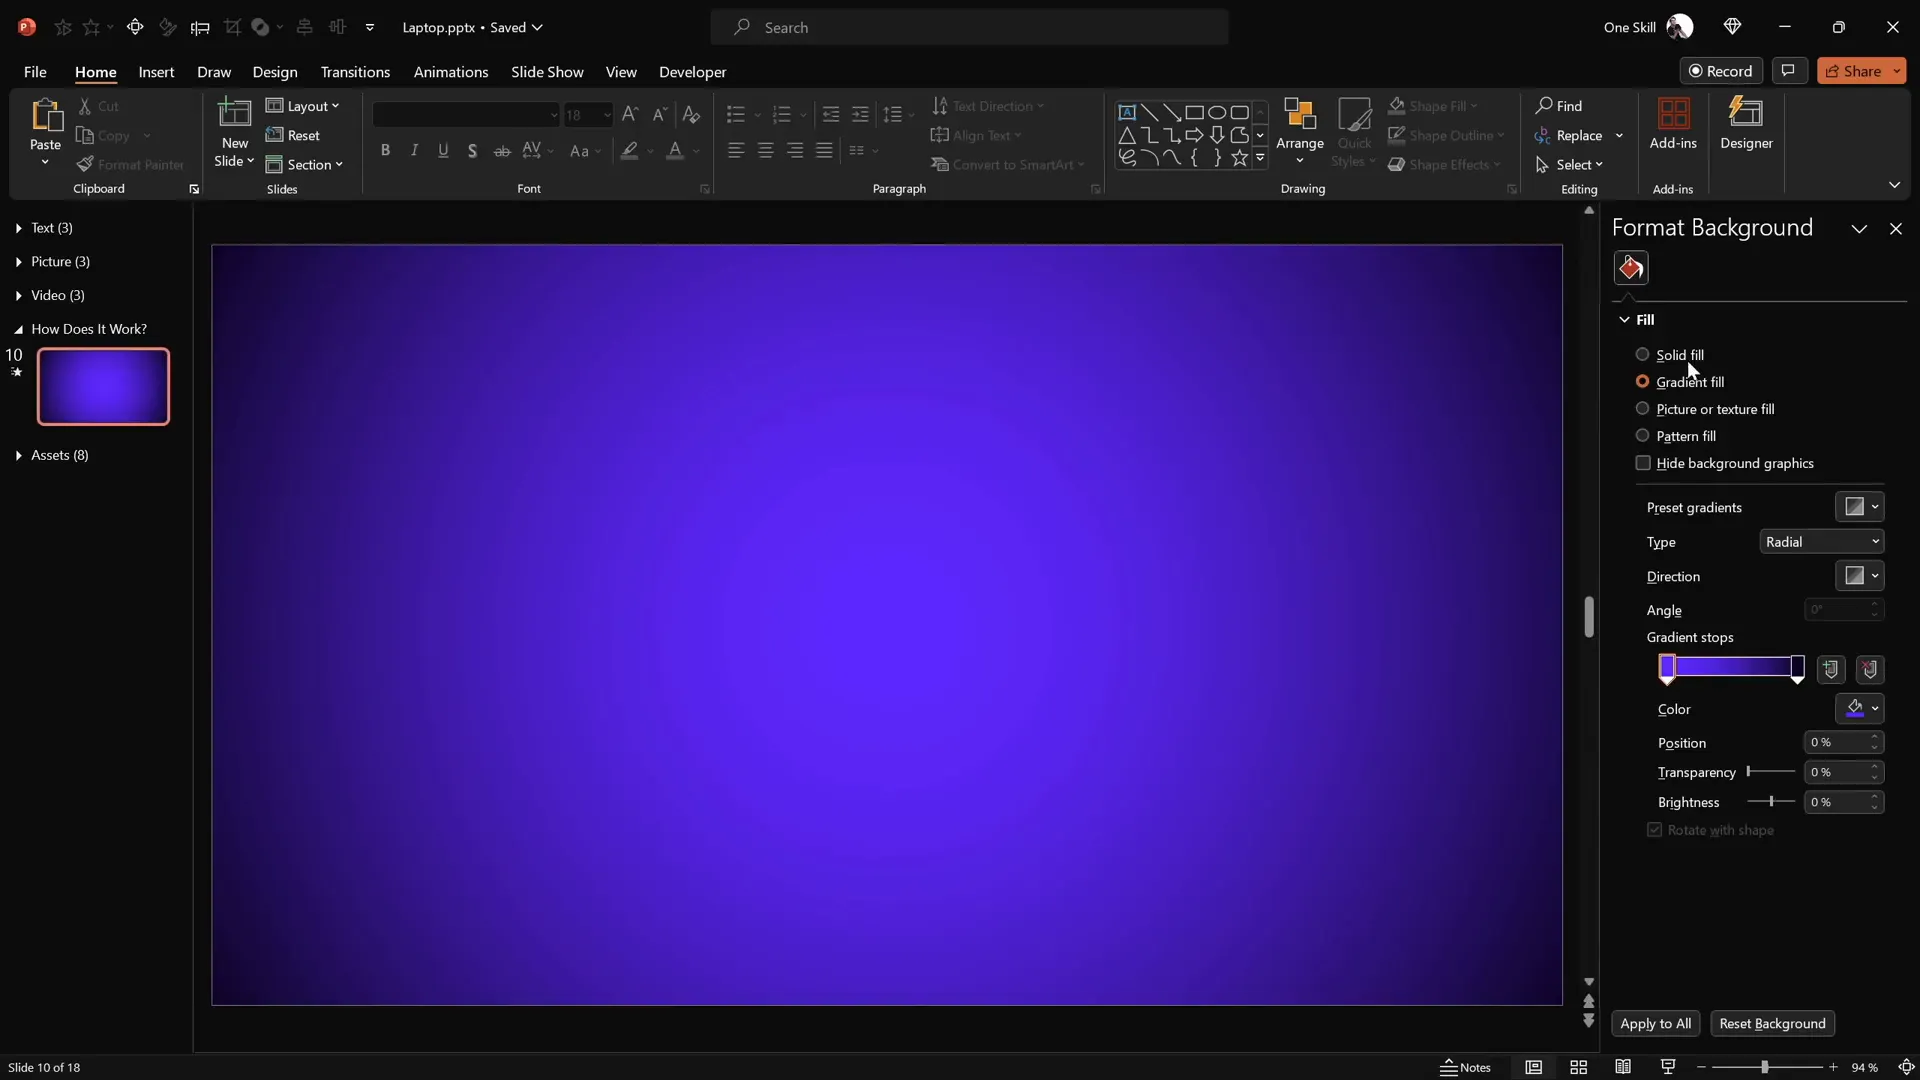
To begin, open PowerPoint and create a new blank slide. A visually appealing background sets the mood for your animation, so I recommend applying a smooth gradient fill to your slide. This is optional but adds a professional touch.
Right-click on the slide and select Format Background. Choose the gradient fill option, then configure two gradient stops with these hex colors:
- First color:
#692DFF(a rich purple-blue) - Second color:
#0D0002C(a deep navy)
This gradient provides a subtle yet elegant backdrop that complements the laptop animation.
Building the Laptop: Creating Keyboard and Screen with Rounded Rectangles
Now, we’ll construct the laptop using simple shapes. Head to the Insert tab and choose Shapes. Select the Rounded Rectangle tool to draw the keyboard base.
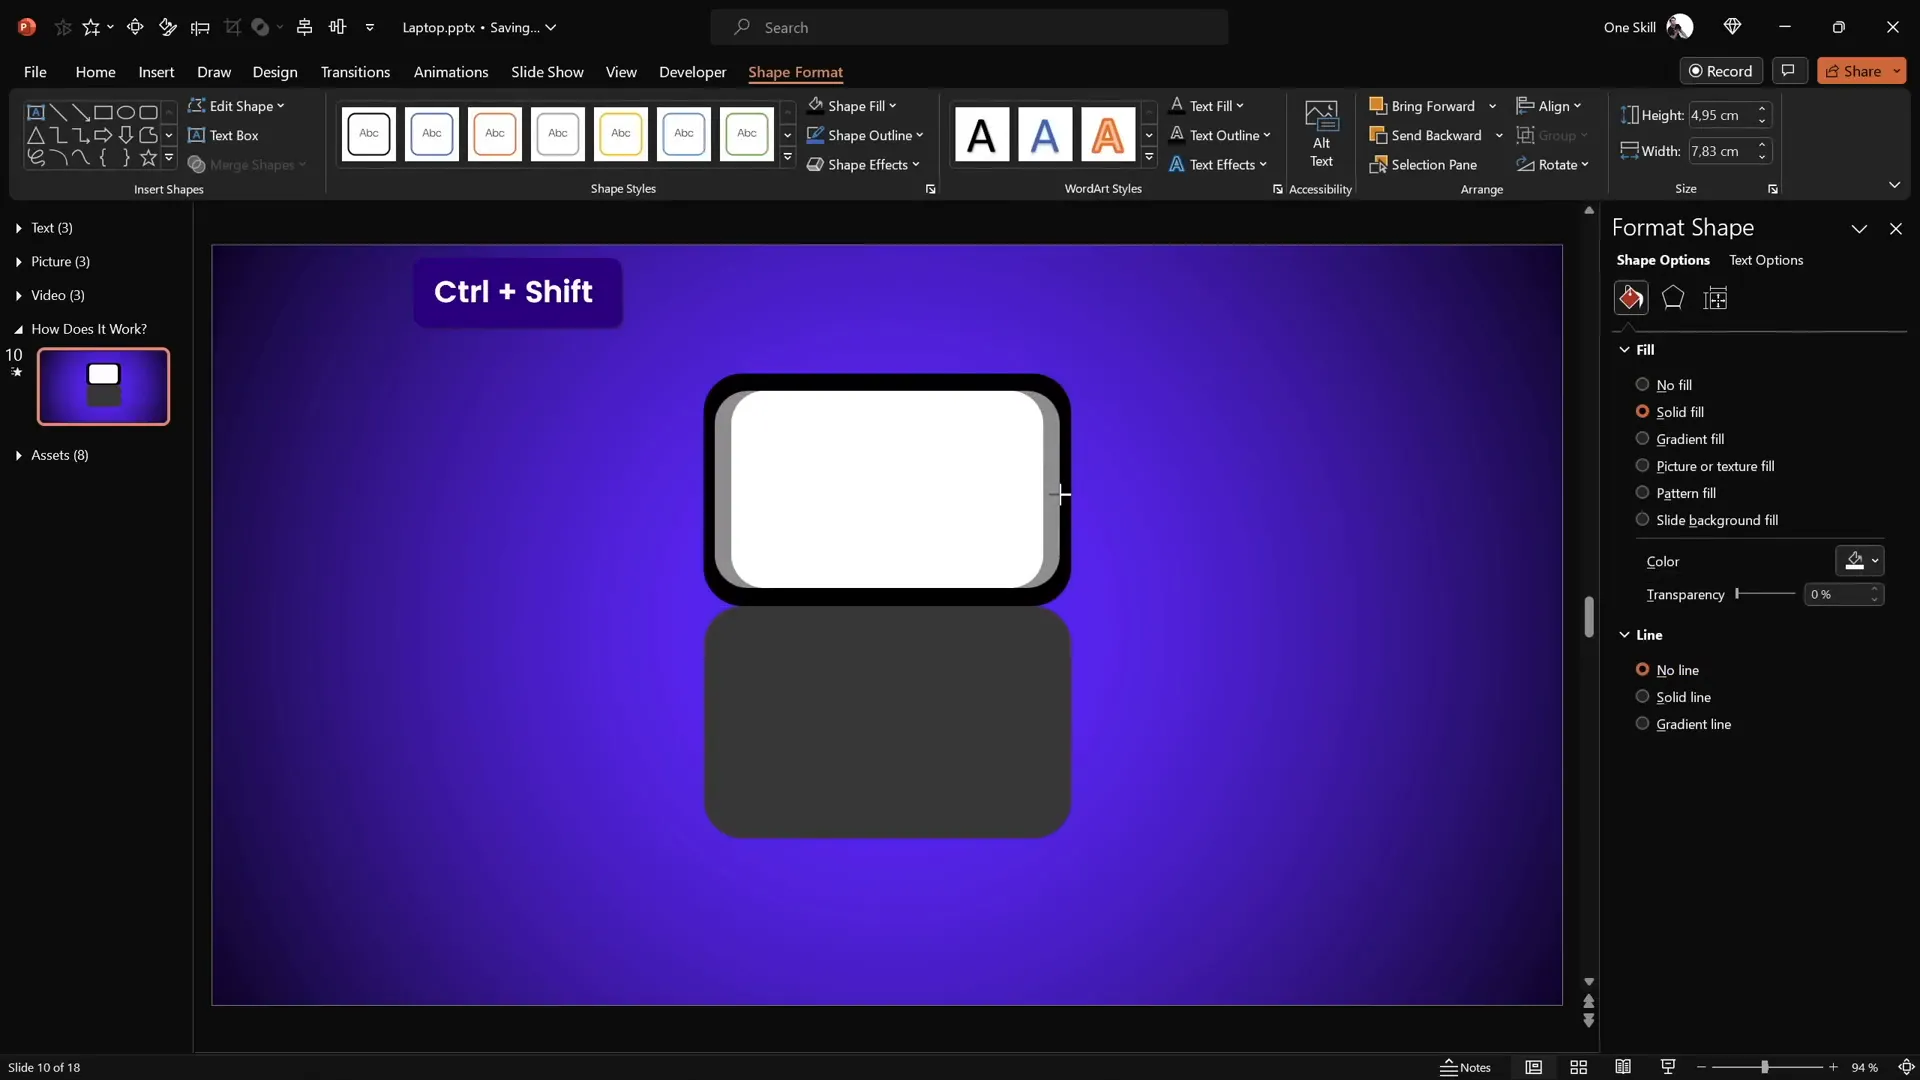
Draw a small rounded rectangle centered on the slide. This will represent the laptop’s keyboard. Set the fill color to a dark gray and remove any outline by setting the line to none. Transparency should be set to zero for a solid look.
Next, duplicate this rectangle by holding Ctrl + Shift and dragging it upwards. This duplicate will serve as the laptop screen. Change its color to black and position it directly above the keyboard, aligning their edges closely.
Duplicate the black screen once again, this time changing the fill color to white. Resize this white rectangle slightly smaller than the black one and center it perfectly within the black screen. This white shape will act as the laptop’s display area where you can later add content.
Select the black and white screen shapes together and group them (Ctrl + G). Now you have two main parts of the laptop: the keyboard and the screen.
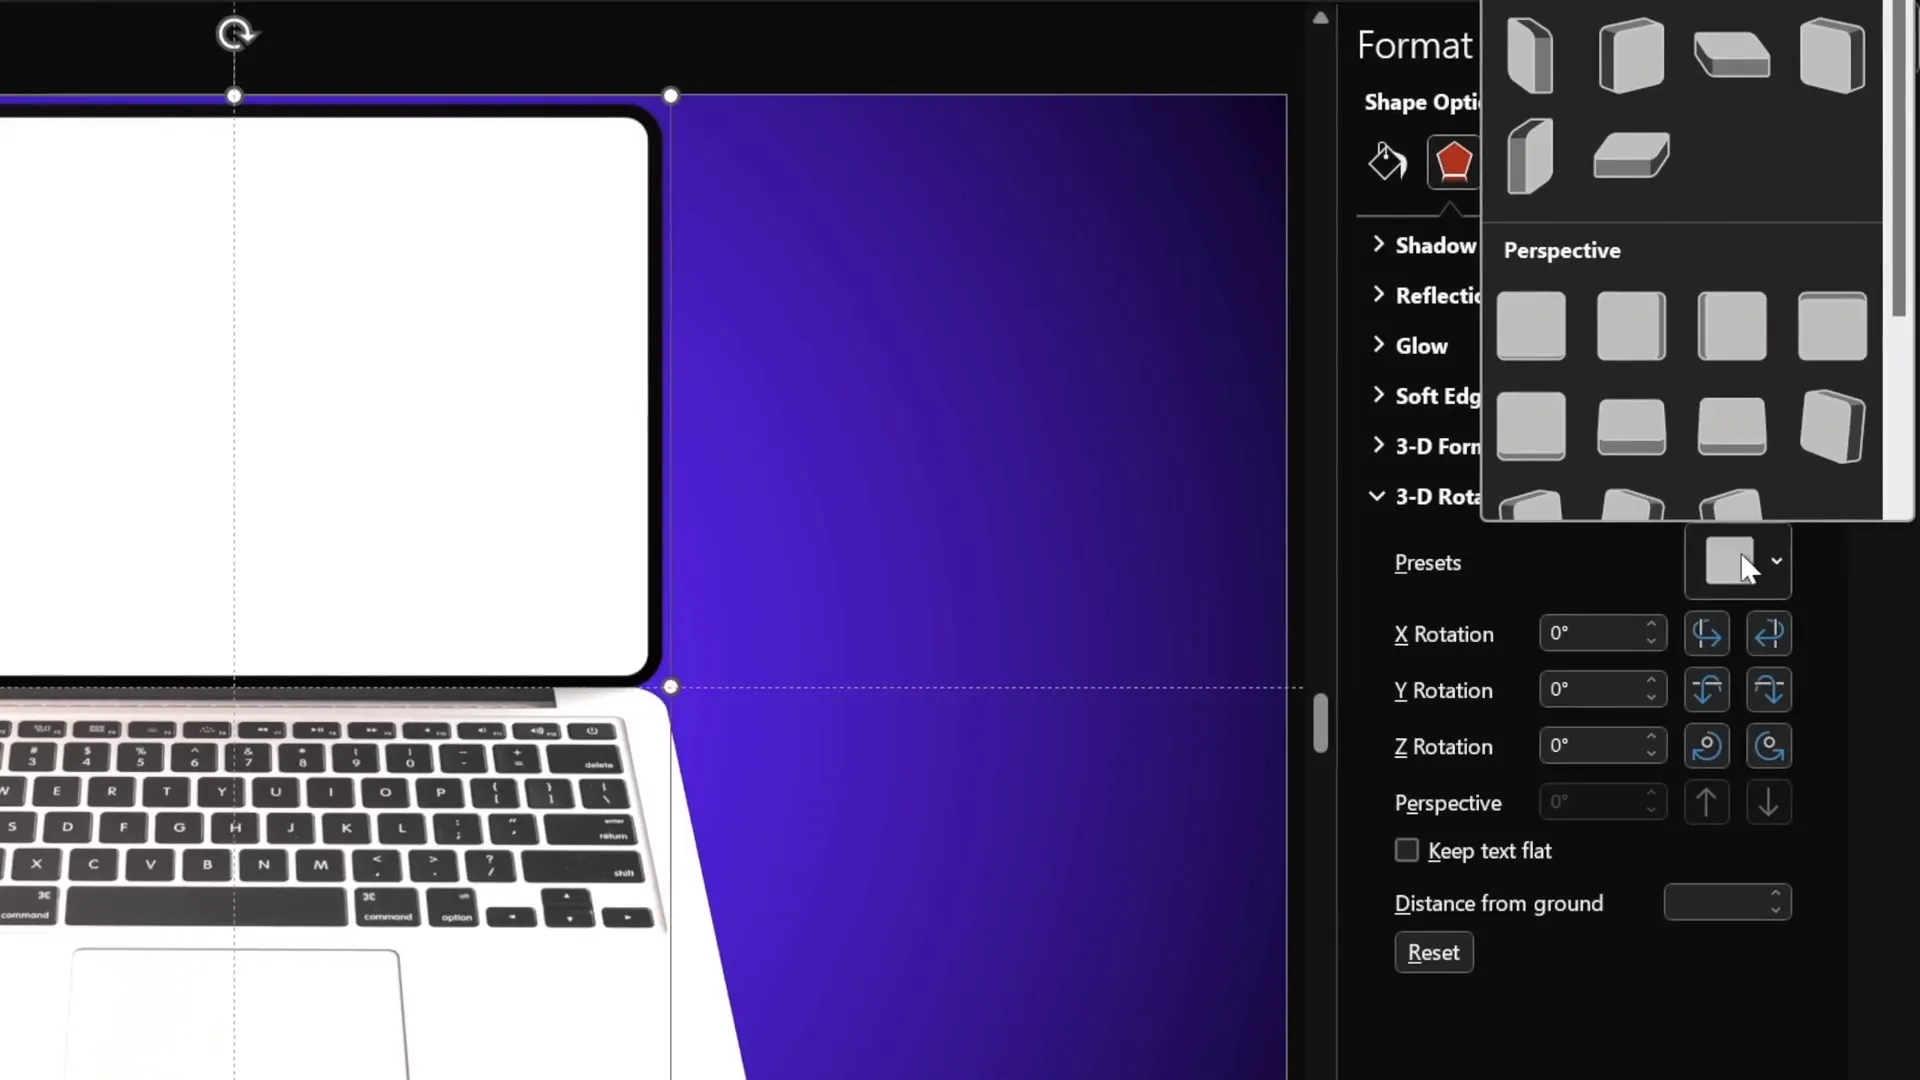
Animating the Keyboard: Customizing the Rotation Axis
With the laptop shapes ready, it’s time to animate the keyboard’s rotation. Select the keyboard shape and navigate to the 3D rotation options in the format shape pane. Choose any of the perspective presets; for this tutorial, we’ll use the Perspective Relaxed and Moderately preset.
When you adjust the Y-axis rotation, you’ll notice the keyboard flips around its center. However, for a realistic laptop opening effect, the keyboard should rotate along the edge where it connects to the screen, not its center.
To fix this, we need to create a new rotation center:
- Reset the keyboard’s rotation to zero.
- Move the keyboard slightly aside.
- Duplicate it by holding Ctrl + Shift and drag the copy upwards, aligning it to the bottom of the original keyboard.
- Select both shapes and group them.
This grouped object now has a rotation center at the midpoint between the two shapes, effectively shifting the rotation axis to the keyboard’s bottom edge.
Apply the same 3D perspective rotation preset again and rotate along the Y-axis. The keyboard will now flip around the edge, mimicking the natural hinge of a laptop.
Since the duplicated shape is only a helper for rotation, select the bottom copy and set its fill to No Fill to keep it invisible.

Adding Depth and Bevel: Enhancing the 3D Look
The keyboard currently looks flat and thin, so let’s add some 3D depth to enhance realism:
- Select the keyboard shape.
- Go to the 3D format options.
- Set the depth to 10 points.
- For the bottom bevel, apply 5 points width and height to create rounded edges.
You’ll immediately notice the keyboard now has volume and smooth corners, giving it a more tactile appearance. Rotate it slightly upwards to better appreciate the rounded bevel effect.

Animating the Screen: Mirroring the Keyboard Setup
Next, we’ll prepare the laptop screen for animation by repeating a similar process:
- Duplicate the screen group (black and white rectangles).
- Position the duplicate directly beneath the original screen.
- Select both and group them, naming this group “Screen” for clarity.
- Set the bottom screen’s fill (both black and white parts) to No Fill so it remains invisible.
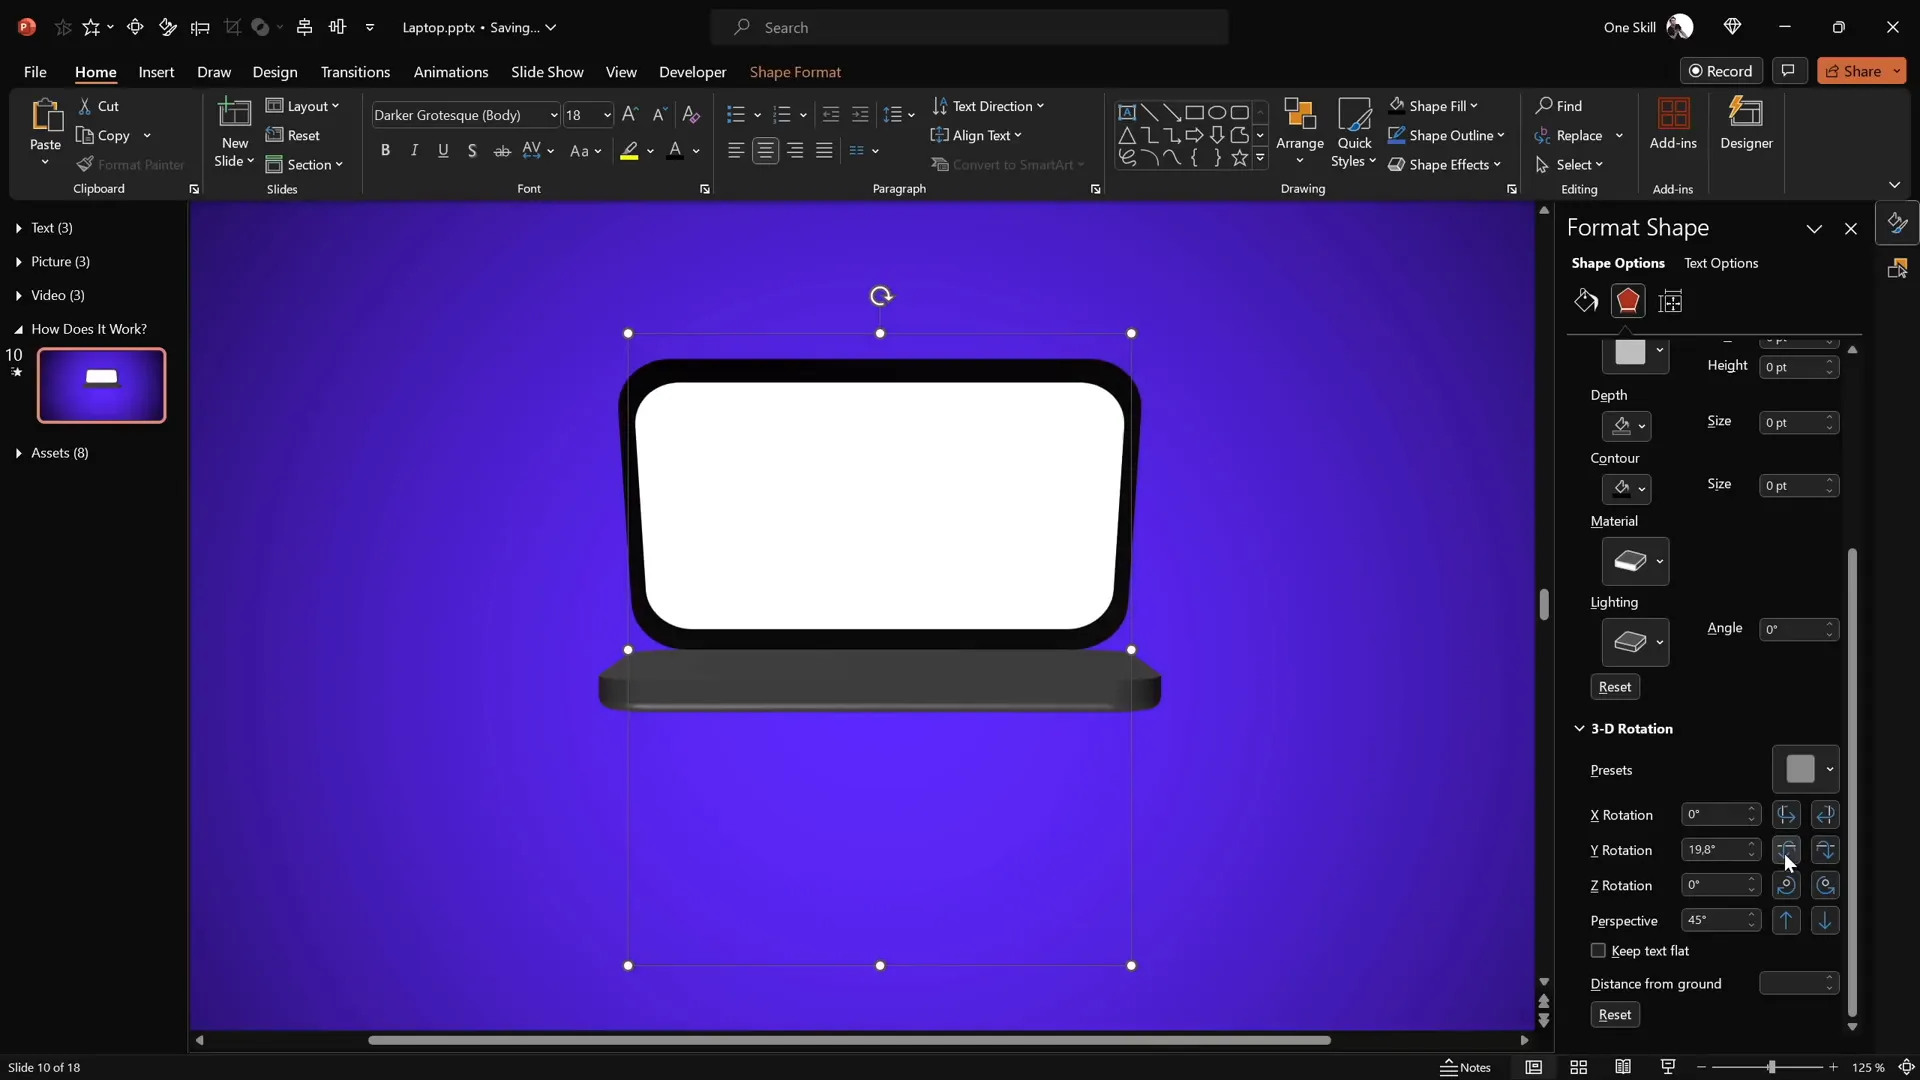
- Apply the same 3D perspective rotation preset to the top screen.
- Rotate the screen around the Y-axis to the side, creating the laptop opening effect.
- Add 3D depth and bevel identical to the keyboard (depth 10 points, bevel width and height 5 points).
- Align both the keyboard and screen groups centrally on the slide using slide guides.
With both parts aligned and formatted, the laptop now has a cohesive 3D look and proper rotation centers, ready to be animated.
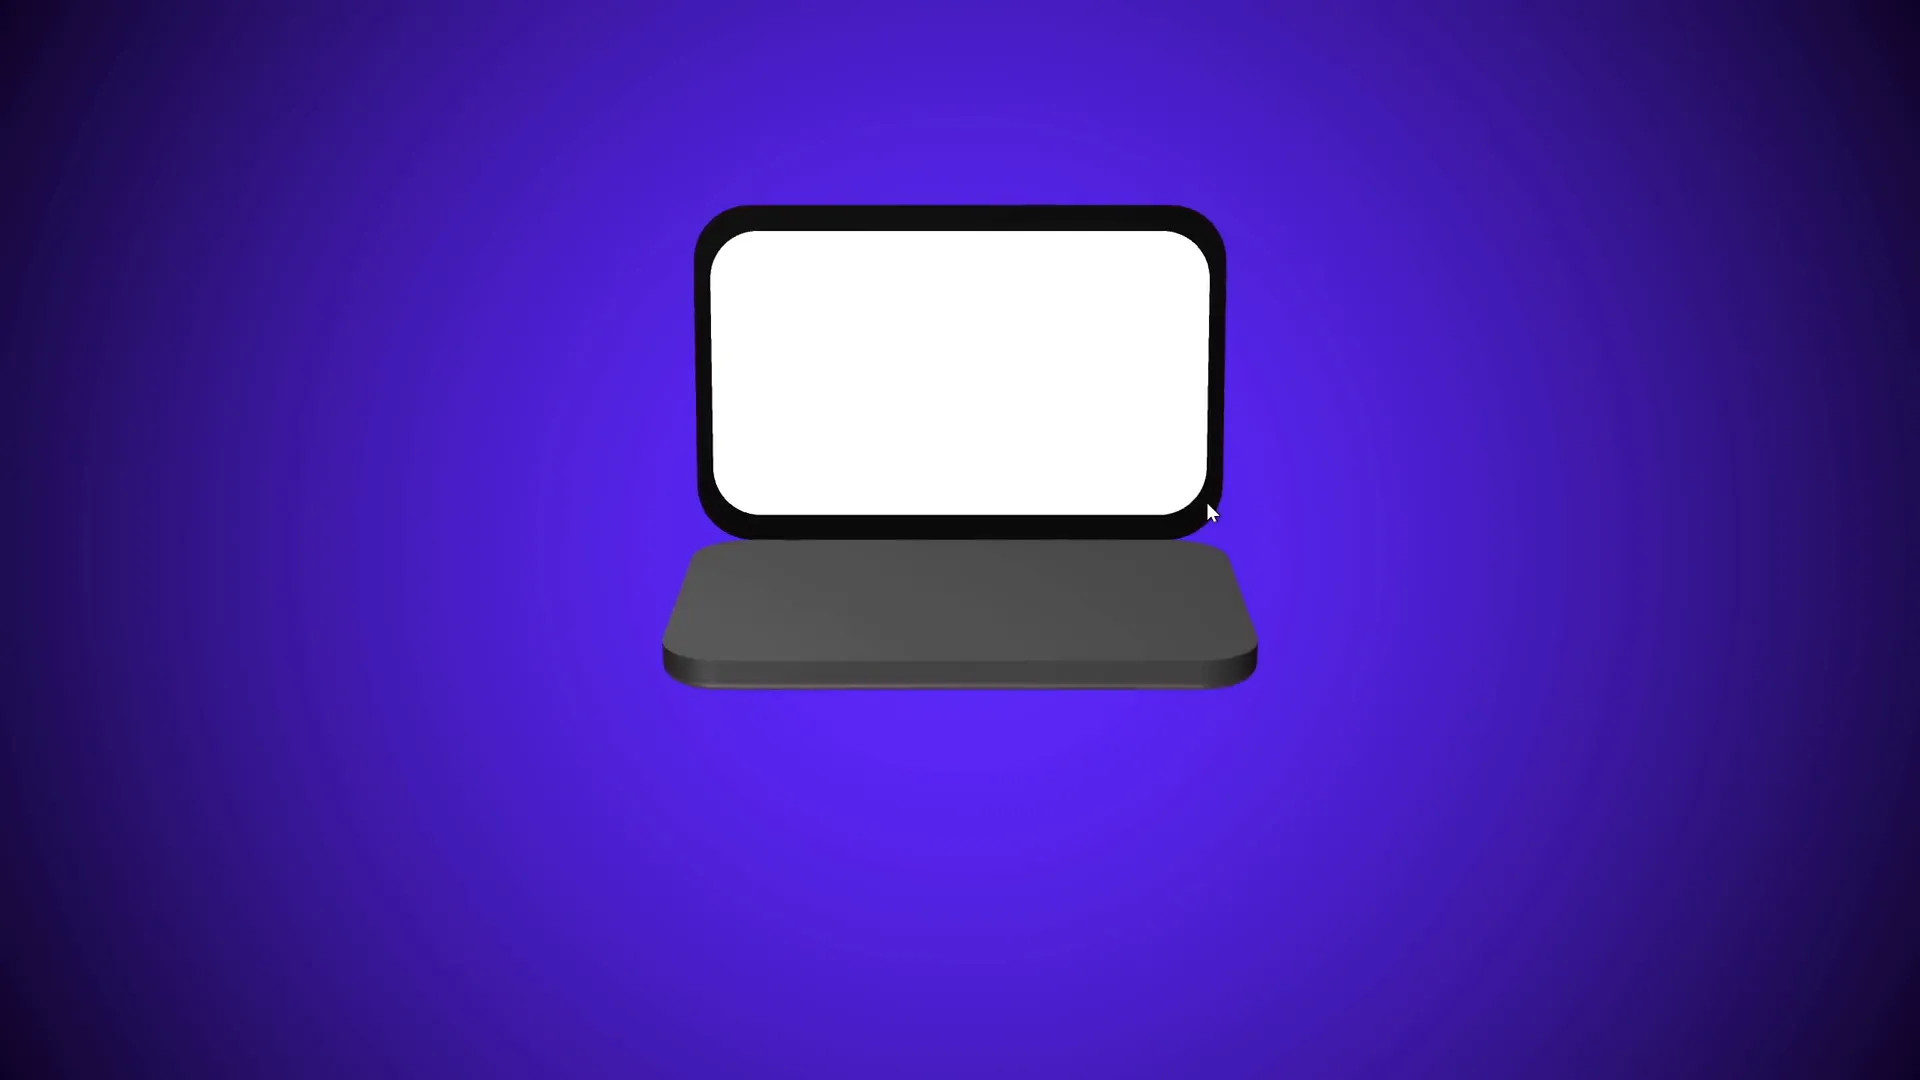
Creating the Laptop Open and Close Animation Using Morph Transition
To animate the laptop opening and closing, we’ll use the powerful Morph transition:
- Ensure the laptop is fully closed by setting the screen’s Y-rotation to 90 degrees and the keyboard’s Y-rotation to 270 degrees.
- Duplicate the slide.
- On the duplicate, set the screen’s Y-rotation to 0 degrees (fully open).
- Adjust the keyboard’s Y-rotation slightly to 290 degrees to simulate the opening movement.
- Apply the Morph transition to the duplicate slide with a duration of 2 seconds.
- Test the animation by running the slideshow and navigating between the two slides. The laptop should smoothly open and close.
This technique leverages PowerPoint’s morphing capabilities to create a dynamic, professional-looking animation without complex keyframe work.
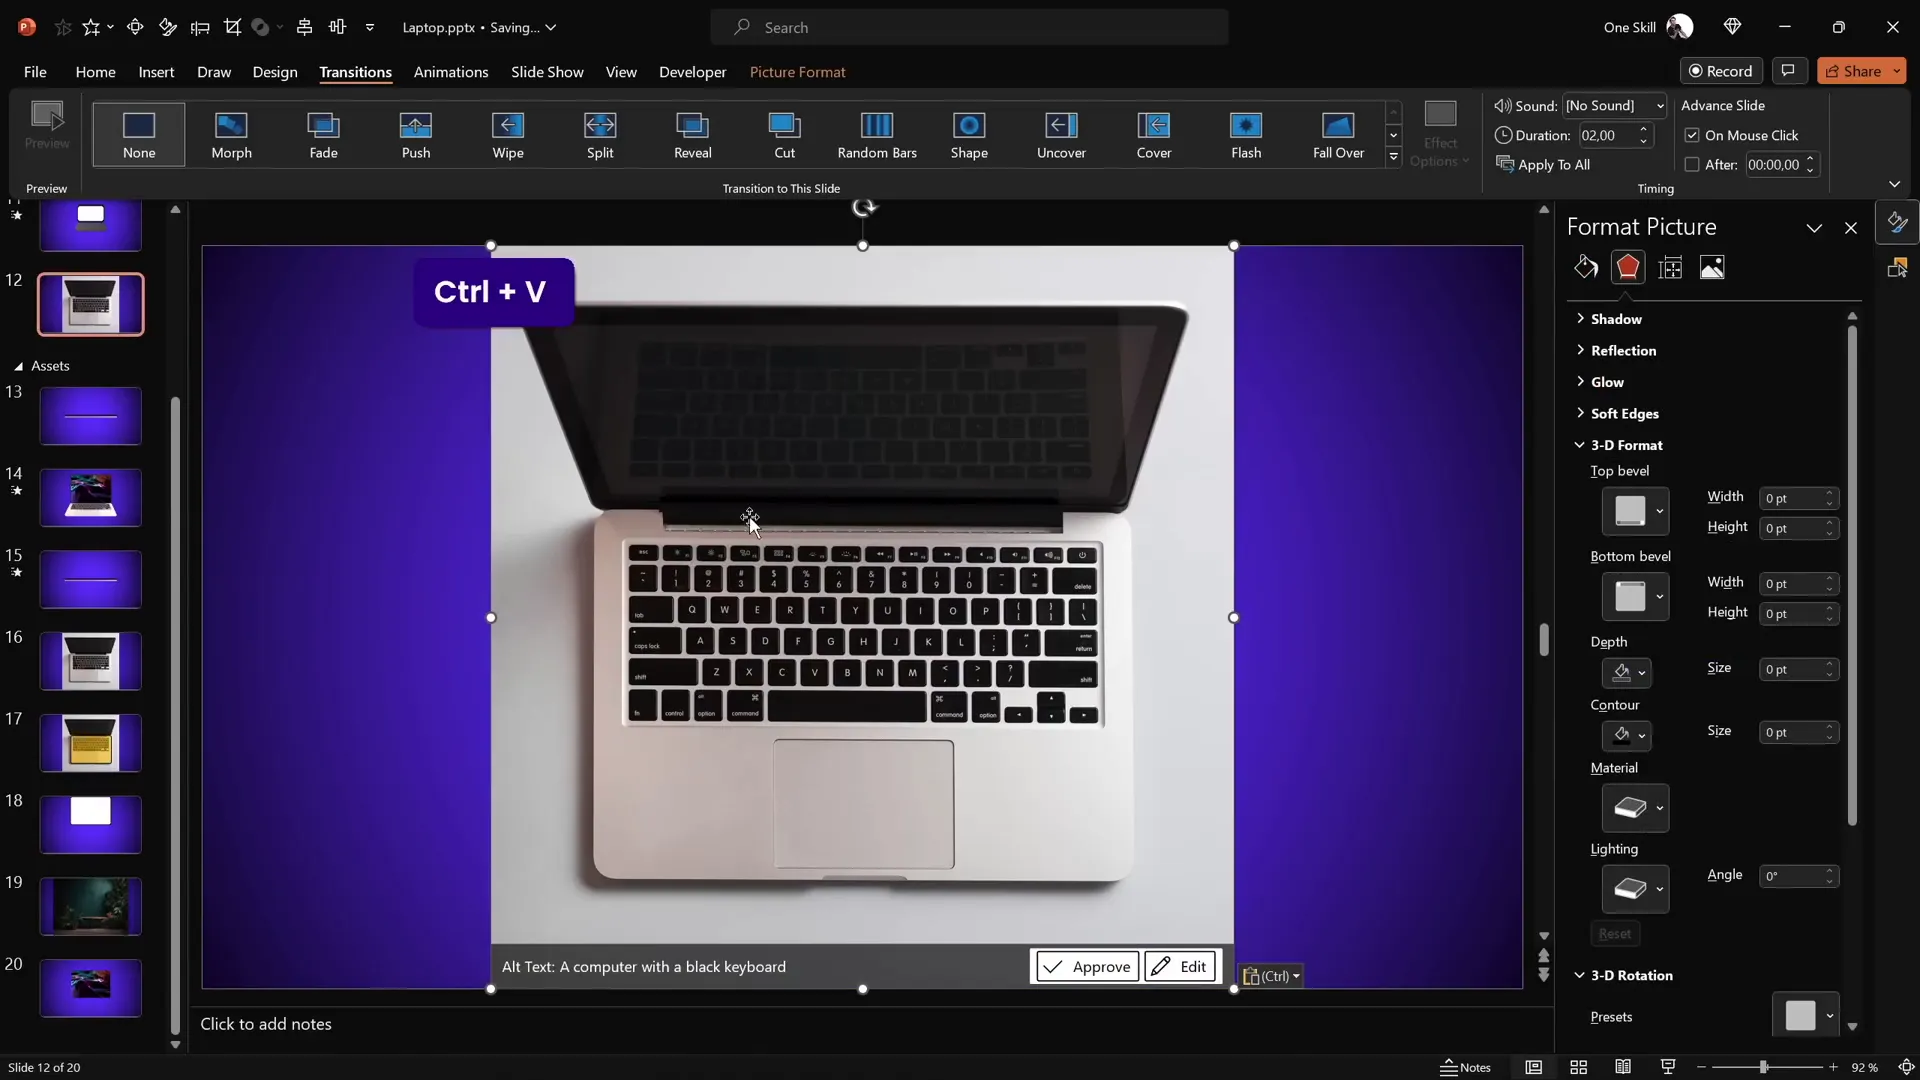
Crafting a Realistic Laptop Using a Photo
For a more authentic look, you can replace the simple shapes with a real laptop photo:

- Insert a top-view laptop photo onto a new slide. Thanks to Freepik for providing quality images.
- Use the Rounded Rectangle tool to draw over the keyboard section.
- Select both the photo and the rectangle, then use Merge Shapes > Intersect to cut out the keyboard shape.
- If you want to save time, you can prepare this shape beforehand and paste it.
- Align the keyboard cutout centrally on the slide.
- Create a transparent rectangle with the same dimensions for the new rotation center.
- Group the keyboard shape and the transparent rectangle.
- Apply the same 3D perspective rotation and depth as before (depth 3 points, bevel 5 points).
This approach gives your animation a photorealistic edge while retaining full control over rotation and animation.
Preparing the Screen for Realistic Animation
For the screen:
- Use the same rounded rectangles (black and white) as before.
- Ensure the black rectangle matches the keyboard cutout dimensions for seamless alignment.
- Group the screen shapes and duplicate them to set a new rotation center by grouping with a transparent copy below.
- Set the bottom screen fill to no fill.
- Apply the perspective rotation preset and adjust Y-rotation to simulate opening.
- Add 3D depth and bevel consistent with the keyboard.
- Close the laptop by setting screen Y-rotation to 90 degrees and keyboard Y-rotation to 270 degrees.
- Duplicate the slide and apply the morph transition with a 2-second duration.
- Open the laptop on the duplicated slide by setting the screen Y-rotation to 0 degrees and keyboard Y-rotation to 290 degrees.
Again, this process ensures the photo-based laptop animates just as smoothly and realistically as the simple shape version.
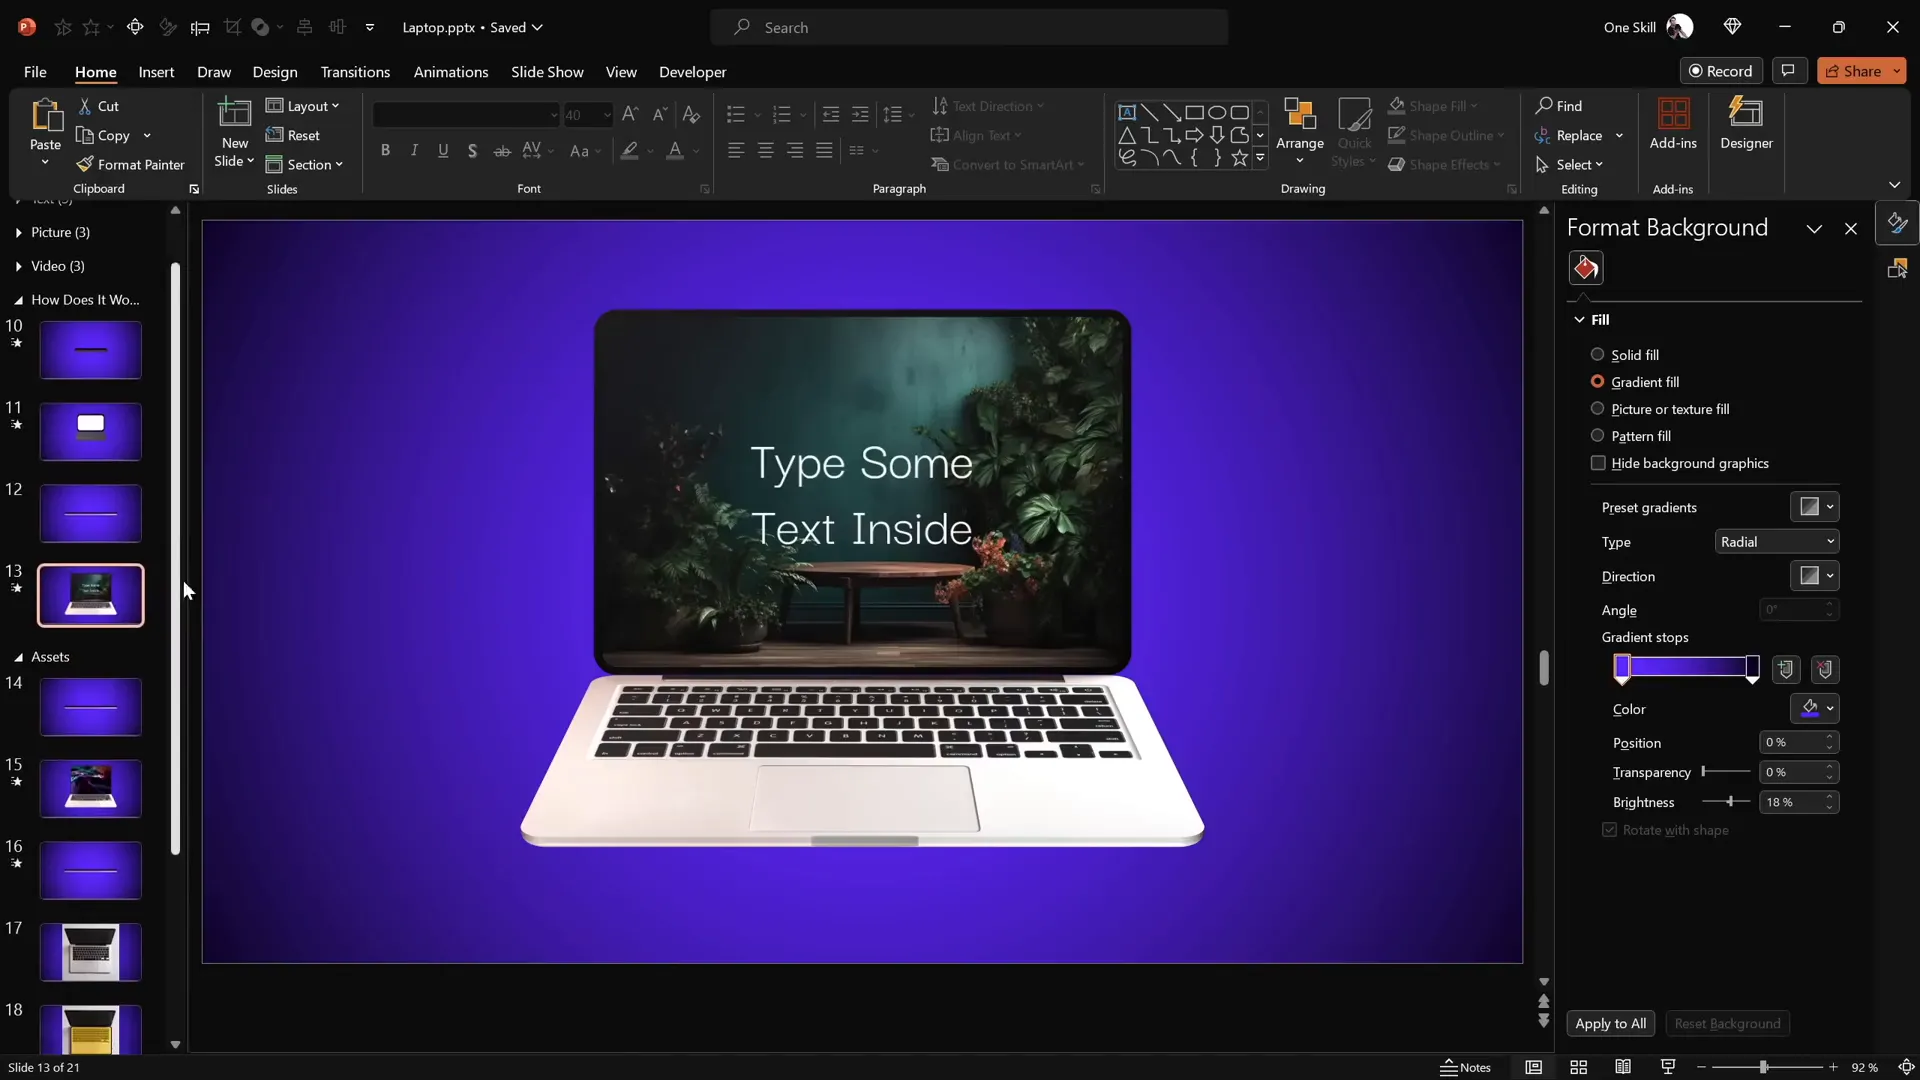
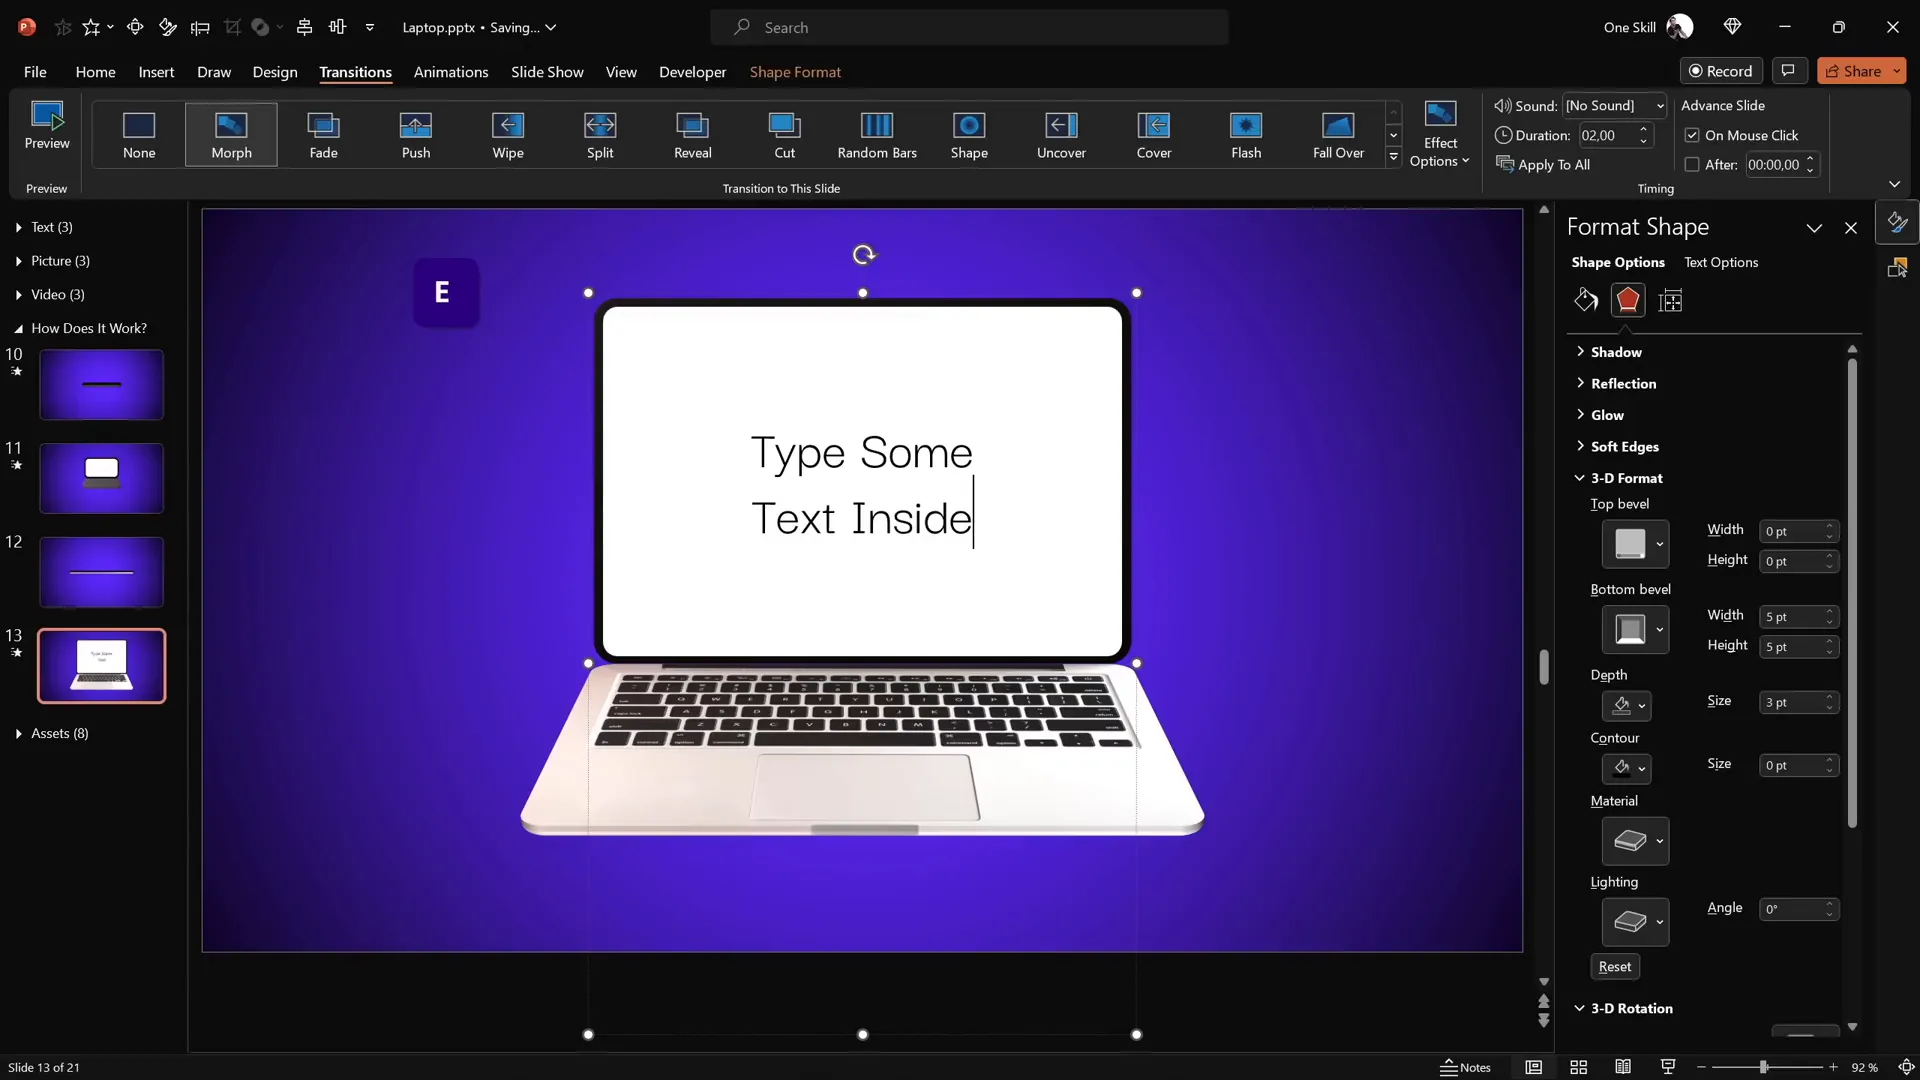
Customizing the Laptop Screen: Adding Text, Pictures, and Videos
One of the best features of this animation is its customizability. The screen is essentially a shape that can contain any content you like:
Adding Text
Double-click the white screen shape to insert text. This could be a title, bullet points, or any message you want to display on the laptop screen.
Copy the text content and paste it onto both the closed and open laptop slides, ensuring consistency during the morph transition.
Inserting Pictures
To insert an image inside the laptop screen:
- Copy your desired image (e.g., from Freepik or your own assets).
- Select the white screen shape.
- In the Format Shape > Fill options, choose Picture or Texture Fill.
- Paste the image from the clipboard to fill the screen.
- Adjust font colors if you have overlaying text to ensure readability.
- Copy the formatted screen and paste the style onto the corresponding screen on the other slide for smooth morphing.
Embedding Videos
Embedding videos is also possible, making your animation even more dynamic:
- Insert a stock video via Insert > Video > Stock Videos (available in PowerPoint 365).
- Crop the video to match the white screen shape by duplicating the screen shape, aligning it over the video, and using Merge Shapes > Intersect.
- Copy the video and paste it as a picture fill inside the screen shape.
- Paste the actual video over the screen and align precisely.
- Add animation effects: a fade-in that starts with the slide and lasts 1 second, and set the video to play automatically.
This setup allows the laptop animation to showcase not just static content but also dynamic media, greatly enhancing the impact of your presentation.
Tips for Mastering PowerPoint Animations
Creating animations like this laptop open effect involves understanding a few key PowerPoint features:
- 3D Rotation Presets: Use these to add perspective and depth to shapes, giving a pseudo-3D look.
- Changing Rotation Centers: Grouping duplicates of objects helps shift the rotation axis for more natural movement.
- Morph Transition: A powerful feature that animates smooth transitions between slides with matching objects.
- Merge Shapes: Useful for cutting precise shapes from images or combining shapes creatively.
- Picture and Video Fills: Fill shapes with images or even video frames to create dynamic content areas.
By combining these techniques, you can build complex animations that look professionally crafted without needing external software.
Conclusion: Unlock Your Creativity with PowerPoint
Now you have a comprehensive understanding of how to create a beautiful, customizable 3D laptop animation in PowerPoint. From basic shapes to photo-realistic images and embedded videos, this method opens up a world of possibilities for engaging presentations.
The key takeaway is that with a bit of creativity and mastery of PowerPoint’s advanced features like 3D rotation and morph transitions, you can produce animations that captivate your audience and elevate your storytelling.
Whether you’re a beginner or looking to refine your animation skills, I encourage you to explore these techniques and experiment with your own designs.
Happy animating and remember: the time has come to create all of the PowerPoint animations you have ever wanted. Let’s go!
Frequently Asked Questions (FAQ)
Can I use this laptop animation in any version of PowerPoint?
This animation relies on features like 3D rotation presets and Morph transition, which are available in Microsoft PowerPoint 365 and newer versions. Older versions may not support all effects.
Is the laptop a 3D model?
No, the laptop is not a 3D model. It’s created using simple shapes enhanced with 3D depth effects and perspective rotation to simulate a 3D look.
Can I customize the content inside the laptop screen?
Absolutely! You can insert text, pictures, or even videos inside the laptop screen shape to tailor the animation to your presentation needs.
How do I change the rotation axis of a shape in PowerPoint?
By grouping your shape with a duplicate positioned strategically, you can create a new rotation center, allowing the object to rotate along a different edge or point.
What is the Morph transition and how does it work?
The Morph transition animates smooth transformations between two slides with matching objects. By adjusting object properties like position, rotation, and size on the second slide, Morph animates the changes seamlessly.
Where can I find stock photos and videos for my presentations?
You can find free stock photos and videos on platforms like Freepik. PowerPoint 365 also offers built-in stock videos accessible via the Insert tab.
Can I apply these animation techniques to other objects besides laptops?
Definitely! The principles of 3D rotation, changing rotation centers, and morph transitions can be applied to any shapes or objects in PowerPoint, enabling a wide range of animations.
Check out the full video: PowerPoint Presentation Skills: Creating 3D Laptop Animation ✨


