

Welcome to this detailed guide on creating engaging, cinematic slide designs using PowerPoint’s powerful 3D models and morph transitions. Designed for professionals, educators, and creatives alike, this tutorial will walk you through crafting dynamic presentations that captivate your audience. Inspired by the expert techniques shared by One Skill PowerPoint, this article covers every step, from inserting animated 3D models to building a clickable slide menu for smooth navigation.
If you’ve ever wanted to elevate your PowerPoint presentations beyond static slides, this tutorial is for you. We’ll dive deep into leveraging Microsoft 365’s latest features, including 3D models and morph transitions, to create slides that feel alive and interactive. Whether you’re preparing a corporate pitch, a business strategy deck, or an educational presentation, these techniques will add a cinematic flair that keeps your audience hooked.
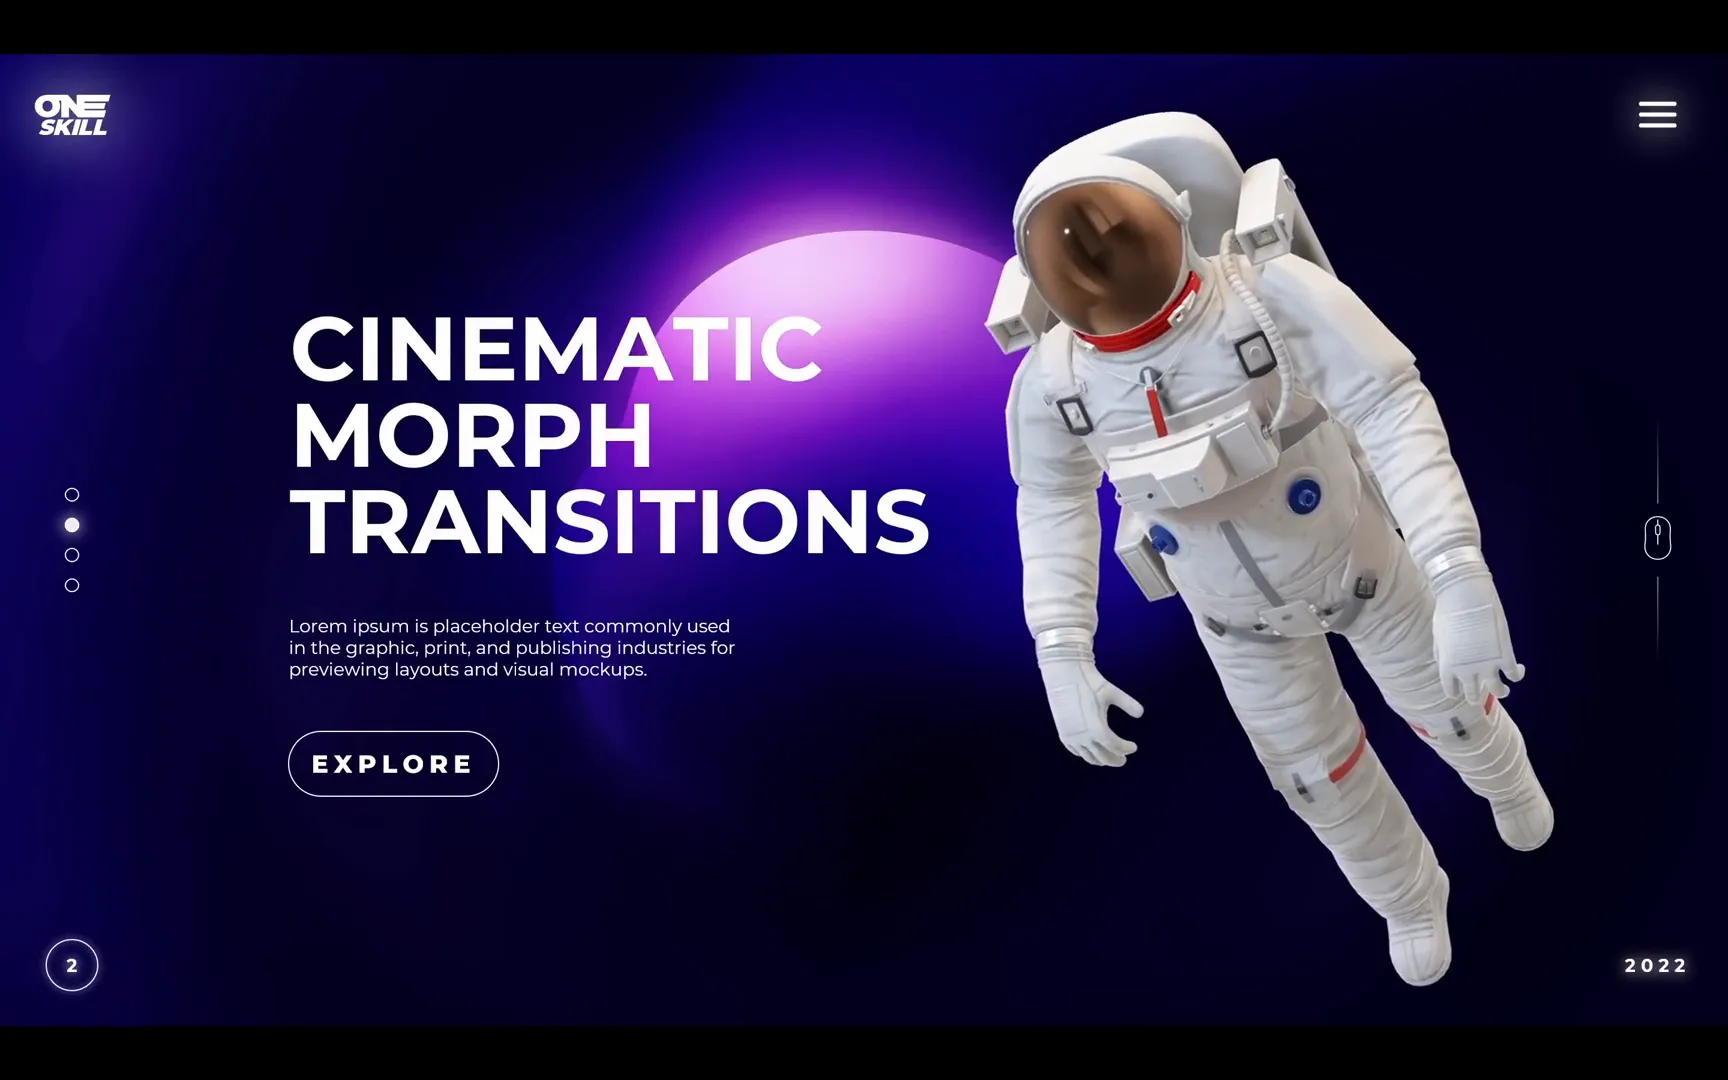
Table of Contents
- Why Use 3D Models and Morph Transitions in PowerPoint?
- Getting Started: Preparing Your Slide and Background
- Inserting and Customizing Animated 3D Models
- Creating Multiple Slides Within One Slide
- Adding Content and Duplicating 3D Models for Each Slide Section
- Implementing Morph Transitions for Cinematic Effects
- Optimizing Animations for Performance
- Previewing Your Cinematic Slides
- Enhancing 3D Model Animations with Rotations and Movements
- Creating a Clickable Slide Scroll Menu
- Testing and Final Adjustments
- Summary and Final Thoughts
- Frequently Asked Questions (FAQ)
- Final Words
Why Use 3D Models and Morph Transitions in PowerPoint?
Traditional slides can sometimes feel flat and uninspiring. By integrating animated 3D models and morph transitions, you transform your presentation into a visual story that flows naturally from one scene to another. The morph transition, in particular, enables seamless movement and transformation of objects across slides, creating a cinema-like effect.
Using 3D models adds depth and realism, making your content more engaging. Animated 3D models can simulate motion, gestures, or actions that emphasize your message without overwhelming your slides with too much text or static images. This approach is especially powerful in business presentations, where visual impact can influence decision-making.
To fully utilize these features, it’s recommended to use PowerPoint 2019 or later, or Microsoft 365, as earlier versions might not support 3D animations or morph transitions effectively.
Getting Started: Preparing Your Slide and Background
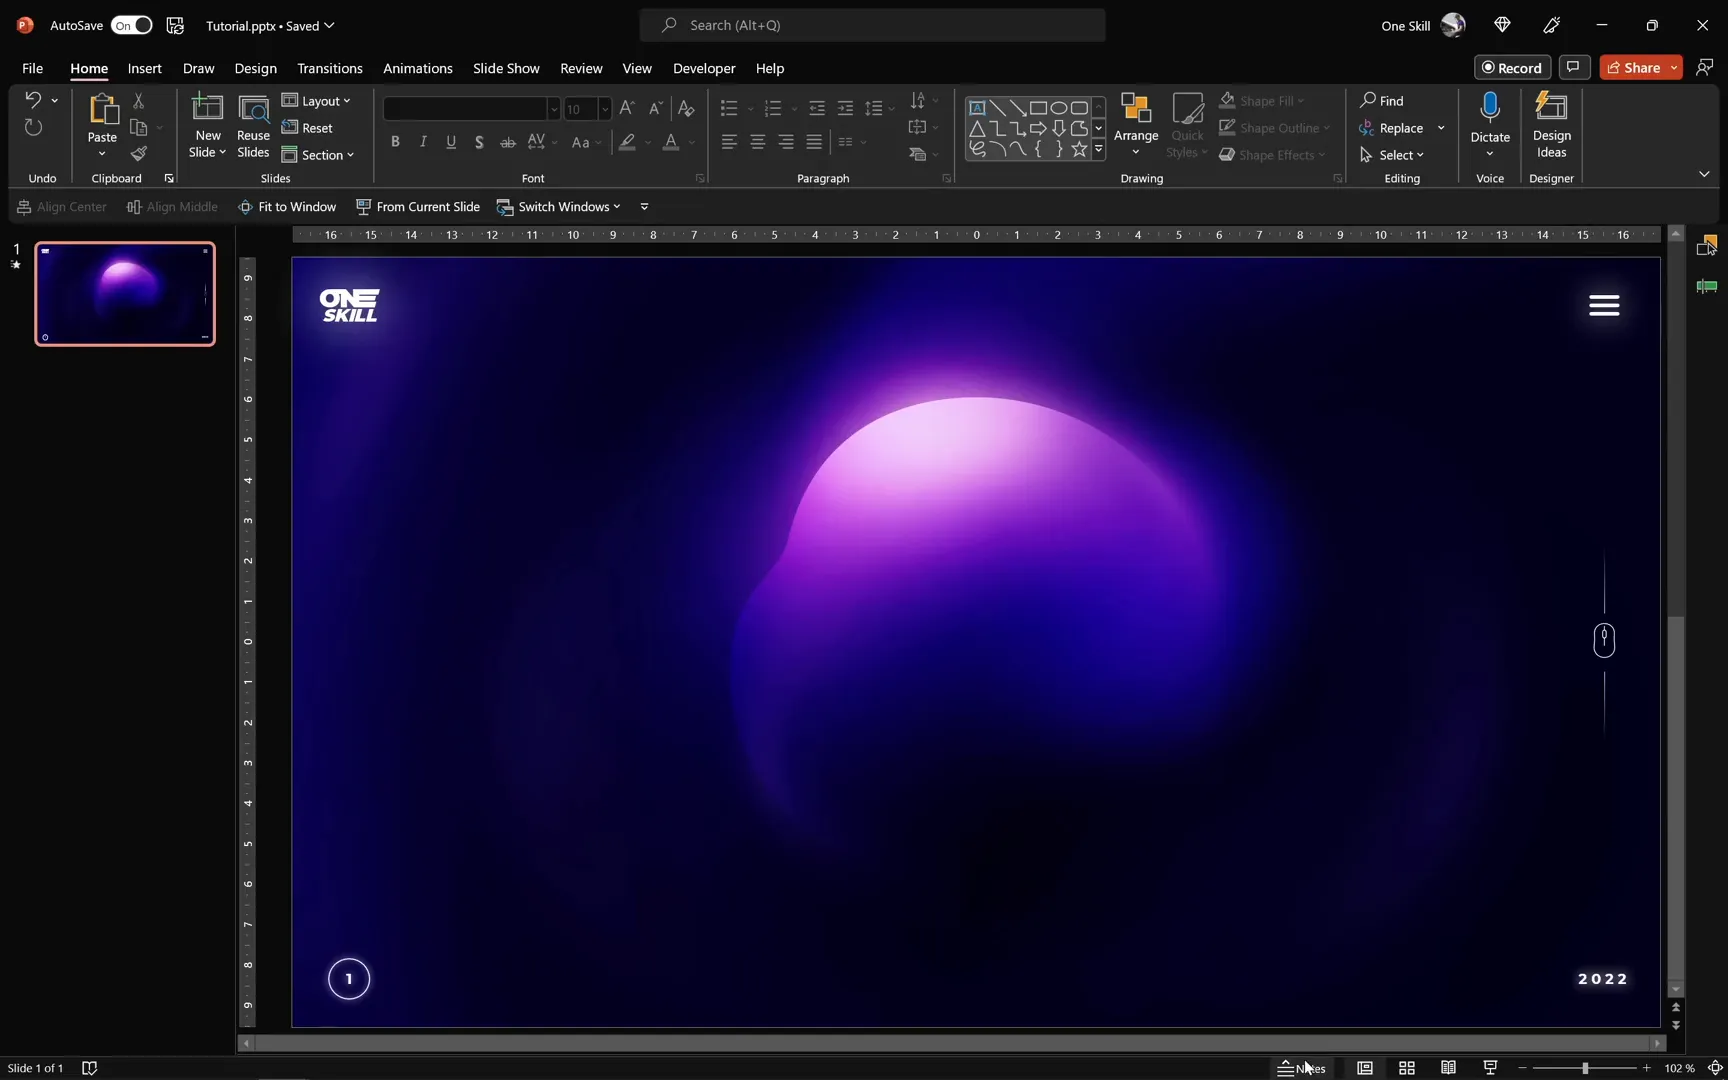
Before adding 3D models, let’s set the stage with a visually appealing background. A high-quality image from Unsplash can serve as an excellent backdrop, adding professional polish without distracting from your animated elements.
For those who want to follow along precisely, free downloadable tutorial slides are often available from creators like One Skill PowerPoint, which can save time and provide a template foundation.
Inserting and Customizing Animated 3D Models
PowerPoint’s built-in 3D model library offers a variety of stock models you can easily insert into your slides. Here’s how to get started with an animated astronaut model as an example:
- Navigate to the Insert tab and select 3D Models.
- Choose from the online stock models and search for “astronaut.”
- Select the model that shows an animation icon, indicating it has built-in animations.
- Click Insert to place the model on your slide.
Once inserted, use the white handle in the middle of the model to rotate it freely, and the rotation handle at the top to tilt it. This allows you to position your model perfectly within your slide design.
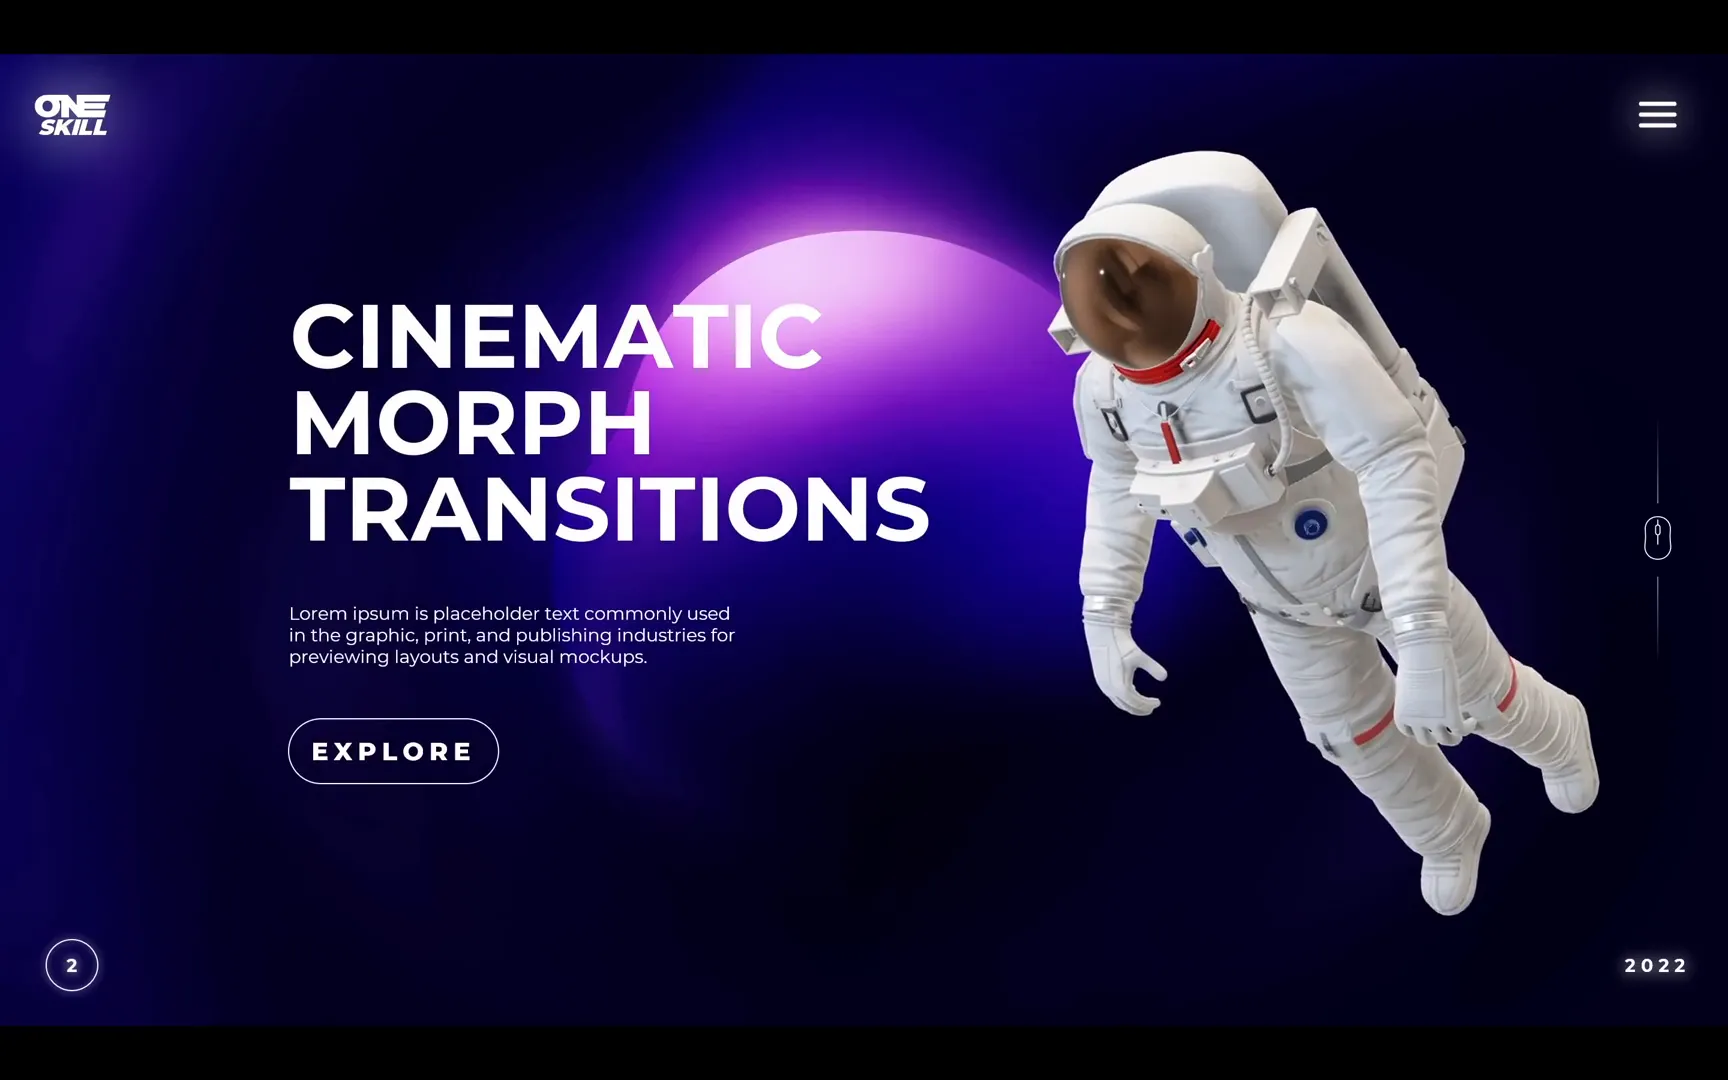
Click the play button on the 3D model to preview its animations. For the astronaut, you might see scenes like floating, looking around, waving, and running. Choose the animation that best fits your slide narrative; in this case, we’ll start with the floating scene.
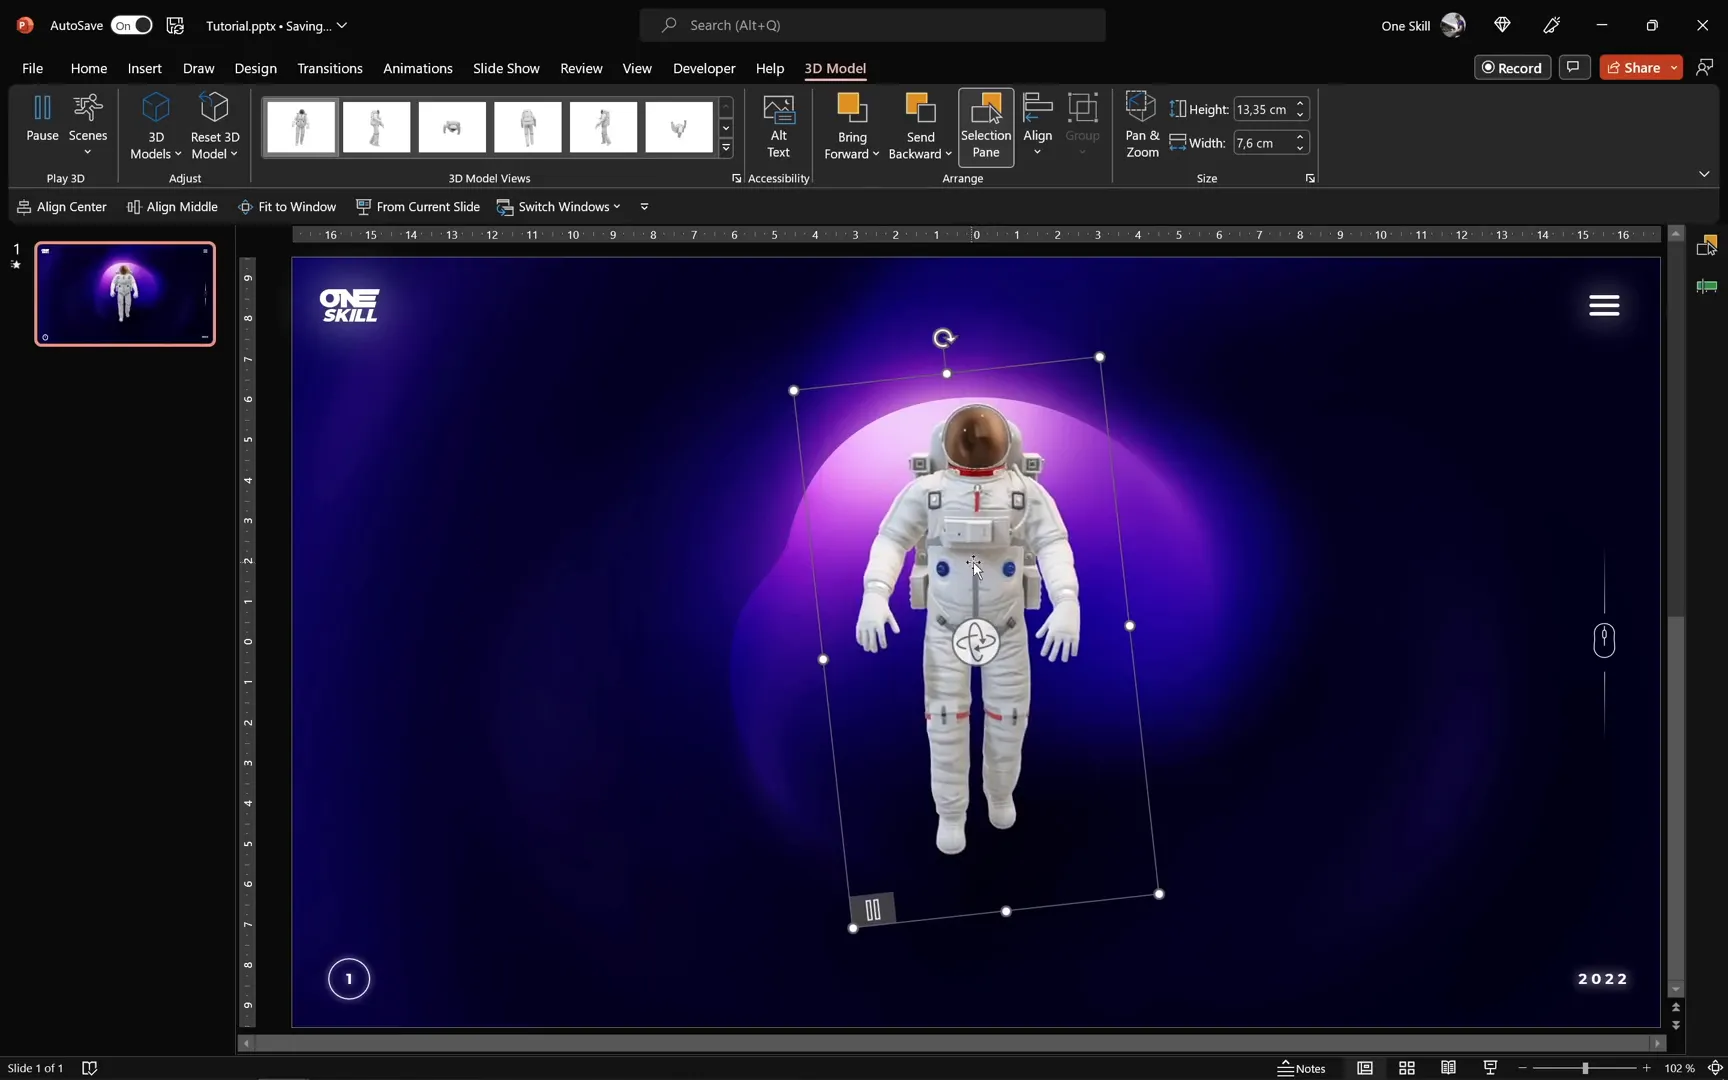
Why Naming 3D Models Matters
When working with multiple 3D models and morph transitions, naming each model systematically is crucial. Prefixing names with double exclamation marks (e.g., !!floating) helps PowerPoint distinguish between models during animations and transitions. This small step ensures smoother morph effects and easier management of slide elements.
After naming, position your model thoughtfully on the slide. For instance, place the astronaut on the left side and resize as needed to maintain balance with your text and other elements.
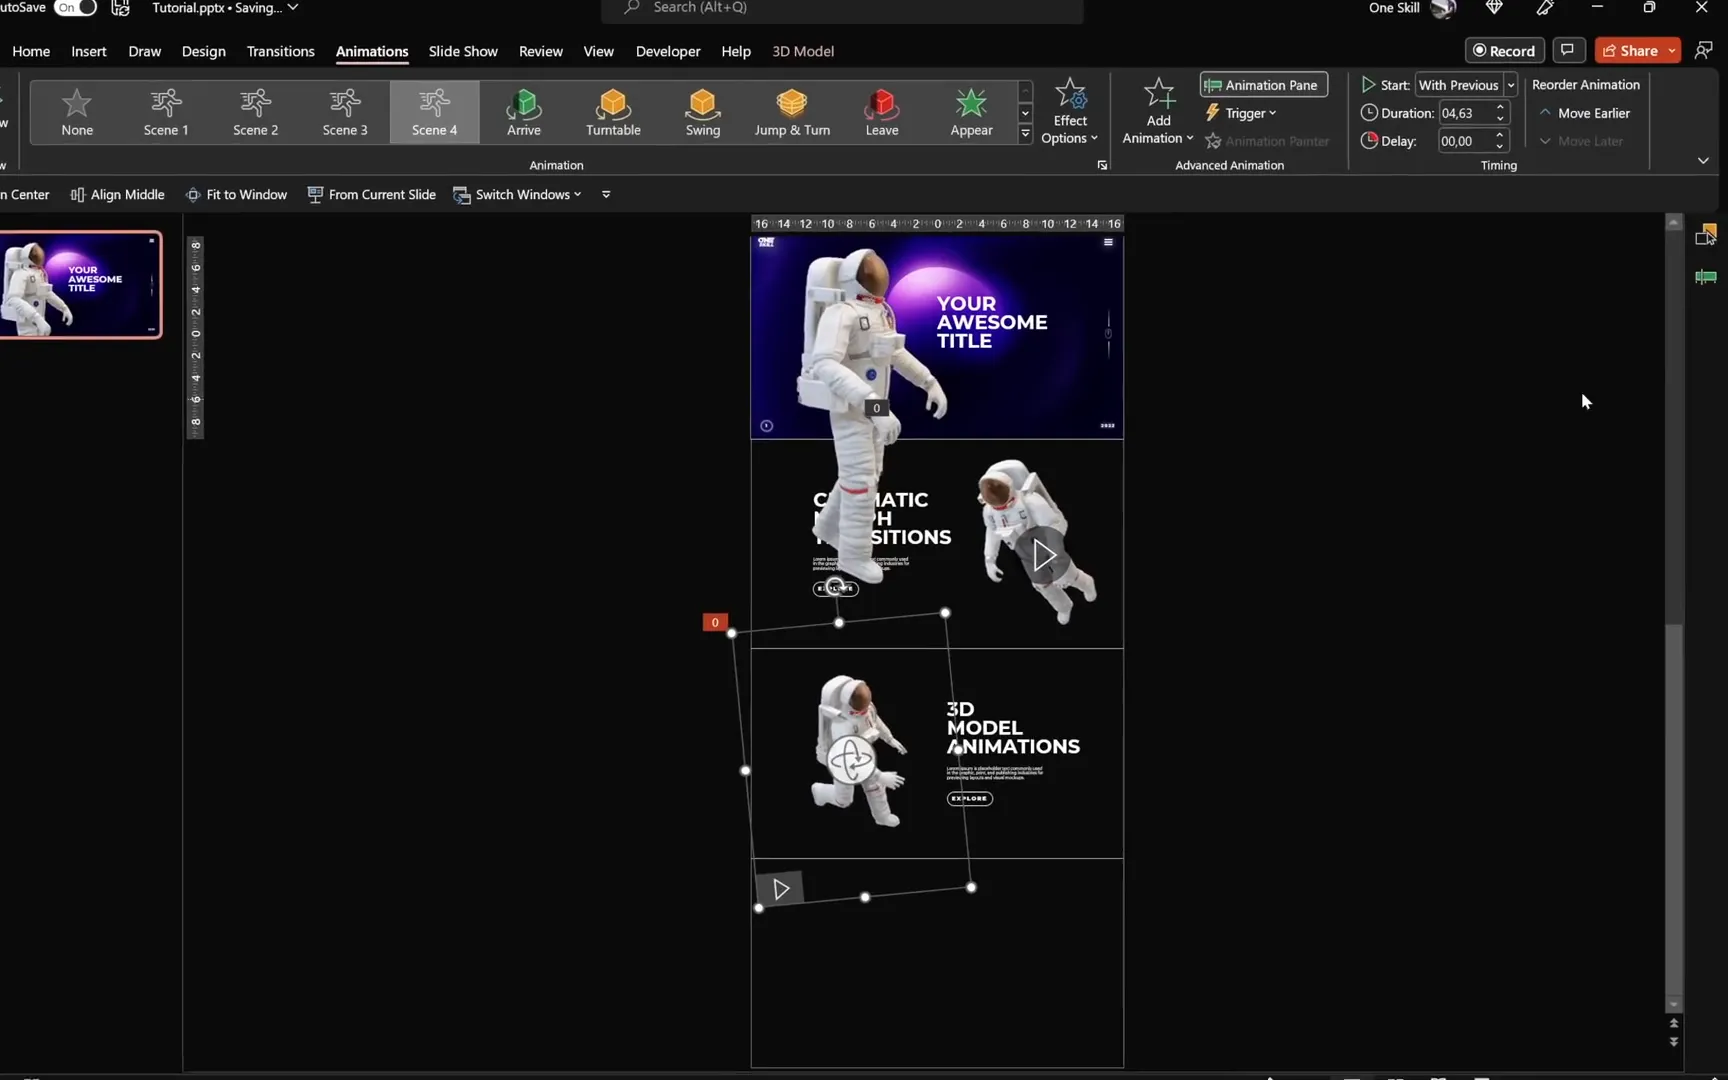
Creating Multiple Slides Within One Slide
This technique might sound unconventional, but creating multiple “sub-slides” inside a single PowerPoint slide opens up new creative possibilities. Here’s how to do it:
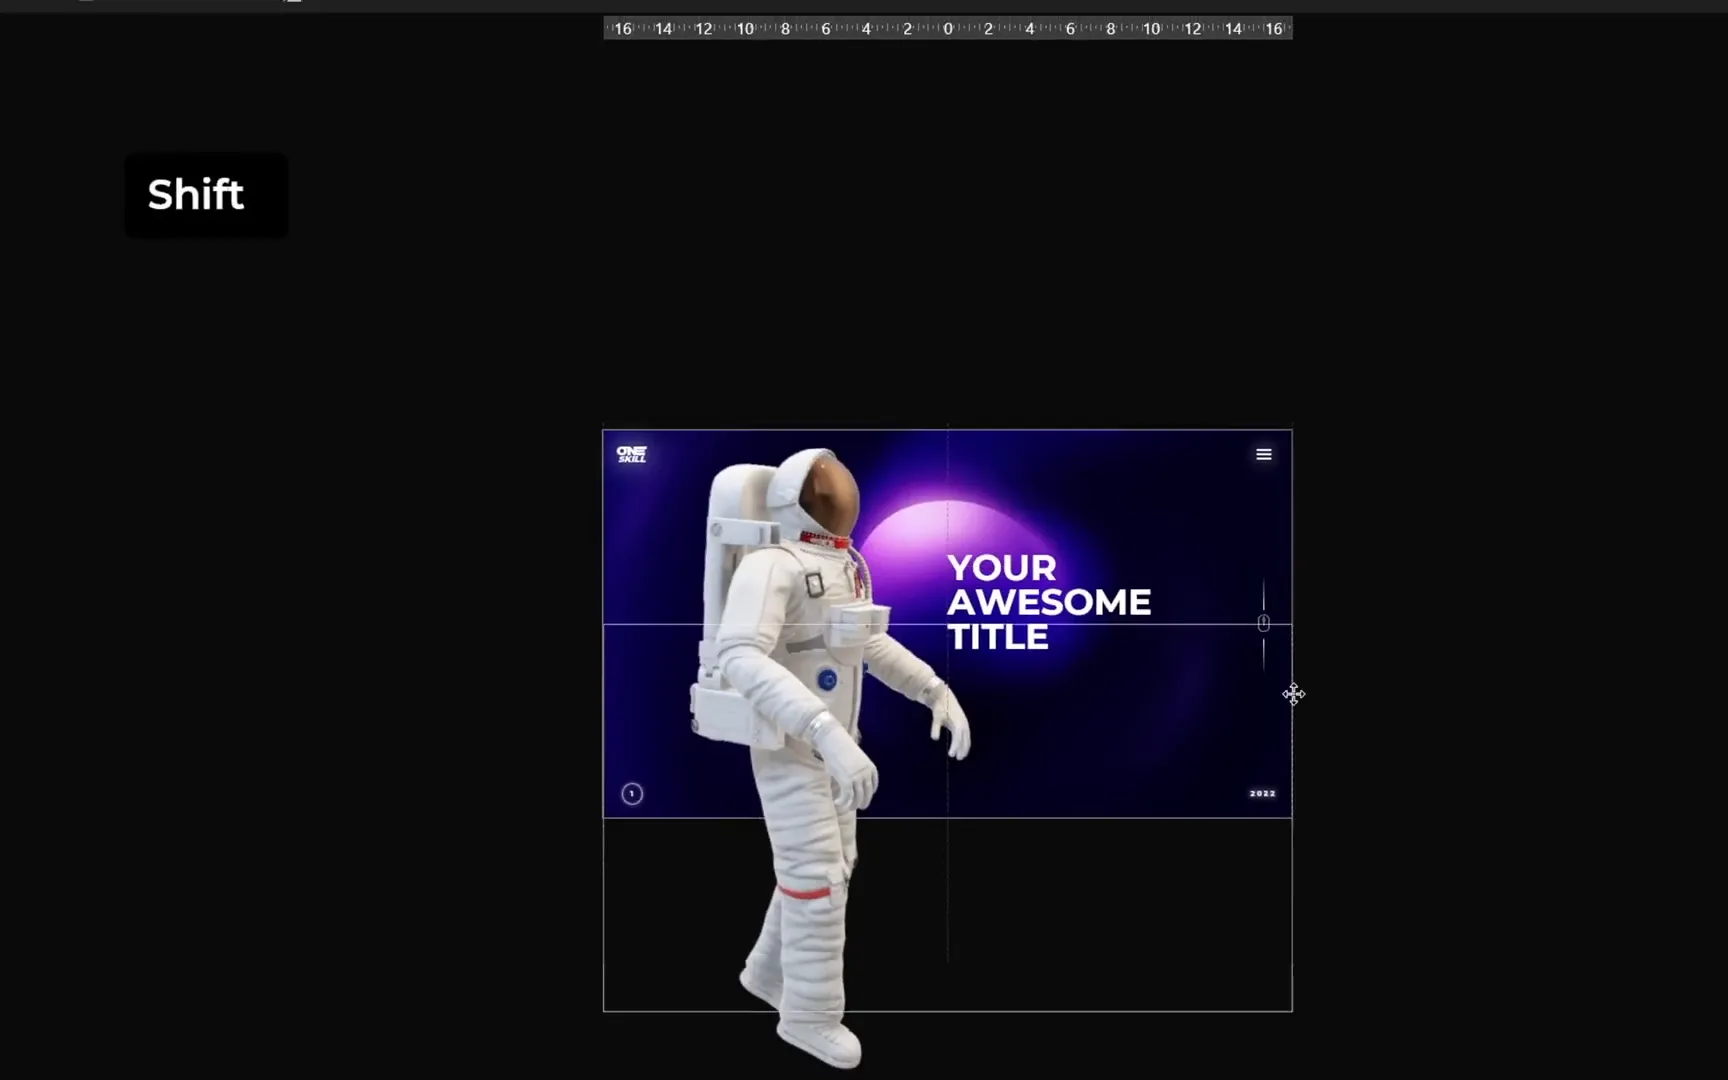
- Insert a rectangle shape that covers the entire slide.
- Hold the Shift key and drag the rectangle down to extend it beyond the first slide area, effectively creating a vertical stack.
- Duplicate the rectangle three more times, positioning each below the last, so you have four rectangles stacked vertically.
Each rectangle acts as a frame for a different “slide” within your main slide. This setup allows you to simulate multiple slides with unique content but contained within one slide’s structure. It’s perfect for adding variety without navigating away from a single slide.
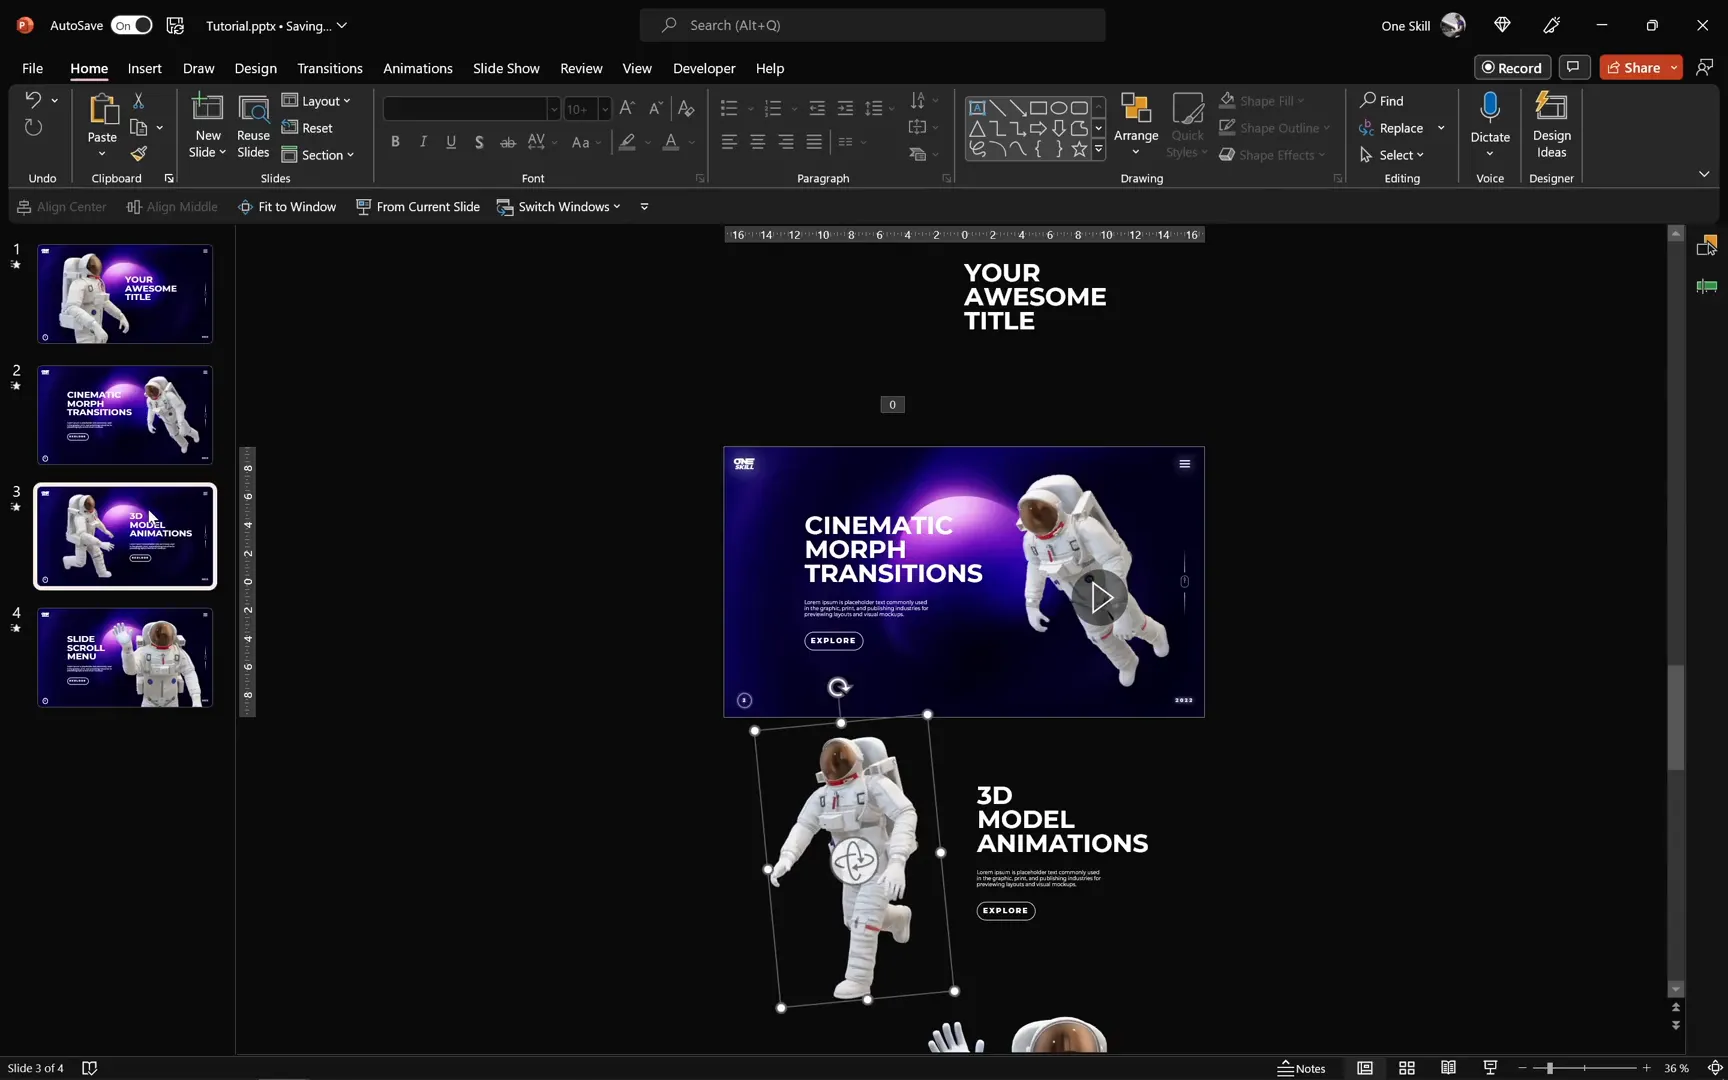
Adding Content and Duplicating 3D Models for Each Slide Section
With your slide frames in place, add unique content to each. Use text boxes copied from previous slides or create new ones to maintain design consistency. Position these text elements within each rectangle frame.
For the 3D models, duplicate the astronaut model and customize each copy per slide section:
- Rotate or resize the model.
- Change animation scenes (e.g., floating, running, waving).
- Position the model on different sides to create visual interest.
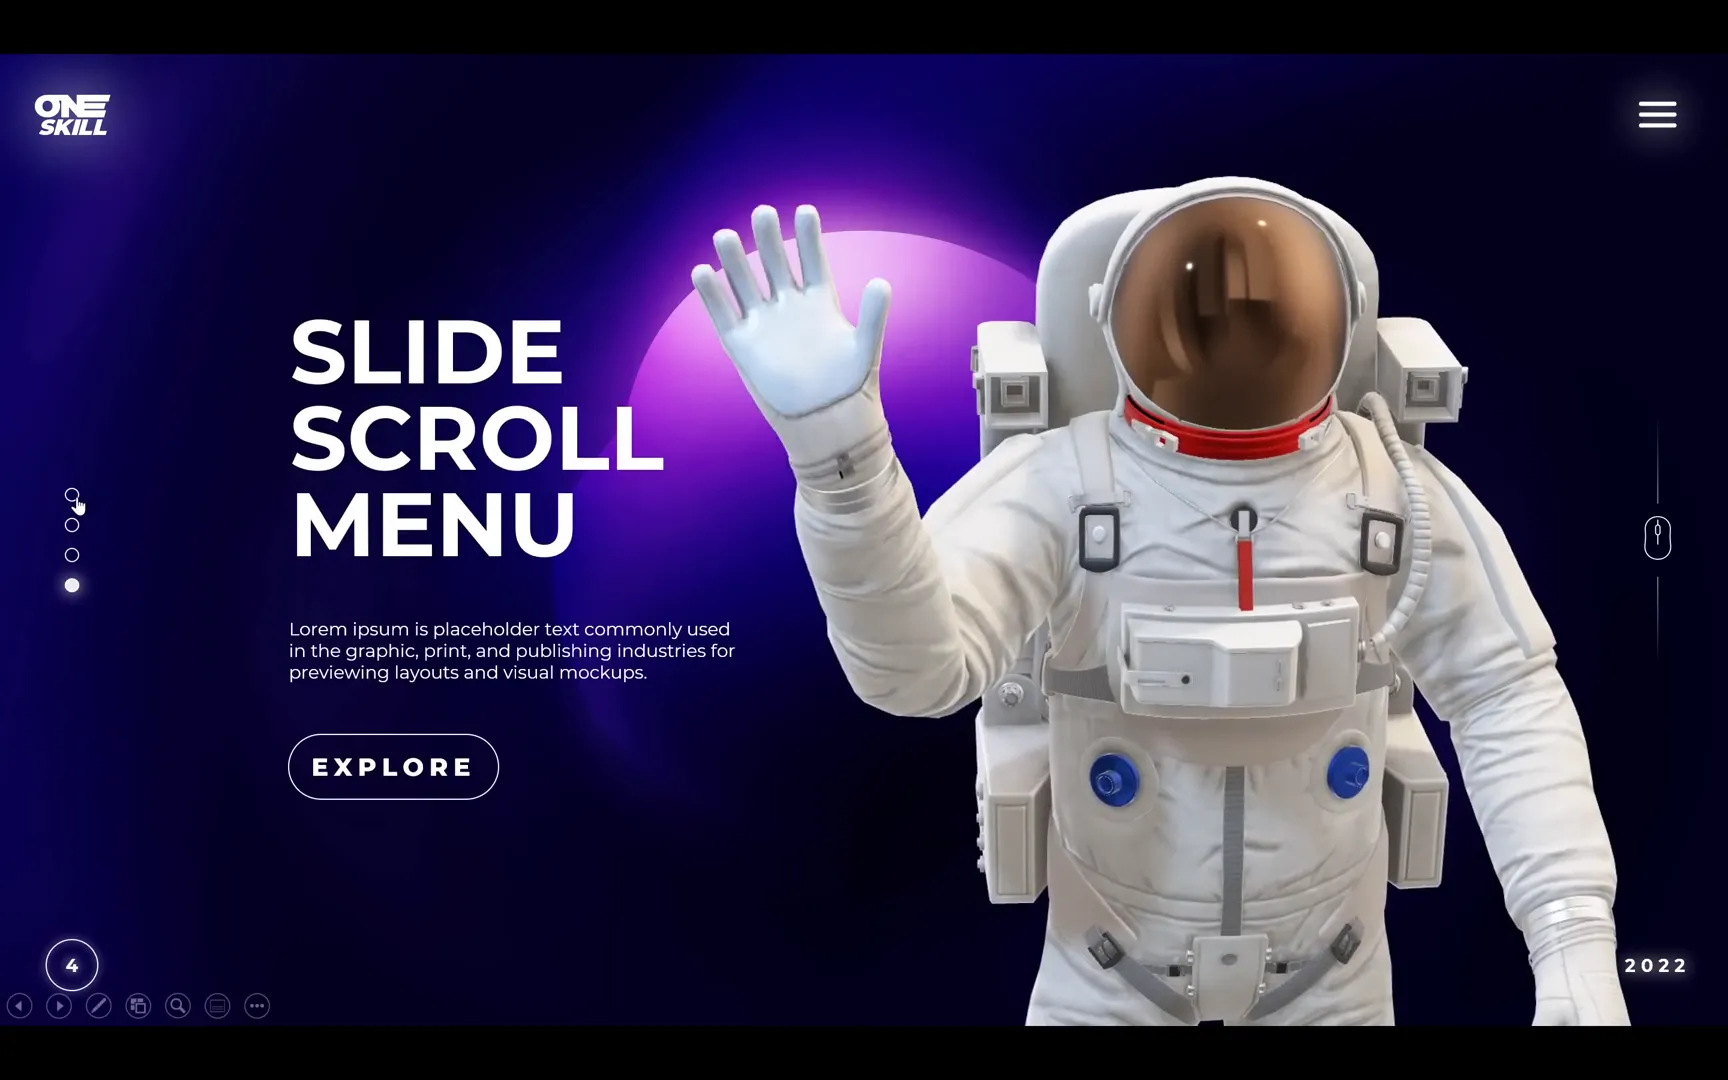
For example, on slide two, place the astronaut on the right side with a floating animation. On slide three, rotate the astronaut to the right and switch to the running animation. On slide four, show the astronaut waving on the right side. This variation keeps your slides dynamic and engaging.
Layer Management and Naming
Use the selection pane to organize the layering order of your elements. Ensure 3D models remain on top of text boxes for visibility. Rename each model based on its animation, such as “running” or “waving,” to keep everything clear and manageable.
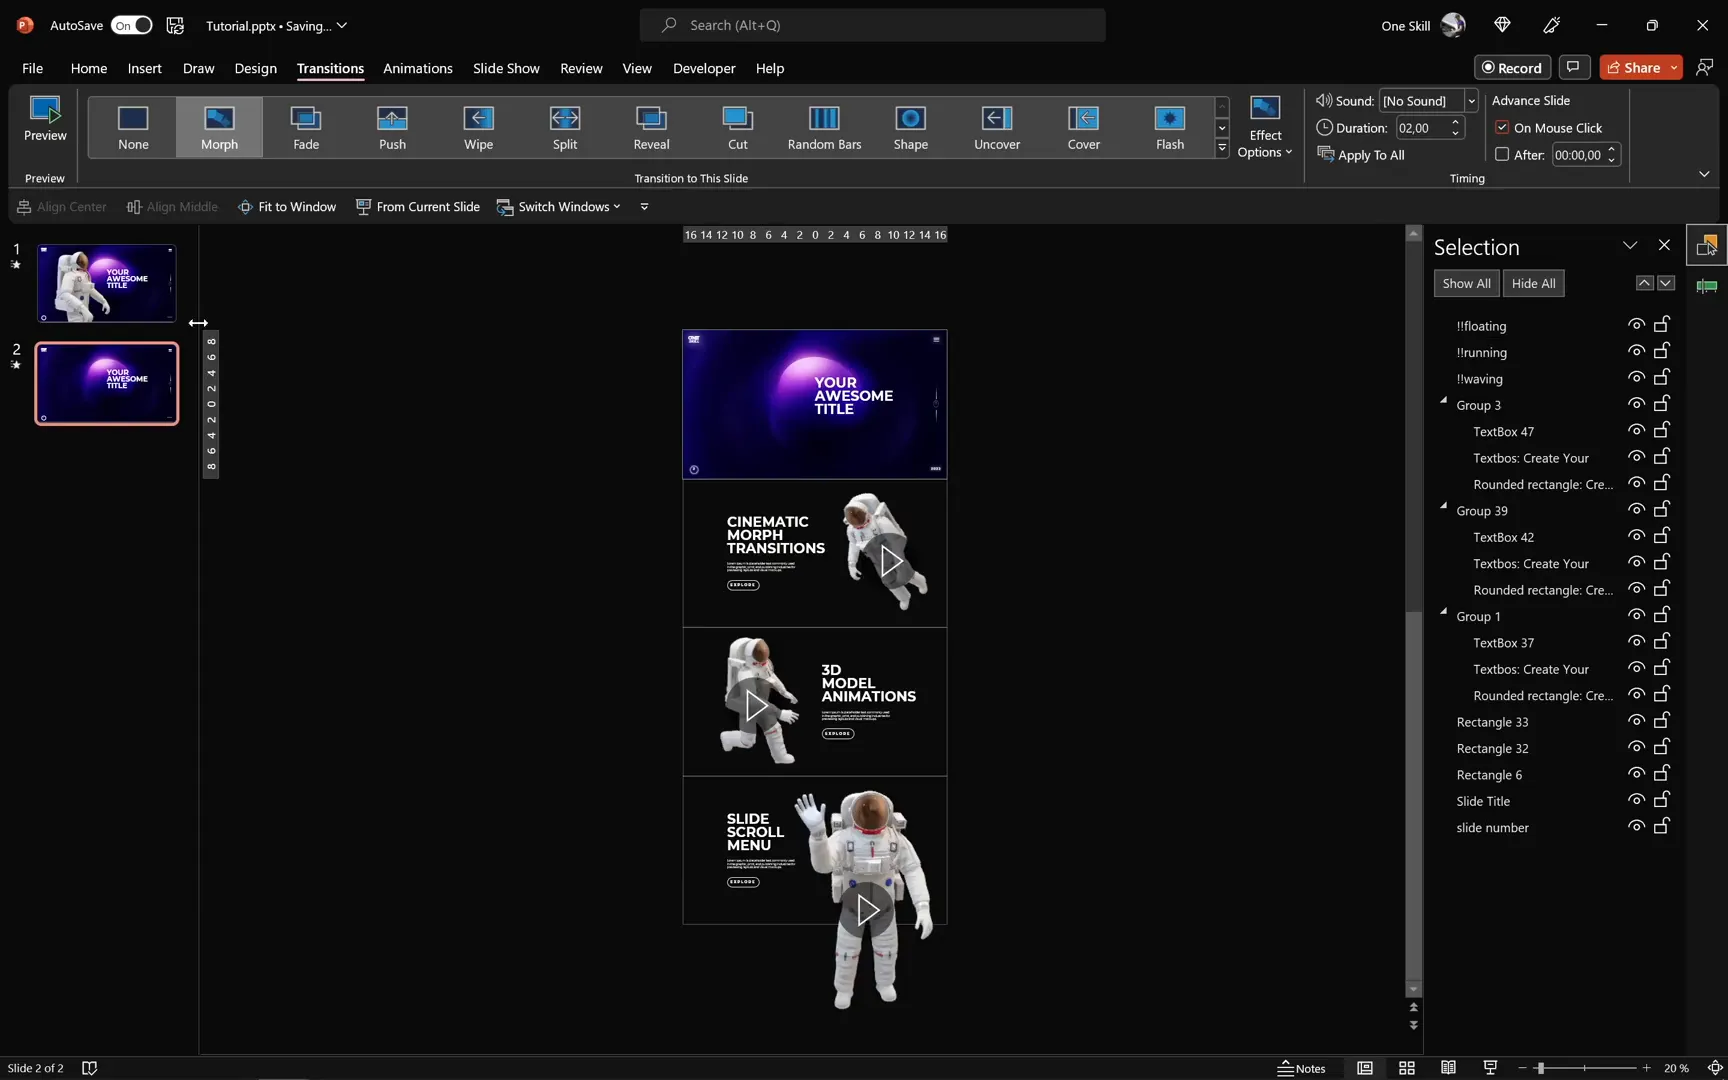
Implementing Morph Transitions for Cinematic Effects
The morph transition is the secret sauce for smooth, cinematic animations between slides. Here’s how to set it up:
- Go to the Transitions tab and select Morph.
- Set the transition duration to around two seconds for a smooth effect.
- Duplicate your first slide.
- On the duplicated slide, delete the 3D model that overlaps with the previous slide’s model to avoid duplication during the transition.
- Repeat this process for subsequent slides, adjusting content and models accordingly.
- Use the selection pane to hide the rectangle frames used as slide boundaries to keep your slides clean.
The morph transition will animate the movement of your 3D models and content from one slide to the next seamlessly, creating a flowing cinematic experience.
Optimizing Animations for Performance
Working with multiple animated 3D models can be demanding on your computer. To optimize performance:

- Review the animation pane on each slide.
- Remove animations from background 3D models that aren’t visible to reduce processing load.
- Keep only essential animations active to maintain smooth transitions.
These steps help PowerPoint run your presentation more efficiently, preventing lag or stuttering during playback.
Previewing Your Cinematic Slides
Once your slides and animations are set, run the slideshow to see your work in action. Watch as the astronaut model floats, runs, waves, and moves smoothly between positions thanks to the morph transition. This preview helps you identify any timing or positioning tweaks needed.
Enhancing 3D Model Animations with Rotations and Movements
To add extra flair, tweak the rotation and movement of your 3D models between slides:
- On slide three, rotate the waving astronaut slightly to the left.
- On slide four, rotate the running astronaut to the right.
- Between slides two and three, rotate and move models subtly to create dynamic visual interest.
These small adjustments make your animations feel more natural and engaging, enhancing the cinematic quality of your presentation.
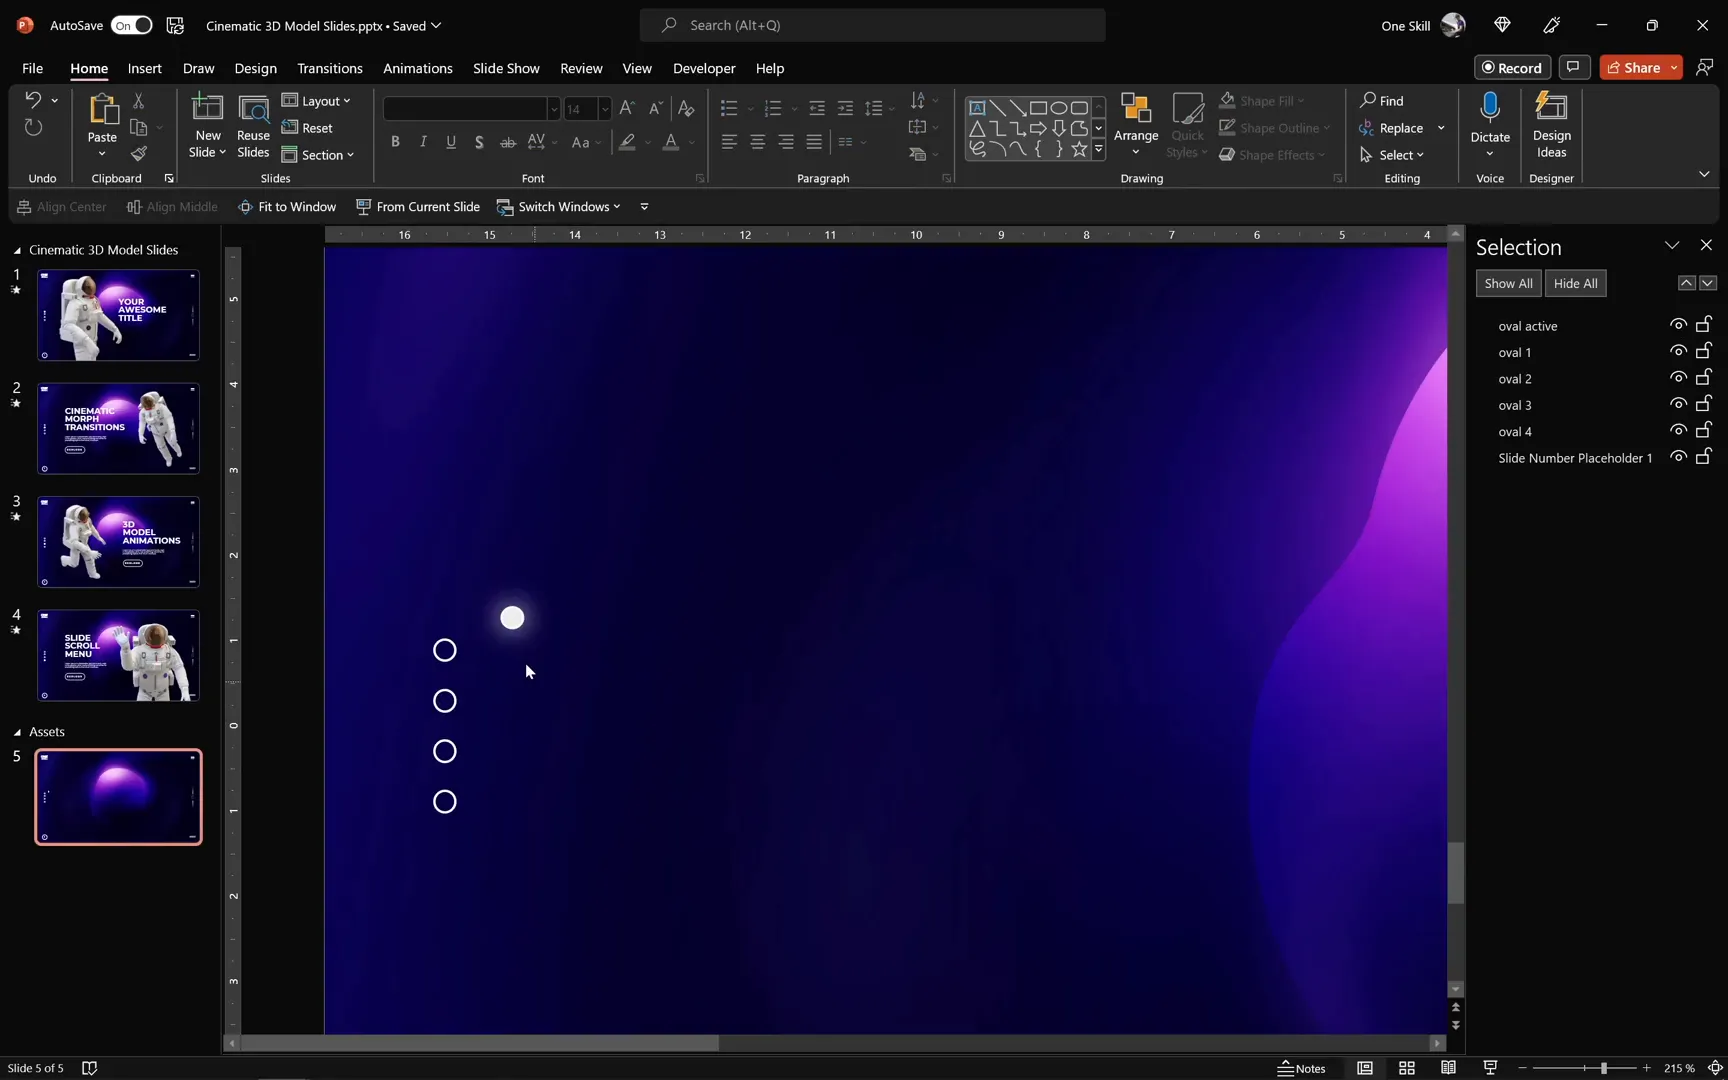
Creating a Clickable Slide Scroll Menu
To improve navigation and interactivity, build a clickable scroll menu that lets viewers jump between slides effortlessly. Here’s how:
- Create five circles or ovals aligned vertically, representing your slides.
- Designate one as the active slide indicator with a white fill and shadow.
- Use simple circles with white outlines for the other slides.
- Copy and paste this menu onto each slide, moving the active indicator to the corresponding position.
- Add hyperlinks to each circle pointing to its respective slide using Ctrl + K to insert the link.
This menu serves as a visual progress tracker and an interactive tool, letting users navigate your presentation non-linearly if desired.
Testing and Final Adjustments
Test your clickable menu by clicking each circle during the slideshow. Ensure the transitions work smoothly and the correct slide loads. PowerPoint may slow down slightly when handling multiple animated 3D models, so be patient and optimize your animations if necessary.
With everything in place, your cinematic slide deck is ready to impress. You’ve combined professional design, dynamic 3D animations, smooth morph transitions, and interactive navigation into one cohesive presentation.
Summary and Final Thoughts
Creating engaging slide designs with animated 3D models and morph transitions is an exciting way to elevate your presentations. By following these steps, you can:
- Insert and customize animated 3D models from PowerPoint’s stock library.
- Manage multiple slide sections within a single slide for creative layouts.
- Use morph transitions to create smooth cinematic effects.
- Optimize animations for better performance.
- Build a clickable slide scroll menu for easy navigation.
These techniques not only make your slides visually stunning but also enhance storytelling and audience engagement. With practice, you’ll be able to adapt these methods for any presentation style or topic.
Remember, the key to success lies in balancing animation with content clarity, ensuring your message shines through the visual effects rather than being overshadowed by them.
Frequently Asked Questions (FAQ)
What version of PowerPoint do I need to use 3D models and morph transitions?
PowerPoint 2019 or later, including Microsoft 365, supports animated 3D models and morph transitions. Earlier versions may not have these features or support them fully.
Can I use my own 3D models instead of the stock ones?
Yes, PowerPoint allows you to insert custom 3D models in supported formats like .glb and .fbx. You can import them via the Insert > 3D Models > This Device option.
How do I optimize performance when using multiple animated 3D models?
Remove unnecessary animations on background models, limit the number of active animations per slide, and ensure your computer meets PowerPoint’s system requirements for smooth playback.
Is the clickable slide menu compatible with all devices?
The clickable slide menu works well on desktop versions of PowerPoint. However, some mobile or web versions may have limited support for hyperlinks and interactive elements.
Can I customize the morph transition duration?
Yes, you can adjust the morph transition duration in the Transitions tab. Two seconds is a good starting point, but you can increase or decrease it based on your desired pacing.
Where can I find free templates or tutorial slides to practice?
Many creators offer free tutorial slides on platforms like Patreon or their websites. For example, One Skill PowerPoint provides downloadable slides to follow along with their tutorials.
Final Words
Mastering cinematic slide design with animated 3D models and morph transitions opens up endless creative possibilities for your presentations. With the step-by-step methods outlined here, you can start crafting professional, visually compelling slides that tell your story in a fresh, engaging way.
Stay creative, keep experimenting, and watch your presentations transform into captivating cinematic experiences that leave a lasting impression on your audience.
Check out the full video: Create ENGAGING Slide Design 🔥3D Morph🔥


