
If you’re looking to elevate your presentation game beyond traditional tools like PowerPoint, Visme offers a revolutionary approach to creating interactive, visually stunning presentations. This versatile online platform combines animated icons, full-screen video backgrounds, dynamic charts, and even zoomable maps—all in one seamless experience.
In this comprehensive guide, we’ll explore how to harness Visme’s powerful features to design presentations that captivate and engage your audience. Whether you want to start from scratch or use one of their expertly crafted templates, Visme makes it easy to create professional-grade slides with next-level interactivity and style.
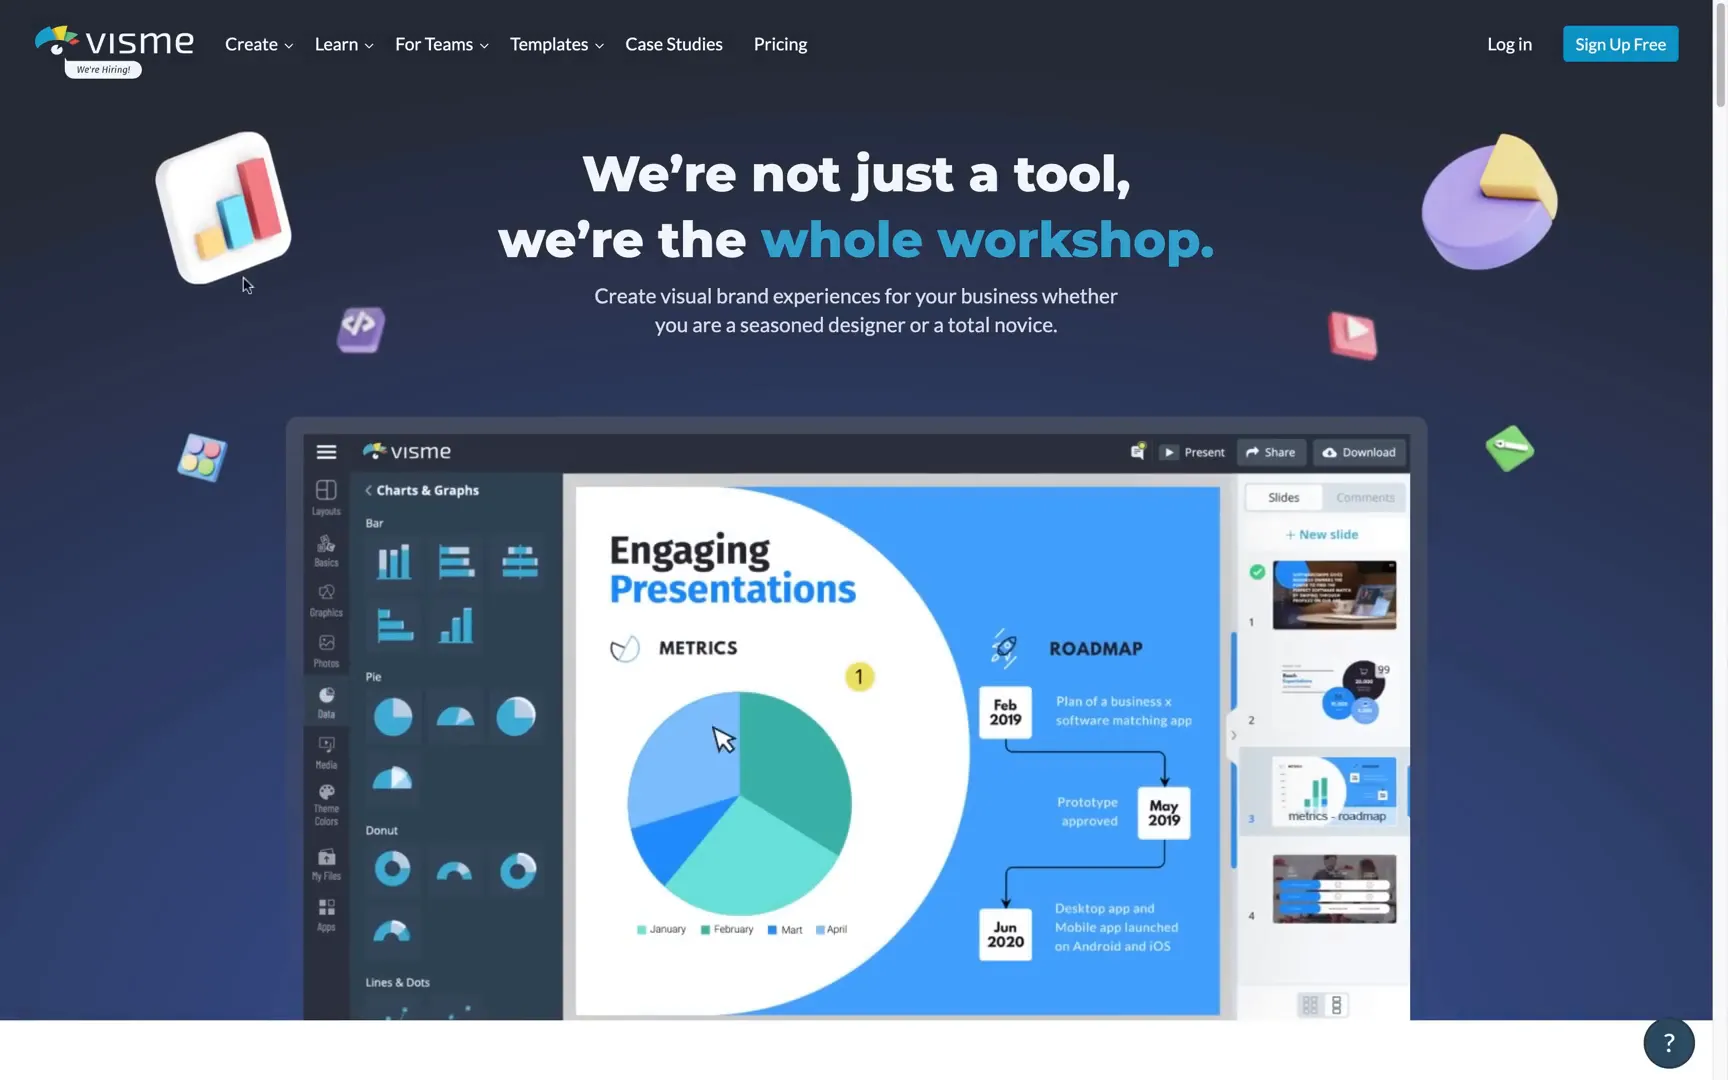
Table of Contents
- Why Choose Visme for Your Presentations?
- Exploring the Presentation Interface and Features
- Advanced Navigation with Drop-Down Menus
- Customizing Your Presentation in Visme
- Advanced Data Visualization with Widgets and Charts
- Creating Interactive Buttons and Photo Grids
- Animated Avatars and Video Backgrounds
- Special Effects and Gesture Animations
- Zoomable Maps and QR Codes for Enhanced Engagement
- Building a Functional Drop-Down Menu with Pop-Up Actions
- Final Thoughts: Unlocking the Power of Visme
- Frequently Asked Questions (FAQ)
Why Choose Visme for Your Presentations?
Visme isn’t just another presentation tool; it’s a creative powerhouse designed to help you build engaging content with minimal effort. Thanks to its intuitive interface and wide array of customizable elements, you can craft presentations that stand out with animations, interactive charts, and multimedia elements—all without needing advanced design skills.
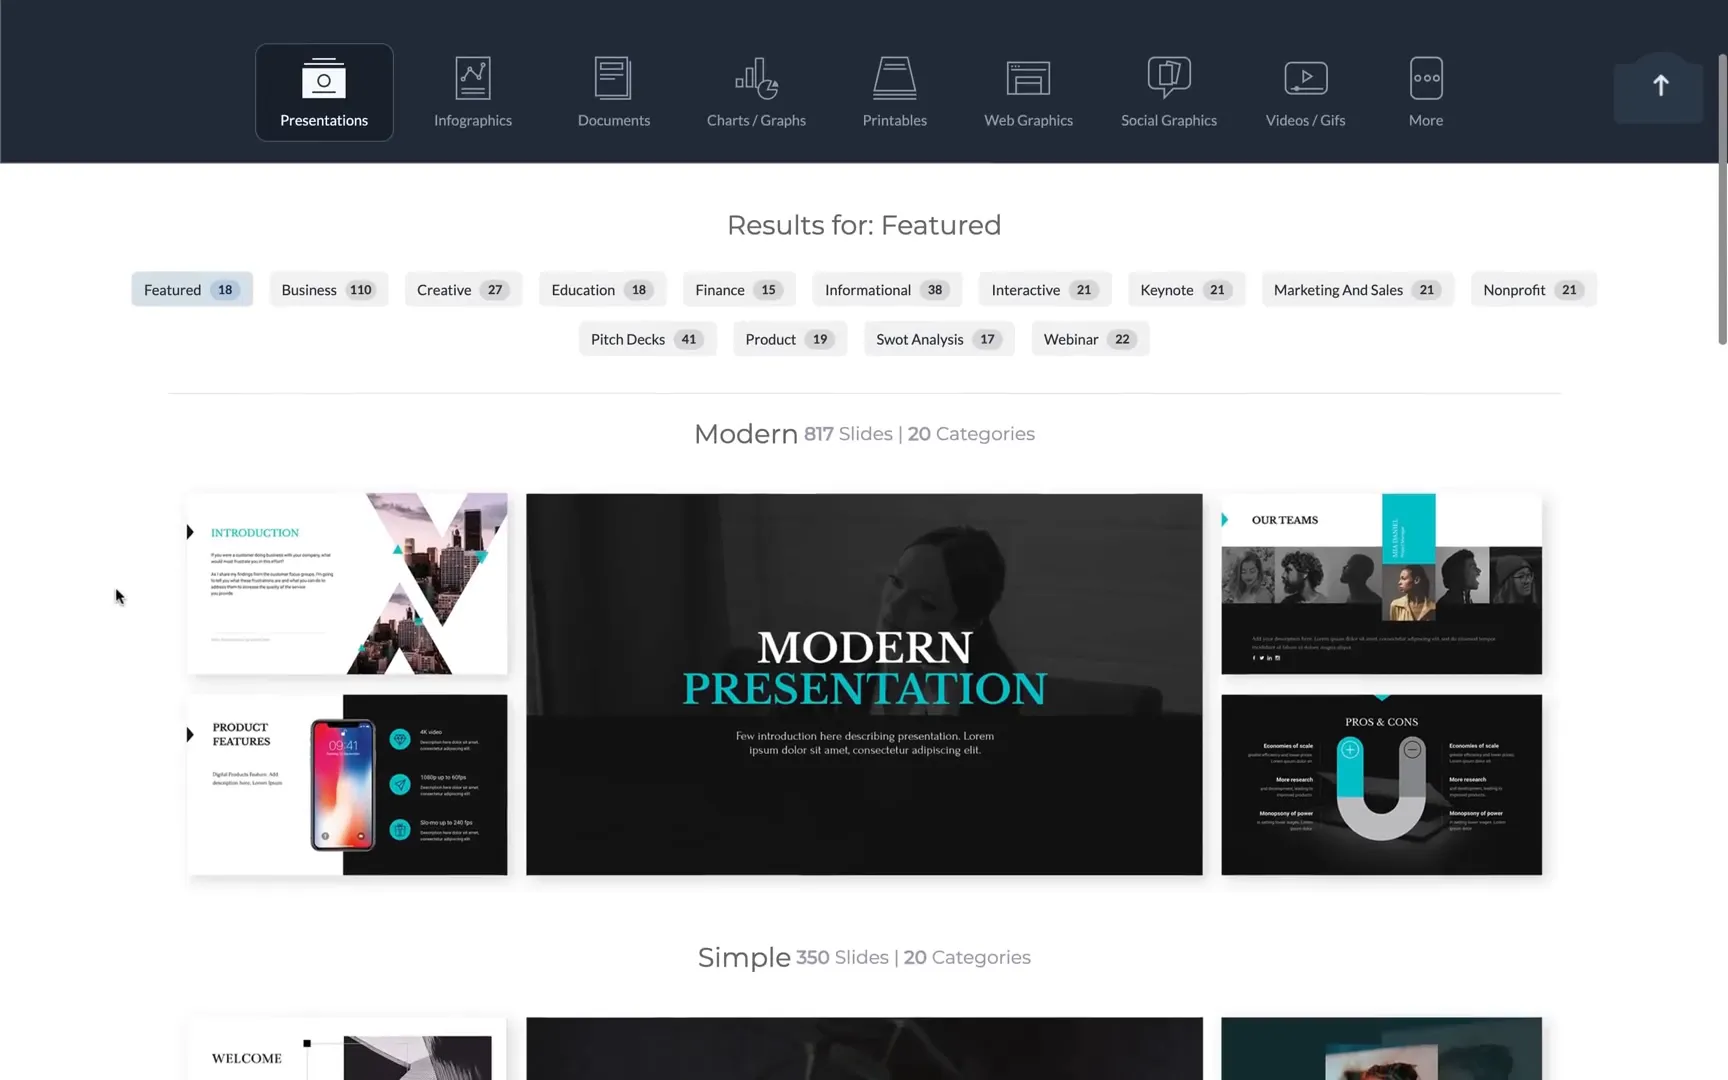
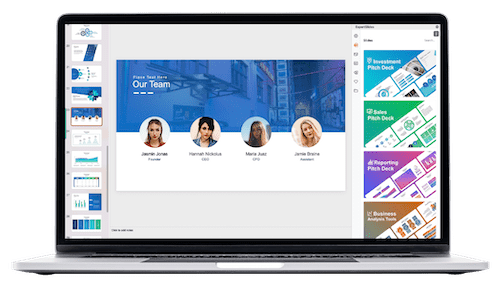
One of the standout features of Visme is its extensive template library, which is categorized into four major styles: modern, simple, creative, and pitch deck. Each template contains grouped slides organized by purpose like titles, introductions, timelines, and more. This categorization saves you valuable time by allowing you to quickly pick and insert slides that fit your presentation flow.
Starting Your Presentation: Templates vs. Custom Size
If you’re pressed for time, choosing a ready-made template is a fantastic way to get started. You simply click “new slide,” select a category, pick your favorite slide design, and insert it into your presentation. It really is that simple.
However, if you prefer full creative control, Visme allows you to create presentations from scratch by defining custom canvas sizes. For example, setting your slide dimensions to 1920×1080 pixels gives you an HD workspace to design your slides exactly as you want.
In fact, I created two versions of the same presentation—one with a light theme and one with a dark theme—to showcase how flexible Visme is when it comes to design aesthetics. For this guide, we’ll focus on the dark theme version to explore its rich features.
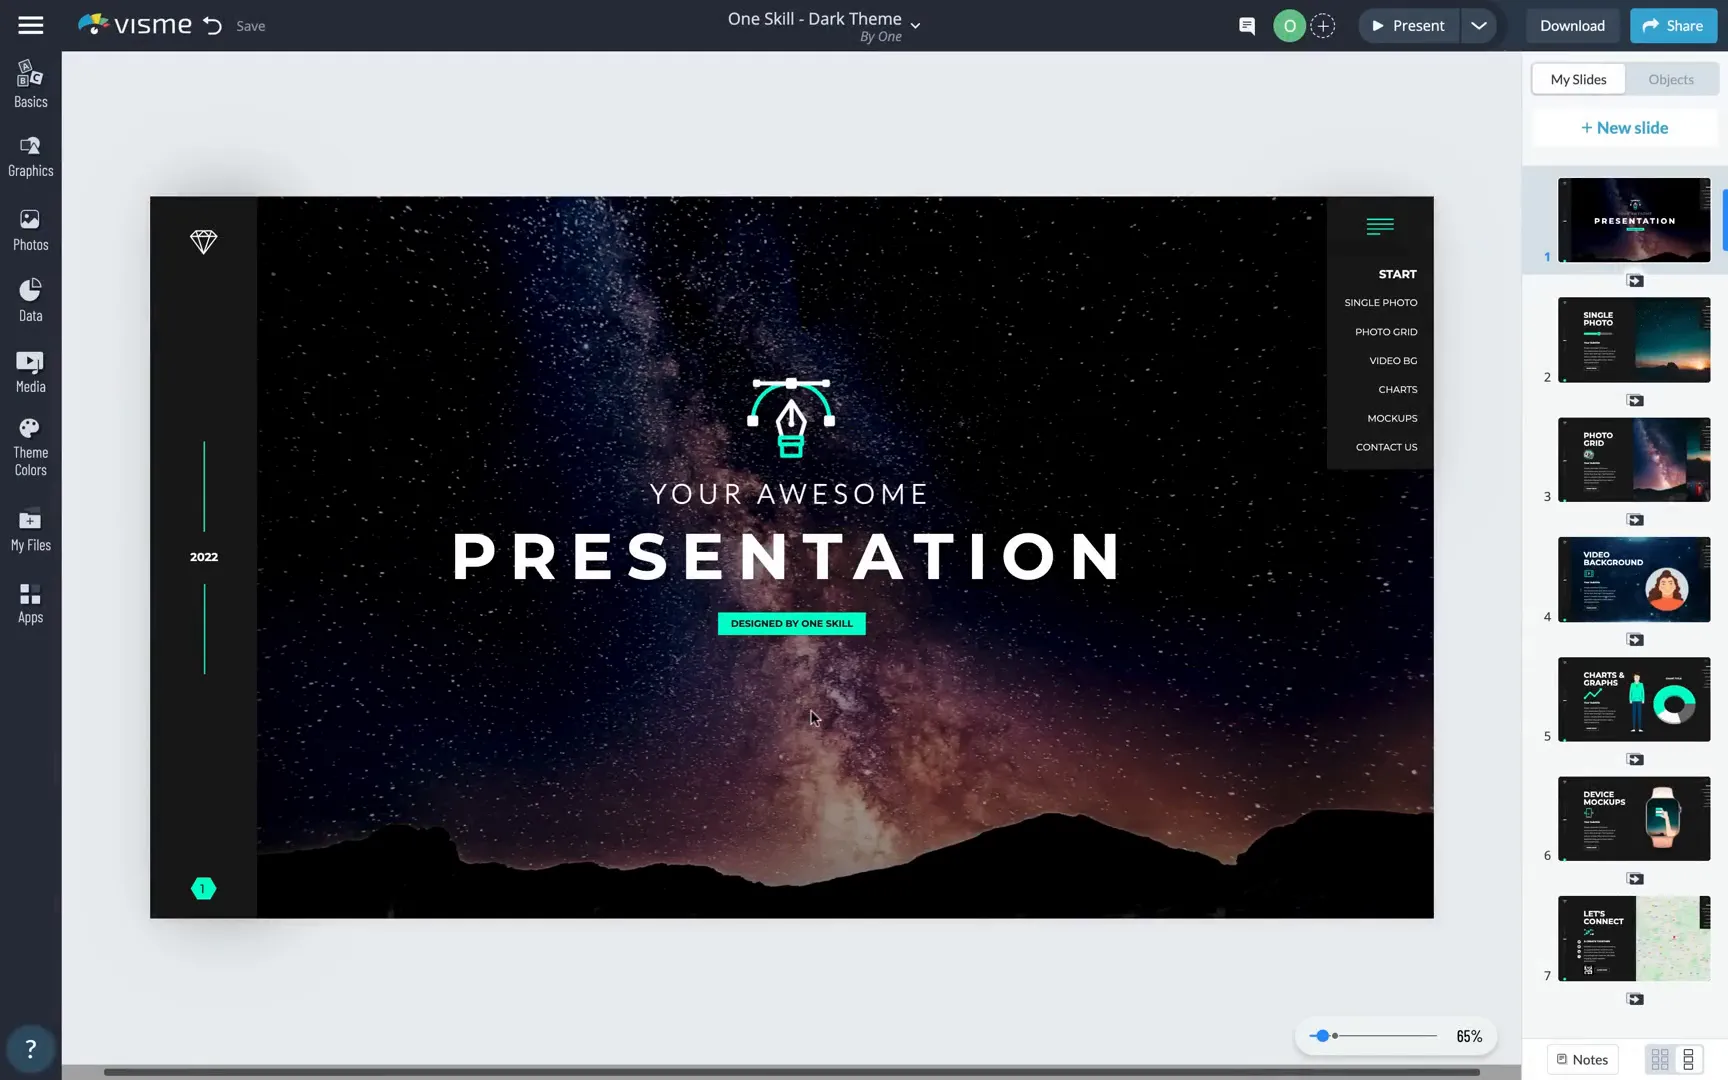
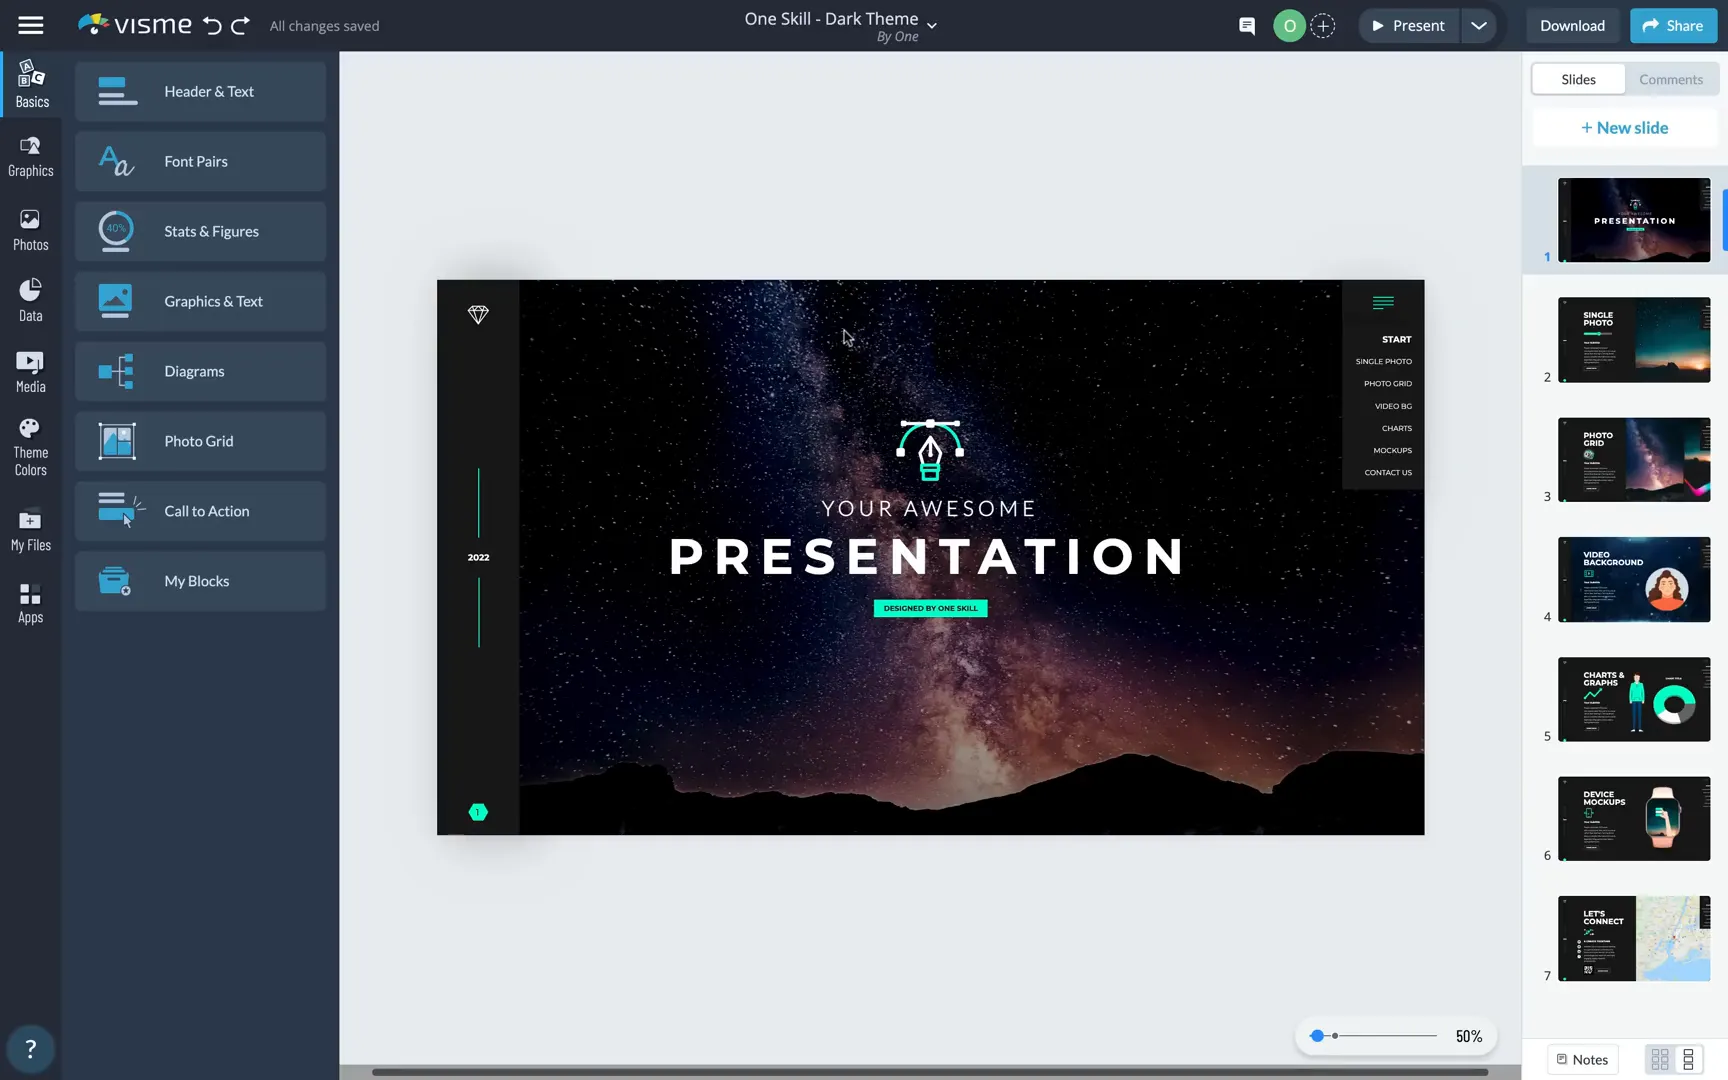
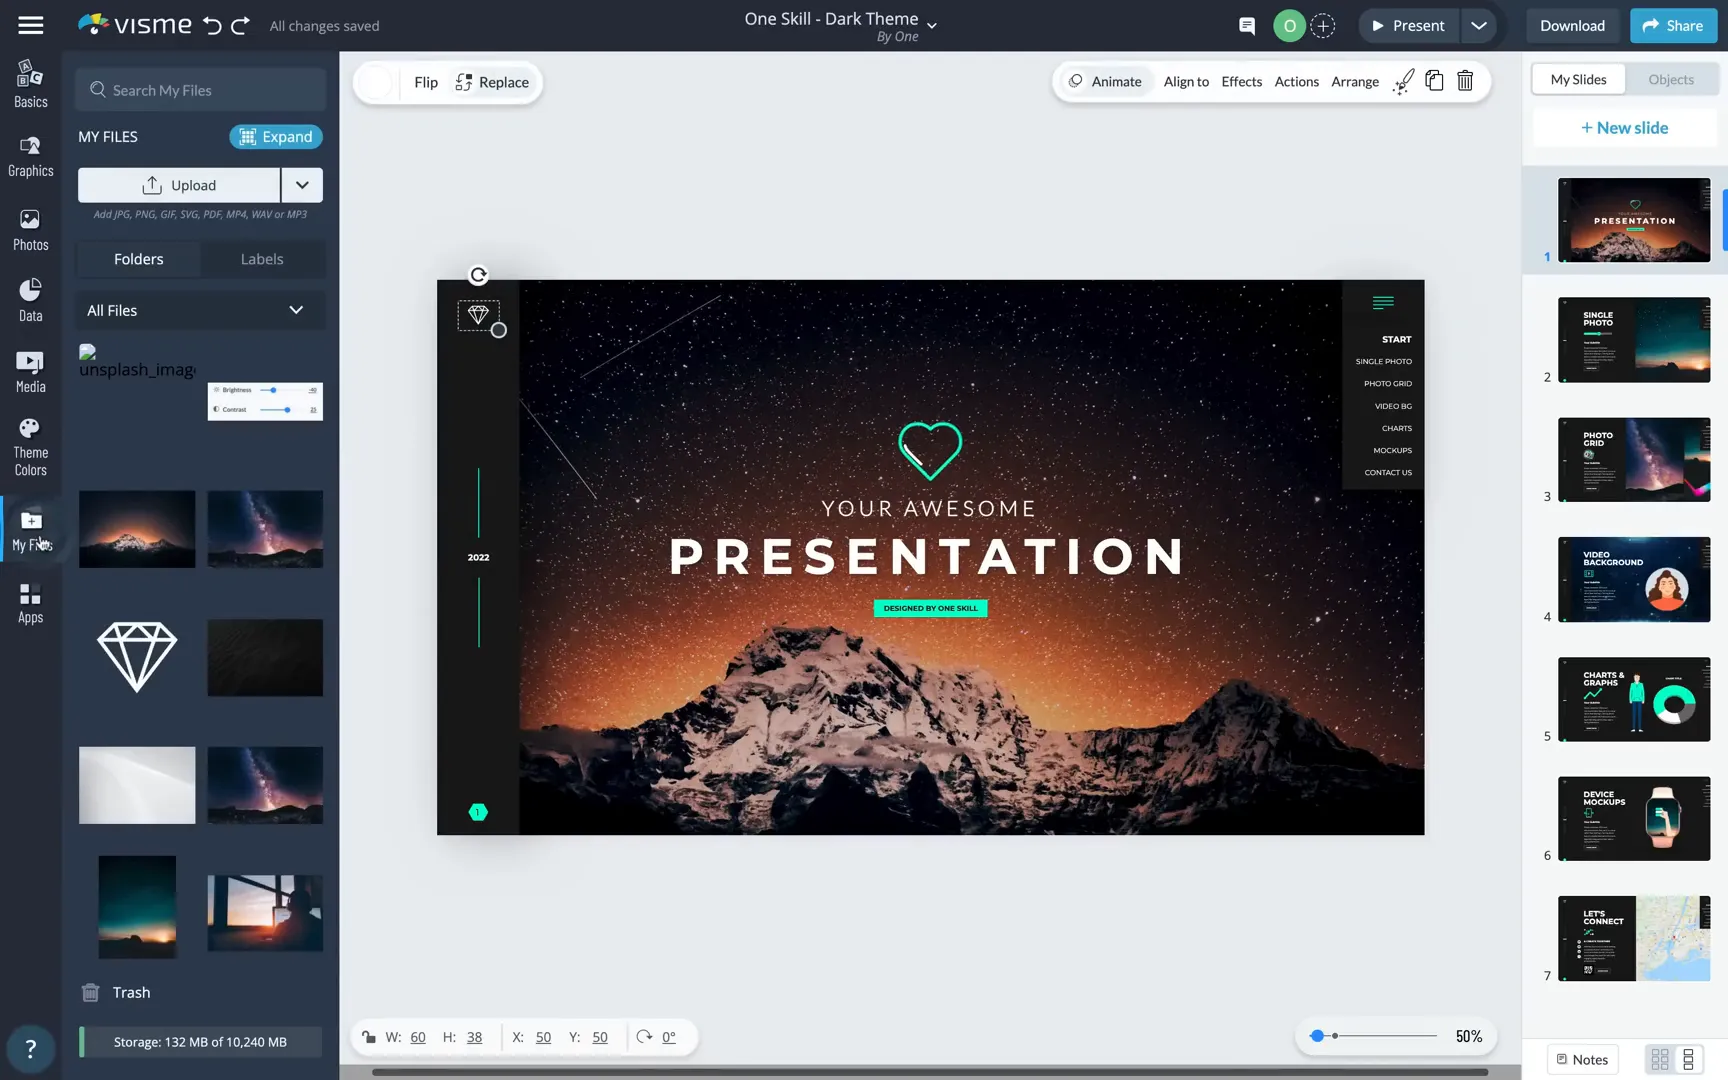
Exploring the Presentation Interface and Features
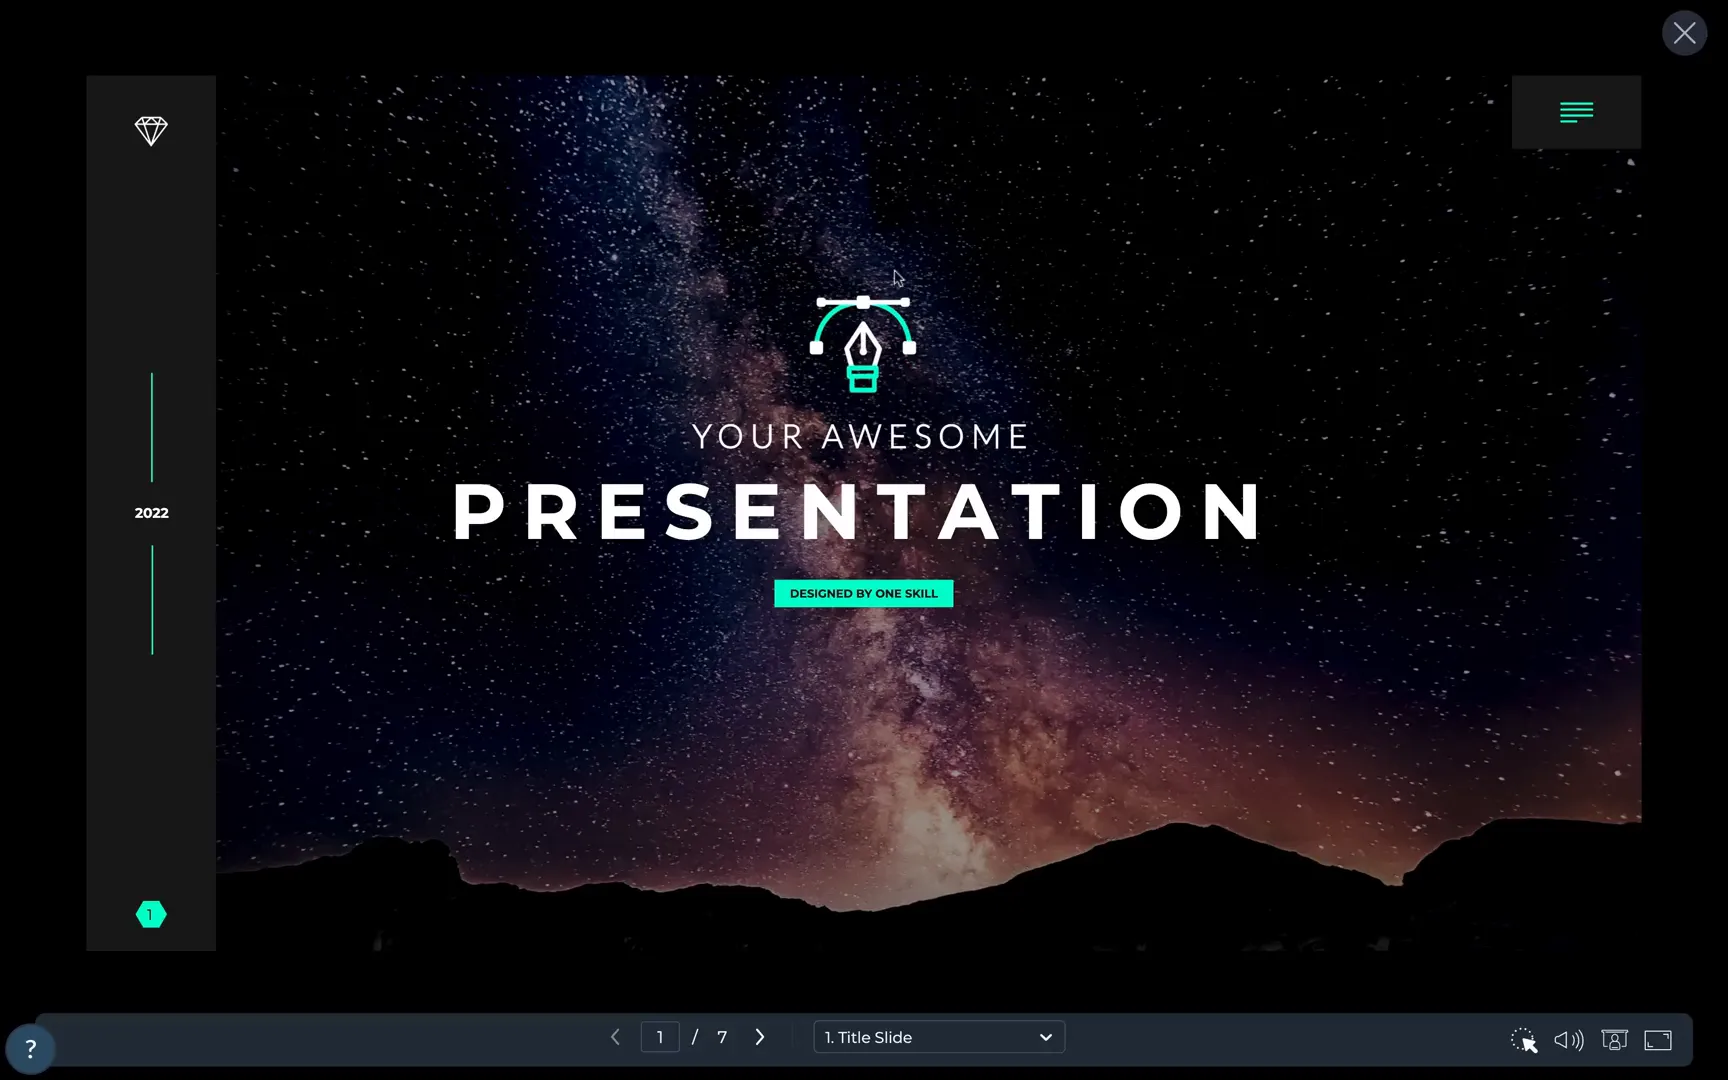
Opening the first slide, you immediately notice the magic Visme brings to presentations. The slide features a beautiful animated icon prominently displayed, which adds life and movement right from the start.
The background is a full-screen photo that can be easily replaced to suit your brand or topic. In the top right corner, there’s a fully functional drop-down menu, and on the opposite side, a logo that updates across all slides with just one change.
A vertical footer and automatic slide numbering add polish, while a subtle shadow on the left gray bar adds a touch of depth. At the bottom, navigation arrows and a slide menu help you smoothly move through the presentation. There’s even a zoom button to instantly switch to full-screen mode for a more immersive experience.
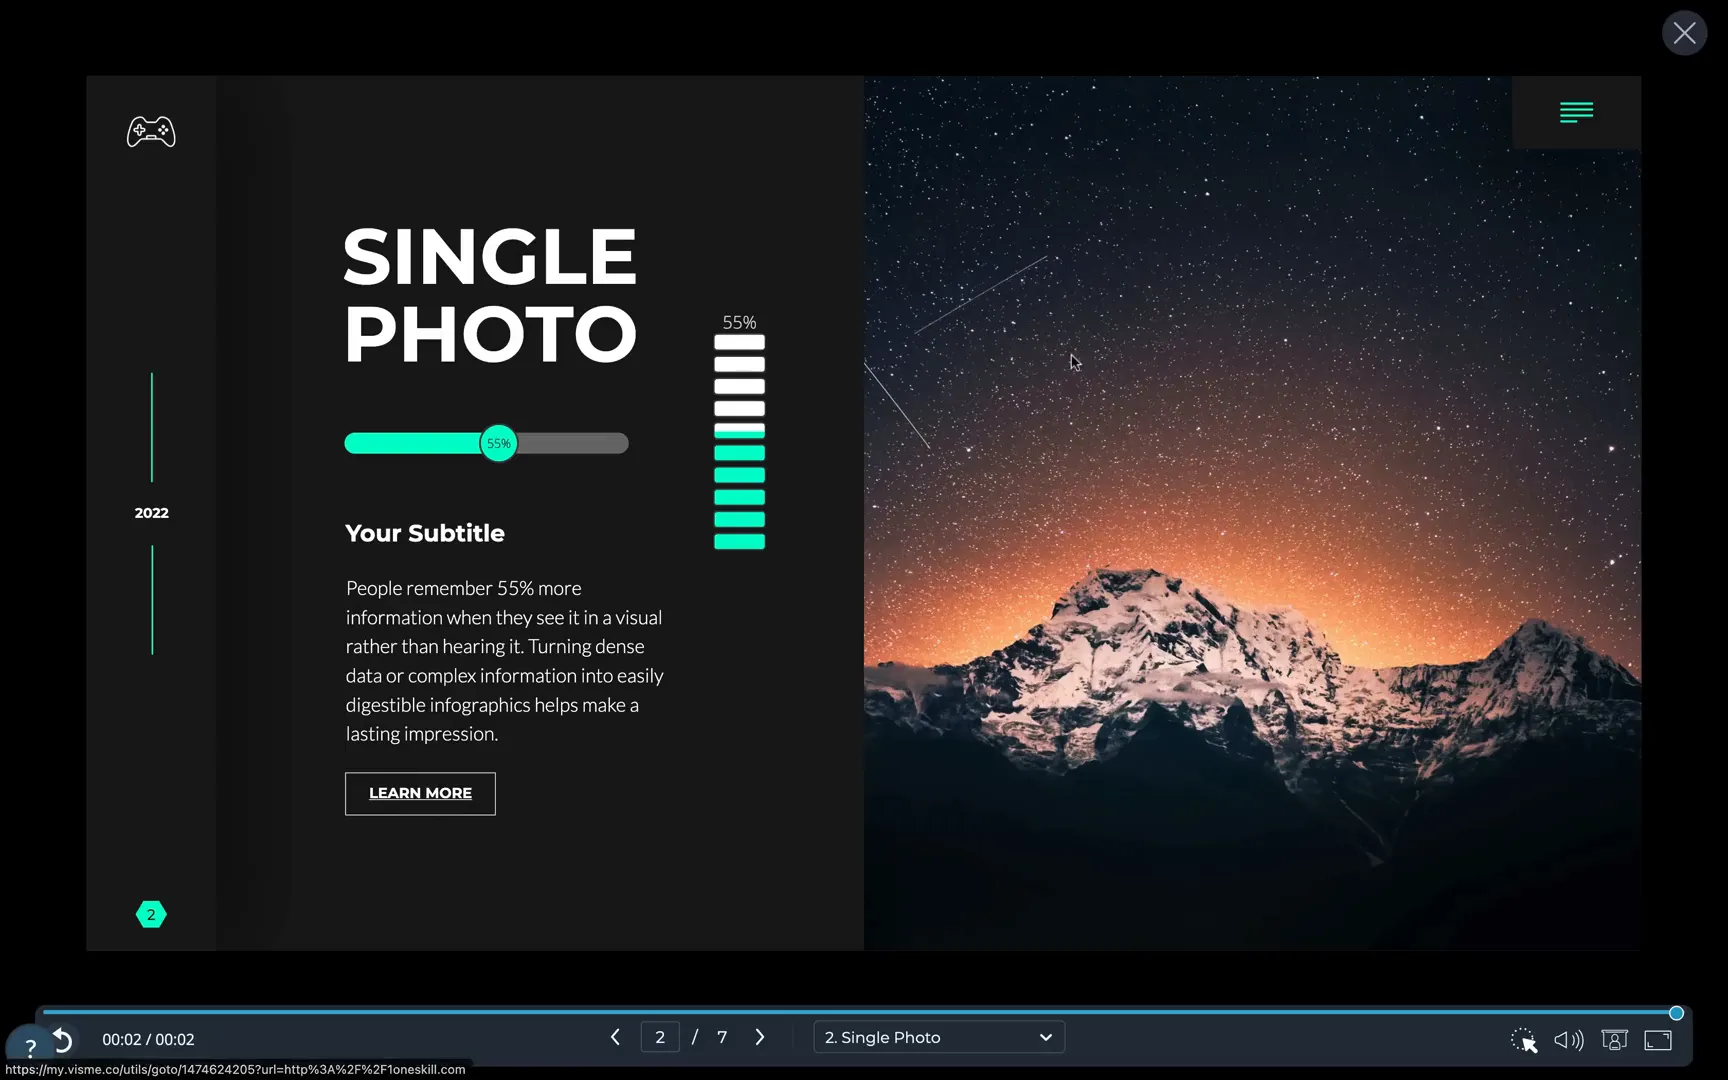
Dynamic Slide Layouts and Interactive Elements
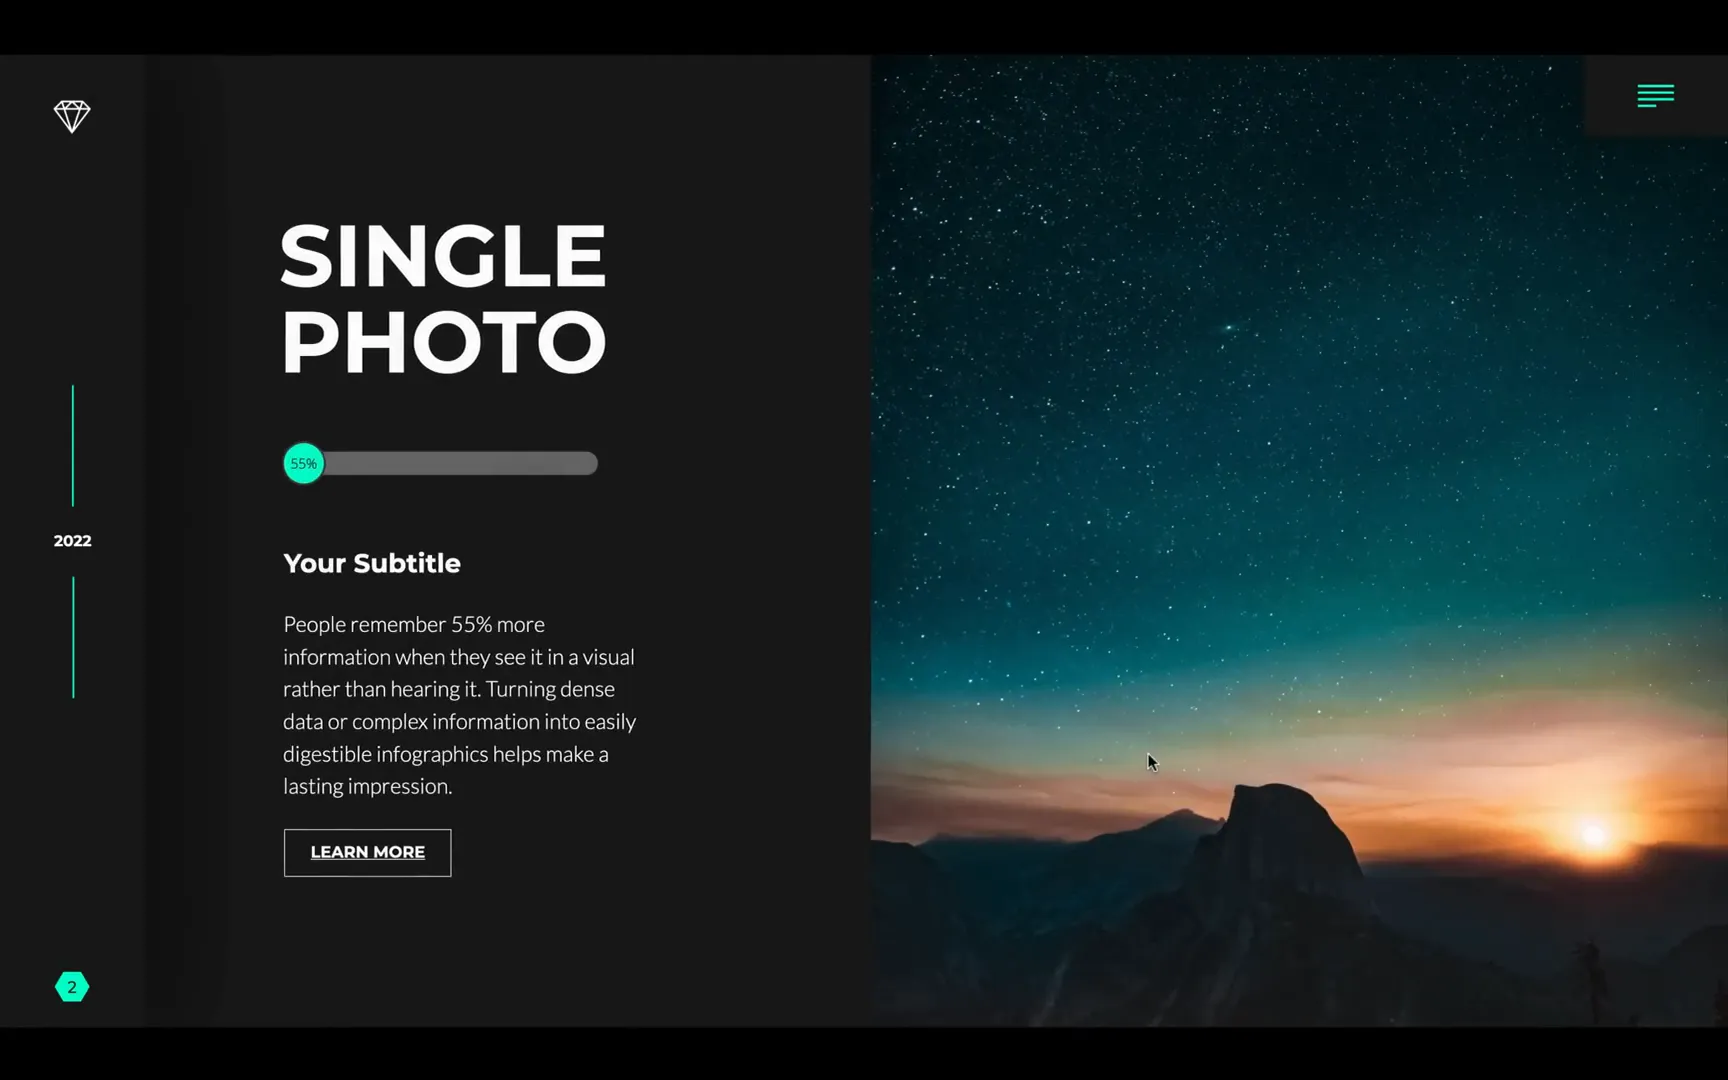
The second slide demonstrates a simple photo layout with easy photo replacement and customizable filters, such as desaturation or hue adjustment. On the left side, a dynamic graph displays data, here set to 55%, which can be modified to suit your needs.
The “Learn More” button is fully clickable and can link directly to your website or any URL, adding interactivity and call-to-action capability to your slides.
Moving on, the photo grid slide layout offers a variety of grid options so you don’t have to build one manually. You can simply choose your preferred grid style and insert your photos. An animated camera icon adds a subtle, professional touch.

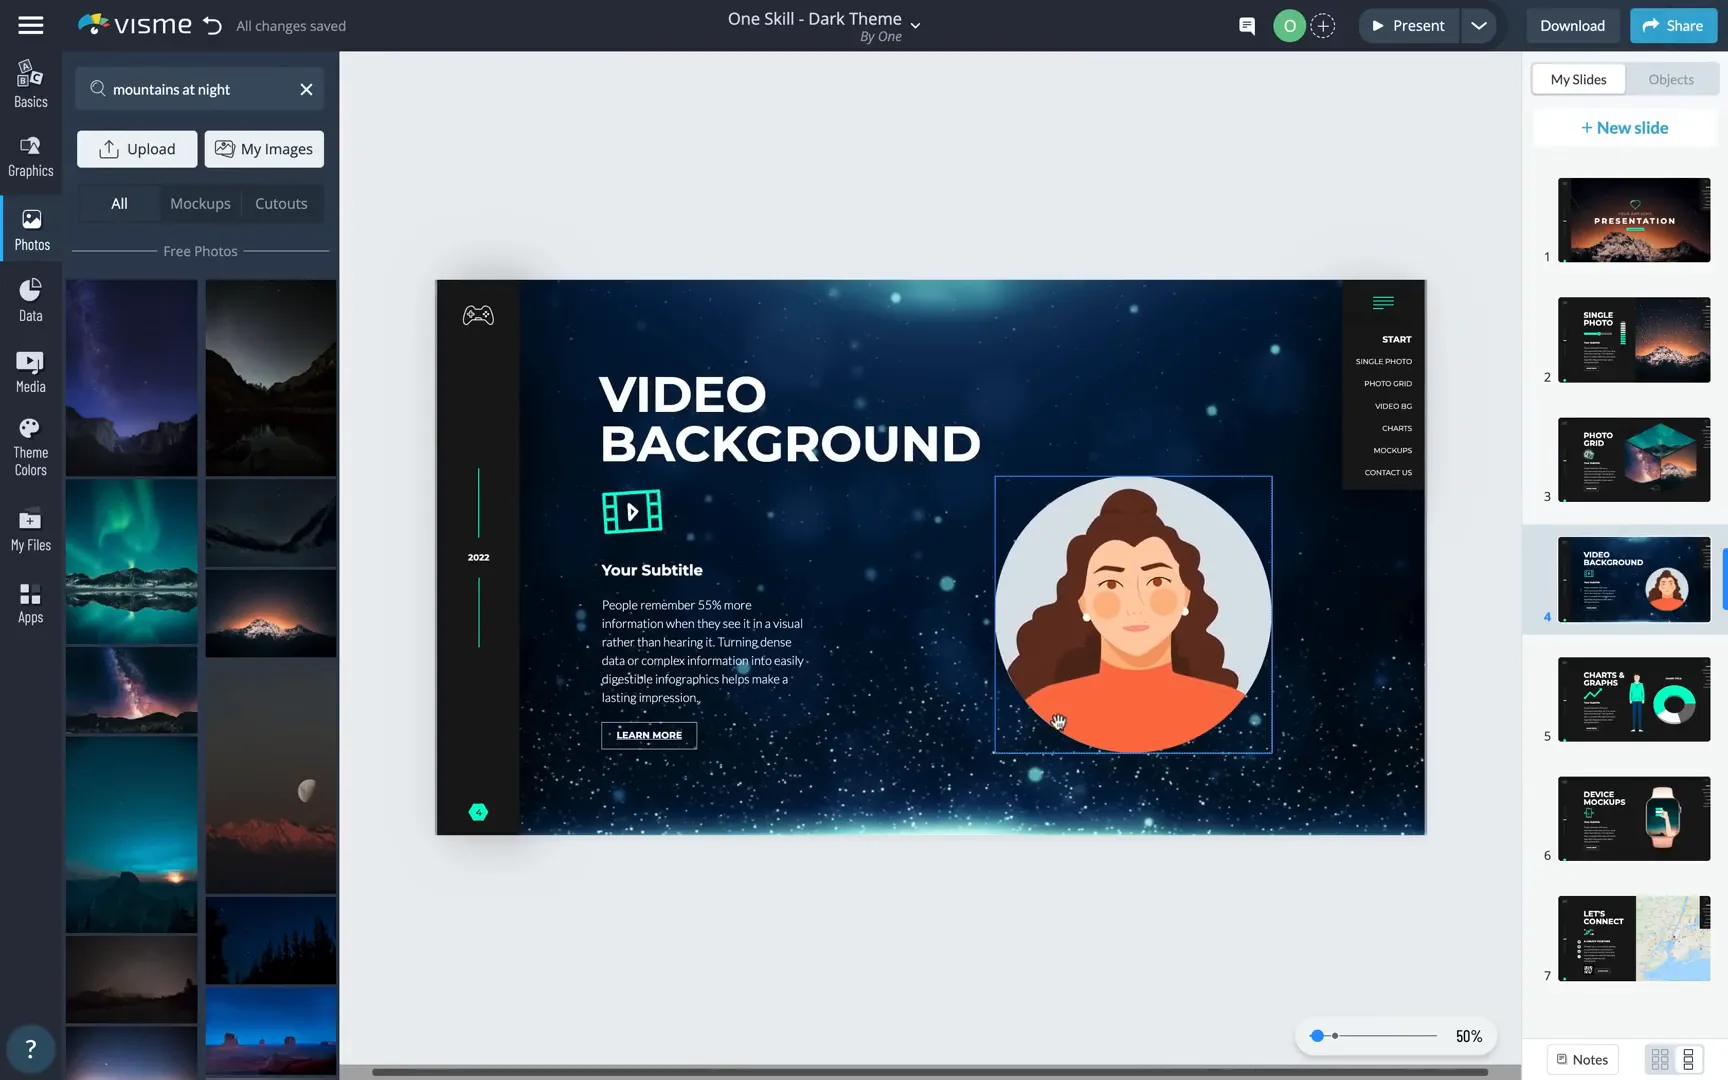
The fourth slide is packed with features: a full video background, an animated avatar, and an animated icon. Each of these elements is customizable—avatars, videos, and icons can be swapped out to fit your presentation’s theme.
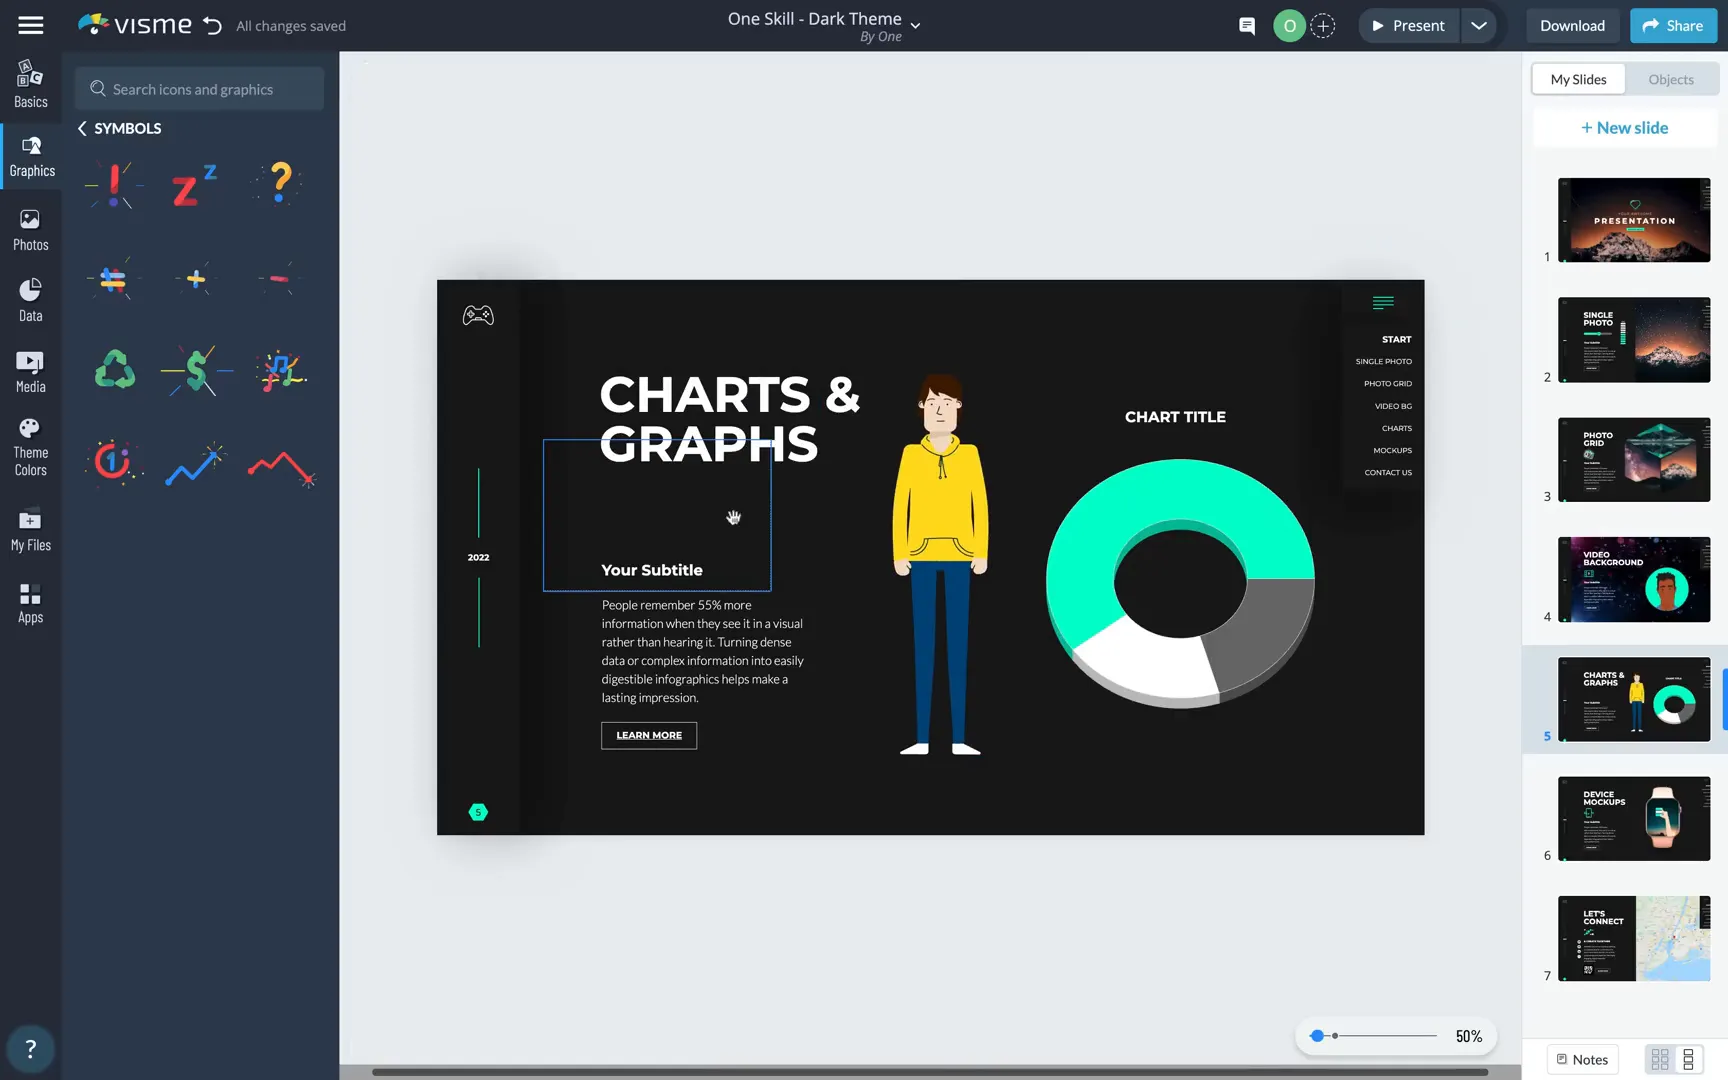
Further along, another slide showcases animated illustrations, characters, and a chart with mouse-over interactivity. Hovering over the chart reveals data labels, providing an engaging way to present detailed information.

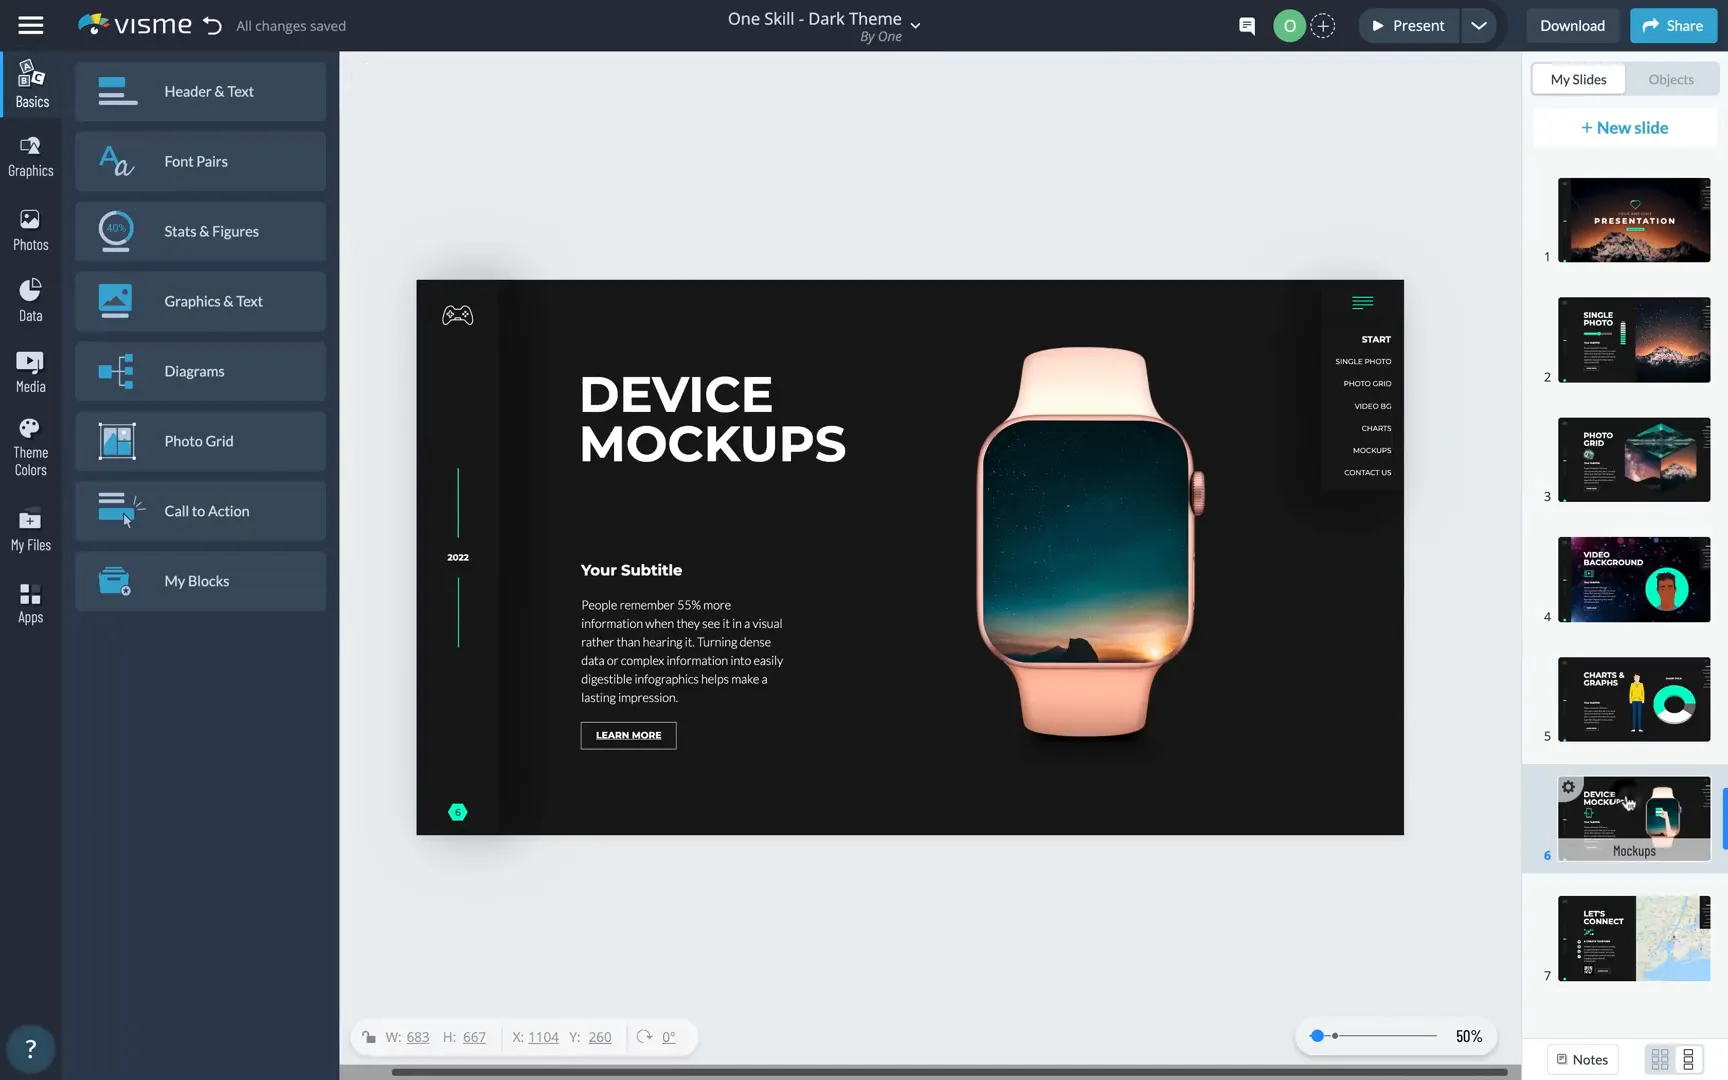
Mouse-Over Animations and Device Mockups
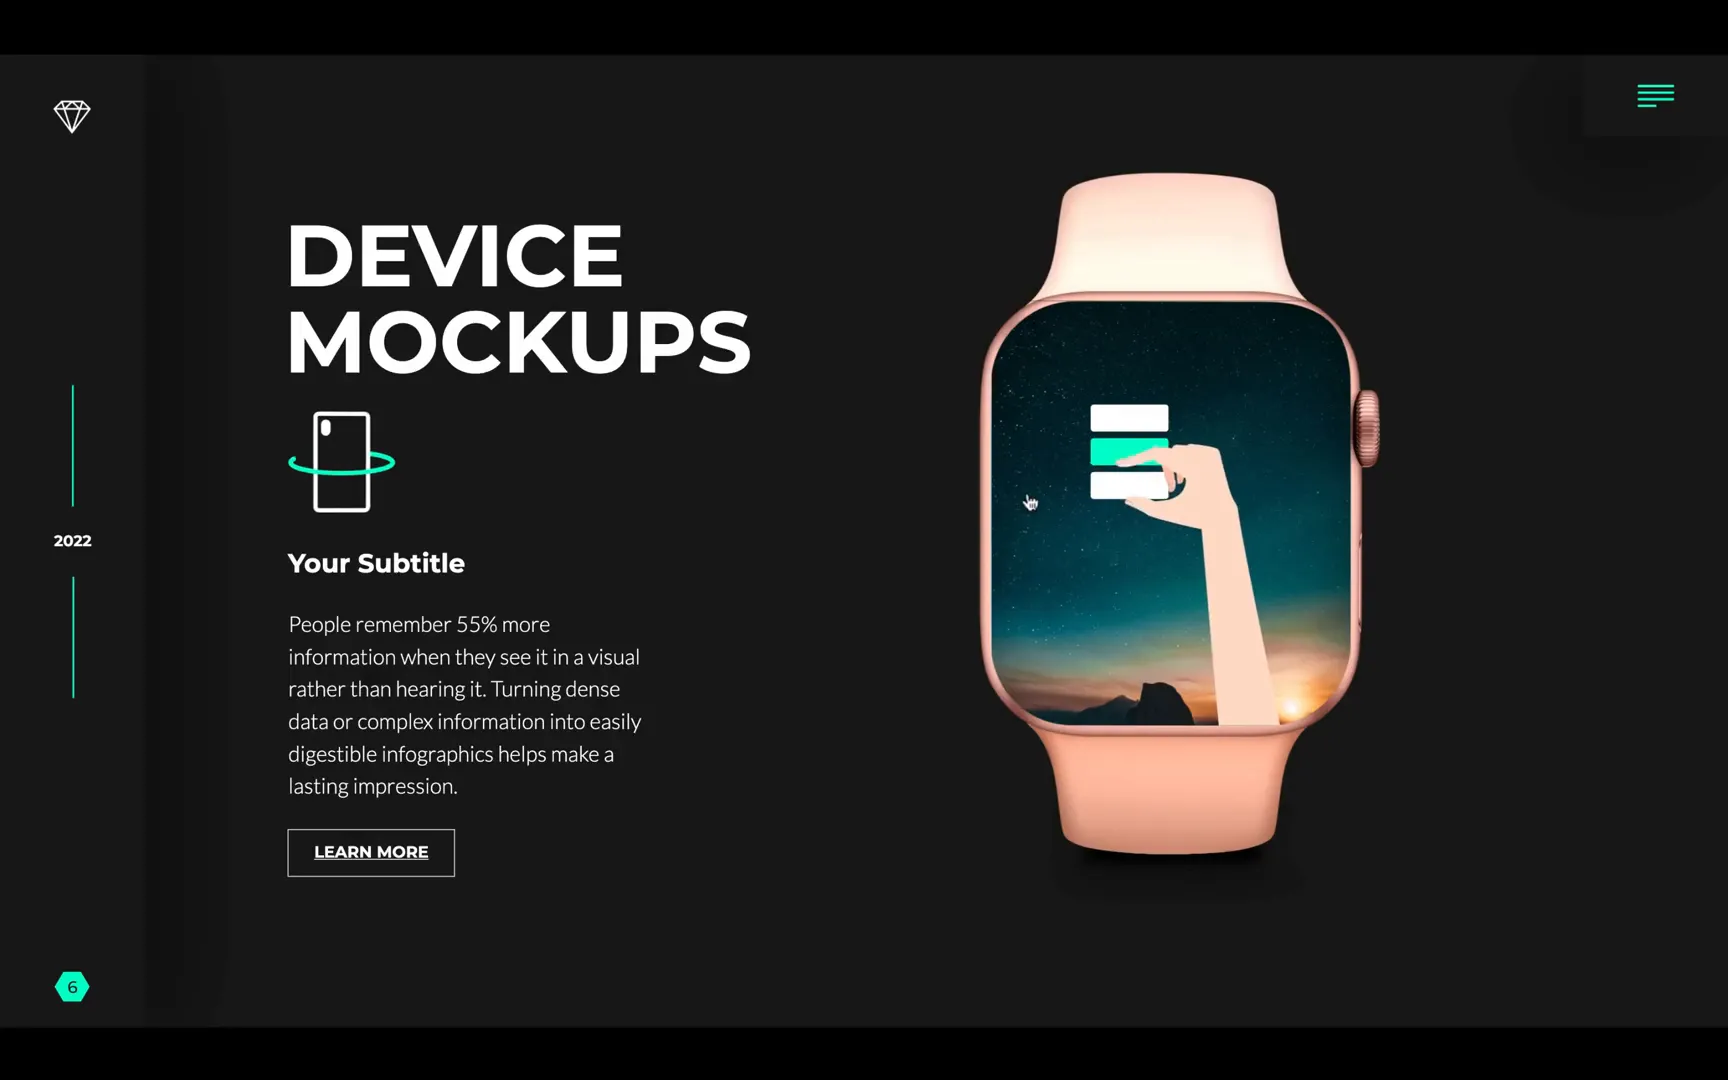
One of the coolest features I discovered is the mouse-over animation on a device mockup. For example, a smartwatch mockup reveals a hand gesture animation only when the mouse hovers over it. This creates a delightful surprise and adds a layer of interactivity that captures attention.
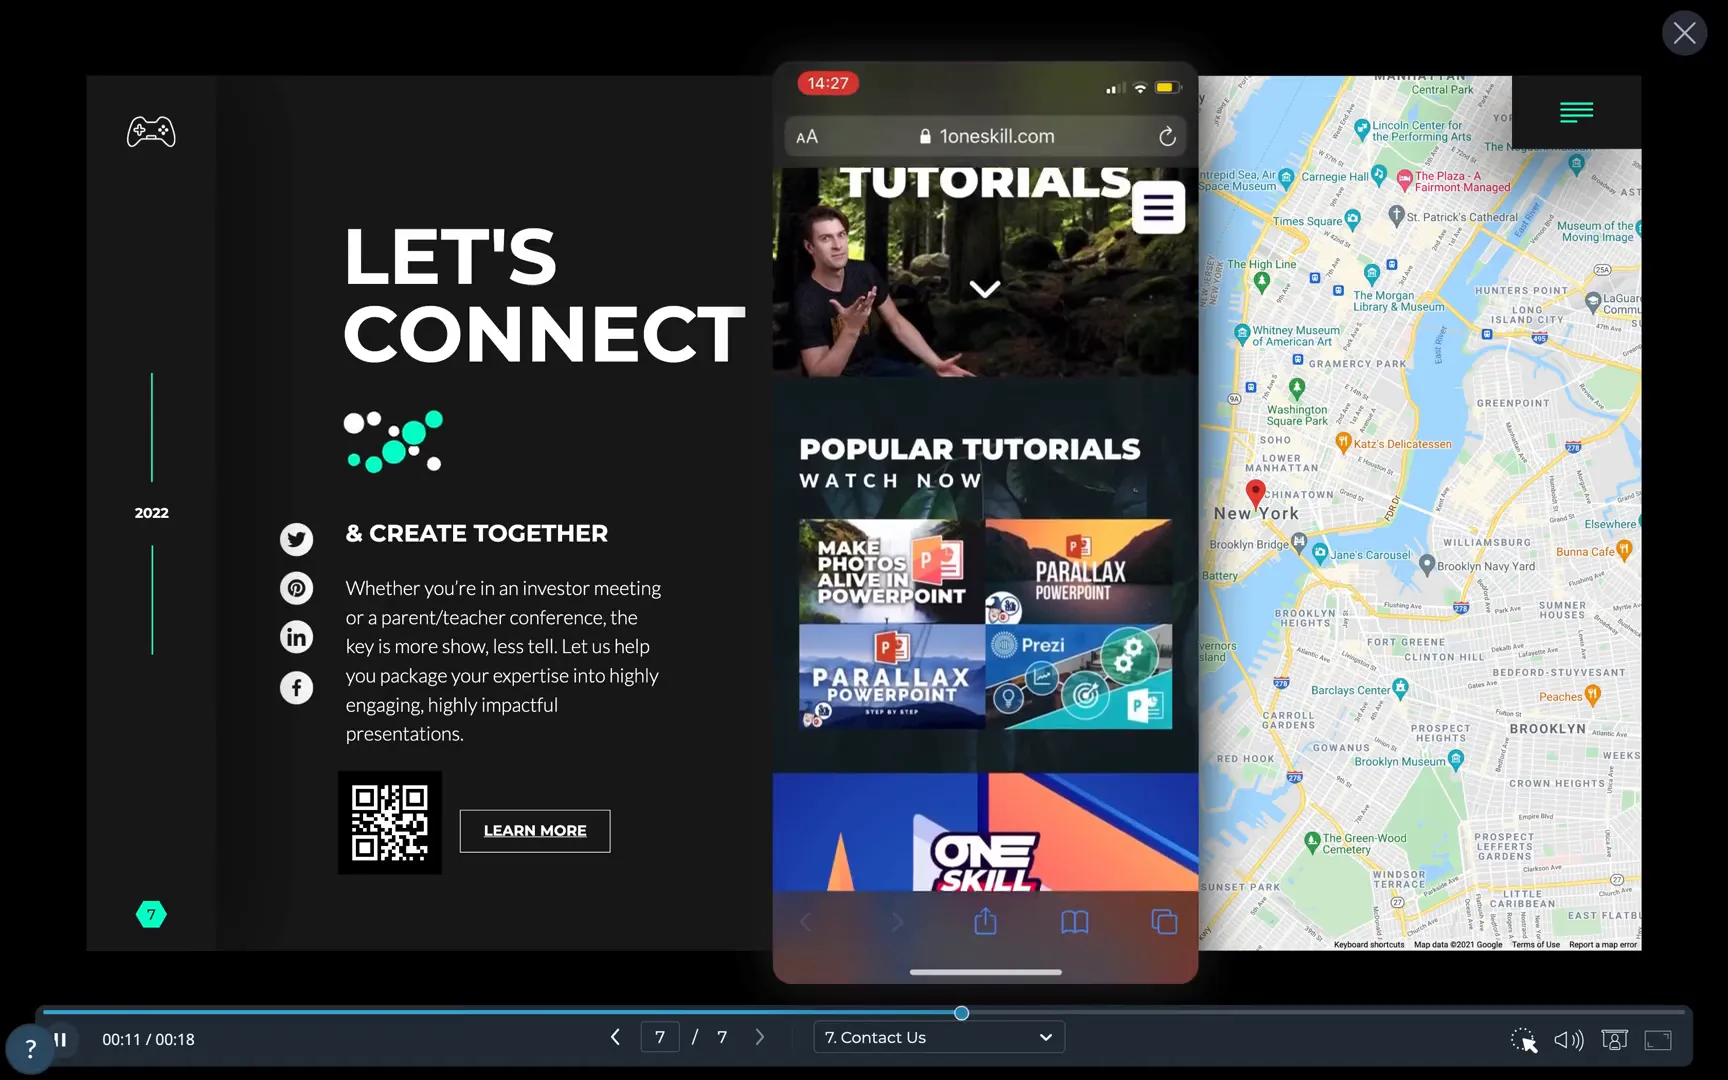
Zoomable Maps and QR Codes for Modern Presentations
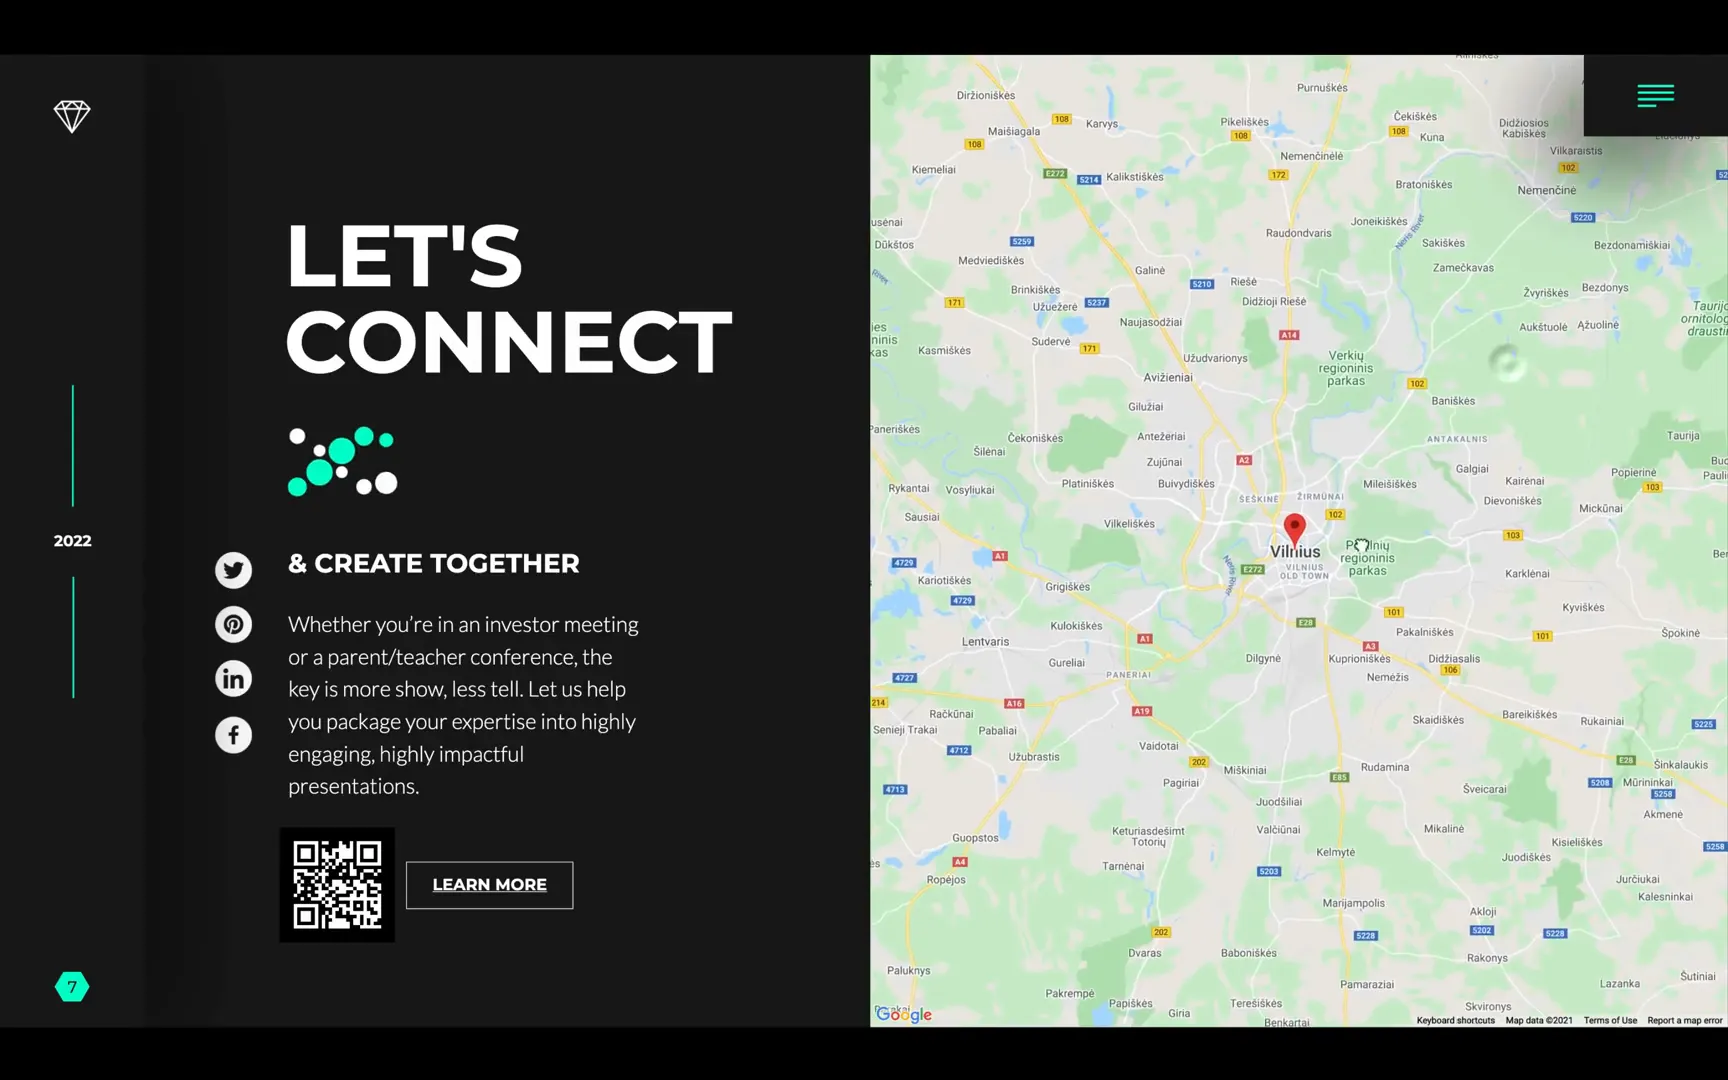
The final slide in this presentation includes a zoomable map on the right side, which you can drag and zoom freely. This is perfect for location-based presentations or highlighting specific regions. The map I used is of Vilnius, the capital city of Lithuania, my hometown.
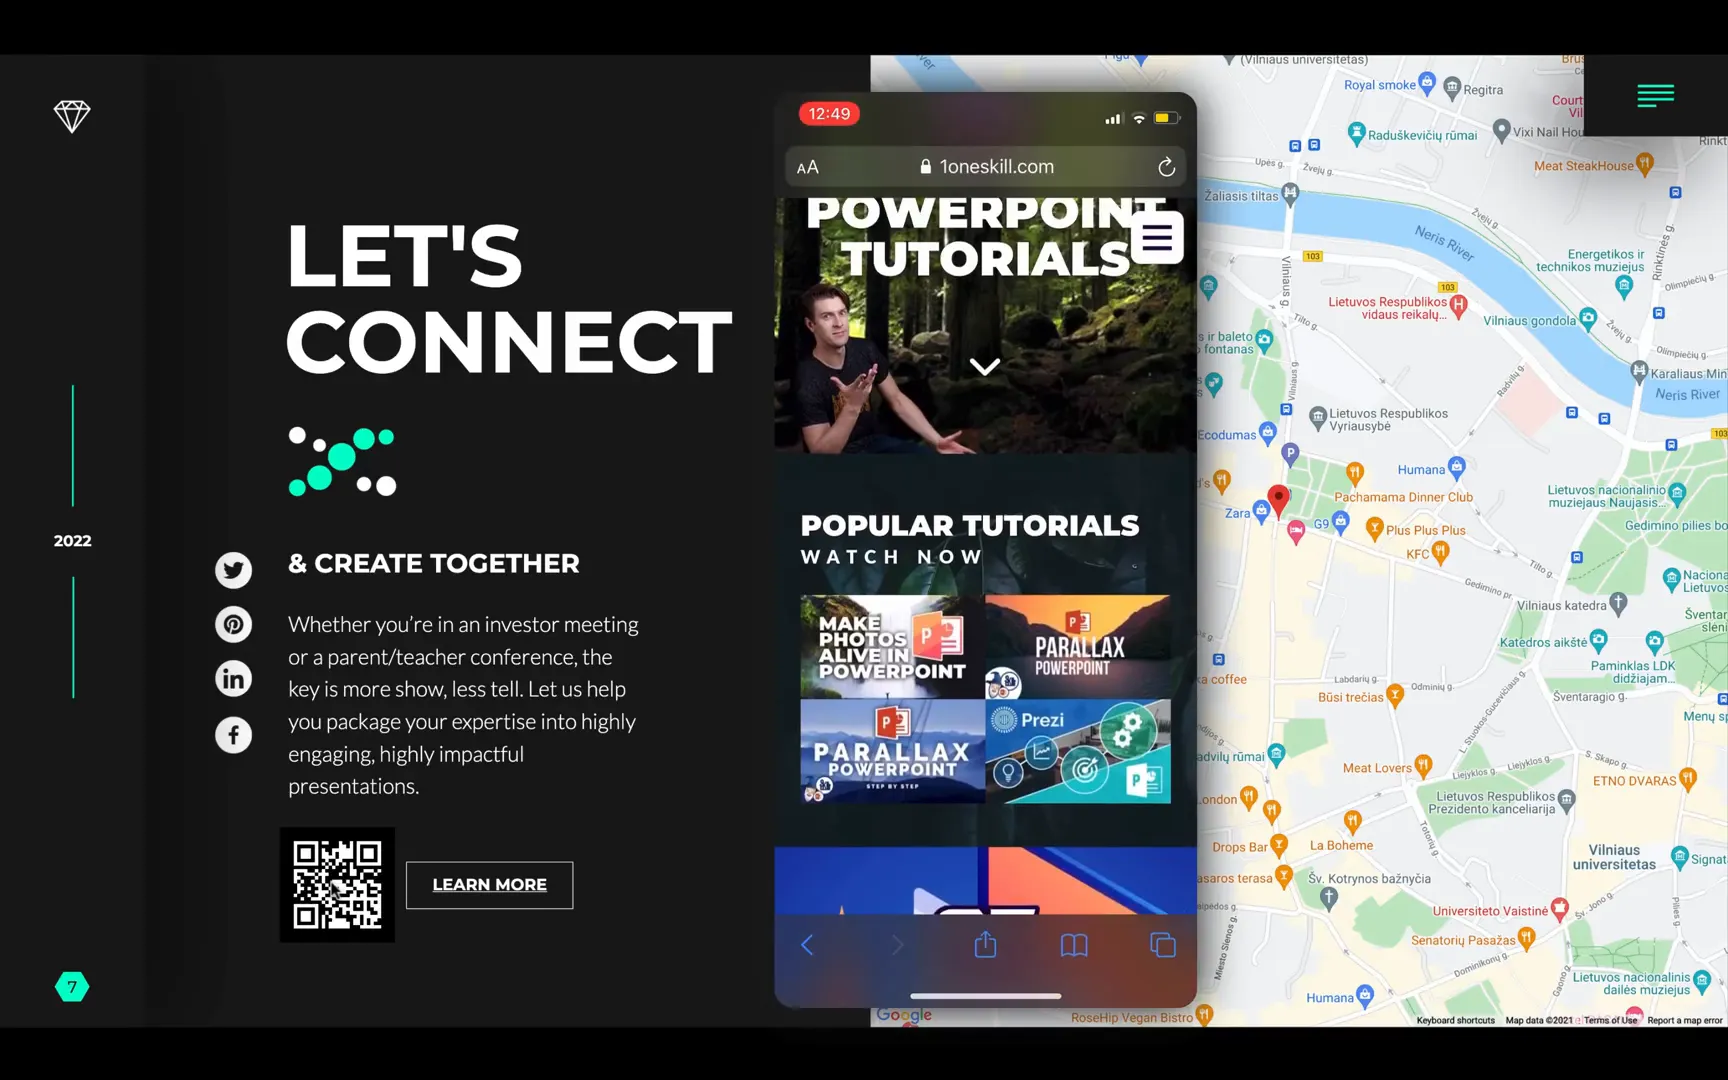
On the left, there’s an animated icon, social media icons linking to websites, a “Learn More” button, and a QR code that is fully functional. Scanning the QR code with a phone directs users to a specified website, adding a physical-to-digital connection that is invaluable in today’s presentations.
Advanced Navigation with Drop-Down Menus
The drop-down menu in the top right corner works flawlessly. Clicking it reveals all the slides, allowing you to jump to any part of the presentation instantly. This feature enhances user control and smooth navigation, especially in longer presentations.
Each menu item is linked directly to a slide, while clickable buttons like “Learn More” link to external sites. This combination of internal and external navigation options creates a versatile and user-friendly experience.
Customizing Your Presentation in Visme
Now, let’s dive into how you can customize your slides within Visme’s interface. The workspace is logically divided into three main sections:
- Left panel: Contains all insertable elements like icons, animated icons, photos, videos, maps, device mockups, QR codes, and more.
- Center canvas: The main slide window where you design your slide, set at custom dimensions (e.g., 1920×1080 px).
- Right panel: Displays the list of slides, letting you rearrange them easily by drag and drop. It also supports adding comments for collaboration and managing object visibility and locking.
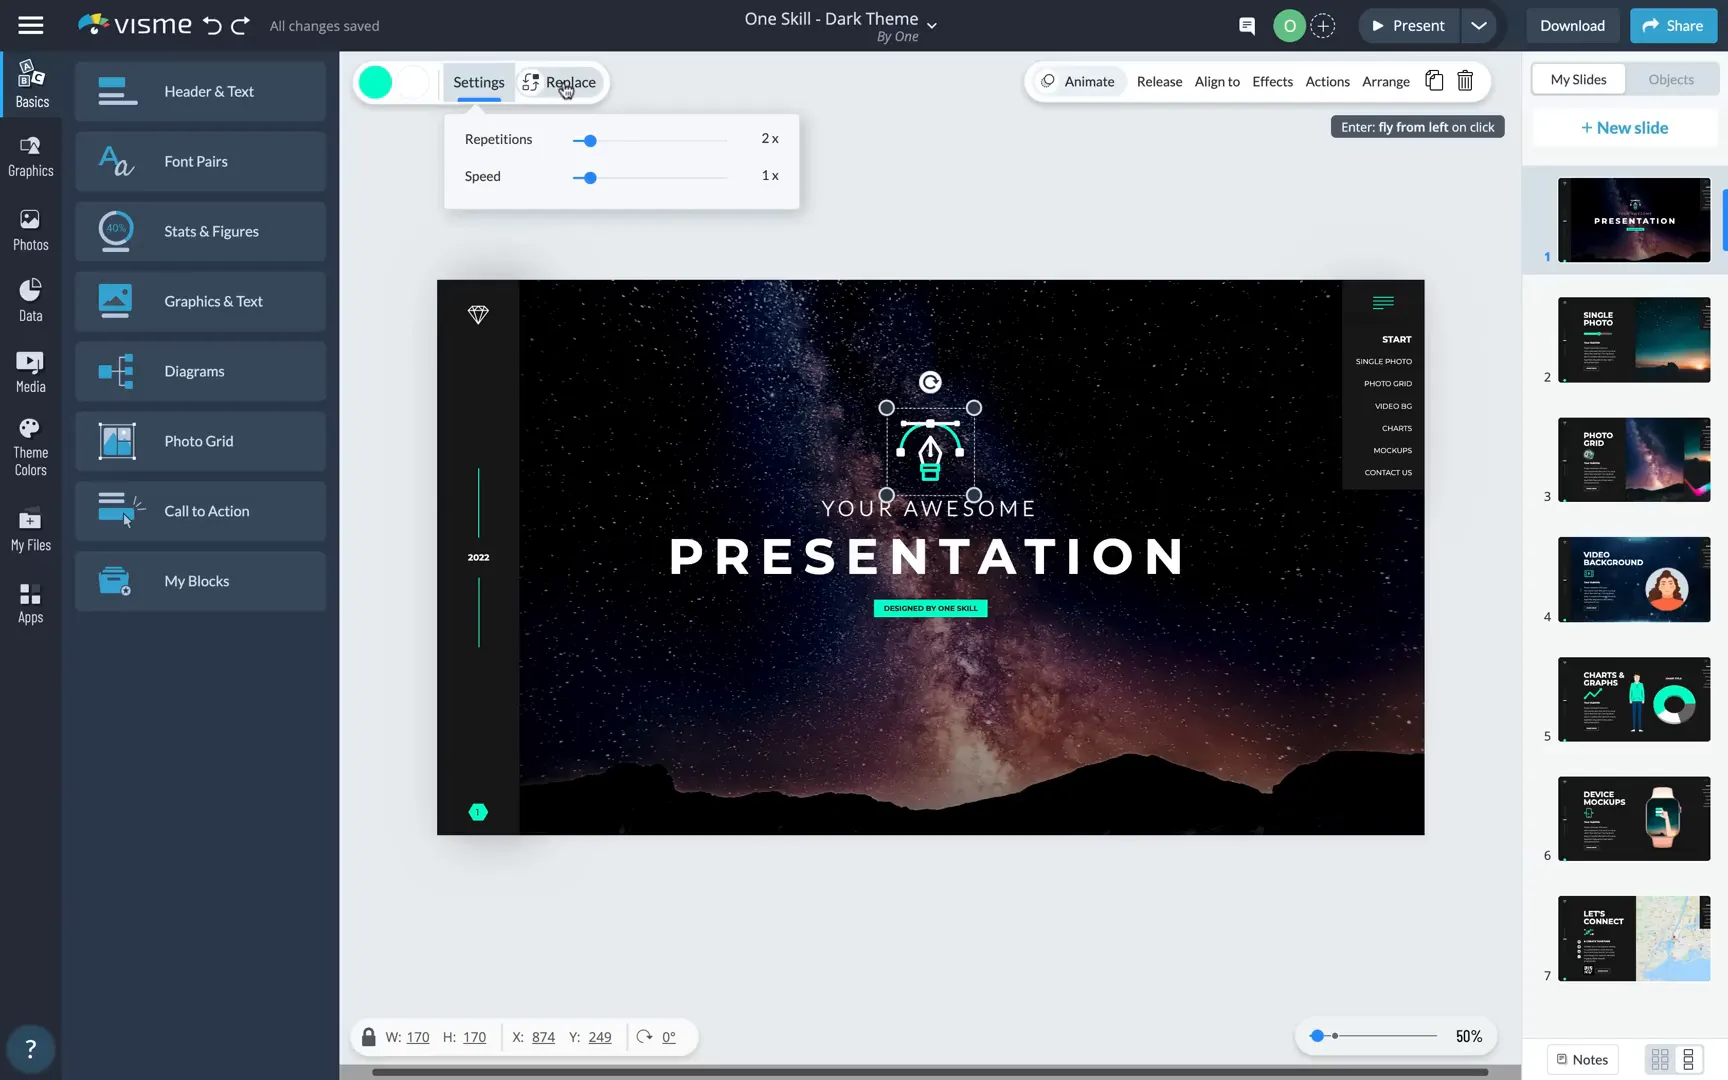
Working with Groups and Animated Icons
Most slide elements are grouped for convenience, allowing you to move or animate them as a single unit. You can double-click to edit individual elements without ungrouping, which keeps your workspace organized.
Replacing animated icons is straightforward. For example, swapping out a default icon for a heart animation takes just a click, and you can adjust animation settings like repetition count and speed.
Animations can be set to start automatically or on click, giving you full control over how your content unfolds during the presentation.
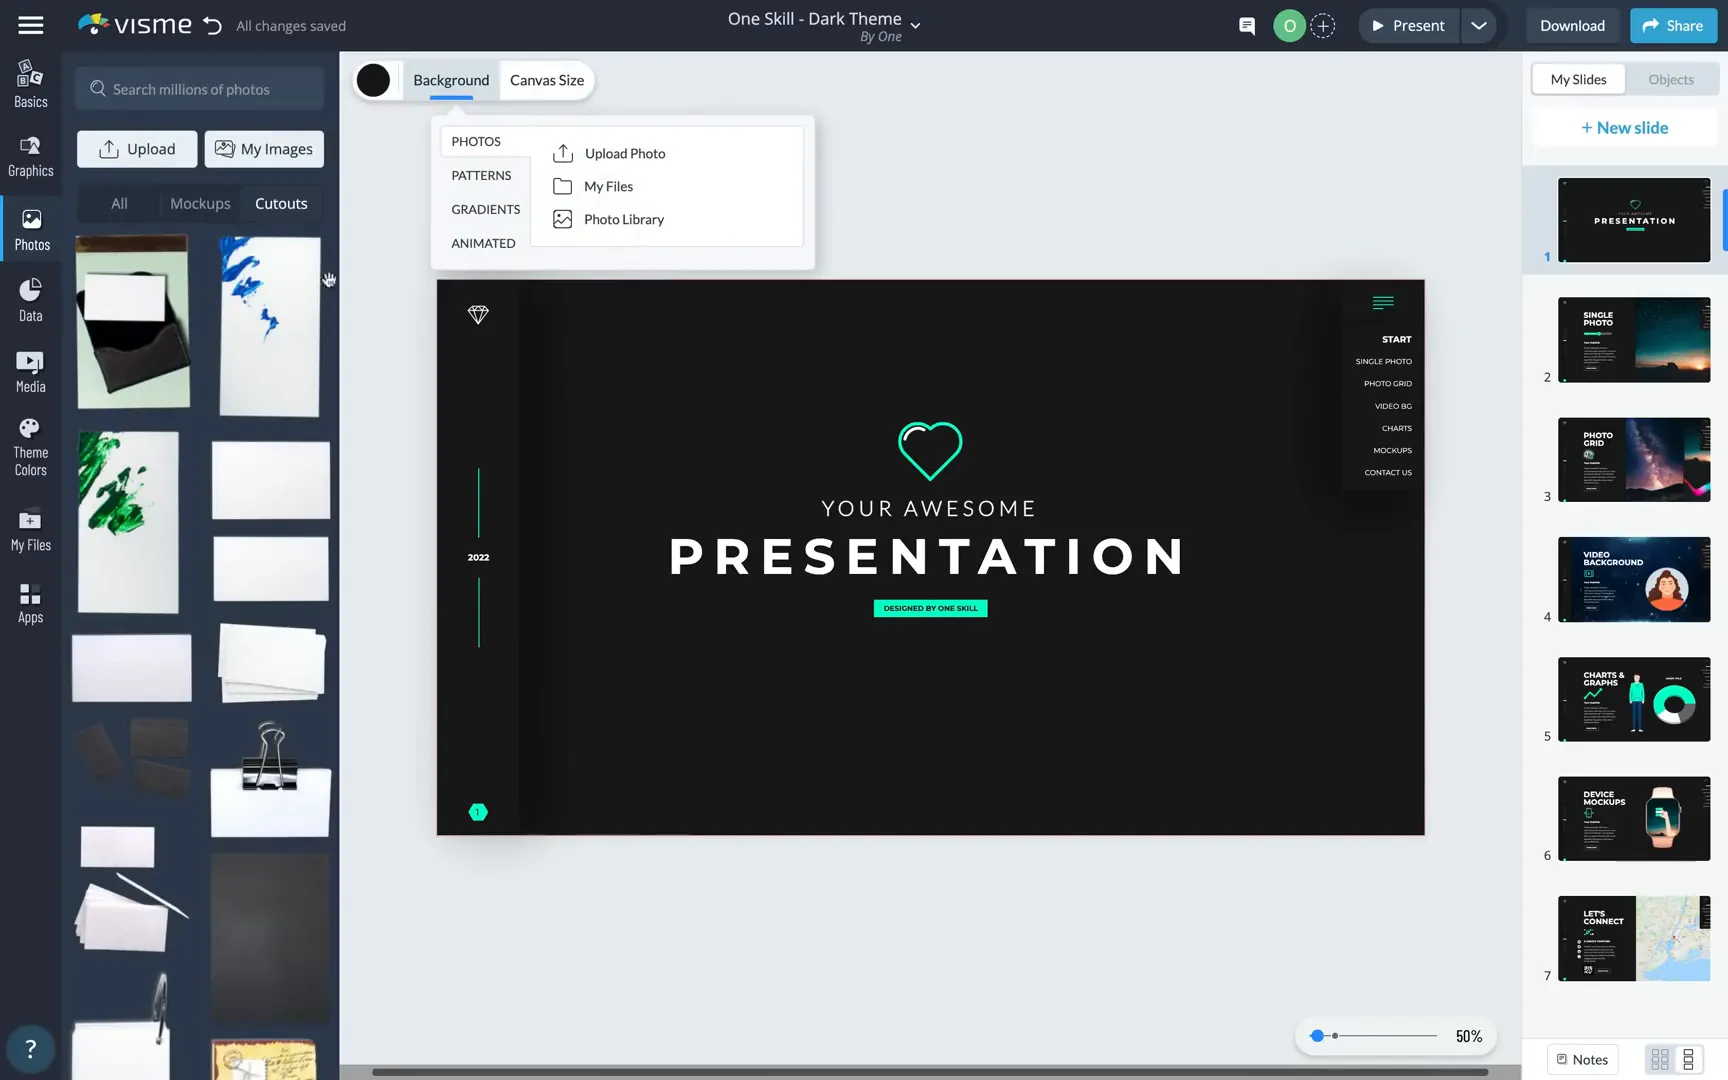
Customizing Backgrounds with Photos and Filters
Changing the slide background is just as easy. You can delete the existing background and add a solid color or choose from the vast photo library, which includes over one million images. For example, you might search for “mountains at night” and instantly apply a stunning photo.
Once inserted, you can reposition, scale, and apply filters to the background photo, such as adjusting brightness and contrast to ensure your text remains readable.
Replacing Logos Across All Slides
If you want to replace the logo visible on all slides, Visme makes this seamless. Navigate to the “My Files” tab, find your current logo, and use the replace function to upload a new one. Just ensure the new logo matches the original’s dimensions to avoid distortion.
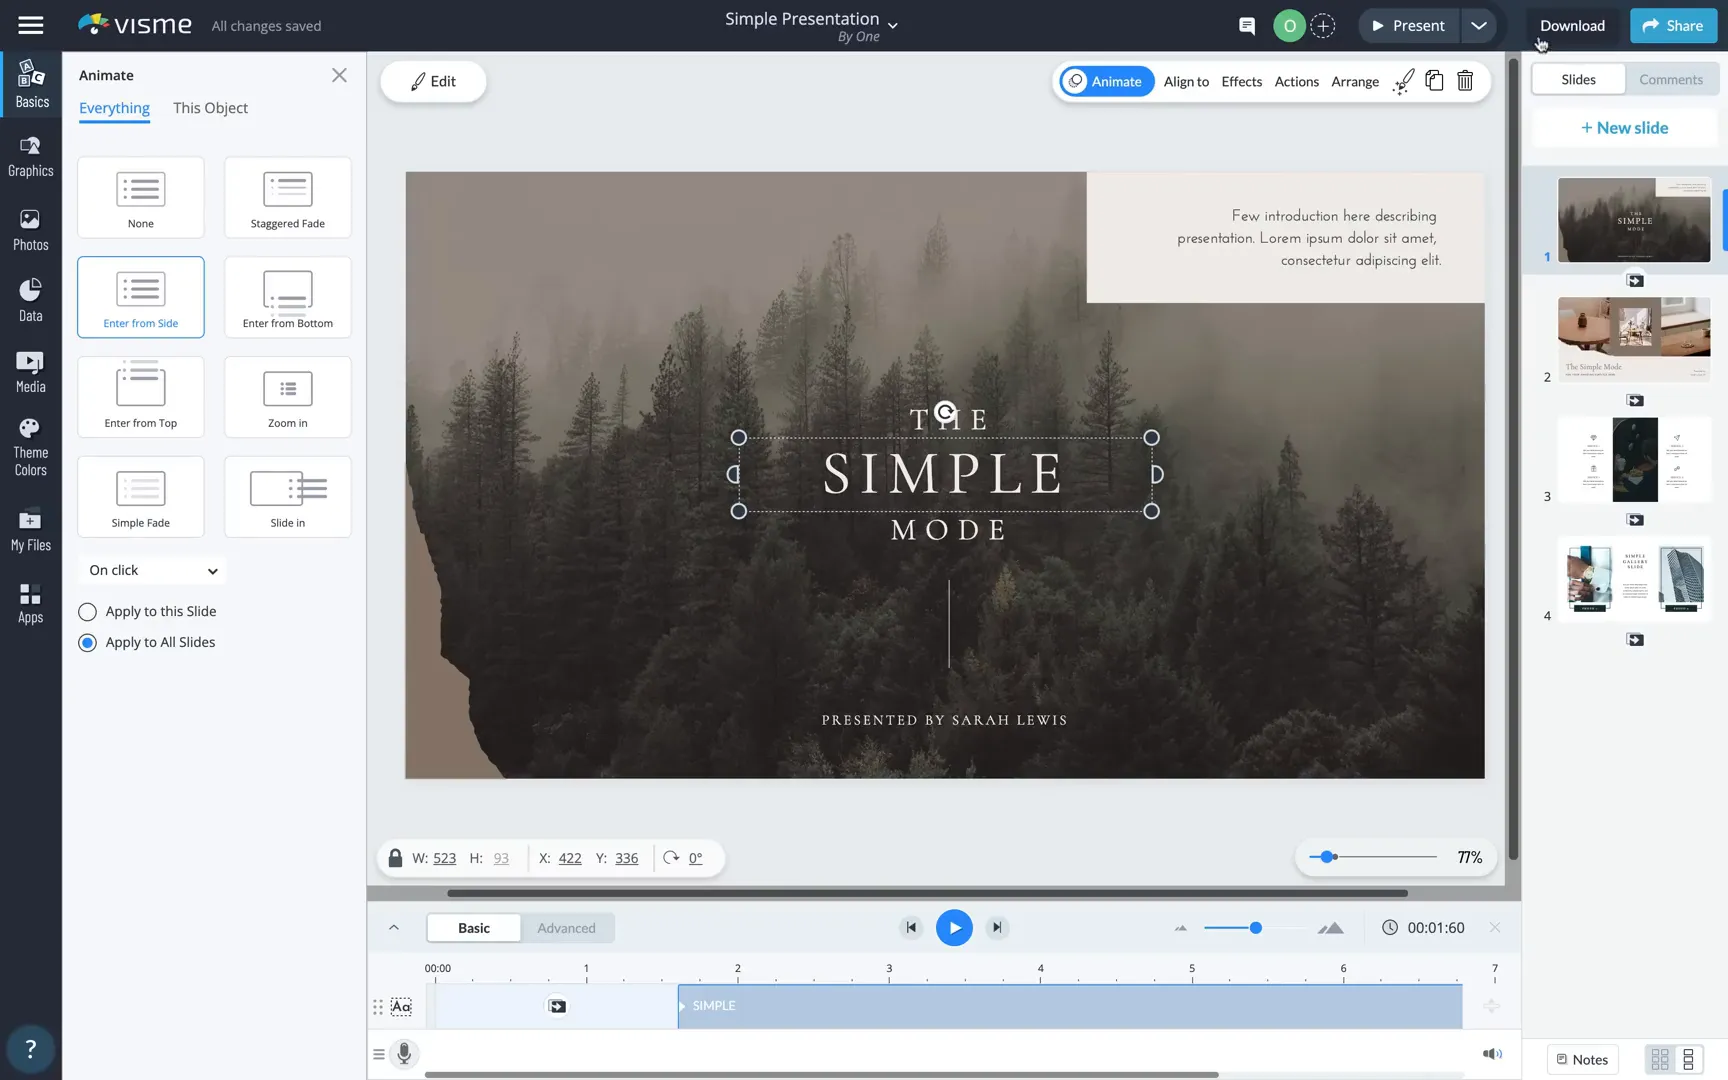
Slide Transitions vs. Object Animations
While slide transitions are available, I prefer animating individual objects to maintain a clean design, especially when the slide features a vertical bar and drop-down menu. However, if you want to apply transitions, you can select “enter from side” or other effects to all slides for a smooth parallax-like experience.
Advanced Data Visualization with Widgets and Charts
Visme offers a variety of data widgets that automatically adopt your brand colors. For example, a vertical data widget can be inserted and adjusted to show values like 55%. These widgets are fully customizable and can be animated to fly in or fade with your preferred timing.
Charts are another powerful feature. You can change chart types, import data from Google Sheets, Excel, or Google Analytics, and adjust settings like legends. The charts update automatically when data changes, giving you real-time visualization control.
Creating Interactive Buttons and Photo Grids
Clickable buttons, such as the “Learn More” button, are simple text boxes with borders and hyperlinks. You can customize the border color, thickness, and fill transparency. Links can open in the current tab or a new one, enhancing user navigation.
Photo grids are easy to insert and customize. You can delete an existing grid and choose a new style from categories like shapes, including 3D cube designs. Photos within the grid can be replaced and repositioned to create visually appealing layouts. Animations like “fly in from right” add dynamic entrance effects.
Animated Avatars and Video Backgrounds
Visme’s animated avatars bring life to your slides. You can change the avatar’s pose and color scheme, tailoring it to your brand or presentation style. Video backgrounds add even more depth, with options to insert videos, scale them to slide size, and set them to play automatically behind your content.
Special Effects and Gesture Animations
Special effects and animated illustrations can be easily swapped out to match your presentation tone. One slide includes a hand gesture animation inside a smartwatch mockup that only plays when you hover over the device, thanks to Visme’s mouse-over animation feature.
This mouse-over capability is a game-changer, allowing you to trigger animations or popups based on cursor movement, which adds a layer of interactivity rarely seen in traditional presentation tools.
Zoomable Maps and QR Codes for Enhanced Engagement
Integrating a zoomable Google Map into your slide is straightforward via the Apps tab. You can set the desired address and initial zoom level, allowing users to explore the map interactively during your presentation.
QR codes are another modern addition. You can generate a QR code linking to any URL and update it instantly. Scanning the code with a phone directs audiences to your website or resource, bridging the gap between your presentation and online content.

Building a Functional Drop-Down Menu with Pop-Up Actions
The drop-down menu is created by combining mouse-over animations and hyperlinks, but with a twist: the menu expands on click rather than hover. This is done by assigning a pop-up action to the hamburger menu icon, which reveals the slide list when clicked.
Each menu item is linked to a specific slide, enabling quick navigation. Removing the action shows the menu expanded by default, but adding the pop-up action restores the interactive click behavior, enhancing presentation professionalism.
Final Thoughts: Unlocking the Power of Visme
Visme opens up a new world of possibilities for creating presentations that are interactive, visually rich, and highly customizable. From animated icons and dynamic charts to video backgrounds and zoomable maps, this platform equips you with tools to engage your audience like never before.
Whether you’re a beginner or an experienced presenter, Visme’s intuitive interface and powerful features make it easy to design next-level presentations that leave a lasting impression.
So go ahead, explore Visme, and transform your presentations into immersive storytelling experiences that captivate and inspire.
Frequently Asked Questions (FAQ)
What is Visme, and how is it different from PowerPoint?
Visme is an online presentation and design tool that offers more interactive and animated features than traditional tools like PowerPoint. It includes animated icons, video backgrounds, zoomable maps, and more, providing a richer multimedia presentation experience.
Can I start creating presentations from scratch in Visme?
Yes! You can start with a custom canvas size and create your slides from scratch, or you can use one of Visme’s many categorized templates to save time.
Are the animations and interactive elements customizable?
Absolutely. You can replace animated icons, adjust animation speed and repetitions, change avatars, customize charts and charts data, and set animations to trigger on click or automatically.
Does Visme support adding clickable buttons and hyperlinks?
Yes, you can create clickable text boxes with borders and link them to websites or other slides within your presentation.
How do mouse-over animations work in Visme?
Mouse-over animations play only when the cursor hovers over an element, such as a device mockup. You can set these animations using pop-up actions triggered on hover, adding interactivity to your slides.
Can I insert maps and QR codes into my presentation?
Yes, Visme allows you to embed zoomable Google Maps and generate QR codes that link to any URL, enhancing engagement and connectivity.
Is it possible to have a drop-down menu for slide navigation?
Yes, by combining pop-up actions and hyperlinks, you can create a functional drop-down menu that expands on click and lets you jump to any slide within your presentation.
Can I collaborate with others on Visme presentations?
Yes, Visme supports collaboration features such as comments and shared editing, making it easy to work with teams.
How do I replace a logo on all slides?
Upload your new logo to the “My Files” tab, then use the replace function to update it across all slides simultaneously, ensuring consistency.
Does Visme allow importing data from external sources for charts?
Yes, you can import data from Google Sheets, Excel, and Google Analytics to populate your charts, which update automatically with your data changes.
Check out the full video: Create a Next Level Presentation in 🔥Visme🔥


