
Welcome to this comprehensive guide on mastering Microsoft PowerPoint, brought to you by Skills Factory. Whether you’re a beginner aiming to create your first presentation or someone looking to enhance your slideshow skills, this tutorial covers everything you need to build dynamic, engaging presentations on a Windows machine. In just thirteen minutes, you’ll learn how to use PowerPoint’s powerful features to show content, analyze data, and create compelling visual representations.
PowerPoint is one of the most widely used programs for creating presentations, suitable for students, professionals, and businesses alike. It integrates tools for text, tables, charts, images, videos, and animations all in one versatile platform. This article breaks down all the essential steps and features you need to know to craft a professional presentation that captivates your audience.
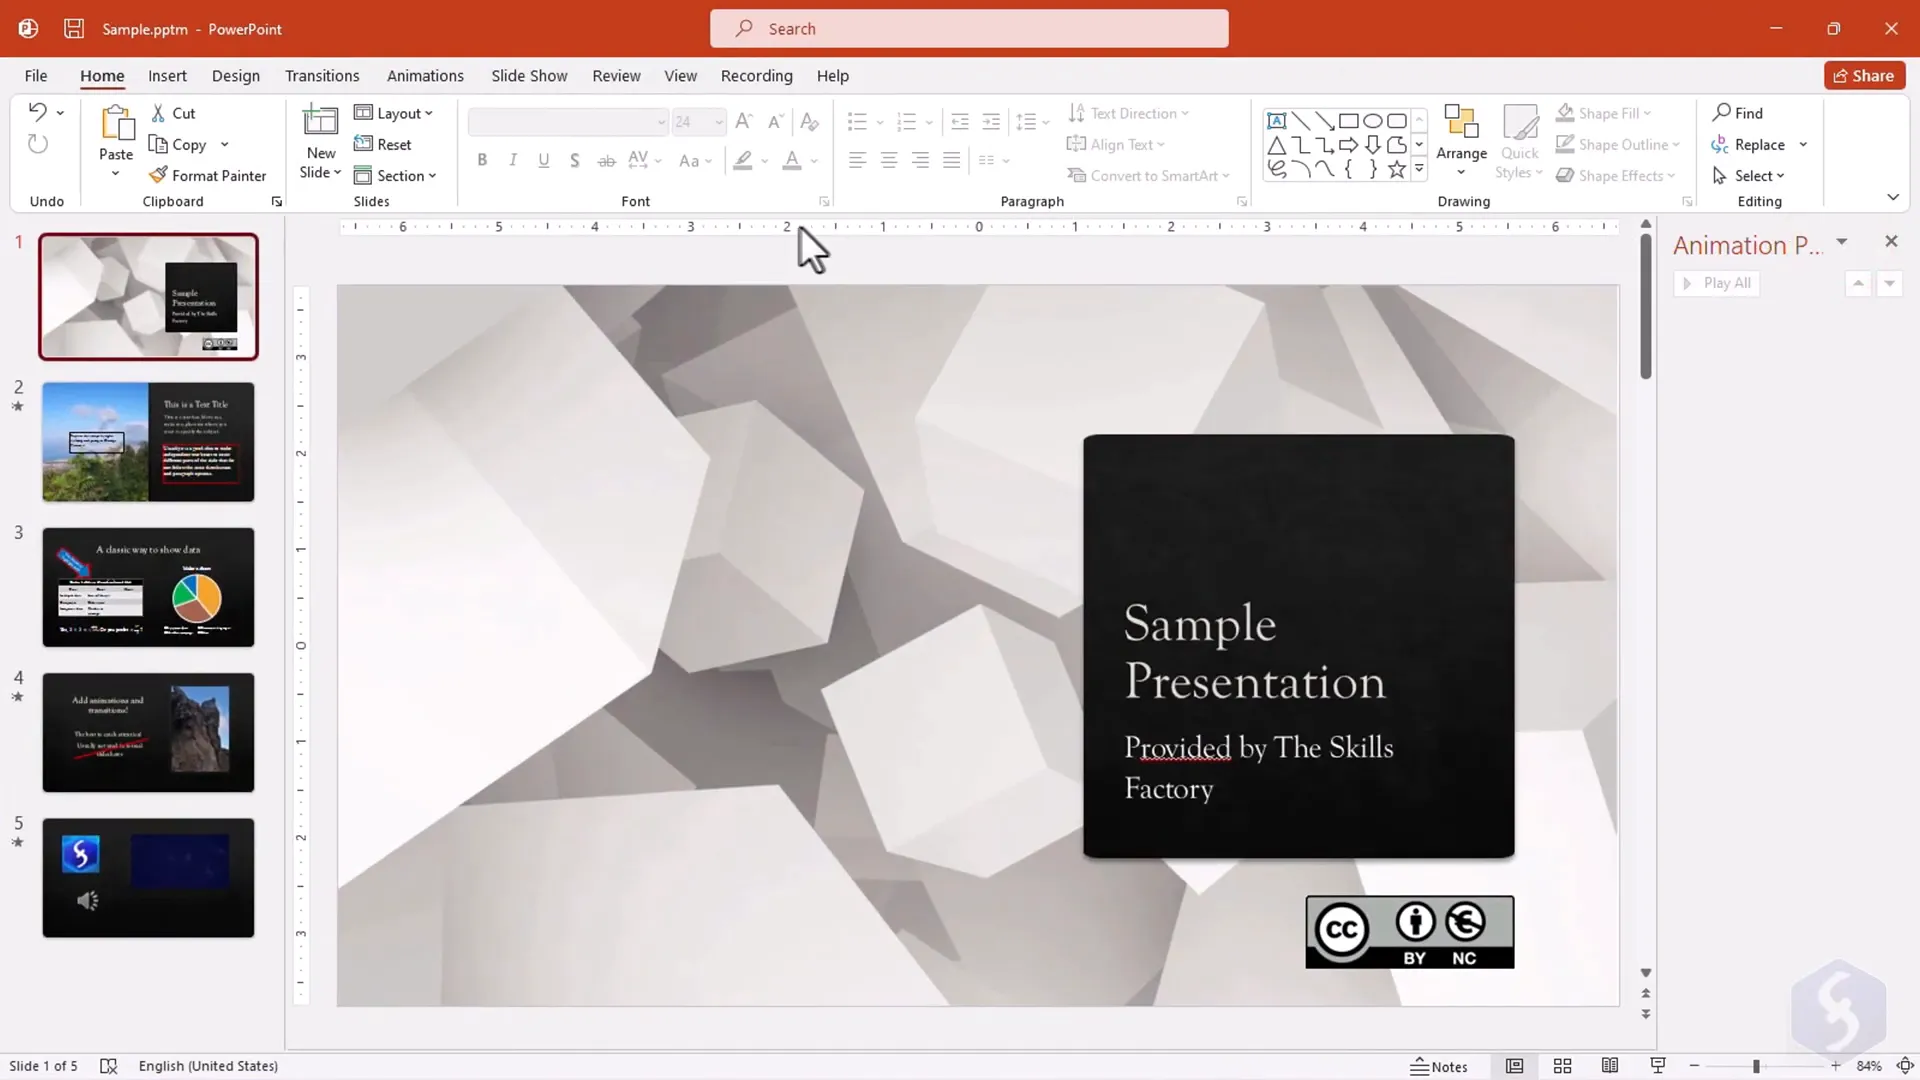
Table of Contents
- Getting Started: The PowerPoint Home Page and Interface
- Understanding PowerPoint Projects: Slides and Objects
- Editing Slide Content: Text Boxes and Formatting
- Inserting Shapes and Lines
- Working With Tables
- Adding Charts for Data Visualization
- Inserting Media: Pictures, Videos, and Audio
- Managing Slide Elements and Object Arrangement
- Presenting Your Slides: Slide Show Mode and Presenter Tools
- Adding Dynamic Effects: Transitions and Animations
- Saving and Exporting Your Presentation
- Conclusion
- Frequently Asked Questions (FAQ)
Getting Started: The PowerPoint Home Page and Interface
When you launch Microsoft PowerPoint, the first thing you see is the Home page. This screen provides quick access to start a new project or open an existing one. You can choose from a variety of ready-made templates to jump-start your presentation, which helps maintain a consistent style throughout your slides.
Once you select a template, the main PowerPoint interface opens. The layout is straightforward and user-friendly:
- Ribbon Bar: Located at the top, this toolbar contains tabs that group all the tools and features you’ll use.
- Slides List: Displayed on the left side, this panel shows thumbnails of all your slides in order, allowing easy navigation and reordering.
- Main Slide Preview: Centered on the screen, where you edit and design your current slide.
You can personalize the interface appearance by changing the Office theme. Navigate to File > Options > General, and choose the theme colors that suit your preferences, whether dark, colorful, or classic.
Understanding PowerPoint Projects: Slides and Objects
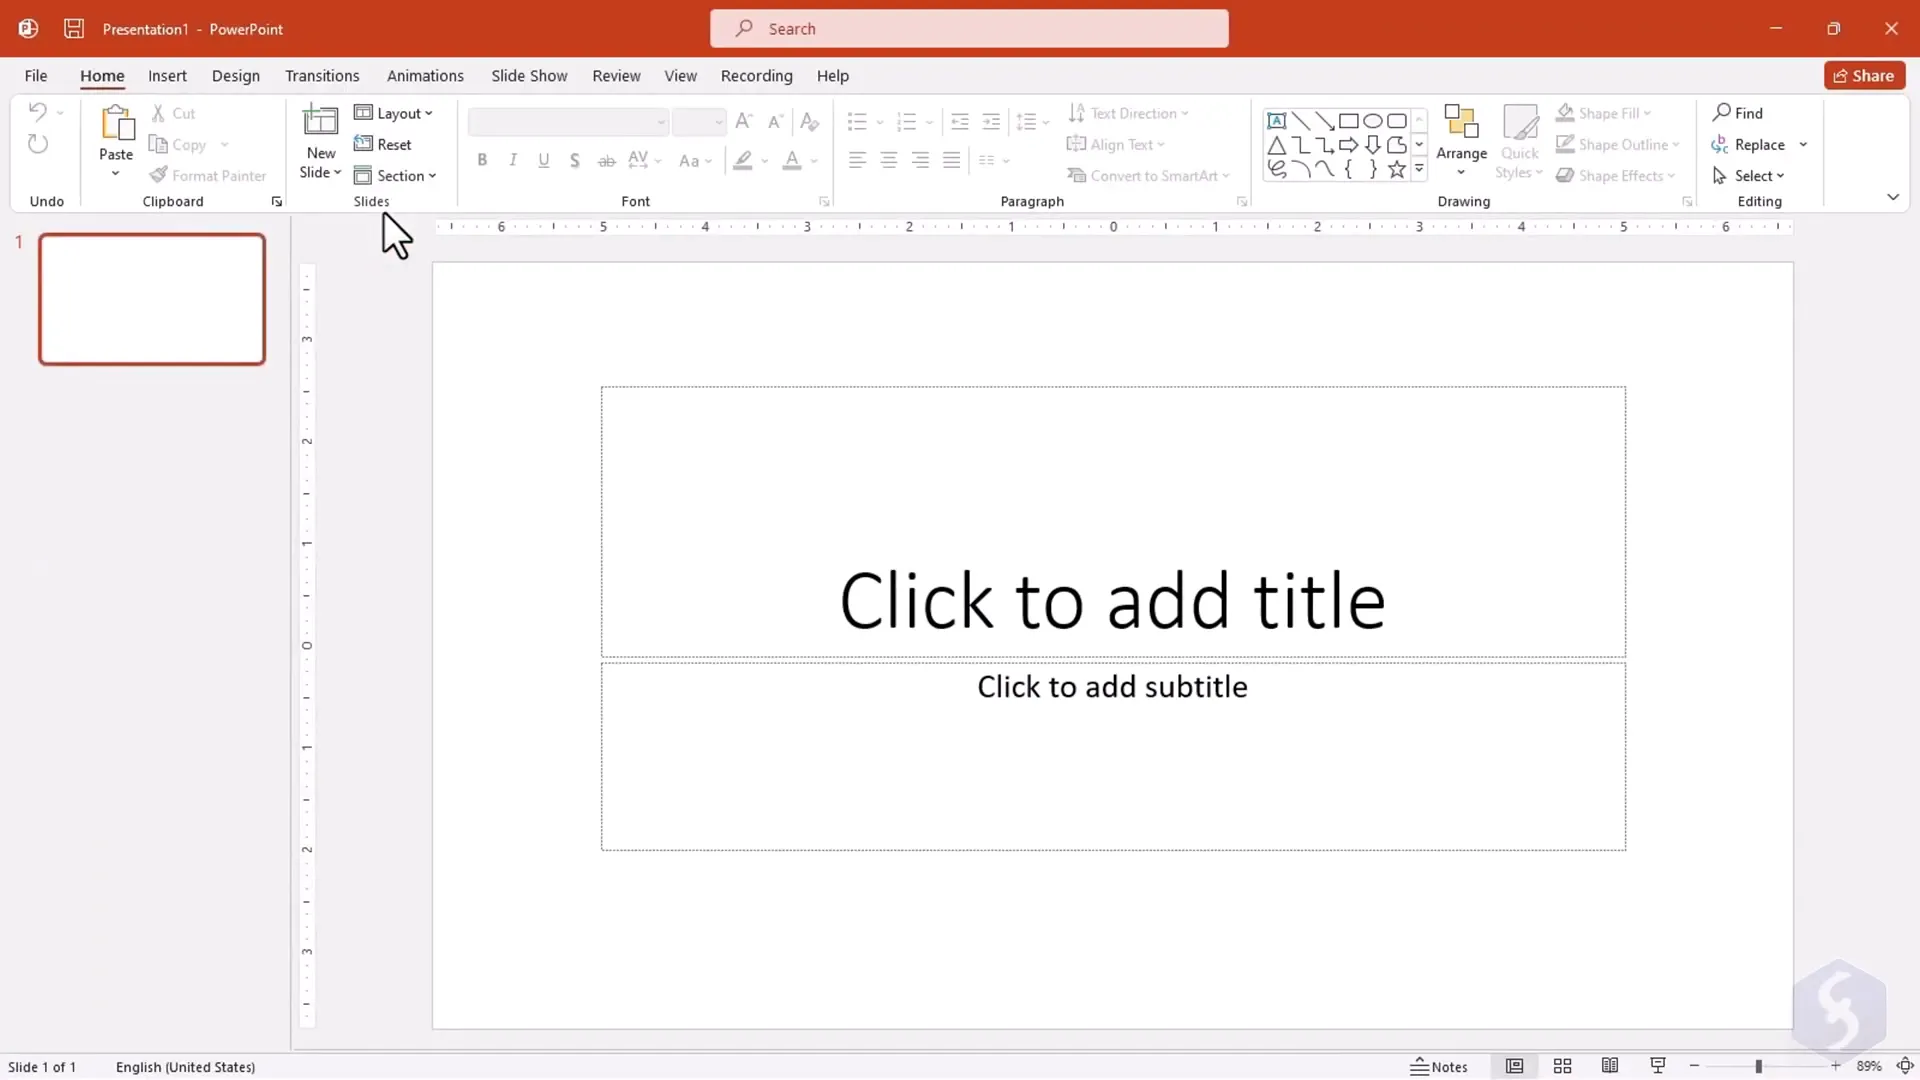
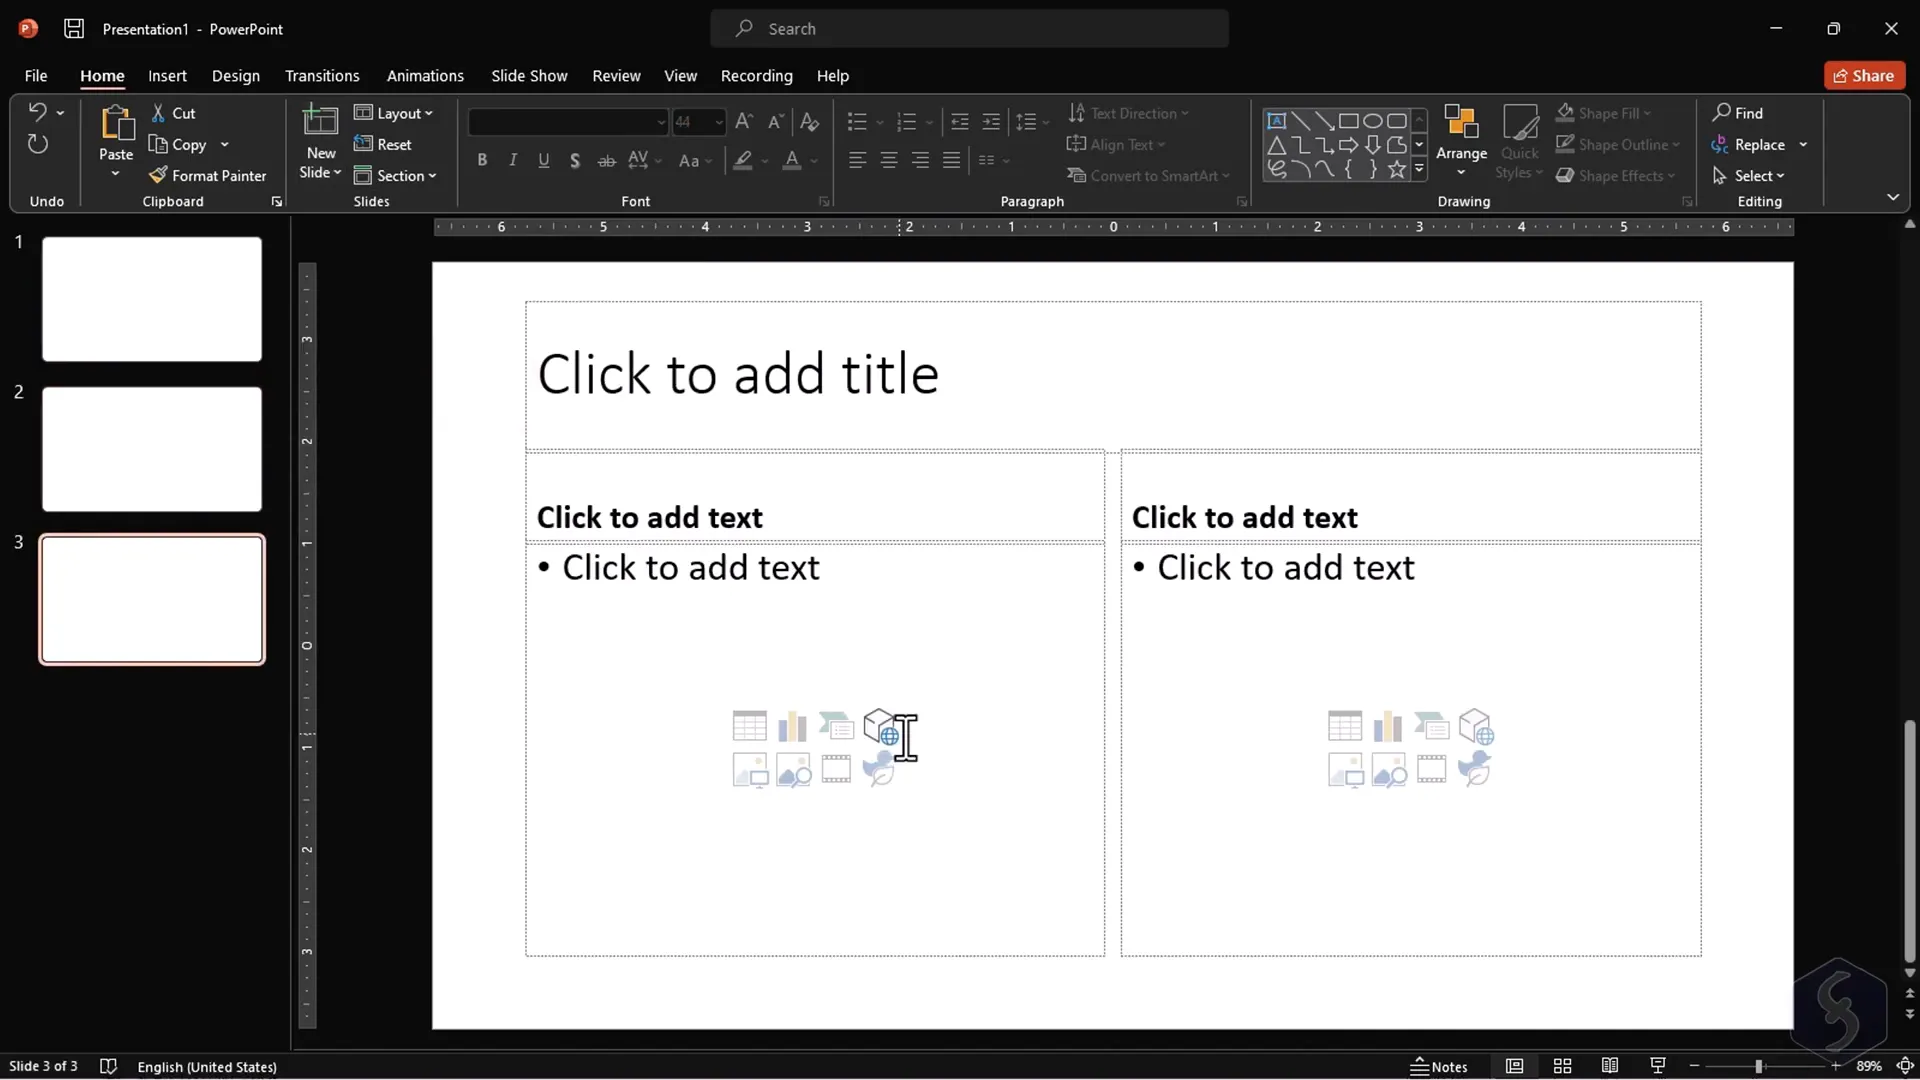
A PowerPoint project, also known as a presentation, consists of multiple pages called slides. Each slide is a canvas where you combine various objects such as text, shapes, tables, charts, and media files to convey your message effectively.
When starting with a new presentation, you’ll typically see a few sample slides pre-populated with placeholder content. You can add more slides by clicking the New Slide button in the Ribbon bar. Each new slide follows the template style and can contain different types of content depending on the layout you choose.
Select any slide from the left panel and use the Layout option to switch between different slide formats, such as title slides, content slides, or comparison layouts. The Design tab lets you completely change the visual style and the size of your slides, giving you full control over the look and feel of your presentation.
Slides can be reordered easily by dragging them up or down in the slide list. Right-clicking a slide reveals options to cut, copy, paste, or delete it, helping you manage your presentation flow with precision.
Editing Slide Content: Text Boxes and Formatting
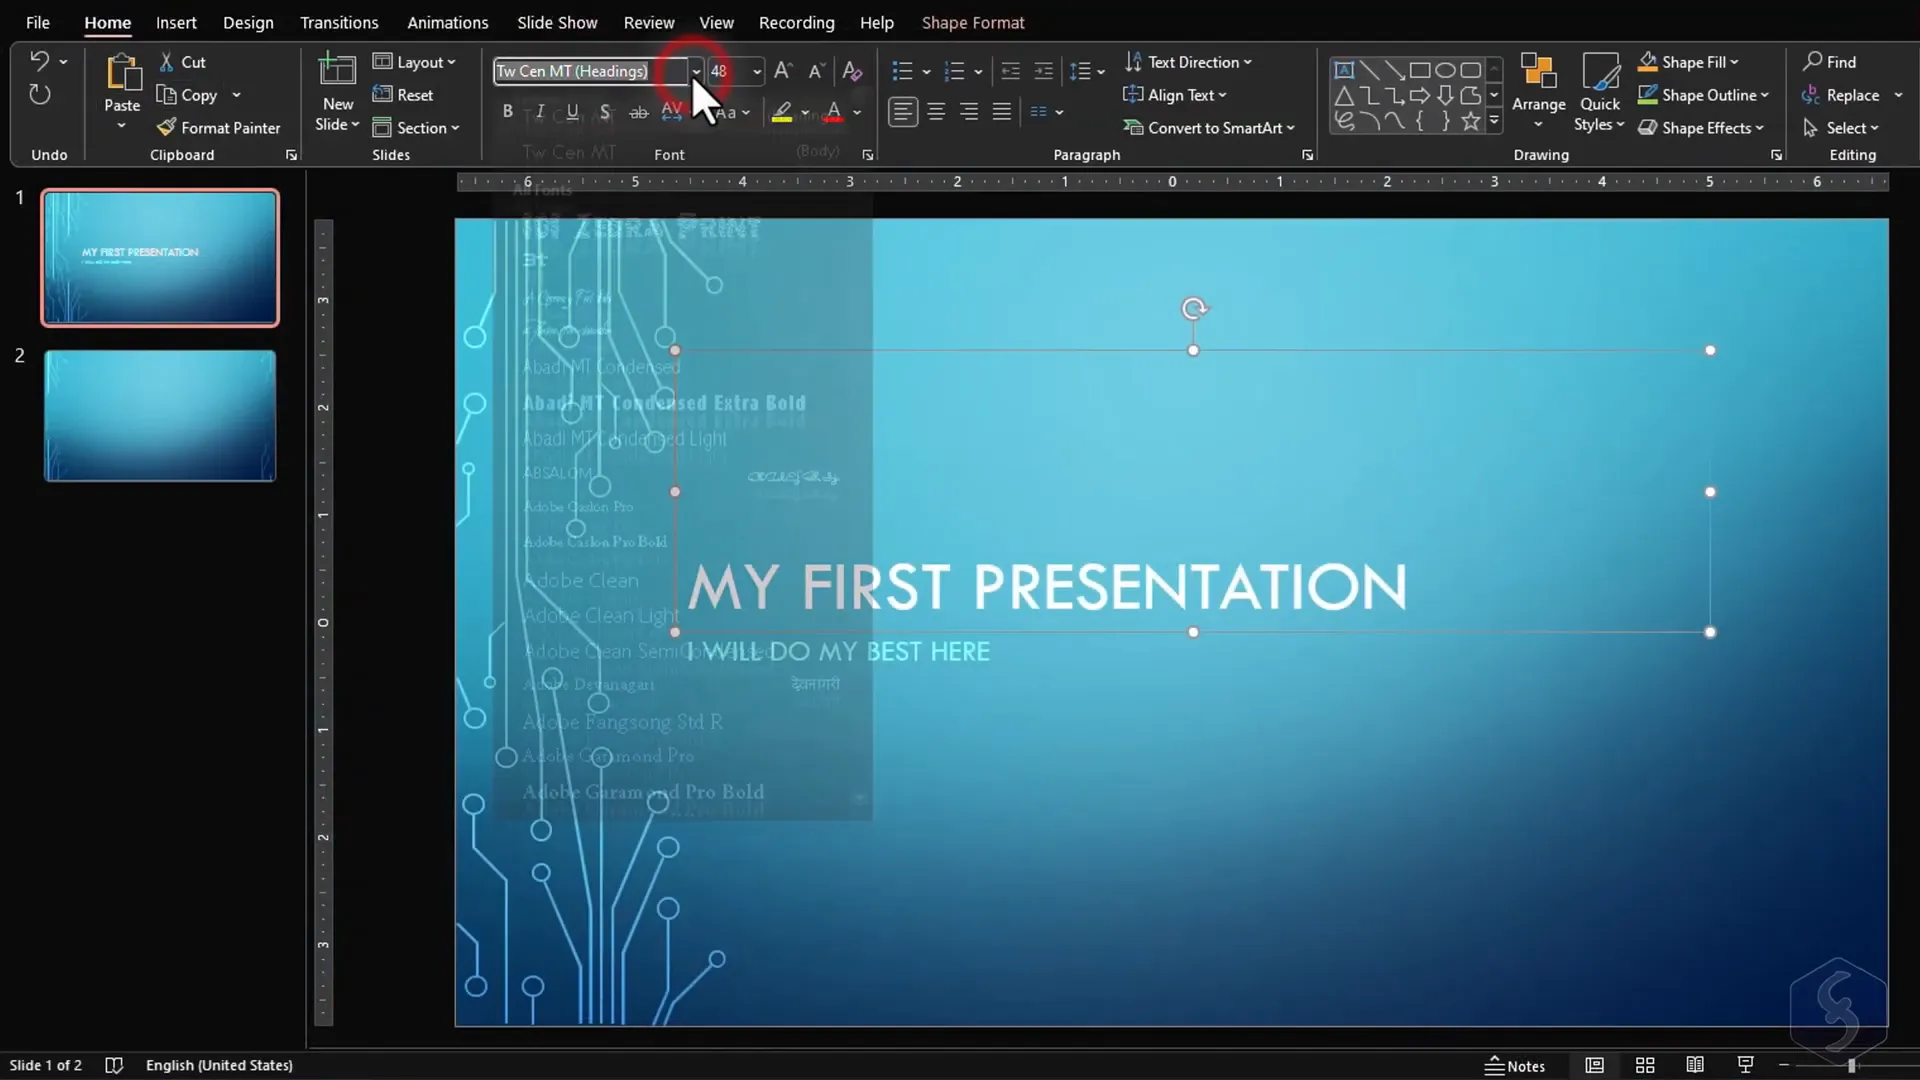
Text is the backbone of most presentations, and PowerPoint makes editing text straightforward. Click inside any text title or placeholder to start typing. These text areas are called Text Boxes, visually represented by dashed borders which you can drag to reposition anywhere on the slide.
Each Text Box has nodes around its edges that allow you to resize or rotate it, enabling you to adjust how your text fits and flows within the slide. From the Home tab, you can modify the font type, size, style (bold, italic, underline), and letter spacing. Remember to select the text you want to change to see these options active.
Further customization includes setting background colors for text boxes, changing font colors, adjusting text alignment within the box, and controlling line spacing. For more precise text placement, enable the ruler from the View tab, which helps you align and distribute text perfectly.
Adding Hyperlinks, Equations, and Lists
You can enrich your slides by adding hyperlinks to selected text. Navigate to Insert > Link to attach URLs to documents, web pages, or other slides within the presentation.
For math-heavy presentations, PowerPoint supports inserting equations and symbols via the Insert tab. This feature allows you to add complex mathematical expressions with ease.
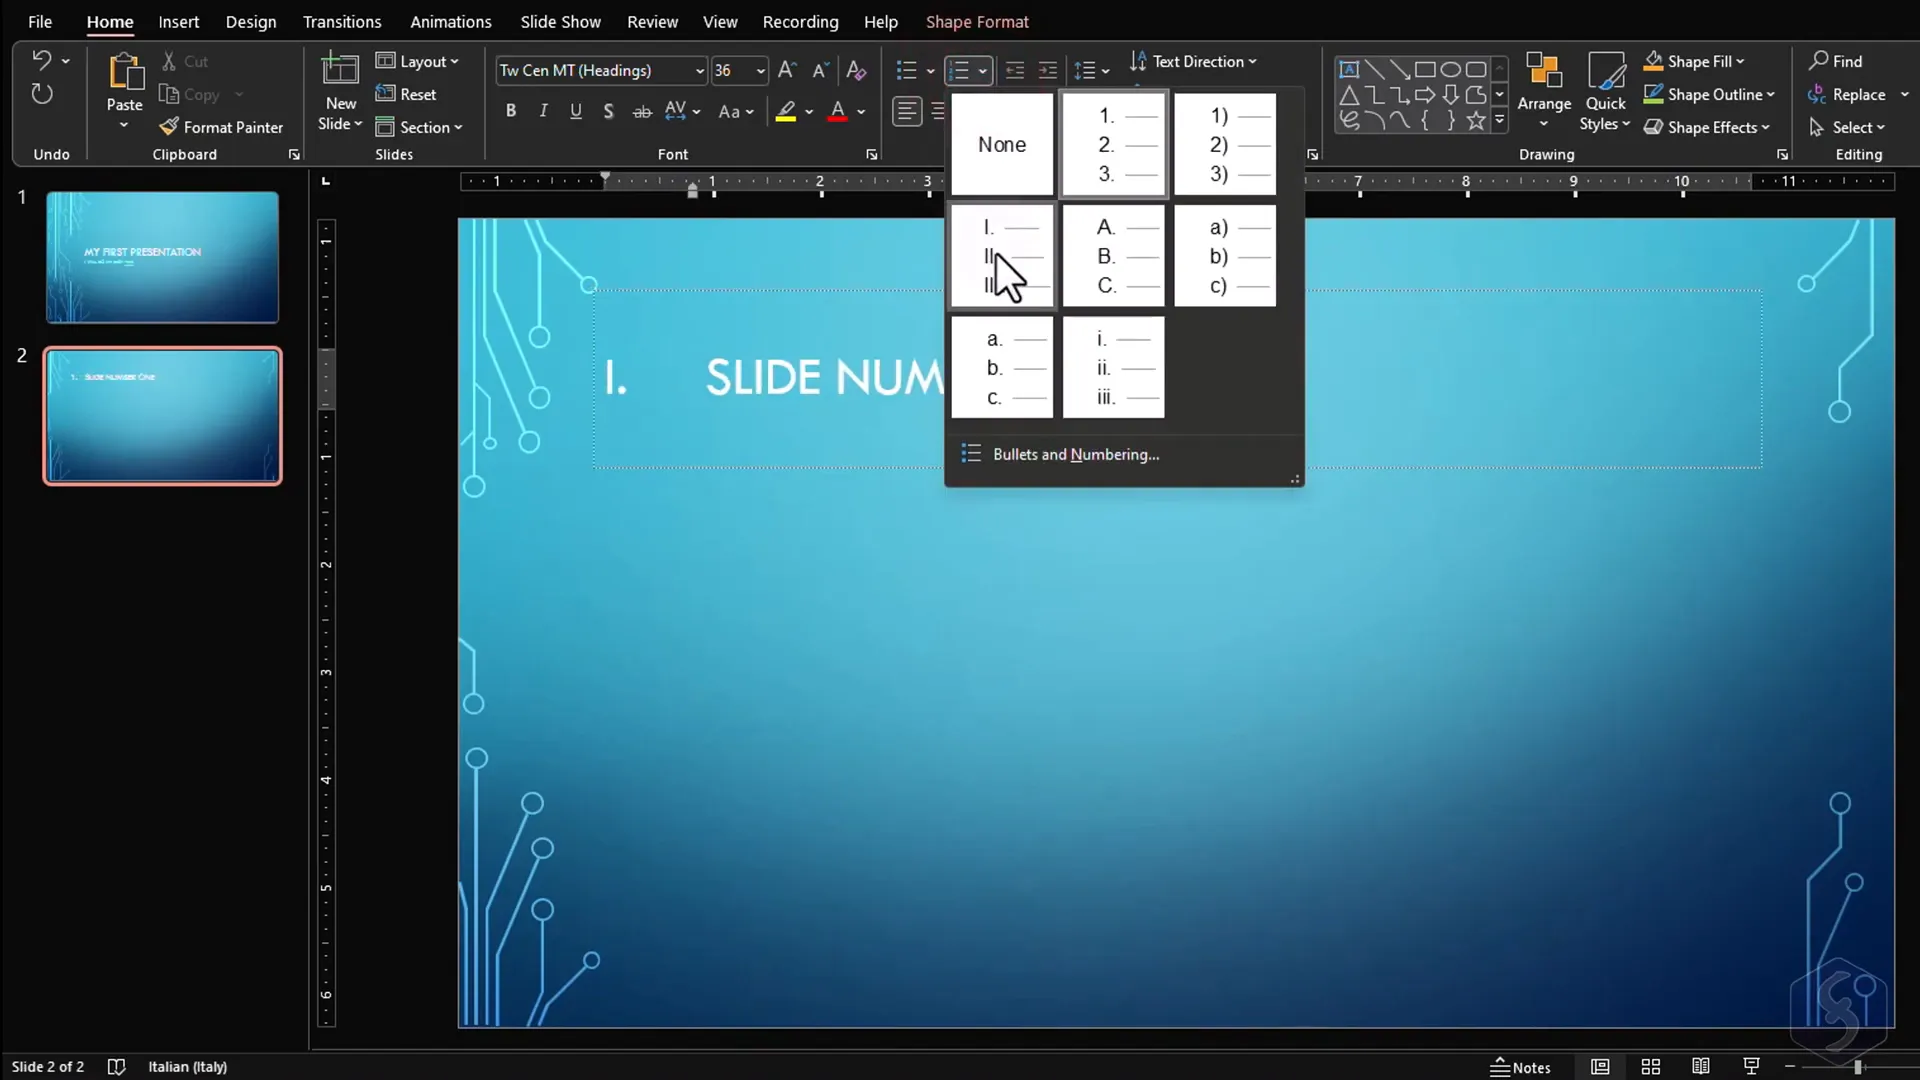
Creating organized information is simpler with bulleted or numbered lists. Under Home > Paragraph, select the type of list you want, and customize bullet symbols or numbering styles by clicking the dropdown arrow. When typing lists, new bullets or numbers are added automatically as you press Enter. Use the Tab key to create sub-list levels and Shift + Tab to move back to higher levels.
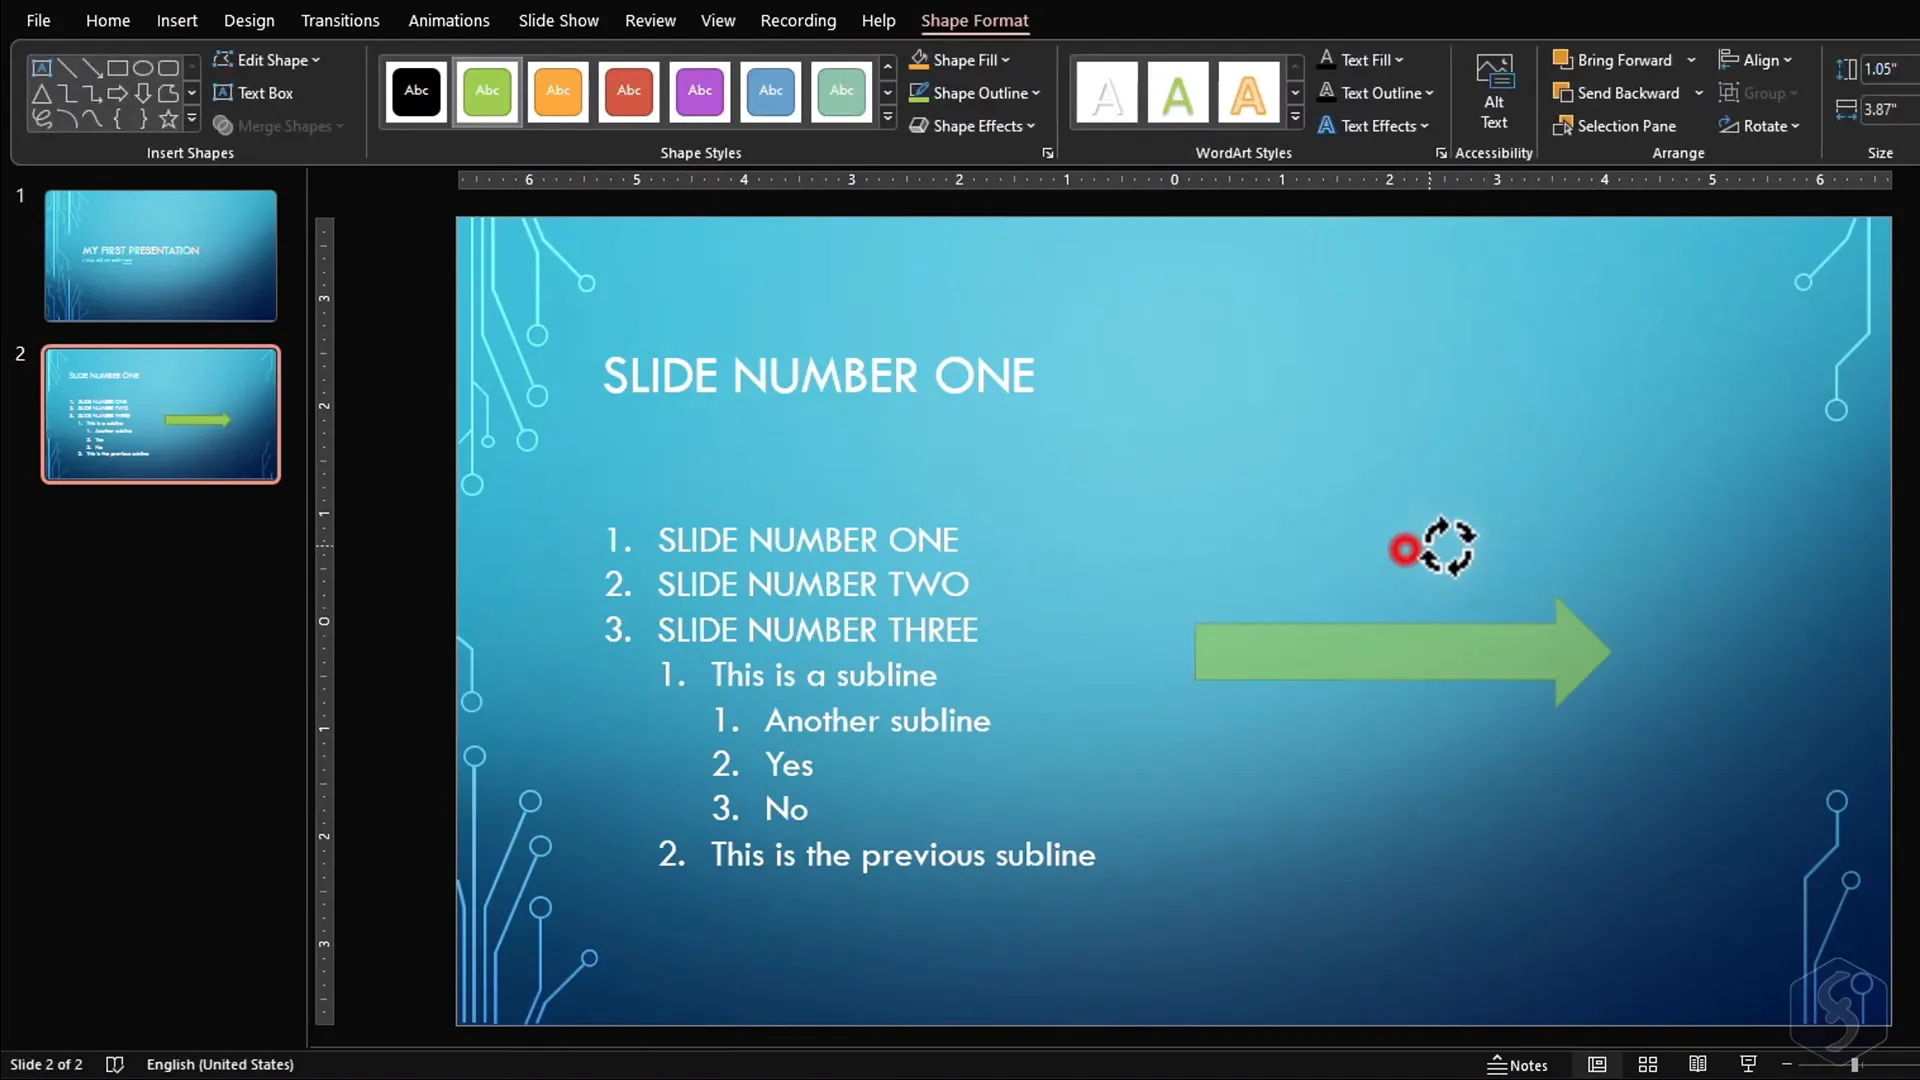
Inserting Shapes and Lines
Visual elements like shapes and lines help highlight important points or organize content visually. You can insert these by going to Insert > Shapes. Choose any shape from the gallery, then click and drag on the slide to draw it.
Once inserted, shapes can be moved, rotated, and resized using their nodes. You can even add text inside a shape by right-clicking it and selecting Edit Text. When you select a shape or text box, the Shape Format tab appears with styling options.
PowerPoint offers ready-made shape styles, or you can customize fills, outlines (borders), and add special effects like shadows, glows, or 3D effects. Use WordArt Styles to transform text within shapes with colorful fonts, outlines, and effects.
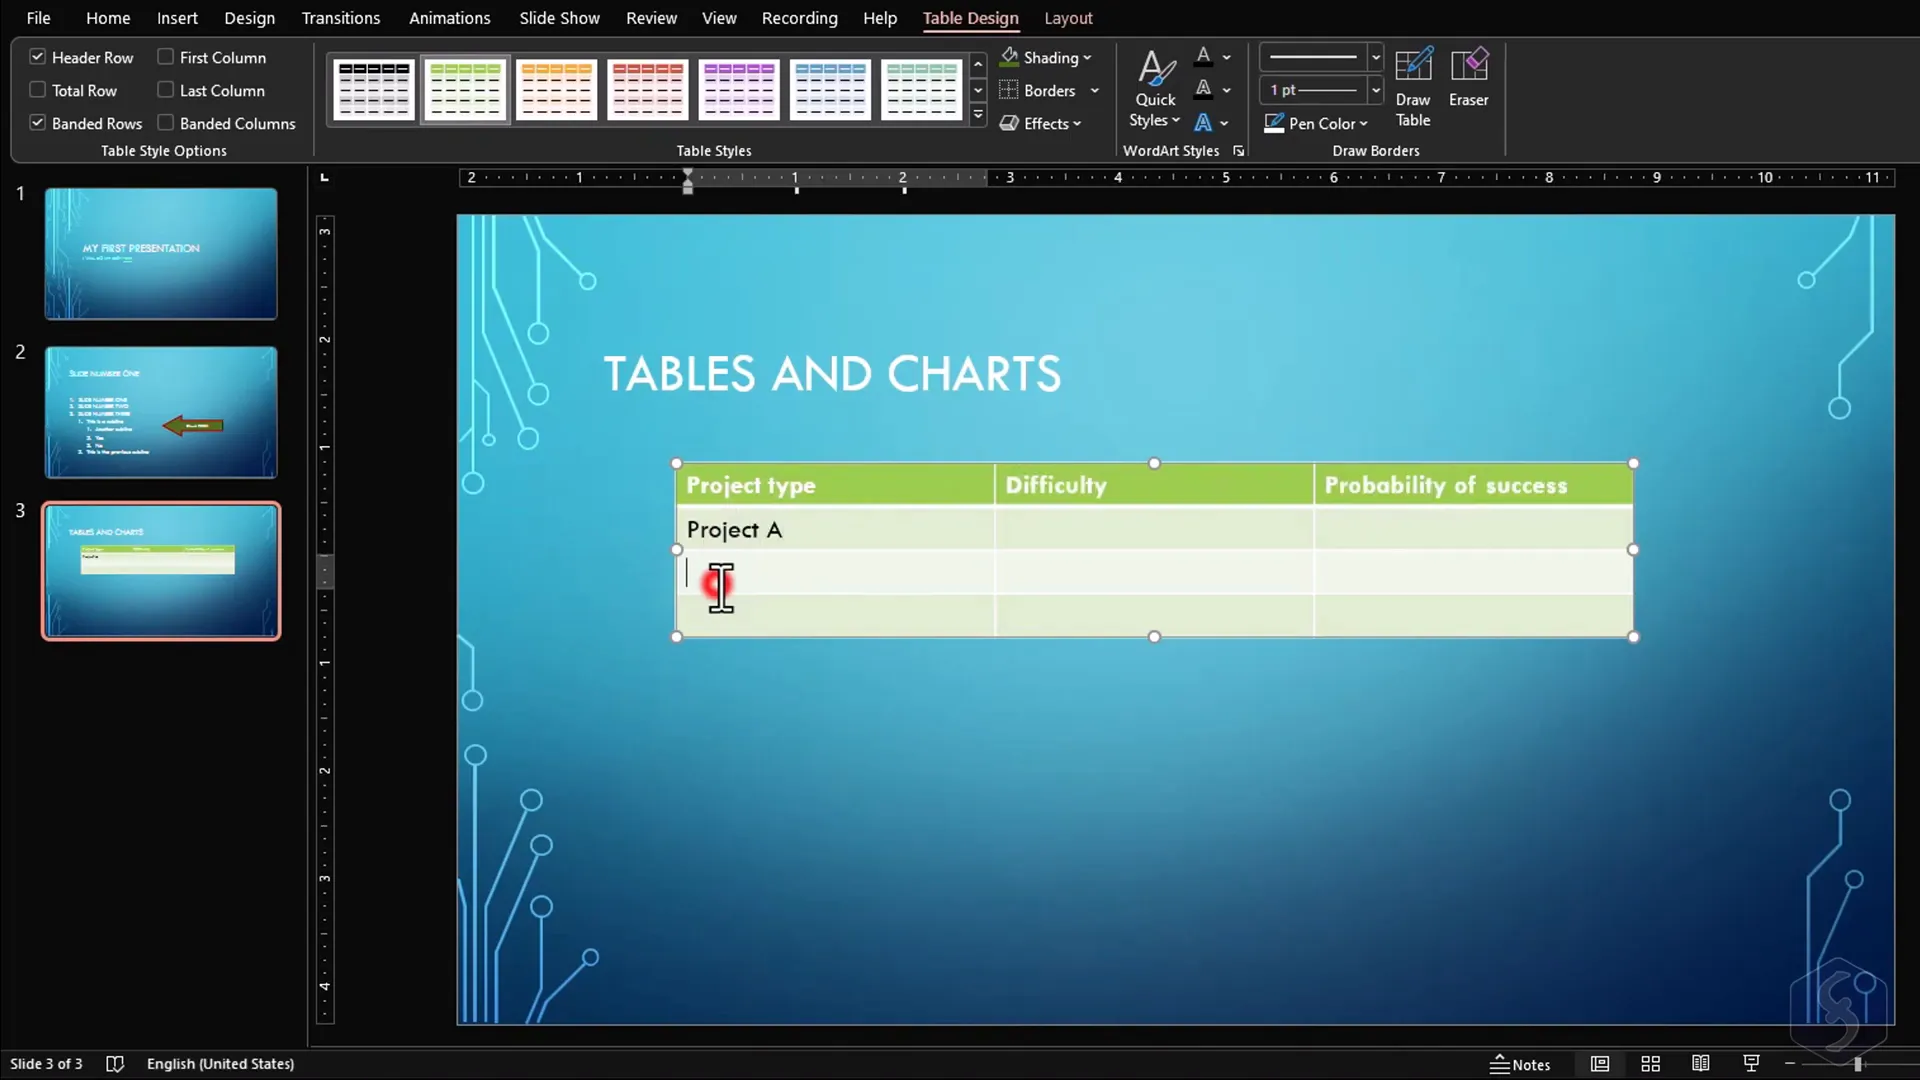
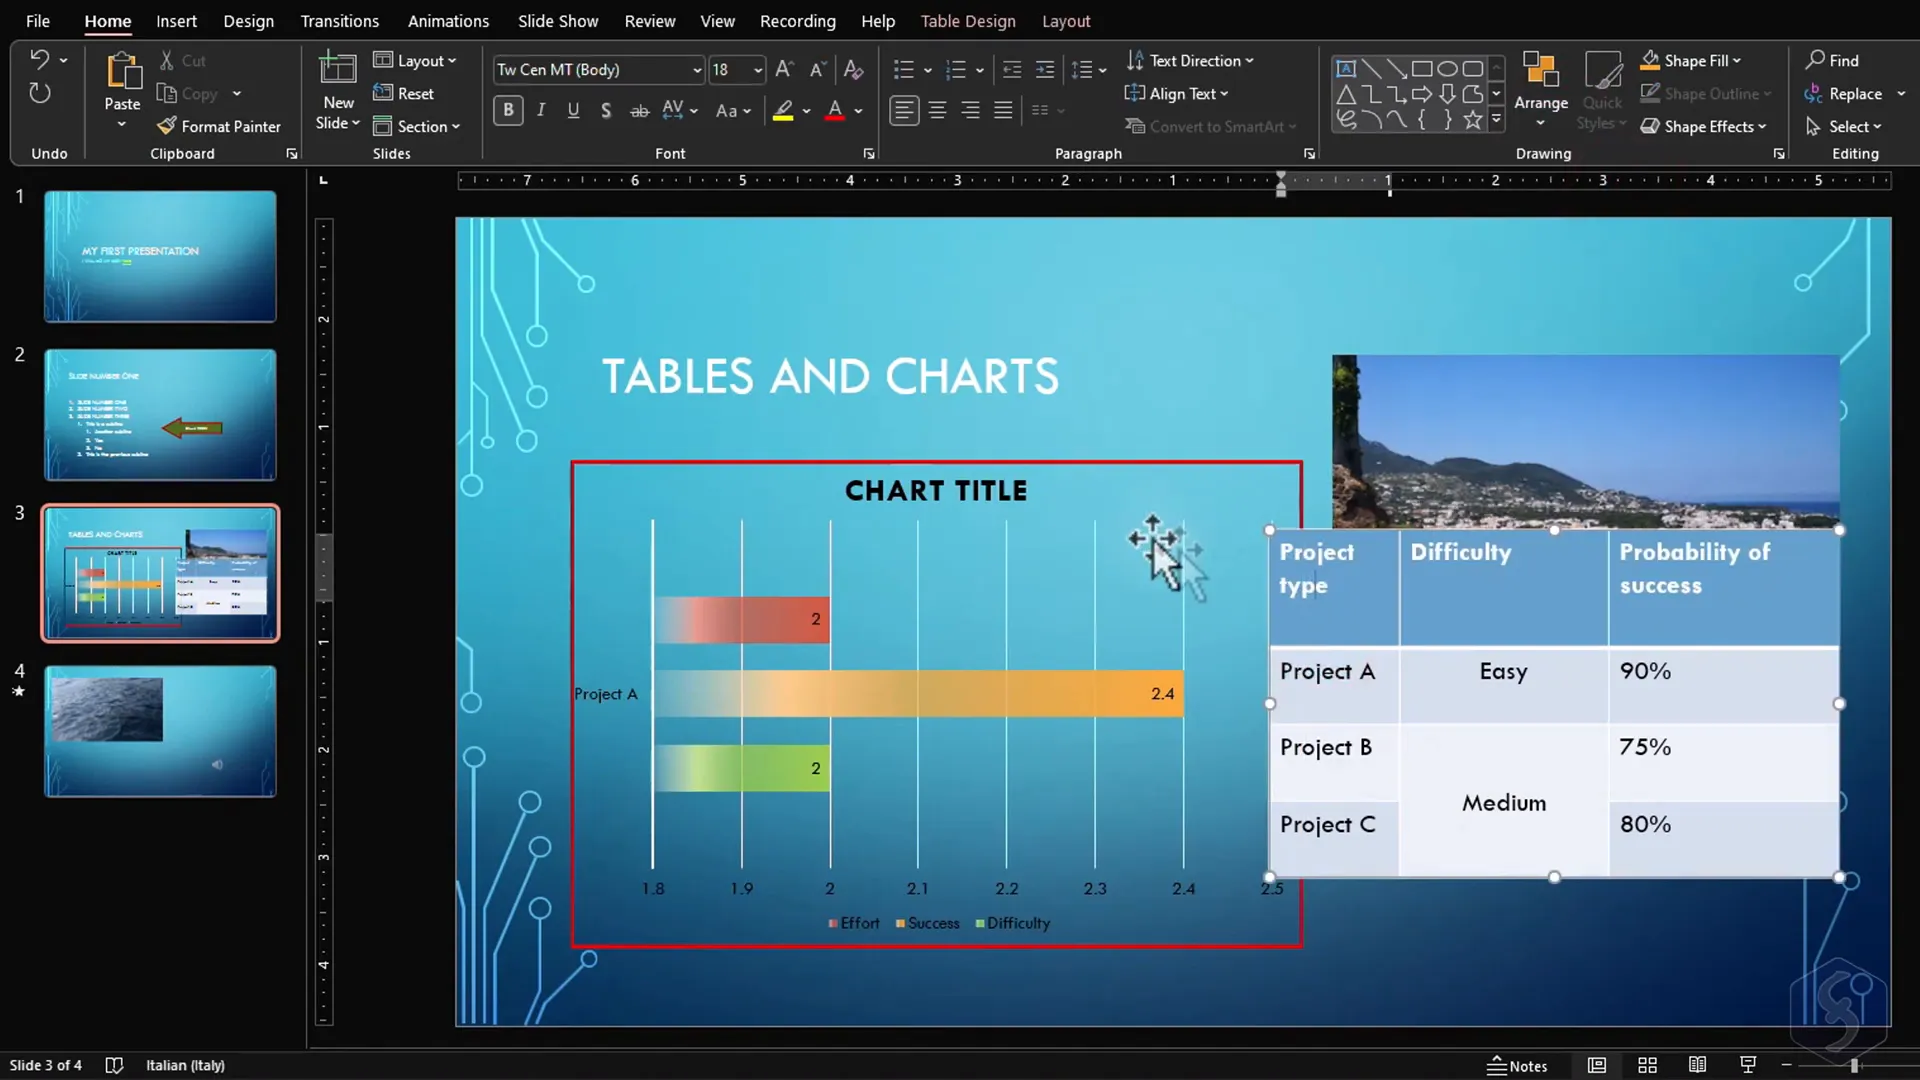
Working With Tables
Tables are essential for organizing data in rows and columns clearly. To insert a table, go to Insert > Table and select the desired number of rows and columns.
Once created, you can type directly into table cells and adjust cell borders by dragging their edges. Moving the entire table is done by dragging its outer border, and resizing uses the nodes at the corners.
Text formatting inside tables works like text boxes—you can select individual cells or entire rows/columns to change font styles, colors, and alignment.
The Table Design tab offers a variety of pre-made table styles, background colors, and border options. You can also manually draw table borders with the Draw Table tool, choosing line styles, thickness, and colors for a customized look.
The Layout tab lets you add or remove rows and columns, merge or split cells, and adjust text alignment within cells for perfect presentation.
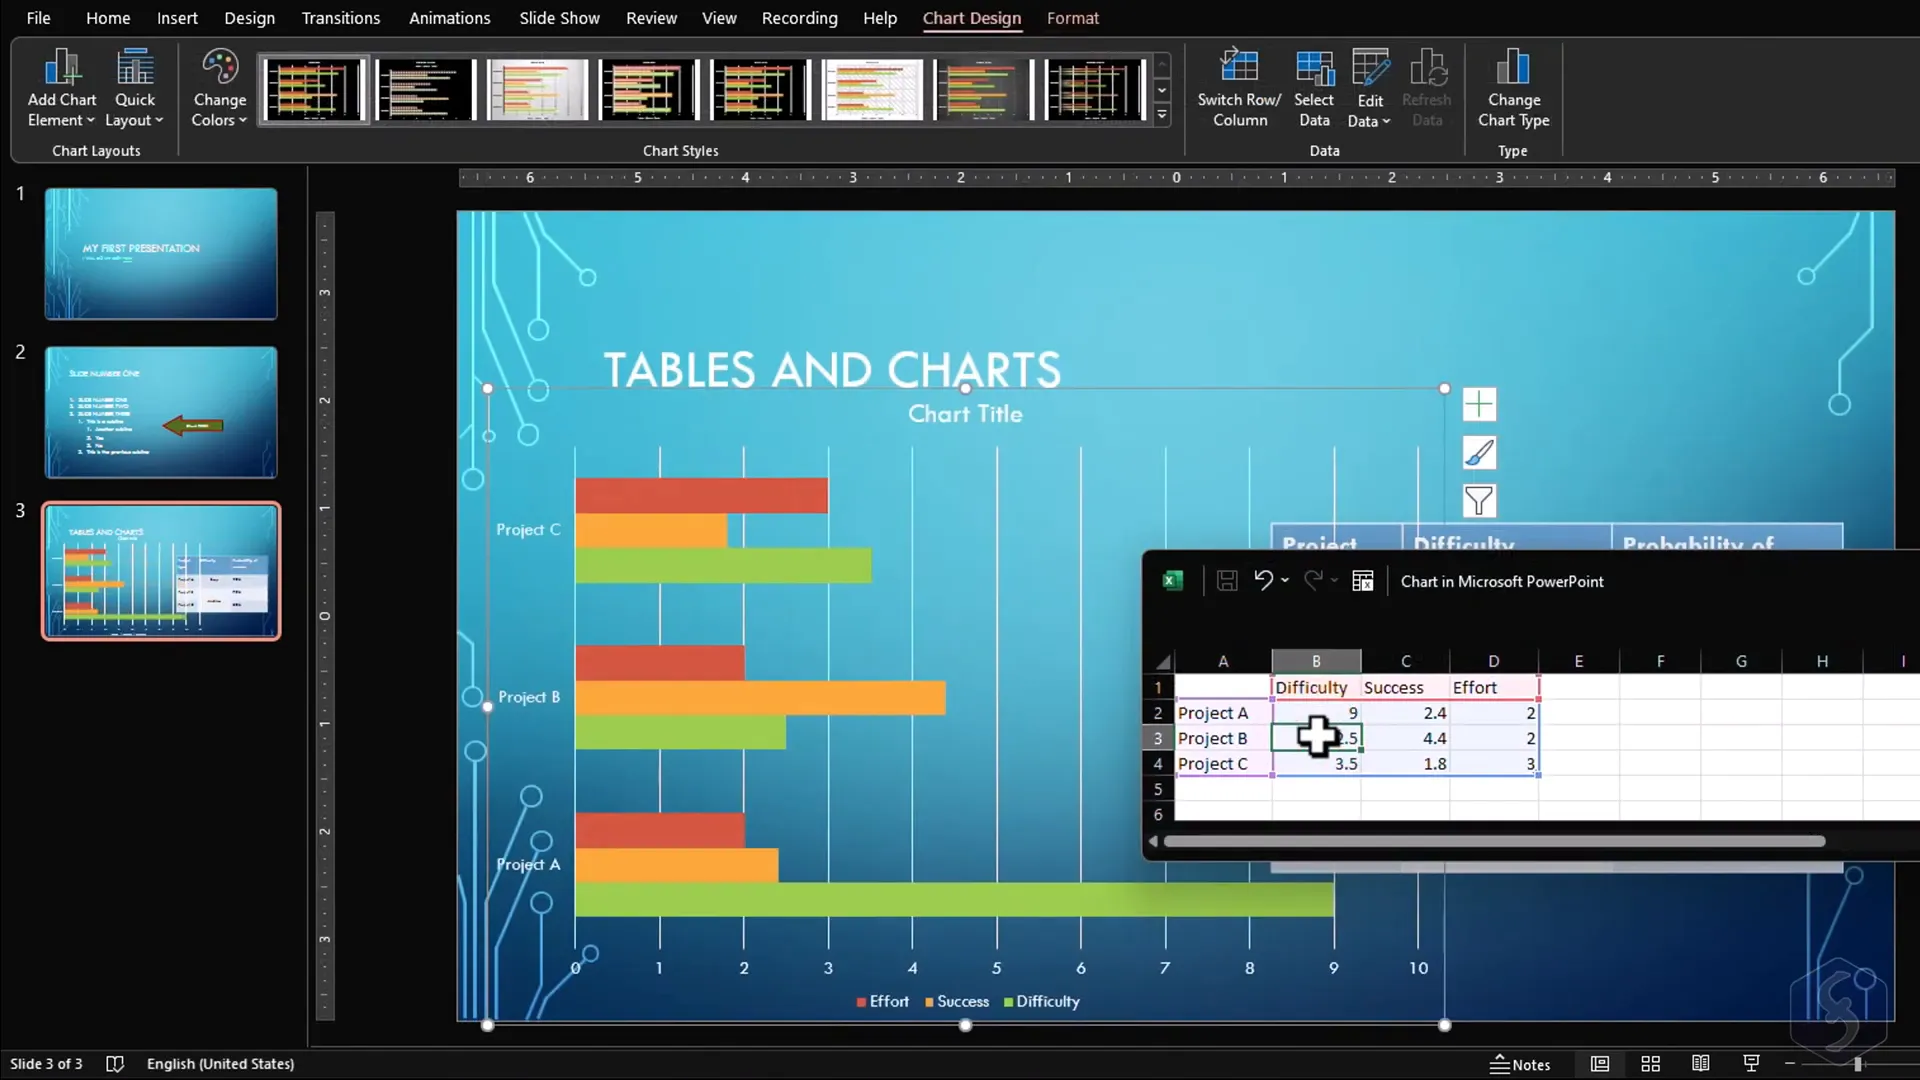
Adding Charts for Data Visualization
Charts are powerful tools to visually represent data and trends. PowerPoint integrates seamlessly with Microsoft Excel to provide advanced charting capabilities.
To insert a chart, click Insert > Chart and choose from various chart types like bar, line, pie, or scatter plots. PowerPoint opens an Excel sheet embedded within the interface where you can input or modify data, instantly updating the chart.
You can move and resize charts on your slide just like other objects. The chart also has a plus (+) button to add or remove chart elements such as titles, legends, and data labels.
The Chart Design tab lets you change the chart style and type, while the Select Data option helps you choose which data series to plot. The Edit Data button opens the Excel sheet again for adjustments.
The Format tab allows you to customize the chart’s shape and text properties, ensuring it fits your presentation’s style perfectly.
For an in-depth guide on Excel charts, consider exploring additional tutorials focused on chart creation and data analysis.
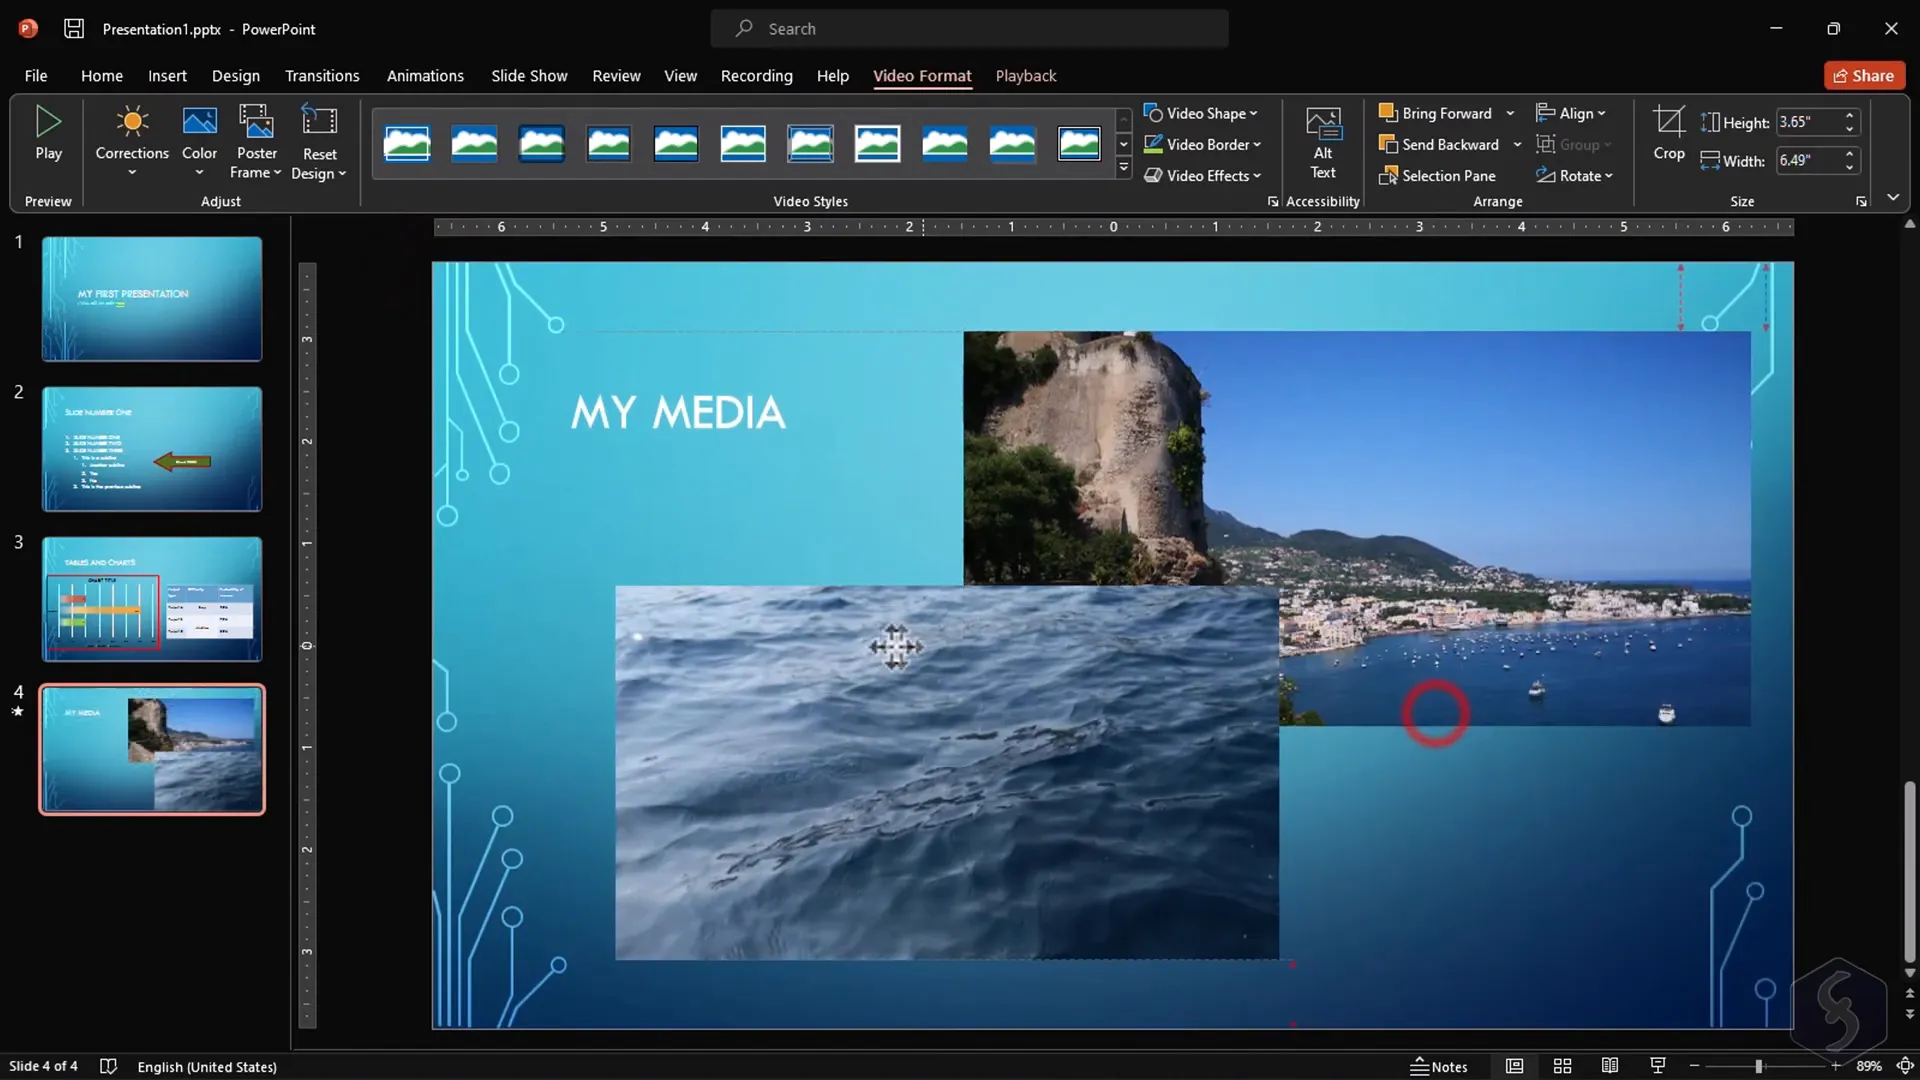
Inserting Media: Pictures, Videos, and Audio
To engage your audience further, incorporate multimedia elements like images, videos, and audio files. Use Insert > Pictures, Video, or Audio to add media to your slides.
PowerPoint includes an integrated media player that allows you to play videos and audio clips within your presentation. You can move and resize these media files freely on the slide.
The Format panel provides advanced options to adjust brightness, contrast, color saturation, and transparency. You can also apply predefined styles, colored borders, and visually appealing effects to your media.
Cropping tools are available to trim images and videos precisely, so you only show what’s necessary. For videos and audio, the Playback tab offers features like adding bookmarks, trimming, fade-in/out transitions, and volume control.
Managing Slide Elements and Object Arrangement
Each slide in your presentation can contain multiple objects layered on top of each other. Managing these layers is crucial to ensure your content displays correctly.

You can right-click any object to cut, copy, paste, or delete it. The keyboard shortcuts CTRL + Z for undo and CTRL + Y for redo help you work efficiently without worrying about mistakes.
The Format panel on the right is your hub for all object properties, allowing fine-tuned control over appearance and positioning.
If objects overlap, the Home > Arrange group helps you control their visibility order:
- Bring Forward or Send Backward: Move the selected object one layer up or down.
- Bring to Front or Send to Back: Move the object all the way to the front or back layer.
Proper layering is vital for a clean, professional look, especially when combining text, shapes, and images.
Presenting Your Slides: Slide Show Mode and Presenter Tools
Once your slides are ready, it’s time to present! Open the Slide Show tab and start your presentation in full-screen mode.
Navigate through slides with arrow keys or mouse clicks. In the bottom-left corner, you’ll find interactive tools to enhance your delivery:
- Laser Pointer: Turn your cursor into a visible laser pointer to highlight parts of your slide.
- Pen and Highlighter: Draw freehand annotations or underline key points during the presentation.
To exit the presentation, press the Escape key.
If you’re using a projector, Windows allows multiple screen setups by pressing Windows + P. This lets you display your presentation on the projector while viewing notes and timing on your main screen using the Presenter View.
You can also record your presentation using the Recording tab, and export it as a video file for sharing or reviewing later.

Adding Dynamic Effects: Transitions and Animations
By default, PowerPoint presentations are static, but you can add movement and flair with transitions and animations.
Slide Transitions
The Transitions tab offers a variety of effects that play when moving from one slide to the next. Simply click on a transition to apply it to the current slide. You can customize each effect with options like direction and speed, and even add sound effects.
The Duration setting controls how long the transition lasts, and the Preview button lets you see the effect before finalizing it. If you want to remove a transition, select None.
Animating Slide Elements
The Animations tab controls motion effects for individual slide objects. Select any object and choose an animation from the gallery. The Add Animation menu categorizes effects into four groups:
- Entrance (Green): Makes an object appear on the slide.
- Emphasis (Yellow): Animates an object already on the slide.
- Exit (Red): Makes an object disappear.
- Motion Paths: Moves an object along a specified path.
The Animation Pane is a powerful tool showing all animations on the current slide, including videos and audio. You can play all animations in sequence, adjust timing by dragging animation blocks left or right, and reorder animations by dragging them up or down.
Extending an animation block lengthens its duration, while moving it right adds a delay before it starts. This timeline control allows you to synchronize animations perfectly for a polished presentation.

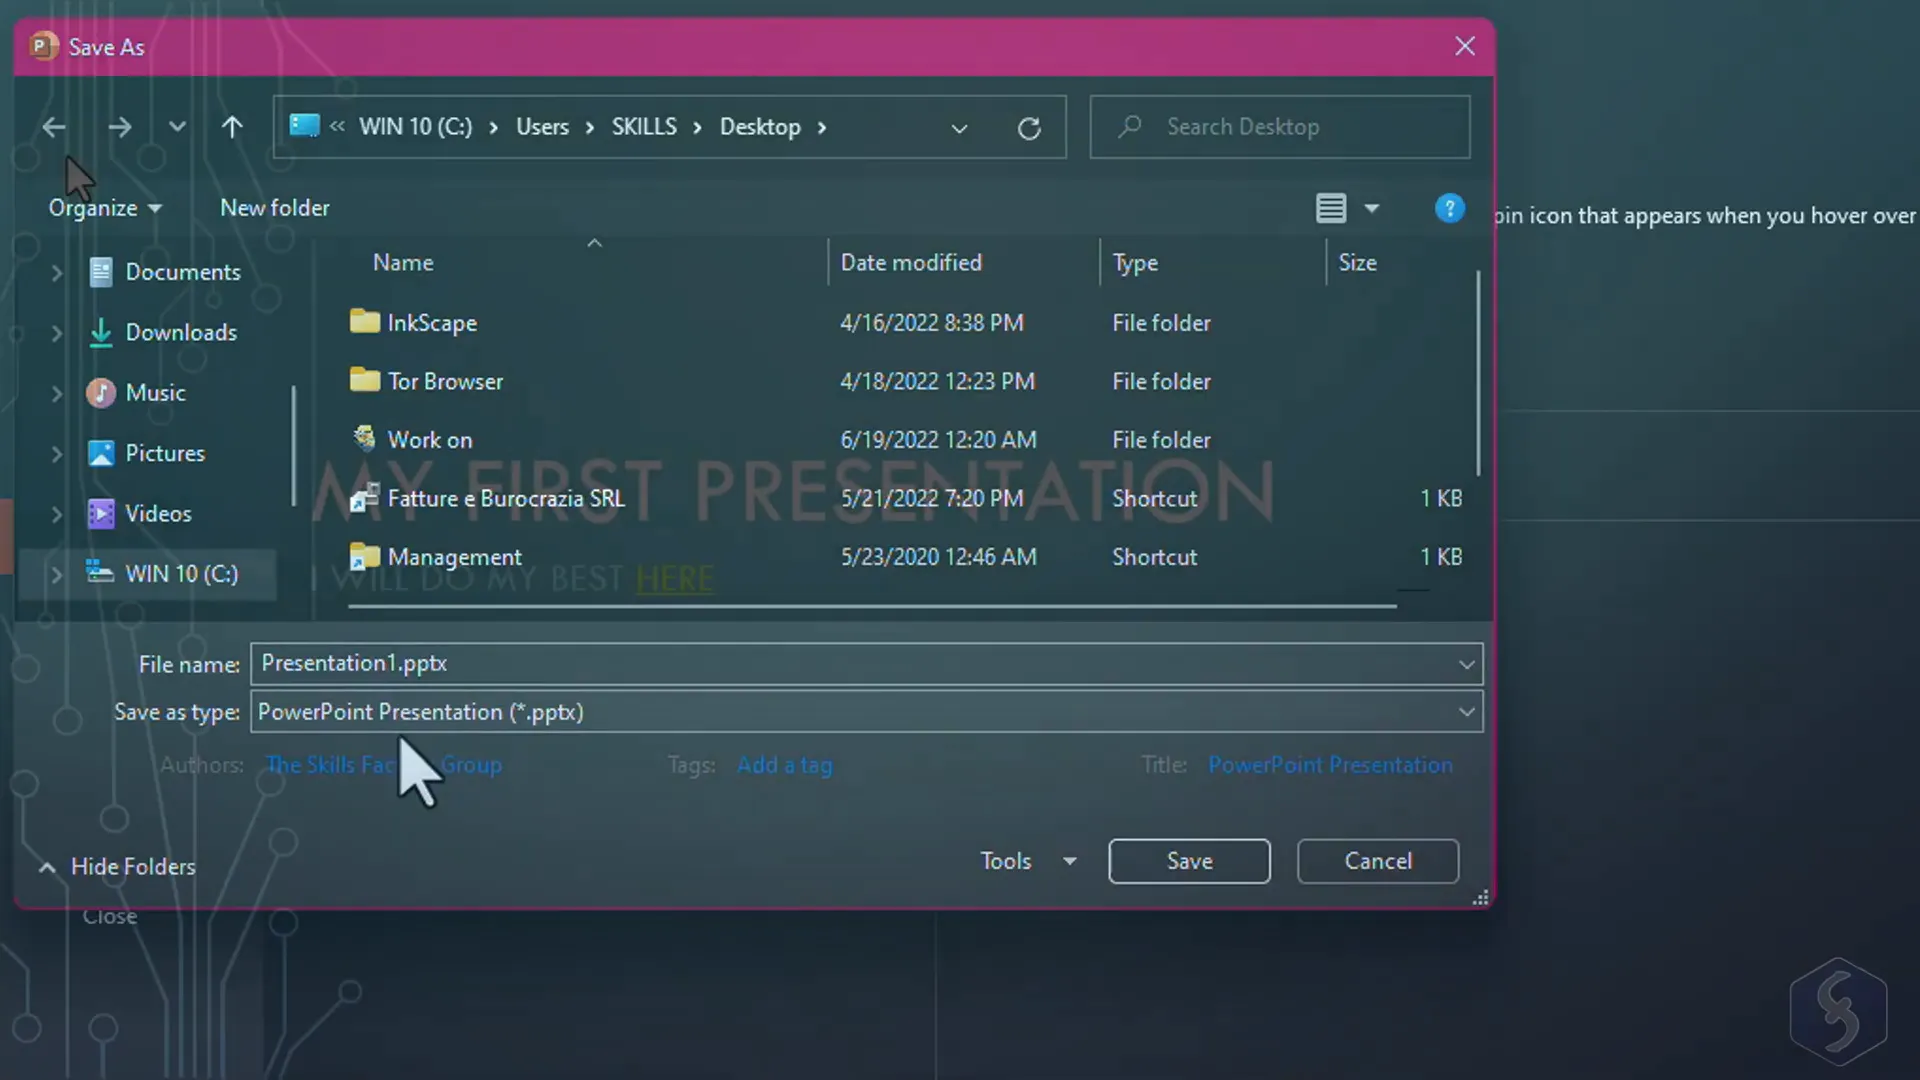
Saving and Exporting Your Presentation
To save your work for future editing, go to File > Save As and choose the PowerPoint file formats:
- .pptx: The standard editable PowerPoint file.
- .pptm: A macro-enabled PowerPoint file if your presentation contains macros.
If you want to share your presentation as a static document without animations or transitions, export it as a PDF by selecting File > Export > Create PDF/XPS. This format is ideal for printing or sharing with users who don’t need the full slideshow experience.
Additionally, you can export your presentation as a video, capturing all timings, narrations, and animations for playback on any device.
Conclusion
Microsoft PowerPoint is an incredibly versatile tool that empowers users to create professional presentations combining text, data, visuals, and multimedia. By mastering the core features such as slide management, text editing, tables, charts, media integration, and animations, you can deliver compelling presentations that engage and inform any audience.
This guide has walked you through each essential step and feature in detail, ensuring you have the knowledge to build your next presentation confidently and creatively. Remember, practice is key—experiment with different layouts, effects, and media to find what works best for your content and style.
For more tutorials, tips, and tricks on PowerPoint and other Office applications, be sure to explore additional resources and keep honing your skills.
Frequently Asked Questions (FAQ)
What is the best way to start a new PowerPoint presentation?
Begin by selecting a ready-made template from the Home screen to ensure a consistent design. Then add and customize slides using the New Slide and Layout options.
How can I add and format text in PowerPoint slides?
Click inside a text box to type. Use the Home tab to change font, size, color, alignment, and spacing. Enable the ruler for precise text placement.
Can I insert Excel charts directly into PowerPoint?
Yes, PowerPoint integrates with Excel. Insert a chart via Insert > Chart, then edit the data in the embedded Excel sheet to update the chart.
How do I add animations to slide elements?
Select the object, go to the Animations tab, and choose from entrance, emphasis, exit, or motion path effects. Use the Animation Pane to manage timing and order.
Is it possible to record my presentation with narration?
Yes, use the Recording tab to capture your presentation along with audio narration and slide timings, then export it as a video file.
How do I share my presentation with someone who doesn’t have PowerPoint?
Export your presentation as a PDF for static viewing or as a video to preserve animations and timings.
Can I customize the look of shapes and images in PowerPoint?
Absolutely. Use the Shape Format and Picture Format tabs to apply fills, outlines, effects, and adjust brightness or contrast.
What is Presenter View and why should I use it?
Presenter View shows your notes, slide previews, and a timer on your laptop while projecting the slides to the audience. It helps keep your presentation organized and professional.
How do I manage overlapping objects on a slide?
Use the Arrange options on the Home tab to bring objects forward or send them backward, controlling which elements appear on top.
Can I customize slide transitions and add sound effects?
Yes, the Transitions tab offers many effects, duration settings, and the ability to add sounds between slides.
Check out the full video: Microsoft PowerPoint – Presentation Tutorial in 13 MINS! [ COMPLETE ]


