PowerPoint presentations are a staple in both professional and educational settings, but mastering animations can truly elevate your slides from ordinary to outstanding. In this comprehensive guide, we will explore the top ten PowerPoint animations that can dramatically improve your presentations. Whether you’re a beginner or have some experience, these techniques will help you create dynamic, engaging, and visually appealing slides.
Learned from the expert insights of One Skill PowerPoint, this guide covers everything from simple click animations to advanced 3D model animations. With step-by-step instructions and creative ideas, you’ll be able to make your presentations stand out effortlessly.
Table of Contents
- 1. Click Animations: The Foundation of Interactive Slides
- 2. Bounce Animations: Adding Dynamic Energy
- 3. Delayed Animations: Creating Waterfall Effects
- 4. Auto Reverse Animations: Looping Motion Paths
- 5. Animation Triggers: Interactive Clickable Elements
- 6. Morph Transition: Seamless Slide Animation Magic
- 7. Combining Draw Animations and Custom Motion Paths: Scribble Effects
- 8. GIFs and Videos: Adding Movement and Atmosphere
- 9. Masked Animations: Creating Reveal Effects
- 10. 3D Model Animations: Bringing Depth and Realism
- Frequently Asked Questions (FAQ)
- Conclusion
1. Click Animations: The Foundation of Interactive Slides
Click animations are the basic building blocks for interactive PowerPoint presentations. They allow you to reveal elements one by one, keeping your audience focused and engaged without overwhelming them with too much information at once.
Start by grouping related shapes and elements on your slide. Grouping makes it easier to apply animations collectively and maintain your slide’s structure. For example, if you have several bubbles or icons, group them into separate sets.
Once grouped, select all the groups you want to animate and apply a Fade animation from the Animations tab. Set each animation to start On Click, which means each element will appear when you click during your presentation.
This technique ensures that your content appears sequentially, giving your audience time to absorb each point. You can adjust the order of animations in the animation pane to fit your narrative flow.
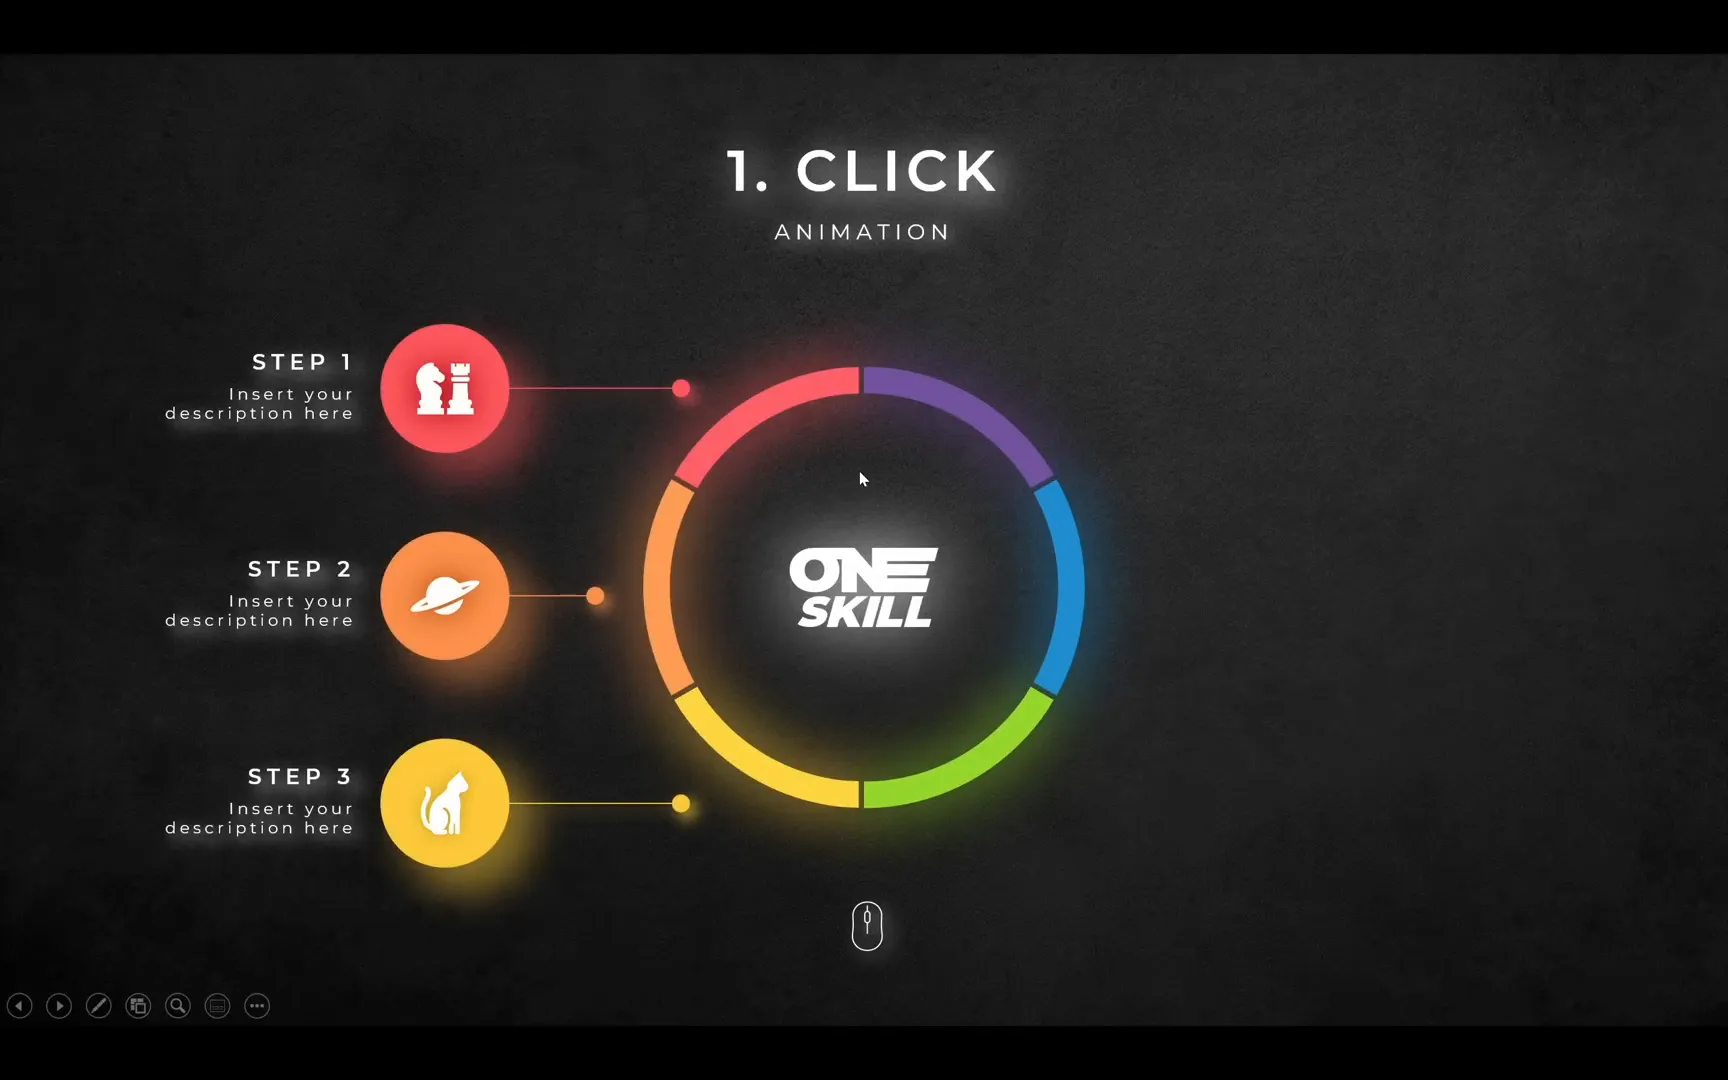
Why Use Click Animations?
- Control the flow of information
- Keep the audience engaged by revealing content step-by-step
- Make complex slides easier to follow
2. Bounce Animations: Adding Dynamic Energy
Once you are comfortable with click animations, adding a bounce effect can bring your slides to life. Bounce animations give a playful, dynamic feel by making elements fly in with a slight bounce at the end.
To create this effect, choose the Fly In animation and set the direction based on the element’s position on the slide (e.g., elements on the left fly in from the left, and those on the right from the right). Adjust the animation duration to about one second for a smooth effect.
Next, right-click on the animation in the animation pane and select Effect Options. Here, you will find sliders for Move Start, Move End, and Bounce End. Increasing the bounce end value to around 0.8 seconds adds a nice spring to the animation as the element settles into place.
Remember to keep all animations set to start On Click to maintain control during your presentation.
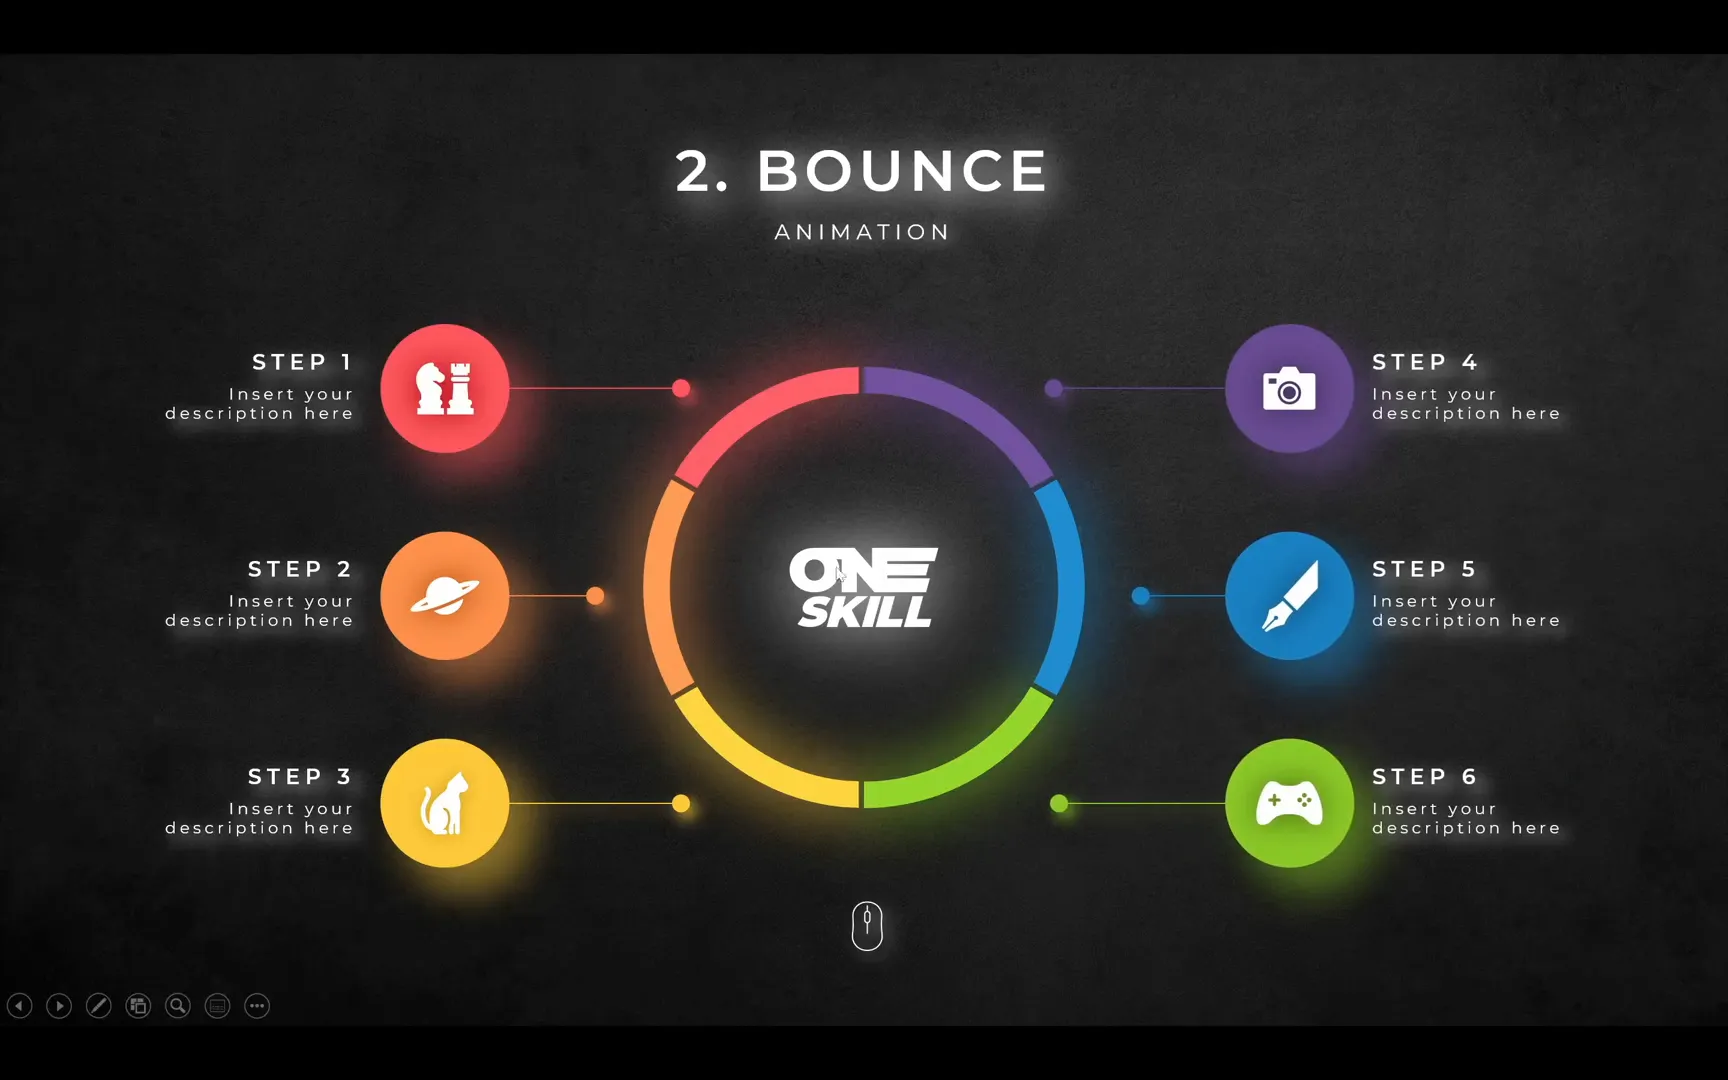
Tips for Effective Bounce Animations
- Match the direction of the animation with the element’s position
- Use bounce sparingly to avoid distracting your audience
- Adjust the bounce duration to fit the pace of your presentation
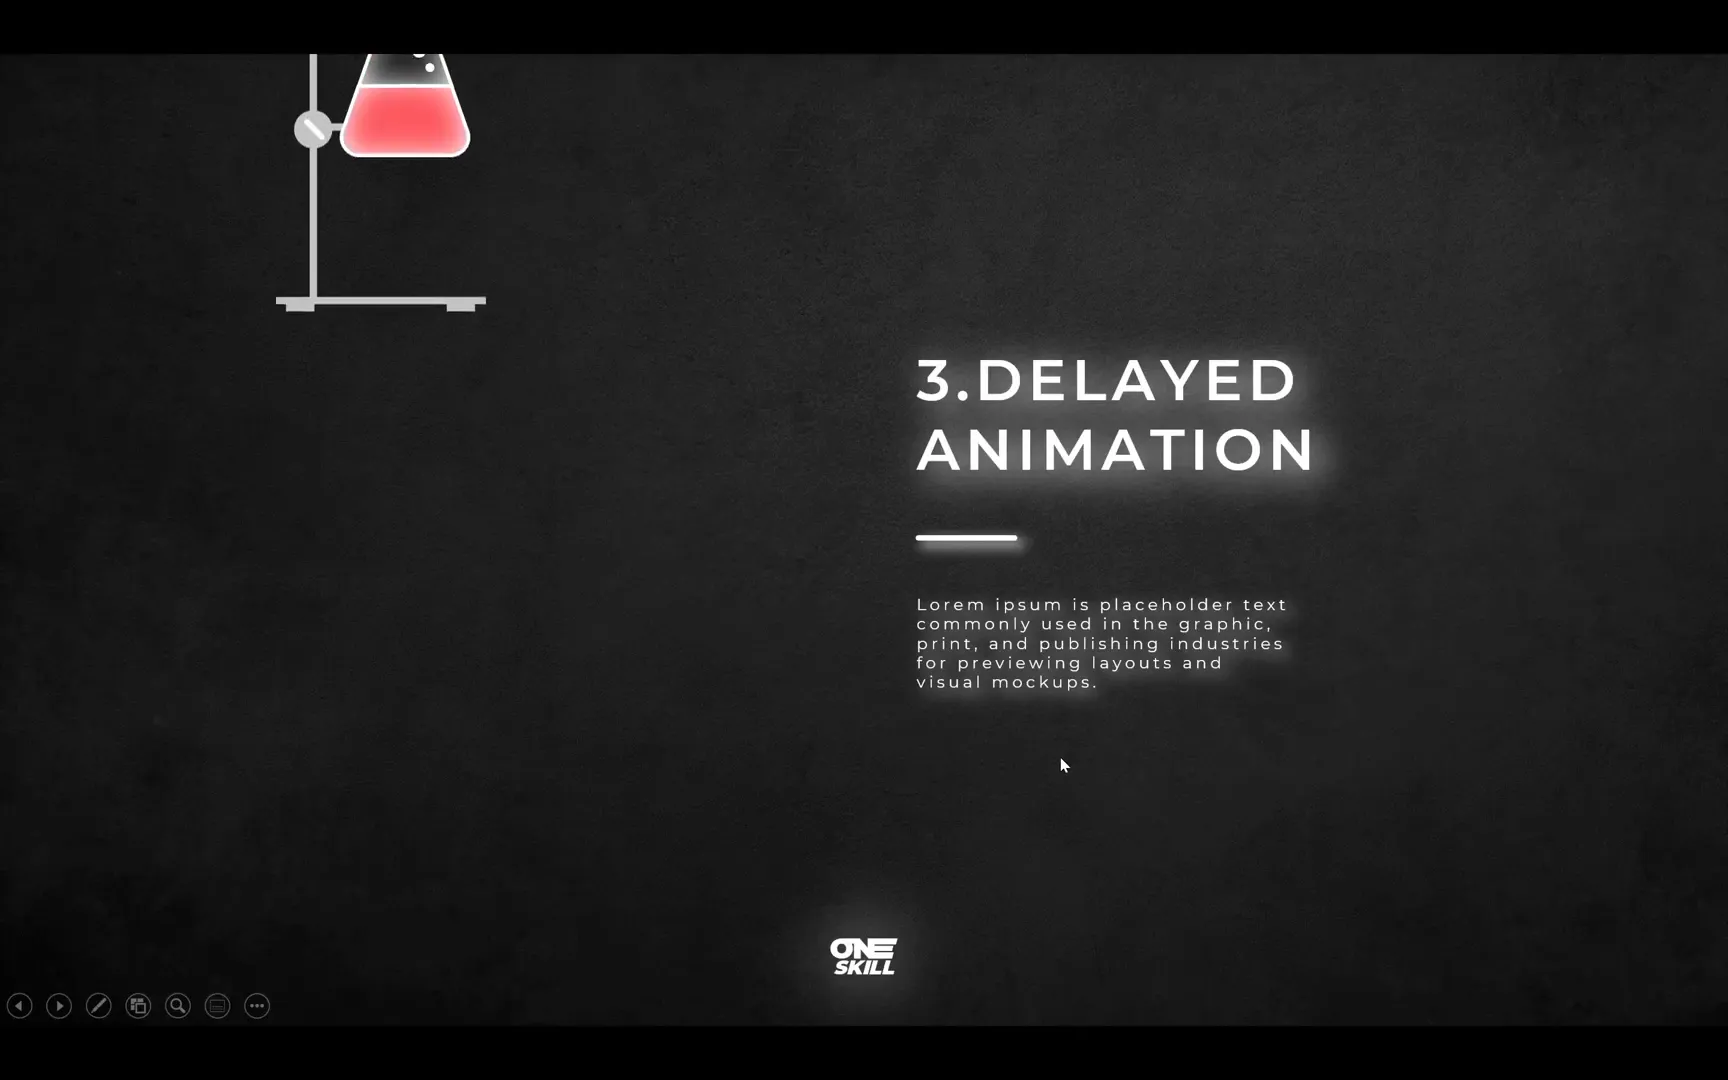
3. Delayed Animations: Creating Waterfall Effects
Delayed animations add sophistication by staggering the entrance of elements, resulting in a waterfall or cascading effect. This technique is especially useful when animating illustrations or groups of objects.
To achieve this, break your illustration into separate groups or objects. Rename these groups in the selection pane for better organization and assign numbers to indicate the animation order.
Apply a Fly In animation from the top with a duration of about two seconds and a bounce effect at the end. Then, manually add delays to each group incrementally (e.g., 0.1 seconds for the second group, 0.2 for the third, and so on). This staggered timing creates a smooth, cascading animation that draws attention elegantly.
Benefits of Delayed Animations
- Add visual interest and professionalism
- Guide the viewer’s eye naturally through your content
- Enhance complex illustrations without overwhelming the audience
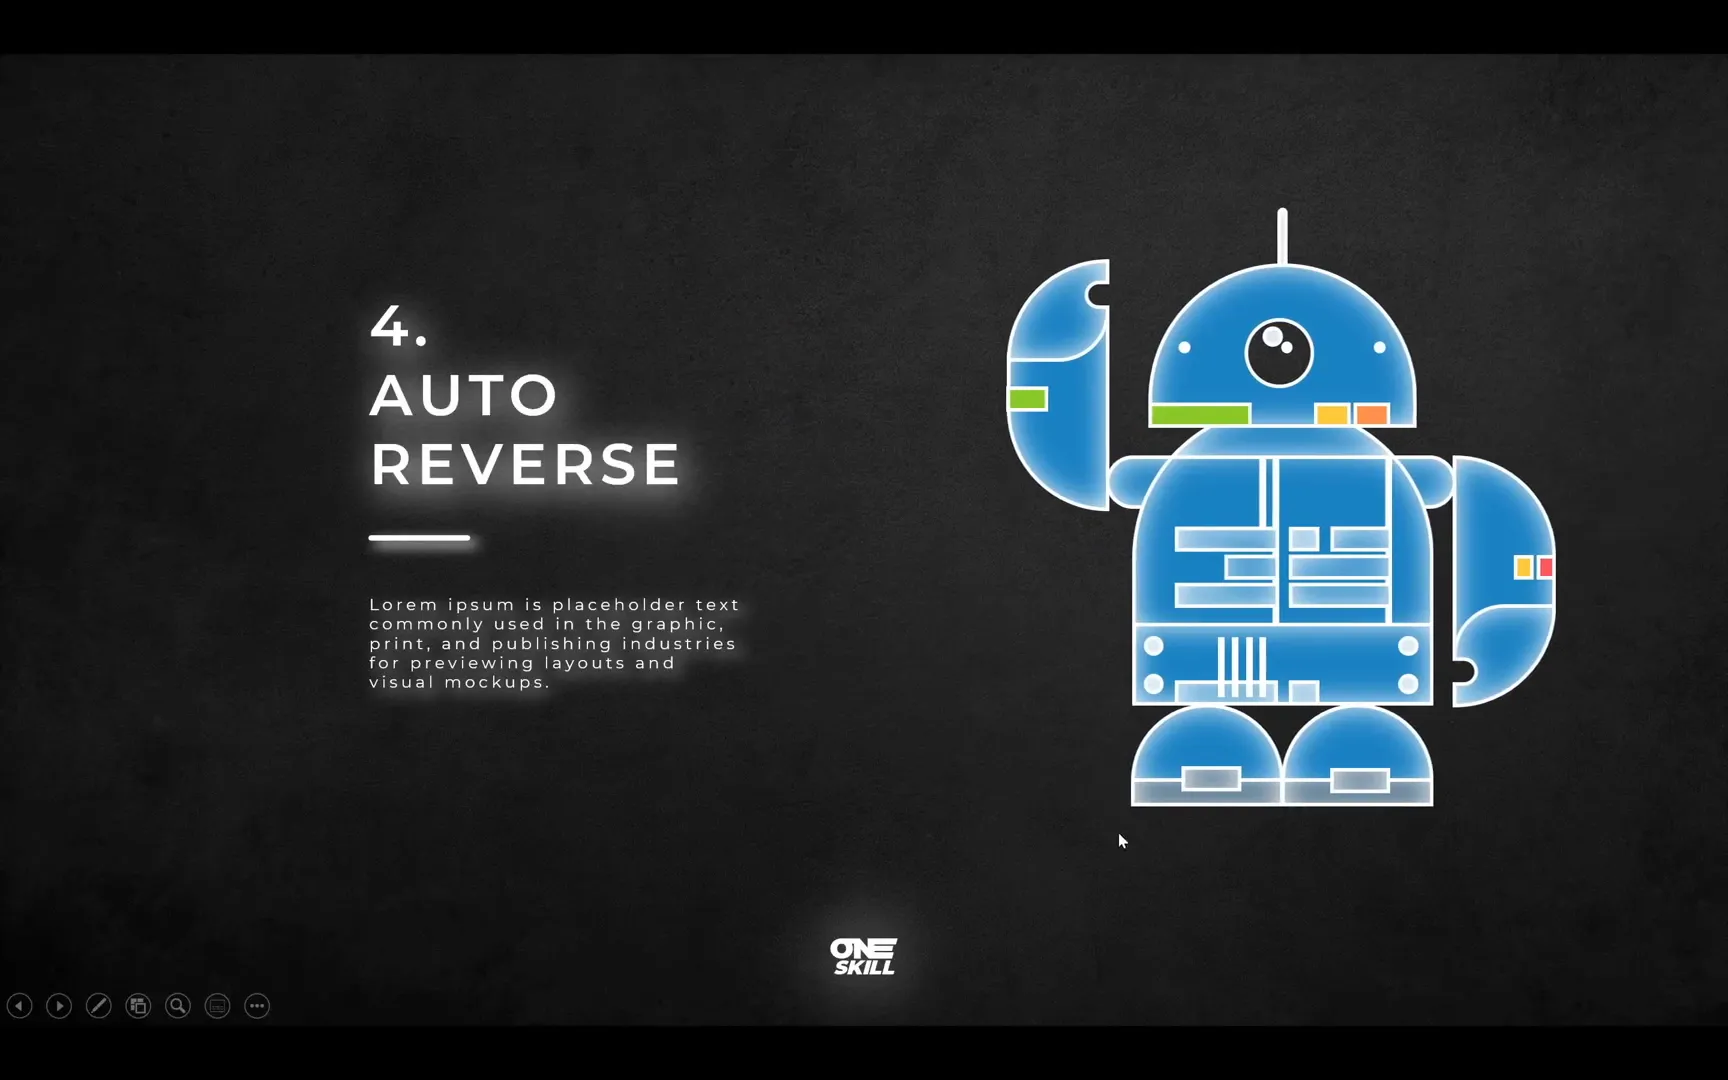
4. Auto Reverse Animations: Looping Motion Paths
Auto reverse animations are perfect for creating continuous movement, such as a robot sliding back and forth. This option reverses the animation automatically, bringing the object back to its starting position, creating a loop effect.
To create an auto-reverse animation, select your object and apply a Motion Path animation such as a line path. Adjust the direction and distance by dragging the red endpoint. In the effect options, check the Auto Reverse box and set the timing to continue Until End of Slide.
Adjust the duration to control the speed of the loop. This technique is great for adding subtle, continuous animations that keep your slides lively without requiring extra clicks.
Use Cases for Auto Reverse Animations
- Looping animations for continuous attention
- Animating objects that simulate real-world motion
- Adding dynamic elements without manual interaction
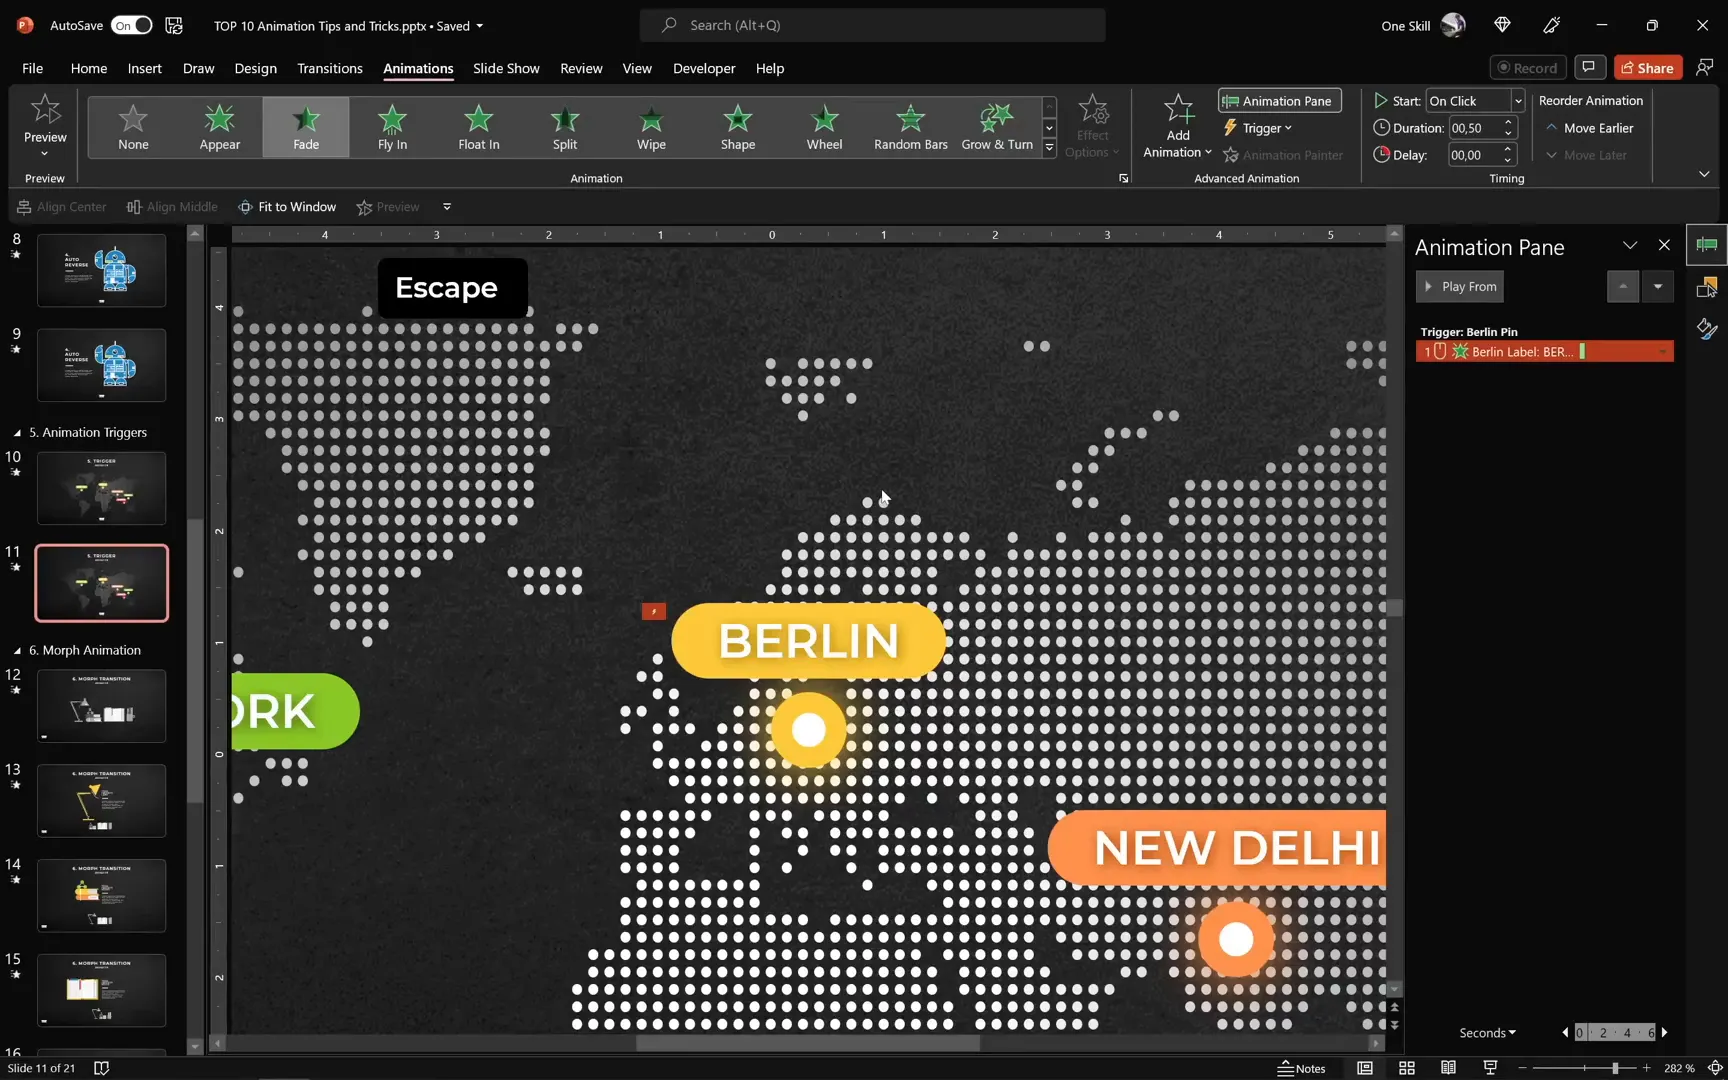
5. Animation Triggers: Interactive Clickable Elements
Animation triggers allow you to create interactive slides where animations occur only when you click specific objects. This is ideal for clickable maps, quizzes, or revealing detailed information on demand.
For example, to create a trigger animation for a city label on a map, first add a Fade In animation to the label. Then, under the Animations tab, open the Trigger dropdown and select the object that will activate the animation (e.g., a small circle or pin representing the city).
To add interactivity, you can also create paired exit animations to hide the label when the trigger is clicked again. This setup creates a toggling effect, enhancing user engagement.
Advantages of Using Animation Triggers
- Create interactive and engaging presentations
- Allow audience-driven exploration
- Keep slides clean while offering detailed information on demand
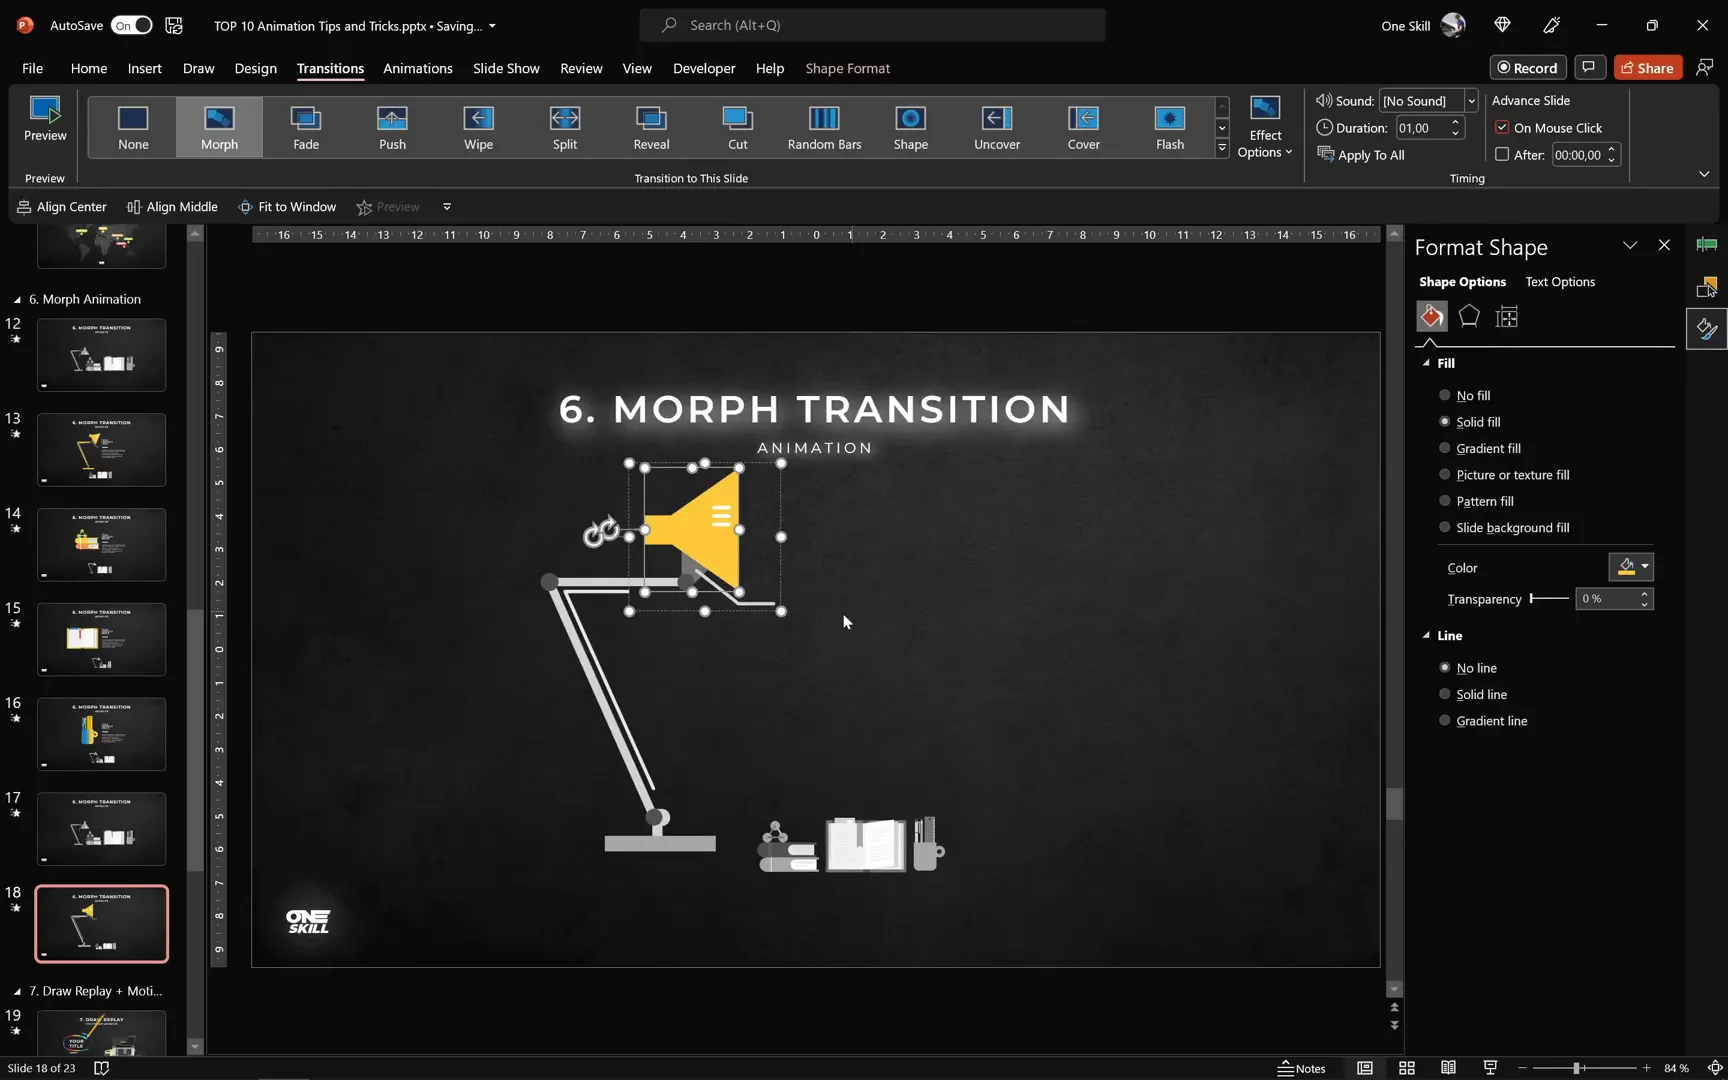
6. Morph Transition: Seamless Slide Animation Magic
The Morph transition is a powerful feature introduced in PowerPoint 2019 and Microsoft 365 that enables smooth animations between slides without manually setting animations in the animation pane.
To use Morph, create two slides with similar elements but different positions, sizes, or colors. For instance, you can have a gray lamp on the first slide and a larger, yellow lamp rotated on the second slide. Apply the Morph transition to the second slide, and PowerPoint will animate the changes seamlessly.
This transition supports resizing, repositioning, rotating, and color changes, allowing you to create complex animations effortlessly.
Why Morph Transition is a Game-Changer
- Eliminates manual animation setup
- Creates professional and smooth animations
- Supports multiple animation effects simultaneously
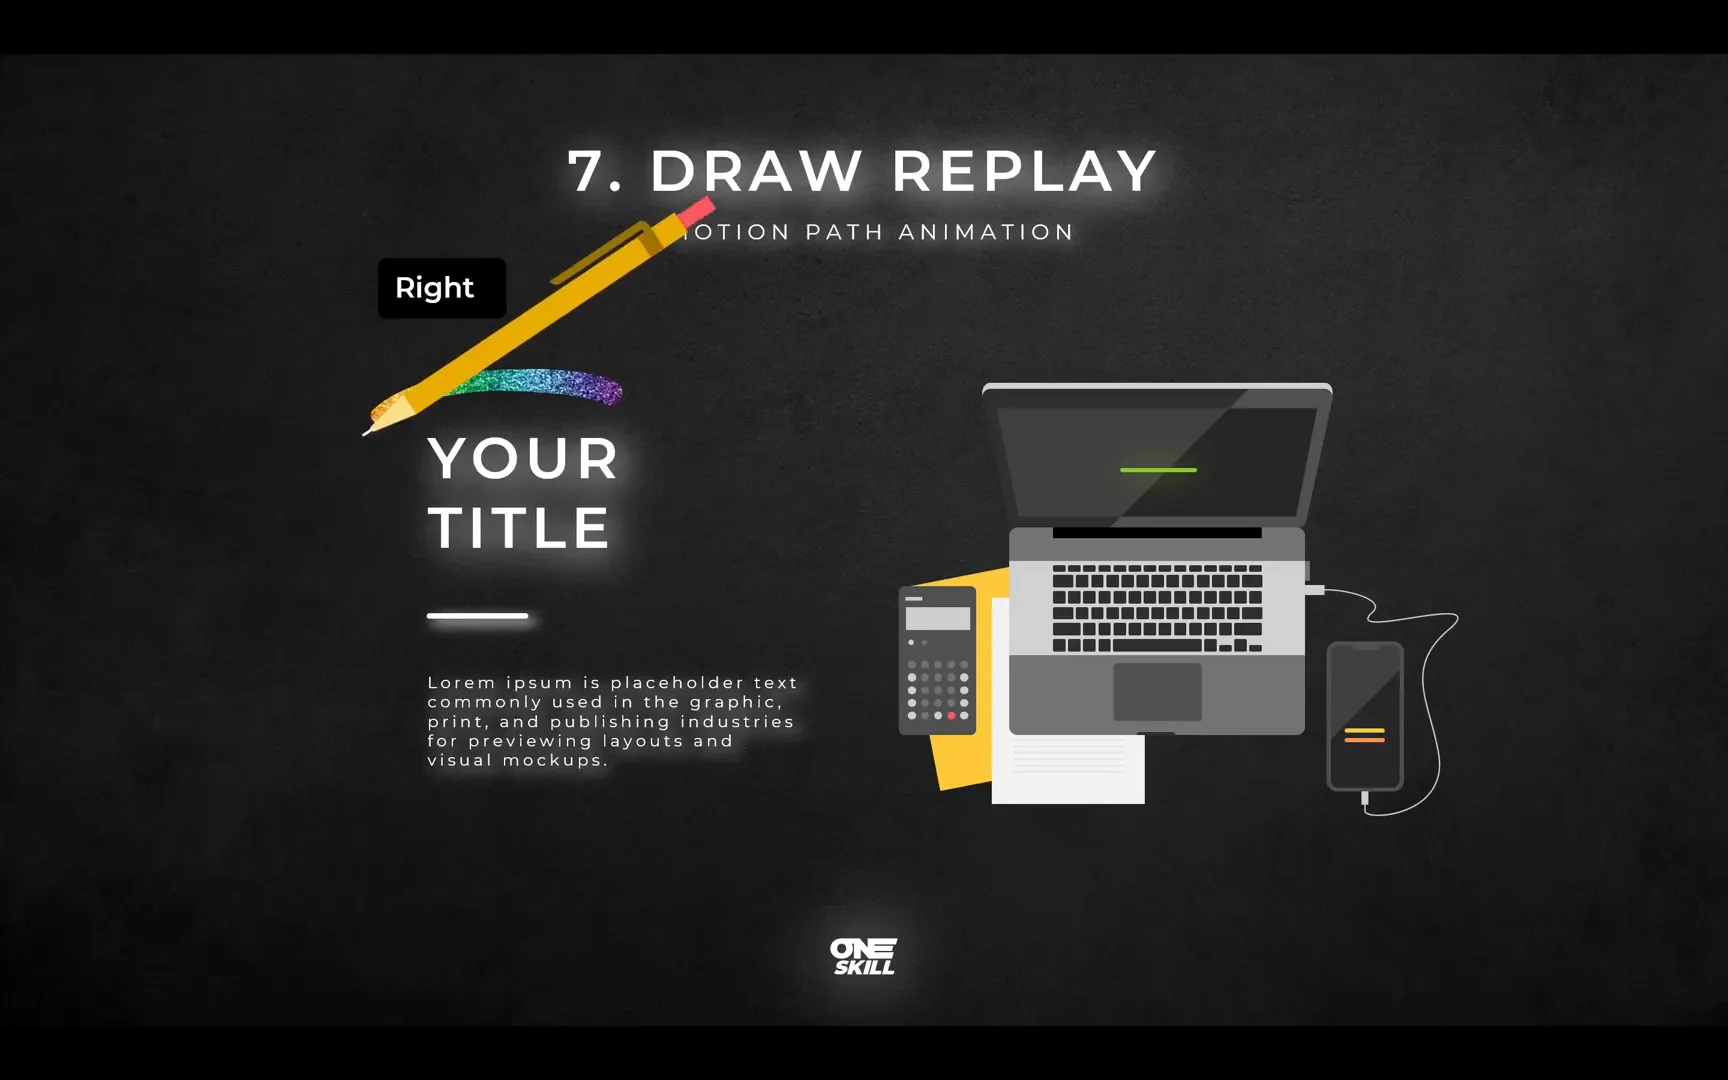
7. Combining Draw Animations and Custom Motion Paths: Scribble Effects
For creative and hand-drawn style animations, combining draw animations with custom motion paths is a fantastic approach. This technique lets you animate a pencil or pen drawing a scribble or illustration on your slide.
Start by drawing your scribble using the Draw tab and selecting a pen color and thickness. After drawing, apply the Replay animation to simulate the drawing process.
Next, fix the pencil’s center of rotation by grouping it with an invisible circle positioned at the pencil tip. This ensures natural rotation when animating.

Then, create a custom motion path that follows the scribble path. Set the motion path animation to start With Previous alongside the draw animation and synchronize their durations.
You can add a flying animation to the pencil to make it fly in before drawing and an exit animation after the drawing is complete for a polished effect.
Tips for Creating Engaging Scribble Animations
- Use slide guides to position elements accurately
- Group objects to control rotation centers
- Synchronize animation durations for smooth playback
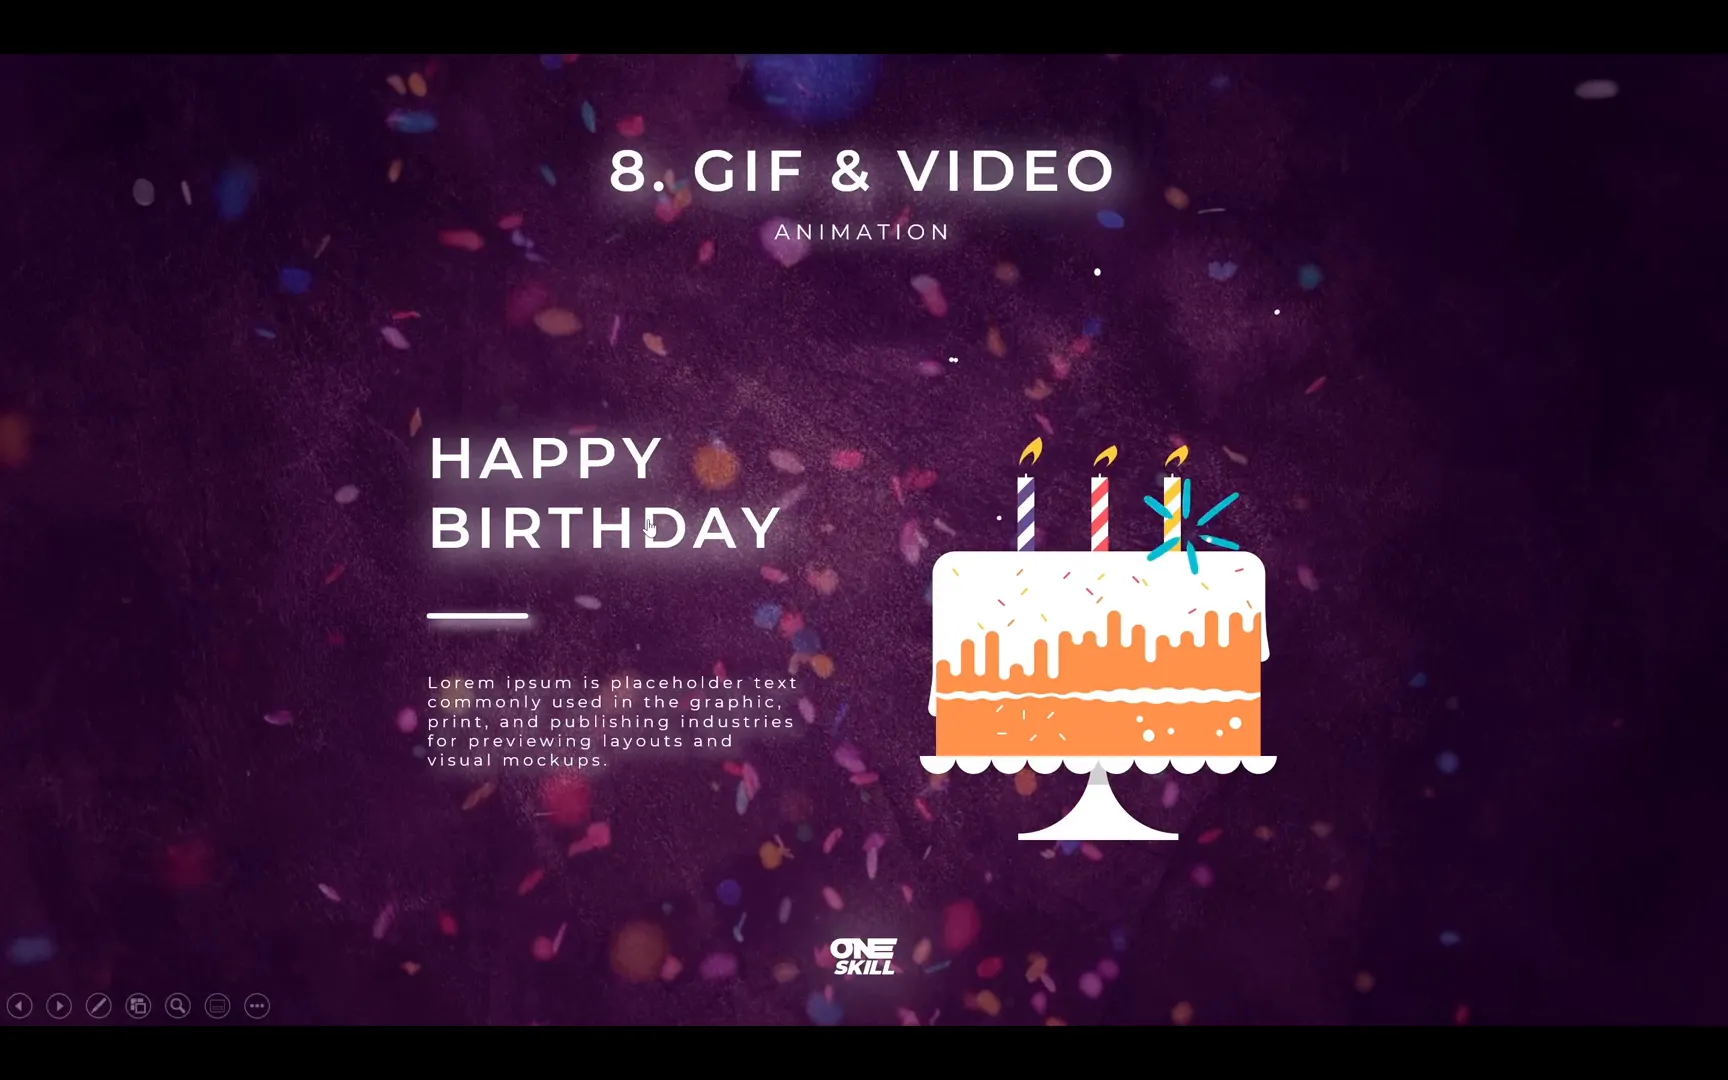
8. GIFs and Videos: Adding Movement and Atmosphere
Incorporating GIFs and videos into your slides can add dynamic visual interest and atmosphere. For instance, using a fireworks GIF or a confetti video overlay can make a birthday slide more festive.
You can insert GIFs by copying them from sites like Giphy and pasting directly into PowerPoint. GIFs autoplay by default, but you can control their visibility by adding an Appear animation triggered by clicking on another object, such as a cake illustration.
For videos, PowerPoint offers stock videos you can insert and resize to cover the slide. Use animations like Fly In triggered by clicking a specific text box to control when the video appears. Add Play and Transparency animations to start the video playback and adjust its opacity for an overlay effect.
Best Practices with GIFs and Videos
- Use triggers to control when media appears
- Resize and position media appropriately
- Adjust transparency to blend videos with slide content
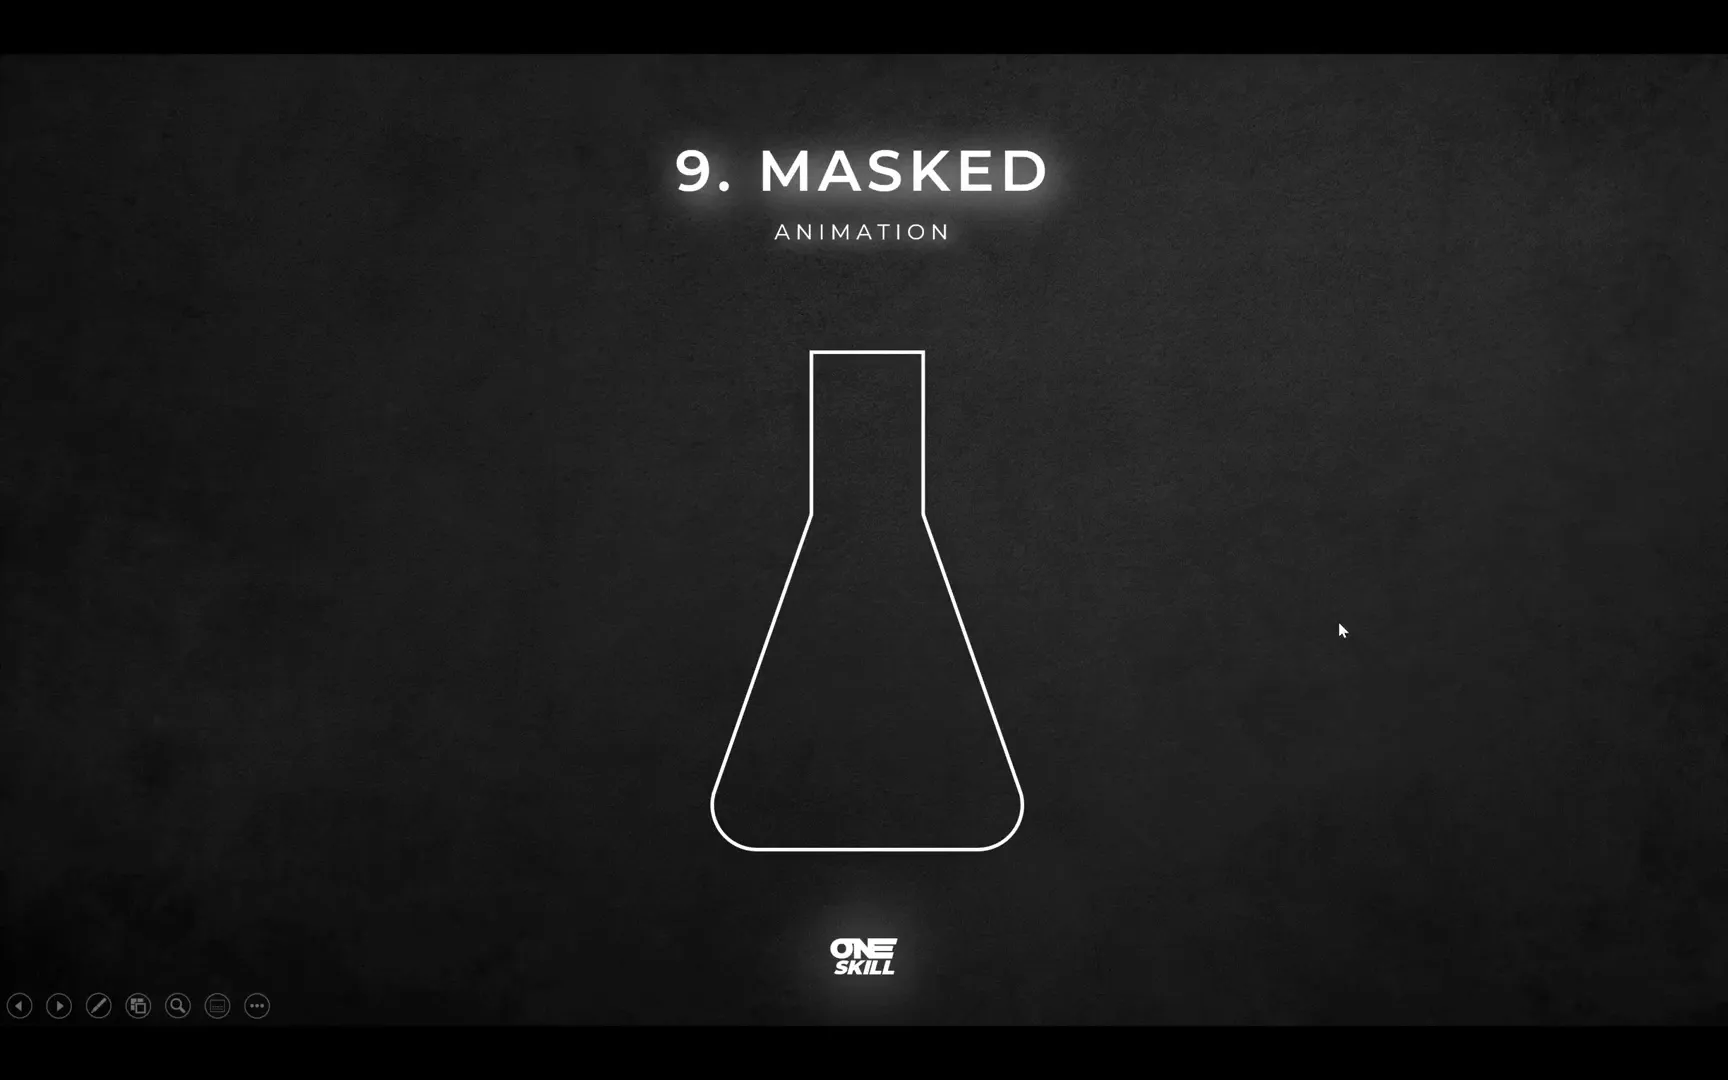
9. Masked Animations: Creating Reveal Effects
Masked animations involve using shapes as masks to reveal or hide parts of other shapes or images, creating compelling visual effects like filling a bottle with water.
To create a masked animation, start by duplicating your object (e.g., a test tube), then create a rectangle covering the object. Use the Merge Shapes > Subtract function to punch a hole in the rectangle matching the object’s shape, creating a mask.
Set the mask’s fill to Slide Background Fill to make it invisible. Behind the mask, place a colored shape representing the fill (e.g., blue rectangle for water). Animate this fill shape with a Fly In animation from the bottom to simulate filling.
Additional decorative shapes, such as bubbles or icons, can be animated with motion paths to enhance the effect.
Advantages of Masked Animations
- Create sophisticated reveal effects
- Enhance storytelling with visual metaphors
- Combine multiple animation techniques for depth
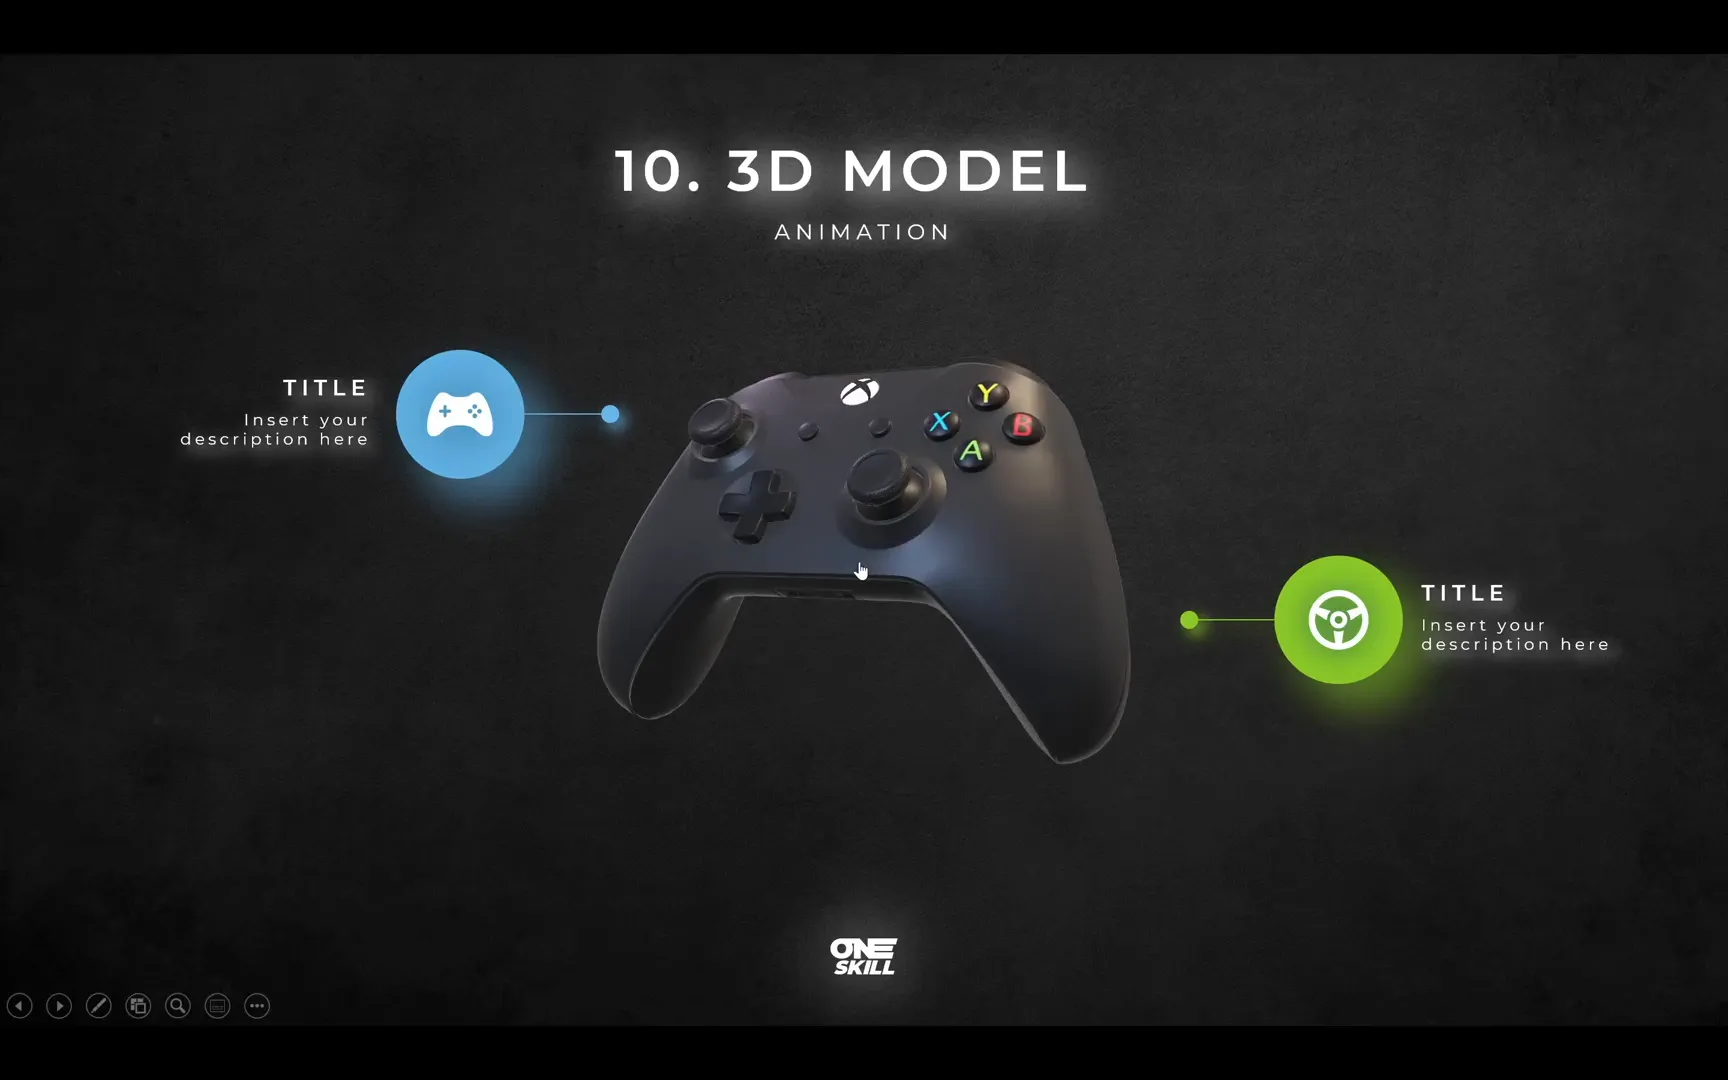
10. 3D Model Animations: Bringing Depth and Realism
PowerPoint supports 3D models, allowing you to add realistic and interactive objects to your slides. With dedicated 3D animation options, you can create unique effects like spinning, jumping, and turning.
Insert a 3D model from PowerPoint’s stock library or your own files. Use animations like Arrive for fade-in and spin effects, Turntable for continuous rotation, and Jump and Turn for interactive clicks.
Set the turntable animation to Continuous to keep the model spinning indefinitely. Use triggers to activate jump animations when clicking the model for added interactivity.
Why Use 3D Model Animations?
- Add depth and realism to presentations
- Engage audiences with interactive models
- Combine with slide zooms for advanced effects
Frequently Asked Questions (FAQ)
Q1: What version of PowerPoint do I need to use these animations?
Most animation features are available in PowerPoint 2016 and later. However, the Morph transition and 3D model animations require PowerPoint 2019 or Microsoft 365.
Q2: How can I control the timing of animations?
You can adjust the duration and delay in the animation pane. Setting animations to start On Click, With Previous, or After Previous gives you precise control over when animations play.
Q3: Can I use multiple animations on a single object?
Yes, by using the Add Animation button, you can apply multiple animations to one object, such as entrance, emphasis, and exit effects.
Q4: Are GIFs and videos supported in all versions of PowerPoint?
GIFs and videos are widely supported, but playback behavior may vary. PowerPoint 2016 and newer versions handle media best, with options for triggers and transparency.
Q5: How do I create custom motion paths?
Under the Animations tab, select Motion Paths > Custom Path, then draw the path your object should follow. Double-click to finish the path.
Q6: Can I make 3D model animations loop continuously?
Yes, in the animation pane, you can set options for continuous rotation, such as the turntable animation, to keep your 3D model spinning indefinitely.
Q7: Where can I find more PowerPoint animation tutorials?
There are many online resources and YouTube channels dedicated to PowerPoint animations. Look for tutorials specific to the animation type you want to learn.
Conclusion
Mastering PowerPoint animations can transform your presentations into captivating stories that hold your audience’s attention and communicate your message effectively. From simple click animations to advanced 3D model interactions, the techniques covered here provide a solid foundation and creative inspiration.
Remember to use animations purposefully, balancing visual interest with clarity. Practice these methods, experiment with timings and effects, and watch your presentations become more professional and memorable.
Stay creative and enjoy your PowerPoint journey!
Check out the full video: TOP 10 PowerPoint Animations 🔥Tips & Tricks🔥


