
Welcome to this comprehensive beginner’s guide to Microsoft PowerPoint, brought to you by Teacher’s Tech. Whether you are completely new to PowerPoint or just looking to brush up on the basics, this step-by-step tutorial will walk you through everything you need to create professional, visually appealing presentations with confidence. From opening the program for the first time to adding animations and sharing your work, this article covers all the essential skills to get you started and beyond.
PowerPoint is one of the most popular presentation tools worldwide, used in business meetings, academic lectures, and countless other settings. By mastering the basics and gradually incorporating more advanced features, you can make your presentations stand out and keep your audience engaged. Let’s dive in!
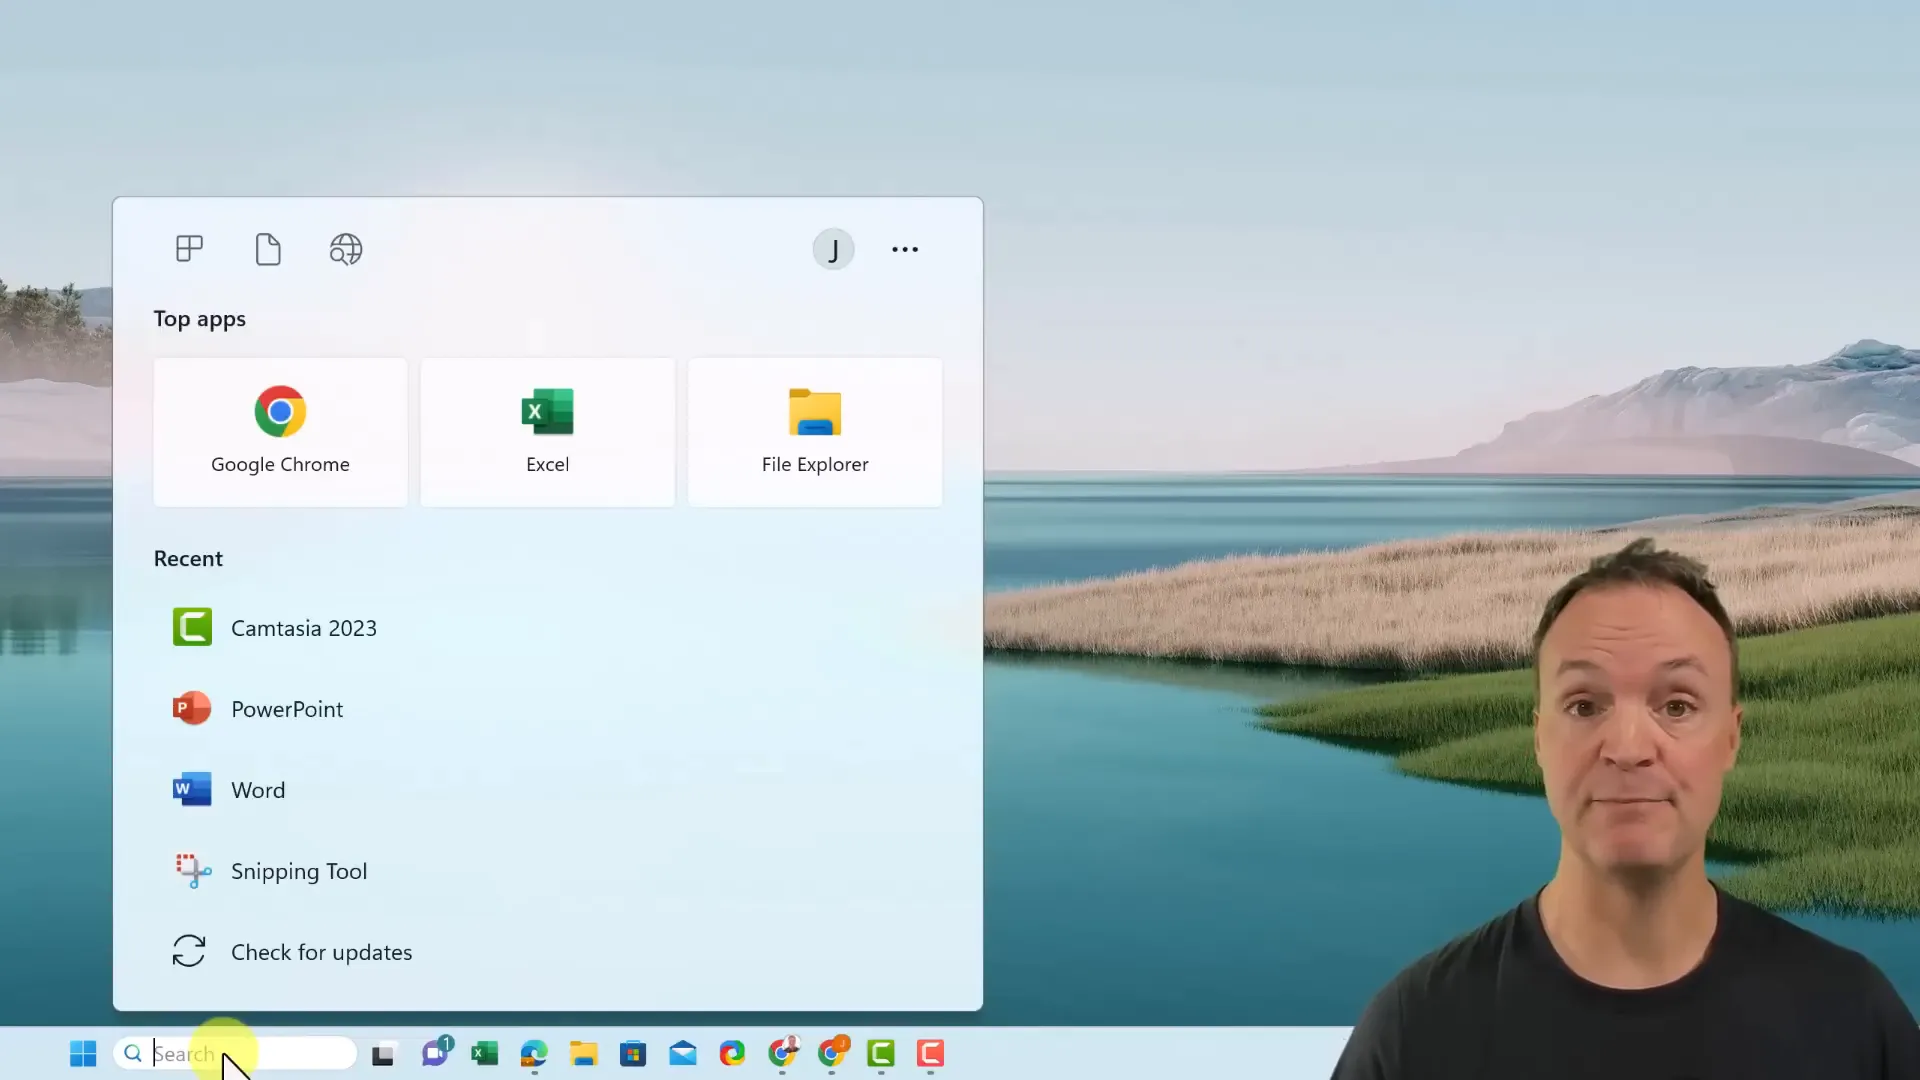
Table of Contents
- Getting Started: Opening PowerPoint and Navigating the Interface
- Understanding Tabs, Ribbons, and Groups in PowerPoint
- Saving Your Work: Best Practices
- Creating and Managing Slides
- Organizing Your Presentation with Slide Titles
- Enhancing Your Presentation Design
- Using PowerPoint Designer for Quick Slide Layouts
- Customizing Fonts and Text Appearance
- Adding Images to Your Slides
- Editing Images: Removing Backgrounds and Applying Effects
- Using Stock Images and Background Removal Tools
- Organizing Multiple Images with Designer Suggestions
- Adding and Formatting Quotes
- Creating Visual Interest with SmartArt
- Customizing SmartArt Graphics
- Visualizing Data with Charts
- Inserting Text Boxes and Shapes
- Working with Object Layers
- Adding Animations to Your Slides
- Applying Transitions Between Slides
- Presenting Your PowerPoint Effectively
- Using Notes to Support Your Presentation
- Recording Your Presentation as a Video
- Sharing and Collaborating on PowerPoint Presentations
- Conclusion
- Frequently Asked Questions (FAQ)
Getting Started: Opening PowerPoint and Navigating the Interface
The first step to creating a PowerPoint presentation is, of course, opening the software. On Windows, simply use the search feature by typing “PowerPoint” into the search bar. If you plan to use it frequently, right-click the PowerPoint icon and choose “Pin to taskbar” for quick access.
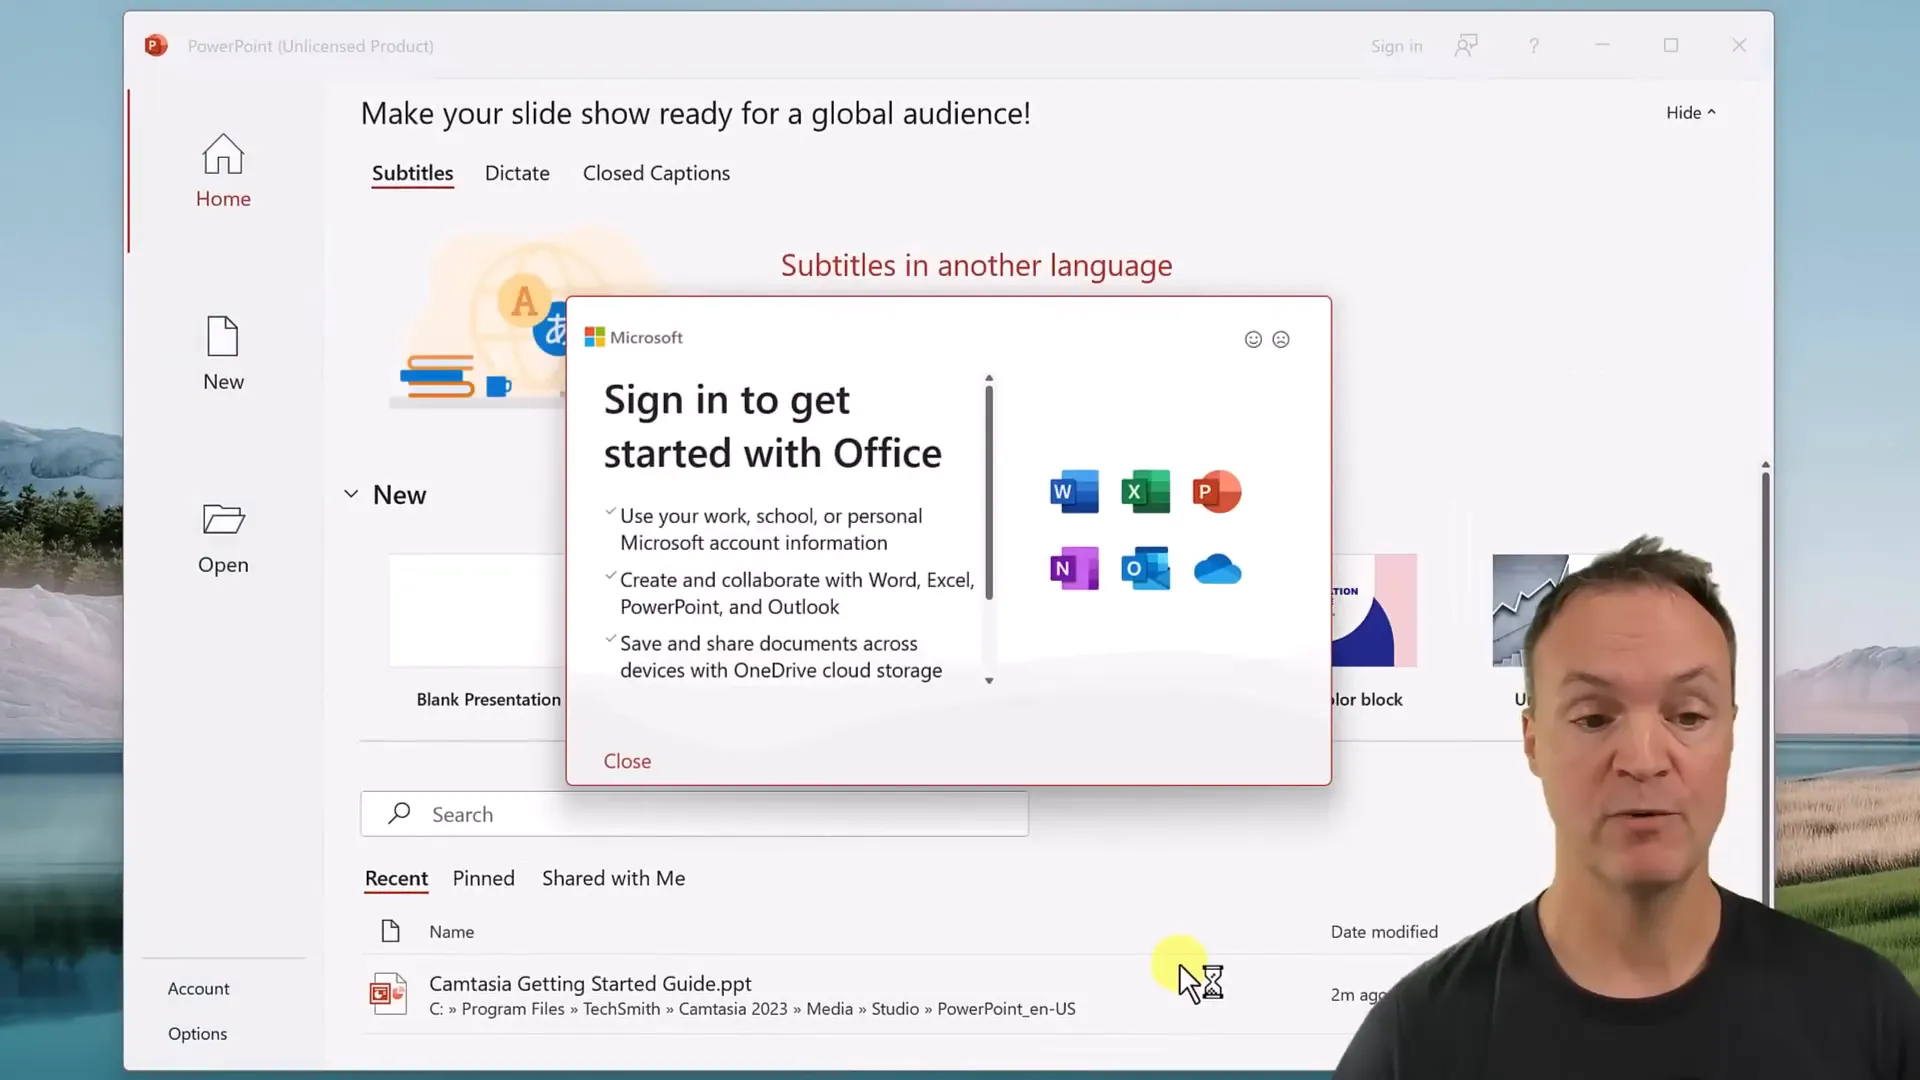
When you open PowerPoint for the first time on a new device, you may be prompted to sign in with a Microsoft account. This could be a work, school, or personal account. Signing in unlocks all features and allows you to save files to OneDrive for cloud access and collaboration.
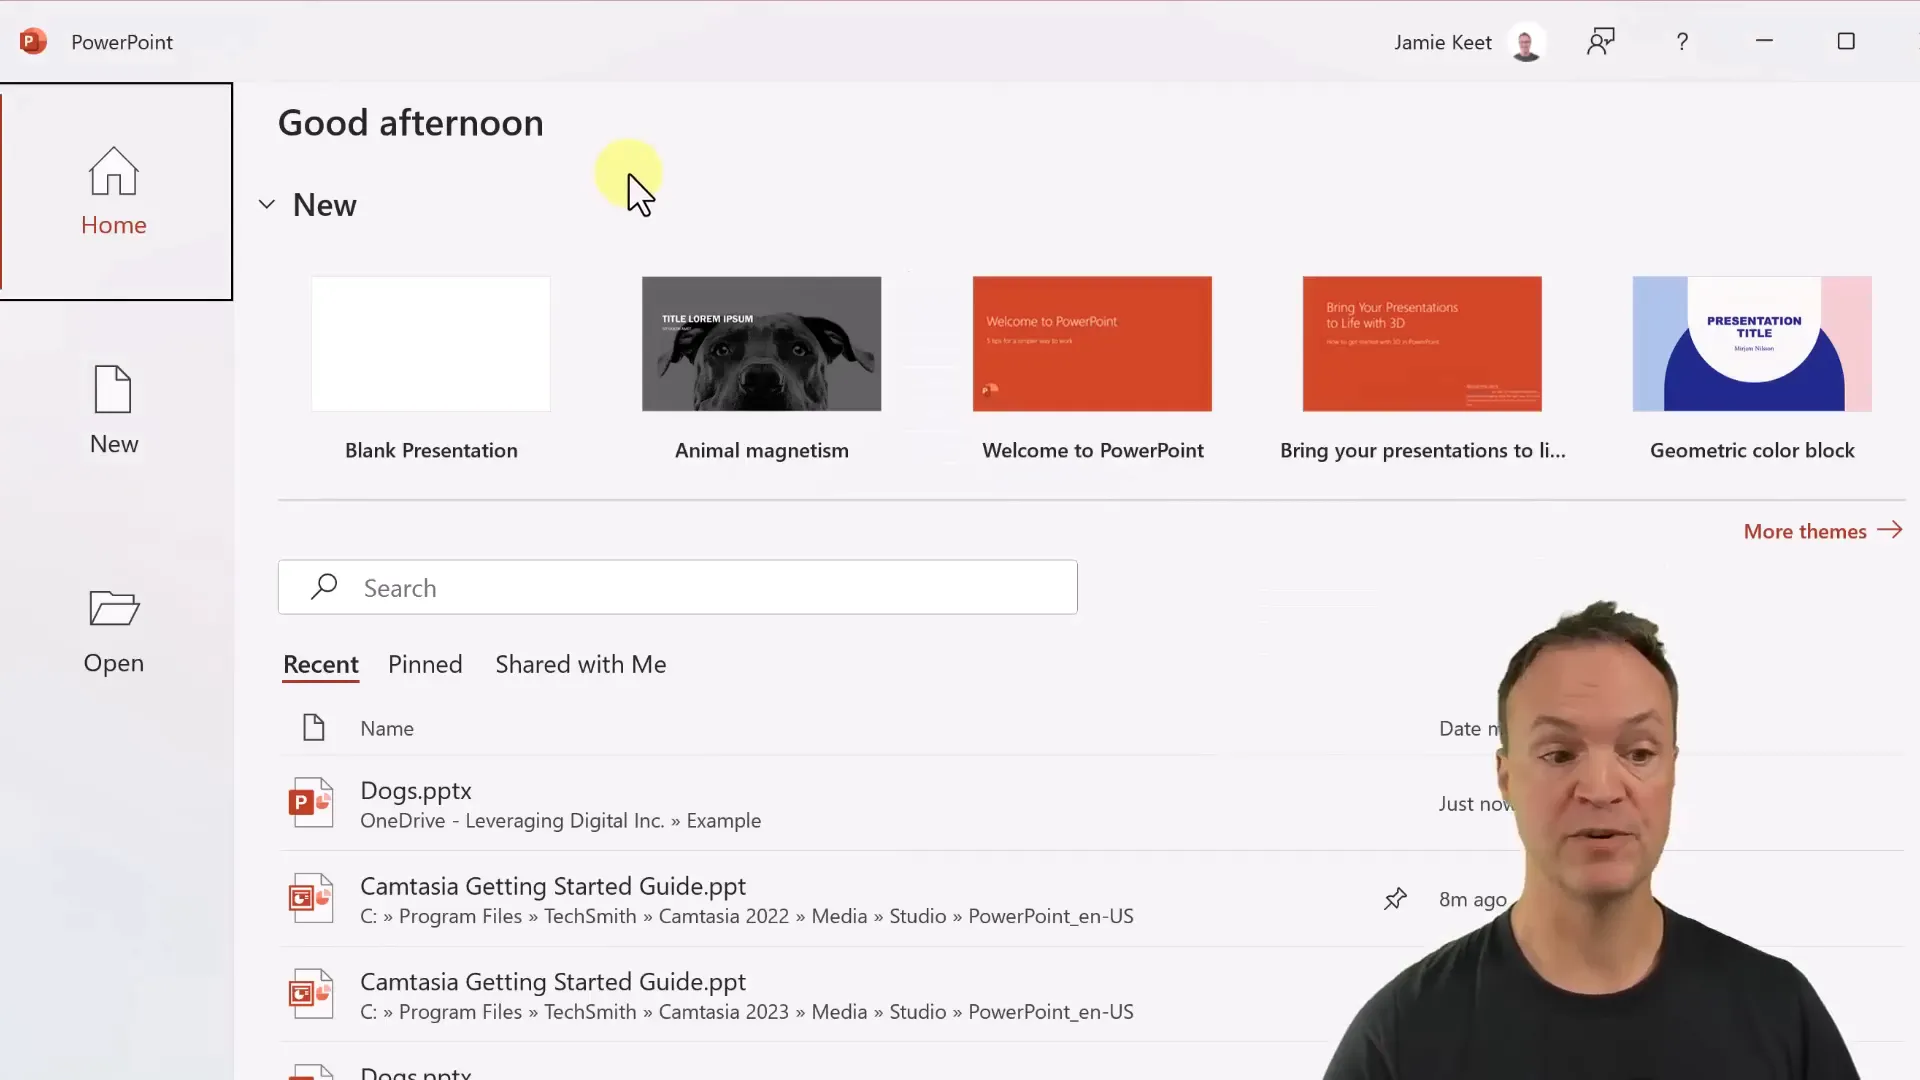
Once inside PowerPoint, you’ll notice the main interface divided into several views:
- Home View: Start a blank presentation or access recent files.
- New View: Browse templates and themes to give your presentation a polished look quickly.
- Open View: Open existing presentations from your computer or OneDrive.
Templates are a great way to save time, but it’s beneficial to learn how to create slides from scratch. This gives you more control and flexibility to customize your presentation.
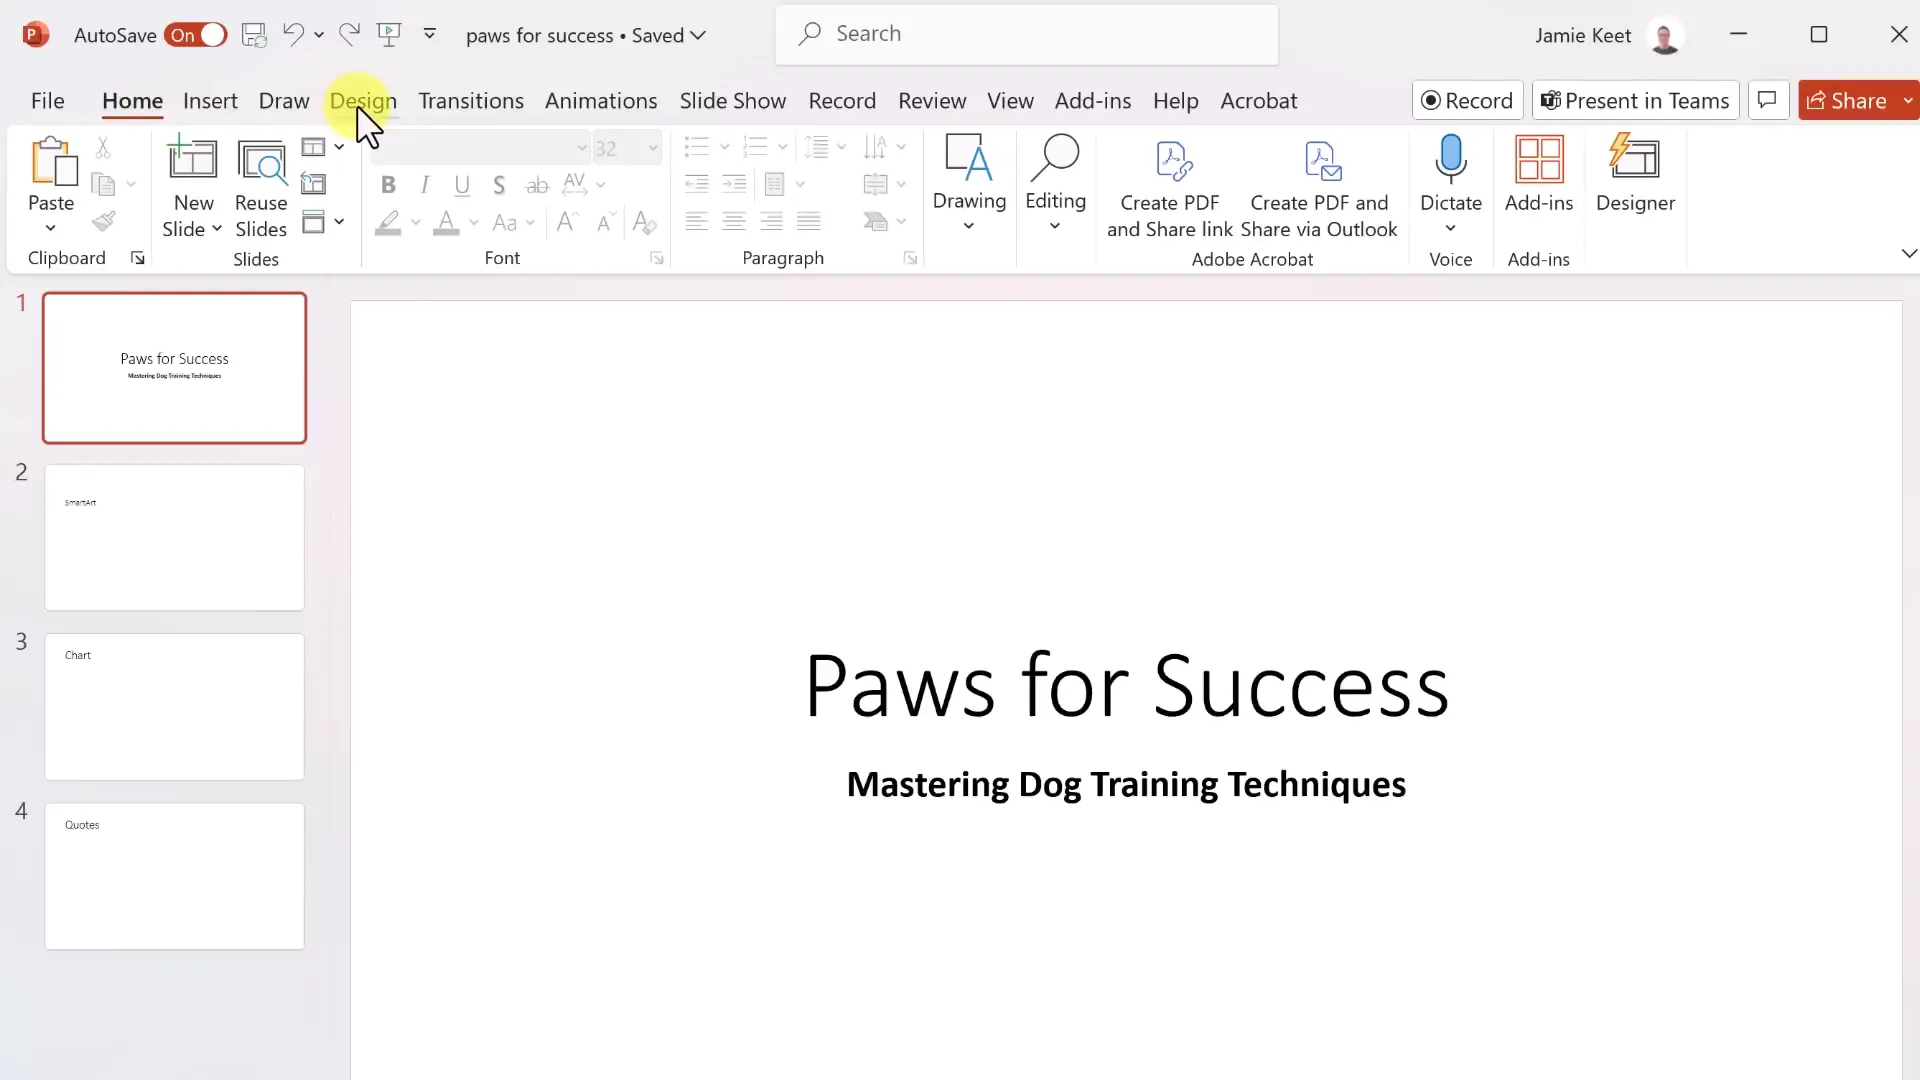
Understanding Tabs, Ribbons, and Groups in PowerPoint
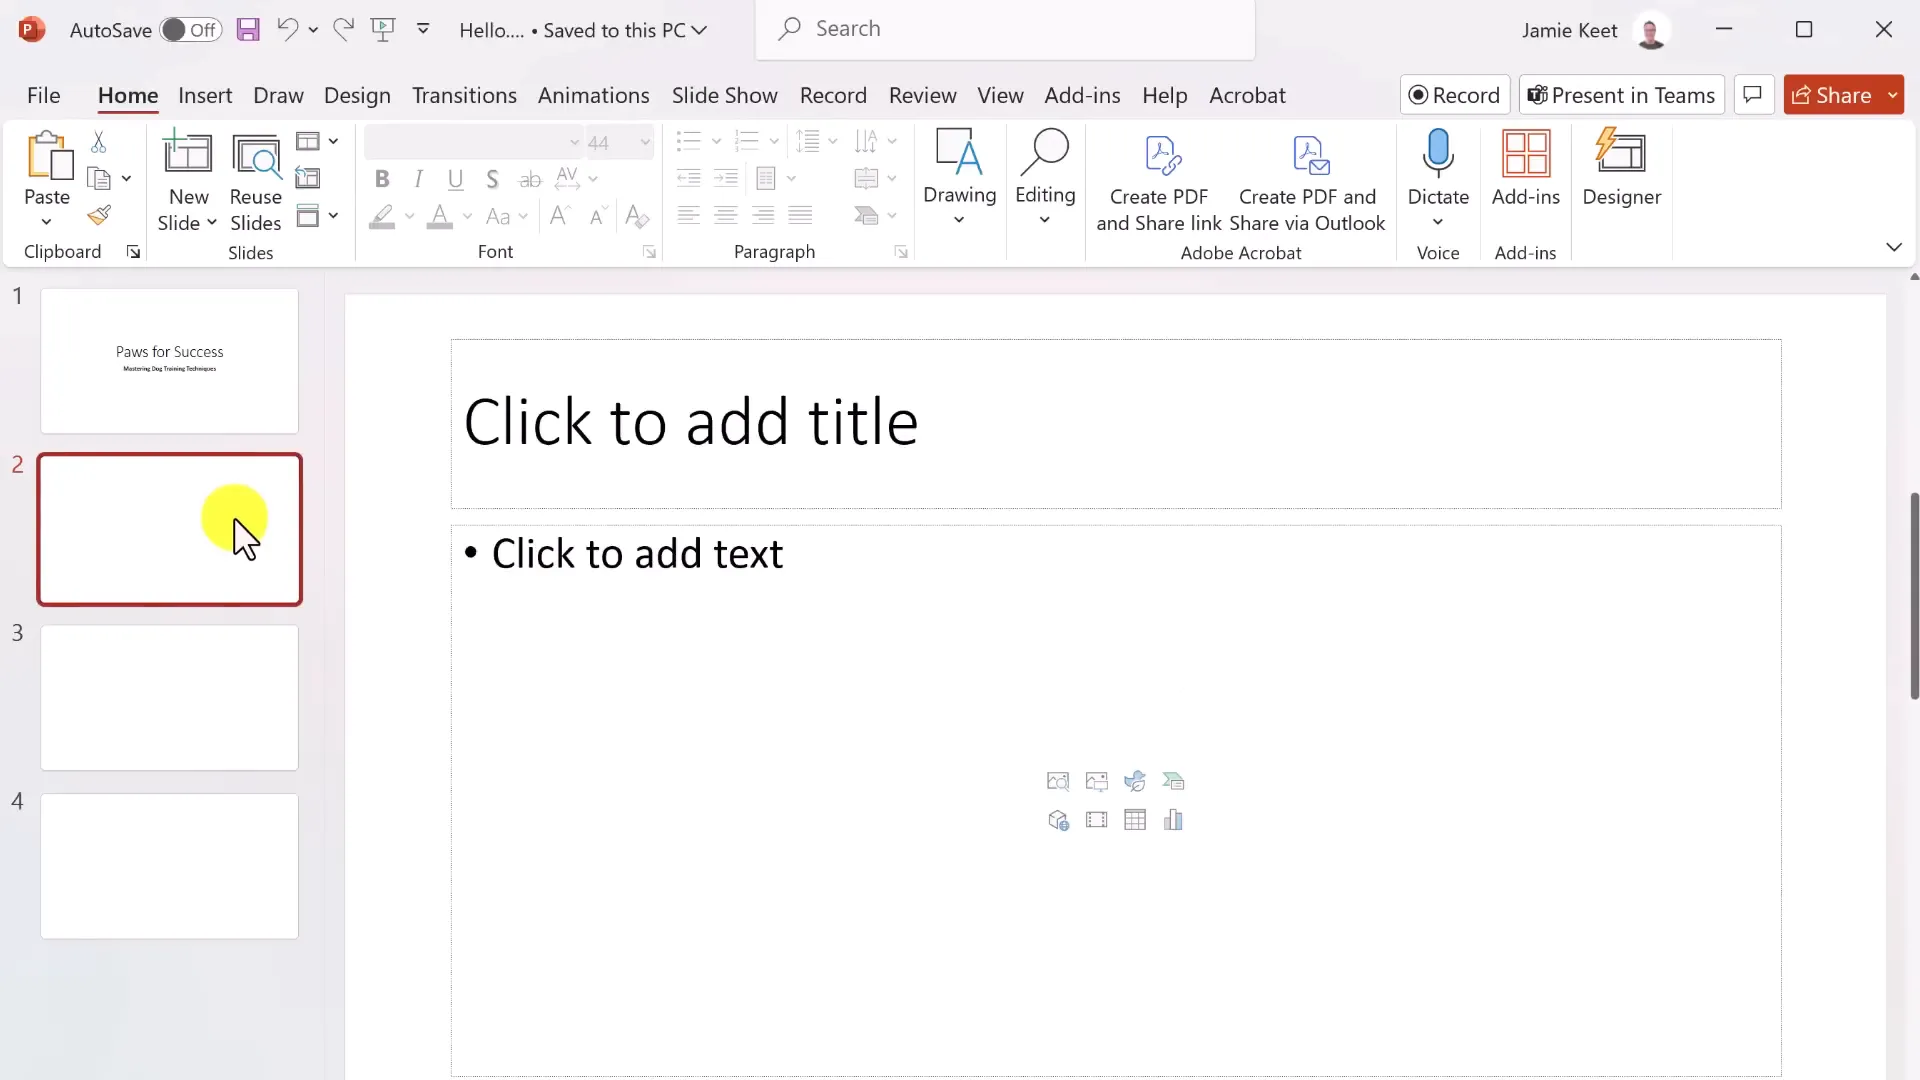
Across the top of PowerPoint, you’ll see tabs such as Home, Insert, Design, Transitions, Animations, and more. These tabs categorize different tools and features.
Within each tab is a ribbon, which contains groups of related commands. For example, in the Home tab, you’ll find the Font group for text formatting and the Paragraph group for alignment and spacing.
Some groups have an expand button (a small arrow) that reveals additional options not shown directly on the ribbon due to space constraints. Familiarizing yourself with this layout will speed up your workflow.
Saving Your Work: Best Practices
Before diving deeper, it’s crucial to save your work regularly. PowerPoint offers multiple ways to save:
- Save: Saves changes to your current file.
- Save As: Allows you to save a new copy or change the file location.
You can save files locally on your computer or to OneDrive, Microsoft’s cloud storage service. Saving to OneDrive enables easy sharing and real-time collaboration with others, plus access to your files from any device.
Creating and Managing Slides
With your presentation saved, you’re ready to add slides. The first slide is usually a title slide with placeholders for a title and subtitle. You can customize these by clicking inside the text boxes and typing your content.
To add new slides, go to the Home tab and click “New Slide.” You can choose different layouts such as Title and Content, Two Content, Comparison, and more, depending on the type of information you want to present.
You can also:
- Change slide layouts: Right-click a slide thumbnail and select “Layout” to switch formats.
- Duplicate slides: Right-click a slide and choose “Duplicate Slide” to copy it.
- Delete slides: Select a slide and press the Delete key.
- Reorder slides: Drag slide thumbnails to rearrange their order.
- Select multiple slides: Use Shift-click for consecutive slides or Ctrl-click for non-adjacent slides to move or delete multiple slides.
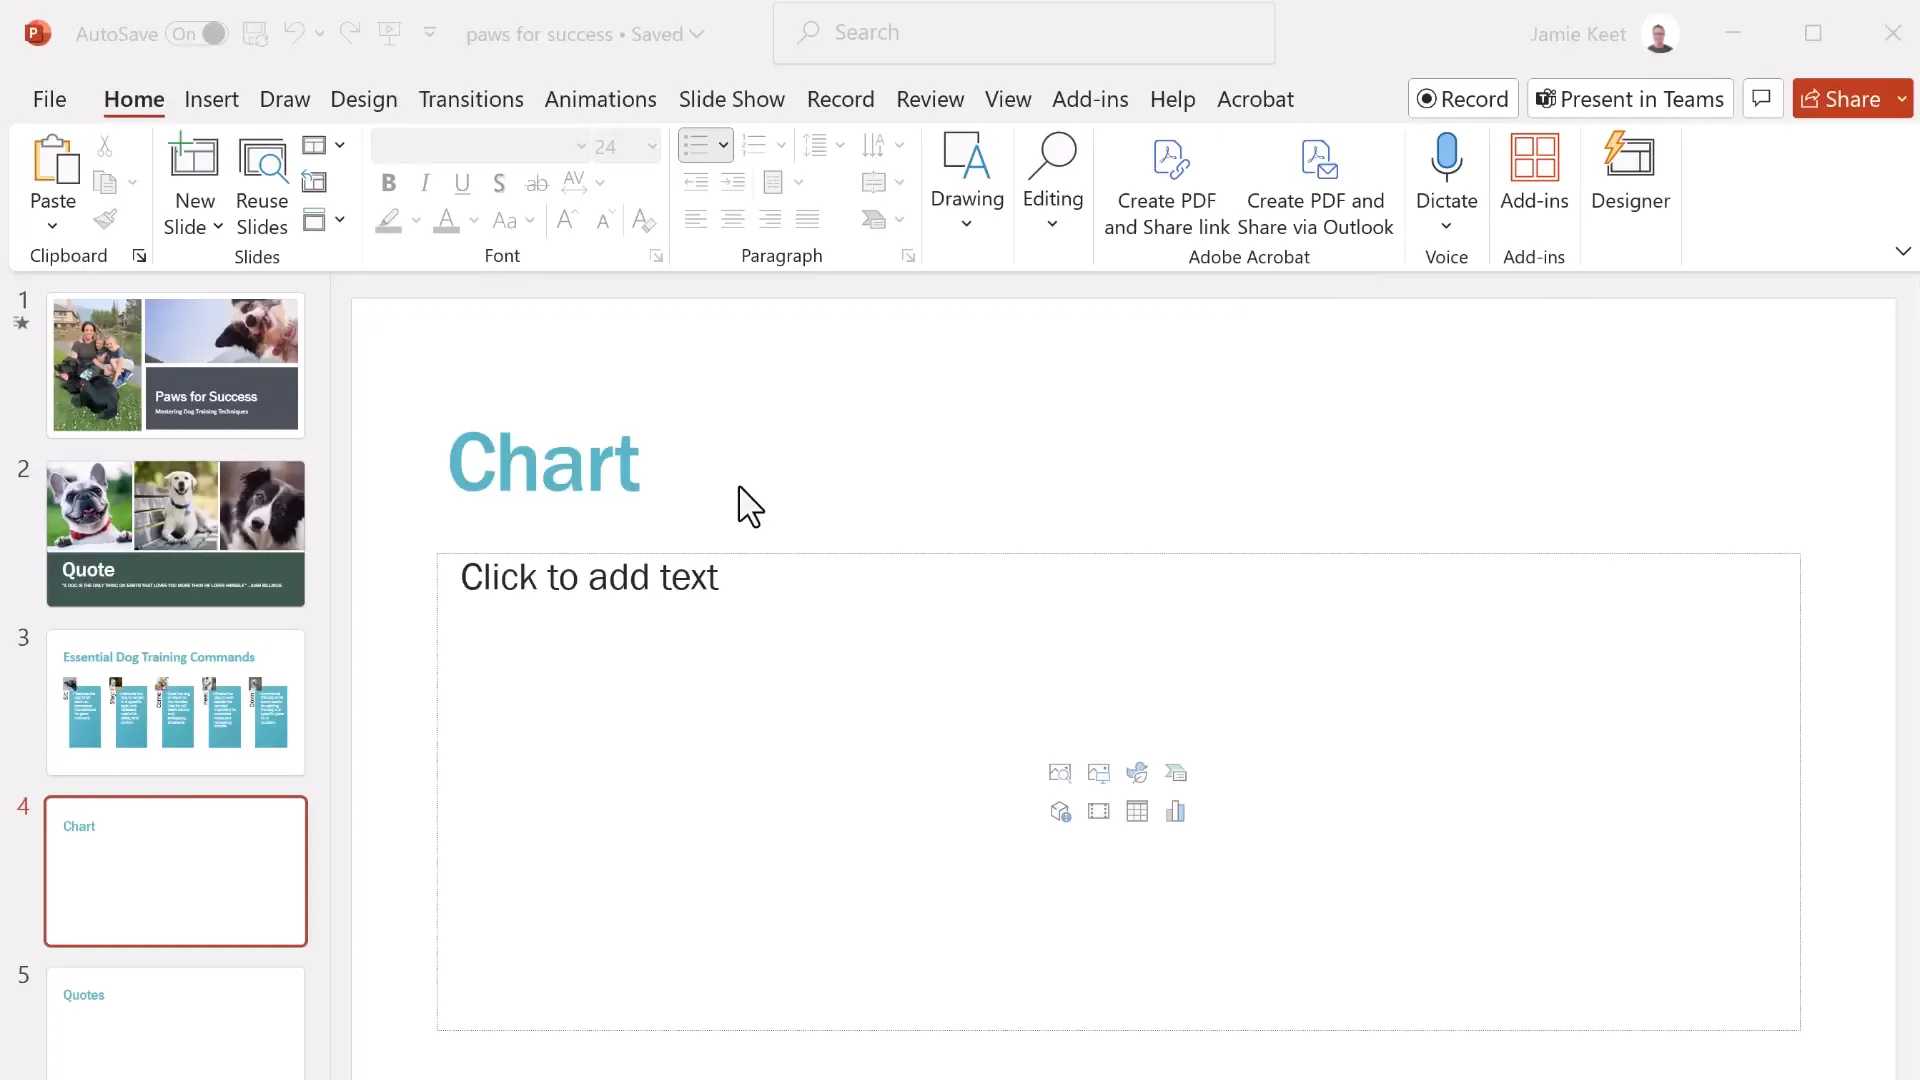
Organizing Your Presentation with Slide Titles
Adding clear titles to each slide helps keep your presentation organized and guides your audience through your content. For example, if your presentation is about dog training, you might have slides titled “Chart,” “Quotes,” and “SmartArt.”
These titles also make it easier to rearrange slides logically as your presentation evolves.
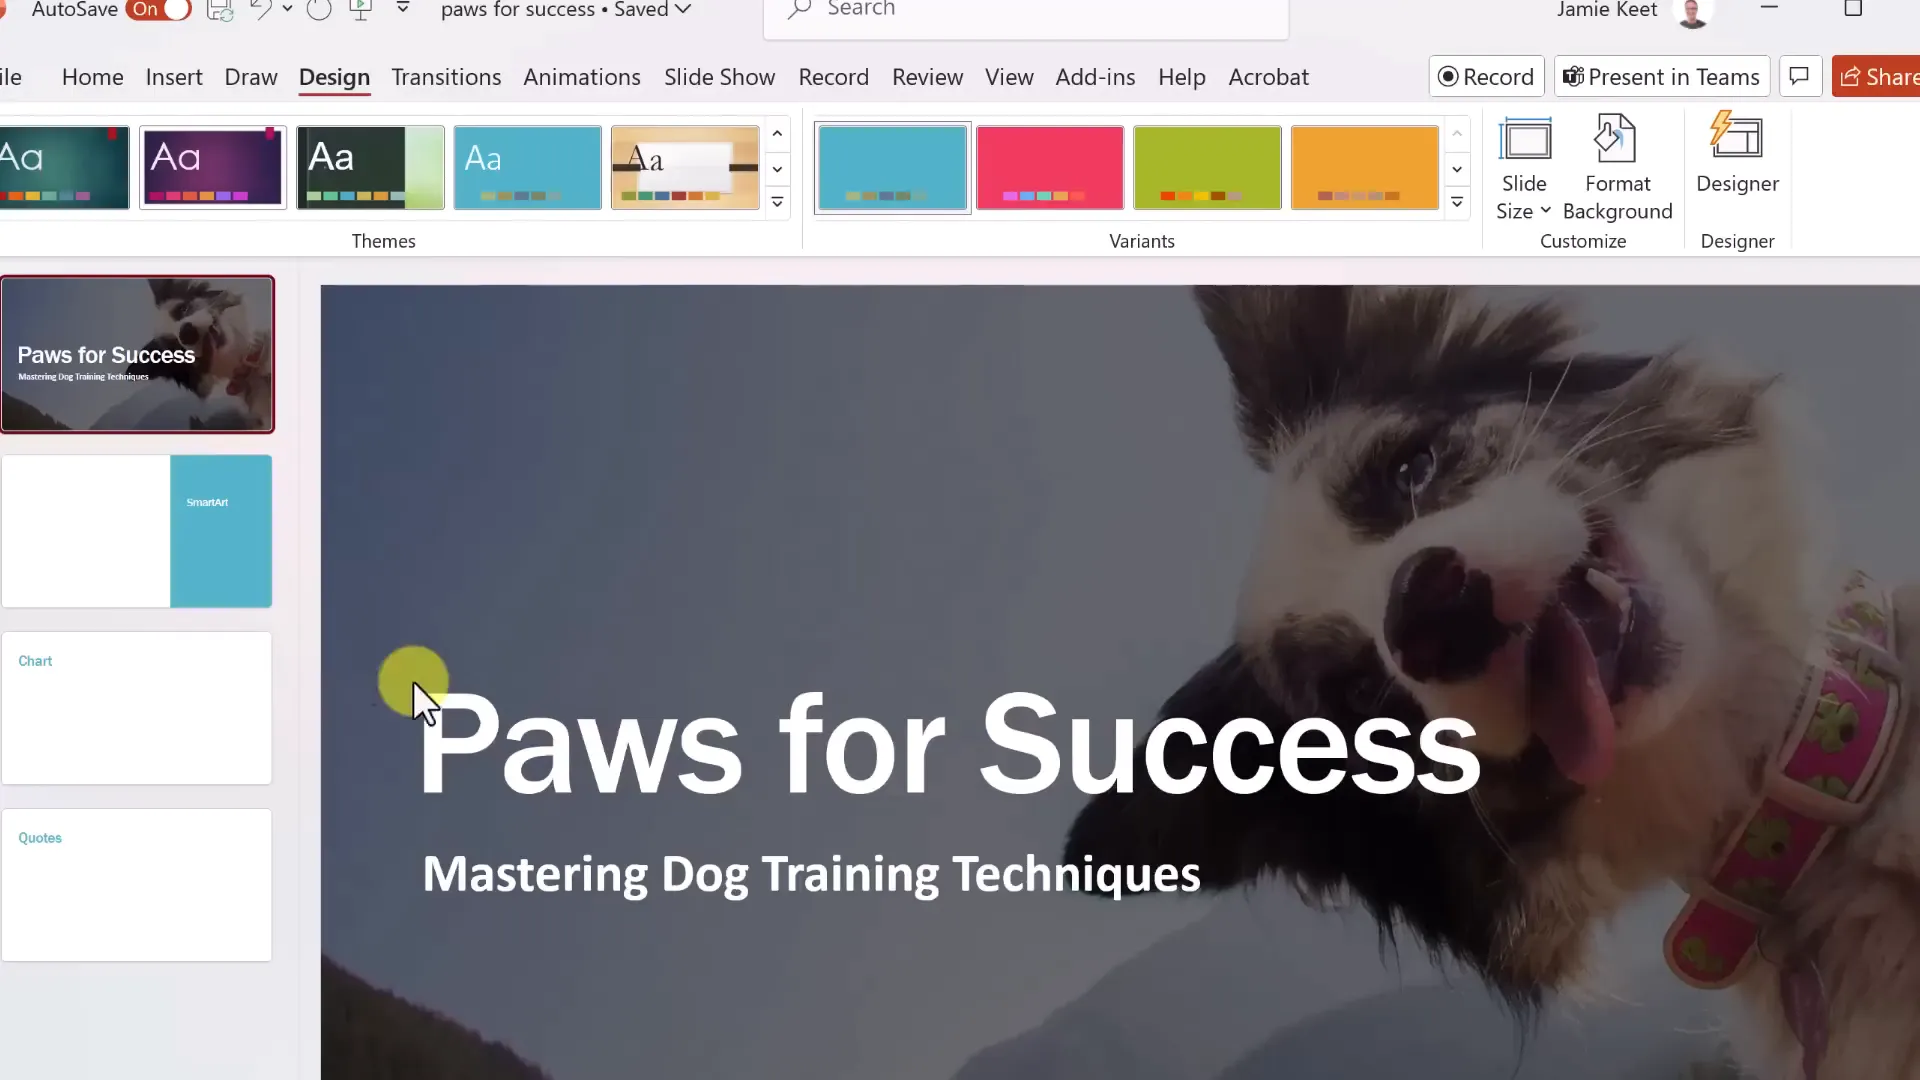
Enhancing Your Presentation Design
PowerPoint’s Design tab offers powerful tools to improve the visual appeal of your slides quickly. Here, you can:
- Apply Themes: Choose from built-in themes that provide coordinated colors, fonts, and effects.
- Customize Variants: Change theme colors, fonts, and background styles to suit your branding or preferences.
- Format Background: Adjust slide backgrounds with solid colors, gradients, textures, pictures, or patterns.
Playing with gradients and background effects can add subtle depth to your slides, but be careful not to overwhelm your content.
Using PowerPoint Designer for Quick Slide Layouts
PowerPoint Designer is a fantastic feature that automatically suggests professional slide layouts based on your content. For example, when you enter a title like “Paws for Success” and a subtitle about dog training, Designer will generate layout options that you can apply with one click.
This tool saves time and ensures your slides look polished, even if you’re new to design.

Customizing Fonts and Text Appearance
You can easily customize text on any slide. Clicking inside a text box allows you to select individual words (double-click) or entire paragraphs (triple-click). From the Home tab, you can change:
- Font type and size
- Text color
- Bold, italic, underline, and other styles
- Text alignment and spacing
Expanding the font group reveals even more formatting options for precise control over your text appearance.
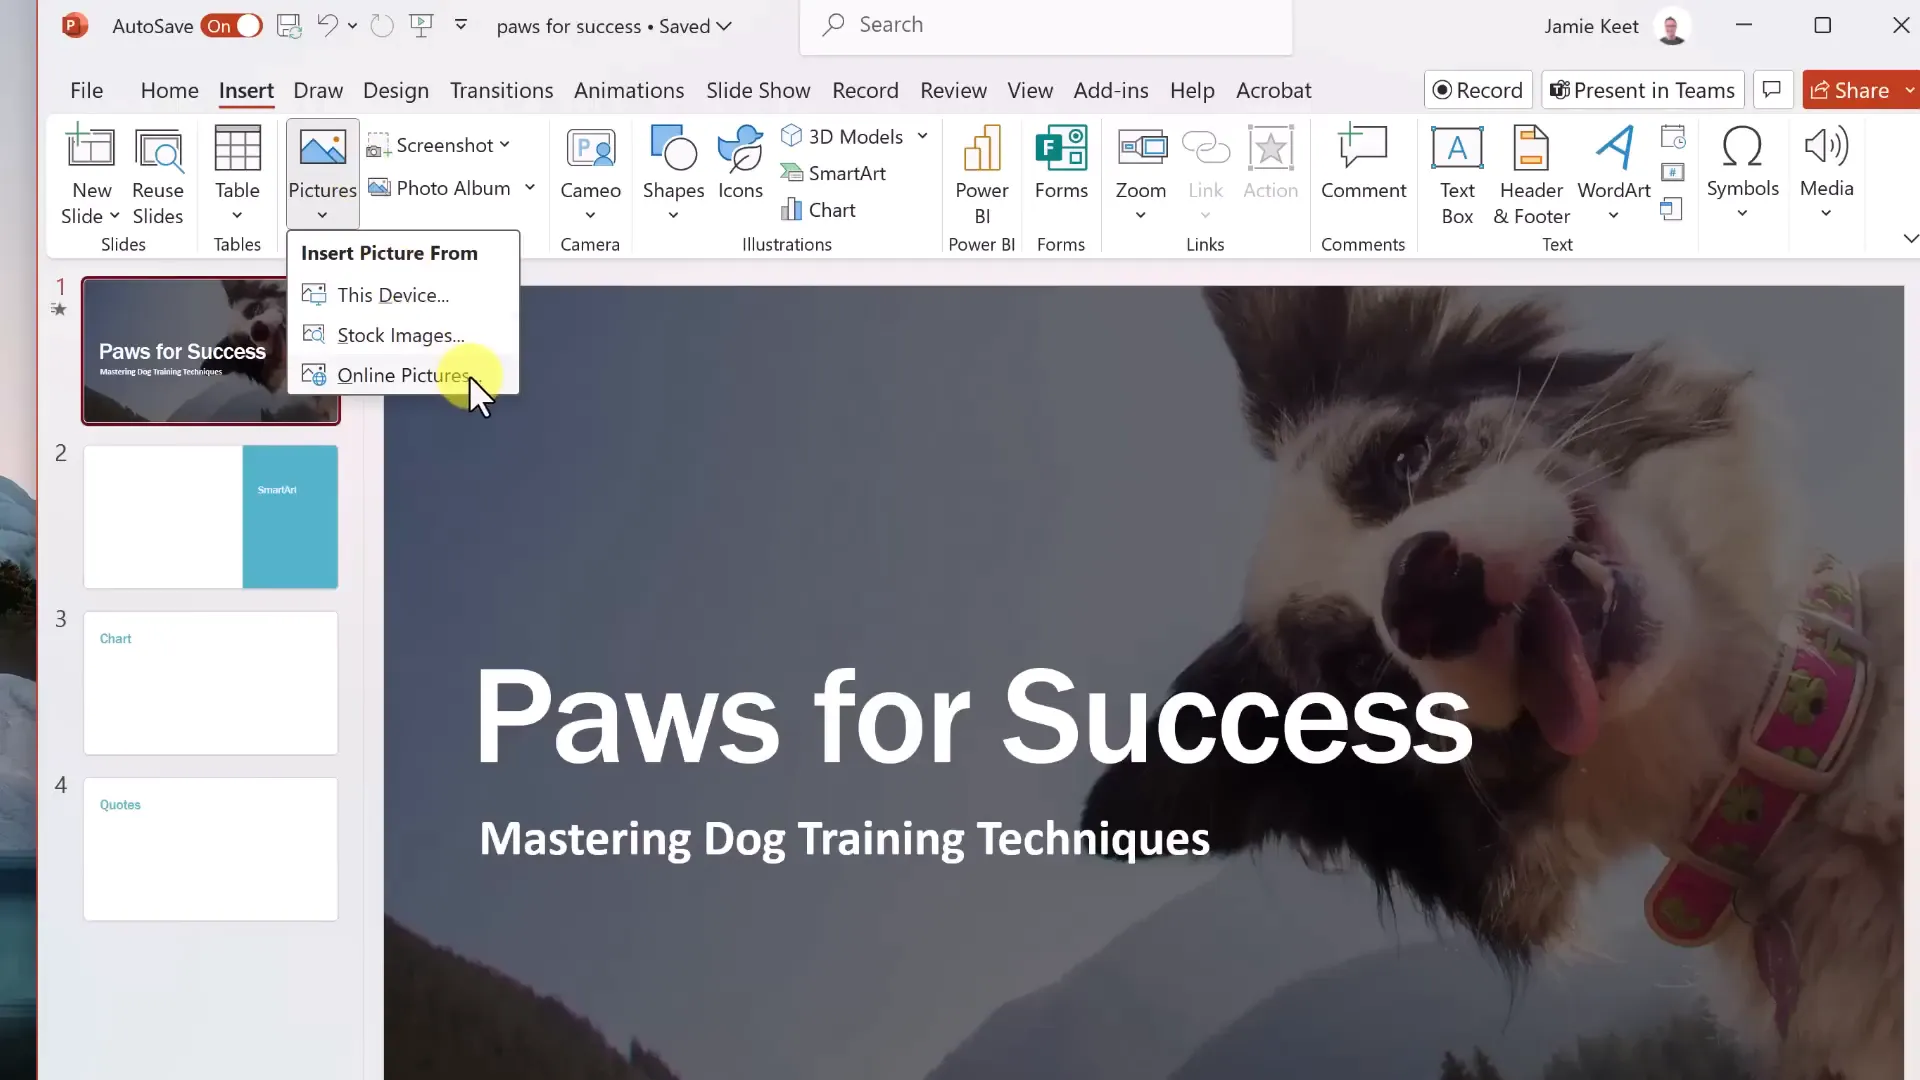
Adding Images to Your Slides
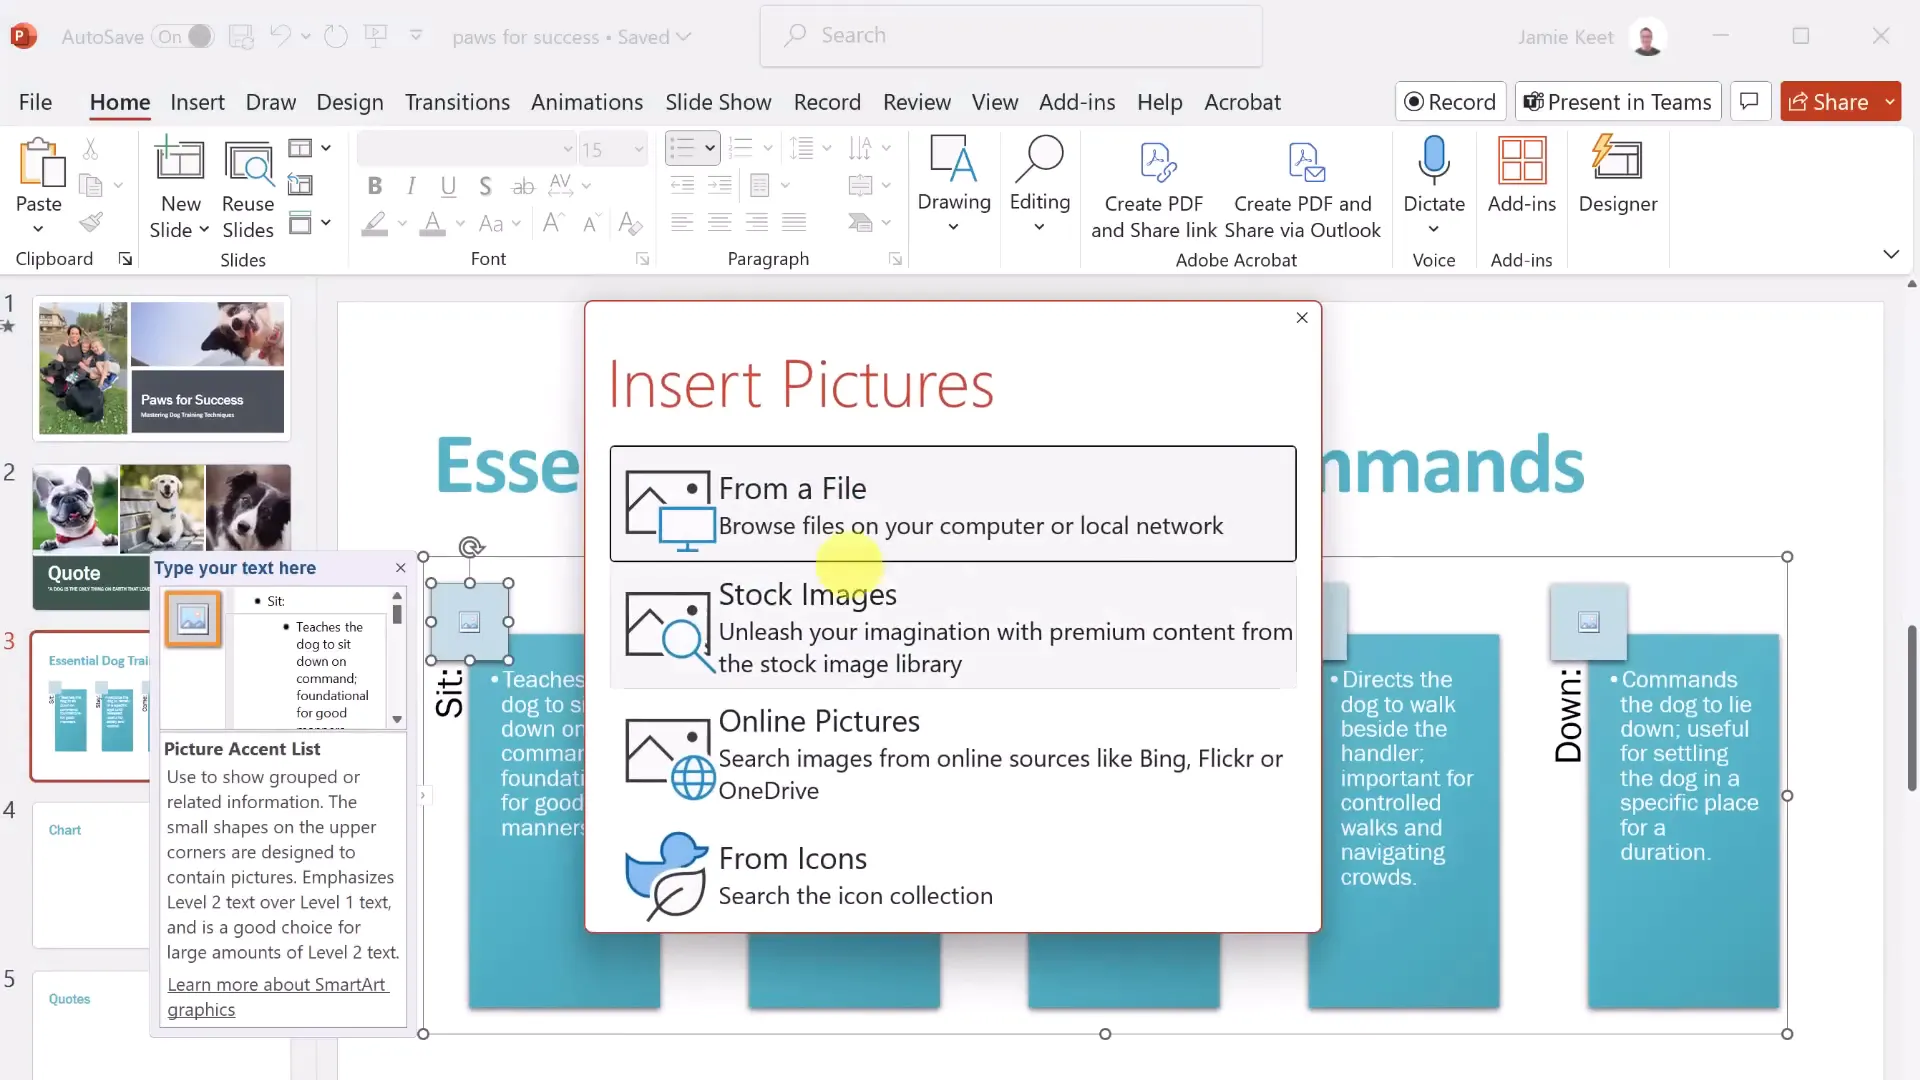
Images can greatly enhance your presentation. To insert pictures:
- Go to the Insert tab and click “Pictures.”
- Choose the source: This device, Stock Images, or Online Pictures.
- Select your image and insert it into the slide.
You can also drag and drop images directly from a folder into your slides for quick insertion.
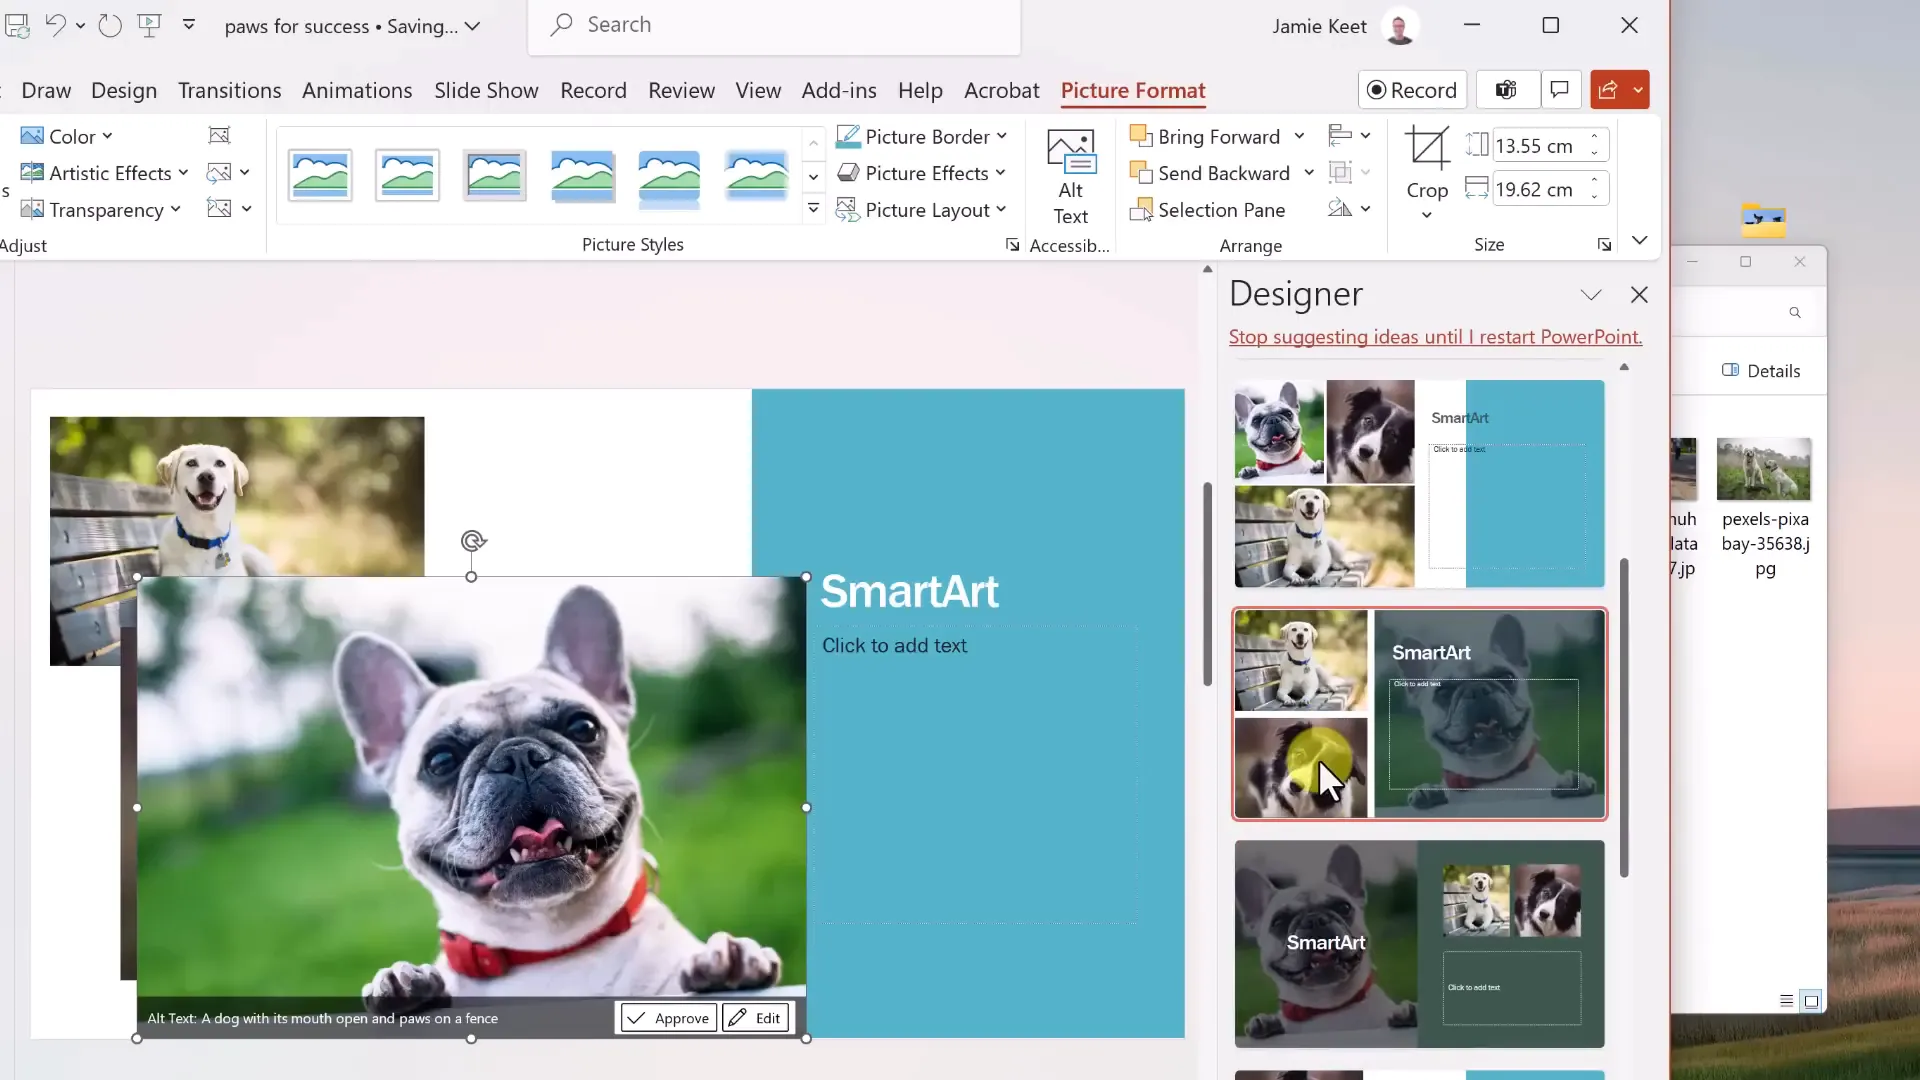
PowerPoint Designer will often suggest different layouts once images are added, helping you position them attractively.
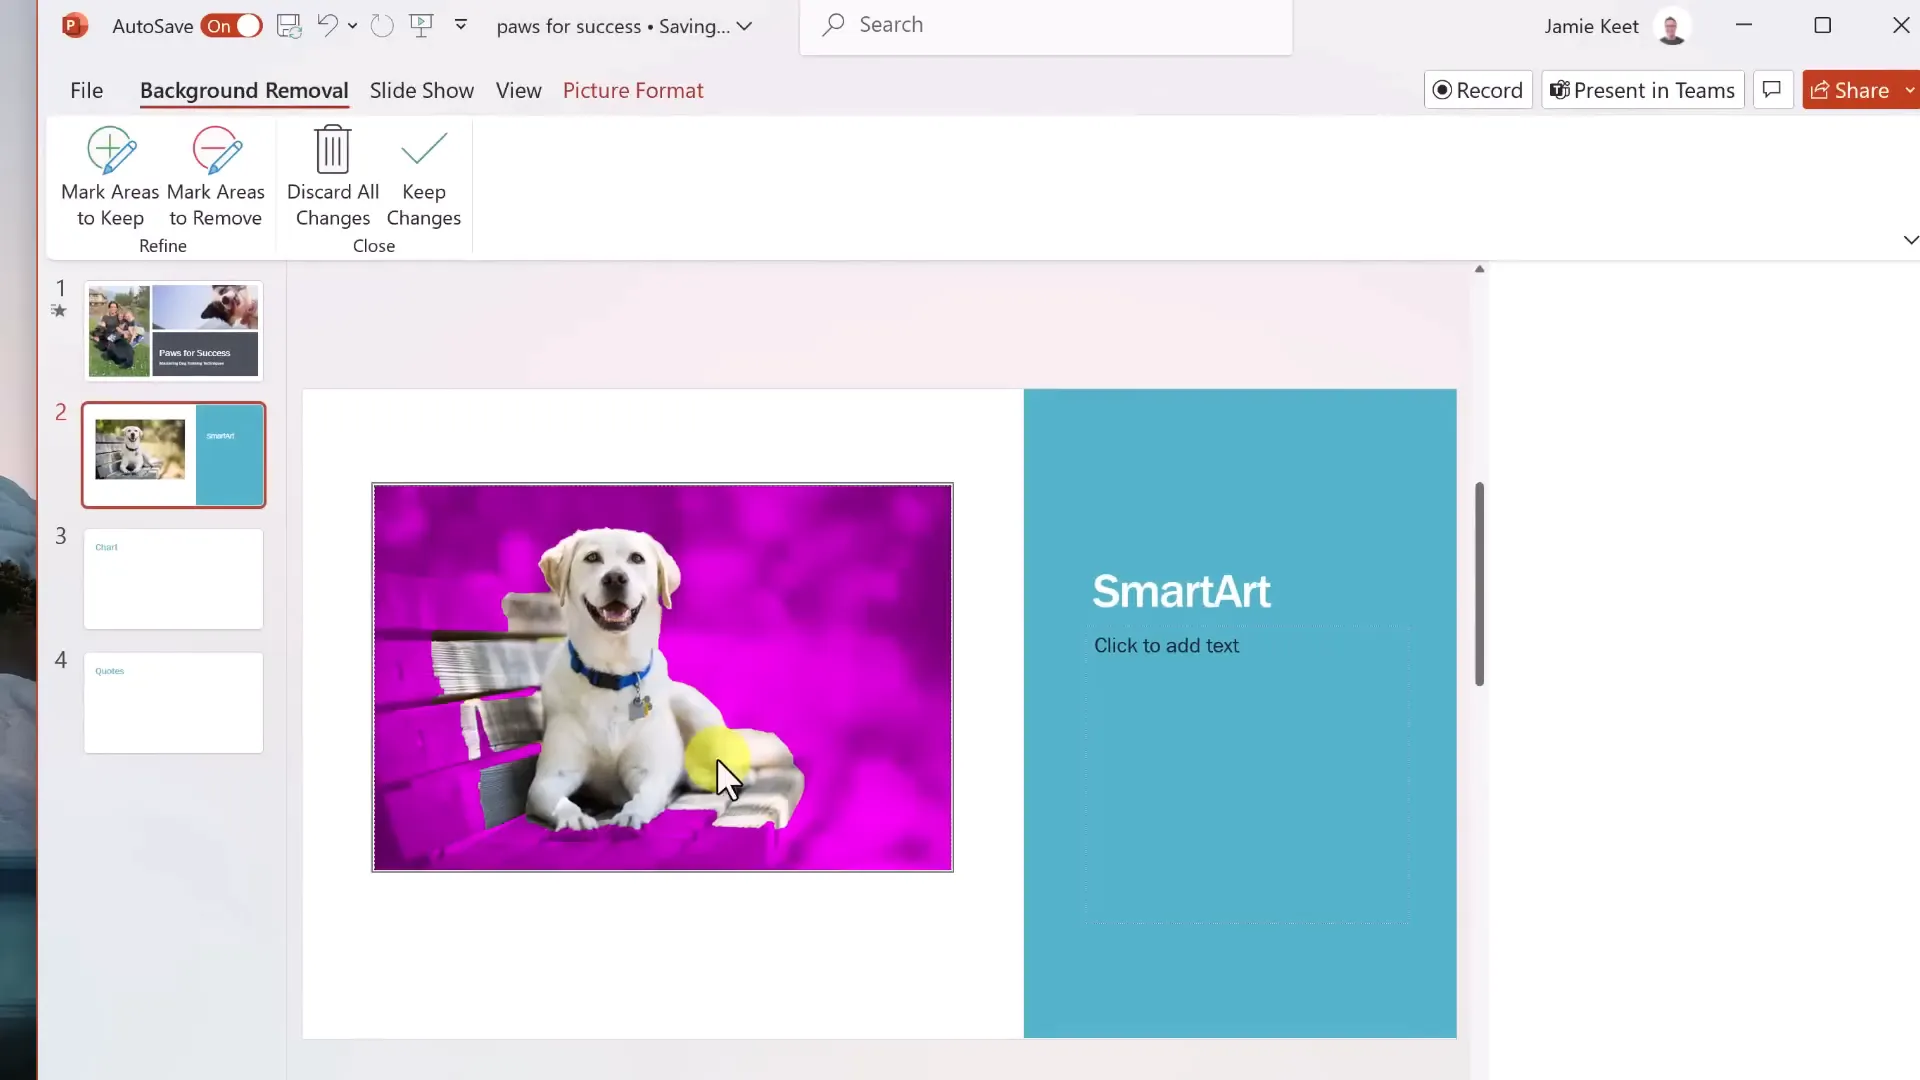
Editing Images: Removing Backgrounds and Applying Effects
PowerPoint provides tools to edit images directly within your presentation. One useful feature is the ability to remove backgrounds from photos, isolating subjects for a cleaner look. This is especially helpful when you want to place images over colored backgrounds or text.
Other image adjustments include:
- Corrections for brightness, contrast, and sharpness
- Artistic effects like blur, paint strokes, and more
- Transparency adjustments
- Picture styles such as frames, shadows, and reflections
These effects can be previewed live before applying, making it easy to experiment.
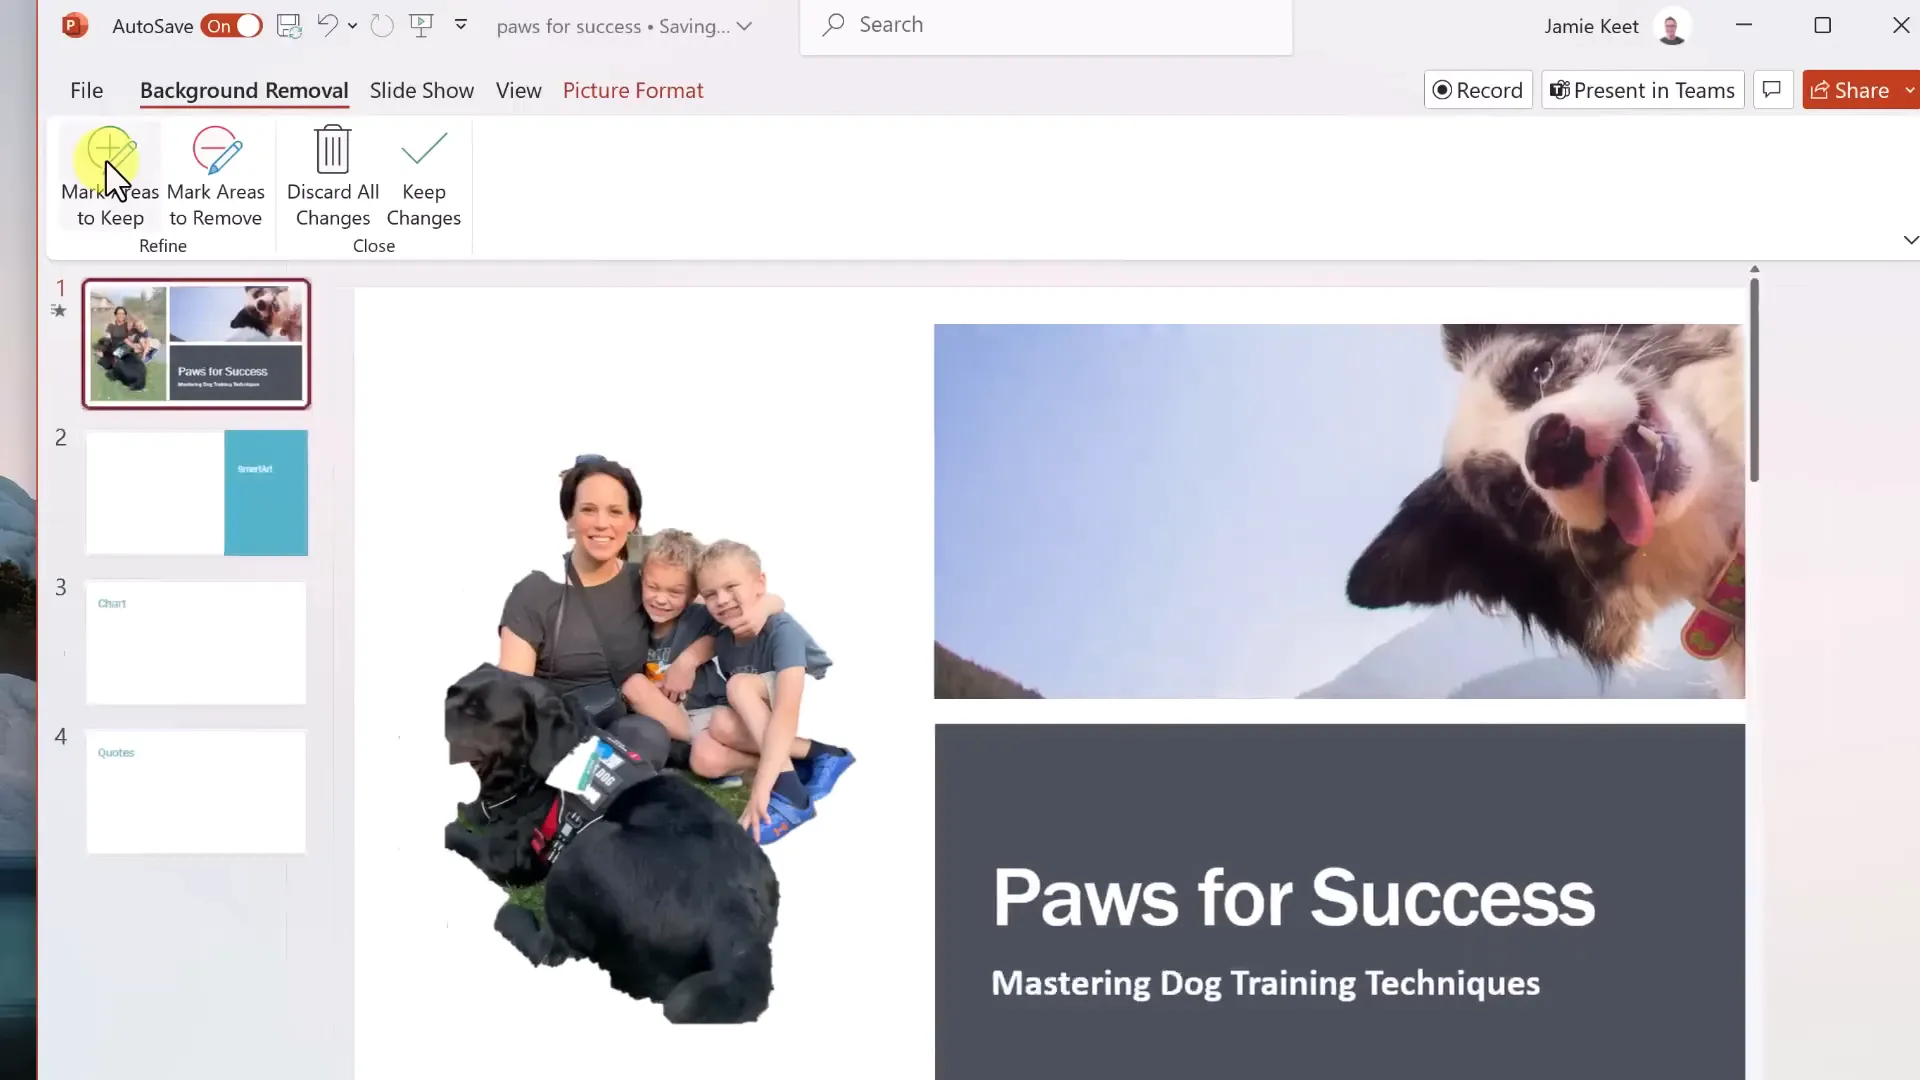
Using Stock Images and Background Removal Tools
If you don’t have your own images, PowerPoint’s Stock Images library offers a wide selection of free, high-quality pictures. Simply search for keywords like “dogs” and insert your preferred images.
When removing backgrounds, you can mark areas to keep or remove manually, refining the selection to get the perfect cutout. Although this tool works best with simple backgrounds, it can save a lot of time compared to external photo editors.
Organizing Multiple Images with Designer Suggestions
When you insert multiple pictures, Designer again steps in with layout suggestions that arrange images neatly alongside your text. This feature helps maintain a consistent look and feel throughout your presentation without manual adjustments.
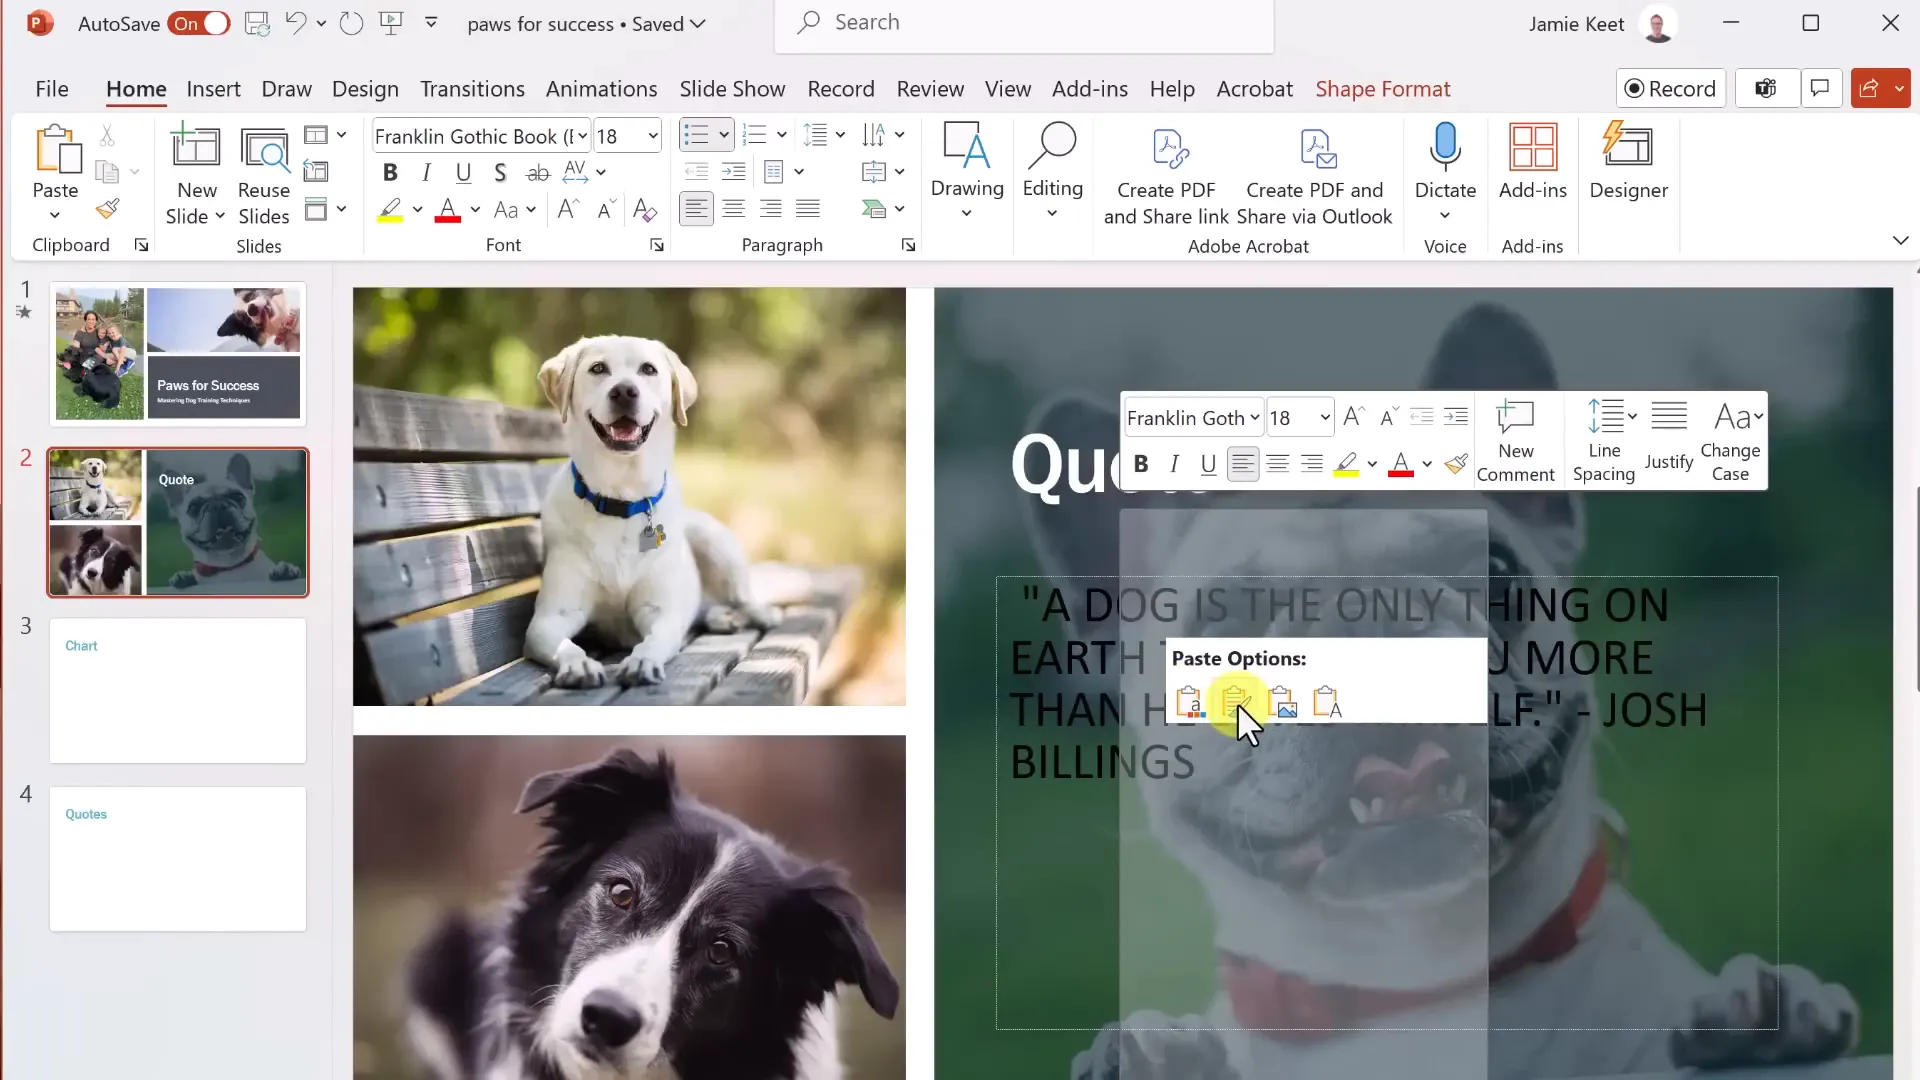
Adding and Formatting Quotes
Quotes can add credibility and interest to your slides. After typing or pasting your quote, you might notice the font or color does not match your theme. Simply use Designer to instantly harmonize the quote’s style with the rest of the slide.
Creating Visual Interest with SmartArt
SmartArt is a powerful tool to turn boring lists into attractive graphics. To add SmartArt:
- Go to the Insert tab and select “SmartArt.”
- Choose from categories like List, Process, Cycle, Hierarchy, and more.
- Pick a layout that fits your content and click OK.
For example, a list of essential dog training commands can be transformed into a visually engaging graphic with icons and colors.
You can paste your list directly into the SmartArt text pane, which automatically formats it.

Customizing SmartArt Graphics
Once inserted, SmartArt can be customized with different styles, colors, and layouts from the SmartArt Design tab. You can reset your changes if you want to try a different look.

Additionally, you can add images inside SmartArt shapes, enhancing the graphic with relevant visuals.
Visualizing Data with Charts
Charts are essential for presenting data clearly. To add a chart:
- Go to Insert → Chart.
- Choose the chart type (e.g., Line, Bar, Pie).
- Enter or paste your data into the Excel-like spreadsheet that appears.
- Close the spreadsheet to see your chart on the slide.
You can customize chart elements such as titles, legends, and axis labels. Chart Styles provide quick ways to change the look and contrast of your chart.
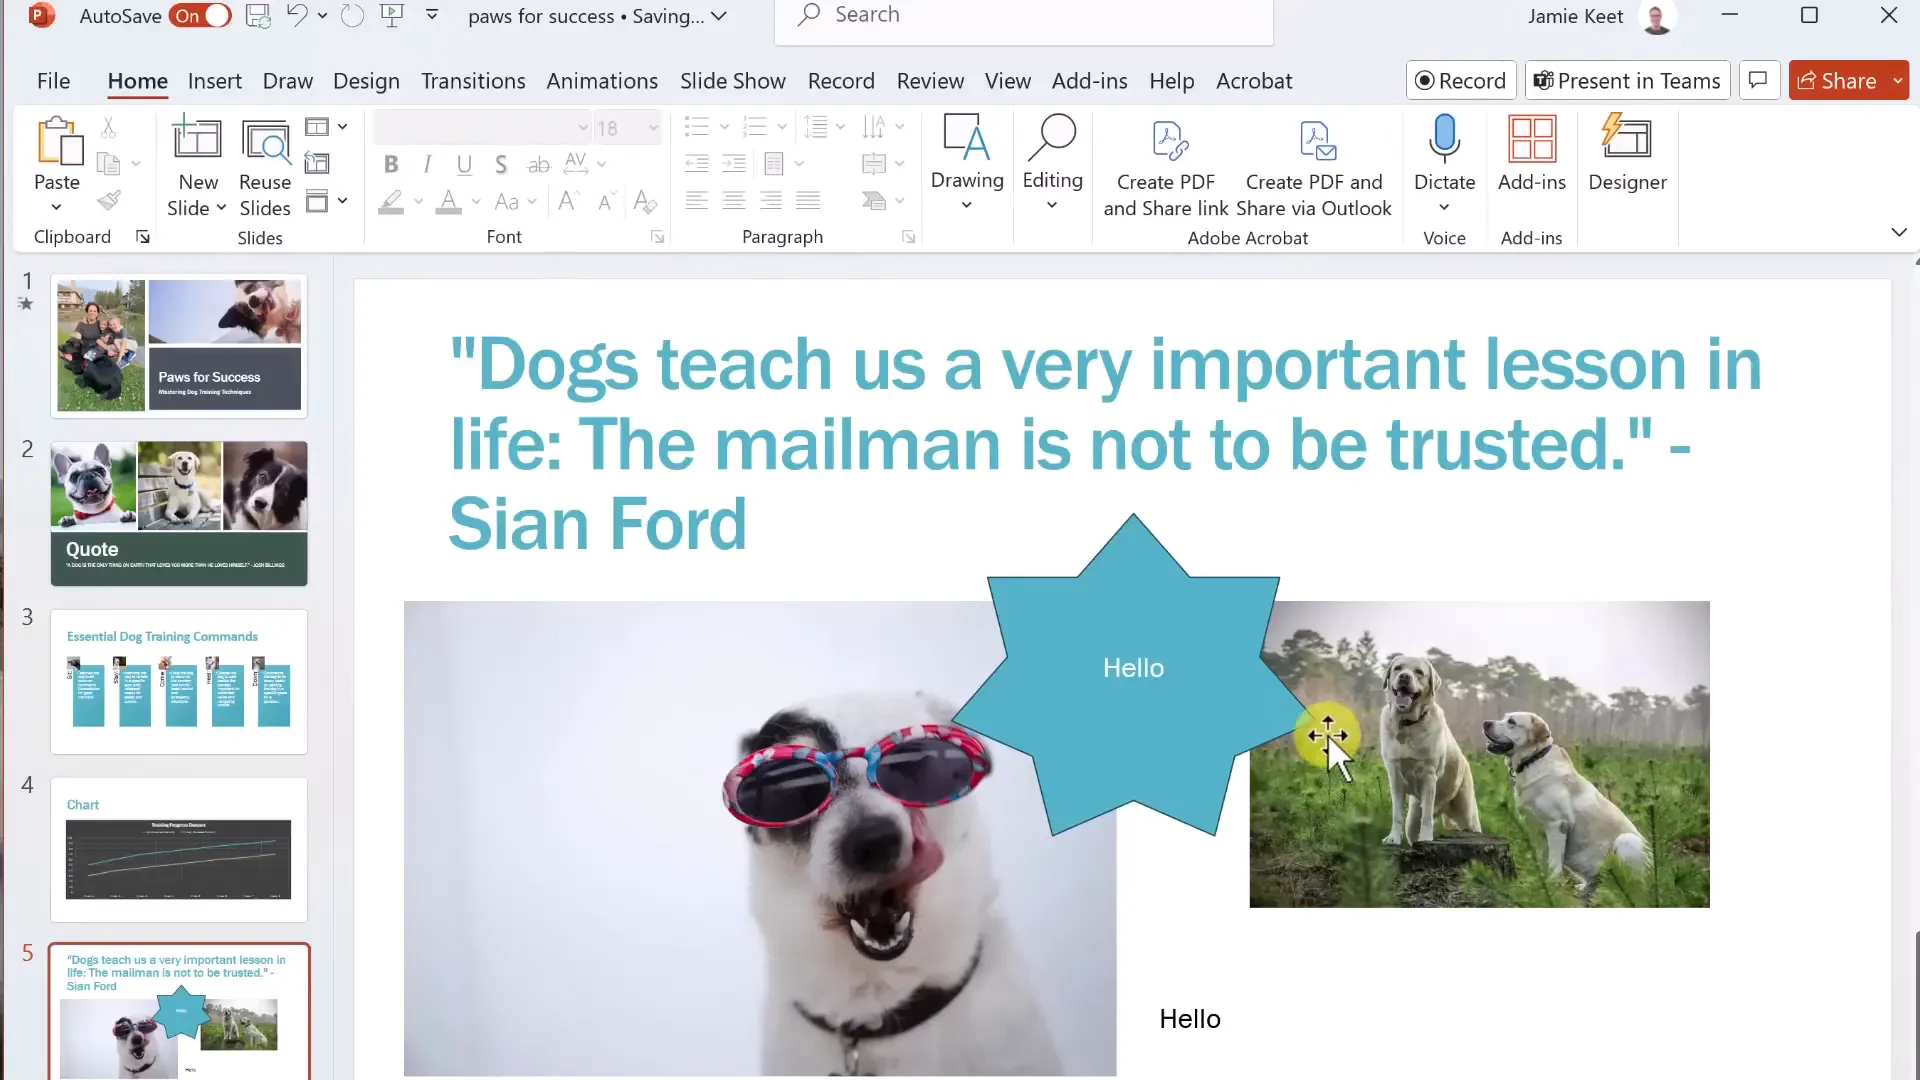
Inserting Text Boxes and Shapes
Sometimes you need to add text or shapes outside of the standard placeholders. Use the Insert tab to add text boxes or shapes like stars, arrows, and rectangles.
Text boxes can be drawn anywhere and resized or moved as needed. Shapes can also be formatted with colors, outlines, and effects.
Working with Object Layers
When your slide contains multiple objects like images, shapes, and text, managing their layering is important. You can bring an object forward or send it backward to control which items appear on top.
Right-click an object and select “Bring to Front” or “Send to Back.” You can also find these options under the Shape Format or Picture Format tabs.
Adding Animations to Your Slides
Animations can make your presentation more dynamic by adding movement to text and objects. To add animations:
- Select the object on your slide.
- Go to the Animations tab.
- Choose an animation effect from the gallery.
You can preview animations and customize their timing and order using the Animation Pane. Be cautious not to overuse animations as they can distract from your message if too frequent or elaborate.
Applying Transitions Between Slides
Transitions control how one slide changes to the next. To apply transitions:
- Select the slide.
- Go to the Transitions tab.
- Choose a transition effect and preview it.
- Adjust the duration and add sound if desired.
- Apply to all slides for consistency or customize individually.
Transitions help create a smooth flow throughout your presentation.
Presenting Your PowerPoint Effectively
When you’re ready to present, go to the Slide Show tab and choose “From Beginning” or “From Current Slide.”
If you have a single monitor, the slide will fill the screen, and you can navigate through slides using mouse clicks, keyboard arrows, or the spacebar.
Right-clicking during the presentation allows you to access laser pointers, pens, and highlighters to emphasize parts of your slide.
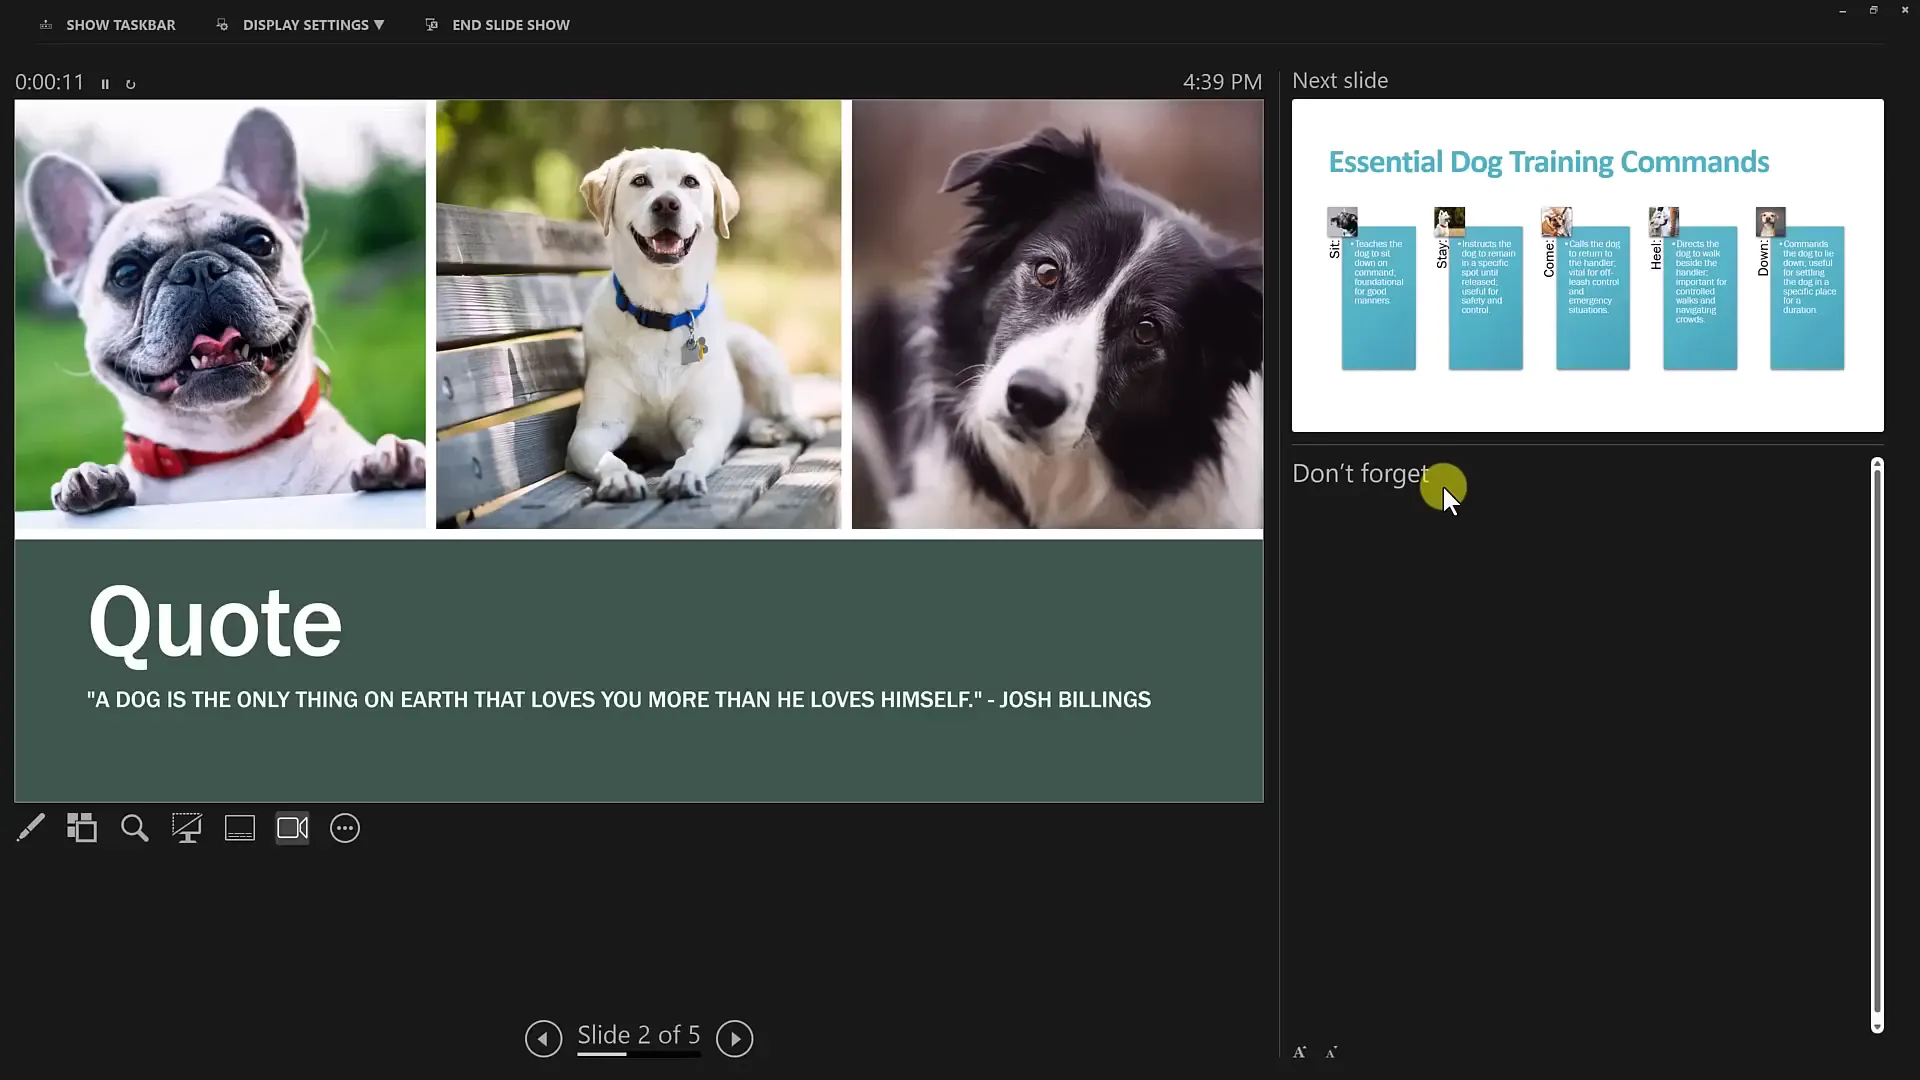
For dual-monitor setups, Presenter View shows your current slide, upcoming slide, and any notes you’ve added, helping you stay organized without showing notes to your audience.

Using Notes to Support Your Presentation
Notes can be added below each slide in the Notes pane. These are not visible to your audience but provide helpful reminders or talking points.
Resize the notes pane to give yourself more room for detailed notes. During presentation mode, you can view these notes on your screen while the audience only sees the slides.
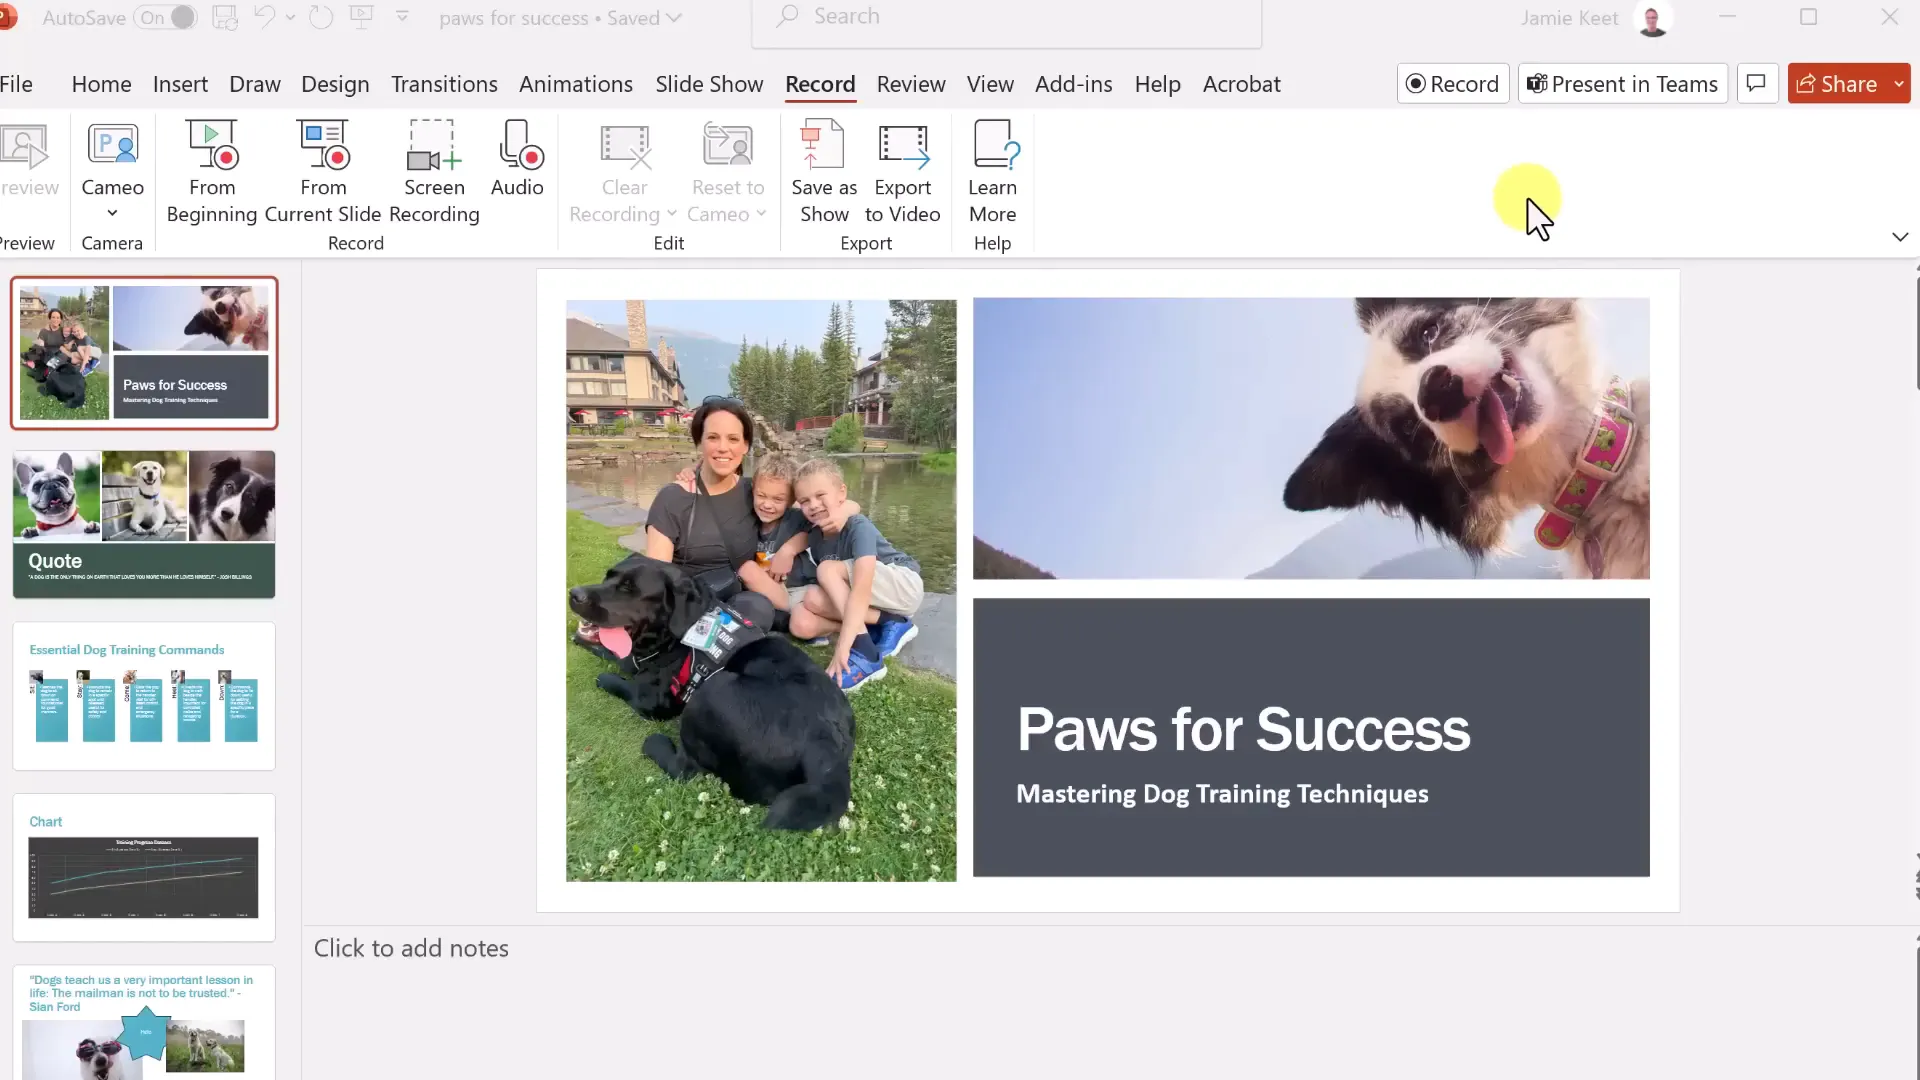
Recording Your Presentation as a Video
If you are not presenting live, PowerPoint allows you to record your presentation and export it as a video file (MP4). To do this:
- Go to the Record tab.
- Choose to record from the beginning or current slide.
- Select webcam and microphone options if desired.
- Start recording and advance through your slides as usual.
- When finished, export the recording as a video.
This feature is great for sharing presentations asynchronously or posting online.
Sharing and Collaborating on PowerPoint Presentations
Since saving to OneDrive enables cloud storage, you can easily share your presentation with colleagues or collaborators. Click the Share button, add their email addresses, and set permissions for viewing or editing.
Recipients receive an email notification and can access the file from their OneDrive or PowerPoint app. This facilitates real-time collaboration and feedback.
Conclusion
PowerPoint is a versatile tool that, once mastered, can help you create engaging and professional presentations. Starting from opening the application and signing in, through creating and organizing slides, applying design themes, adding images, SmartArt, charts, animations, and transitions, to presenting and sharing your work — each step builds your confidence and skill.
Remember to save frequently, use design tools like PowerPoint Designer to enhance your slides quickly, and keep your animations and transitions tasteful to maintain audience focus. Utilize notes and Presenter View to stay on track during your presentations, and consider recording your slideshow as a video for wider sharing.
With practice, you’ll be able to create stunning presentations for any occasion. Stay tuned for more advanced tutorials that delve deeper into PowerPoint’s powerful features. Happy presenting!
Frequently Asked Questions (FAQ)
What is the easiest way to start a new PowerPoint presentation?
The easiest way is to open PowerPoint and select “Blank Presentation” from the Home or New view. You can also choose a template if you want a designed starting point.
How can I save my PowerPoint presentation so I can access it anywhere?
Save your presentation to OneDrive, Microsoft’s cloud storage, by signing in with your Microsoft account. This allows you to access and edit your presentation from any device with internet access.
What is PowerPoint Designer and how does it help?
PowerPoint Designer automatically suggests professionally designed slide layouts based on your content. It helps you quickly create polished slides without manual formatting.
How do I add animations to my slides?
Select an object on your slide, go to the Animations tab, and choose an animation effect. Use the Animation Pane to customize timing and order. Avoid overusing animations to keep your presentation professional.
Can I record my presentation in PowerPoint?
Yes, you can record your slideshow with audio and webcam video via the Record tab and export it as a video file for sharing or posting online.
How do I share my PowerPoint presentation with others for collaboration?
Save your file to OneDrive, click the Share button, enter collaborators’ email addresses, and assign permissions for viewing or editing. They will receive an invite to access the file.
What is SmartArt and how is it useful?
SmartArt turns plain lists or processes into visually appealing graphics, making your information easier to understand and more engaging for your audience.
How do I add notes to my slides?
Use the Notes pane below each slide in Normal view to add speaker notes. These notes are visible to you in Presenter View during your presentation but hidden from the audience.
Is it possible to customize slide backgrounds?
Yes, use the Format Background pane under the Design tab to apply solid colors, gradients, textures, patterns, or pictures as slide backgrounds.
Can I rearrange the order of my slides easily?
Yes, simply drag and drop slide thumbnails in the left panel to reorder them. You can select multiple slides using Shift or Ctrl keys to move several at once.
Check out the full video: How to use PowerPoint: A Beginner’s Step-by-Step Tutorial


