
If you’re looking to elevate your PowerPoint presentations with dynamic, engaging visuals, you’ve come to the right place. In this detailed guide, you’ll learn how to create an impressive Powerpoint animated slide design that mimics a virtual planner user interface. Using only PowerPoint’s built-in tools, you’ll craft beautiful transitions, animated widgets, and interactive slide zooms that will captivate your audience.
This tutorial is perfect for designers, educators, marketers, or anyone who wants to push the limits of PowerPoint beyond static slides. Plus, you’ll get insider tips on using high-quality photos, morph animations, and clever design techniques to bring your slides to life.
Table of Contents
- Getting Started: Setting Up Your Slides
- Inserting and Adjusting Background Photos
- Removing Photo Backgrounds with Depositphotos Tool
- Creating Smooth Morph Transitions
- Adding Stylish Text Boxes with Glow Effects
- Designing Modern UI Widgets with Blurred Backgrounds
- Crafting Weather Icons and Visual Elements
- Building Additional Morph Transitions for Dynamic Content
- Integrating Slide Zooms for Interactive Navigation
- Final Tips and Presentation Preview
- Frequently Asked Questions (FAQ)
Getting Started: Setting Up Your Slides
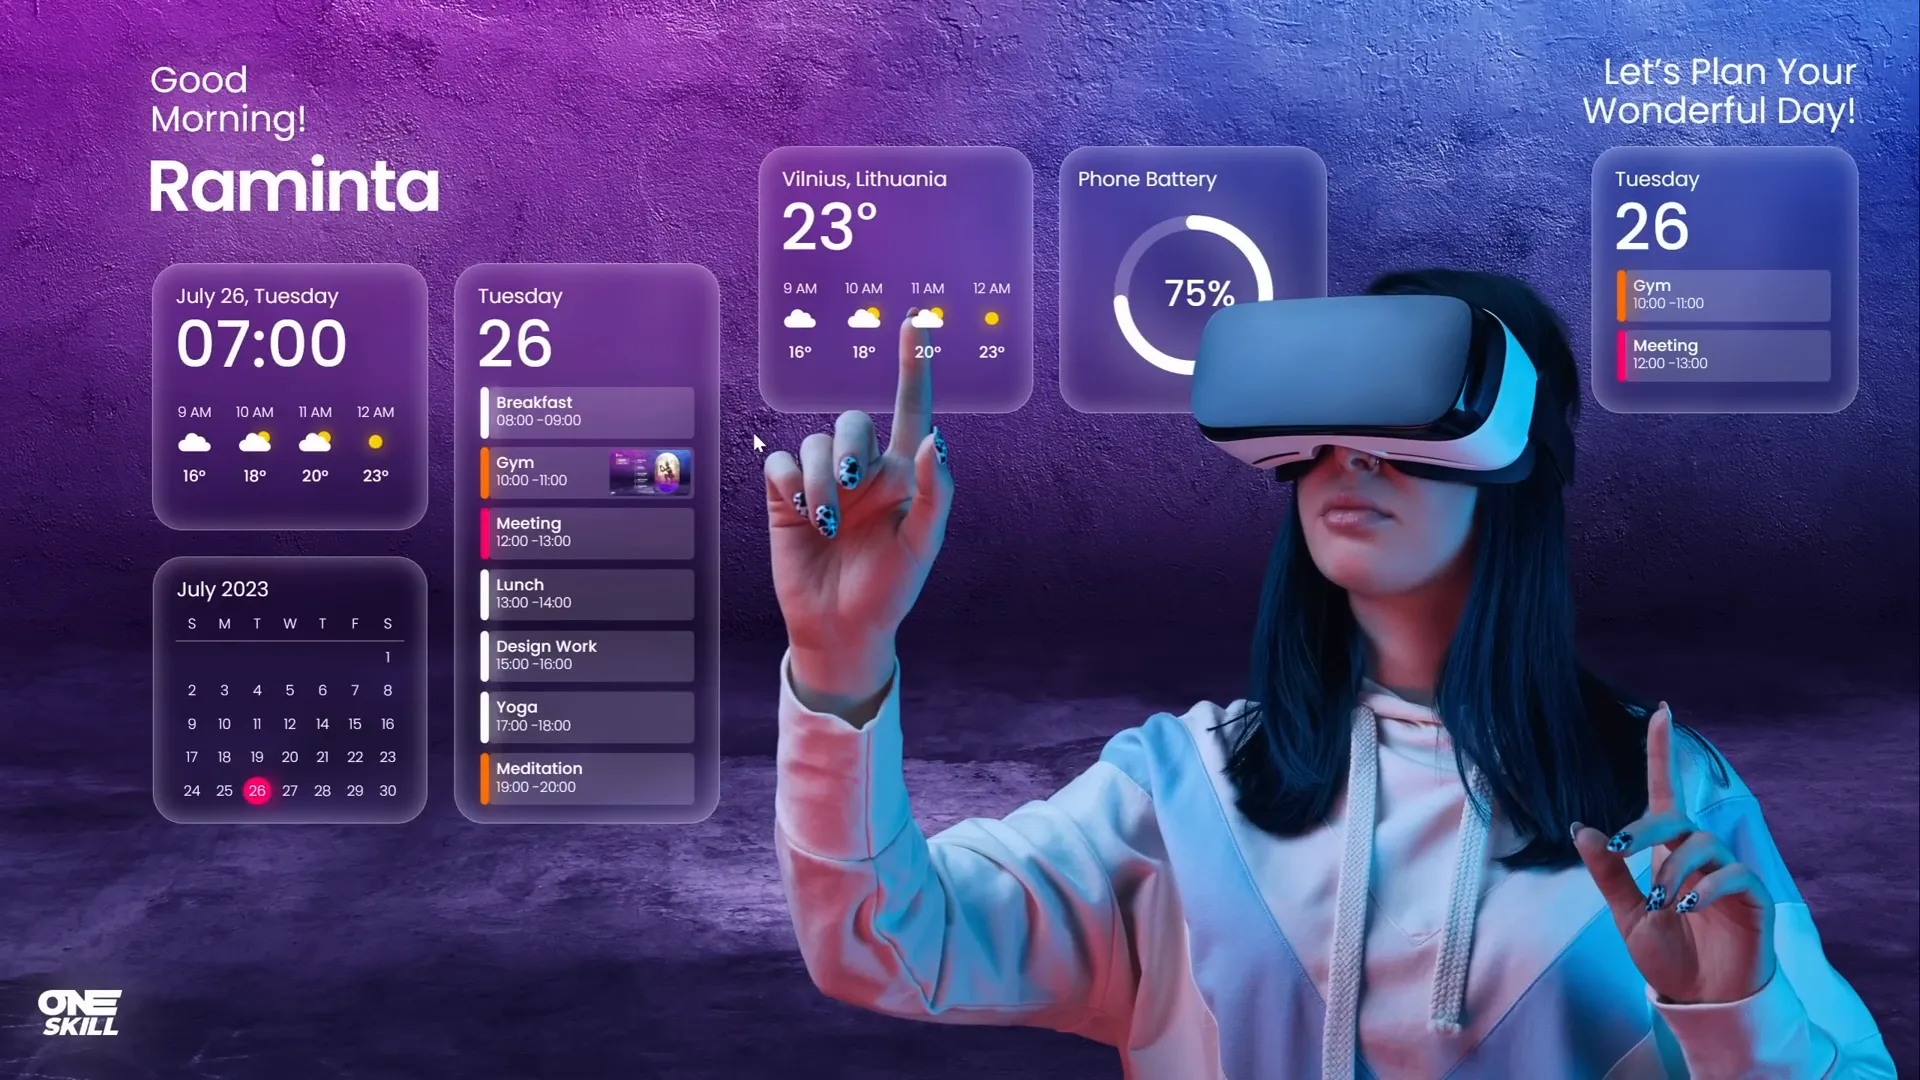
Before diving into the creative process, it’s crucial to understand the structure of your presentation. For this project, we will be creating a total of four beautiful slides, carefully designed to mimic a virtual planner user interface. This involves:
- Using high-quality background images that set the mood
- Inserting photos of a model wearing virtual reality glasses for a futuristic vibe
- Designing animated text boxes and widgets that fly in and out
- Applying smooth morph transitions between slides to create fluid animations
- Adding interactive slide zooms to simulate UI tabs
Let’s start by inserting a blank new slide to serve as our canvas.
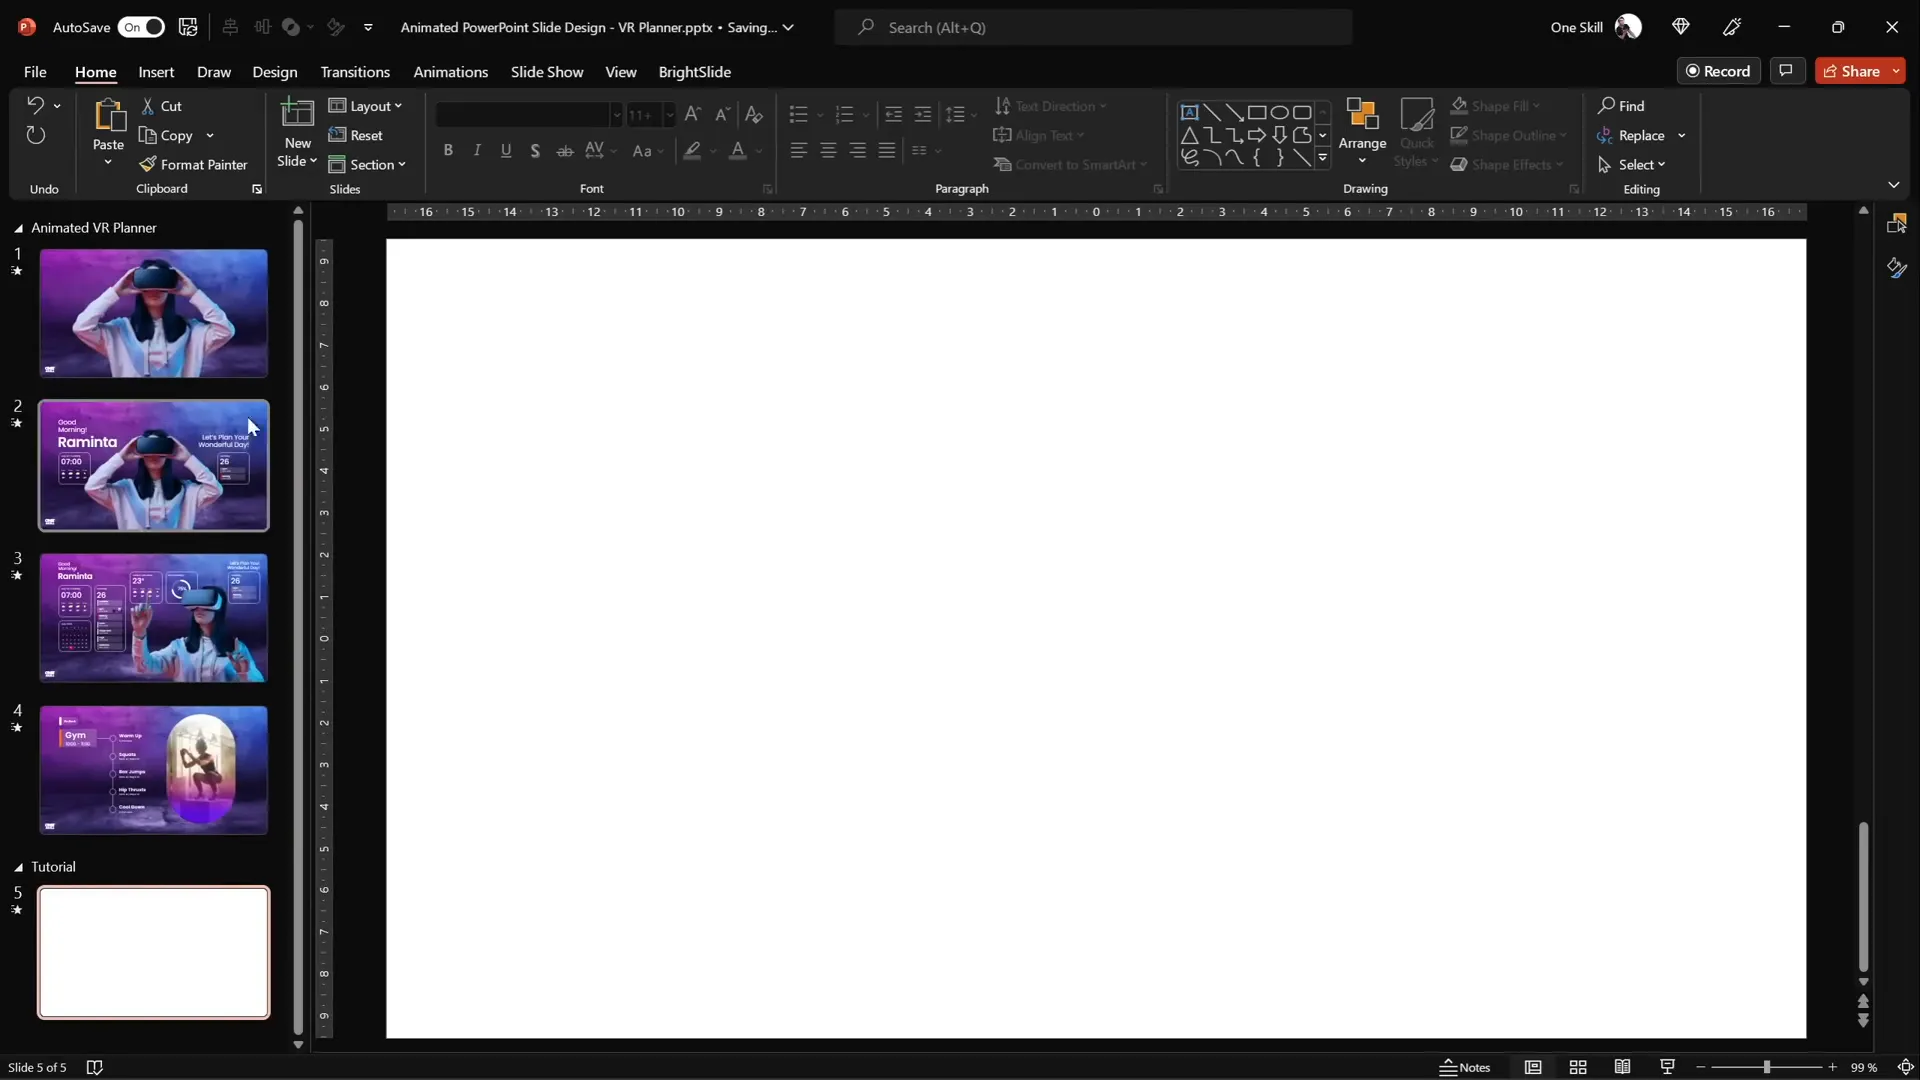
Inserting and Adjusting Background Photos
A compelling presentation often starts with a great background. For this project, we’ll be using photos sourced from Depositphotos, a platform offering high-quality photos, vectors, music, and videos. Big thanks to Depositphotos for sponsoring this tutorial!
Here’s how to insert and adjust the background photo:
- Log in to Depositphotos and access your favorite photos collection.
- Select a beautiful background image with an appropriate mood and download it in excellent quality.
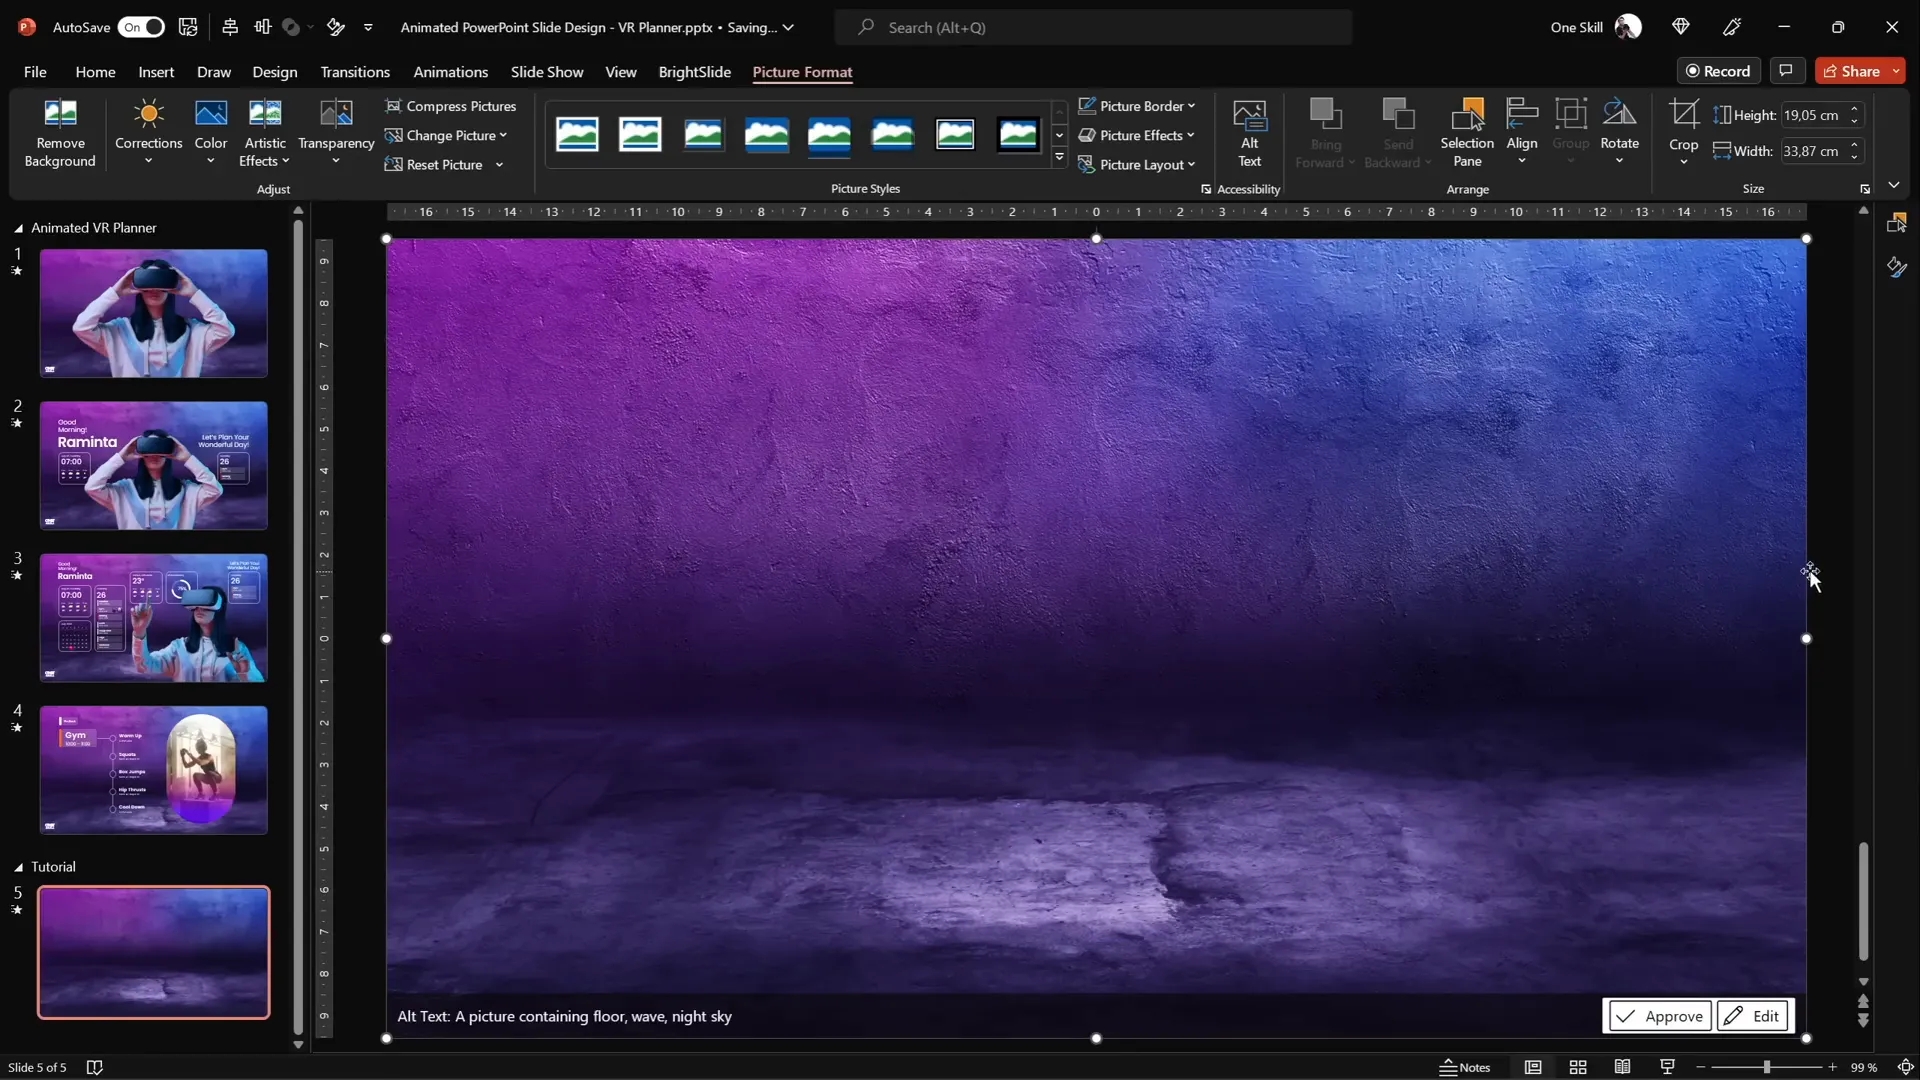
- In PowerPoint, go to Insert > Pictures > This Device and select your downloaded background photo.
- Resize the photo to cover the entire slide by dragging its corner while holding
Ctrl + Shiftfor proportional scaling. - Use the Crop tool to crop the photo to a 16:9 aspect ratio and adjust its positioning for the best framing.
This step sets the foundation for your virtual planner UI, so take your time to pick the perfect background and position it well.
Removing Photo Backgrounds with Depositphotos Tool
Next, we want to insert a striking photo of a model wearing virtual reality glasses to add a futuristic touch. However, these photos usually come with backgrounds that might clash with your design. Thankfully, Depositphotos offers a free background remover tool that makes this process super easy.
Here’s how to use it:
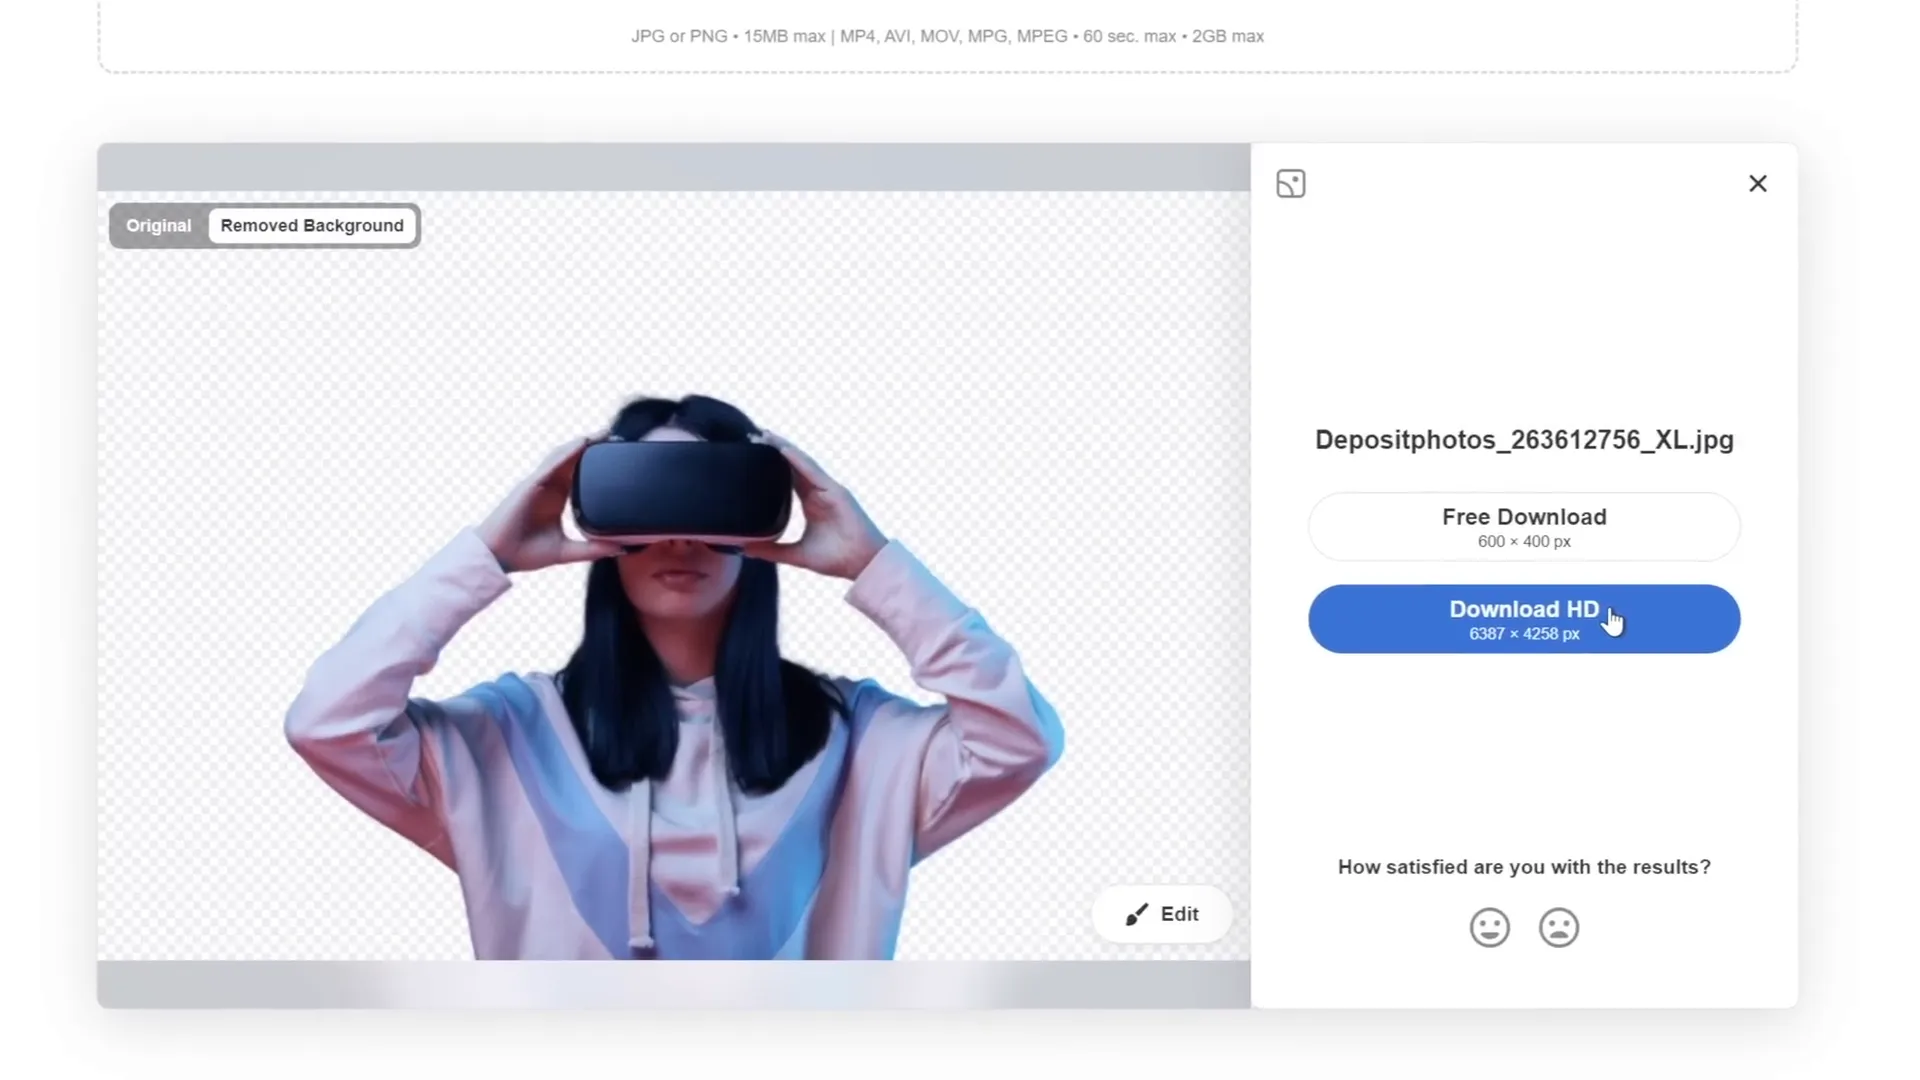
- Upload your chosen photo to the Depositphotos background remover tool.
- The tool automatically removes the background, leaving you with a clean cutout of the subject.
- Download the cutout image for use in your presentation. The standard resolution version is free, but HD versions require a subscription.
- Use promo code
ONESKILL20to get 20% off any Depositphotos subscription plan.
Once you have your cutout photo, insert it into your slide and position it appropriately.
Creating Smooth Morph Transitions
One of PowerPoint’s most powerful animation features is the Morph transition. It allows you to create seamless animations by transitioning smoothly between two slides that share common objects.
For our virtual planner UI, we want the model to shrink while text boxes and widgets fly in from the sides, creating an engaging entrance effect.
Here’s the step-by-step process:
- Insert the model photo on the first slide.
- Duplicate the slide (right-click on the slide thumbnail and select Duplicate or press
Ctrl + D). - On the duplicated slide, resize the model photo to be smaller and ensure it remains center aligned.
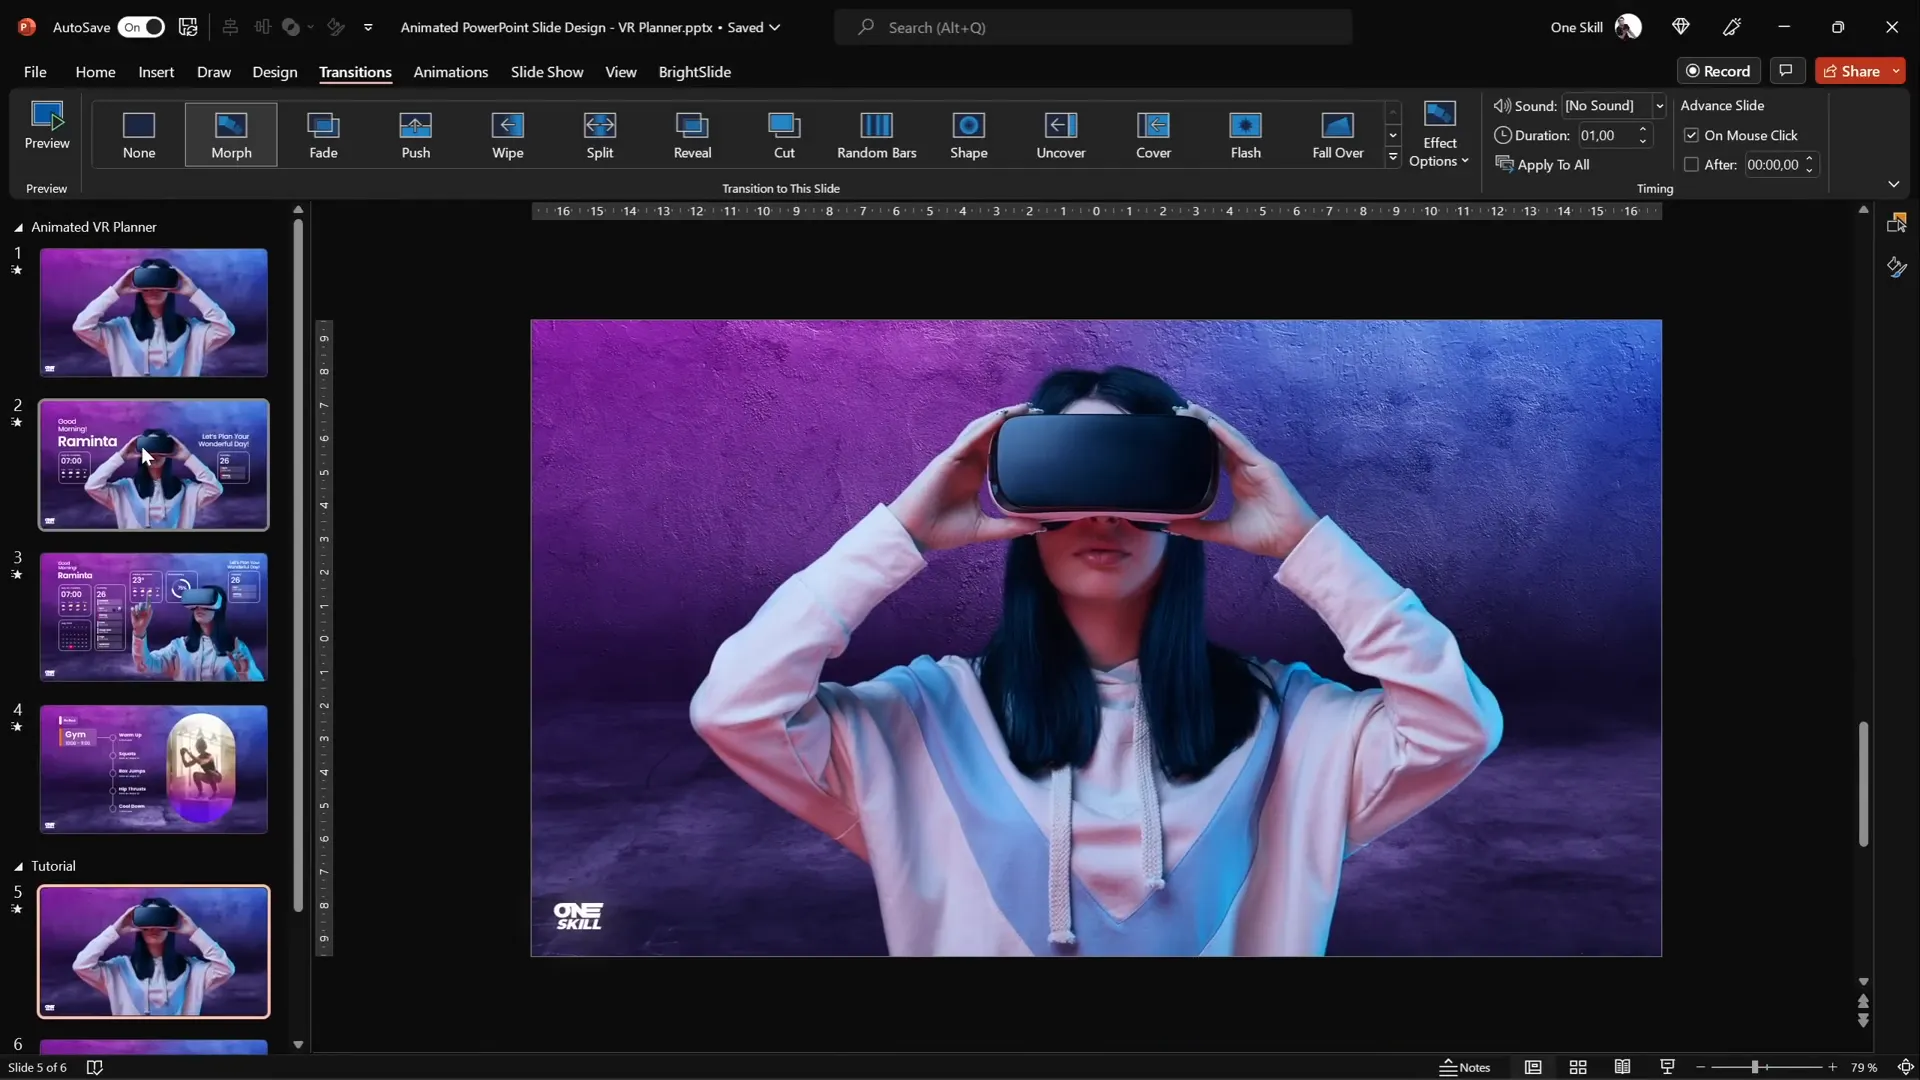
- Select both slides in the slide sorter view.
- Go to the Transitions tab and select Morph.
- Set the transition duration to 1 second for a smooth effect.
When you run the slideshow, you’ll see the model shrink on transition to the next slide and grow back when returning, creating a polished animation.
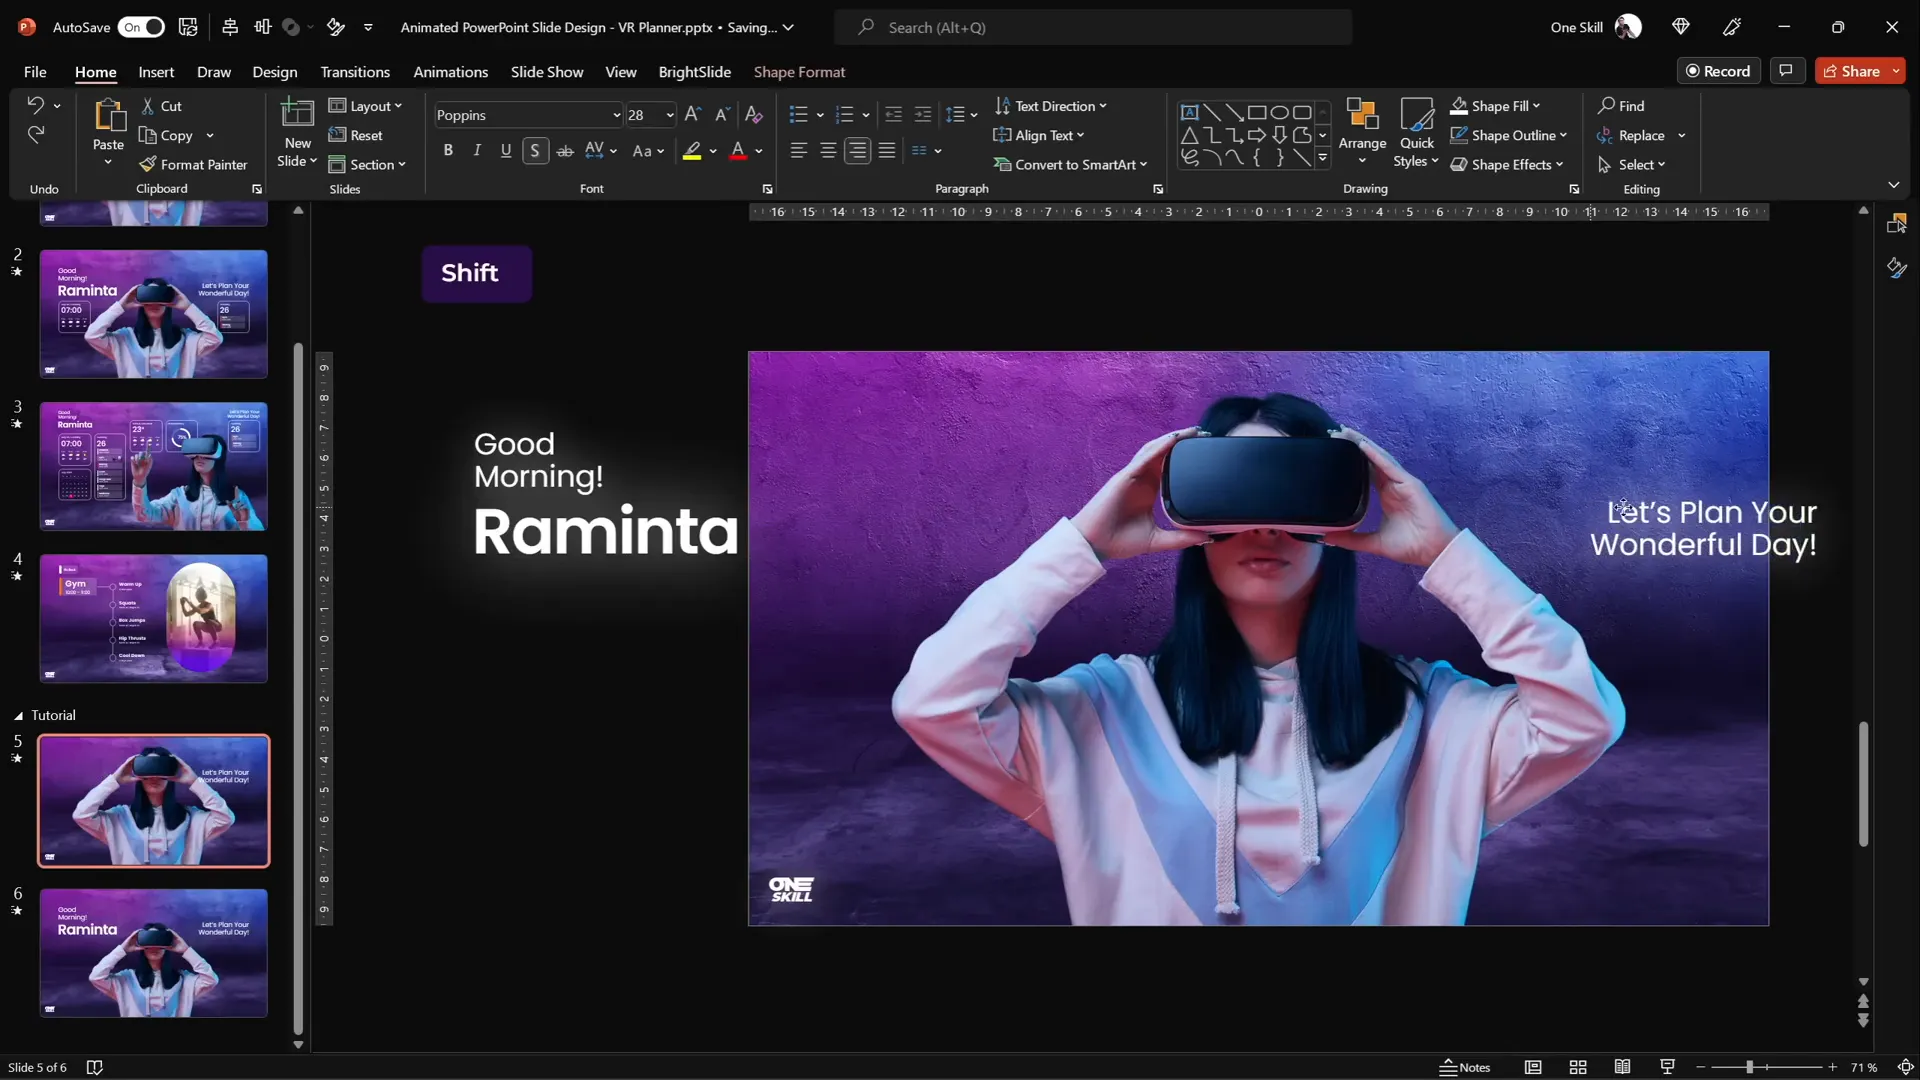
Adding Stylish Text Boxes with Glow Effects
To complement the model, we add welcoming text boxes that animate by flying in from the sides. This adds personality and context to our virtual planner UI.
To save time, you can copy pre-designed text boxes from previously created slides or create your own with the following style guidelines:
- Font: Poppins (available for free on Google Fonts)
- Font weights: Use a mix of Regular and Semibold for emphasis
- Text effect: Apply a white shadow with 100% size and 100 points blur to create a glowing effect
For example, a greeting like “Good morning, Raminta. Let’s plan your wonderful day.” works well and adds a personal touch. (Raminta is a popular woman’s name in Lithuania.)
After placing the text boxes on the slide, adjust the model photo size and position to ensure all elements have enough breathing space.
To animate the text boxes flying in, copy all text boxes to the previous slide and move them outside the slide boundaries. The Morph transition will then animate them flying in from the sides during the slide change.
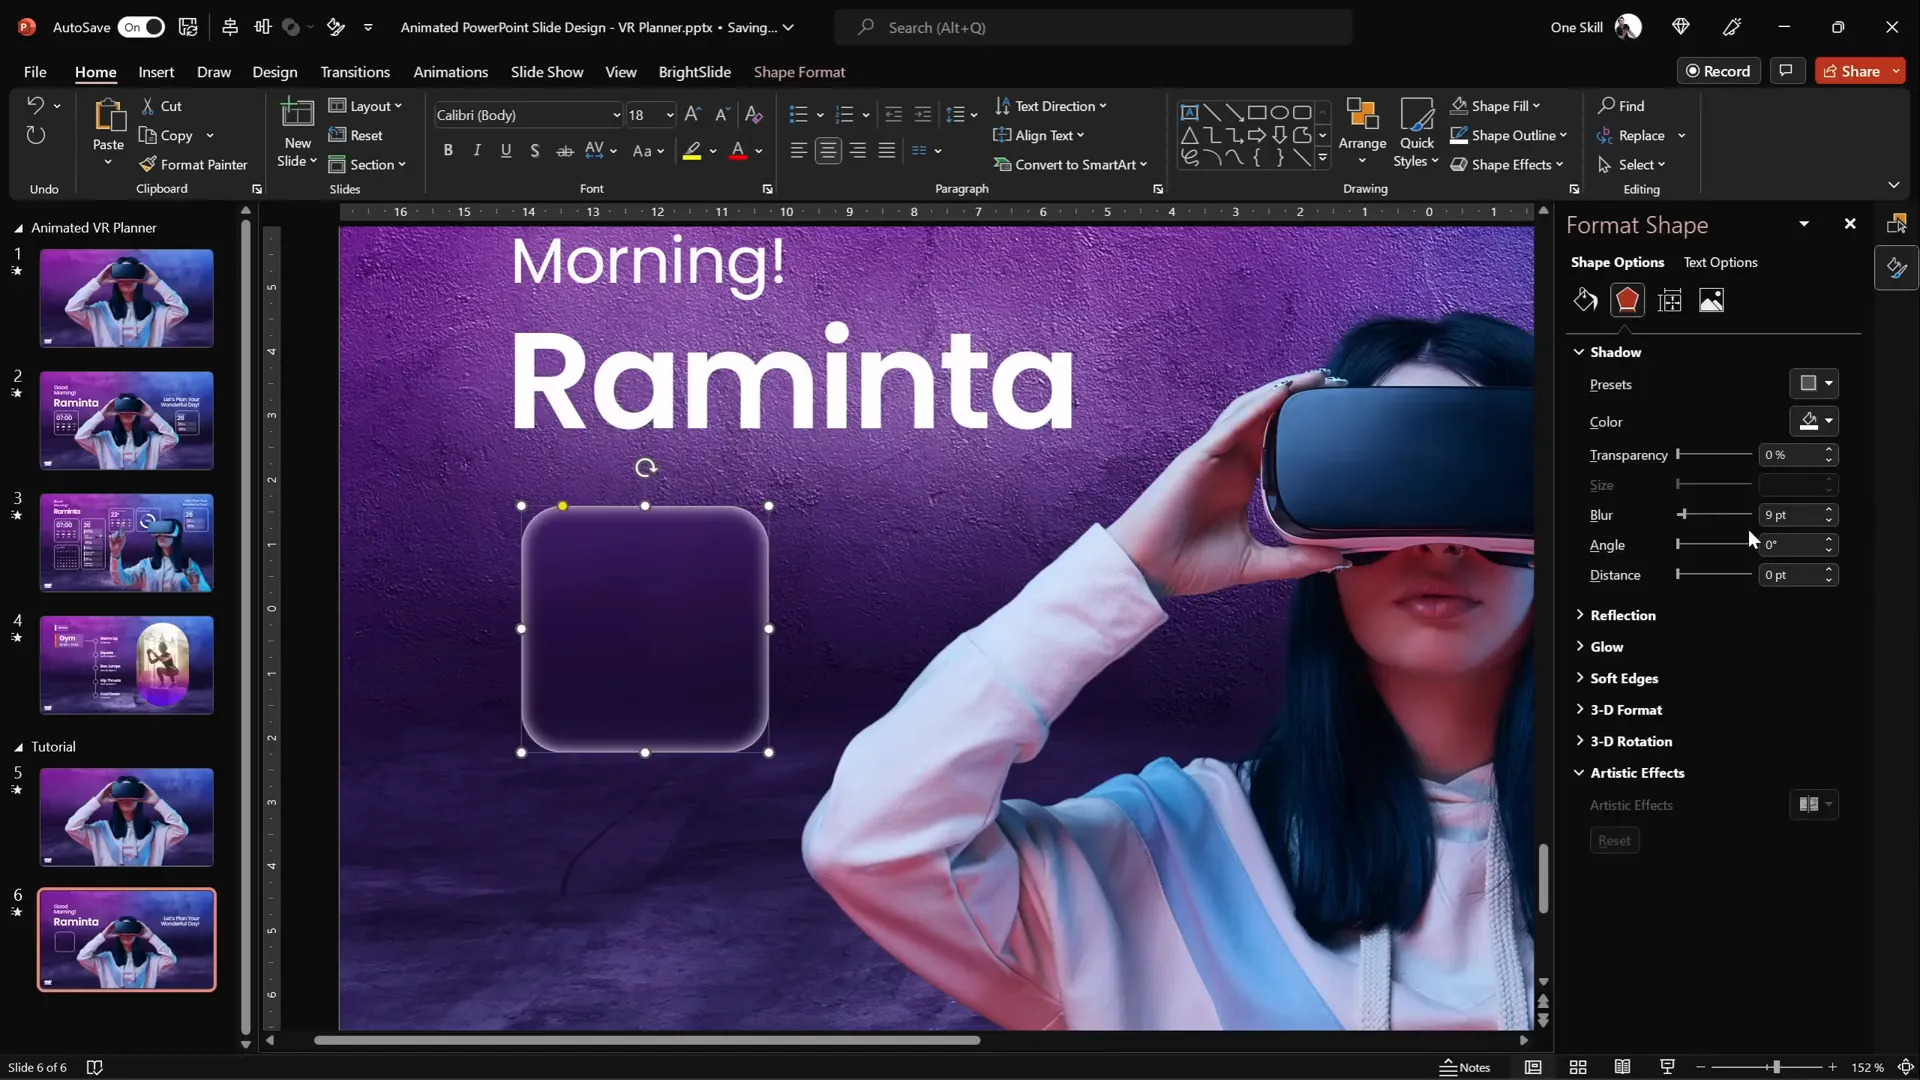
Designing Modern UI Widgets with Blurred Backgrounds
Key to the virtual planner UI are modern, minimalistic widgets that display information like time, weather, and daily schedule. These widgets have a frosty, glass-like effect created by using a blurred background fill.
Here’s how to design one widget step-by-step:
- Insert a rounded rectangle shape to serve as the widget’s container.
- Set the outline to white with 50% transparency and a thin line width (0.5 pt).
- Remove the fill for now.
- Copy the background photo and paste it on the slide, then apply a blur effect (Artistic Effects > Blur) with a radius of 50 points.
- Copy the blurred background image to the clipboard.
- Delete the blurred image from the slide but keep it on the clipboard.
- Go to Format Background > Picture or texture fill > Clipboard to set the slide background to the blurred image.
- Select the rounded rectangle and fill it with Slide background fill. This makes the widget’s fill dynamically use the blurred slide background.
- Add an inside white shadow with 50% transparency and 15 points blur to create a frosty edge effect.
This technique lets your widget background blur dynamically based on the slide’s background, creating a sleek frosted glass effect.
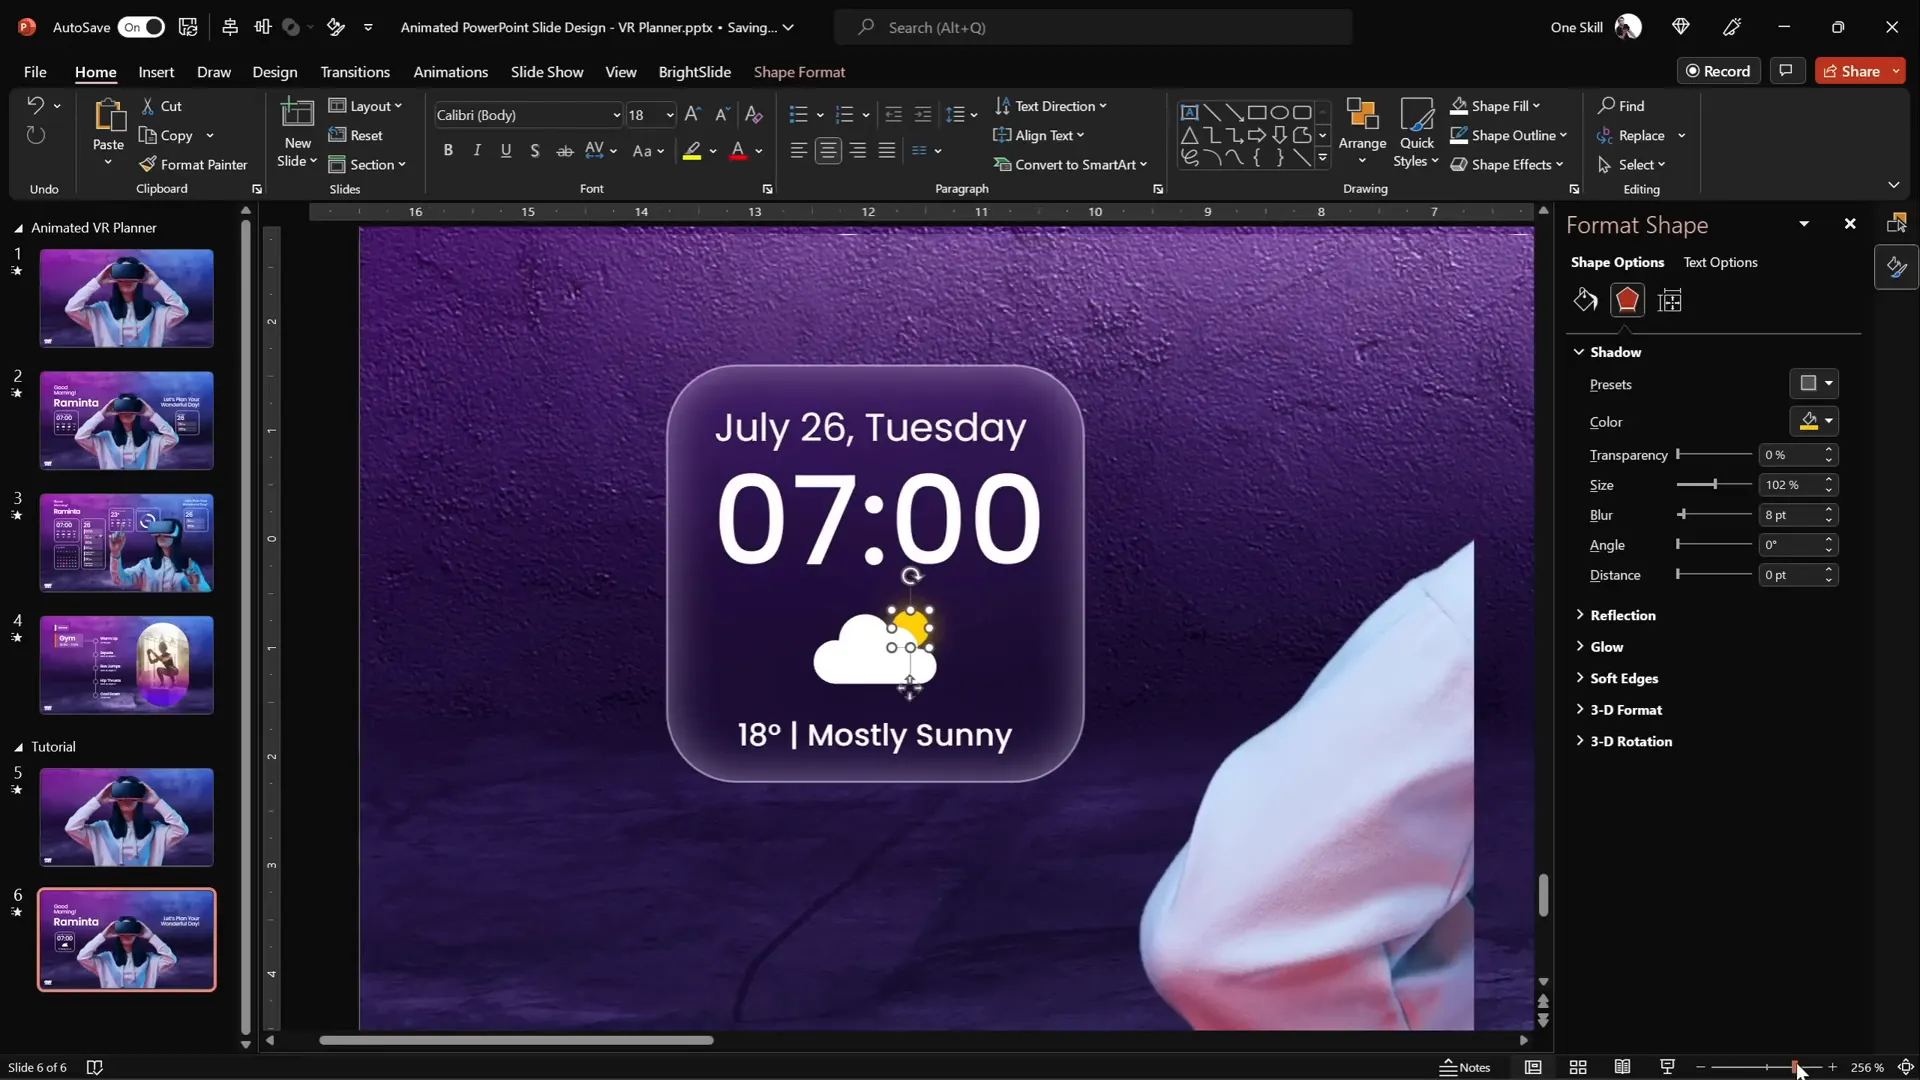
Crafting Weather Icons and Visual Elements
Widgets often include icons to visually represent data. For example, a weather widget can show temperature, weather condition text, and icons like clouds or the sun.
PowerPoint includes a library of vector icons you can use:
- Go to Insert > Icons and search for “cloud.”
- Insert a cloud icon and change its color to white.
- Resize and position the cloud within the widget.
- For the sun, insert a perfect circle by holding the Shift key while drawing it.
- Add an outer shadow with an orange color and blur to simulate sunlight glow.
- Arrange the cloud in front of the sun to create a layered effect.
Group all elements of the widget for easy management and duplication. This modular approach lets you create multiple widgets with consistent style quickly.
Building Additional Morph Transitions for Dynamic Content
To enhance the virtual planner UI, you can create additional slide transitions to animate changes like the model switching poses, text boxes shrinking and moving upwards, and widgets fading in.
Here’s a quick workflow to create these transitions:
- Duplicate your slide with the current layout.
- On the duplicate, delete all elements except the background and logo.
- Copy and paste the elements you want to animate from the previous slide onto this one.
- Adjust the positioning and size of elements (e.g., shrink text boxes, move widgets upwards).
- Ensure that photos you want to morph between have identical names prefixed with double exclamation marks (e.g.,
!!Photo) in the selection pane to enable morphing. - Apply the Morph transition between these slides with a duration of 1 second.
- Test your presentation to verify smooth animations and timing.
Using this technique, you can create complex animations that feel natural and engaging, perfect for UI mockups or interactive presentations.

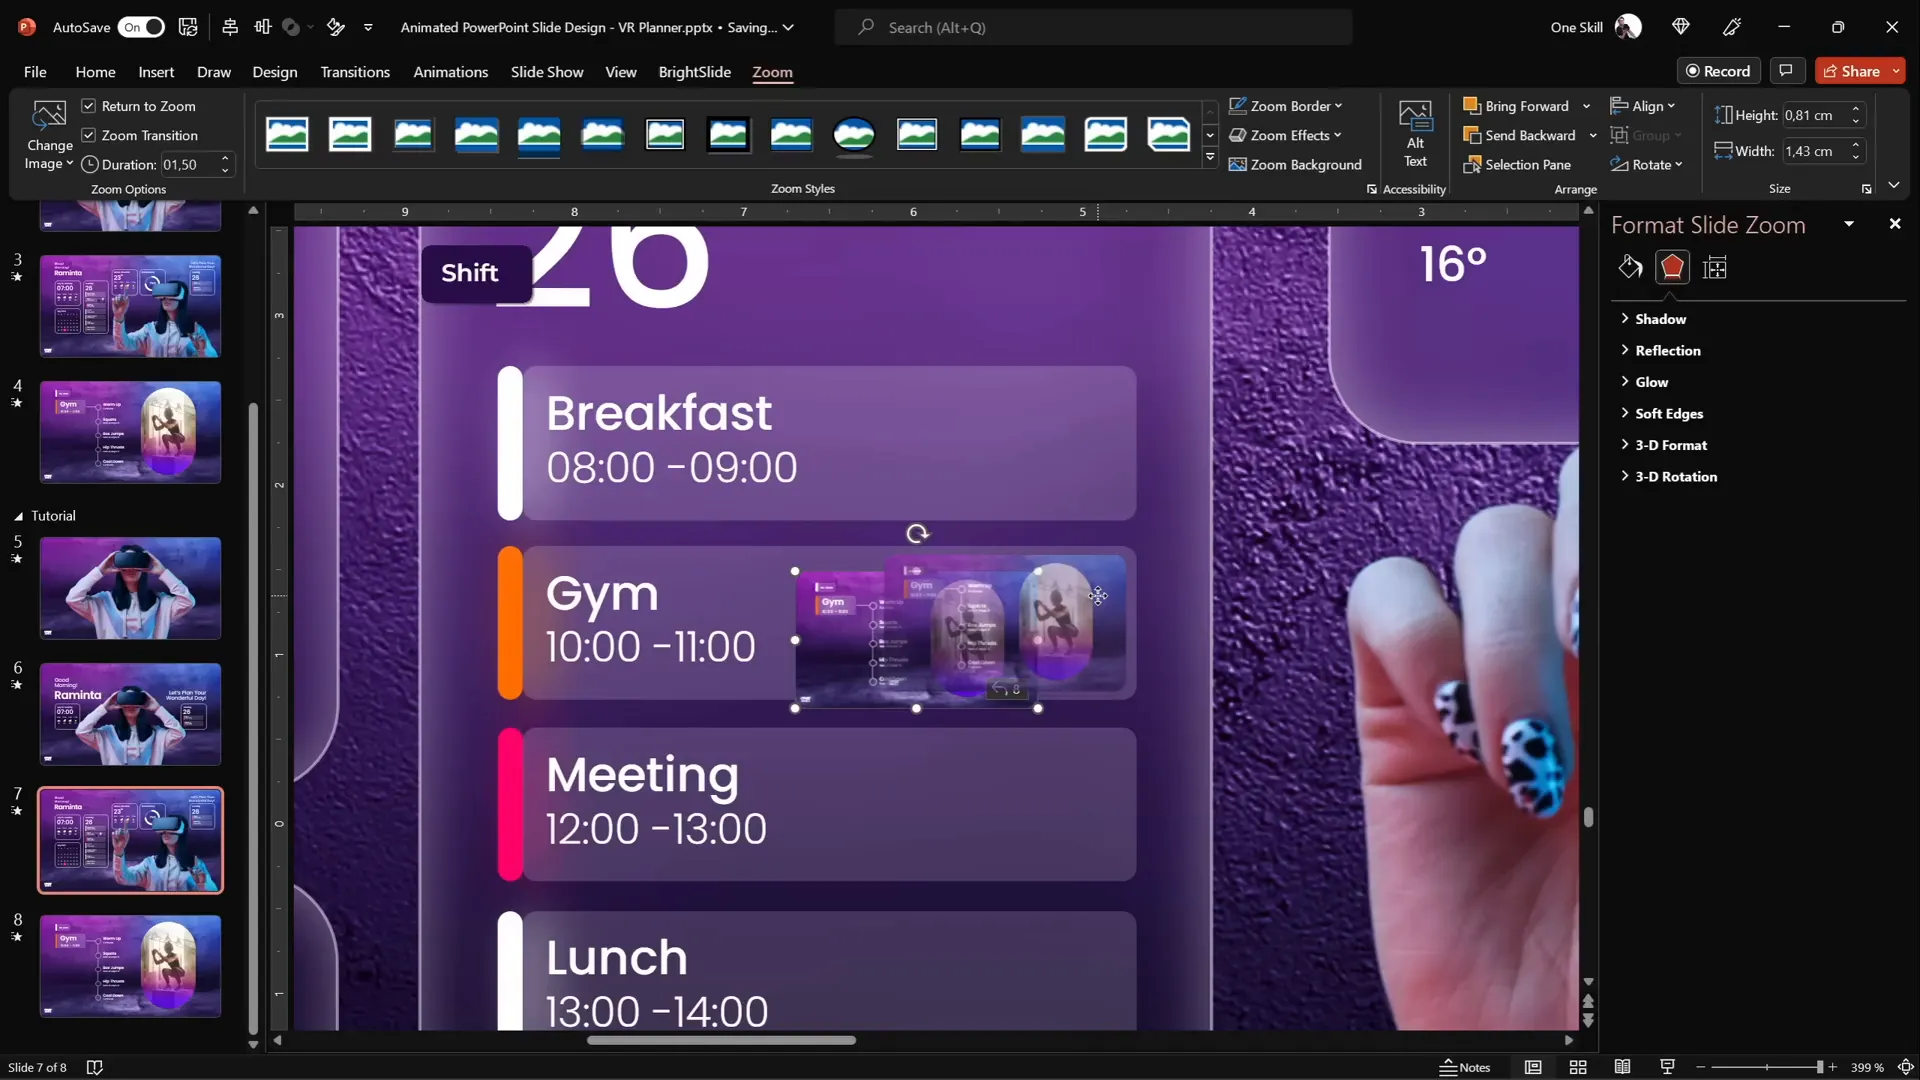
Integrating Slide Zooms for Interactive Navigation
PowerPoint’s Slide Zoom feature allows you to create clickable thumbnails that zoom into other slides, simulating UI navigation tabs. This is a powerful way to make your presentation feel like an interactive app or website.
To add a slide zoom:
- Duplicate a slide you want to use as a tab (e.g., the “Gem” slide).
- Ensure the slide has a blurred background using the format painter technique.
- Go to Insert > Zoom > Slide Zoom and select the duplicated slide.
- Resize the zoom thumbnail and remove its border.
- Enable Return to Zoom so clicking the zoomed slide returns to the original.
- Apply rounded corners preset and remove any unwanted reflections via Format Shape > Reflection > None.
- Position the slide zoom inside your UI tab area.
- Duplicate and add slide zooms for other tabs as needed.
These slide zooms can be animated to fly in with the Morph transition by placing them off-slide on the previous slide, creating a smooth entrance effect.
Final Tips and Presentation Preview
After setting up your slides, transitions, and interactive elements, it’s crucial to preview your presentation in full screen and test the animations by navigating back and forth. Use keyboard arrow keys to move between slides and verify:
- The model photo shrinks and grows smoothly
- Text boxes fly in from the sides and shrink as intended
- Widgets fade and slide in correctly
- Slide zooms zoom in and return properly
If animations don’t behave as expected, double-check the following:
- Photo names in the selection pane for morph compatibility
- Slide background fills, especially blurred backgrounds applied consistently
- All animated elements are present on both slides involved in the morph
With practice, you’ll master these techniques and create engaging Powerpoint animated slide design presentations that look professional and interactive.
Frequently Asked Questions (FAQ)
What is the Morph transition in PowerPoint?
The Morph transition is an animation feature that allows smooth movement and transformation of objects between two slides. It automatically animates changes such as position, size, and shape, creating seamless visual effects.
Can I use any photo backgrounds for my slides?
Yes, but for the best visual quality, use high-resolution photos with appropriate composition. Websites like Depositphotos offer a wide range of royalty-free images suitable for presentations.
How do I remove a photo background easily?
Depositphotos offers a free online background remover tool that automatically cuts out the subject from its background. You can also use PowerPoint’s own background removal tool or third-party software like Adobe Photoshop.
What fonts are recommended for this design?
The tutorial uses the Poppins font family, which is a clean and modern sans-serif font available for free on Google Fonts. Using consistent font weights and styles helps maintain a cohesive look.
How do I create a blurred background effect for UI widgets?
Duplicate your slide background image, apply a blur artistic effect, and set this blurred image as the slide background fill. Then, fill your widget shapes with the Slide Background Fill option to create the frosted glass effect.
What is a Slide Zoom and how can it be used?
Slide Zoom is a PowerPoint feature that creates clickable thumbnails of other slides, enabling smooth zoom-in navigation. It’s great for creating interactive menus or tabs within your presentation.
How do I ensure morph animations work correctly?
Make sure objects you want to animate across slides have the exact same names in the selection pane. For photos, prefix names with double exclamation marks (e.g., !!Photo) to enable morphing.
Is this technique compatible with all versions of PowerPoint?
Morph transition and Slide Zoom features are available in PowerPoint for Microsoft 365 and PowerPoint 2019 onwards. Older versions may not support these features.
Can I customize and create my own widgets?
Absolutely! Use shapes, icons, and text boxes in PowerPoint to design any widget you need. Apply the blurred background fill technique for a modern UI look.
Where can I find the resources used in this tutorial?
Photos are from Depositphotos VR Planner Collection. The Poppins font is available on Google Fonts. Music and other assets can be found on sites like Artlist.
Conclusion
Creating an engaging Powerpoint animated slide design like a virtual planner UI is easier than you might think when you leverage PowerPoint’s advanced features such as Morph transitions and Slide Zooms. By combining high-quality photos, clever background effects, and smooth animations, you can produce interactive presentations that stand out and impress your audience.
Whether you’re building a business presentation, an educational tool, or a creative portfolio, these techniques will help you add polish and professionalism. Remember to practice your animations and transitions to ensure everything flows seamlessly.
Give this tutorial a try, and don’t forget to explore the resources mentioned for photos and fonts to elevate your design further. Happy designing!
For more tutorials and templates, visit the One Skill PPT YouTube channel.


