
If you’re looking to elevate your PowerPoint presentations with dynamic, interactive content, learning how to create a PowerPoint Animated Slide with multiple options is a fantastic skill to have. In this comprehensive guide, I’ll walk you through how to design a polished slide featuring four animated options — complete with titles, icons, shadow effects, and smooth animations — all built entirely within PowerPoint.
This tutorial is inspired by expert techniques from PowerPoint University, a leading source for PowerPoint templates and tutorials. By following this step-by-step approach, you’ll be able to customize your presentations with visually appealing, clickable options that capture attention and enhance storytelling.
Table of Contents
- Why Use Animated Options in PowerPoint Slides?
- Preparing the Slide and Setting Up Guides
- Designing the Option Box: Shapes, Colors, and Shadows
- Adding Text Elements and Icons
- Applying Realistic Shadow Effects
- Creating Smooth Animations for Each Option
- Duplicating Options and Customizing Colors & Icons
- Final Tips for PowerPoint Animated Slide Mastery
- Frequently Asked Questions (FAQ)
Why Use Animated Options in PowerPoint Slides?
Incorporating animated options into your PowerPoint slides can dramatically improve audience engagement and the clarity of your message. Instead of overwhelming your viewers with all information at once, animated options allow you to reveal content progressively, helping to keep your presentation clean and focused.
Here are some benefits of using animated options:
- Improved Focus: Each option appears only when you are ready to discuss it, reducing cognitive overload.
- Visual Appeal: Animated transitions and shadow effects give your slides a professional, polished look.
- Interactivity: Clicking to reveal each option mimics interactive navigation, which can be useful for workshops, quizzes, or decision-making presentations.
- Customization: You can easily tailor the number of options, colors, icons, and animations to suit your presentation style.
Let’s dive into how to build such a PowerPoint Animated Slide from scratch.
Preparing the Slide and Setting Up Guides
Before creating your animated options, start by setting up your slide environment properly.
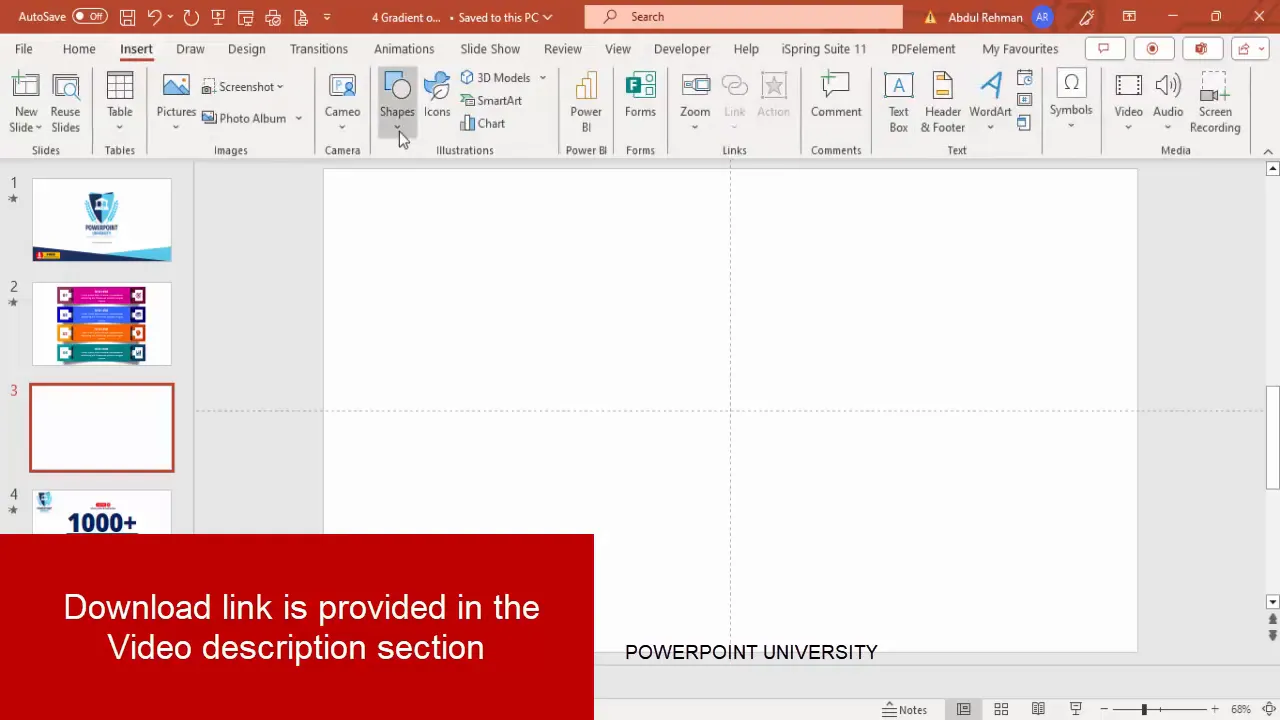
- Add a New Slide: Open your PowerPoint presentation and insert a new blank slide where you want to add the animated options.
- Enable Guides: Go to the View tab and enable Guides. This helps in aligning your shapes and text precisely.
Using guides ensures your design elements are perfectly centered and spaced evenly, which is crucial for a professional look.
Designing the Option Box: Shapes, Colors, and Shadows
The core of each option in the animated slide is a rectangular box with a gradient fill and shadow effects that give a subtle 3D look. Here’s how to design it:
- Insert a Rectangle: Go to Insert > Shapes and select a rectangle.
- Draw the Rectangle: Draw it roughly in the center of your slide.
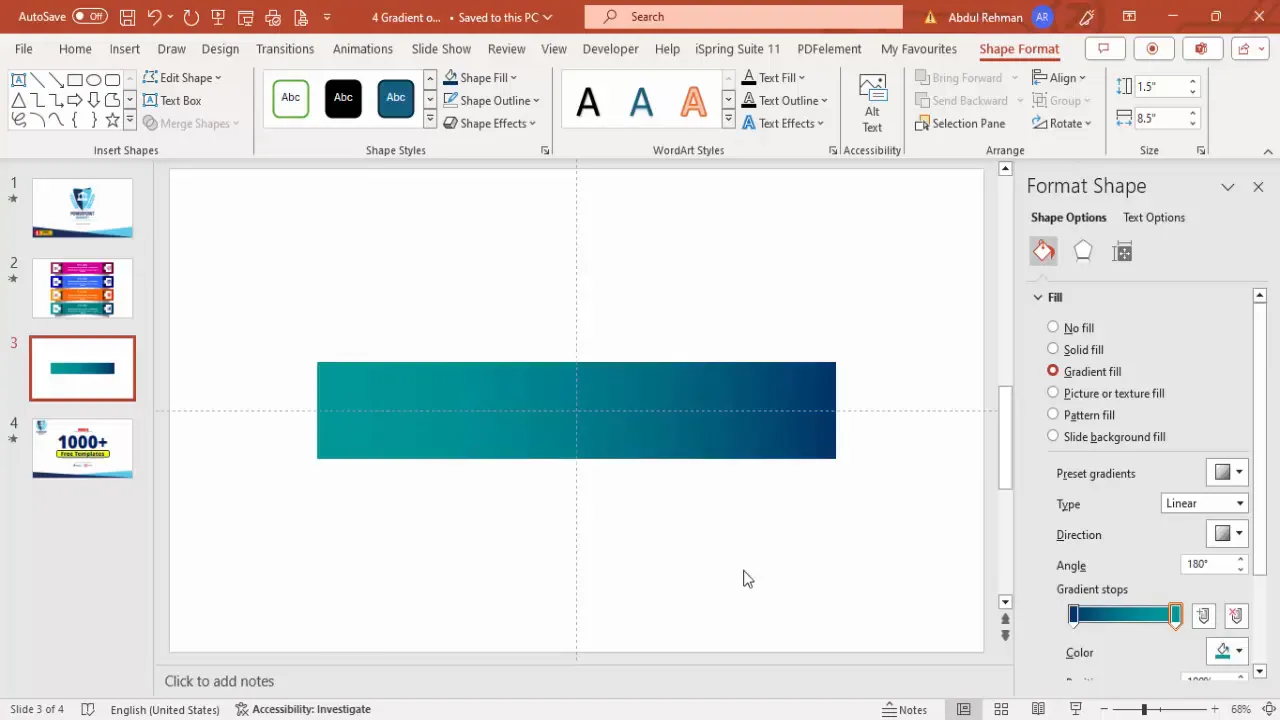
- Set Dimensions: Adjust the height to 1.5 inches and the width to 8.5 inches for a sleek, wide box.
- Remove Outline: Under the Shape Format tab, set Shape Outline to No Outline.
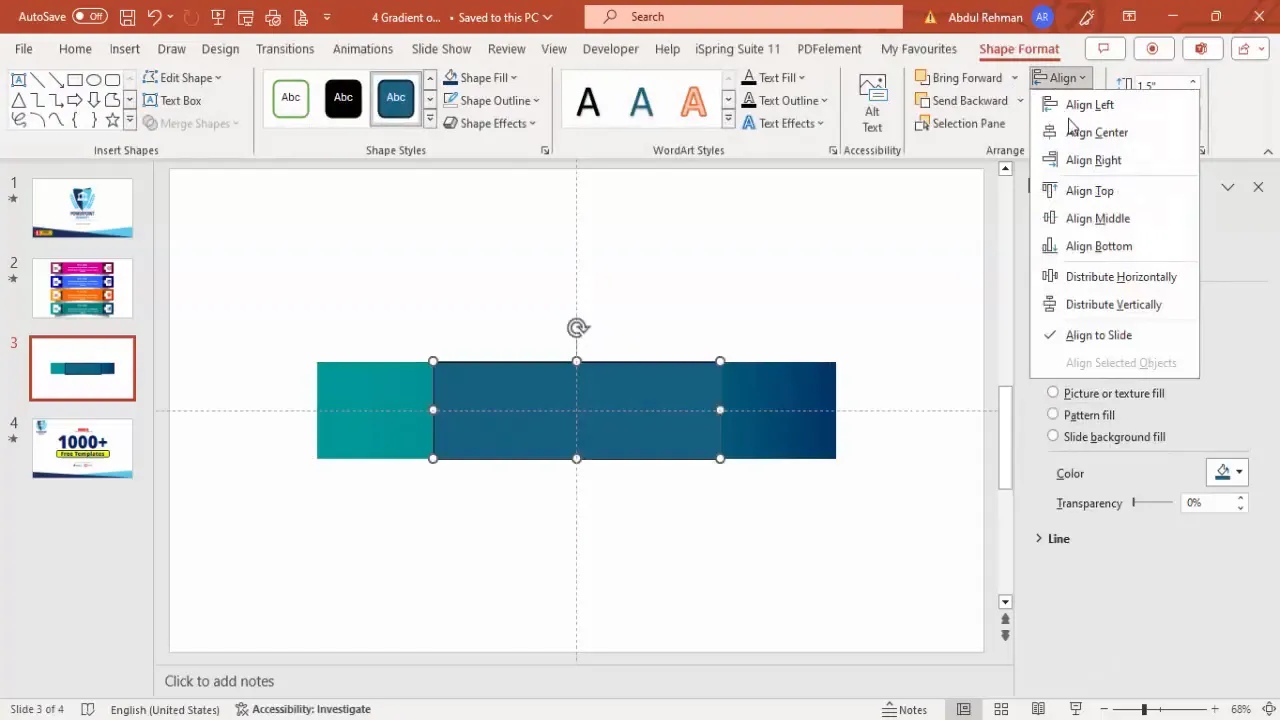
- Align the Shape: Use the Align Center and Align Middle options to perfectly center the rectangle on the slide.
- Apply Gradient Fill: Right-click the shape, choose Format Shape, then under Fill, select Gradient Fill.
- Customize Gradient Colors: Use two gradient stops. For a professional look, use a dark blue for the first stop and a lighter blue for the second stop. You can customize these colors based on your theme.
Next, add a smaller rectangle on top of this base shape:
- Add a Smaller Rectangle: Insert another rectangle slightly smaller than the base, leaving equal gaps on the left and right sides.
- Set Color: Choose a darker or complementary shade of blue for this shape. You can use the eyedropper tool to pick colors matching the gradient.
- Remove Outline: Again, set the shape outline to none.
- Align: Center-align this smaller rectangle on the base.
Creating Shadow Effects
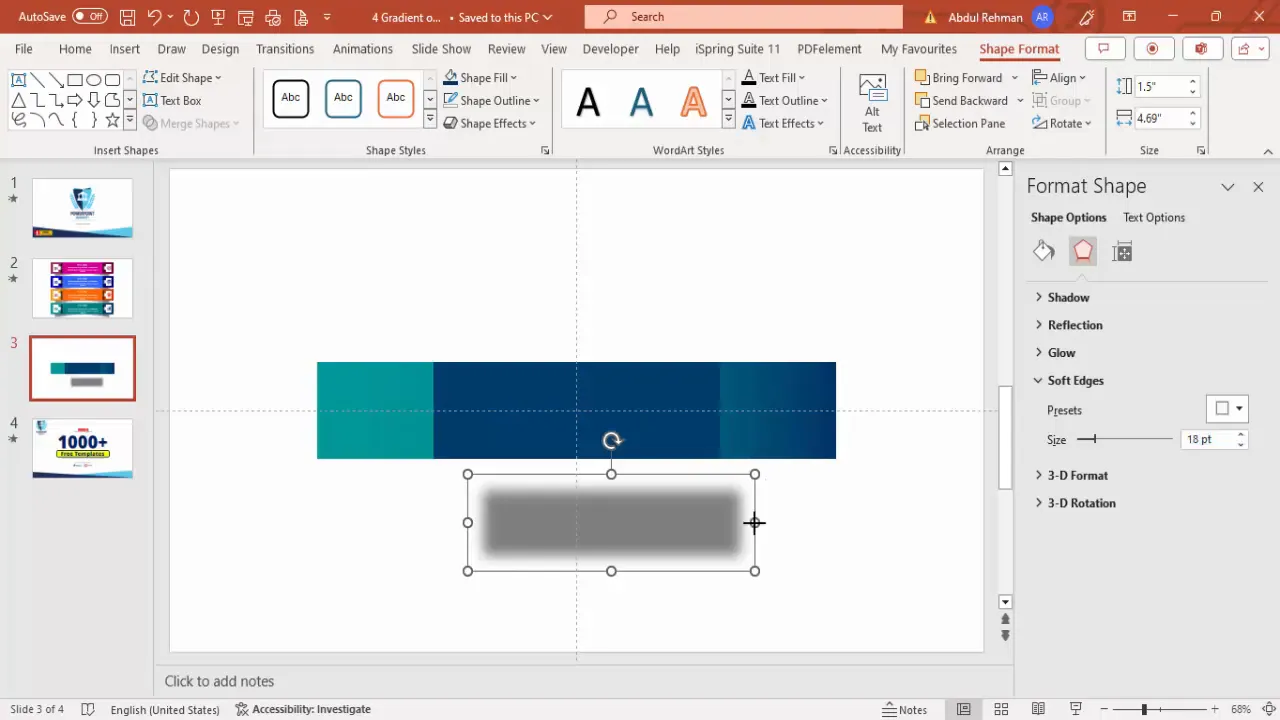
To add depth, create a shadow effect for the base rectangle using a duplicate shape:
- Duplicate the Base Shape: Select the base rectangle and press Ctrl + D to duplicate.
- Change Color to Black: Set the fill color of the duplicate to black.
- Adjust Transparency: Set transparency to 50% so the shadow is subtle.
- Apply Soft Edges: Under Shape Effects > Soft Edges, increase the soft edge size to blur the shadow edges.
- Resize and Position: Increase the height and width slightly, then position the shadow shape beneath the original rectangle by sending it backward.
This layered approach to shadows gives your option box a professional and visually appealing look.
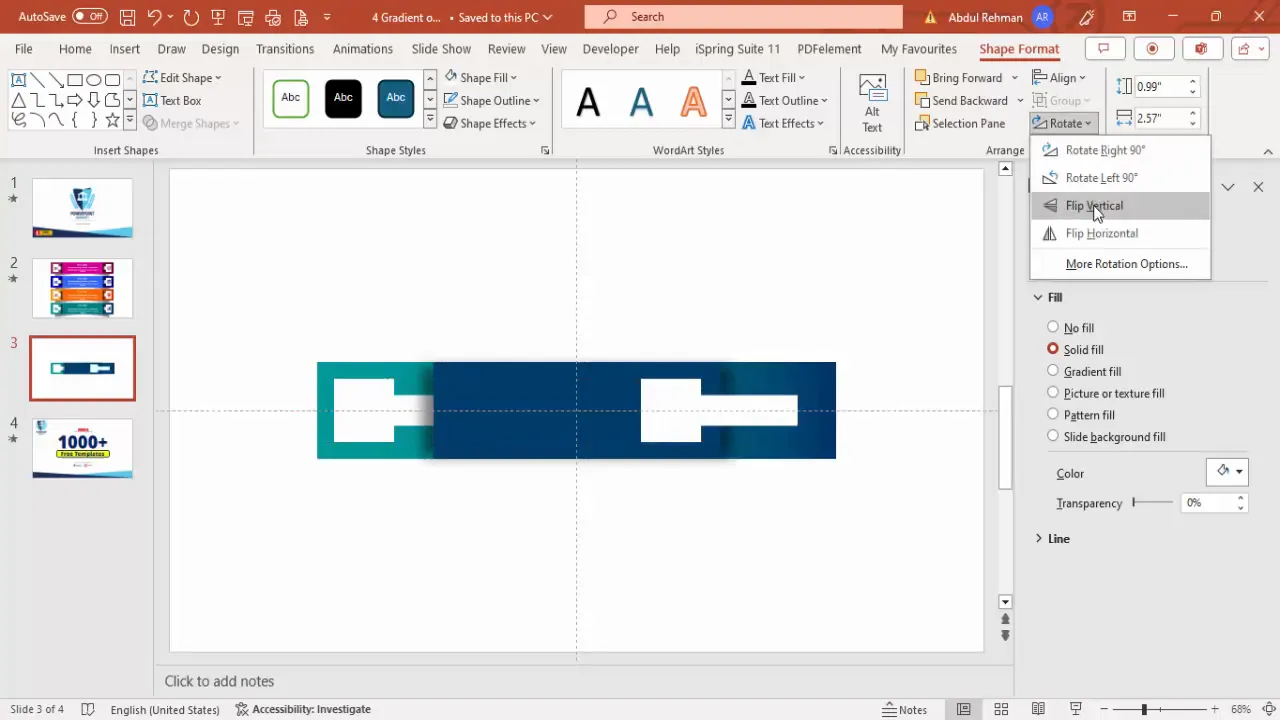
Adding Side Extensions
To add a finishing touch, create a small white square and an attached rectangle on one side of the box which can act as a background for option numbers or icons:
- Insert a Small Square: Hold the Shift key while drawing a small square shape.
- Fill with White: Set the fill color to white and remove the outline.
- Add a Smaller Rectangle: Draw a smaller rectangle attached to the square, also filled with white and no outline.
- Align Shapes: Make sure both shapes are aligned vertically.
- Group the Shapes: Select both and either right-click to group or use the Merge Shapes > Union option for a single shape.
- Duplicate and Flip: Hold Ctrl + Shift to drag a copy of this shape to the right side of the main rectangle, then flip it horizontally.
- Send Back: Position this shape behind the main rectangle.
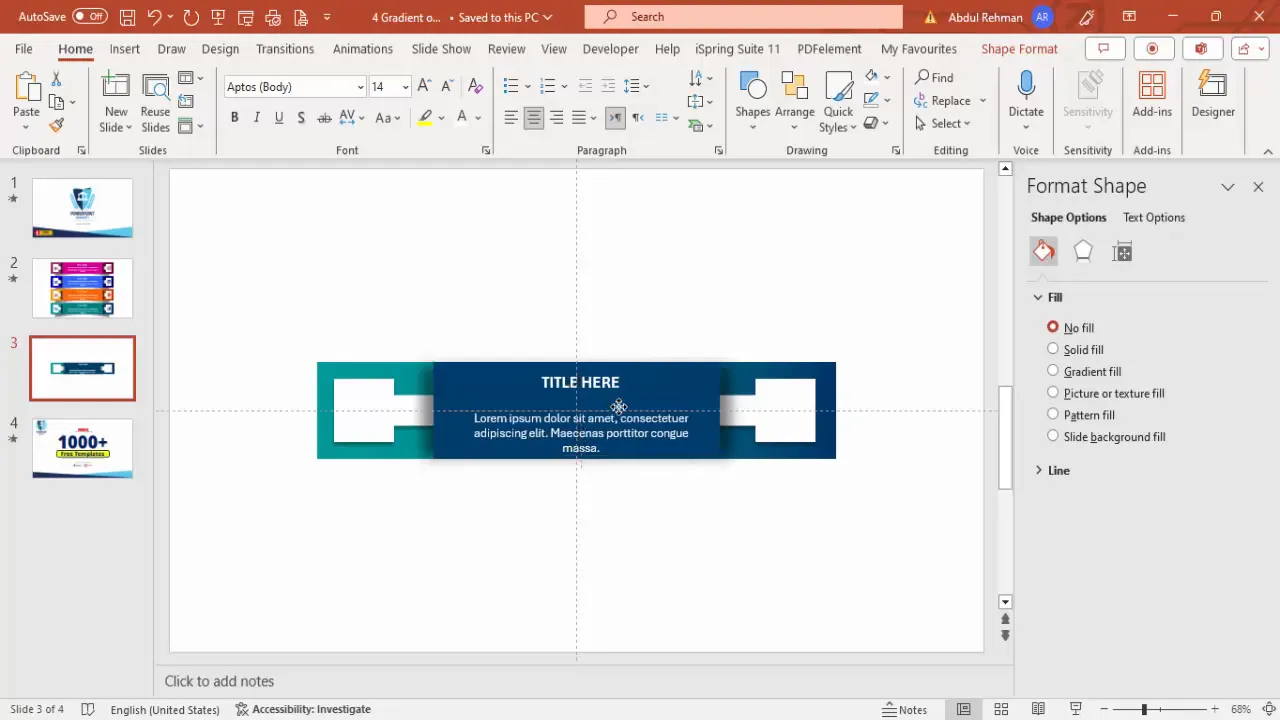
Adding Text Elements and Icons
With the option box designed, it’s time to add meaningful content: titles, detailed text, option numbers, and icons.
Adding Titles and Descriptions
- Insert Title Text Box: Click Insert > Text Box and type your title (e.g., “Title”).
- Format Title: Set the font color to white, center align the text, and make it bold for emphasis.
- Insert Description Text Box: Add another text box for detailed text or description below the title.
- Adjust Text Size: Use a smaller font size for the description to differentiate it from the title.
- Group Text: Select both text boxes and press Ctrl + G to group them for easy positioning.
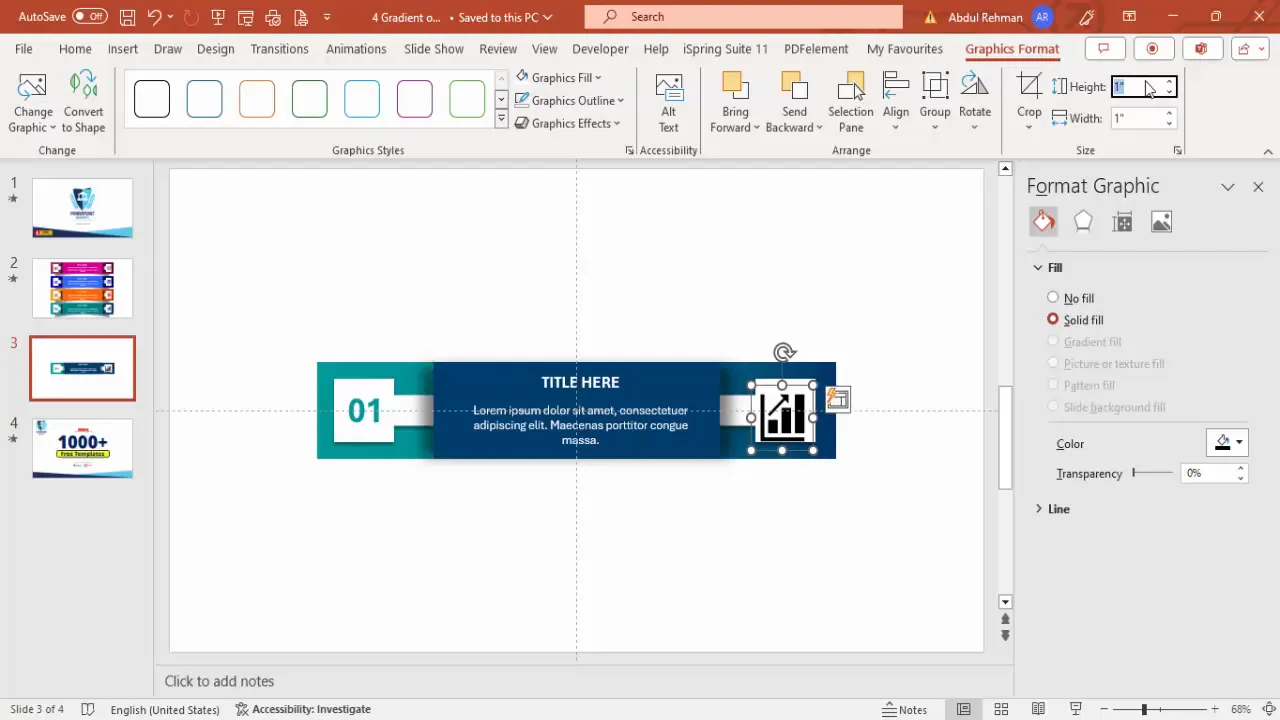
Adding Option Numbers
The small white side extension you created earlier is perfect for displaying option numbers:
- Insert a Text Box: Add a text box inside the white side extension and type the option number (e.g., “01”).
- Format Number: Make it bold, center aligned, and increase the font size for visibility.
- Color Coordination: Use a color from your gradient background for the text to maintain design consistency.
Adding Icons
Icons add a visual cue that complements your text and helps convey meaning quickly.
- Insert Icon: Go to Insert > Icons and select an icon relevant to your option’s content.
- Resize and Position: Adjust the icon size to about 0.6 inches in height and width and place it near the option text.
- Color the Icon: Match the icon color to the background or option number color for harmony.
- Group Elements: Group the icon with the option box and text to keep everything together.
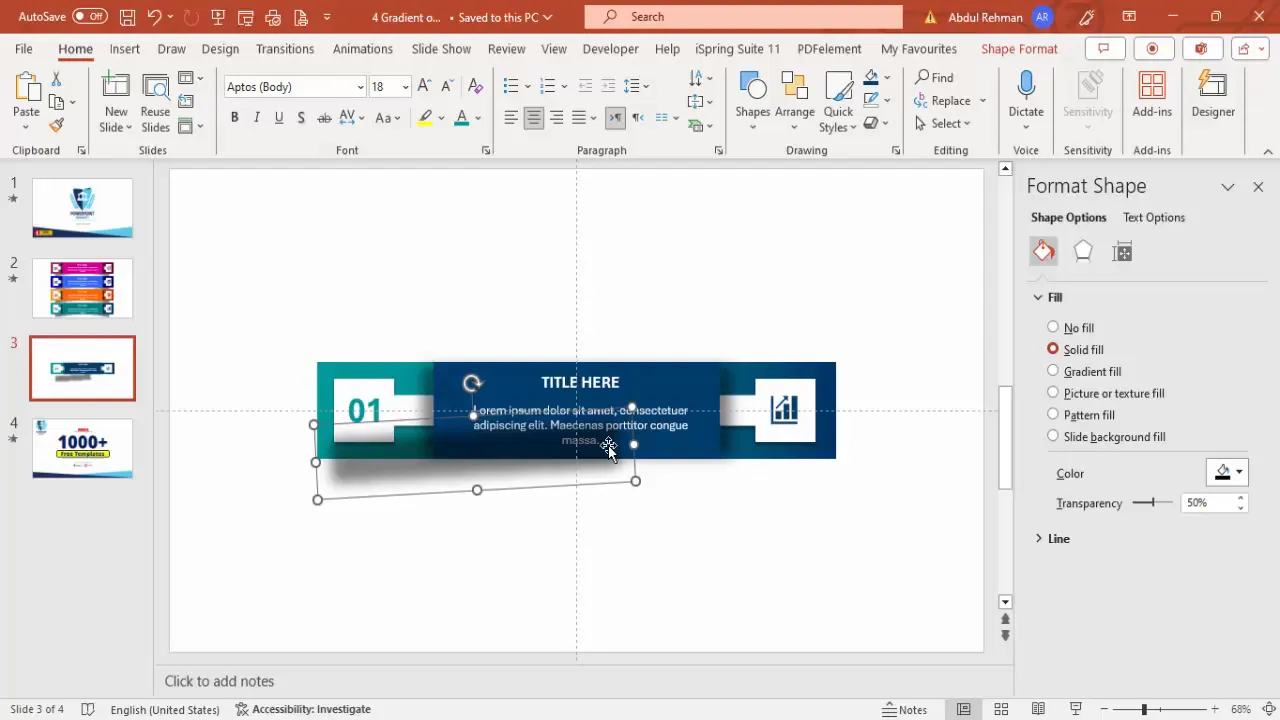
Applying Realistic Shadow Effects
To further enhance the option box, add subtle shadows below the shape to give it a floating effect:

- Insert Rectangle for Shadow: Add a new rectangle shape below the option box.
- Apply Format Painter: Use the format painter tool to copy shadow formatting from the earlier shadow shape.
- Adjust Size and Position: Increase the height slightly and tilt or bend the shadow shape.
- Send Shadow Back: Send this shadow shape behind all other elements.
- Duplicate Shadow: Use Ctrl + D to duplicate the shadow and place another on the opposite side for balance.
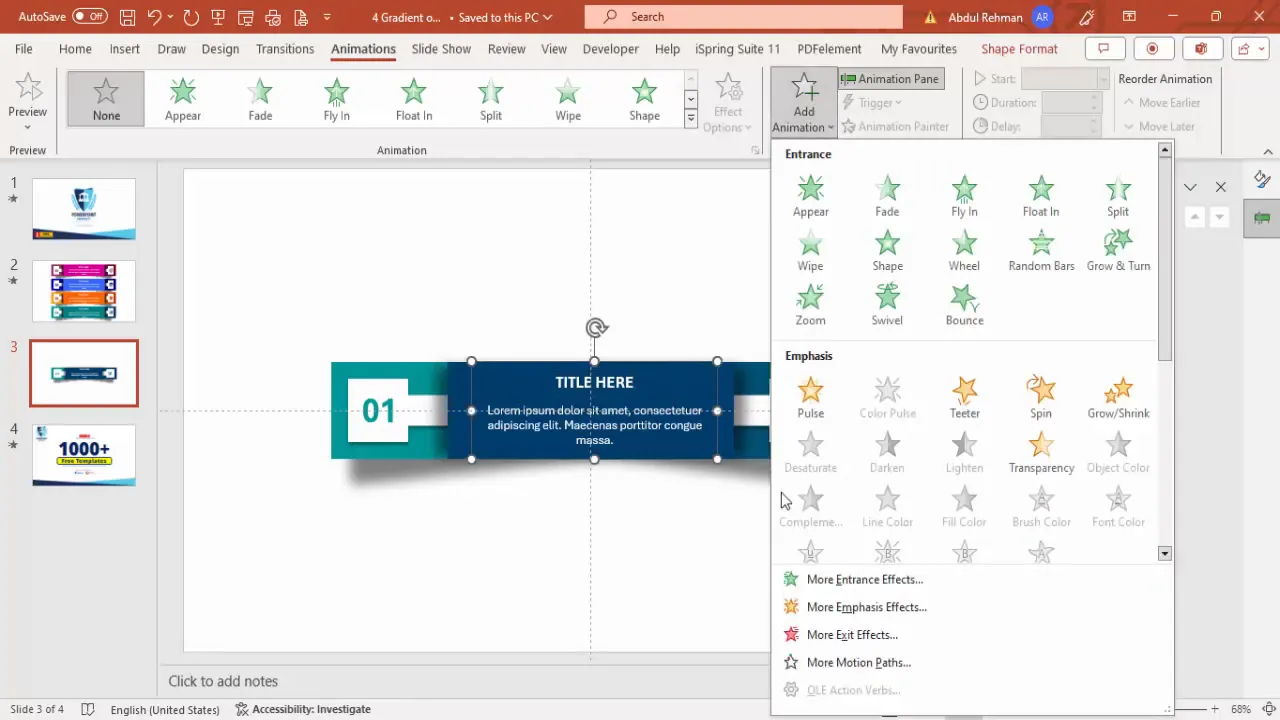
Creating Smooth Animations for Each Option
Animations bring your slide to life by controlling when each option appears. Here’s how to add them:
- Open Animation Pane: Go to the Animations tab and open the Animation Pane for detailed control.
- Add Stretch Animation: Select the title text and click Add Animation > More Emphasis Effects > Stretch. This makes the title stretch into view.
- Add Peek In Animation: Select the description text and add a Peek In animation from the left, set to start With Previous for smooth entrance.
- Animate Option Number: Add a Peek In animation from the right for the option number, also set to start With Previous.
- Use Animation Painter: Use the animation painter tool to replicate these animations easily on other options.
Preview your animations by clicking Play From in the animation pane to ensure everything flows seamlessly.
Duplicating Options and Customizing Colors & Icons
Once your first animated option is ready, duplicating and customizing it saves time and maintains design consistency.
- Duplicate Options: Select all elements of your first option and drag upward to create space. Then hold Ctrl + Shift and drag downward to create additional options.
- Update Option Numbers: Change the text in the white side extensions to reflect new option numbers (e.g., 02, 03, 04).
- Change Colors: Adjust the gradient fills and text colors to differentiate each option. Consider using complementary color schemes like purple, orange, or red for variety.
- Change Icons: Select the icon in each option, go to Graphics Format > Change Graphics, and pick new icons that match the new option’s theme.
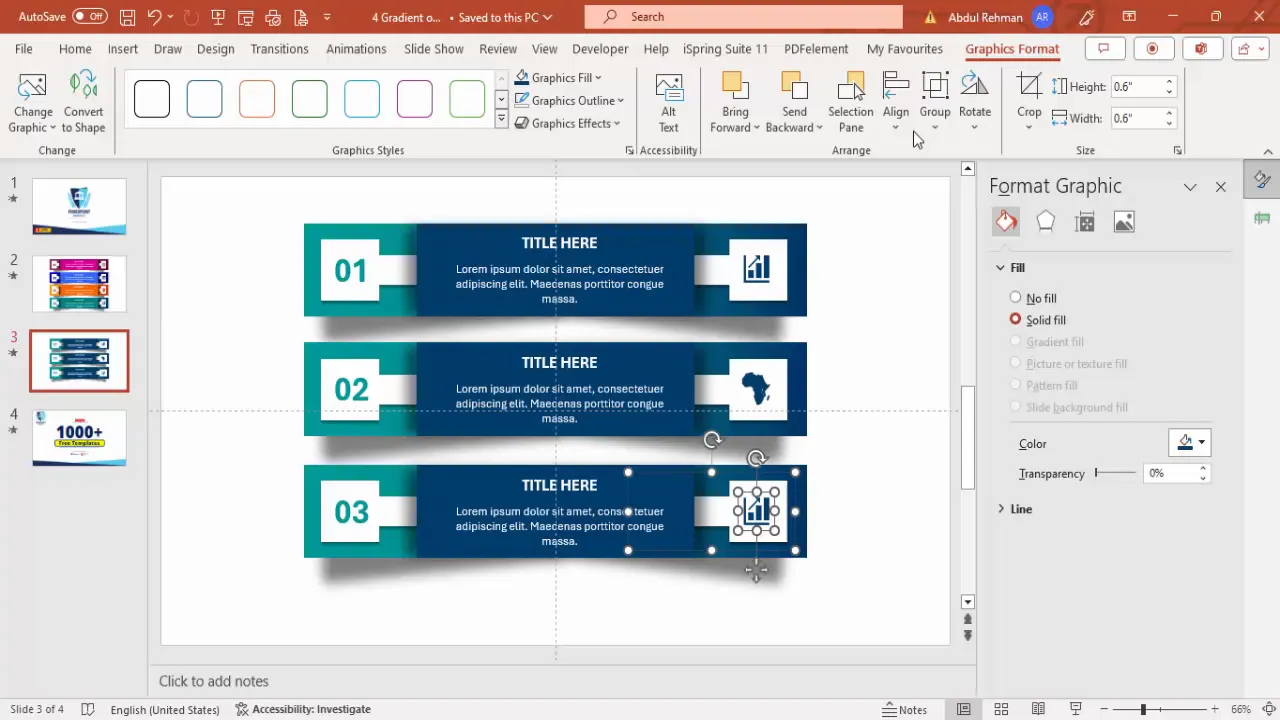
This approach allows you to create multiple animated options that are visually distinct but unified in style.
Final Tips for PowerPoint Animated Slide Mastery
Here are some additional pointers to help you get the most out of your PowerPoint Animated Slides:
- Keep It Simple: Avoid overcrowding your slide with too many options. Four options are ideal, but you can reduce to three or increase depending on your content.
- Consistent Alignment: Use guides and alignment tools religiously to ensure all elements line up perfectly.
- Use Grouping: Group related elements (text, shapes, icons) so you can move and animate them as a unit.
- Test Animations: Always preview animations in slideshow mode to check timing and smoothness.
- Customize Colors Thoughtfully: Choose colors that match your brand or presentation theme and use contrast for readability.
- Backup Templates: Save your animated slide as a template to reuse in future presentations.
Frequently Asked Questions (FAQ)
Q1: Can I create more than four options using this method?
Yes! The process is scalable. You can add as many options as you need by duplicating the existing option boxes and customizing them accordingly. Just be mindful of slide clutter.
Q2: What versions of PowerPoint support these features?
This tutorial uses standard PowerPoint features like shapes, gradient fills, icons, and animations which are available in PowerPoint 2016 and later versions, including Office 365.
Q3: How can I change the icons to better fit my presentation?
PowerPoint includes a rich library of icons accessible via Insert > Icons. You can search by keyword and insert icons that best represent your content. Additionally, you can import custom SVG icons if needed.
Q4: Can I automate the animation timings?
Yes, you can set animations to start On Click, With Previous, or After Previous. For interactive presentations, use On Click to reveal options sequentially when you click.
Q5: Is it possible to download pre-made templates with these animated options?
Absolutely! Many PowerPoint template providers, including PowerPoint University, offer free downloadable templates with built-in animated options to help you get started quickly.
Conclusion
Mastering the creation of a PowerPoint Animated Slide with four options is a powerful way to engage your audience and present your content clearly and professionally. By combining well-designed shapes, thoughtful color schemes, meaningful icons, and smooth animations, you’ll transform static slides into interactive storytelling tools.
Remember, the key to success is starting with a clean design, using guides for alignment, grouping elements for easy management, and carefully crafting animations that enhance rather than distract. With practice, you’ll be able to customize these animated options to fit any presentation scenario — from business proposals to educational workshops.
Try building your first animated options slide today, and watch your presentations come alive!
Check out the full video: Create 4 Animated Options in PowerPoint


