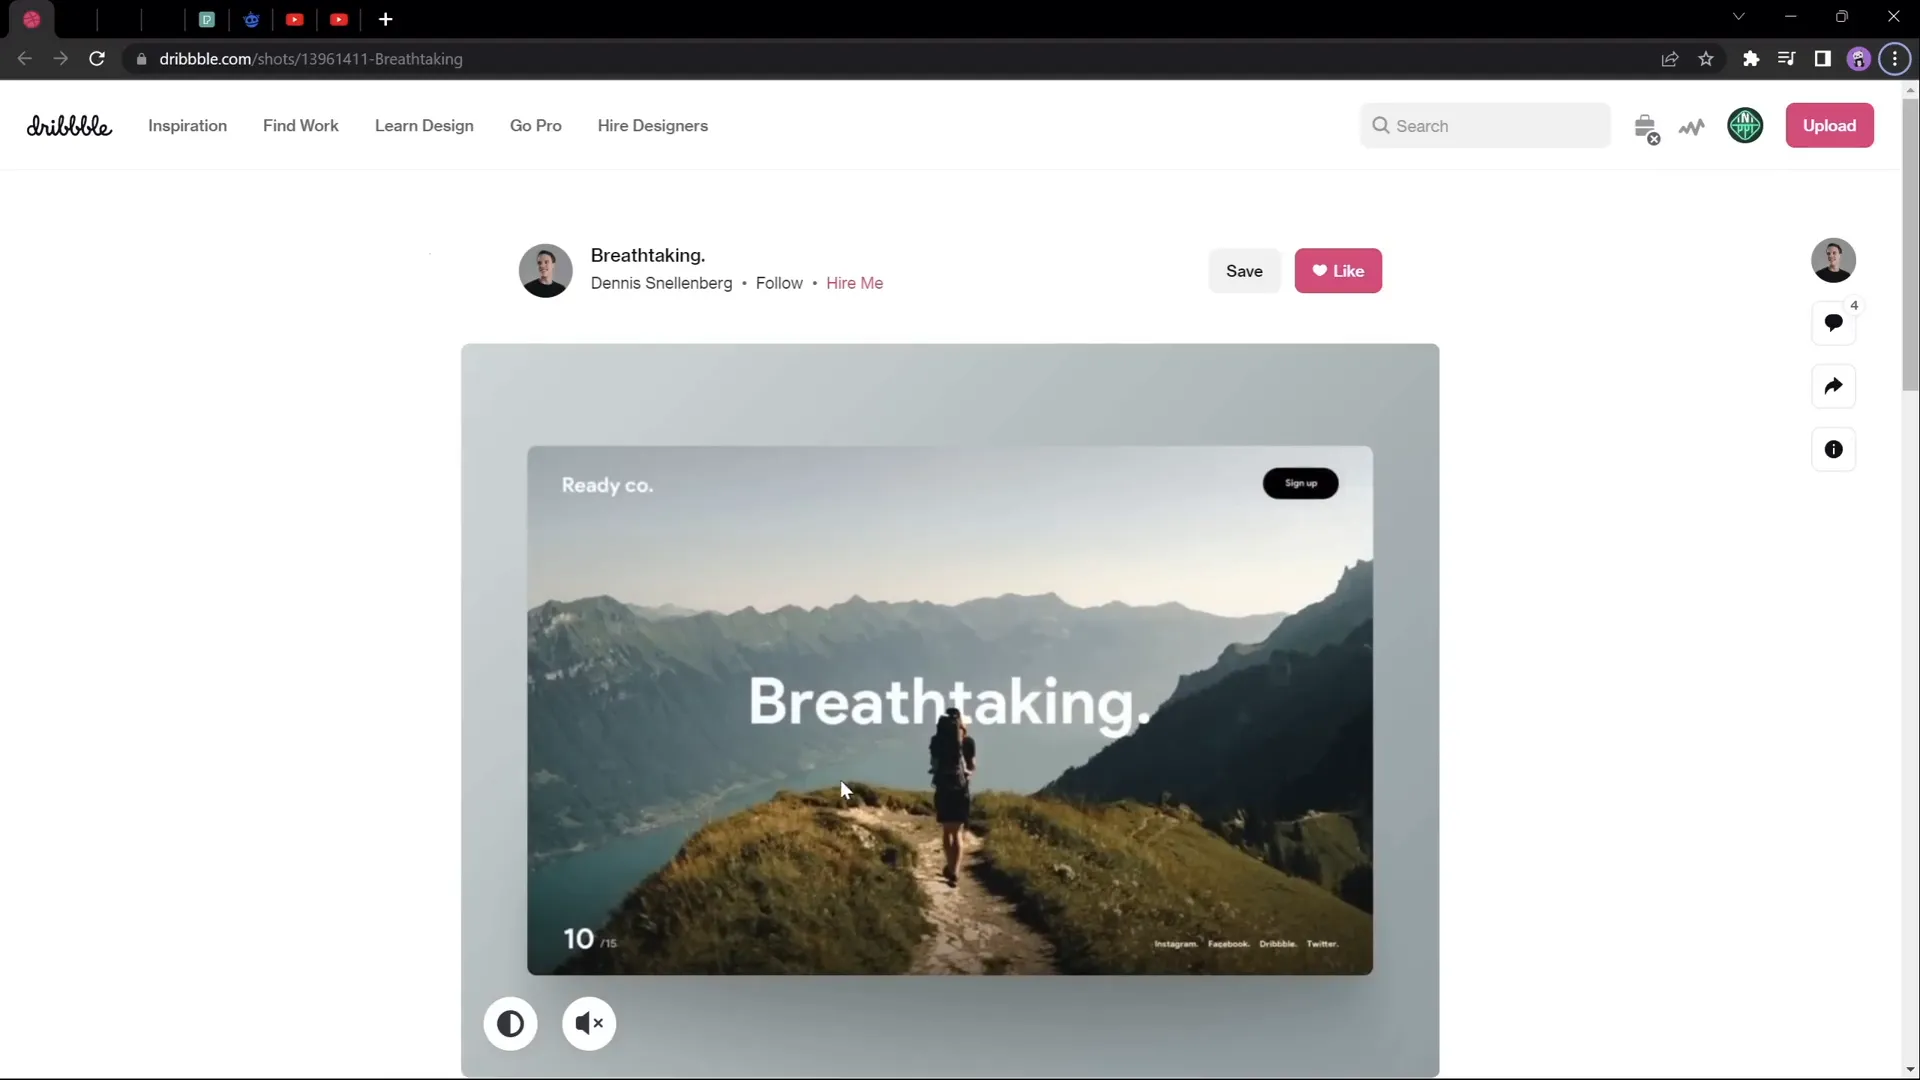
Creating captivating animations in PowerPoint can truly transform your presentations from ordinary to extraordinary. One particularly stunning effect is the parallax animation, which adds depth and movement by making different layers of an image move independently. In this detailed tutorial, inspired by the talented Dennis Snellenberg, we will guide you step-by-step on how to create a breathtaking power plant parallax animation using PowerPoint’s built-in features, especially the Morph transition.
Whether you’re a seasoned PowerPoint user or just starting out, this guide will equip you with the know-how to craft impressive Powerpoint Animation effects that wow your audience. So, let’s dive in!
Table of Contents
- Introduction to Parallax Animation in PowerPoint
- Choosing the Right Image for Parallax Animation
- Separating the Image into Layers
- Setting Up Your PowerPoint Slides
- Animating with the Morph Transition
- Hiding Layer Edges and Adding Blend Effects
- Enhancing the Animation with Text and Zoom Effects
- Final Tips and Tricks for Stunning PowerPoint Animation Effects
- Frequently Asked Questions (FAQ)
Introduction to Parallax Animation in PowerPoint
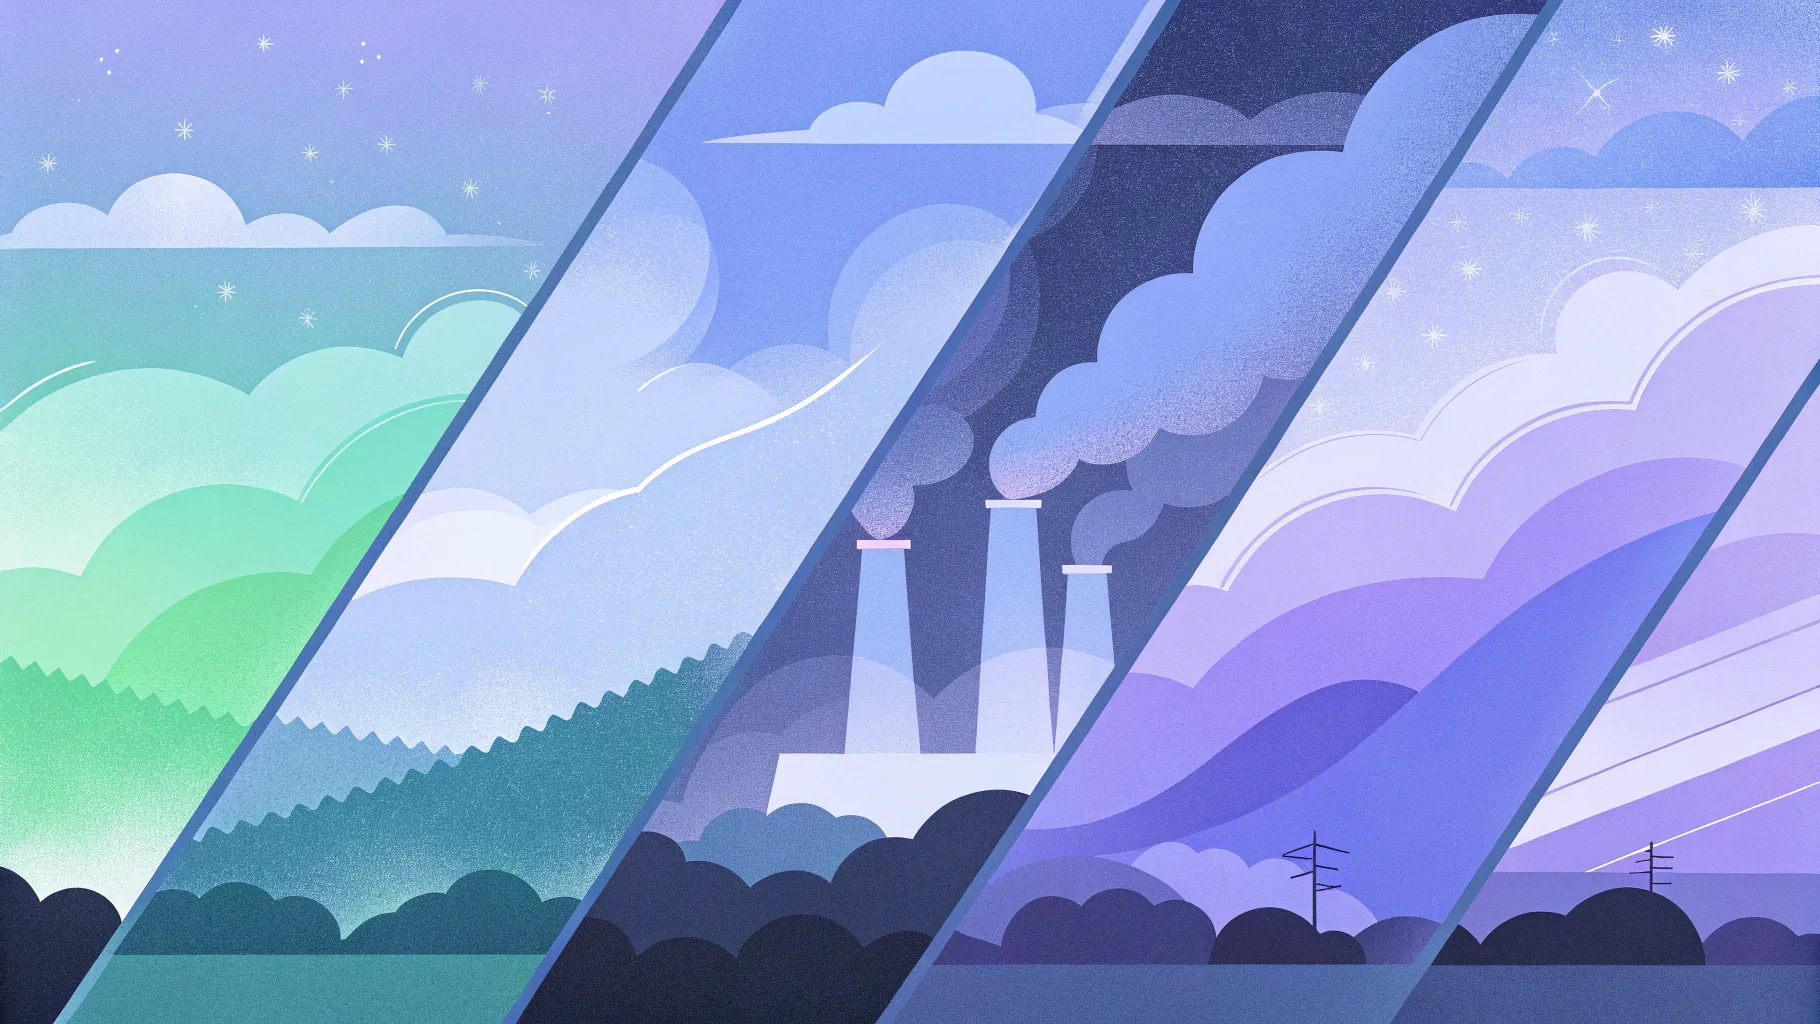
Parallax animation is a technique where different layers of an image move at varying speeds to create an illusion of depth and perspective. This effect is widely used in video games, websites, and films to add a dynamic and immersive experience.
In PowerPoint, while it may seem limited compared to professional animation software, you can still achieve an impressive parallax effect using smart layering and the Morph transition. This tutorial will walk you through using these tools to animate a beautiful power plant scene, but the principles apply to many other images and themes as well.
Why Use Parallax Animation in Your Presentations?
- Engagement: It captures attention by adding movement and depth.
- Professionalism: Shows mastery of PowerPoint‘s animation tools.
- Storytelling: Helps communicate complex ideas visually and memorably.
Before we start, special thanks to Dennis Snellenberg, whose inspiring work motivated this tutorial. Check out his channel for more creative PowerPoint animations.
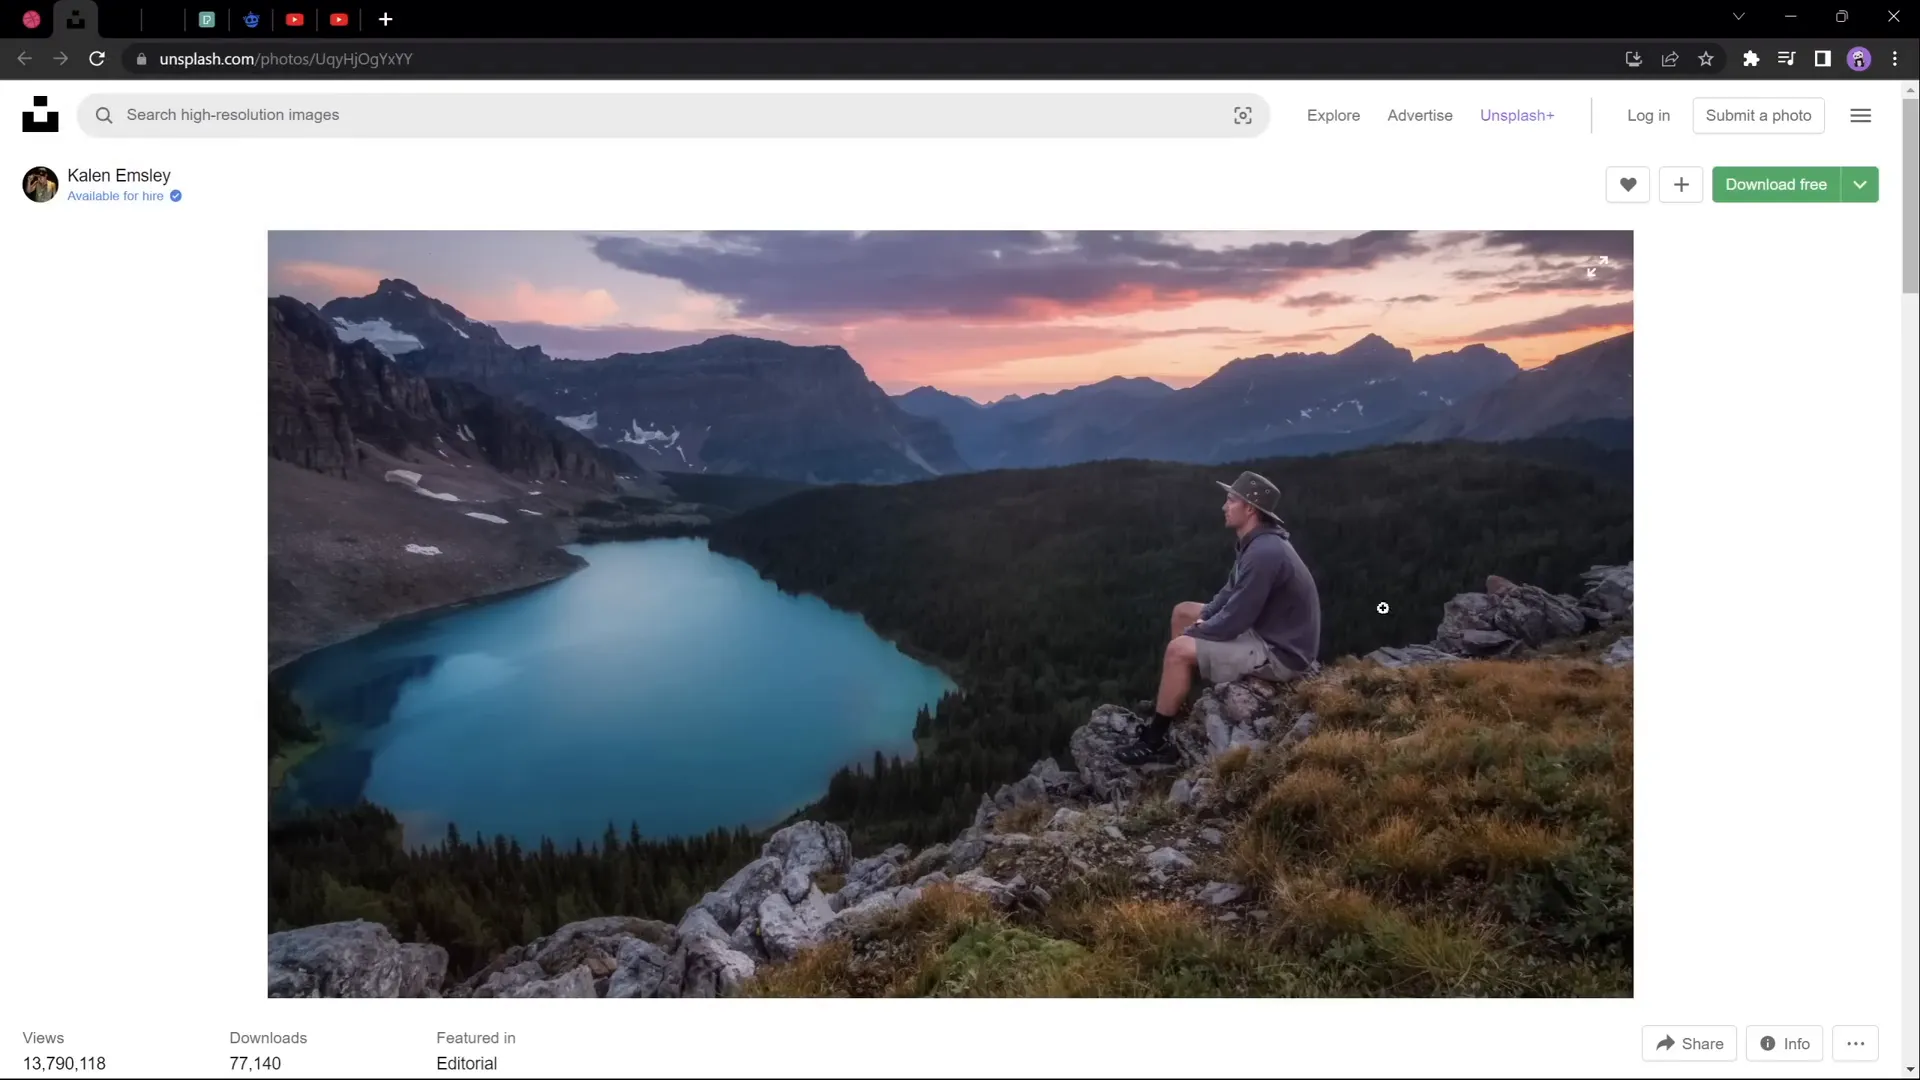
Choosing the Right Image for Parallax Animation
One of the first and most crucial steps in creating a parallax animation is choosing an image that lends itself well to layering. The image should ideally have distinct foreground, midground, and background elements that can be separated easily.
For this tutorial, we’ll use a photo featuring:
- A foreground element (a hiker sitting on a rock)
- Multiple layers of mountains
- A beautiful sky background
When searching for your own images, keep these tips in mind:
- Layer Separation: Look for images with natural visual layers (foreground, middle layers, background).
- Clarity: High-resolution images make cutting and cropping easier and cleaner.
- Contrast: Distinct color or lighting differences between layers help when separating.
Here are some sources for free images that work well:
| Source | Link | Description |
|---|---|---|
| Unsplash | View Photo | Mountain landscape with clear foreground and background layers. |
| Pexels | View Photo | Silhouette of person on grass with mountain backdrop. |
| Freepik | View Photo | Traveler standing on a rock with foggy mountain background. |
Separating the Image into Layers
Once you have the perfect image, the next step is to separate it into individual layers that can be animated independently. This process involves isolating elements like the foreground, mountains, and sky into separate images.
Here are some tools you can use to separate your image layers:
- Photoshop: Industry-standard software for image editing and layering.
- Affinity Photo: A powerful alternative to Photoshop with similar features.
- Photopea: A free online photo editor that supports layer separation.
If you’re new to this, One Skill PPT has a helpful video demonstrating how to separate photos into layers using Photopea, a free online tool:
When separating layers, aim to keep edges clean and maintain transparency to avoid harsh cutouts in your animation.
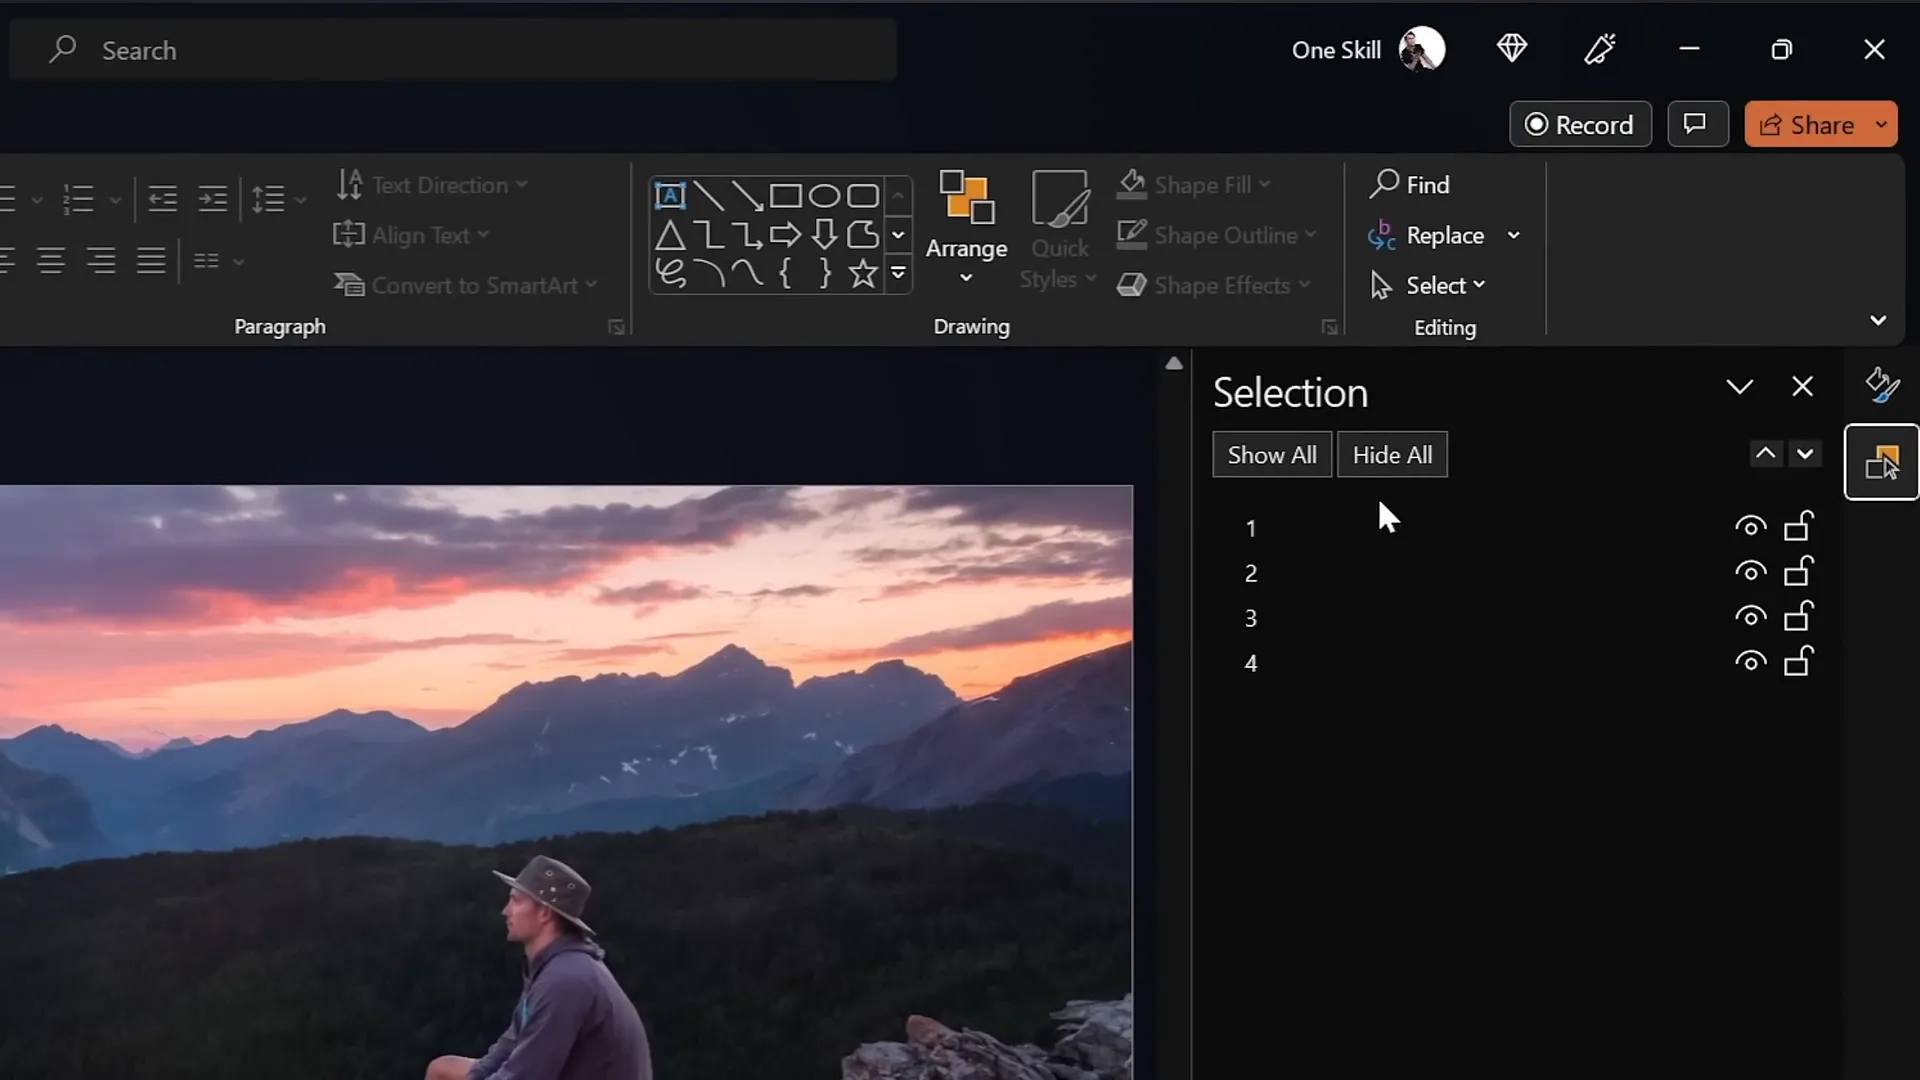
Setting Up Your PowerPoint Slides
Now that you have your image layers ready, it’s time to bring them into PowerPoint and set up your slides for animation.
Step 1: Import Your Layers
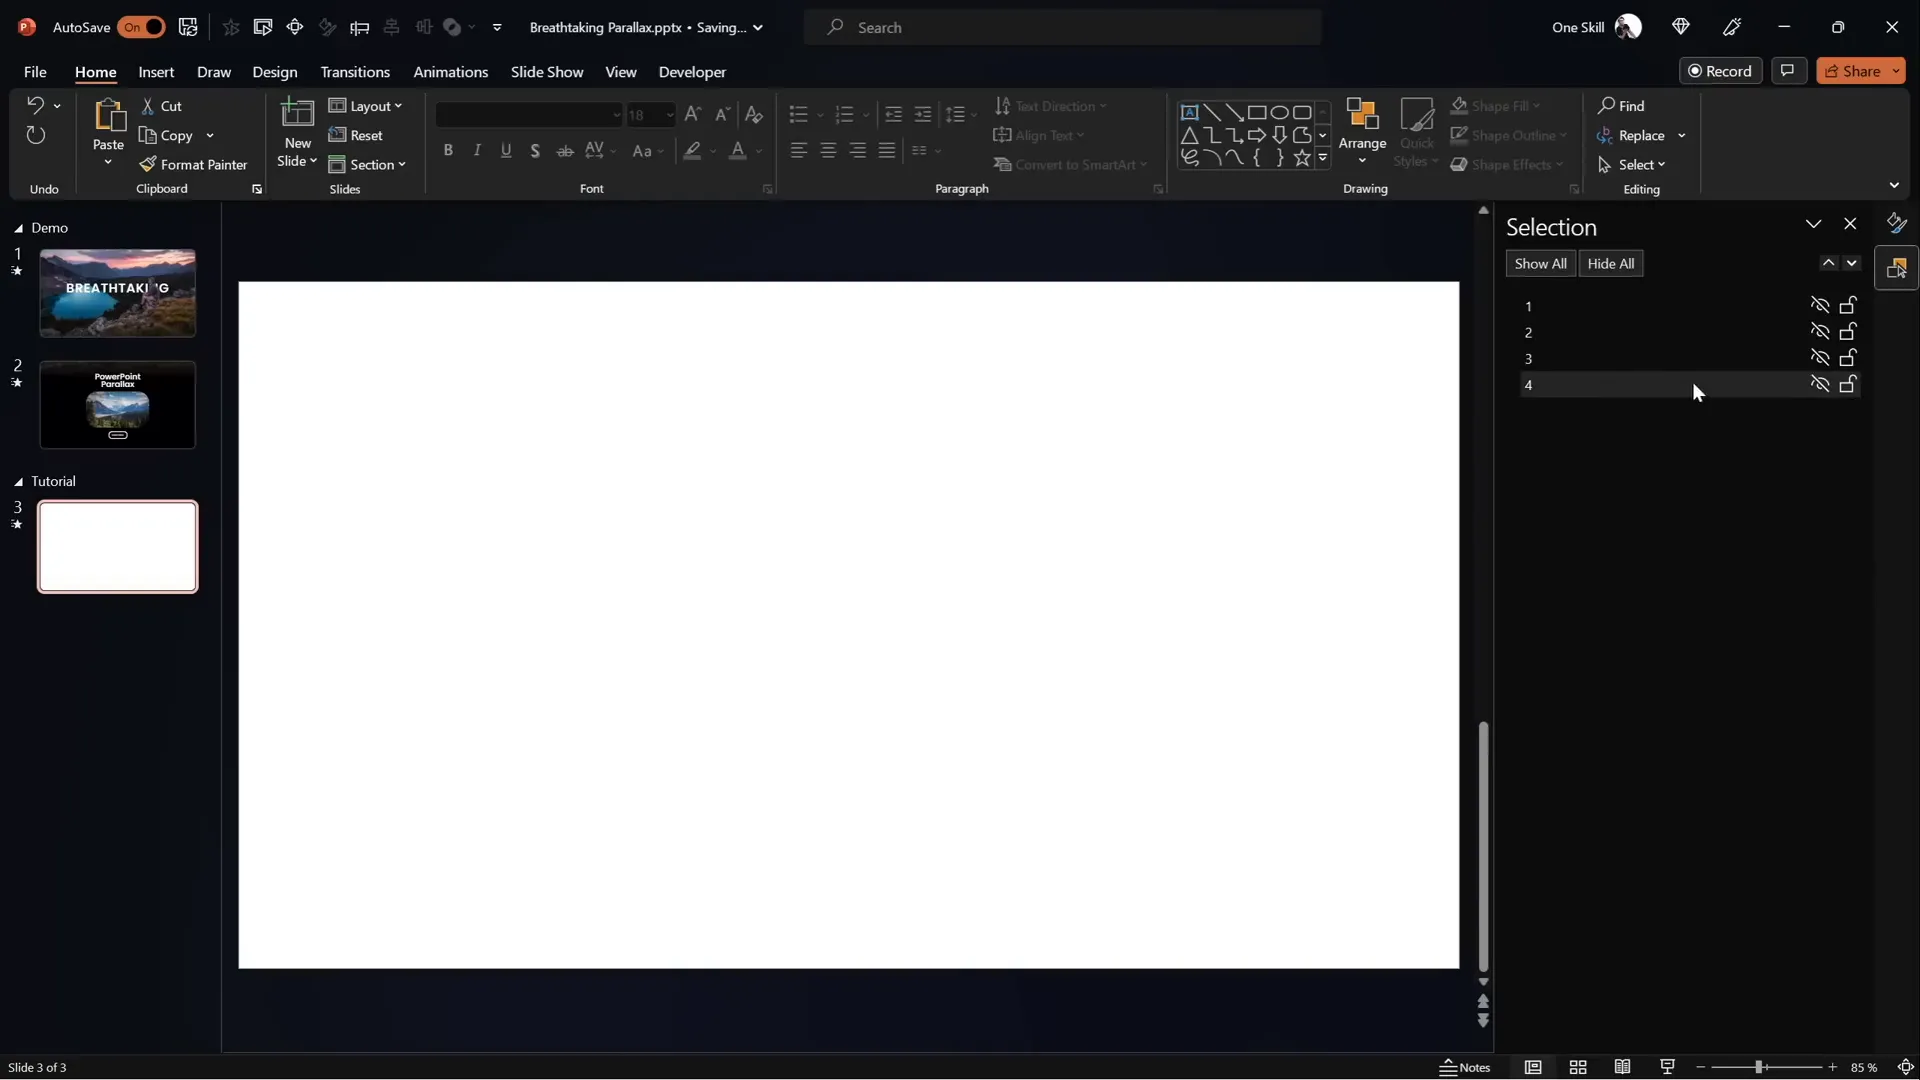
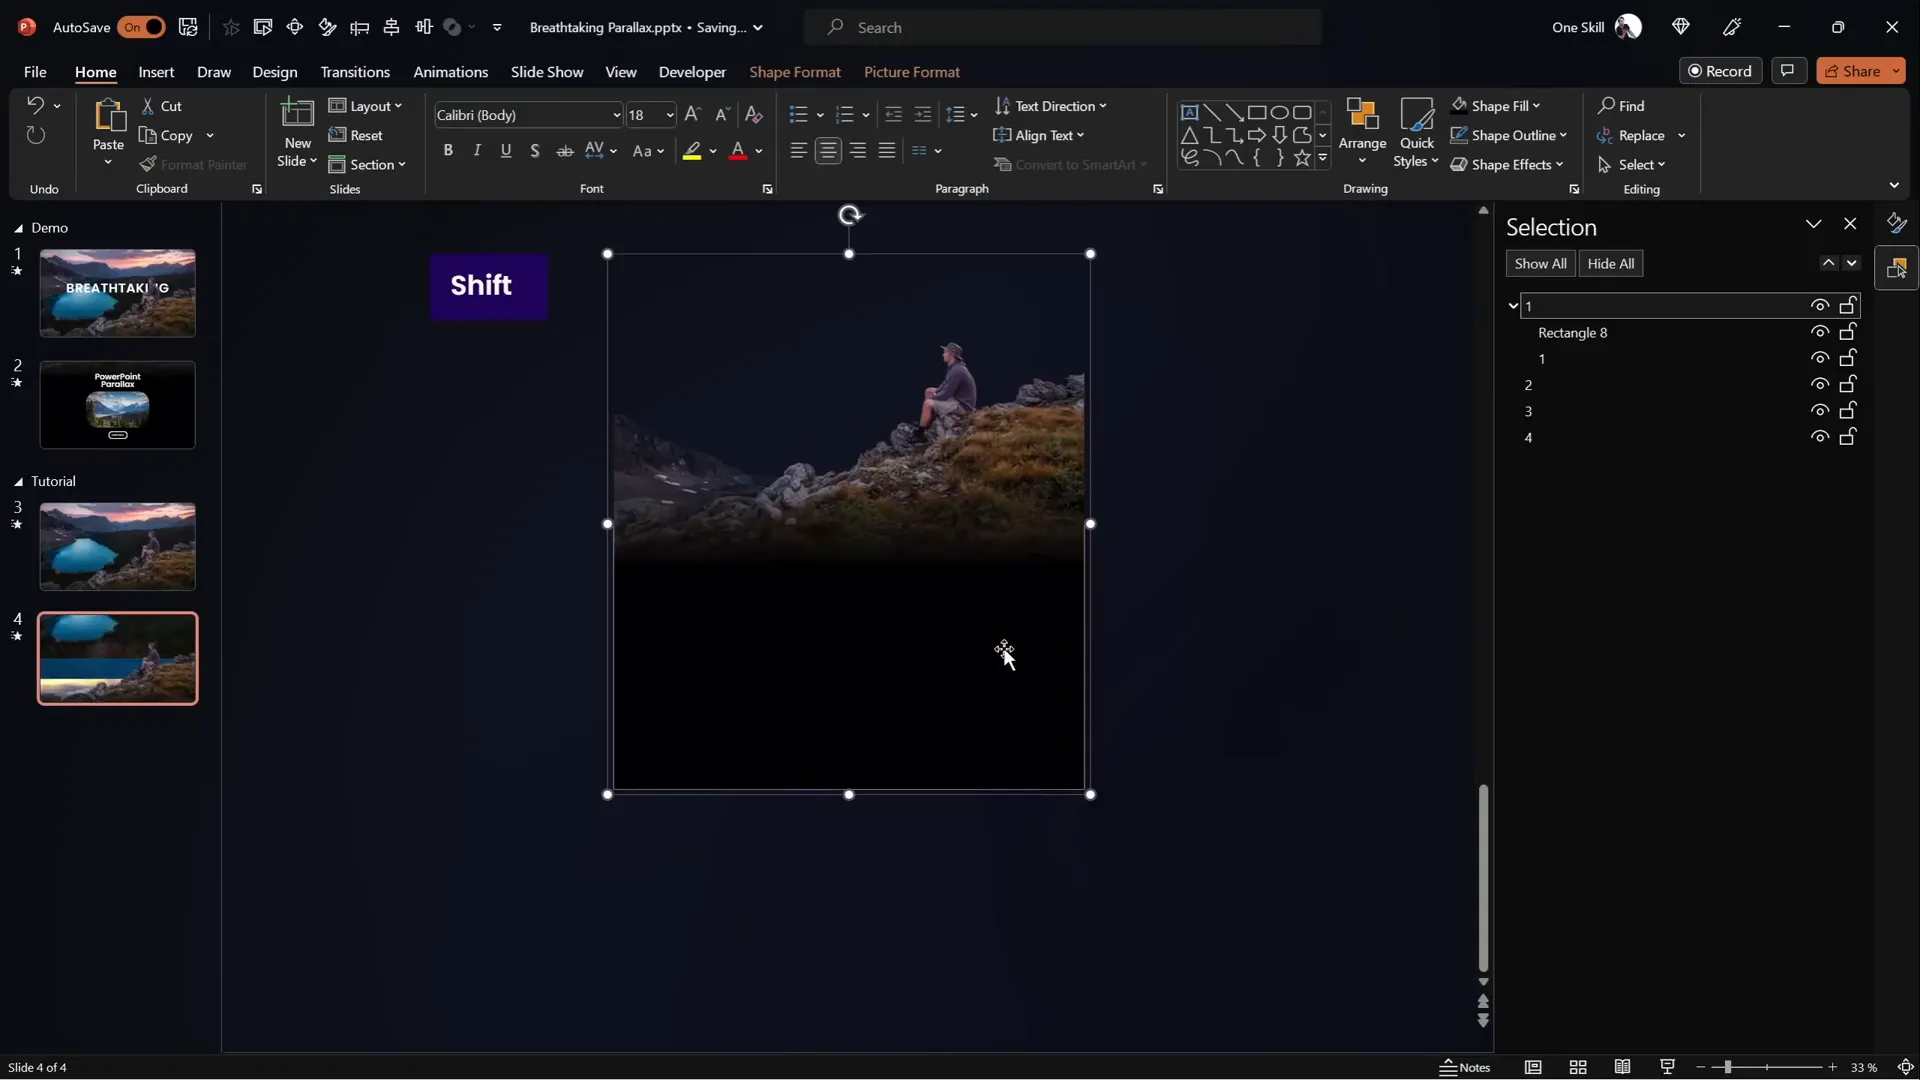
Insert each layer into a blank slide. Use the Selection Pane (found under the Home tab > Arrange > Selection Pane) to organize and rename each layer clearly. For this tutorial, the layers are:
- Foreground (hiker on rock)
- Forest with lake
- Second line of mountains
- Sky background
Hide and unhide layers to preview each element individually, ensuring everything is correctly placed.
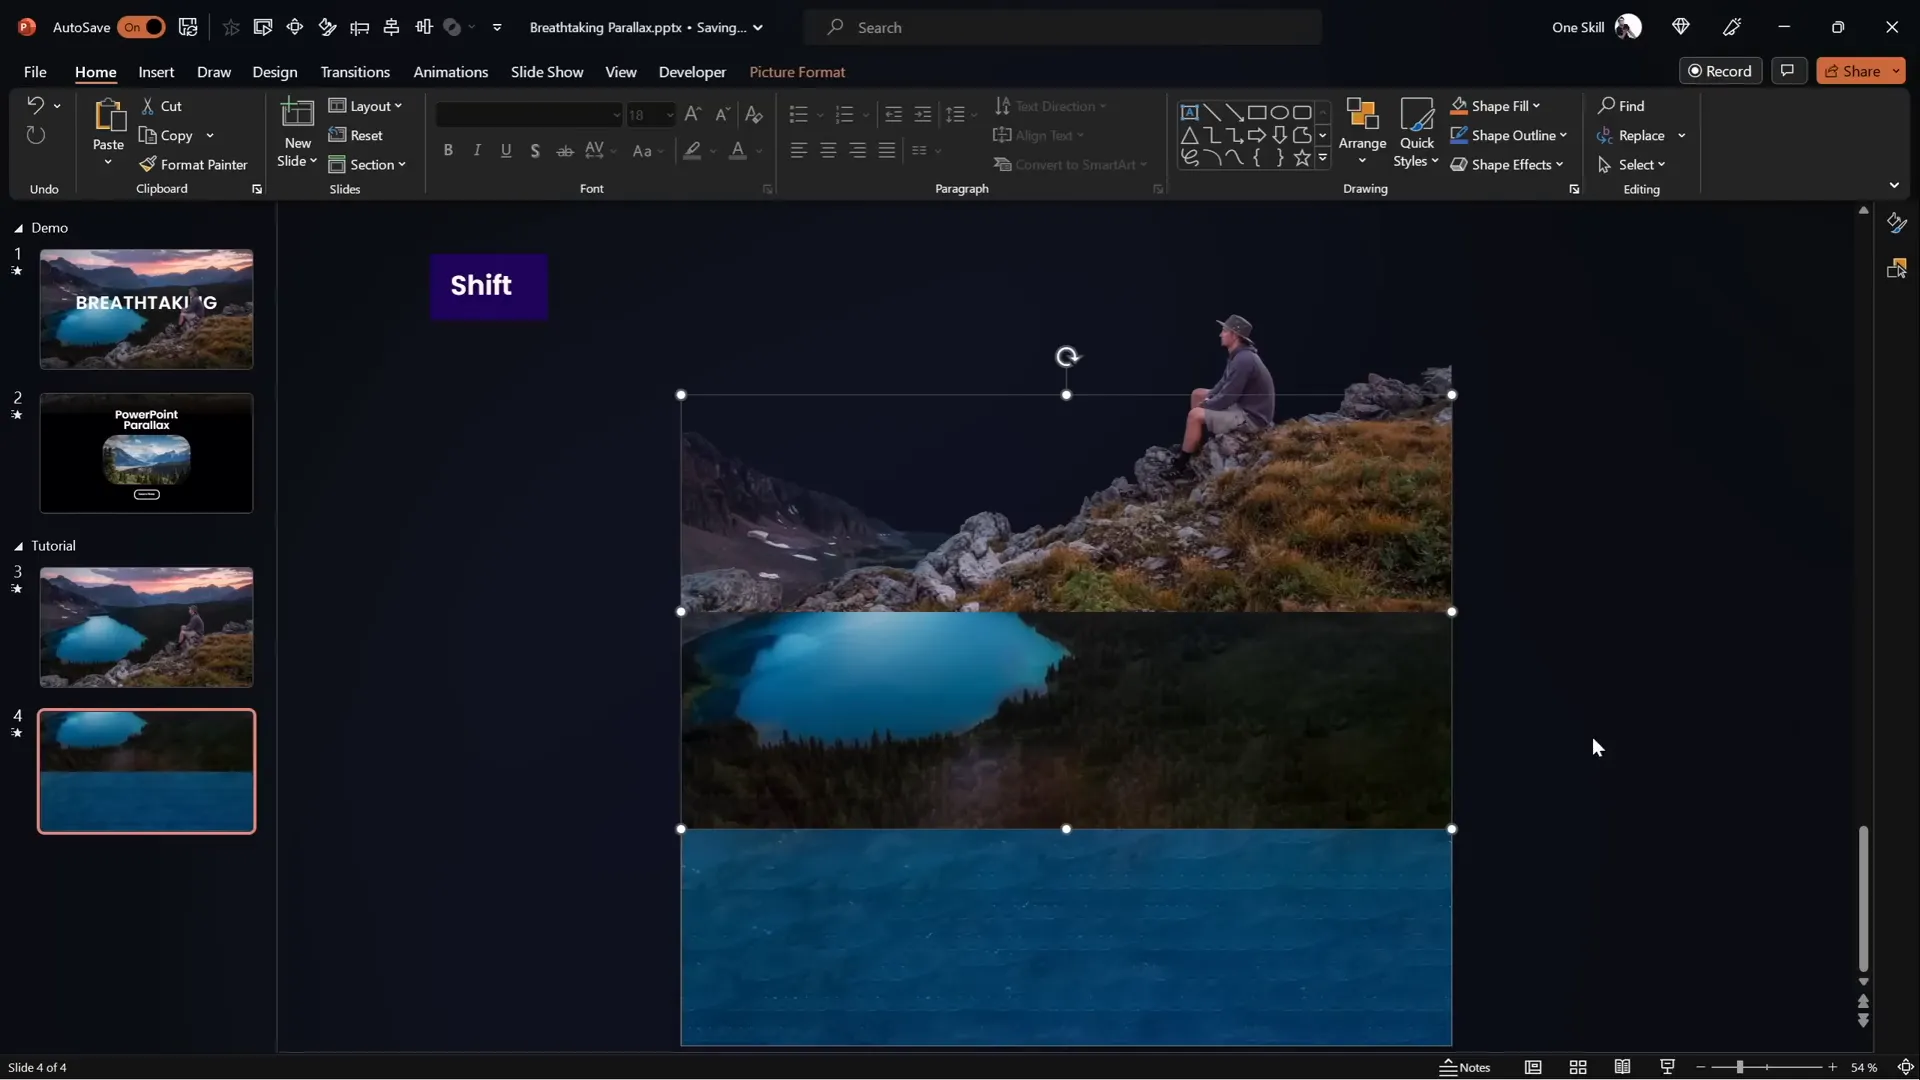
Step 2: Duplicate Slide for Animation
Duplicate the slide to create the animation effect. On the second slide, you will slightly shift each layer upward to simulate the parallax movement.
Step 3: Adjust Layer Positions on the Second Slide
Move layers vertically on the second slide as follows:
| Layer | Movement | Description |
|---|---|---|
| Foreground (Layer 1) | Move all the way up | Bottom of the layer touches top of slide window. |
| Forest (Layer 2) | Move halfway up | About 50% slide height upwards. |
| Mountains (Layer 3) | Move slightly up | Approximately 25% slide height upwards. |
| Sky (Layer 4) | Keep position | Visible only at the top part. |
Animating with the Morph Transition
PowerPoint‘s Morph transition is the key to creating smooth parallax animations without complex motion paths.
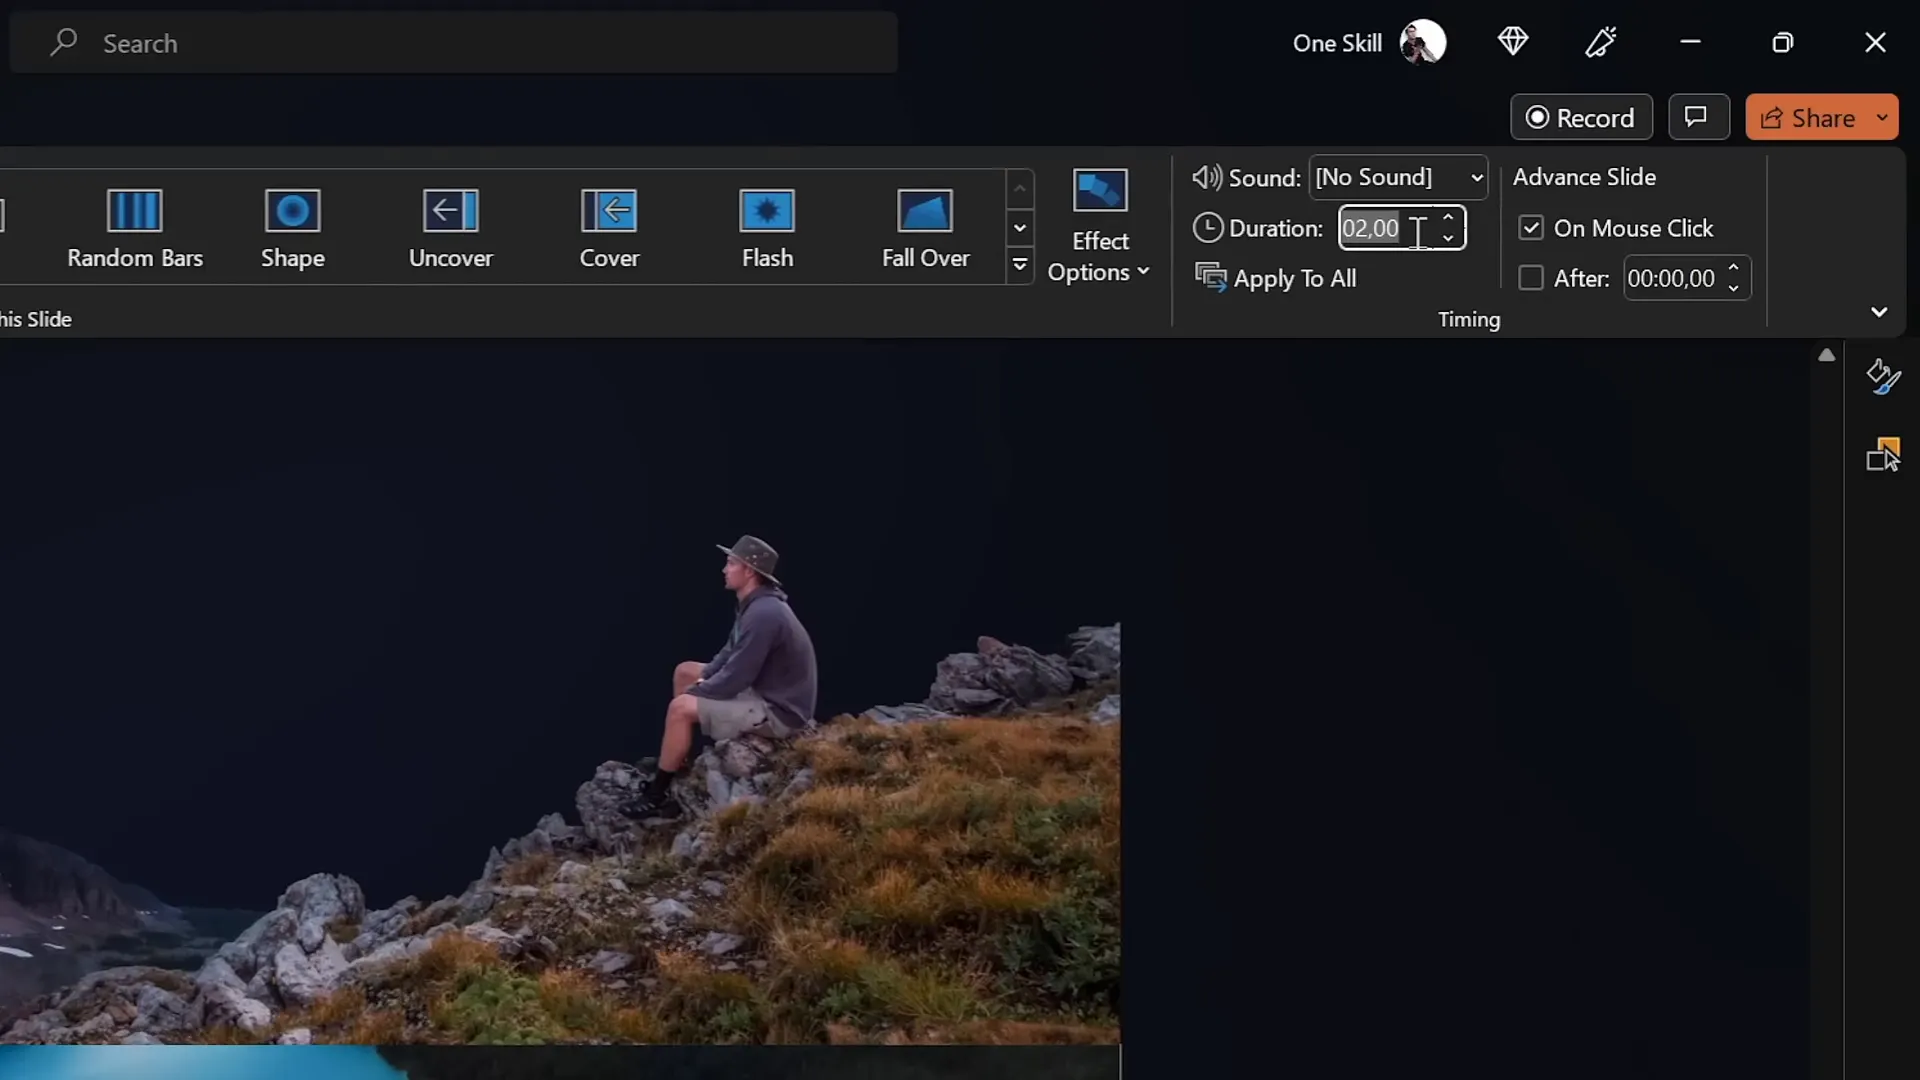
Step 1: Apply Morph Transition
- Select the second slide.
- Go to the Transitions tab.
- Choose the Morph transition.
- Set the duration to about 3 seconds for a smooth animation.
If your version of PowerPoint does not support the Morph transition, you can achieve similar results using motion path animations. One Skill PPT offers a tutorial on this alternative:
Step 2: Preview the Animation
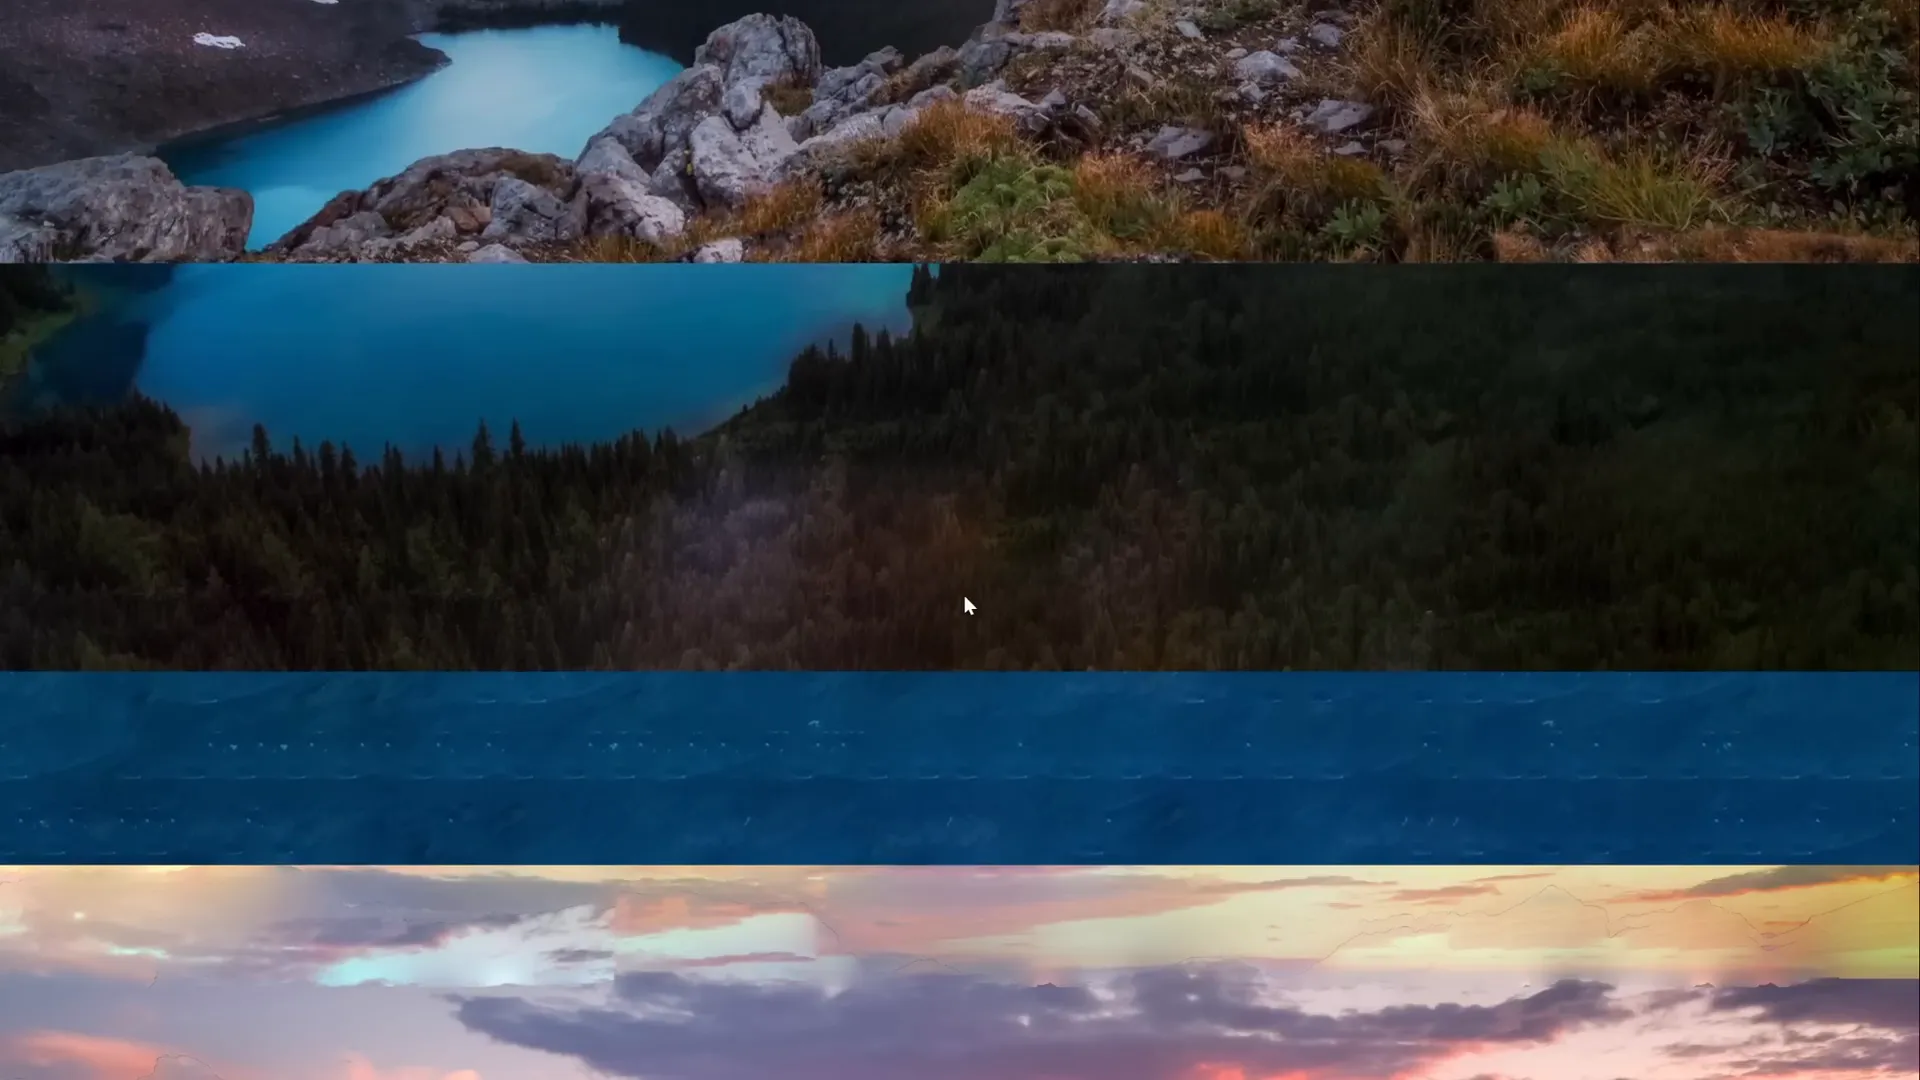
Play the slide show to see the layers move at different speeds, creating a parallax effect. However, you might notice edges of the layers appearing awkwardly on the second slide.
Hiding Layer Edges and Adding Blend Effects
To clean up the animation and hide the ends of the layers that peek out awkwardly, we use a full-screen rectangle with clever positioning and gradient fills.
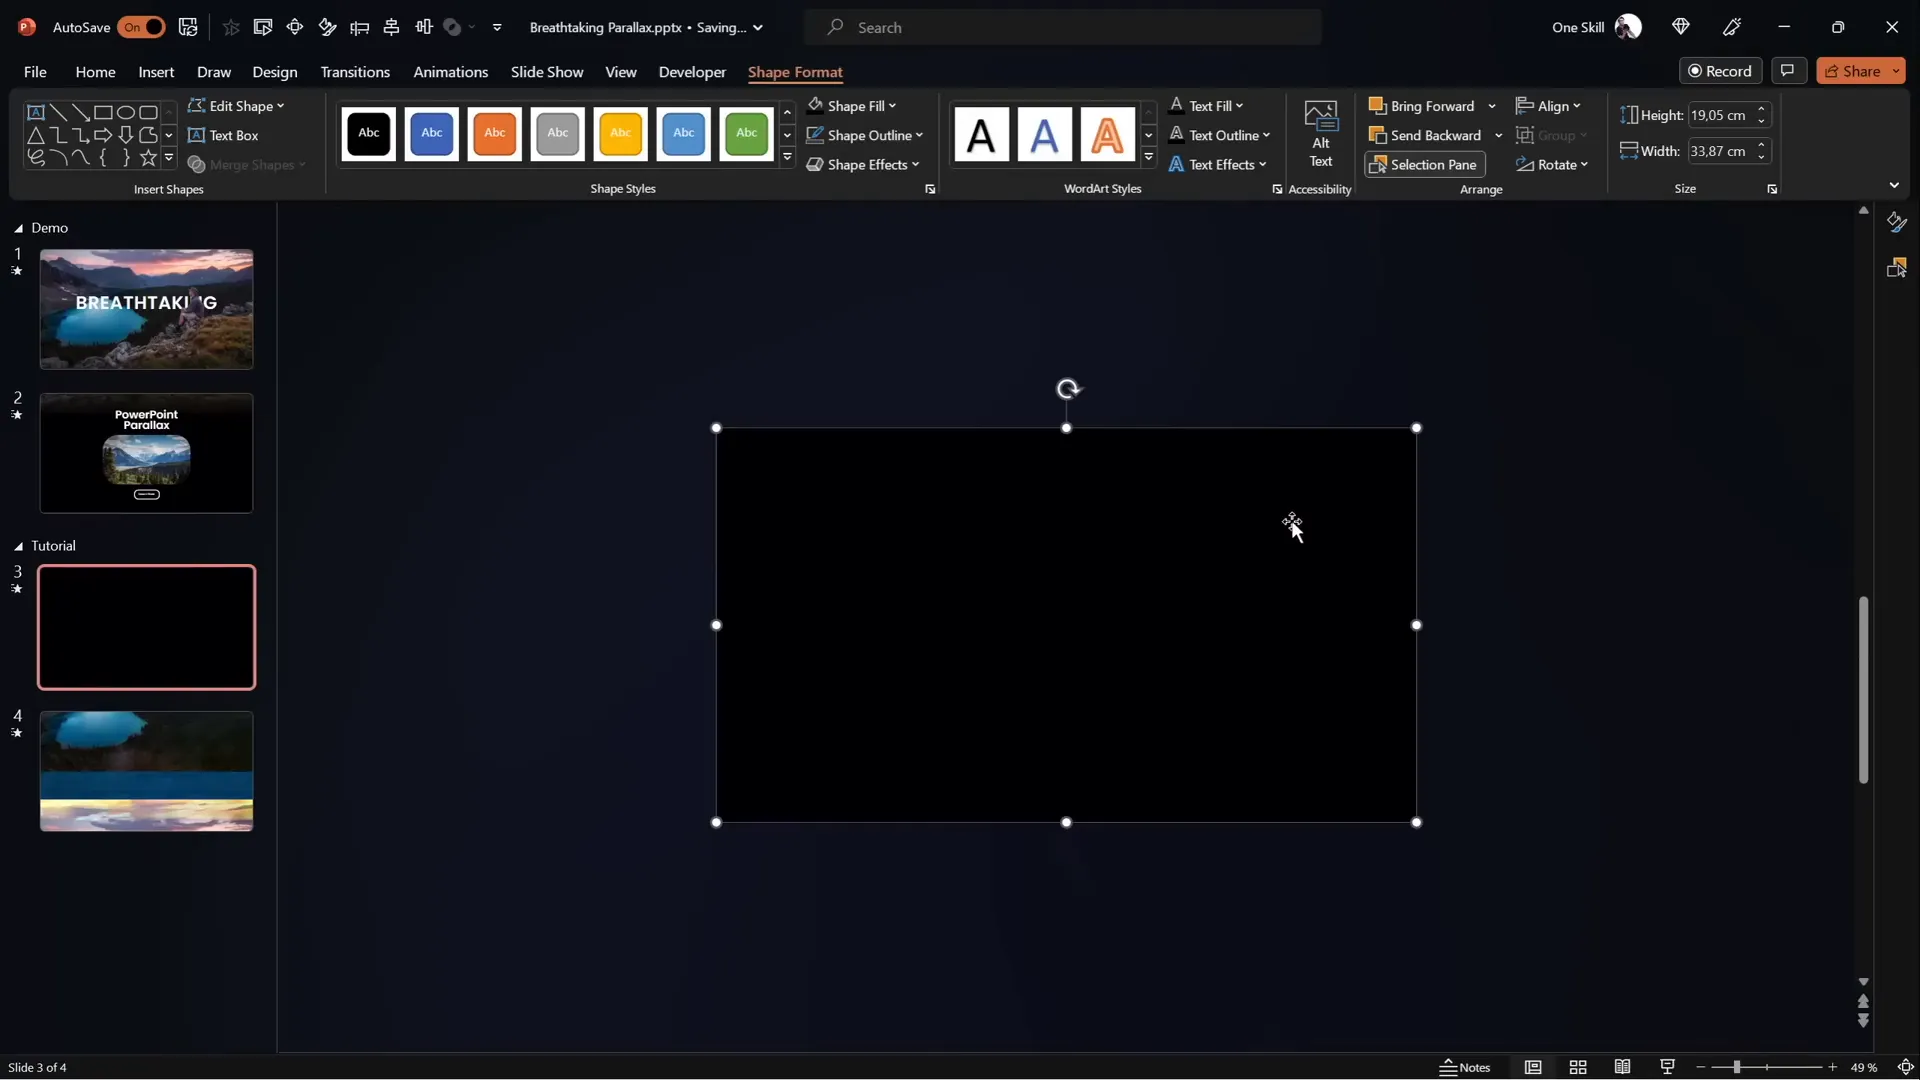
Step 1: Insert a Full-Screen Rectangle
- On the first slide, insert a rectangle that covers the entire slide.
- Set the fill color to solid black and remove any outline.
- Position the rectangle so its top edge touches the bottom of the slide window, effectively hiding the lower parts of the layers.
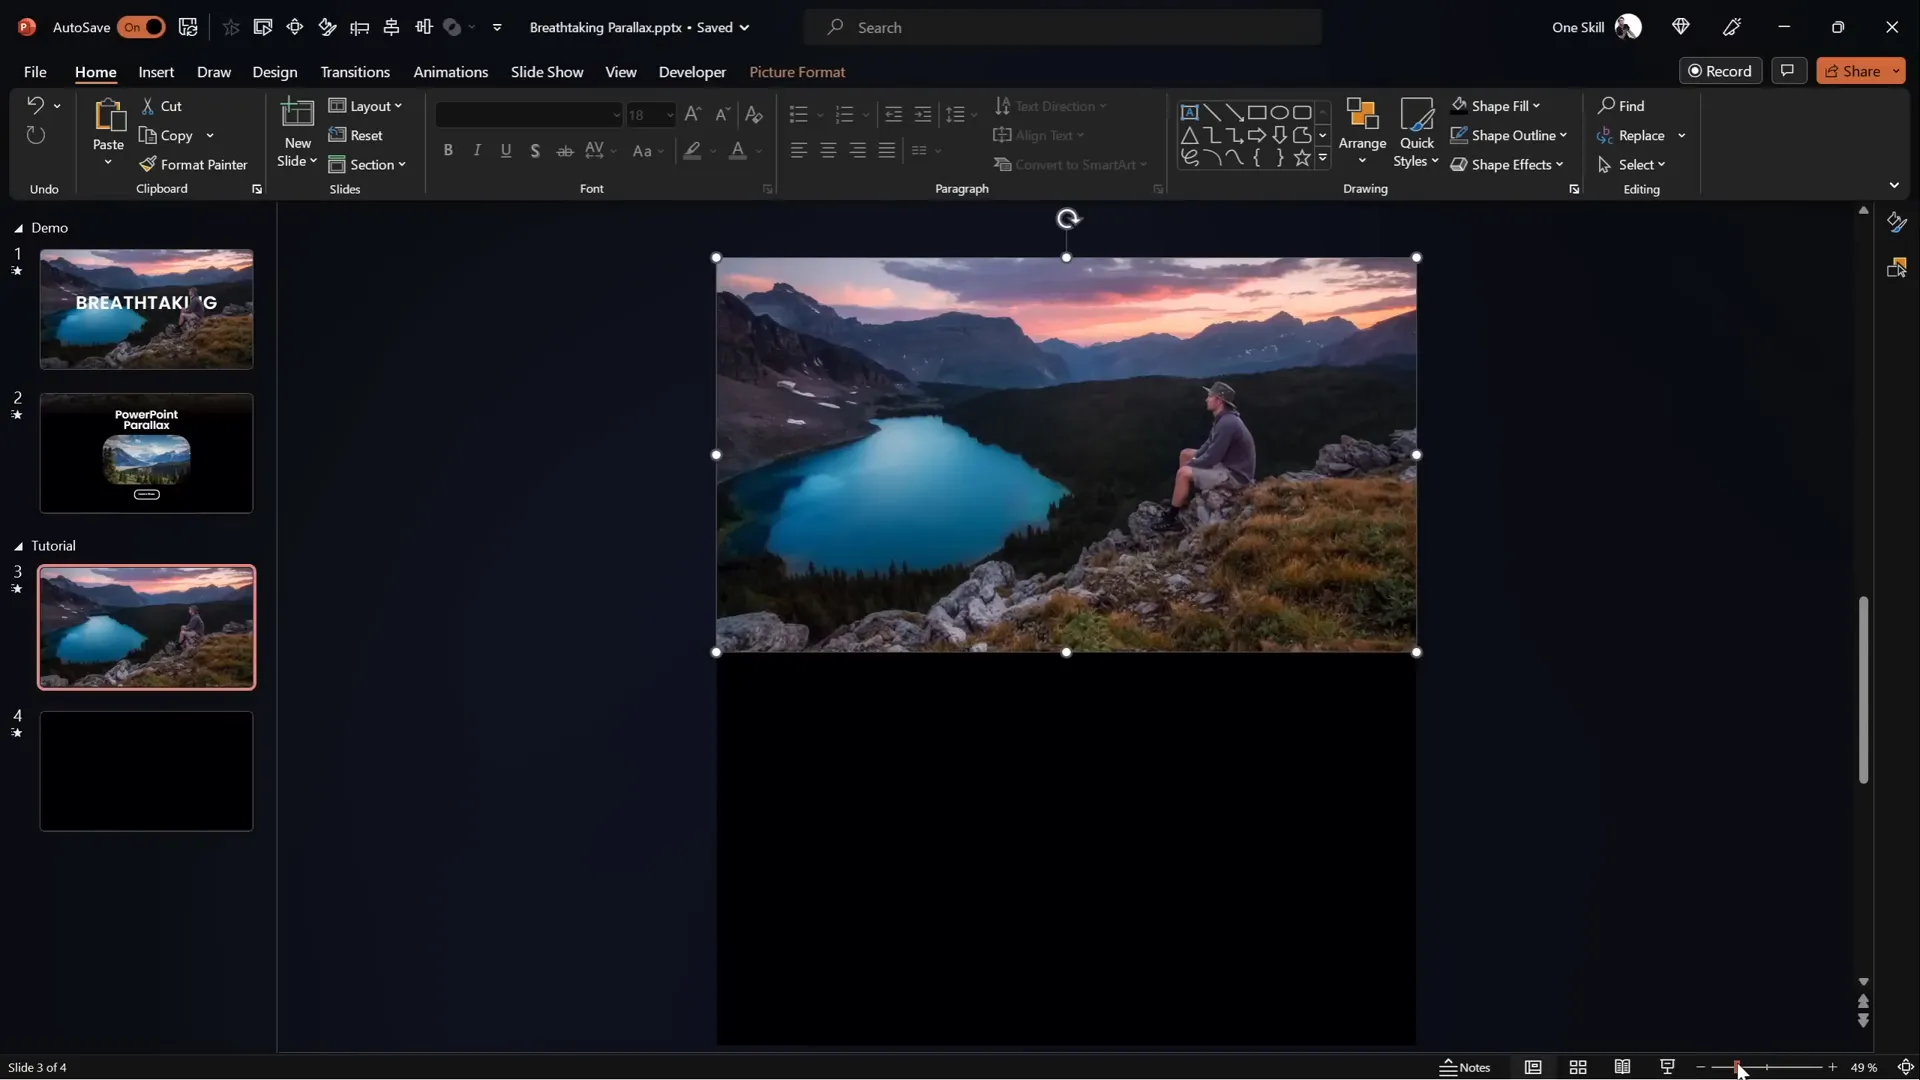
Step 2: Copy and Adjust Rectangle on Second Slide
- Copy the rectangle from the first slide and paste it onto the second slide.
- Move it to cover the entire slide area fully, hiding the edges of all layers during animation.
Step 3: Create a Smooth Transition with Gradient Fill
To blend the foreground layer smoothly into the black rectangle, apply a gradient fill to the rectangle on the first slide:
- Set two color stops in the gradient, both black.
- Make one color stop 100% transparent (fully see-through black).
- Position the opaque black stop around 30% to create a gradual fade effect.
- Adjust the height of the rectangle to enhance blending.
Next, crop the foreground image slightly at the bottom to reveal some of the black rectangle behind it, creating a seamless fade.
Group the cropped foreground image and the gradient rectangle together as a single object named “Layer 1” for easy management.
Step 4: Update the Second Slide
- Delete the old rectangle and foreground layer on the second slide.
- Paste the newly grouped object with gradient on the second slide.
- Move it upward to cover the entire slide area.
Now, when you run the animation, the transition between the foreground and black rectangle looks smooth and natural.
Enhancing the Animation with Text and Zoom Effects
To add more flair and context to your parallax animation, you can incorporate slide titles and additional text elements that animate into view.
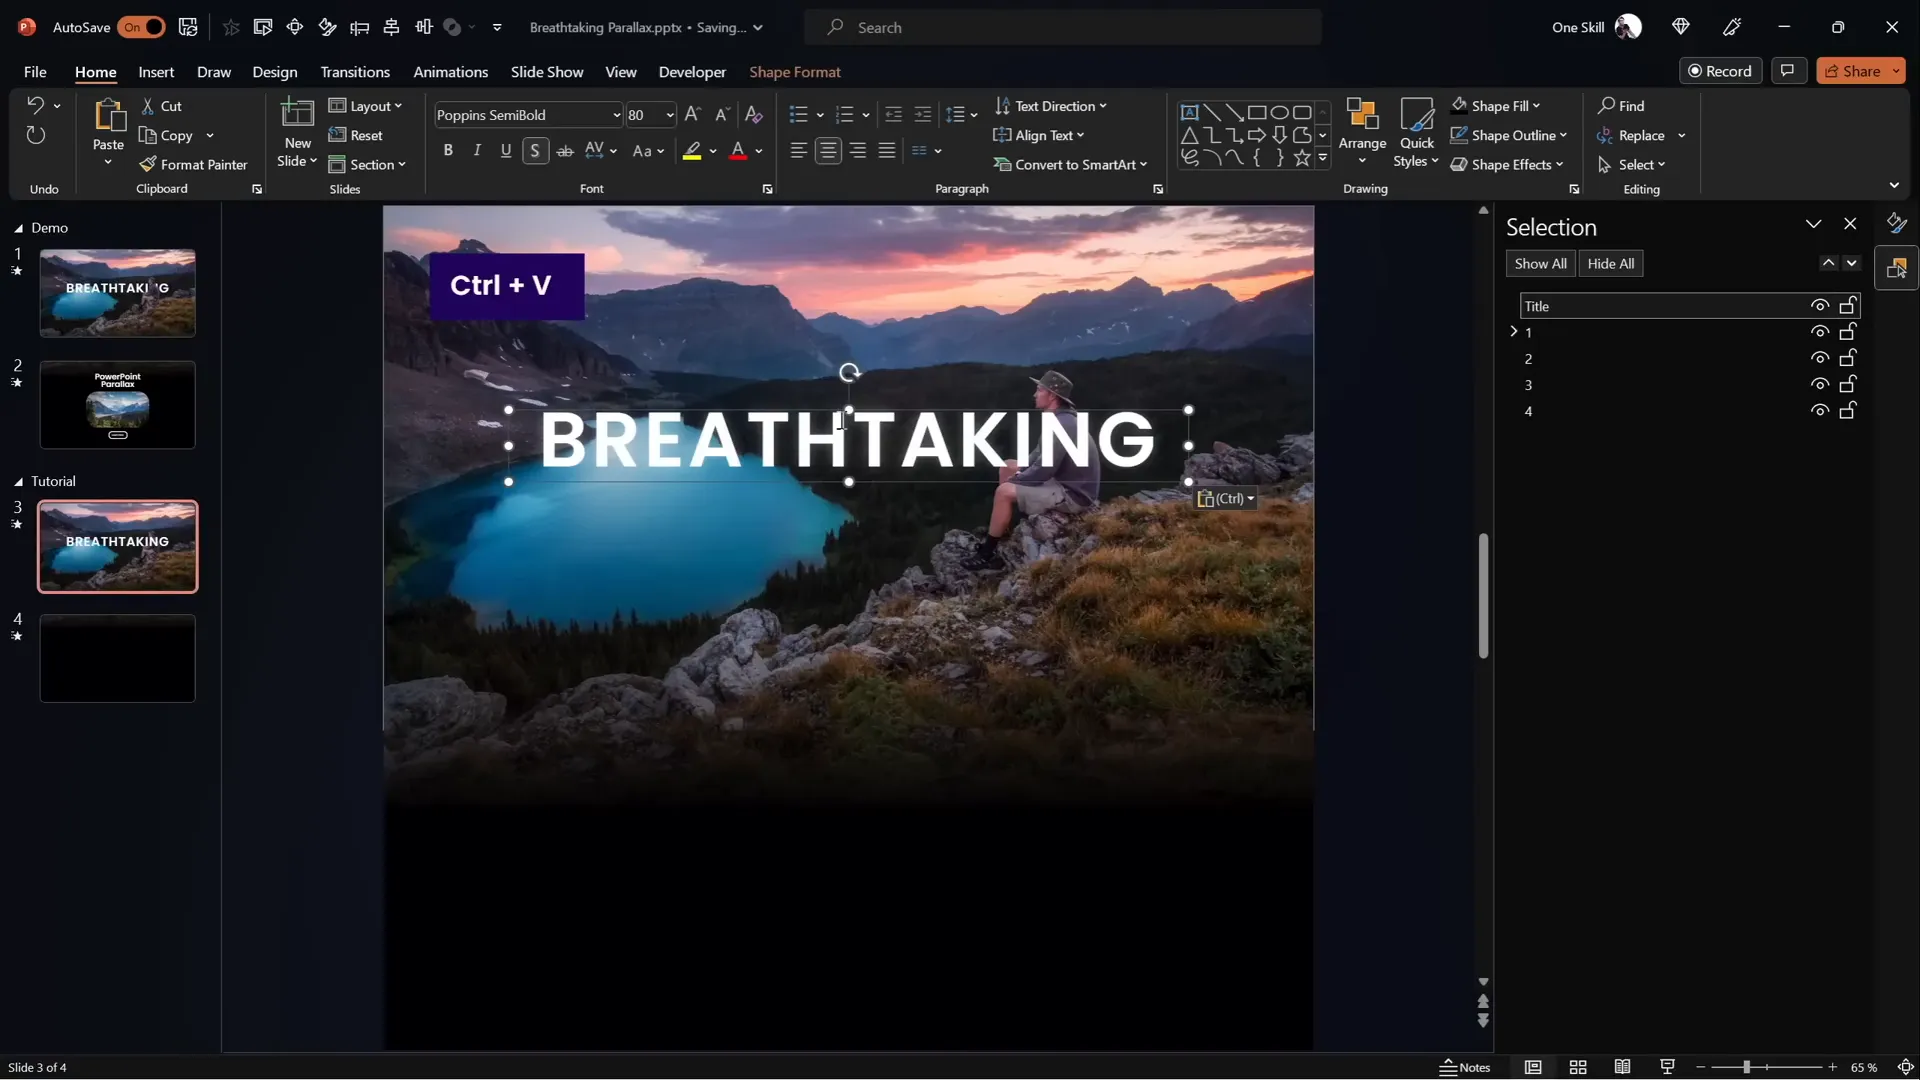
Step 1: Adding Slide Title
- Insert a stylish slide title on the first slide.
- Position the title behind the foreground layer so it does not obscure important elements like the hiker.
- Copy the title to the second slide.
- Move the title slightly outside the slide boundary on the left and upward to create movement during transition.
- Ensure the title stays behind the foreground layer on the second slide as well.
Step 2: Adding Informational Text and Photos
- Copy any additional text boxes and small photos you want to include.
- Paste them into both slides, positioning them at the bottom for the first slide and centered for the second slide.
- With the Morph transition, these elements will smoothly come into view during the animation.
Step 3: Adding a Zoom Effect to a Photo
To create a subtle zoom effect on a photo at the bottom of the slide:
- On the first slide, keep the photo zoomed in (cropped closer).
- On the second slide, select the photo, go to Picture Format, and crop to zoom out, revealing more of the image.
- Use the Morph transition to animate the zoom between slides.
Final Tips and Tricks for Stunning PowerPoint Animation Effects
- Use High-Quality Images: Crisp images make your animation look professional and clean.
- Organize Your Layers: Naming and grouping layers in the Selection Pane helps manage complex slides.
- Experiment with Timing: Adjust Morph transition duration to find the perfect animation speed.
- Blend Edges: Use gradients and cropping to avoid harsh cutoffs at layer boundaries.
- Combine with Text and Other Elements: Adding titles and information enriches your animation’s storytelling.
- Backup Without Morph: If Morph is unavailable, use motion paths as an alternative technique.
By following these steps, you can create powerful Powerpoint Animation effects that bring your presentations to life and impress your audience.
Frequently Asked Questions (FAQ)
What is parallax animation and why use it in PowerPoint?
Parallax animation is a technique where foreground and background layers move at different speeds to create an illusion of depth. In PowerPoint, it adds dynamic visual interest and professionalism to your slides.
Do I need Photoshop to create parallax animations?
While Photoshop or similar photo editors help separate image layers, you can also use free online tools like Photopea to extract layers without paid software.
What if I don’t have the Morph transition in my PowerPoint?
You can use motion path animations to simulate the parallax effect. Check out tutorials on using motion paths for parallax animations for alternative methods.
Can I use any image for parallax animation?
Images with clear, separable layers work best. Look for pictures with distinct foreground, middle, and background elements to create a convincing parallax effect.
How long should the Morph transition duration be?
About 3 seconds works well for smooth animations, but you can adjust based on your preference and presentation pacing.
Can I add text and other elements to the parallax animation?
Yes! Adding titles, text boxes, and photos that animate alongside your layers enhances storytelling and viewer engagement.
How do I hide the edges of layers during animation?
Use a full-slide rectangle with a gradient fill to mask the edges, creating a smooth transition between layers and the slide background.
Conclusion
Mastering Powerpoint Animation effects like the parallax animation can elevate any presentation by adding depth, movement, and professionalism. Using simple tools like image layering, slide duplication, and the Morph transition, you can create stunning visual effects that captivate your audience.
Remember to choose images wisely, separate layers cleanly, and use blending techniques to maintain seamless transitions. Don’t be afraid to add text and other elements to enrich your story. With practice, these techniques will become powerful additions to your PowerPoint skillset.
For more creative PowerPoint tutorials, check out One Skill PPT’s channel and explore additional resources linked throughout this article.
Happy animating!


