If you’ve ever wanted to take your PowerPoint presentations from static and boring to dynamic and captivating, you’re in the right place. PowerPoint animation has the power to transform your slides into engaging visual stories that hold your audience’s attention. In this comprehensive guide, we’ll walk you through how to create an awesome infinite scroll animation on a PowerPoint slide in just seven minutes. This technique will help you elevate your presentations and impress your viewers with smooth, professional-looking animations.
Whether you’re a beginner looking to learn simple animation tricks or an experienced user wanting to add seamless motion effects to your slides, this tutorial will provide you with practical steps and tips. We’ll also cover how to use custom templates, set up your slide layout for high-resolution exports, and add finishing touches like shadows to enhance the visual depth of your animation.
Table of Contents
- Getting Started: Preparing Your Slide
- Setting Up Slide Layout and Margins
- Choosing the Right Slide Size for High-Resolution Output
- Inserting and Cropping Images into Placeholders
- Duplicating Shapes to Create Animation Flow
- Creating the Infinite Scroll Animation with Motion Paths
- Applying Animation Across Multiple Shapes
- Adding Smooth Slide Transitions
- Enhancing Animation with Gradient Shadows
- Frequently Asked Questions (FAQ)
- Conclusion
Getting Started: Preparing Your Slide
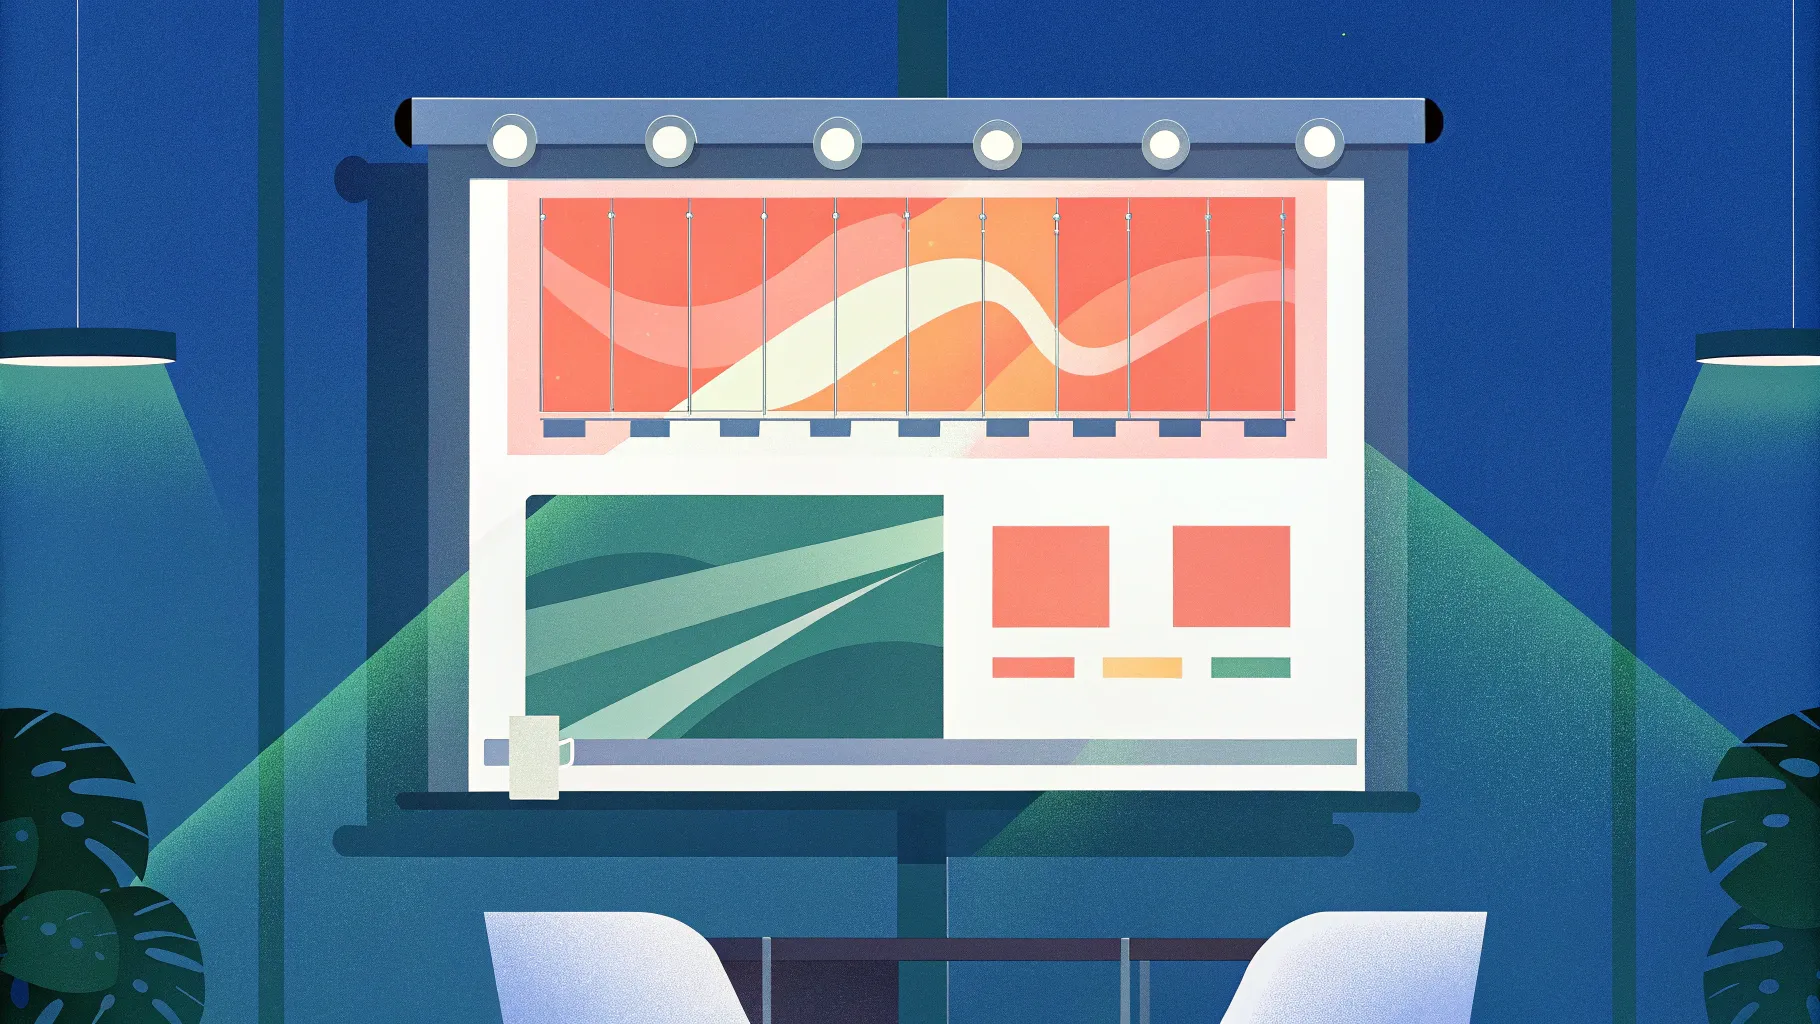
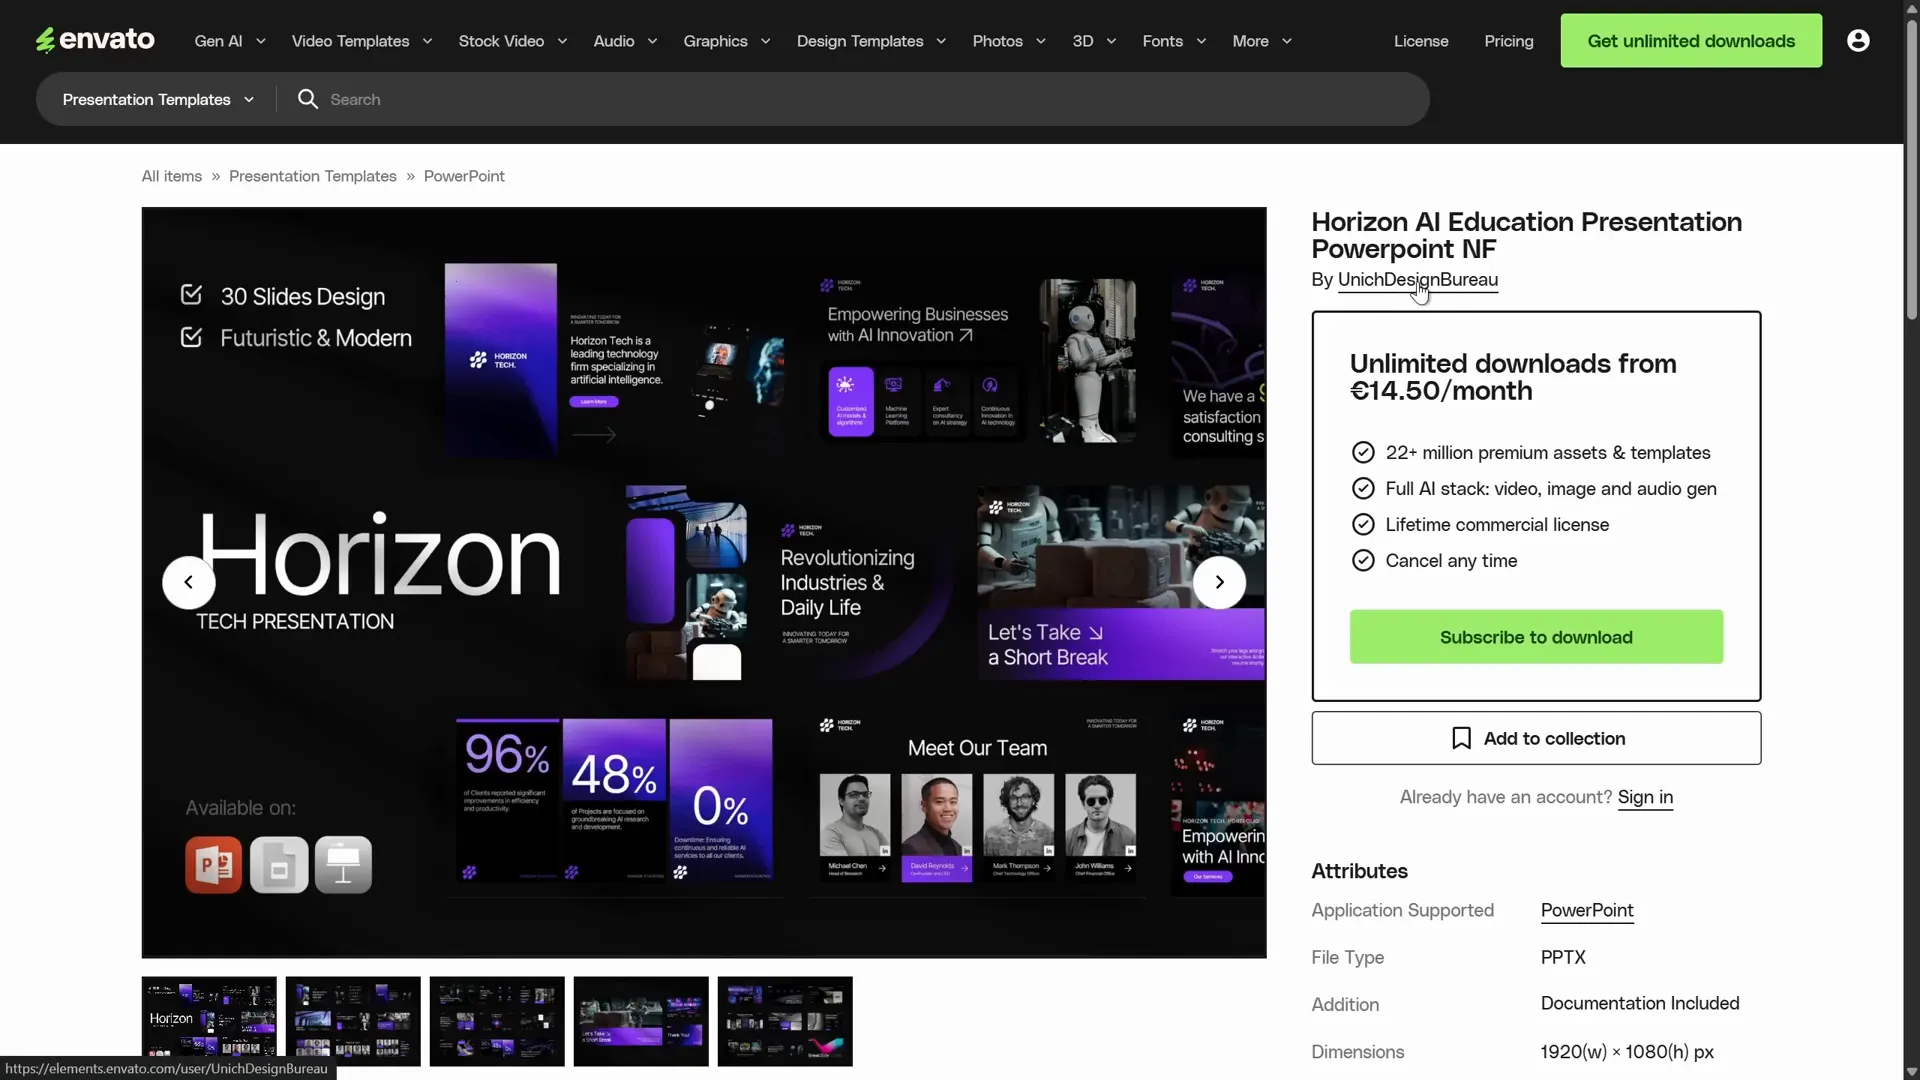
Before diving into the animation process, it’s important to start with a well-designed slide. For this tutorial, a beautiful PowerPoint template by Unique Design Bureau, available on Envato, is used. This template provides a clean and professional foundation, saving time on design work so you can focus on animation.
If you want to try this yourself, consider downloading a high-quality template that offers consistent layout structures and placeholders for images and shapes.
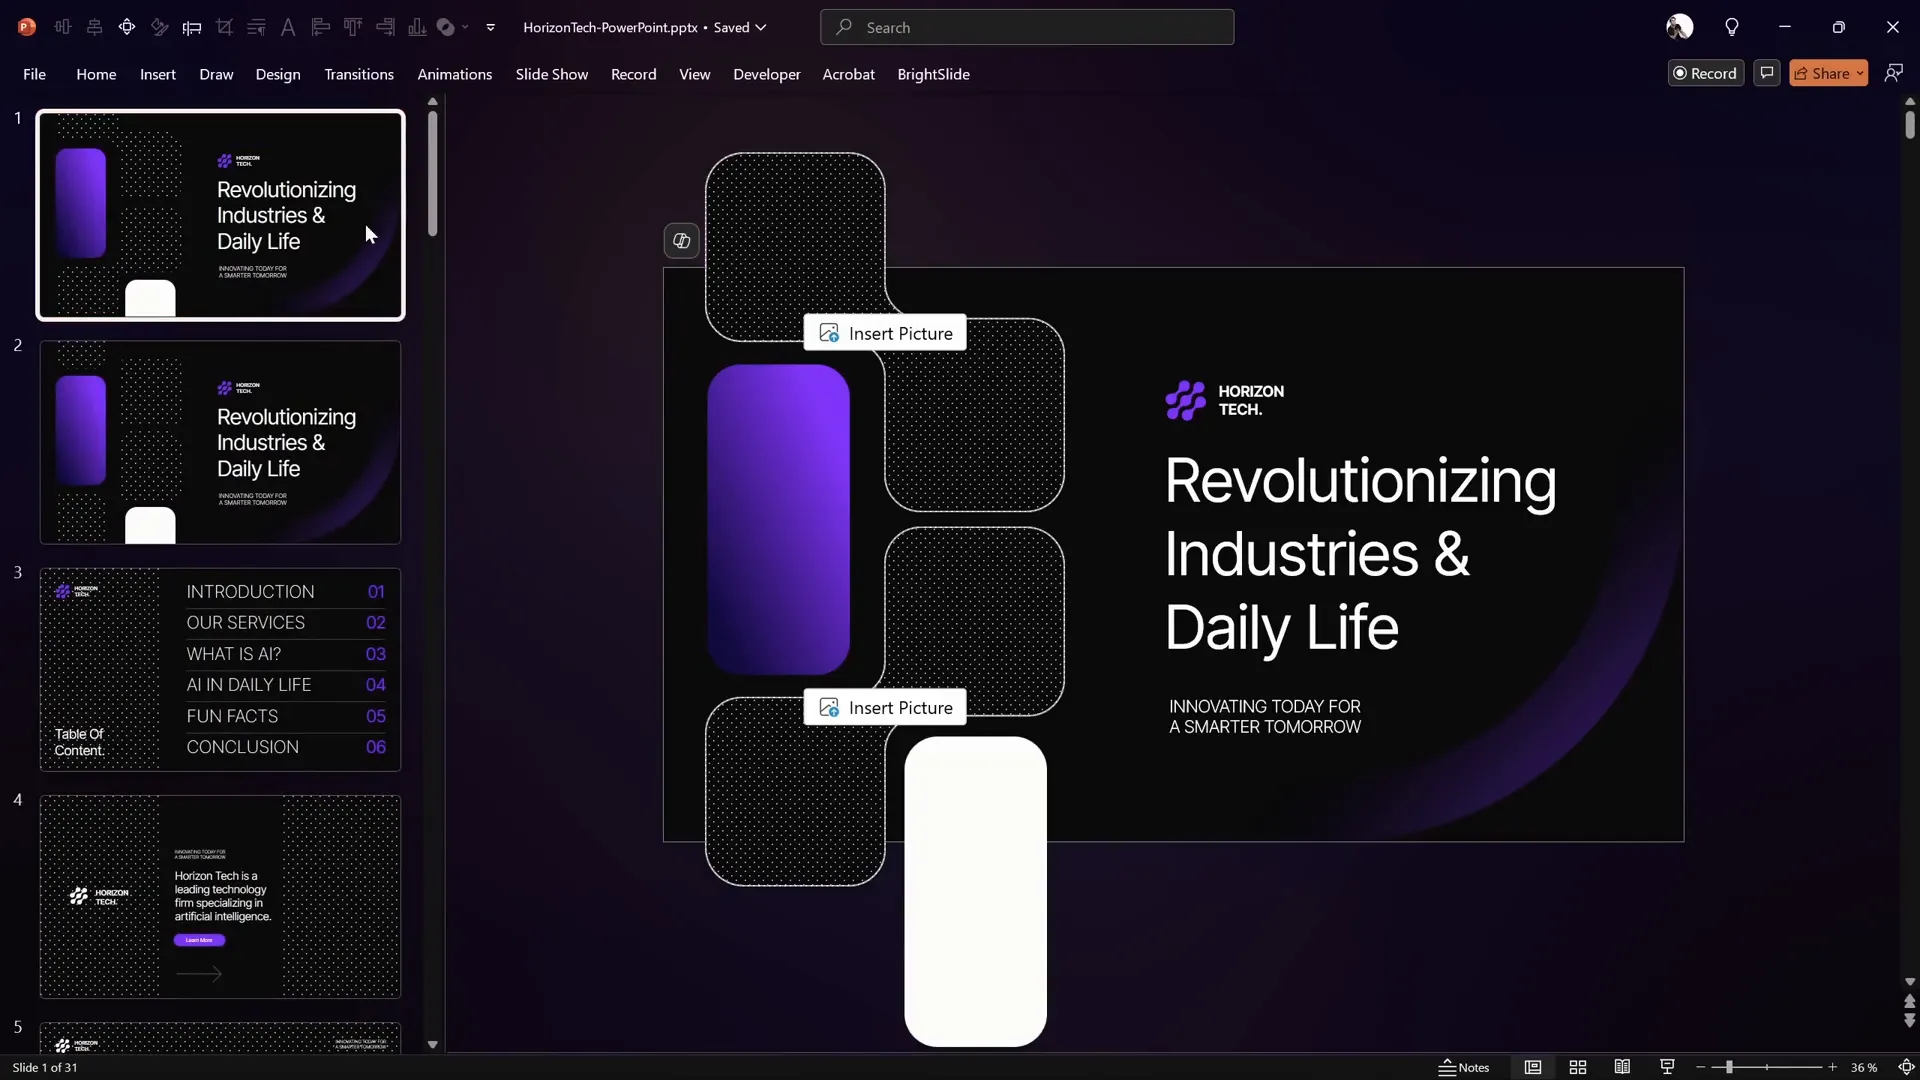
Once you have your template ready, switch to the normal view in PowerPoint to access the slides and start editing the first title slide.
Setting Up Slide Layout and Margins
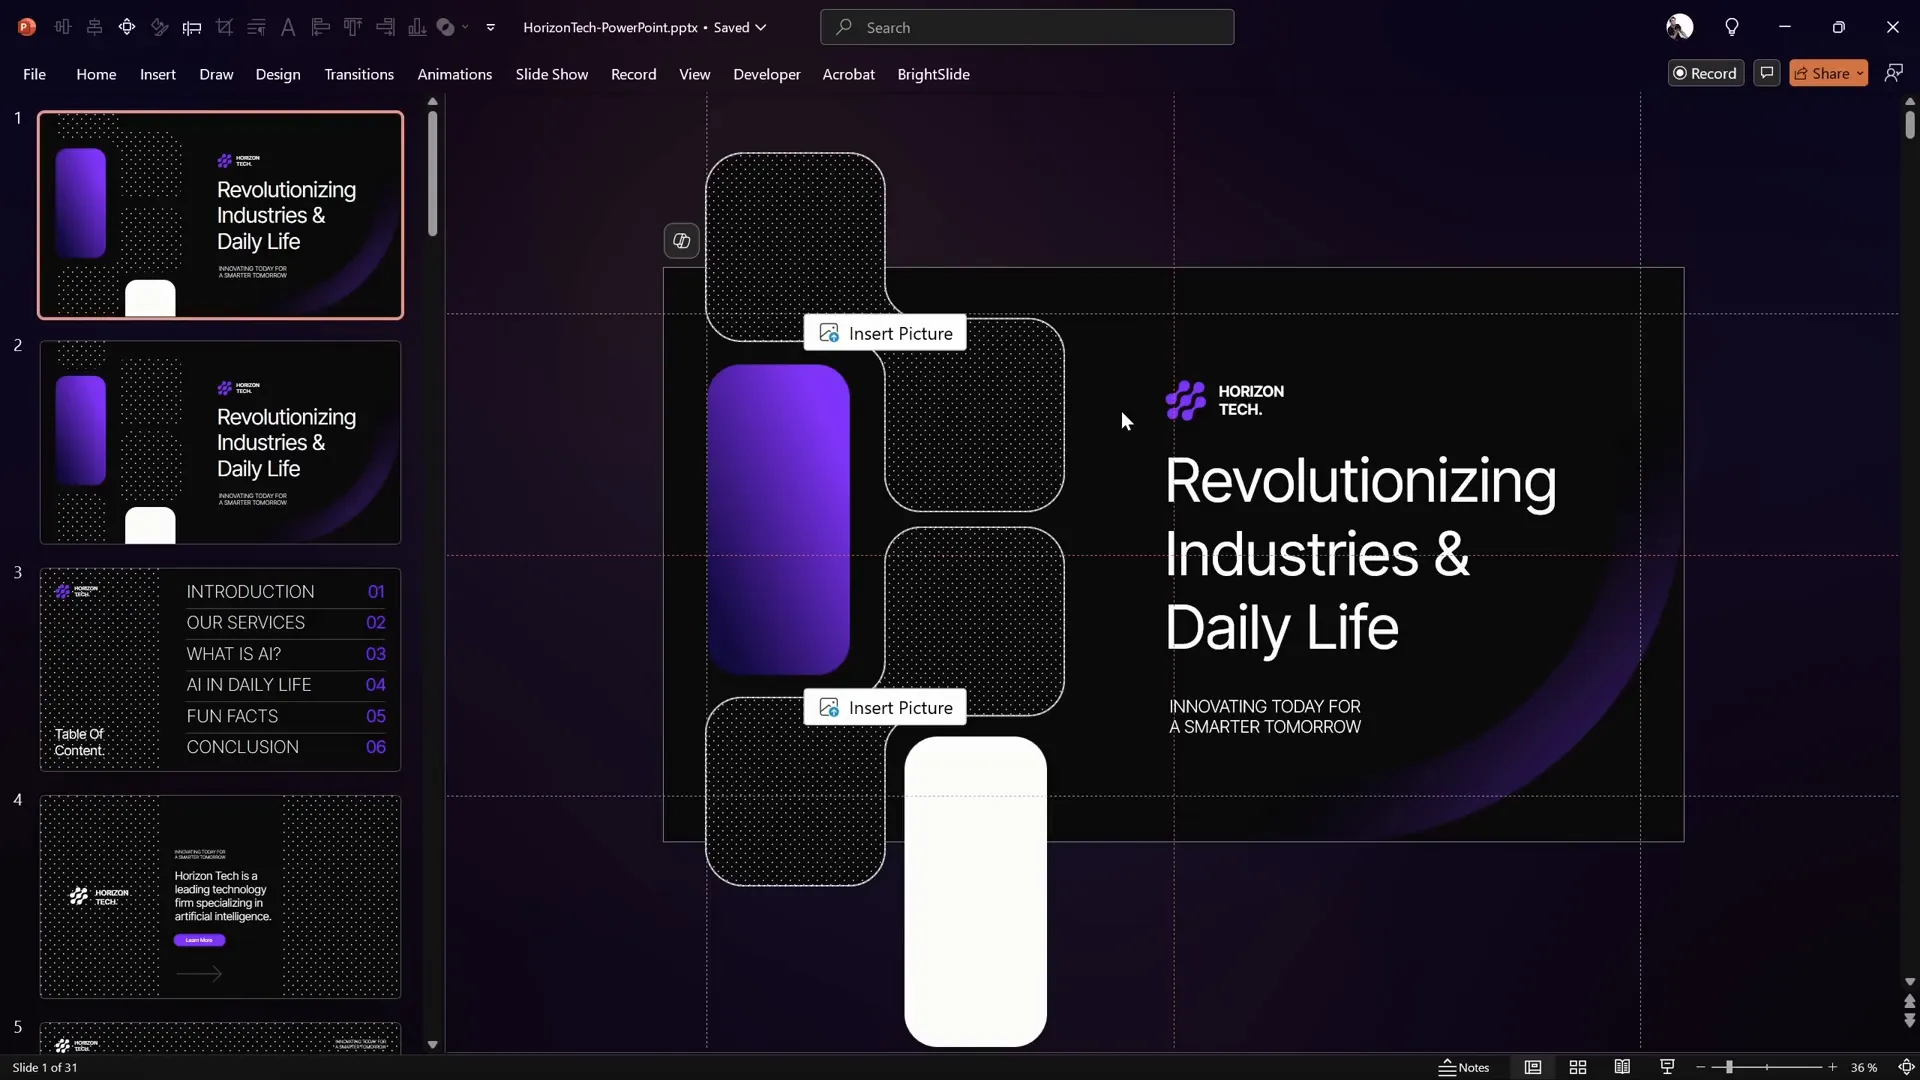
One of the key elements of a professional slide design is the use of margins and guides. These help create balance and consistency across your presentation. In the template used, there is a visible margin around the edges of the slide, which keeps the layout clean and well-balanced.
To see these guides:
- Go to the View tab in PowerPoint.
- Turn on Guides.
These guides help you position elements precisely and maintain consistent spacing.
If you want to learn more about setting up margins, grids, rows, columns, and gutters for your slide layouts, you can check out specialized tutorials that cover these foundational design principles.
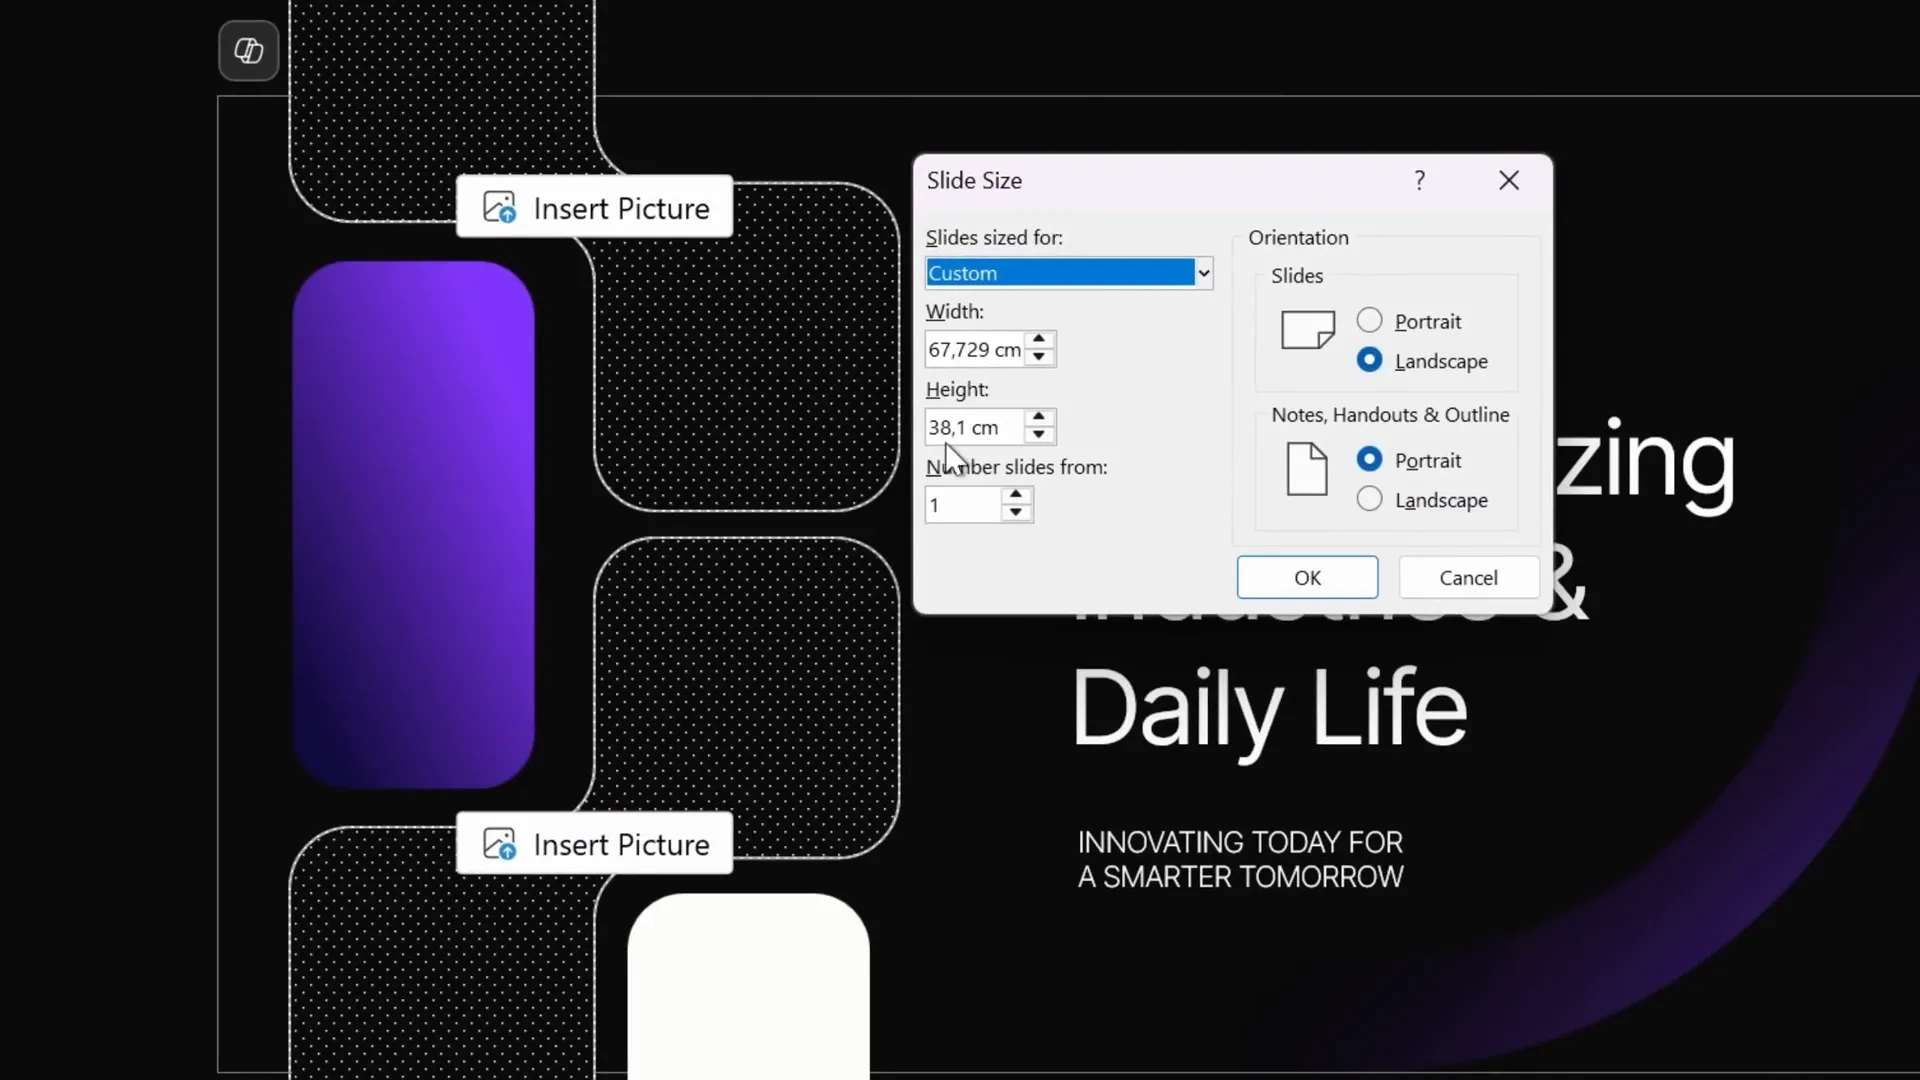
Choosing the Right Slide Size for High-Resolution Output
Another important setup step is choosing the optimal slide size. The template used in this tutorial features a slide size that is double the default PowerPoint slide size. This larger size allows you to export your slides as high-resolution images, perfect for printing or using in high-quality displays.
To check or change slide size:
- Go to Design tab.
- Click Slide Size and select Custom Slide Size.
Having a bigger slide size ensures your animations and graphics remain crisp and clear, even when exported.
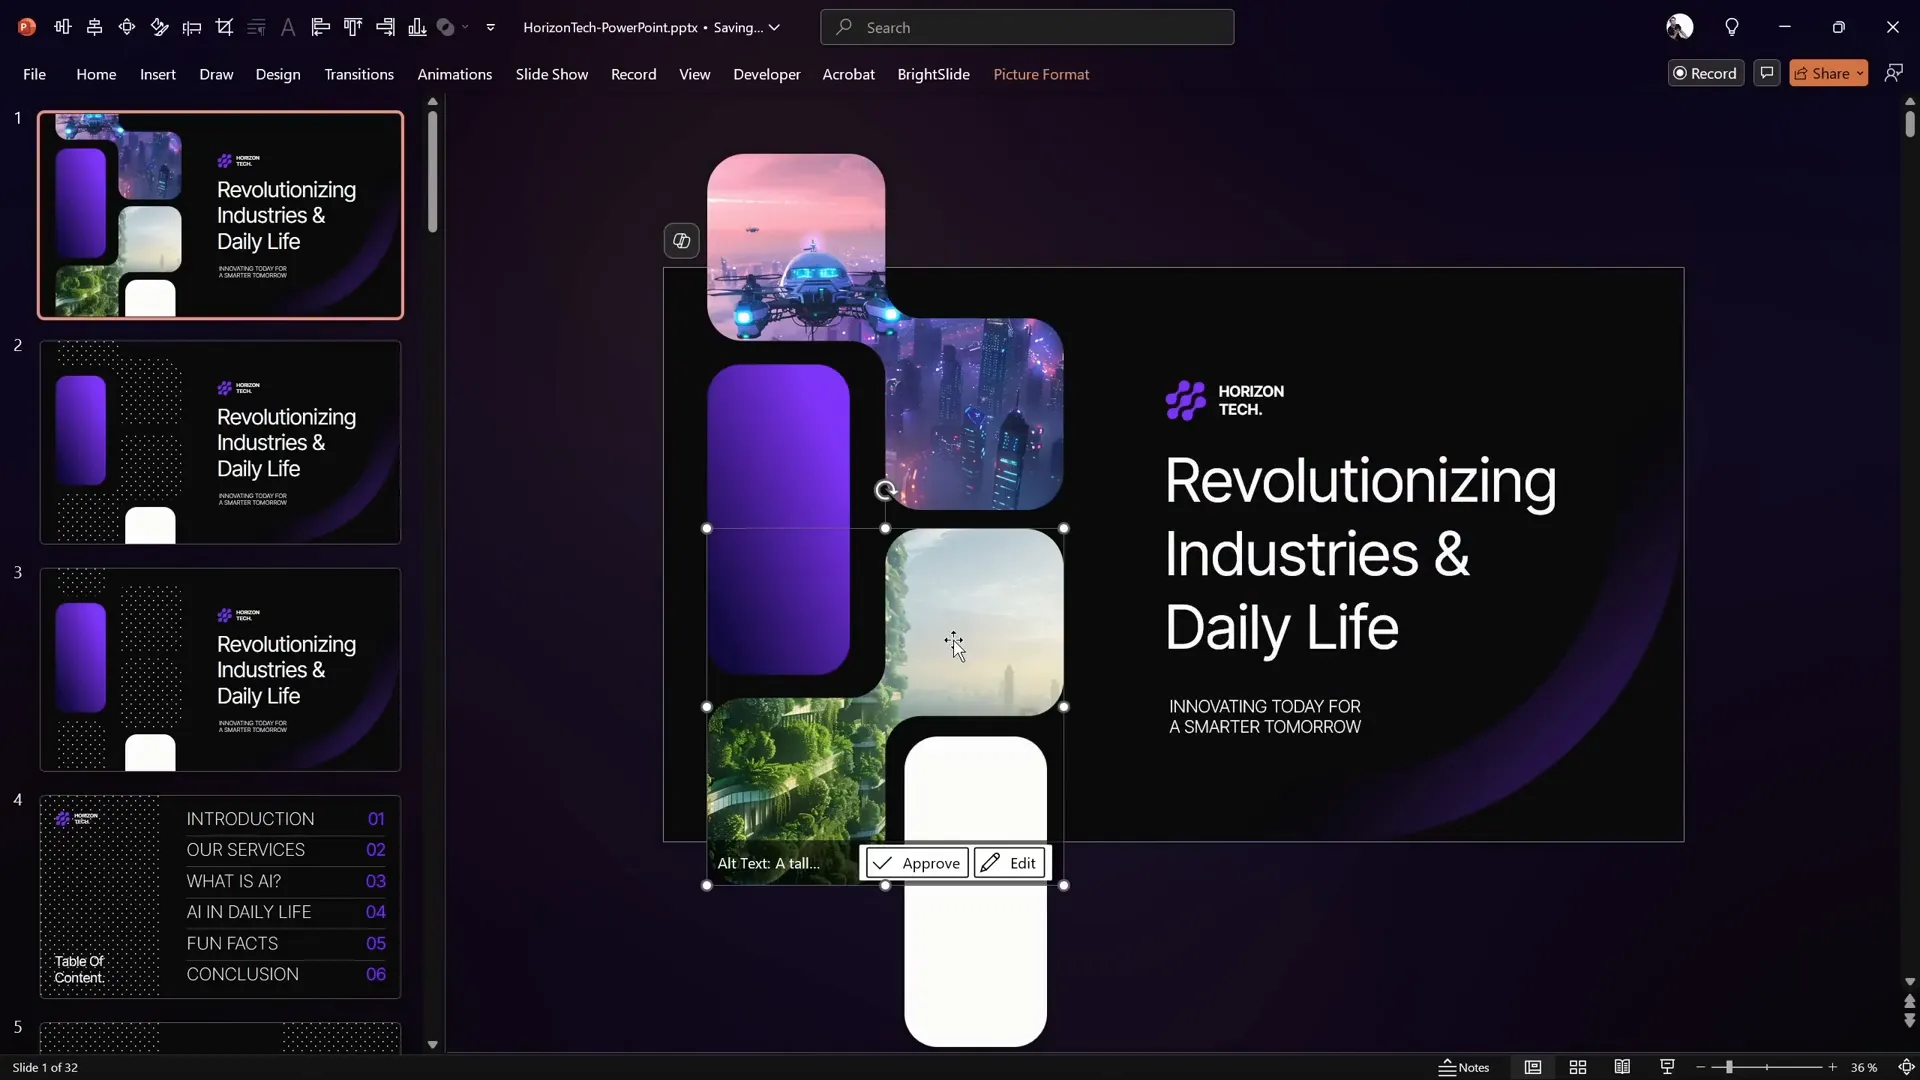
Inserting and Cropping Images into Placeholders
The next step is to fill the custom image placeholders with your chosen images. In this example, images sourced from Freepik are used, including a futuristic skyscraper with greenery, which adds a modern and dynamic feel to the slide.
To insert and adjust images:
- Click on the image placeholder.
- Go to the Picture Format tab.
- Click Insert Picture and select your image.
- Use the Crop tool to adjust how the image fits inside the placeholder.
This cropping capability allows you to control the composition and ensure your images look perfect within the slide design.
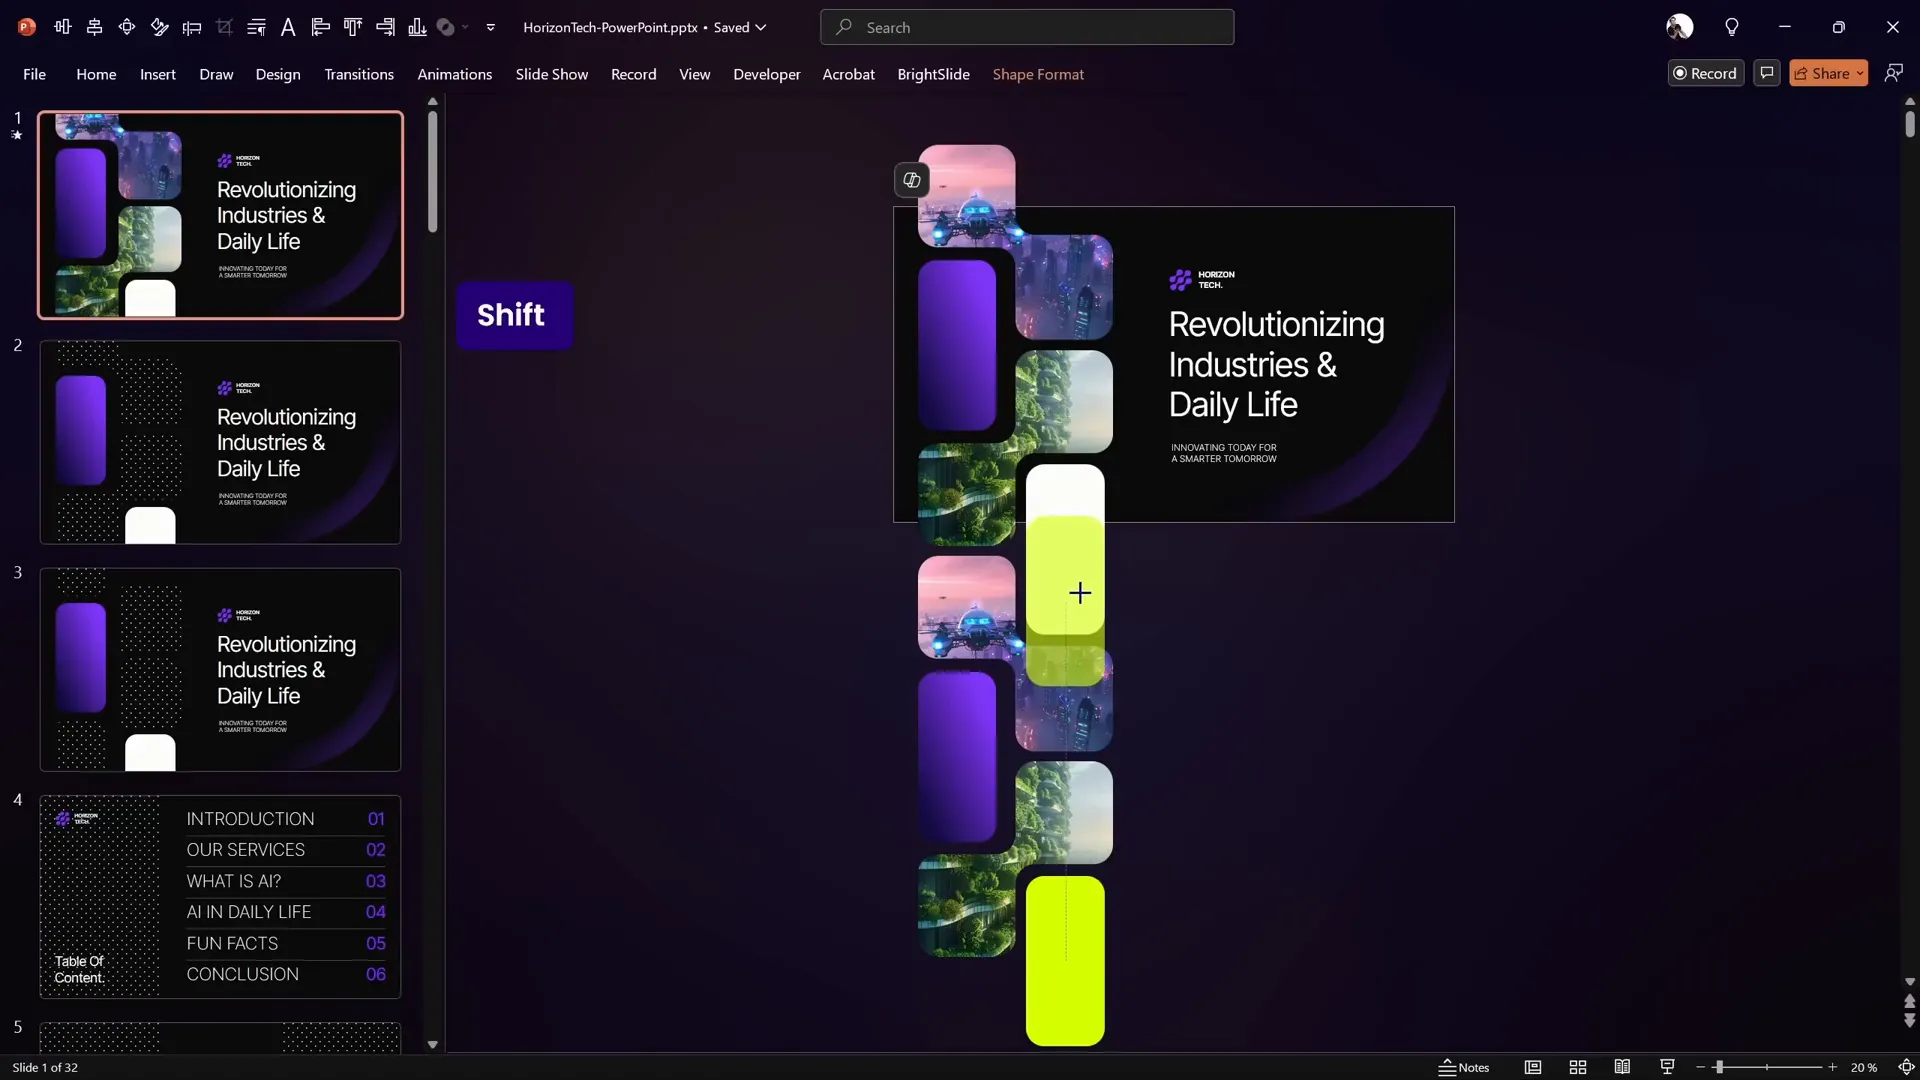
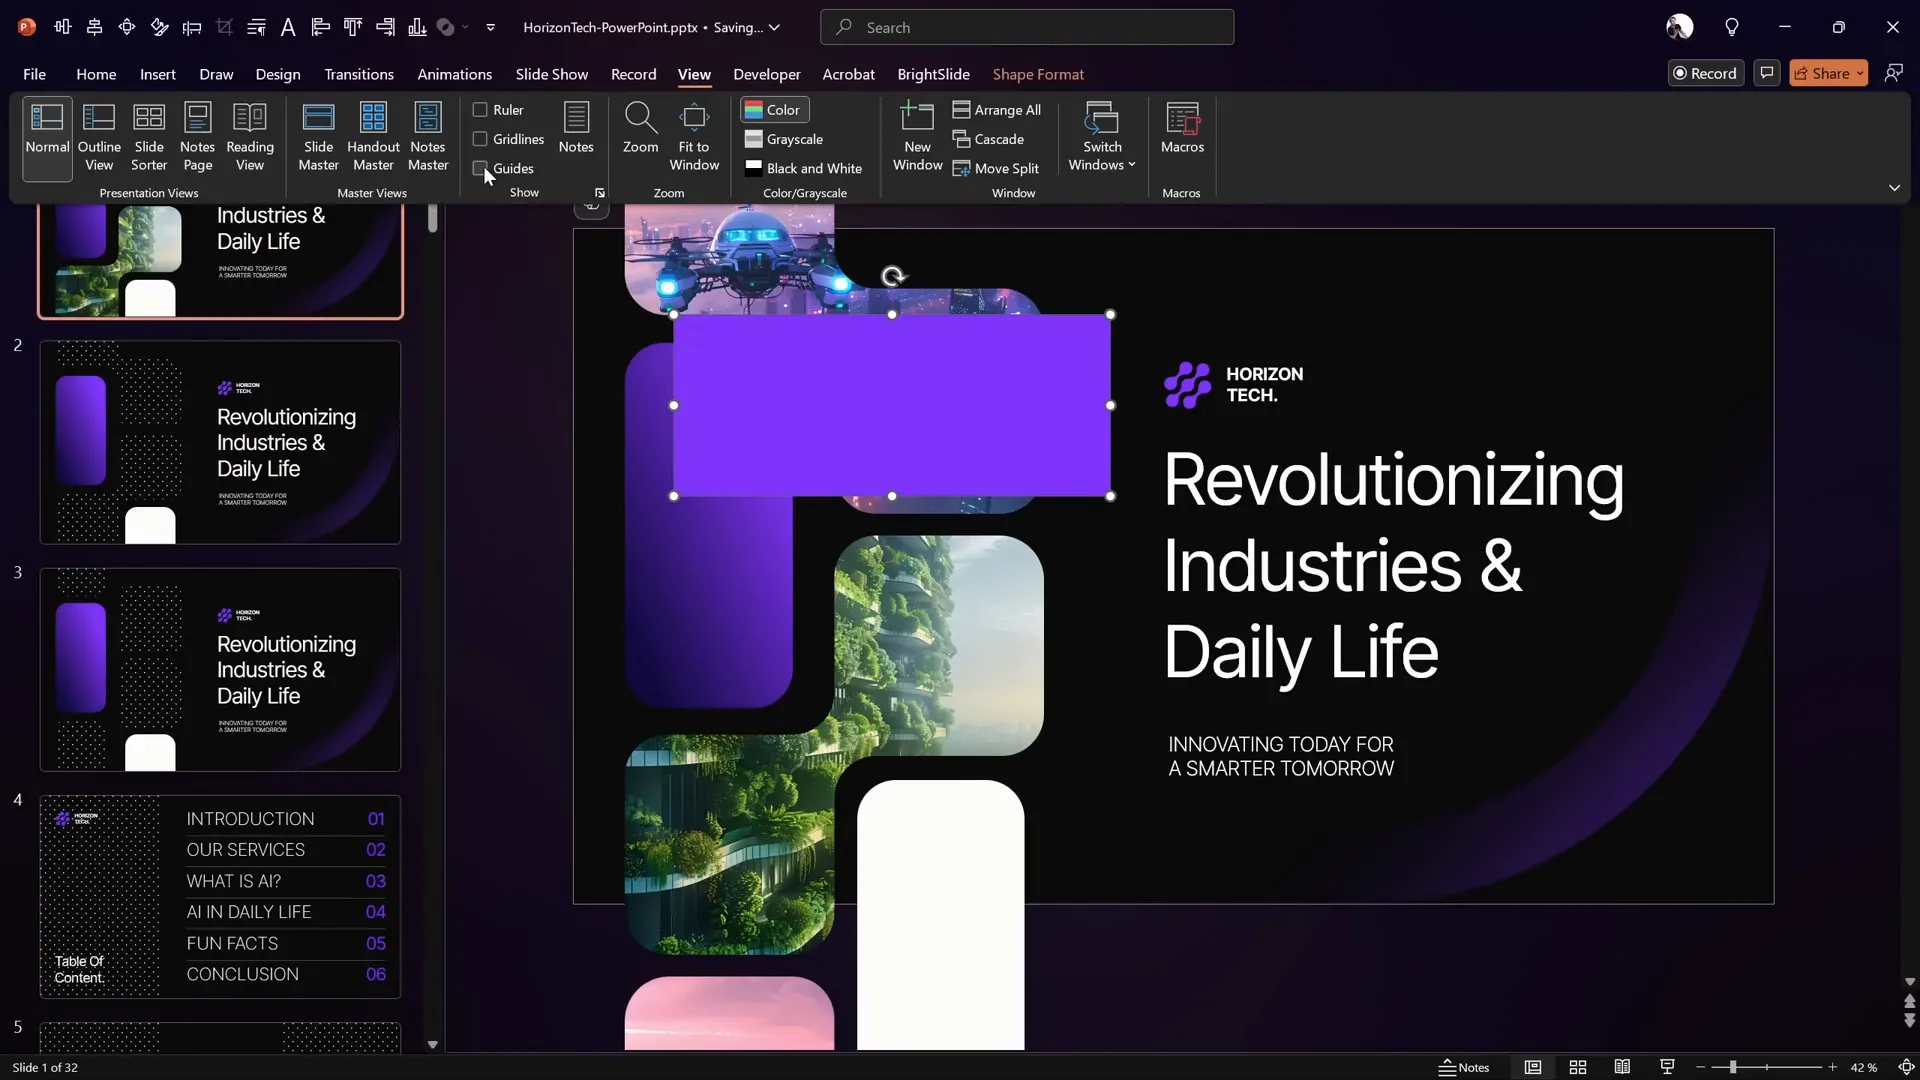
Duplicating Shapes to Create Animation Flow
To create the infinite scroll animation effect, multiple copies of the shapes need to be arranged vertically. However, because some of these shapes are picture placeholders, grouping them as a single object is not possible.
Here’s a clever workaround:
- Zoom out slightly to see all shapes.
- Select all the shapes you want to duplicate.
- Hold down Ctrl + Shift (or Cmd + Shift on Mac) and drag downwards to create a copy in a straight line.
- Maintain consistent vertical gaps between the shapes to ensure smooth animation flow.

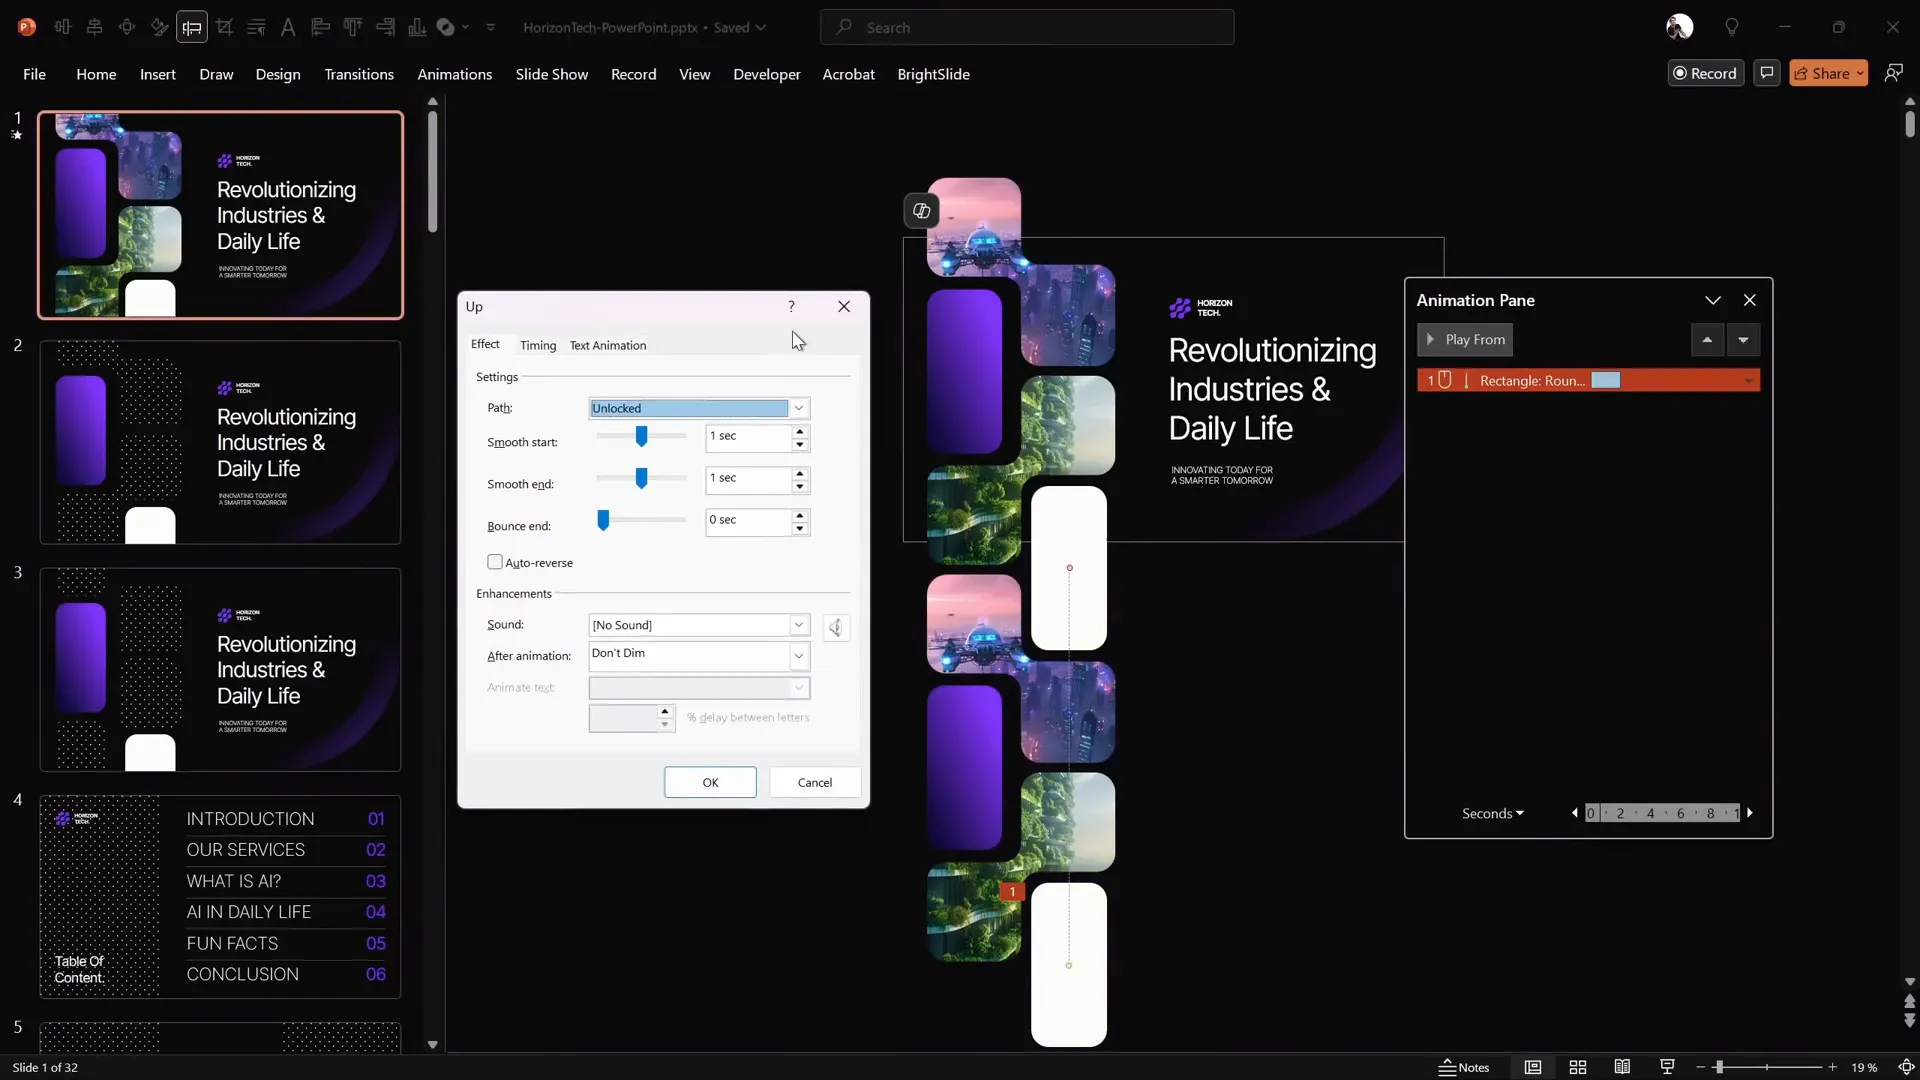
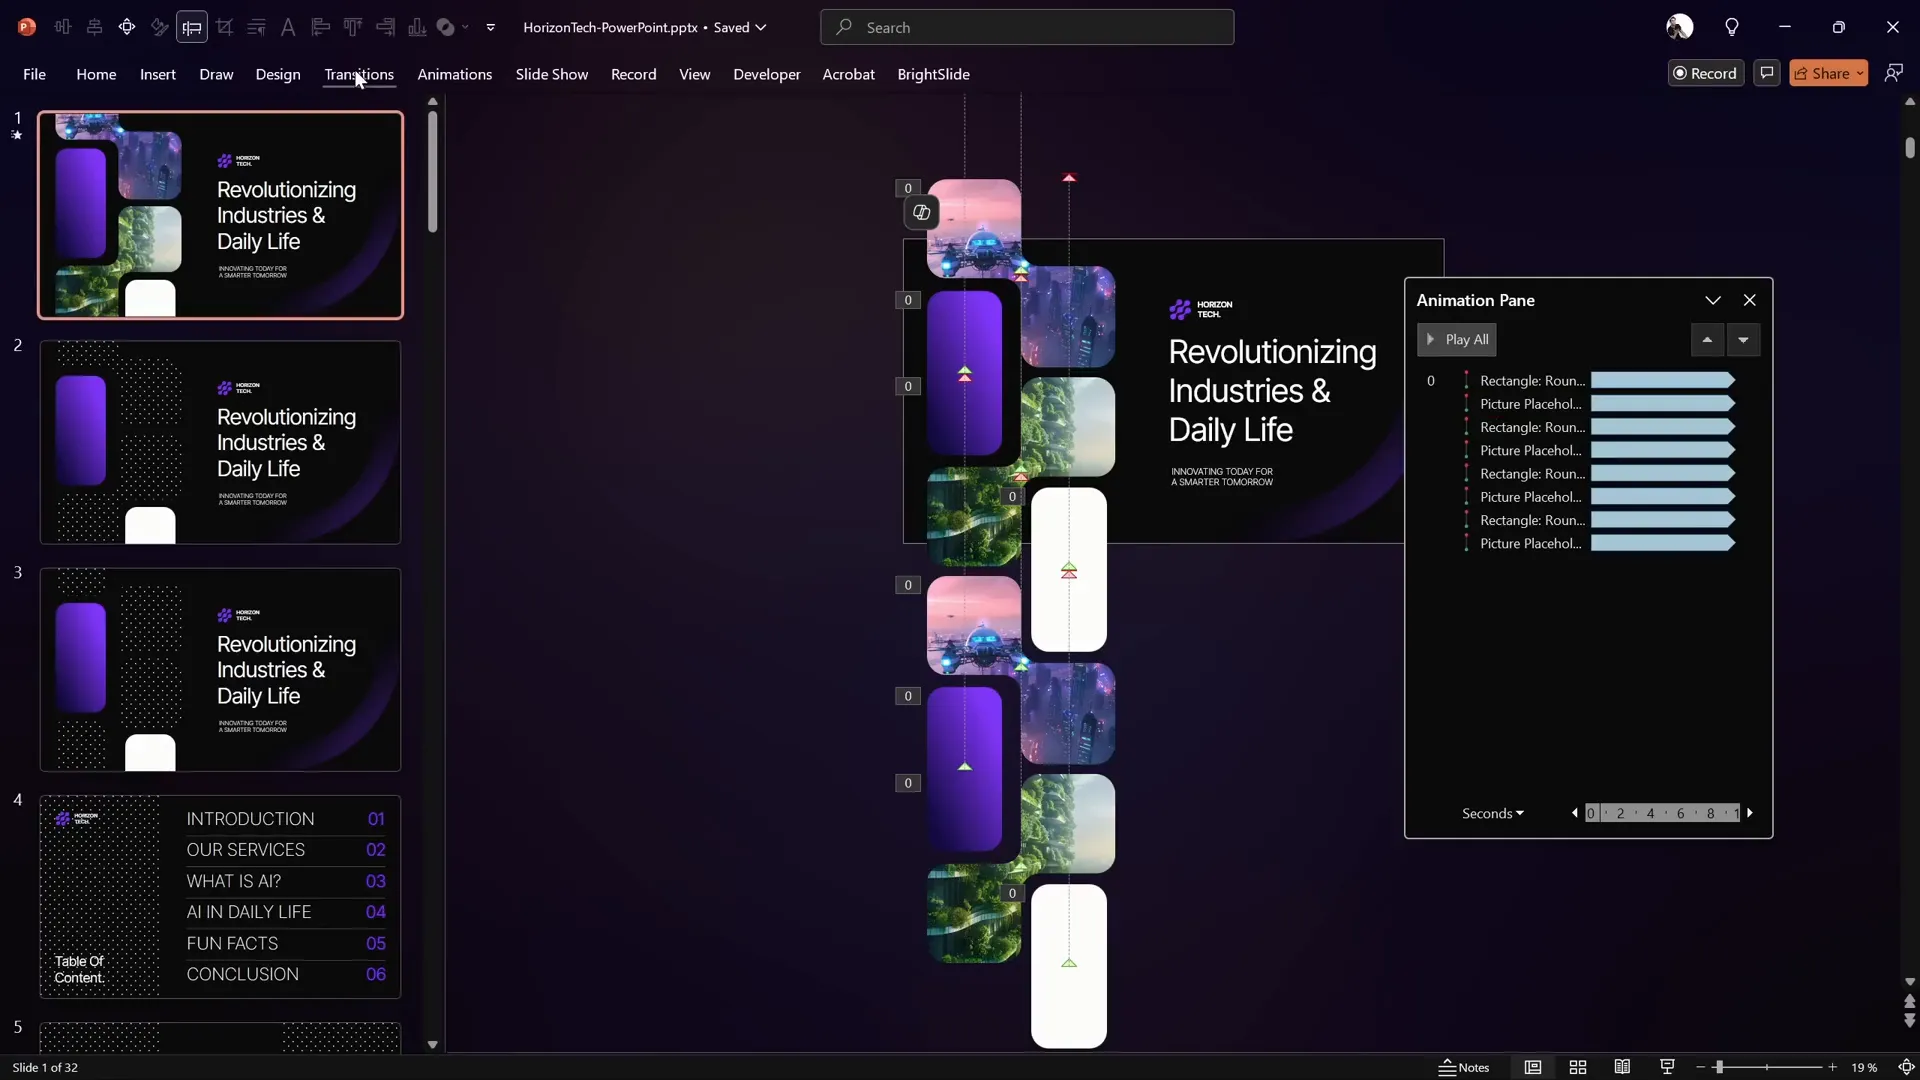
Creating the Infinite Scroll Animation with Motion Paths
The heart of this tutorial is animating the shapes so that they scroll infinitely upwards, creating a seamless loop. This is achieved using PowerPoint’s Motion Path animation.
Follow these steps to animate a shape:
- Select the bottom shape you want to animate.
- Go to the Animations tab.
- Click Add Animation.
- Choose Motion Paths and then select Line.
- Adjust the motion path direction to Upwards.
To help with precision, temporarily change the shape’s color (e.g., to bright green) so you can easily see and adjust the motion path endpoint.
Drag the red arrow (endpoint) of the motion path while holding the Shift key to keep it aligned vertically. Position the animated shape exactly over the next shape in the sequence.
Once aligned, revert the shape’s color to white by copying the formatting from another shape using Ctrl+Shift+C (copy) and Ctrl+Shift+V (paste).
Fine-Tuning Animation Settings
Open the Animation Pane and adjust the motion path animation properties:
- Disable Smooth Start and Smooth End for a consistent speed.
- Set the animation to start With Previous, so it plays automatically when the slide appears.
- Set the Duration to 10 seconds for a slow, smooth scroll.
- Set Repeat to Until End of Slide for infinite looping.
Applying Animation Across Multiple Shapes
Instead of manually animating each shape, use the Animation Painter to copy the animation settings:
- Select the animated shape.
- Go to the Animations tab.
- Double-click the Animation Painter tool.
- Click on the other shapes on the left side of the slide to apply the same animation.
This ensures all shapes scroll upwards with the same speed and timing, creating a smooth infinite scroll effect.

Adding Smooth Slide Transitions
To enhance the overall presentation flow, add a subtle slide transition:
- Select the slide.
- Go to the Transitions tab.
- Choose a subtle transition like Fade.
This prevents abrupt changes when switching to or from this animated slide, maintaining a polished look.
Enhancing Animation with Gradient Shadows
To add depth and make the animation more visually appealing, create shadow effects at the top and bottom of the scrolling area. This makes the shapes appear as if they are emerging from and disappearing into darkness.
Here’s how to add these shadows:
- Insert a rectangle shape at the top of the slide, covering the width of the scrolling shapes.
- Enable Guides to position the rectangle precisely.
- Fill the rectangle with a Gradient Fill.
- Remove all but two color stops in the gradient.
- Set the top color stop to the slide background color (use the Eyedropper tool for exact match).
- Set the bottom color stop to the same color but with 100% transparency.
- Adjust the gradient stops to get the desired shadow effect.
- Duplicate the rectangle, flip it vertically, and place it at the bottom of the slide.
These shadows help frame the animation, adding a professional touch and highlighting the infinite scrolling effect.
Frequently Asked Questions (FAQ)
What is PowerPoint Animation and why should I use it?
PowerPoint Animation refers to the visual effects applied to objects on your slides, including text, shapes, and images. Using animation can help you emphasize key points, tell a story visually, and keep your audience engaged. Infinite scroll animation, like the one in this tutorial, adds dynamic movement that can make your presentation stand out.
How long does it take to create an infinite scroll animation in PowerPoint?
With the right template and step-by-step guidance, you can create a smooth infinite scroll animation in about seven minutes. This tutorial breaks down the process into simple steps to make it quick and easy.
Can I use any PowerPoint template for this animation?
While you can create infinite scroll animations on any template, using a professionally designed template with custom placeholders and proper margins will save time and ensure your animation looks clean and balanced. The template used in this tutorial is available on Envato and is highly recommended.
Is it possible to export my animated slide as a video or GIF?
Yes, PowerPoint allows you to export slides as videos or GIFs. However, infinite scroll animations that rely on motion paths and continuous loops are best experienced within PowerPoint itself or exported as video files for playback. Exporting as an image will not preserve animation.
What if I want to adjust the speed of the scroll?
You can control the scroll speed by adjusting the Duration setting of the motion path animation. Increasing the duration slows down the animation, while decreasing it speeds up the scroll.
Can I apply this infinite scroll animation to other objects?
Absolutely! The motion path technique demonstrated can be applied to any shapes or images you want to animate in a continuous scroll or loop. Experiment with different objects to create unique effects.
Where can I learn more about PowerPoint animation techniques?
For a deeper dive into mastering PowerPoint animations, check out pptskill.com, which offers over 65 video lessons revealing animation secrets step by step.
Conclusion
PowerPoint animation unlocks a world of creative possibilities to make your presentations more engaging and professional. By mastering techniques like infinite scroll animations, you can captivate your audience with smooth, seamless motion effects that bring your slides to life.
In this tutorial, you learned how to:
- Prepare your slide using a high-quality template with proper margins and large slide size.
- Insert and crop images into custom placeholders.
- Duplicate shapes to create a vertical stack for scrolling.
- Apply motion path animations to create an infinite upward scroll.
- Use the animation painter to replicate animations across multiple shapes.
- Add subtle slide transitions for smooth presentation flow.
- Enhance your slide with gradient shadows that add depth and polish.
With these skills, your PowerPoint presentations will no longer be static. Instead, they will be dynamic visual experiences that engage your viewers and elevate your storytelling.
For more tips and tutorials on PowerPoint animation, templates, and presentation design, visit pptskill.com and explore their extensive video lesson library.
Happy animating!