If you’re eager to elevate your PowerPoint presentations with captivating animation effects, you’ve come to the right place. In this detailed guide, you’ll learn how to create a breathtaking parallax animation effect in PowerPoint that will impress your audience and bring your slides to life. Inspired by the amazing work of Dennis Snellenberg and expertly demonstrated by One Skill PPT, this tutorial breaks down the process into simple, actionable steps you can follow, even if you’re new to PowerPoint animation effects.
Parallax animation is a powerful technique where different layers of an image move at different speeds to create an illusion of depth and immersion. By mastering this effect in PowerPoint, you’ll add a professional and dynamic touch to your presentations without needing advanced video or animation software.
Table of Contents
- Introduction to Parallax Animation in PowerPoint
- Choosing the Right Image for Parallax Animation
- Preparing Your Image Layers
- Setting Up Your PowerPoint Slides
- Applying the Morph Transition for Smooth Animation
- Masking and Blending for a Seamless Look
- Enhancing the Animation with Text and Zoom Effects
- Final Tips for Stunning PowerPoint Animation Effects
- Frequently Asked Questions (FAQ)
Introduction to Parallax Animation in PowerPoint
PowerPoint animation effects have evolved dramatically over the years, and one of the most visually engaging techniques you can use is the parallax animation. This effect simulates a 3D depth by moving multiple layers of an image at different speeds, creating a sense of perspective and immersion. The technique is widely used in web design, video games, and now, with a bit of creativity, it can be applied within PowerPoint presentations.
Unlike simple slide transitions or basic animations, parallax animation adds a dynamic storytelling element that captures attention and elevates your message. This tutorial focuses on using PowerPoint’s Morph transition—an elegant tool that allows you to animate smooth transformations between slides without complex keyframing or external software.
Before diving into the process, it’s important to acknowledge the inspiration behind this tutorial. Dennis Snellenberg’s brilliant animation sparked the idea, and we’ll do our best to replicate and build upon that concept using PowerPoint’s built-in features.

Choosing the Right Image for Parallax Animation
The foundation of a stunning parallax animation is the right image. Not every photo will work well for this effect. You need an image with clear separable layers—foreground, midground, and background—that you can isolate and animate independently. Here are key points to consider when selecting your image:
- Multiple Distinct Layers: Look for images with a foreground subject, one or more middle layers (like mountains, trees, or buildings), and a clear background (such as the sky).
- Visual Depth: The more depth and separation between layers, the more dramatic and effective the parallax effect will be.
- High Resolution: Use high-quality images so that when layers are shifted or zoomed, they maintain clarity.
- Simple Background: Backgrounds that are too busy can distract from the animation effect.
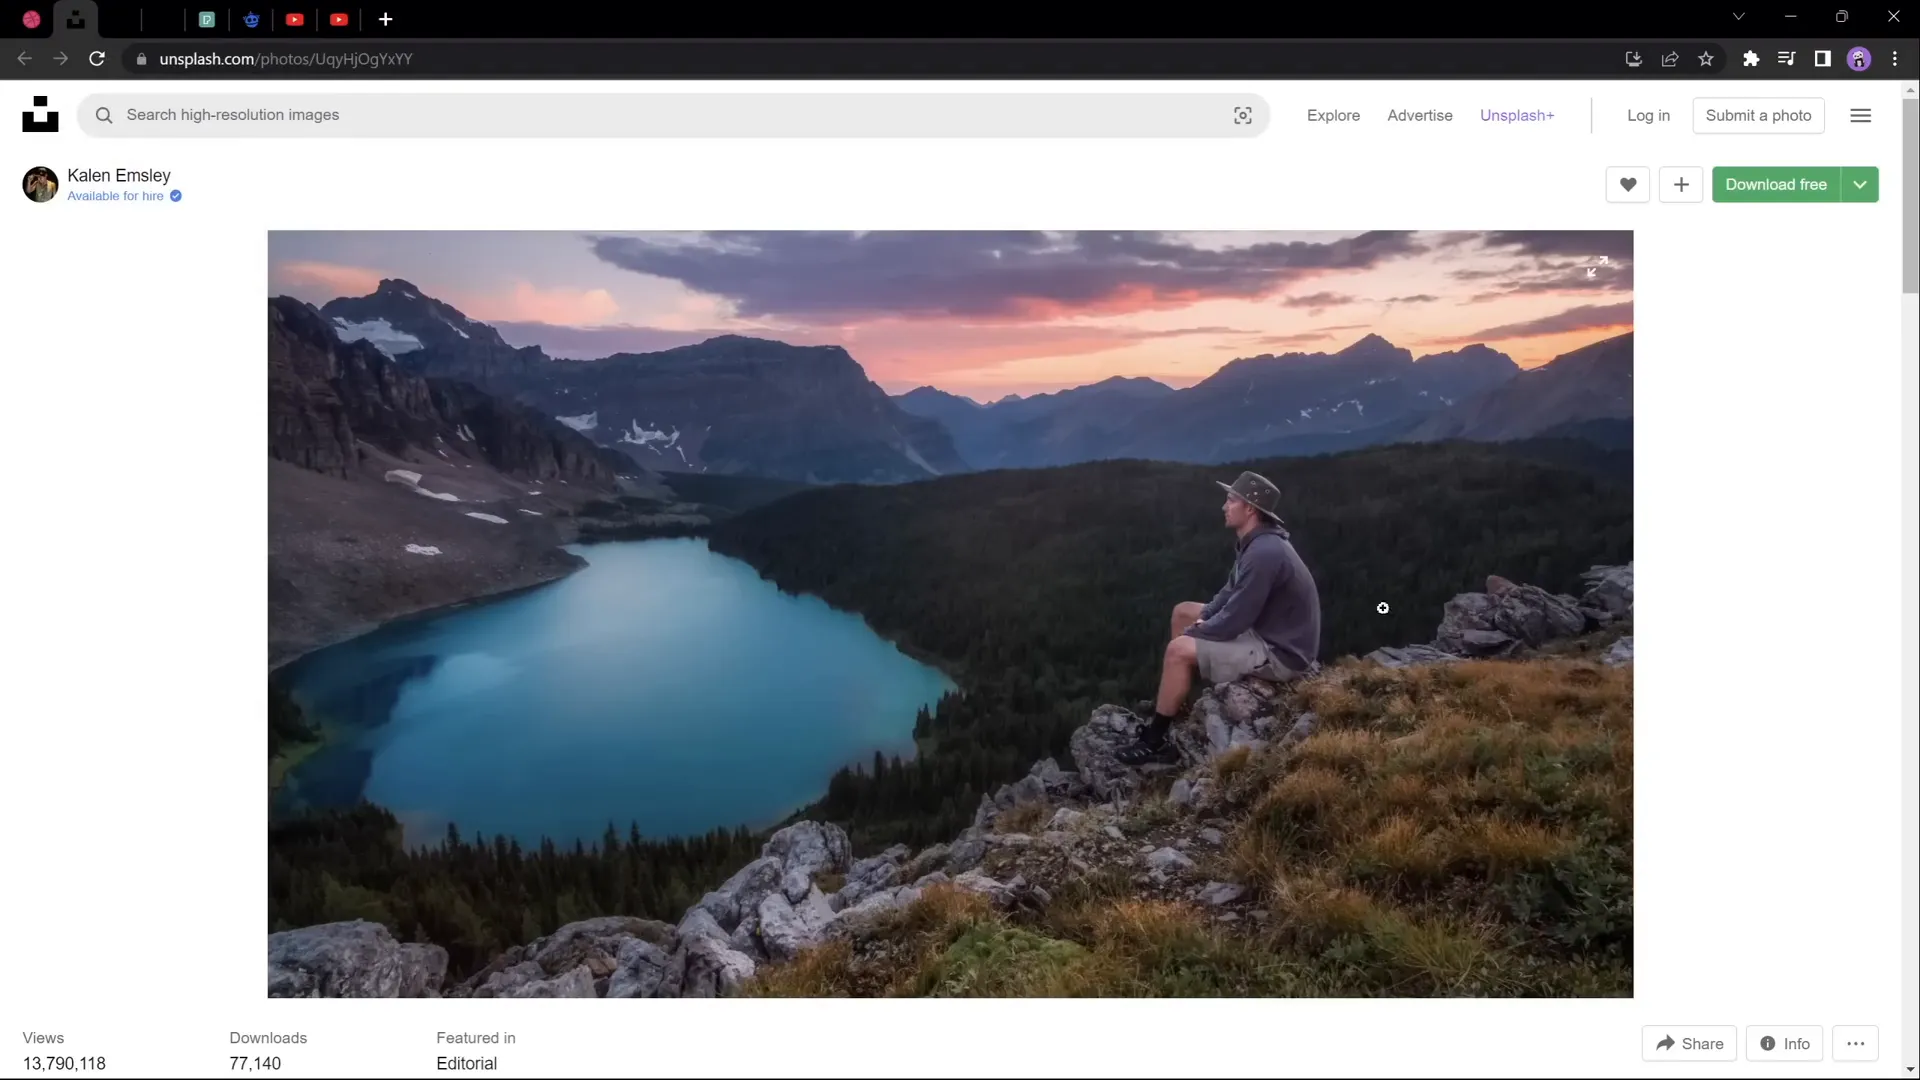
For this tutorial, a beautiful photo by Calen Emsley was chosen, featuring a hiker in the foreground, layers of mountains, and a striking sky background. This image works perfectly to demonstrate how to separate layers and animate them in PowerPoint.
When searching for your own images, websites such as Unsplash, Pexels, and Freepik offer excellent options with free, high-quality photos that you can use legally in your projects.
Preparing Your Image Layers
Once you have your image, the next step is to separate it into different layers that can be animated independently. This requires photo editing software capable of isolating parts of the image and saving them as separate files with transparent backgrounds.
Here are some popular tools you can use:
- Adobe Photoshop: Industry-standard for image editing with powerful selection and masking tools.
- Affinity Photo: A cost-effective alternative with similar capabilities.
- Photopea: A free, online photo editor that mimics Photoshop’s interface and functions.
For those new to separating image layers, tutorials exist—like the Photopea tutorial linked below—that walk you through cutting out layers without needing expensive software.
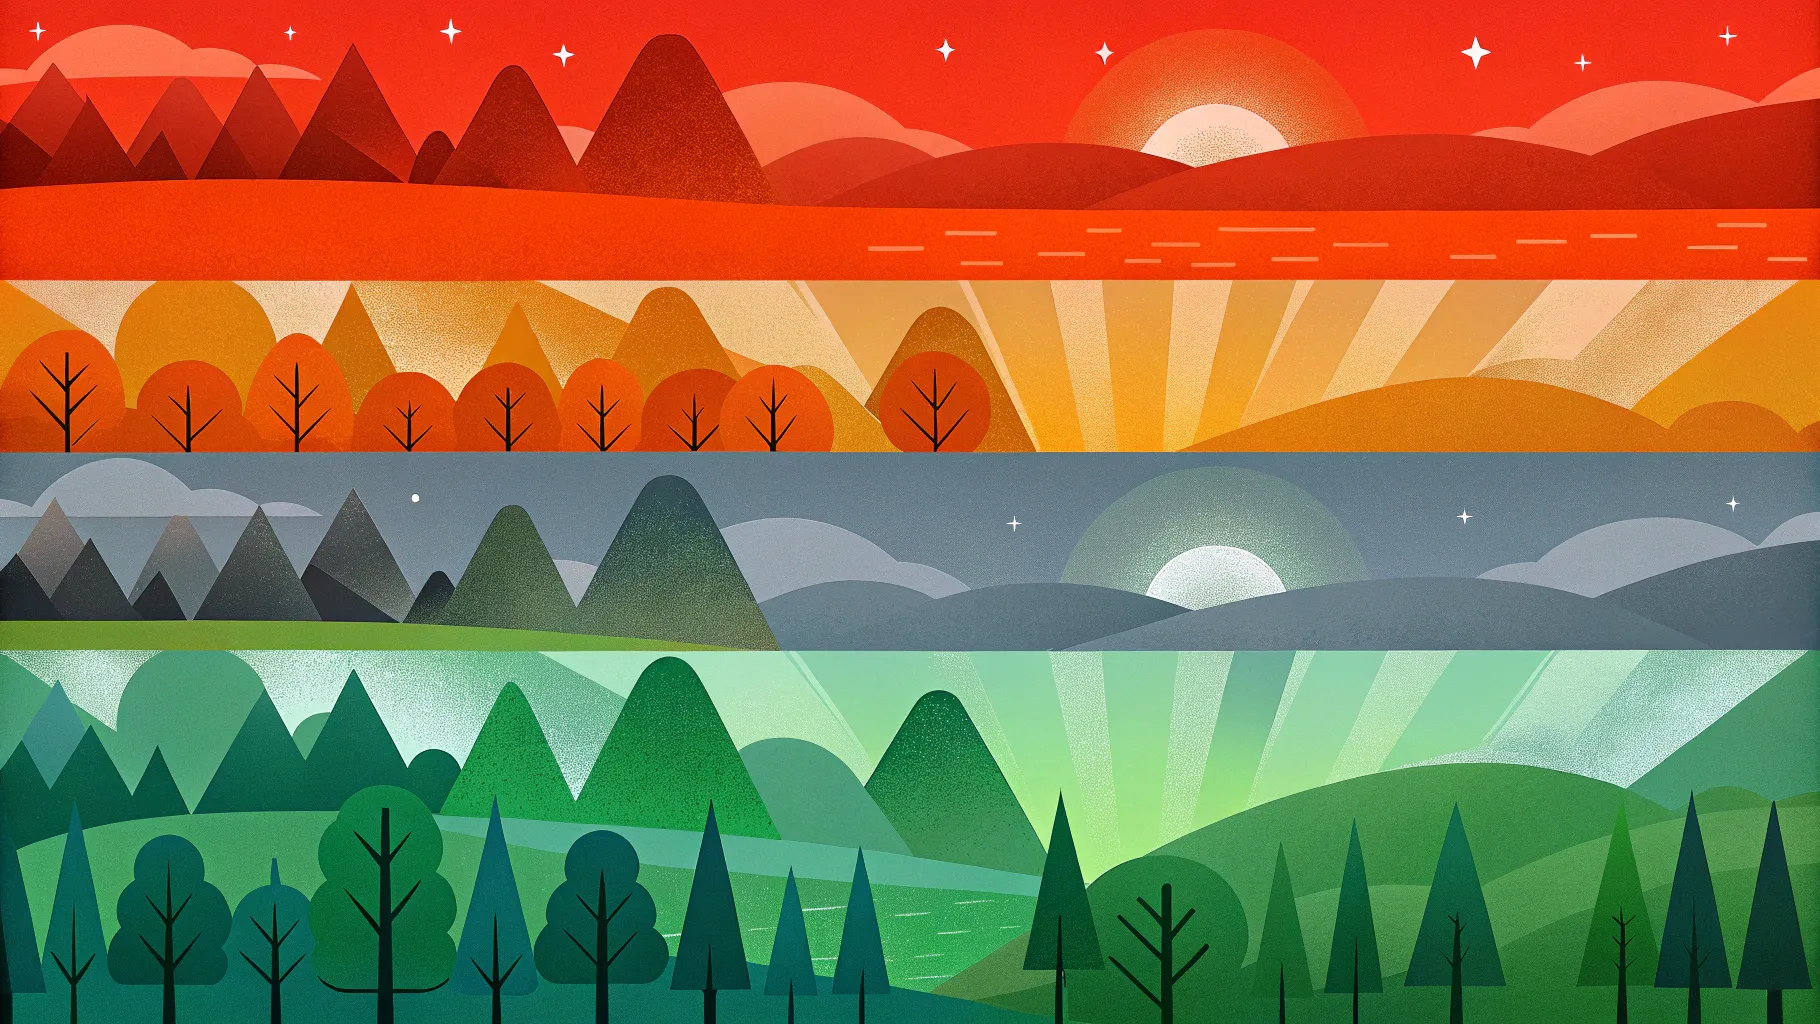
In this tutorial, the image was separated into four layers:
- Layer 1: The hiker sitting on the rock in the foreground.
- Layer 2: The forest with a beautiful lake in the midground.
- Layer 3: The second line of mountains further back.
- Layer 4: The beautiful sky as the background.
Each layer was saved as a PNG with transparency to allow overlapping in PowerPoint.

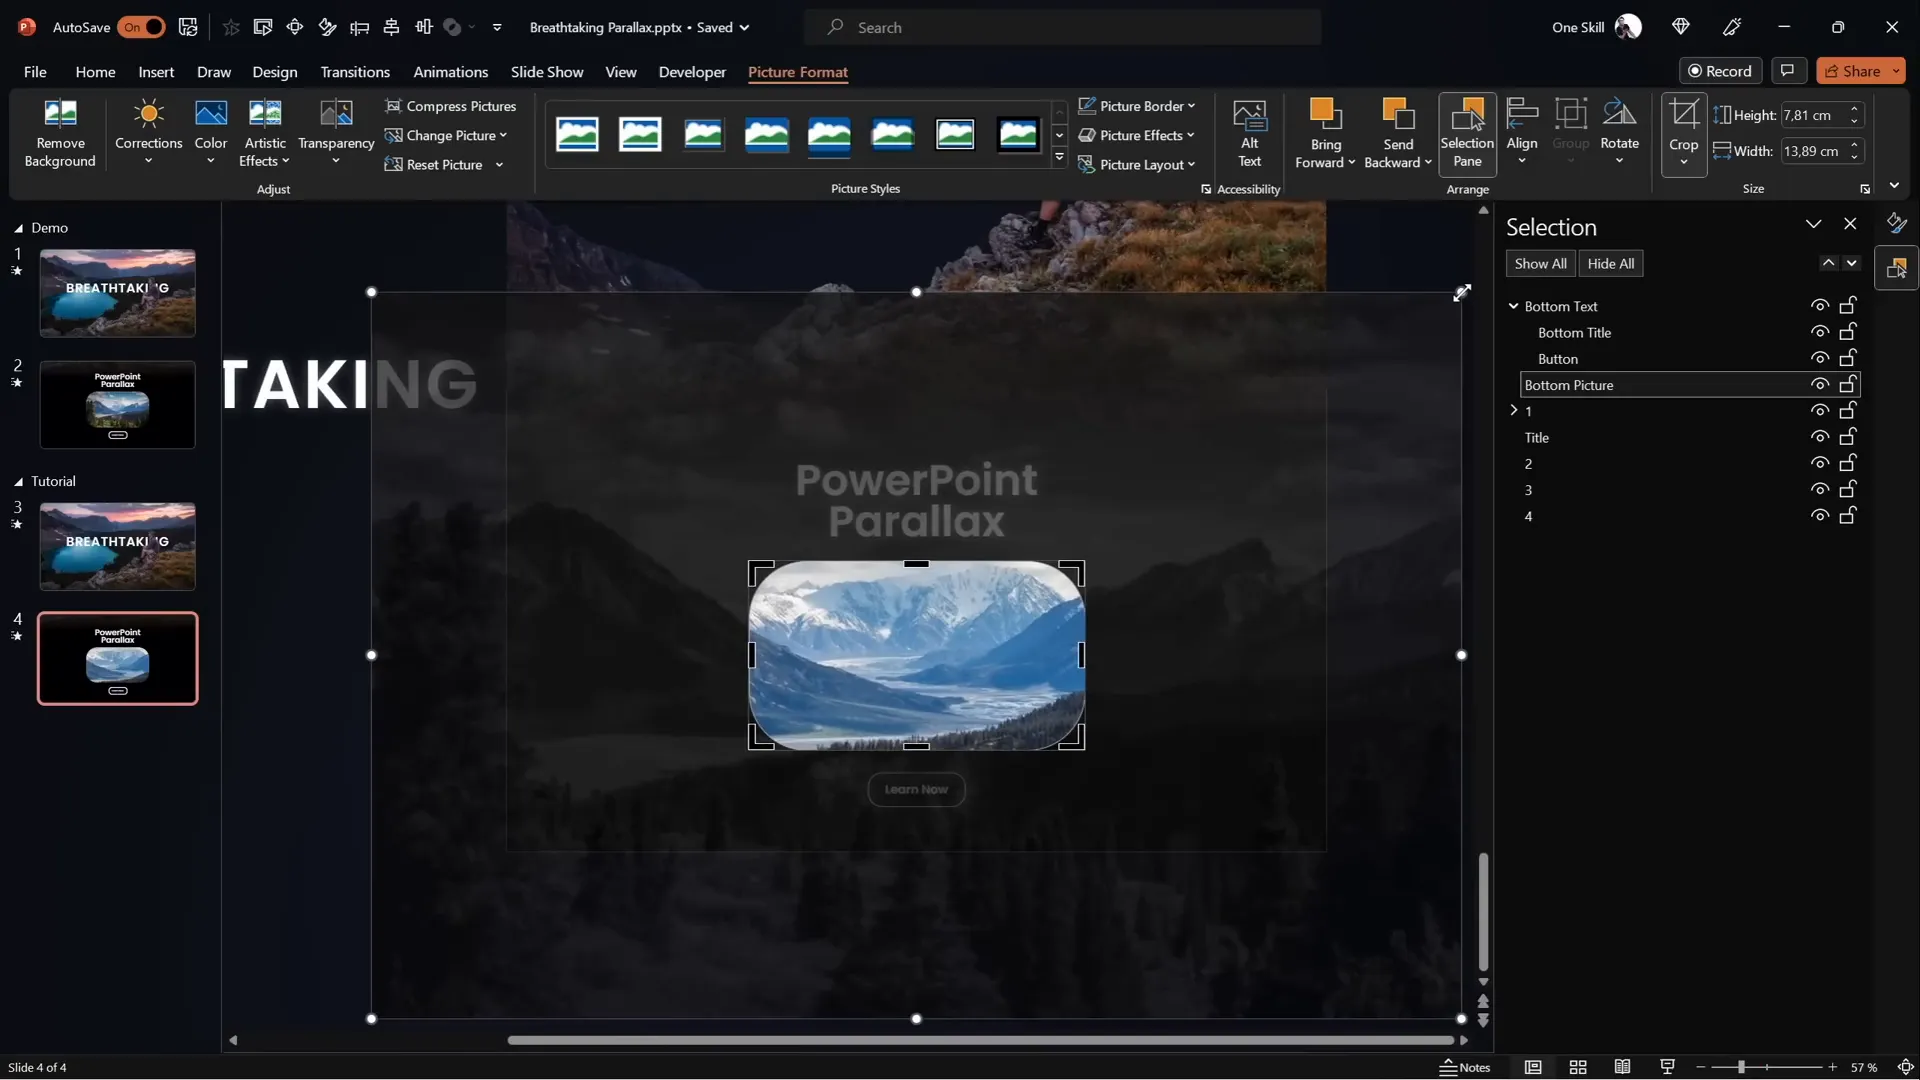
Setting Up Your PowerPoint Slides
With your layers ready, it’s time to bring them into PowerPoint and set up your slides for animation. Follow these steps carefully to create the base for your parallax effect:
1. Import Layers into a Single Slide
Insert each layer as a separate image on the slide. Use the Selection Pane (found under Home > Arrange > Selection Pane) to manage visibility and layering order. Arrange the layers so the background is at the bottom, and the foreground is on top.
Hide all layers initially, then reveal them one by one to verify their order:
- First, show the hiker on the rock (foreground).
- Next, the forest with the lake (midground).
- Then, the second line of mountains (background mid-layer).
- Finally, the sky (background).

2. Duplicate the Slide for Animation
Duplicate your slide to create the second frame of the animation. This will allow you to create movement between two slides using PowerPoint’s Morph transition.
- Right-click the slide thumbnail in the left pane and select Duplicate Slide.
- On the second slide, you will slightly adjust the position of each layer to simulate depth movement.
3. Adjust Layer Positions on the Second Slide
To create the parallax effect, move each layer upwards by different amounts:
| Layer | Movement | Details |
|---|---|---|
| Foreground (Layer 1) | Full upward move | Move all the way to the top; bottom of the layer touches the top of the slide window. |
| Midground (Layer 2) | Half upward move | Move halfway up the slide window. |
| Background Mid-layer (Layer 3) | Quarter upward move | Move about 25% up the slide height. |
| Background (Layer 4) | Static or minimal move | Usually remains in place or moves very slightly to maintain depth illusion. |
These graduated movements create the illusion that closer objects move faster than distant ones, a hallmark of parallax animation.

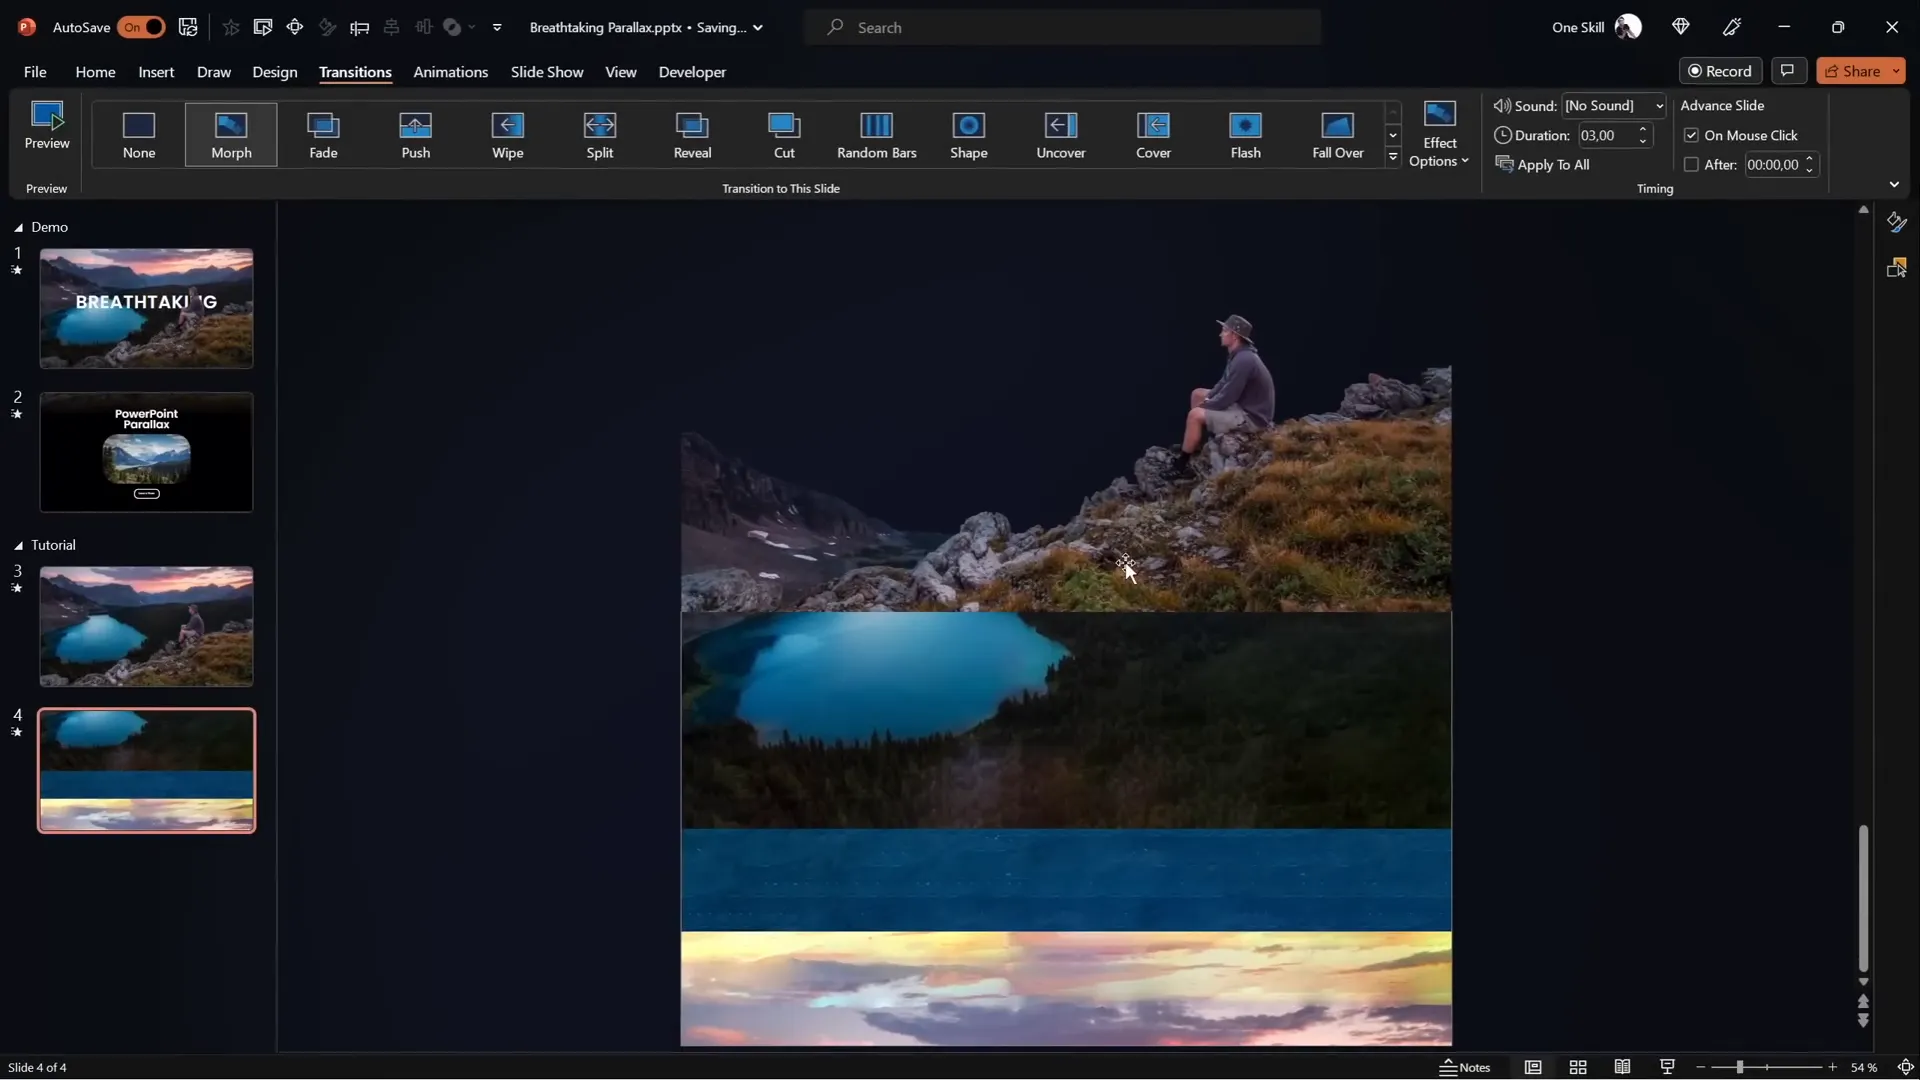
Applying the Morph Transition for Smooth Animation
PowerPoint’s Morph transition is the magic behind this parallax animation. It automatically animates smooth movement, resizing, and repositioning of objects between two slides.
Here’s how to activate and configure it:
- Select the second slide.
- Go to the Transitions tab.
- Choose Morph from the transition options.
- Set the transition duration to around 3 seconds for a smooth, deliberate animation.
If your version of PowerPoint doesn’t support the Morph transition, you can replicate the effect using motion path animations. This involves manually animating each layer with separate motion paths, but it requires more effort and precision.
For a detailed guide on using motion path lines, tutorials are available online that will walk you through the process step-by-step.
Masking and Blending for a Seamless Look
When you preview your animation, you might notice that the edges of the layers become visible on the second slide as they move upwards. This can break the illusion and distract viewers. To fix this, you can mask the slide with a full-screen rectangle that hides the edges, creating a clean, professional finish.

1. Insert a Full-Screen Rectangle
- On the first slide, insert a rectangle shape that covers the entire slide.
- Remove the outline and fill it with a solid black color.
- Position the rectangle so that its top edge touches the bottom of the slide window, hiding layer edges below the slide.
- Copy this rectangle and paste it onto the second slide.
- On the second slide, move the rectangle to cover the entire slide area completely.
2. Blend the Foreground Layer with the Rectangle
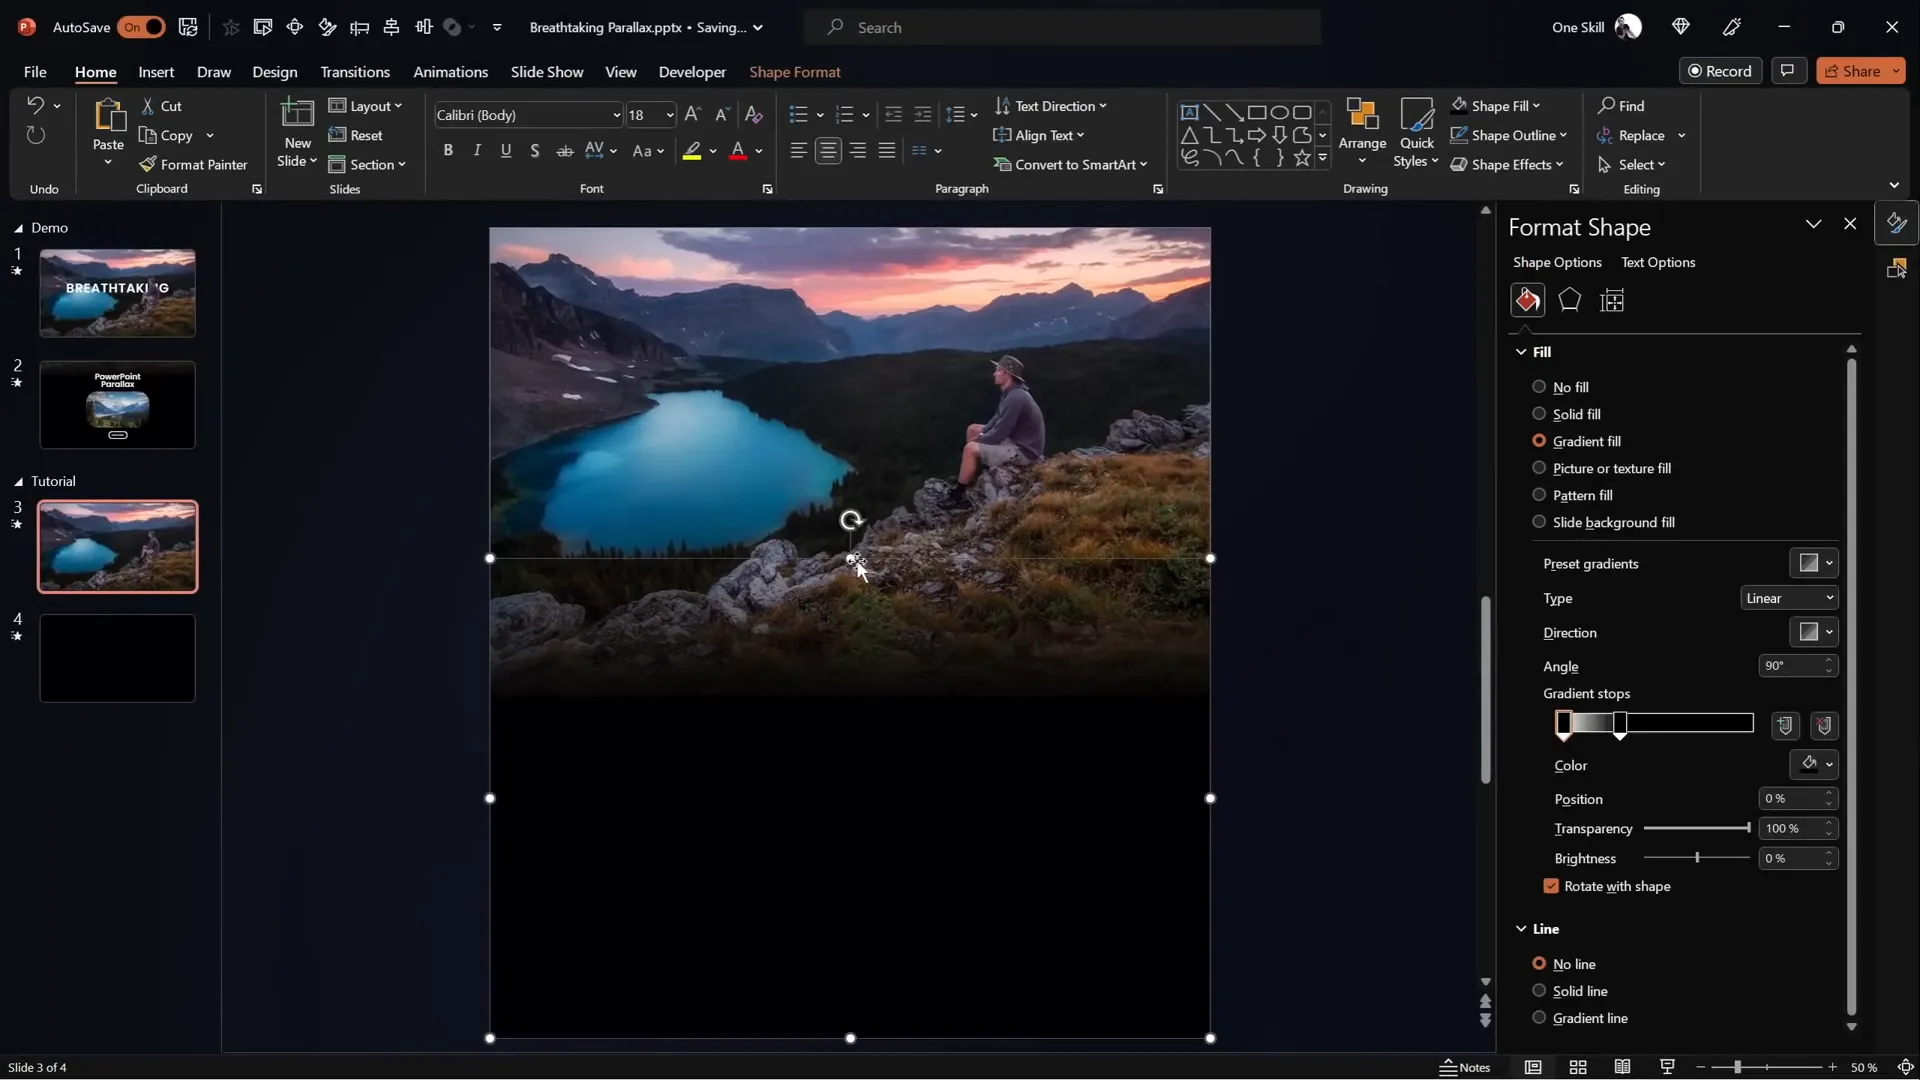
To create a smooth transition between the foreground layer and the black rectangle, apply a gradient fill to the rectangle and crop the foreground image slightly:
- Select the foreground image on the first slide and crop the bottom to extend some photo area beyond the slide boundary.
- Select the rectangle shape and apply a gradient fill with two color stops:
- Both stops are black.
- One stop has 100% transparency (fully transparent), and the other is fully opaque black.
- Adjust the gradient stop positions to about 30% so that the transition from the image to the rectangle is smooth and subtle.
- Extend the height of the rectangle if needed for better blending.
3. Group and Replace Layers
Group the cropped foreground image and the gradient rectangle together into one group (named “Layer 1” for consistency). Replace the old foreground and rectangle layers on the second slide with this new group, positioning it so the rectangle covers the whole slide.
This technique creates a continuous, seamless look that enhances the overall parallax effect and maintains visual continuity between slides.
Enhancing the Animation with Text and Zoom Effects
To make your parallax animation even more engaging, consider adding titles and zoom effects on additional elements:
Adding Slide Titles
- Insert a title text box and position it behind the foreground layer so it doesn’t obscure important image details (e.g., the hiker).
- Copy the title to the second slide and reposition it slightly, such as moving it to the top-left outside the slide window.
- Ensure the title remains below the foreground layer in the layering order on both slides.
This subtle movement of text combined with the image parallax creates a richer, multi-dimensional animation.
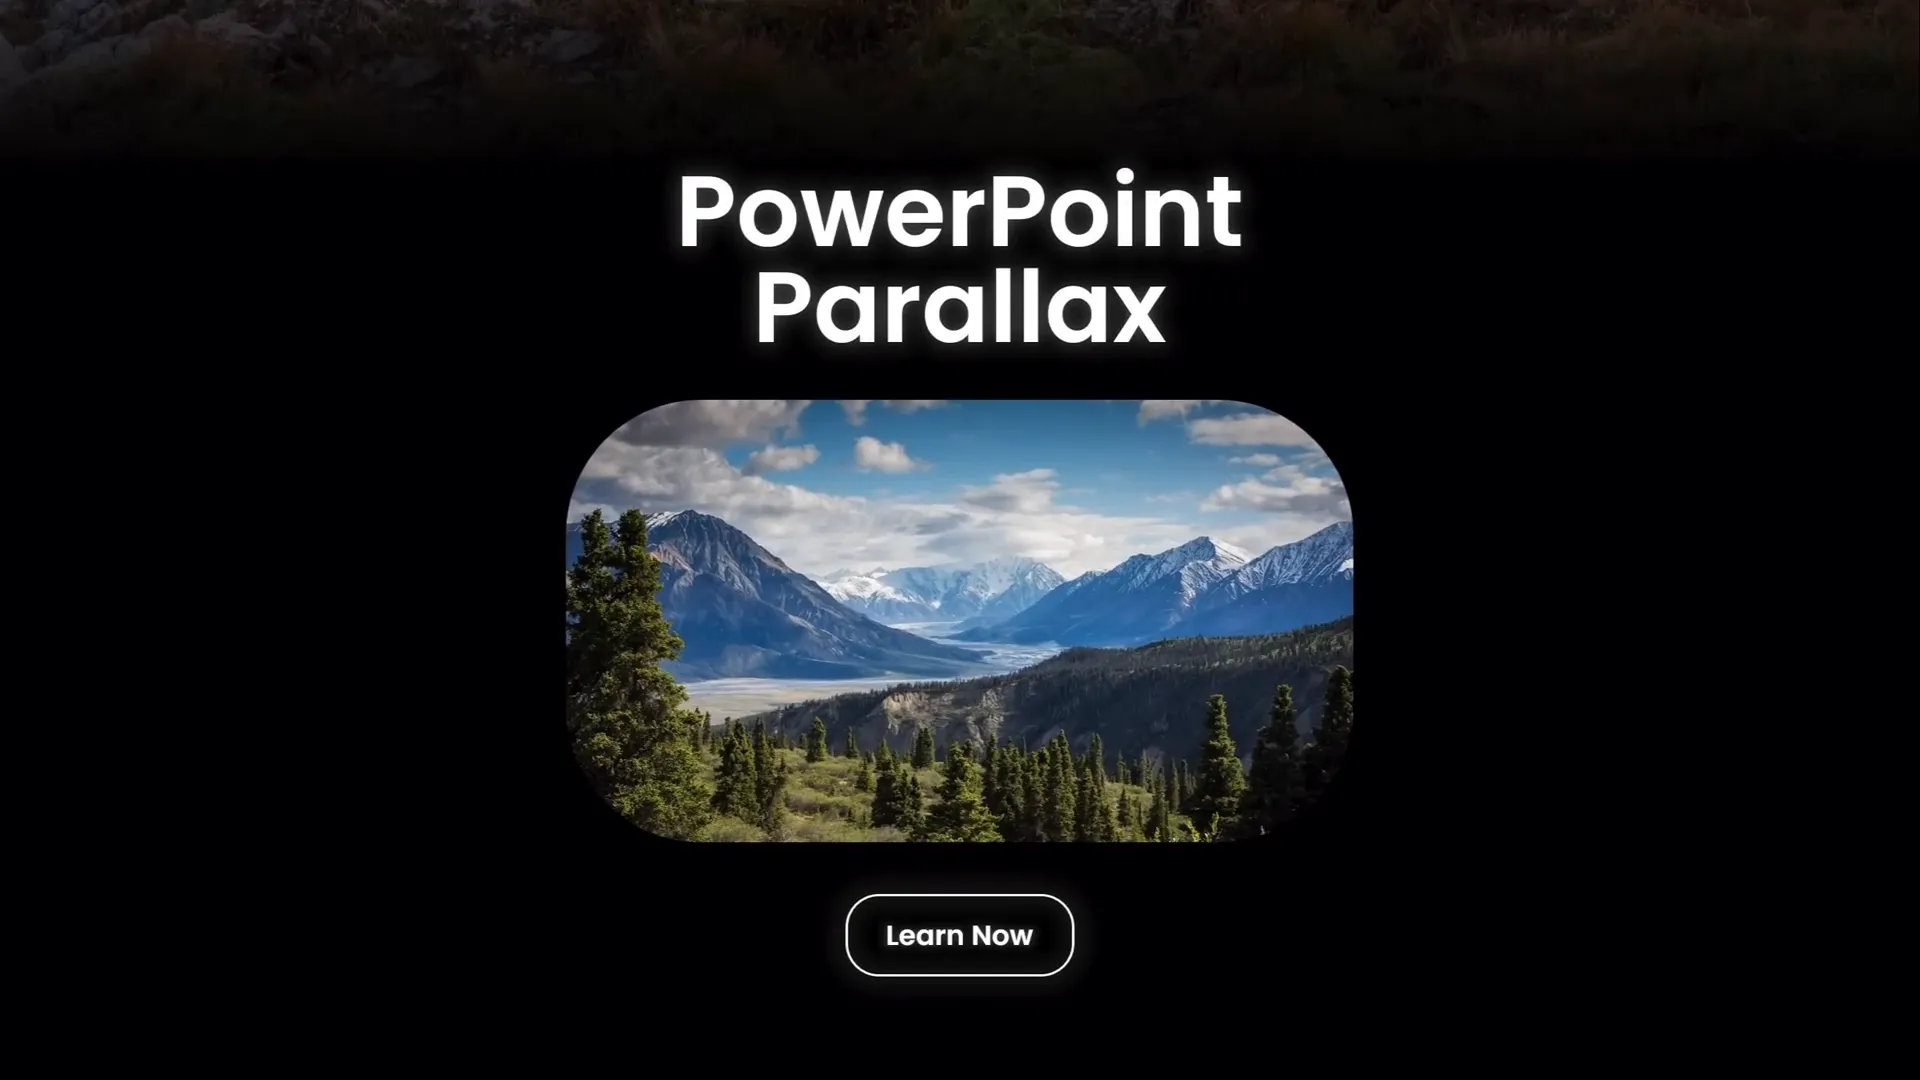
Adding Zoom Effect to Photos
- Insert a smaller photo or graphic element at the bottom of the slide.
- On the first slide, crop the photo so it appears zoomed in.
- On the second slide, crop the photo to zoom out, revealing more of the image.
- PowerPoint’s Morph transition will animate this zoom change smoothly.
This zoom effect adds an extra layer of dynamic motion, complementing the parallax animation and making the slide visually captivating.
Final Tips for Stunning PowerPoint Animation Effects
Creating breathtaking PowerPoint animation effects like parallax requires attention to detail and some practice. Here are some tips to help you perfect your animations and make your presentations stand out:
- Choose Images Wisely: Always start with images that have clear depth and separable layers.
- Use High-Quality Photos: Avoid pixelation when zooming or moving layers.
- Keep Animation Duration Moderate: Around 3 seconds for transitions keeps animations smooth but not too slow.
- Leverage Morph Transition: It’s the easiest way to create smooth animations without complicated keyframes.
- Mask Layer Edges: Use shapes to hide unwanted edges and create a polished look.
- Group Related Elements: Keep your slide elements organized by grouping layers that move together.
- Layer Text Thoughtfully: Make sure titles and text complement the animation without distracting from the visuals.
- Experiment with Zoom and Movement: Small zoom effects or text shifts can enhance the overall animation impact.
- Test Your Animations: Always preview your slide show to ensure smooth transitions and fix any visual glitches.
By following these guidelines, you can master Powerpoint Animation Effects that will elevate your storytelling and captivate your audience.
Frequently Asked Questions (FAQ)
What is parallax animation, and why use it in PowerPoint?
Parallax animation creates an illusion of depth by moving different layers of an image at varying speeds. It adds a professional, immersive feel to presentations, making them more engaging and visually appealing.
Do I need advanced software to create parallax animations in PowerPoint?
No, you can create effective parallax animations using just PowerPoint’s built-in tools, especially the Morph transition. However, you will need a photo editor to separate your images into layers.
What if my PowerPoint version does not have the Morph transition?
You can use motion path animations on each layer to simulate the parallax effect. This method is more manual but achievable in older versions of PowerPoint.
Can I use any photo for parallax animation?
It’s best to use photos with distinct layers—foreground, midground, and background—that you can isolate. Images lacking depth or separable elements won’t work well for this effect.
How long should the animation last?
Typically, a duration of around 3 seconds for the Morph transition creates smooth, visually pleasing animation without dragging on too long.
Where can I find free photos suitable for parallax animations?
Websites like Unsplash, Pexels, and Freepik offer high-quality free images that you can legally use and edit for your projects.
How do I separate an image into layers?
You can use photo editing software like Photoshop, Affinity Photo, or free online editors like Photopea to mask and cut out layers, saving each as a transparent PNG.
Can I add text and other elements to the parallax animation?
Yes! Adding titles, captions, and even zooming photos enhances the animation and helps communicate your message more effectively.
Is there a way to get pre-made slides with parallax animations?
Yes, many creators offer tutorial slides and templates for parallax animations. For example, One Skill PPT provides tutorial slides for such animations on Patreon.
Conclusion
Mastering Powerpoint Animation Effects like the breathtaking parallax animation is easier than you might think. By carefully selecting your image, separating it into layers, and leveraging PowerPoint’s Morph transition, you can create dynamic, immersive slides that wow your audience.
Remember, the key to success is in the details: thoughtful layer movement, masking edges for seamless transitions, and enhancing your visuals with text and zoom effects. With practice and creativity, you’ll be able to transform ordinary slides into stunning visual stories.
So, grab your favorite multi-layered photo, open PowerPoint, and start creating your own parallax animation masterpiece today. Your presentations will never be the same again!
Stay creative, stay inspired, and happy animating!
Check out the full video: BREATHTAKING PowerPoint ✨PARALLAX✨ Animation Tutorial


