If you’re looking to elevate your PowerPoint presentations with captivating animation effects, you’ve come to the right place. In this detailed tutorial, we’ll explore how to create a breathtaking parallax animation in PowerPoint that adds depth and a professional touch to your slides. Using layering techniques and the powerful Morph transition, you can transform static images into dynamic, engaging animations that will wow your audience.
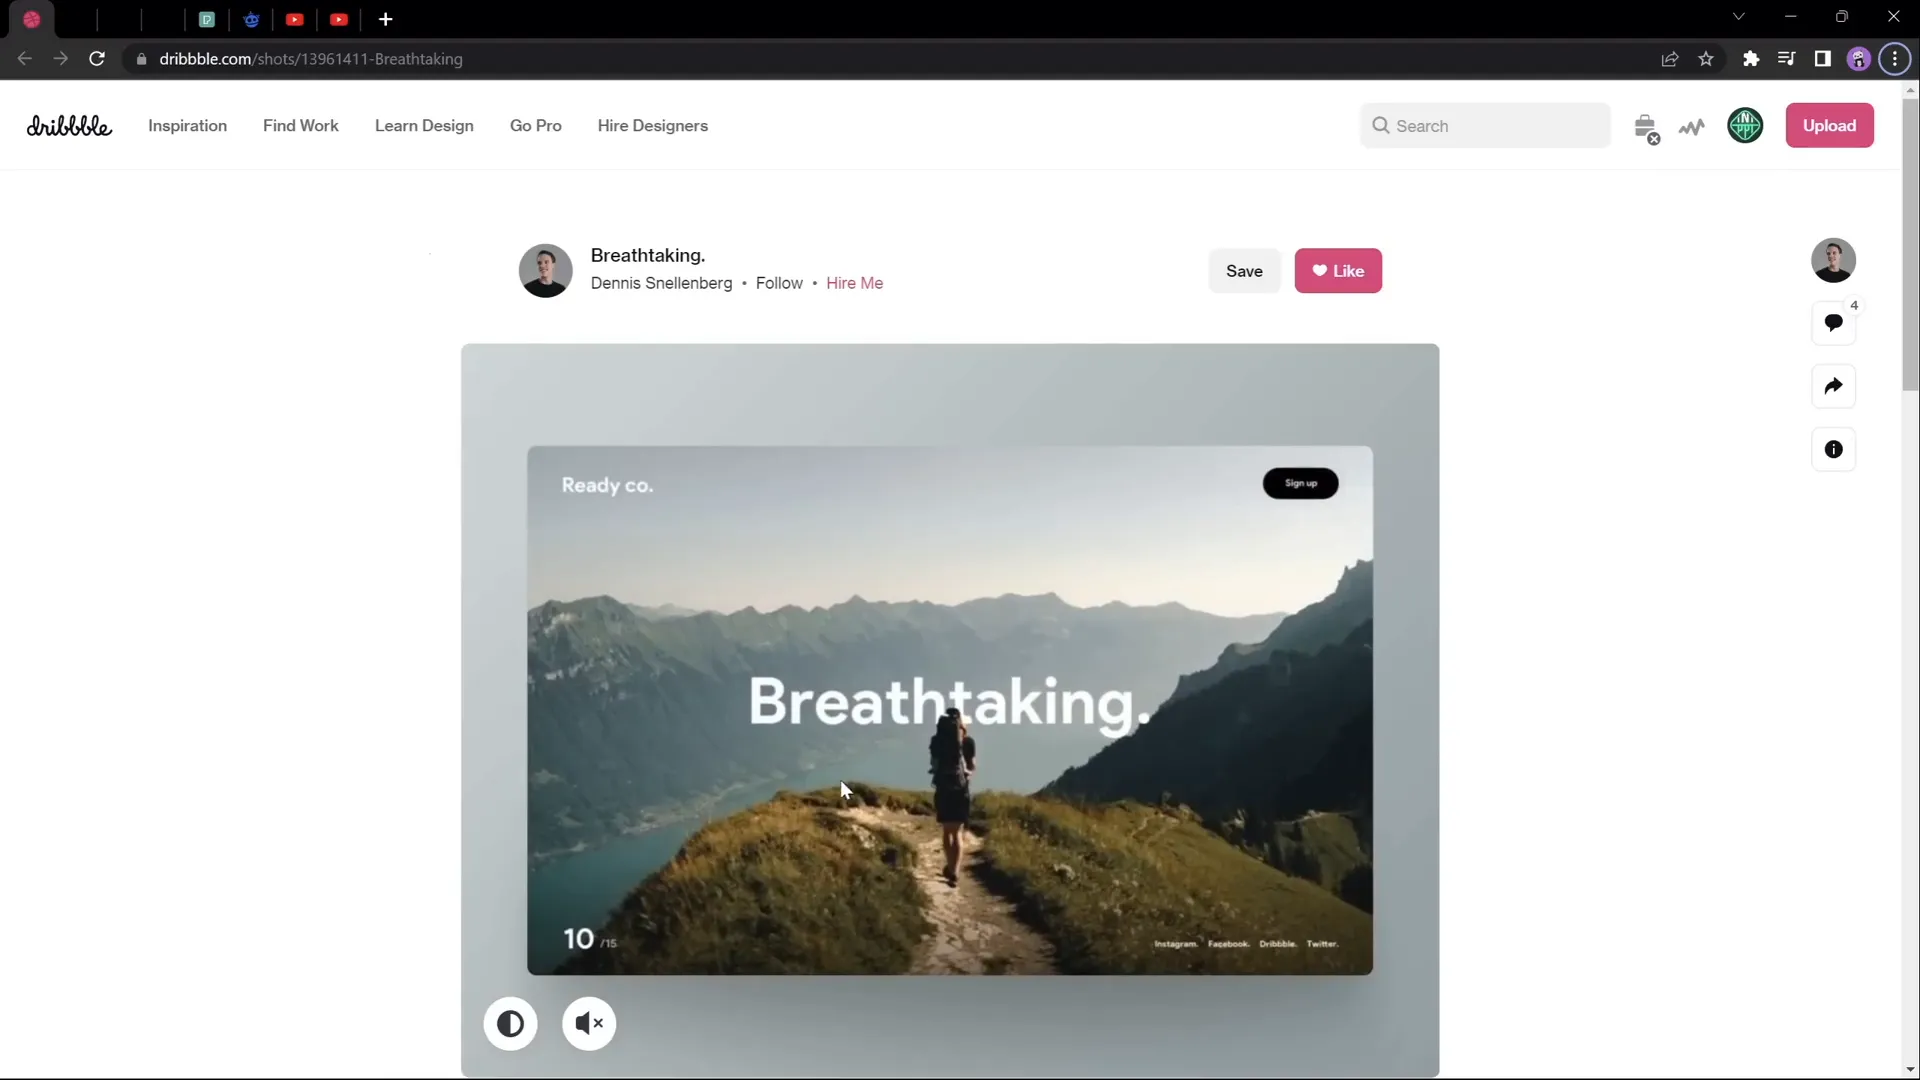
This tutorial is inspired by Dennis Snellenberg’s fantastic work on parallax animations, and we will recreate a similar effect step-by-step using PowerPoint Office 365. Whether you’re a beginner or an intermediate PowerPoint user, this guide will walk you through the entire process, from preparing your images to finalizing the animation. Plus, we’ll include tips on using free tools to separate images into layers, enhancing the visual appeal of your presentation.
Ready to get started? Let’s dive into the world of PowerPoint animation effects and learn how to create a stunning parallax animation that brings your slides to life!
Table of Contents
- Understanding Parallax Animation and Its Appeal
- Preparing Your Image Layers for PowerPoint
- Setting Up Your PowerPoint Slides for Animation
- Applying the Morph Transition for Smooth Animation
- Hiding Layer Edges for a Seamless Look
- Blending Layers with Background for Smooth Transitions
- Adding Text and Extra Details to Enhance Your Animation
- Adding Zoom Effects for Extra Visual Impact
- Finalizing and Playing Your Parallax Animation
- Frequently Asked Questions (FAQ)
- Conclusion
Understanding Parallax Animation and Its Appeal
The parallax animation effect creates an illusion of depth by moving different layers of an image at varying speeds or distances. This technique mimics how objects closer to the viewer appear to move faster than those further away, adding a 3D-like experience to a 2D image. It’s widely used in web design, video games, and now, with PowerPoint’s advanced features, you can bring this effect into your presentations.
Why use parallax animation in PowerPoint?
- Engagement: It captivates your audience’s attention with dynamic movement.
- Professionalism: Adds a polished, modern look to your slides.
- Storytelling: Helps to visually separate elements and guide the viewer’s focus.
- Creativity: Allows you to experiment with layering and animation beyond simple slide transitions.
In this tutorial, we’ll create a parallax animation featuring a beautiful power plant scene with a hiker in the foreground, layered mountains, and a sky background. By separating the image into layers and animating them with the Morph transition, we’ll achieve a smooth, breathtaking effect.
Preparing Your Image Layers for PowerPoint
The first step in creating a parallax animation is selecting the right image and separating it into layers. You want an image that naturally contains distinct layers or elements that can be isolated, such as:
- Foreground objects (e.g., a person, tree, or rock)
- Midground elements (e.g., mountains or forests)
- Background (e.g., sky or distant mountains)
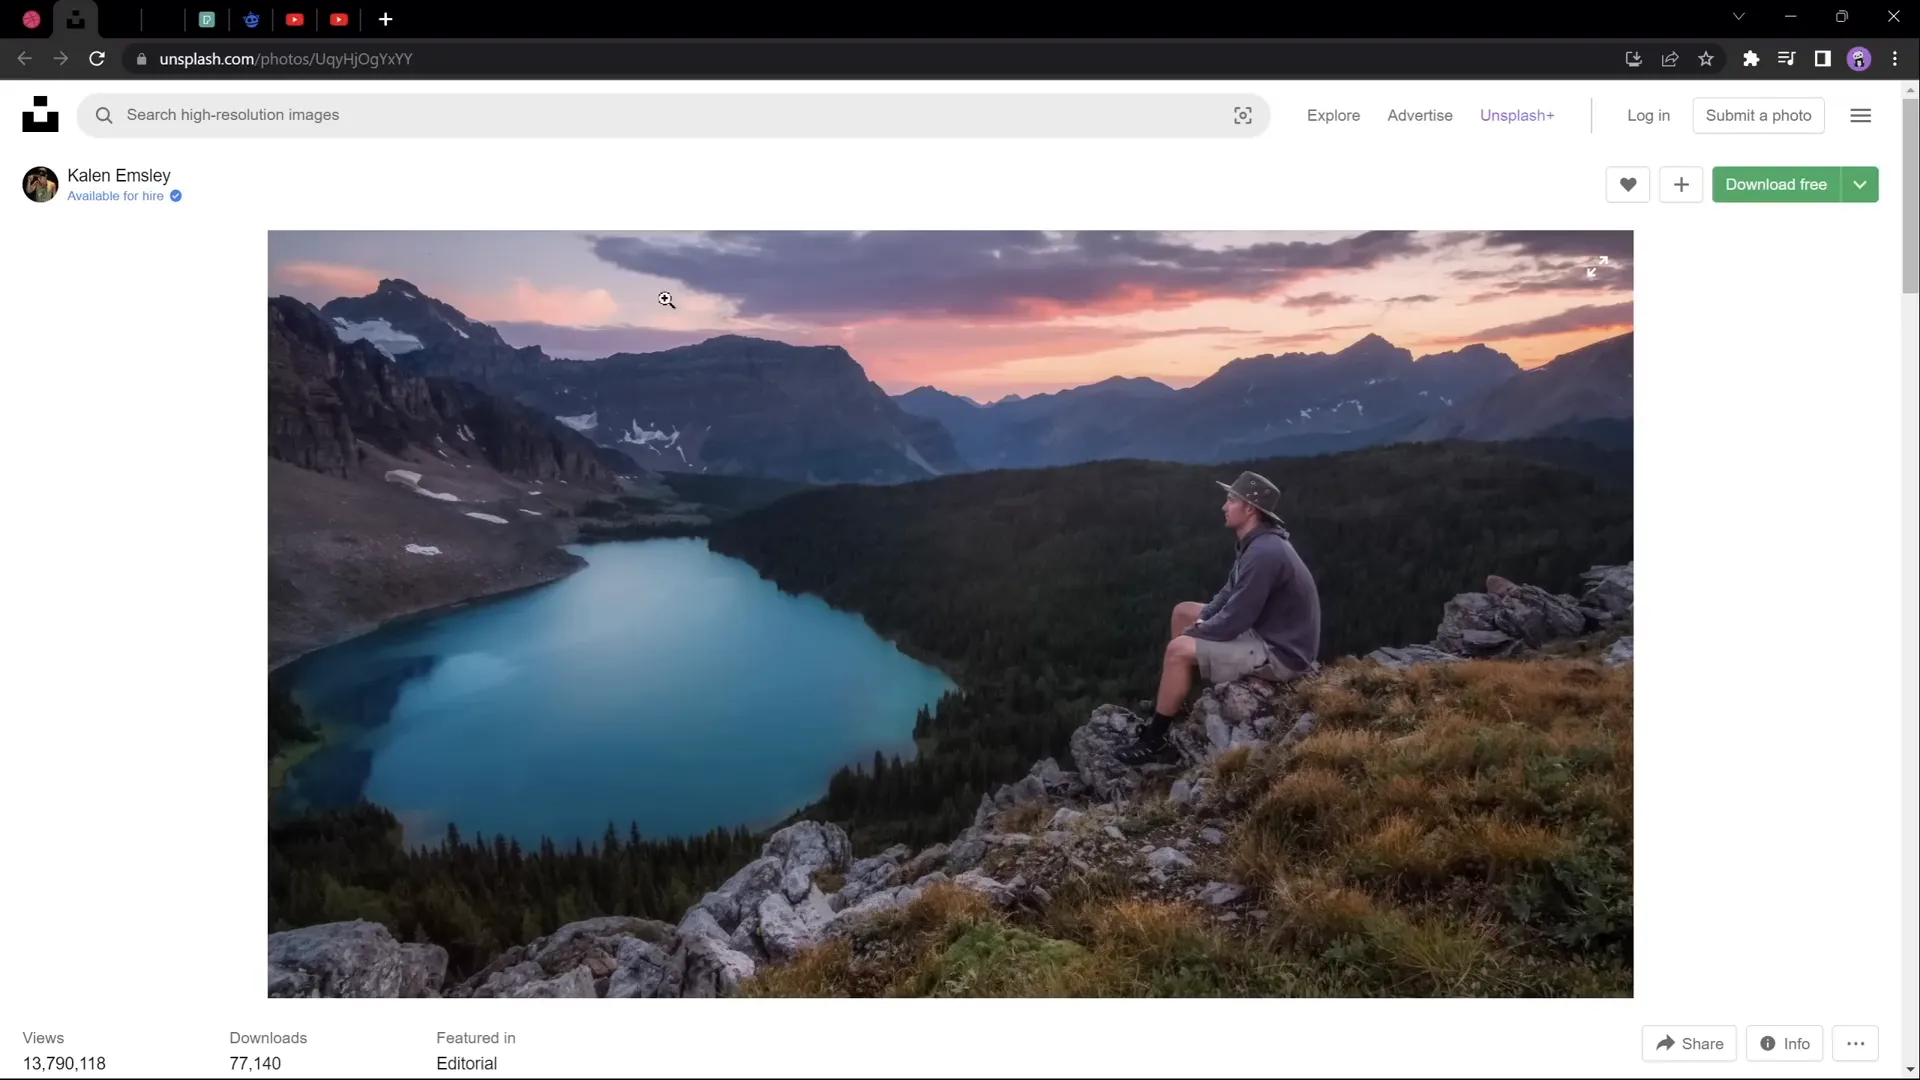
For this tutorial, we used a stunning photo by Calen Emsley that includes a hiker sitting on a rock, a forest with a lake, two layers of mountains, and a sky background. This natural layering makes it ideal for parallax animation.
How to Separate an Image into Layers
To create the parallax effect, you need to extract these layers from your photo. This can be done with various photo editors, including:
- Photoshop – The industry standard for image editing.
- Affinity Photo – A powerful alternative to Photoshop.
- PhotoP – A free online photo editor that offers layer separation.
If you want to learn how to separate your photos into layers using the free online editor PhotoP, there’s a helpful video linked in the original tutorial description. Alternatively, any photo editor that supports layer extraction and cropping will work.
Once you have your layers extracted, save each one as a separate image with a transparent background (usually PNG format) to maintain quality and transparency in PowerPoint.
Organizing Your Layers in PowerPoint
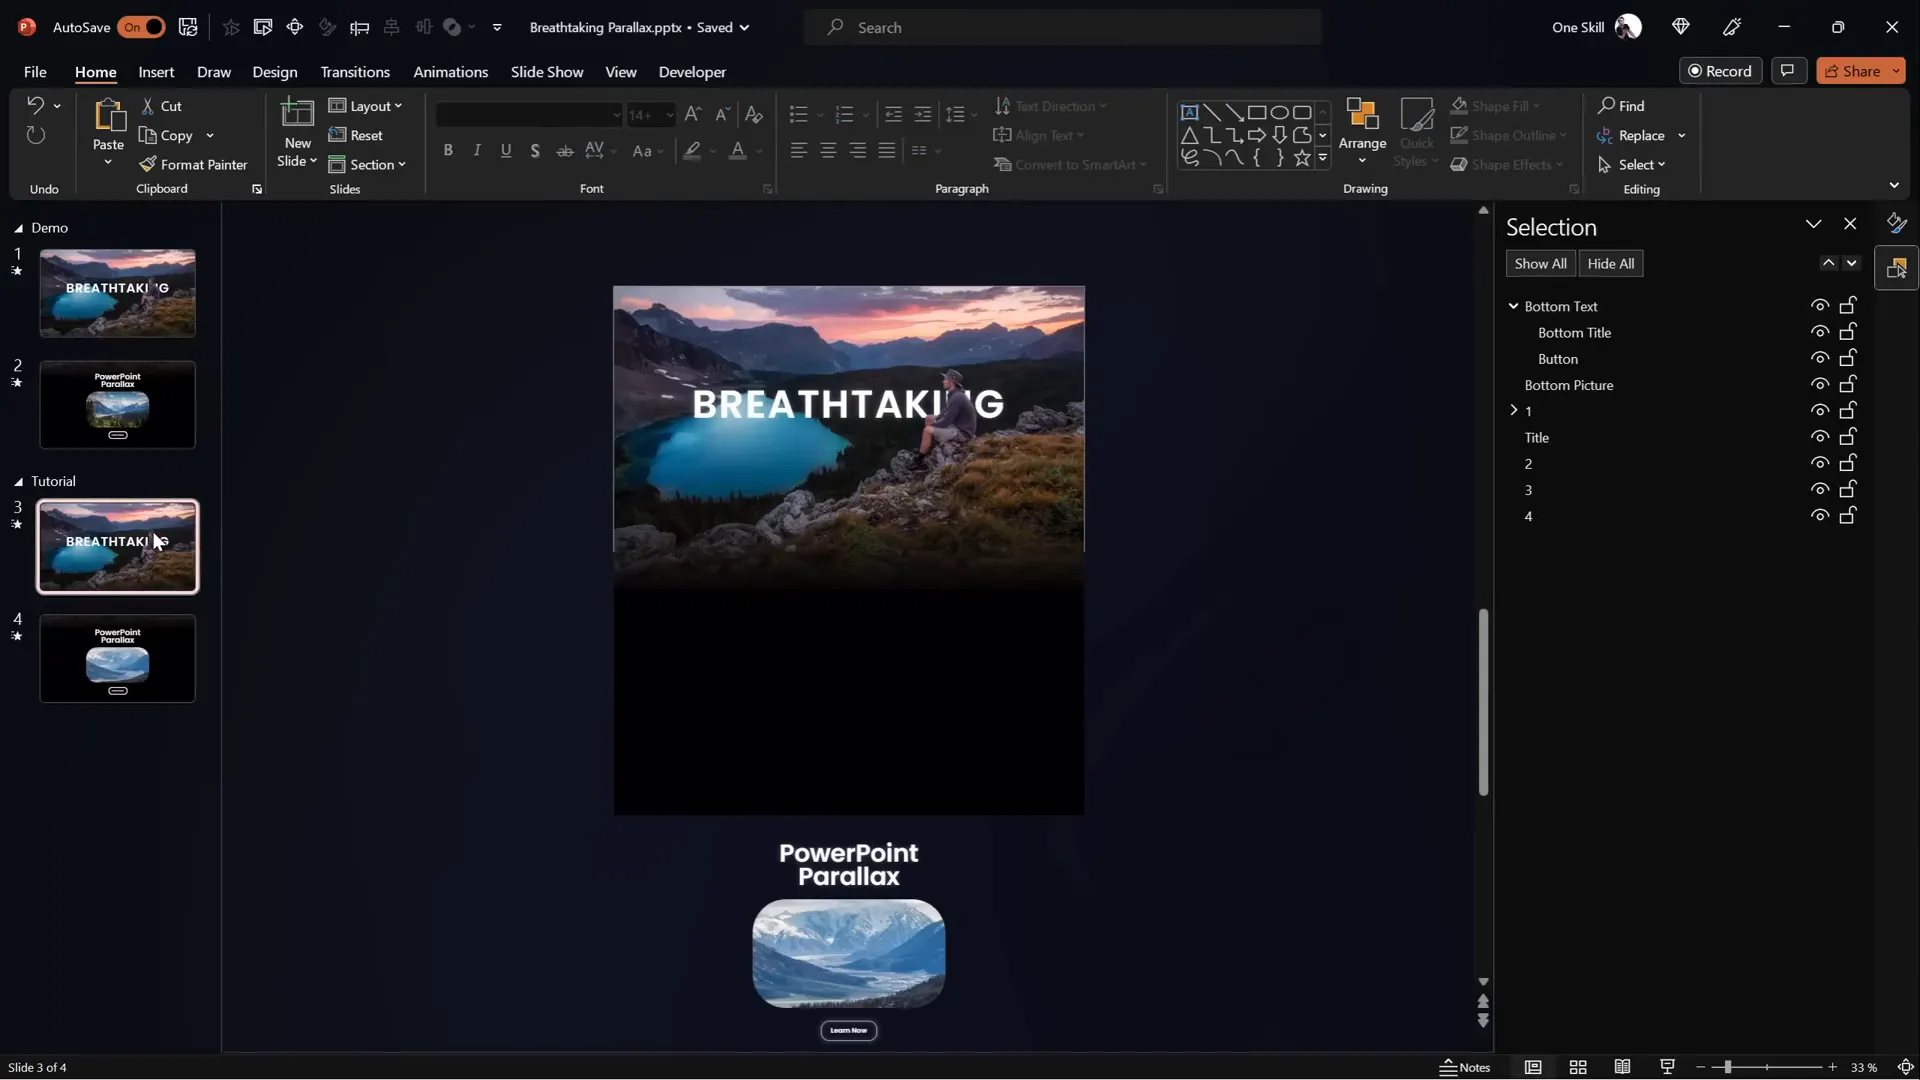
After importing your layers into PowerPoint, it’s helpful to organize them in the Selection Pane for easy management. For example:
- Layer 1: Hiker sitting on the rock (foreground)
- Layer 2: Forest with lake (midground)
- Layer 3: Second line of mountains (background)
- Layer 4: Sky (background)
By toggling visibility, you can preview each layer independently to ensure everything is correctly prepared.

Setting Up Your PowerPoint Slides for Animation
With your layers ready, it’s time to set up your PowerPoint slides for the animation. The parallax effect is achieved by moving the layers at different rates between two slides and using the Morph transition to smooth out the movement.
Step 1: Duplicate Your Slide
Start with a slide containing all your layers stacked correctly in order. Then, duplicate this slide to create a second slide where the animation will happen.
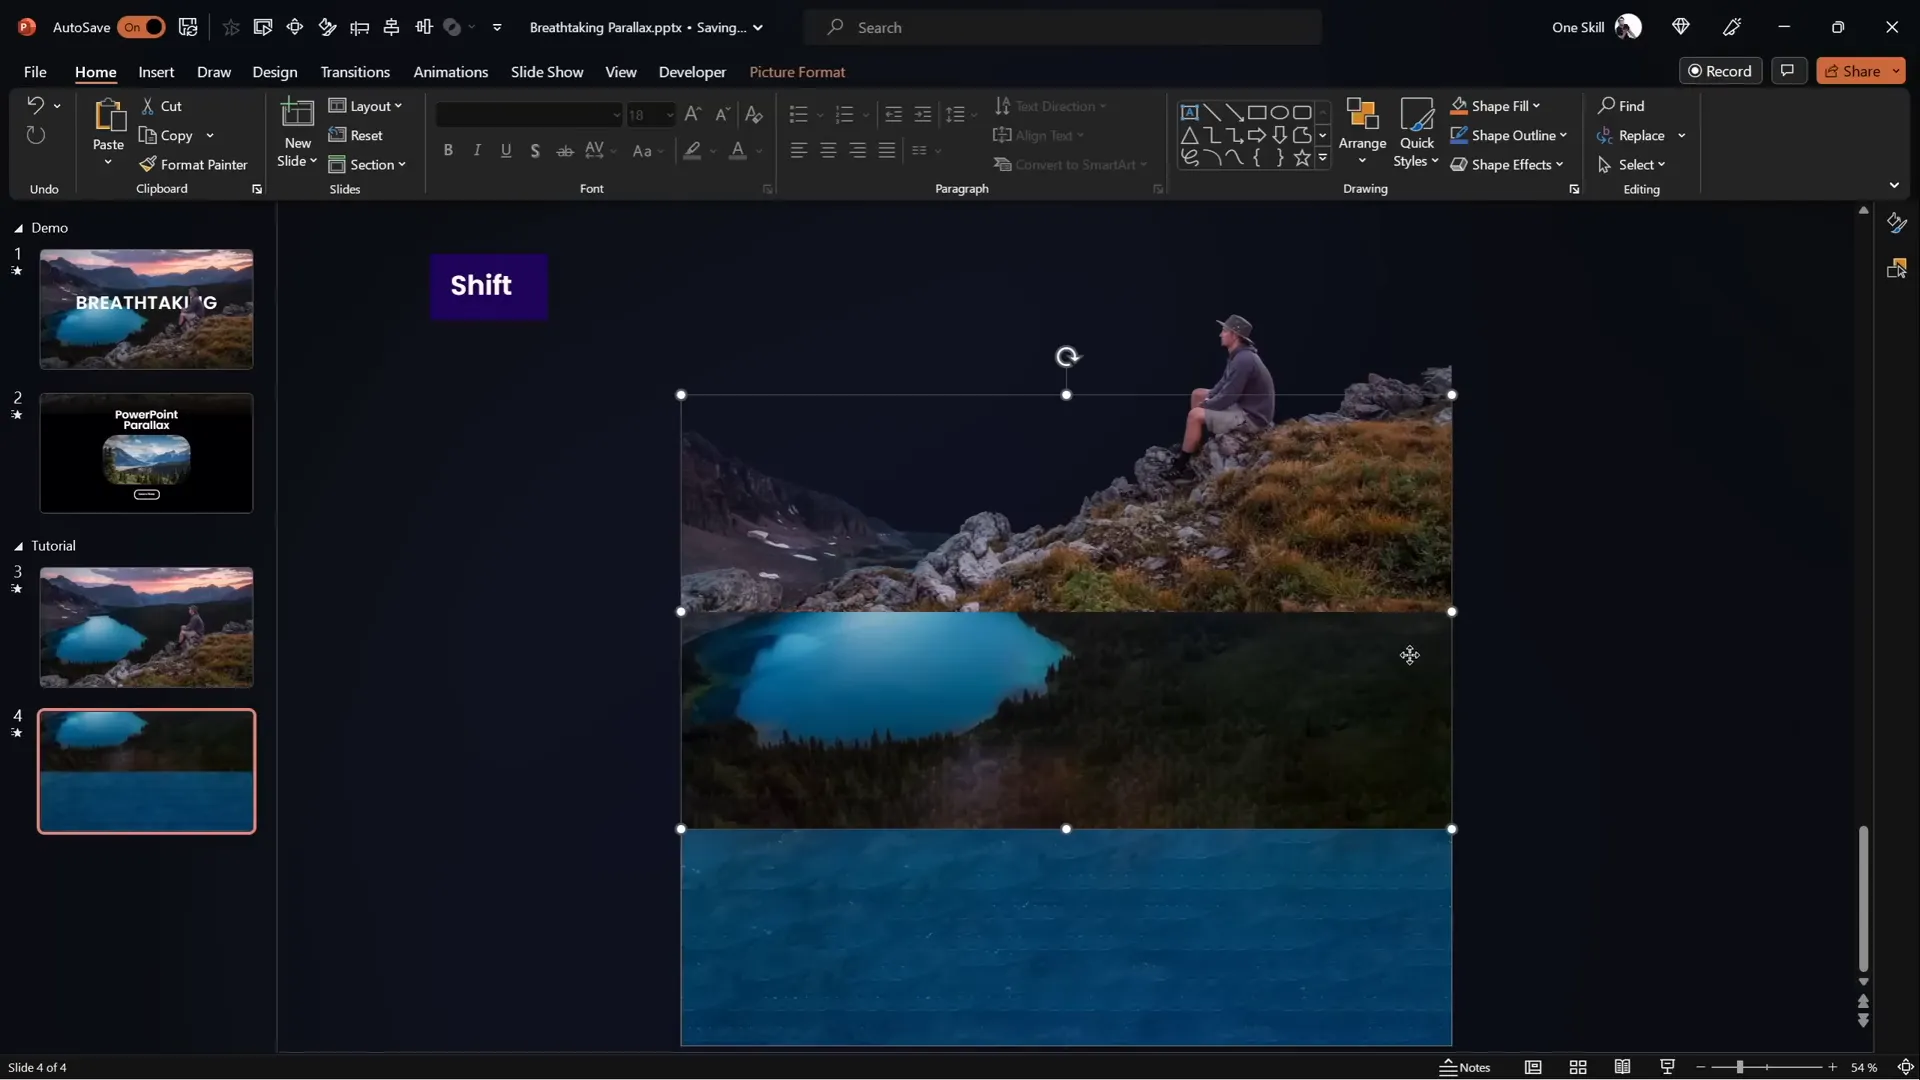
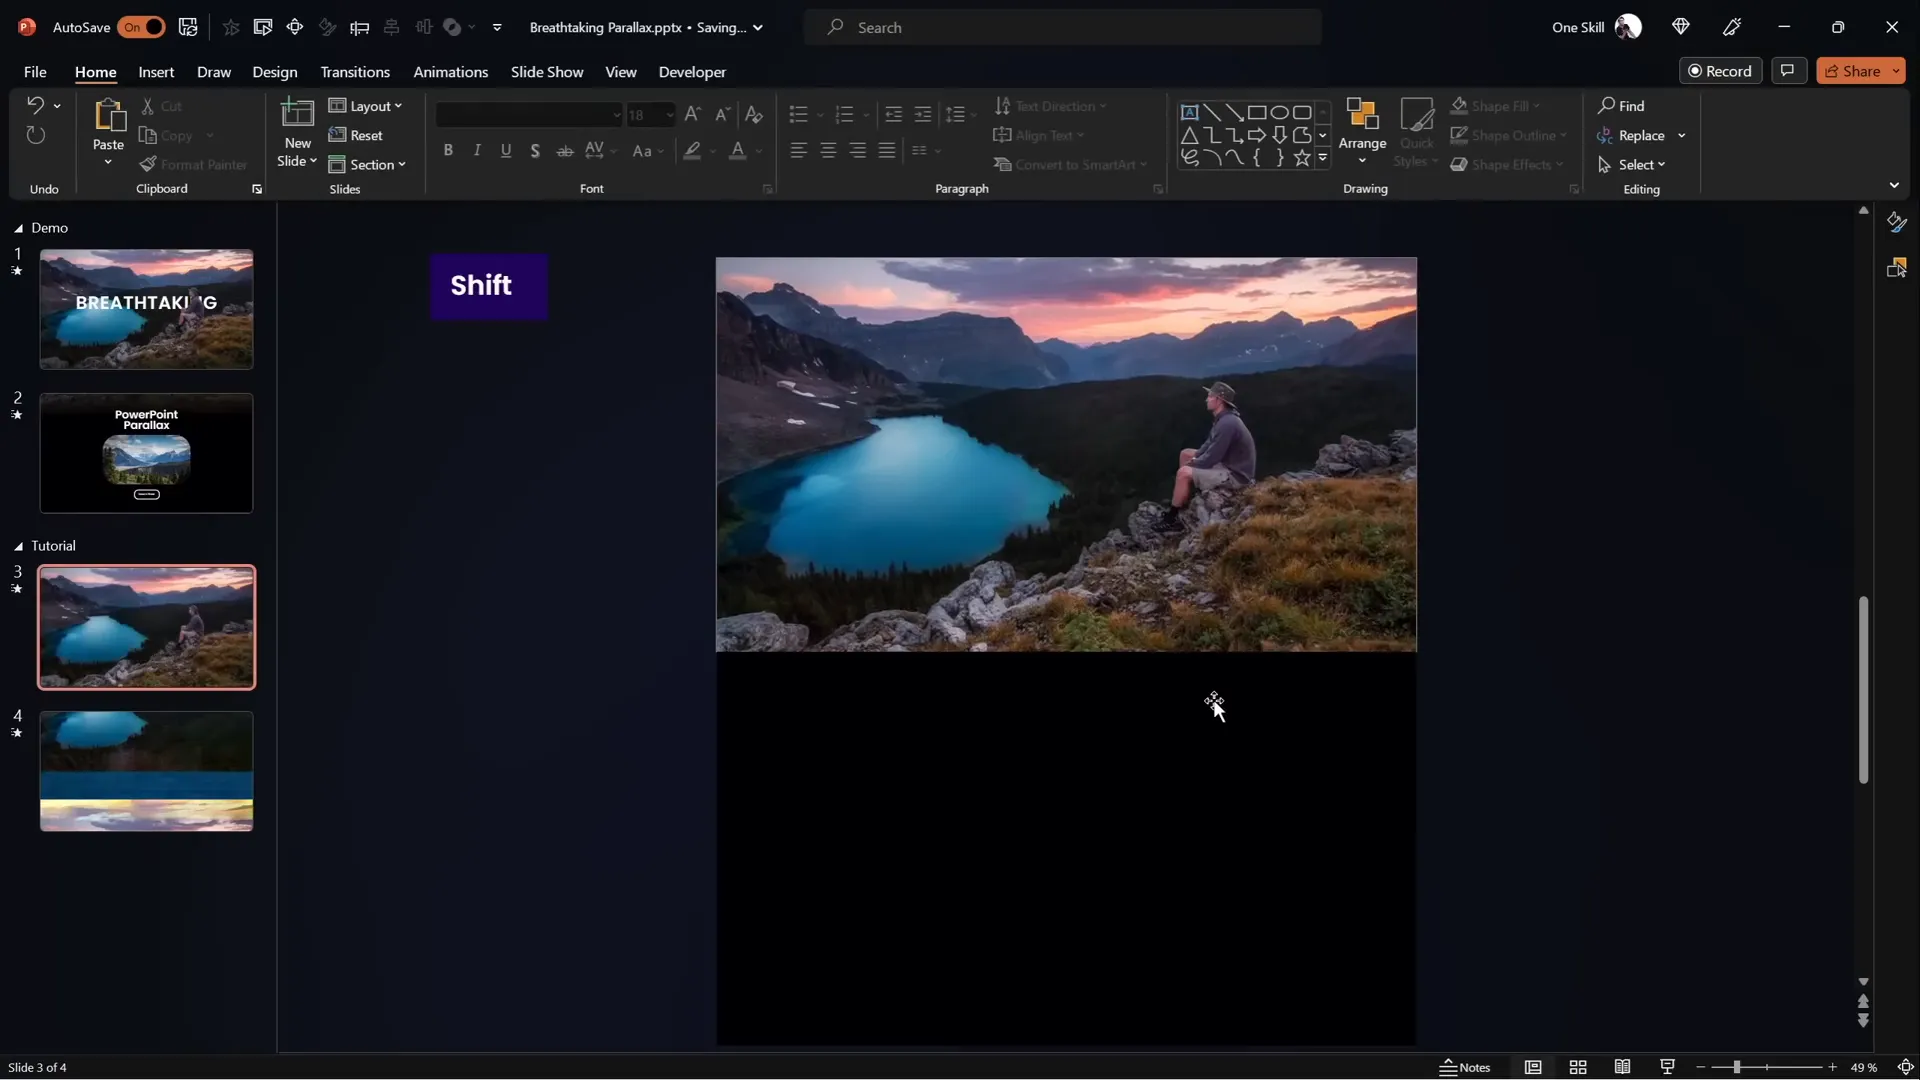
Step 2: Adjust the Layers on the Second Slide
On the second slide, move each layer upwards by different amounts to create the illusion of depth:
- Layer 1 (Foreground): Move all the way to the top so the bottom of this layer touches the top of the slide window.
- Layer 2 (Midground): Move halfway up the slide.
- Layer 3 (Background): Move about 25% (a quarter) of the slide height upwards.
- Layer 4 (Sky): Remains mostly static or slightly adjusted.
This staggered movement between layers is what creates the parallax illusion.
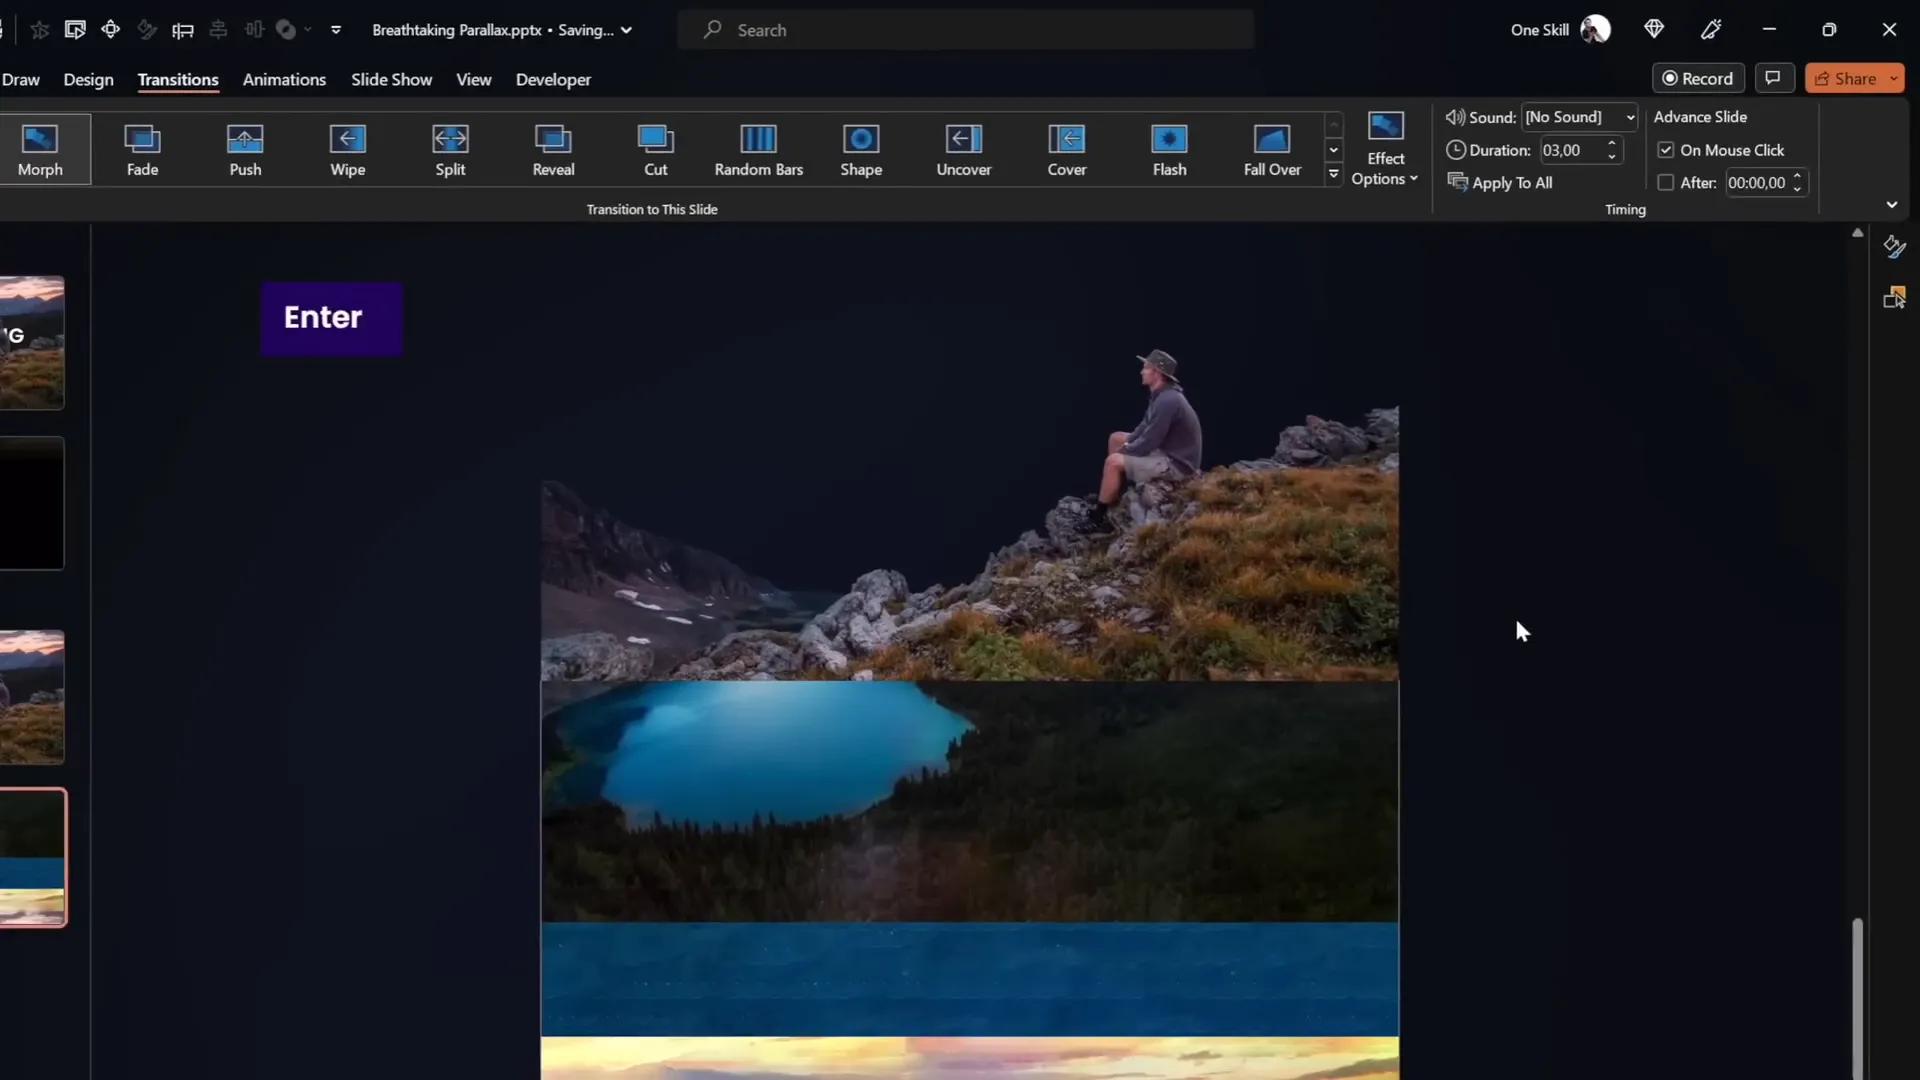
Applying the Morph Transition for Smooth Animation
The Morph transition in PowerPoint is the magic behind the smooth parallax animation. It automatically animates the movement of objects from one slide to the next based on their position, size, and other attributes.
How to Apply Morph Transition
- Select the second slide (where layers have been moved).
- Go to the Transitions tab.
- Choose Morph from the transition options.
- Set the duration to about 3 seconds for a smooth effect.
If your version of PowerPoint does not support Morph, you can alternatively use motion path animations to replicate the effect, though it requires more manual setup. A tutorial for this alternative method is linked in the original video description.
Previewing Your Animation
Play your slide show from the first slide to the second to see how the layers move at different speeds, creating the parallax effect. You’ll notice the layers move, but the animation may look a bit rough because of visible edges of the layers on the second slide.

Hiding Layer Edges for a Seamless Look
To make the animation look professional and clean, you need to hide the edges of the layers that become visible when they move upwards on the second slide.
Using a Full-Screen Rectangle to Mask Edges
Here’s how to do it:
- On the first slide, insert a full-screen rectangle shape.
- Set the rectangle fill to a solid black color (or any background color matching your slide).
- Remove any outline from the rectangle.
- Move the rectangle downwards so that its top edge touches the bottom edge of the slide window (so it’s partially off-slide).
- Copy the rectangle and paste it onto the second slide.
- On the second slide, move the rectangle into the center so it covers the entire slide.
This black rectangle will mask the edges of the layers as they move upward, creating a cleaner animation.
Blending Layers with Background for Smooth Transitions
To enhance the visual flow between the foreground layer and the black rectangle, you can create a gradient blend that seamlessly transitions from the image to the black background.
Steps to Blend Foreground Layer with Background
- On the first slide, select the foreground layer (Layer 1).
- Go to Picture Format and click Crop.
- Use the bottom crop handle to extend the photo downwards slightly to reveal some of the underlying black rectangle.
- Apply a gradient fill to the black rectangle:
- Set two color stops, both black.
- Make one stop fully transparent (100% transparency).
- Adjust the gradient position so the transparent stop is about 30% along the gradient.
- Increase the height of the black rectangle as needed for a better blend.
- Select both the foreground layer and the black rectangle, then group them together.
- Rename this group for clarity (e.g., “Layer 1 Group”).
- On the second slide, delete the old Layer 1 and black rectangle, then paste the new grouped object.
- Adjust its position to cover the slide appropriately.
This technique creates a smooth, natural transition from the image to the background, improving the overall polish of your animation.
Adding Text and Extra Details to Enhance Your Animation
To make your animation more informative and visually engaging, consider adding titles and informational text that animate alongside your image.
Adding Slide Title
- Copy your slide title from another slide or create a new text box.
- Paste the title onto the first slide, placing it below the foreground layer so it appears behind the main subject (e.g., the hiker).
- Copy the title to the second slide and move it slightly outside the slide window (e.g., to the left and top) to create an entrance effect with Morph.
- Ensure the title remains below the foreground layer on the second slide.
Adding Additional Information
- Insert text boxes and small images as needed for extra details.
- Paste these elements onto both slides, positioning them off-screen on the first slide and centered on the second slide.
- The Morph transition will animate these elements smoothly into view.
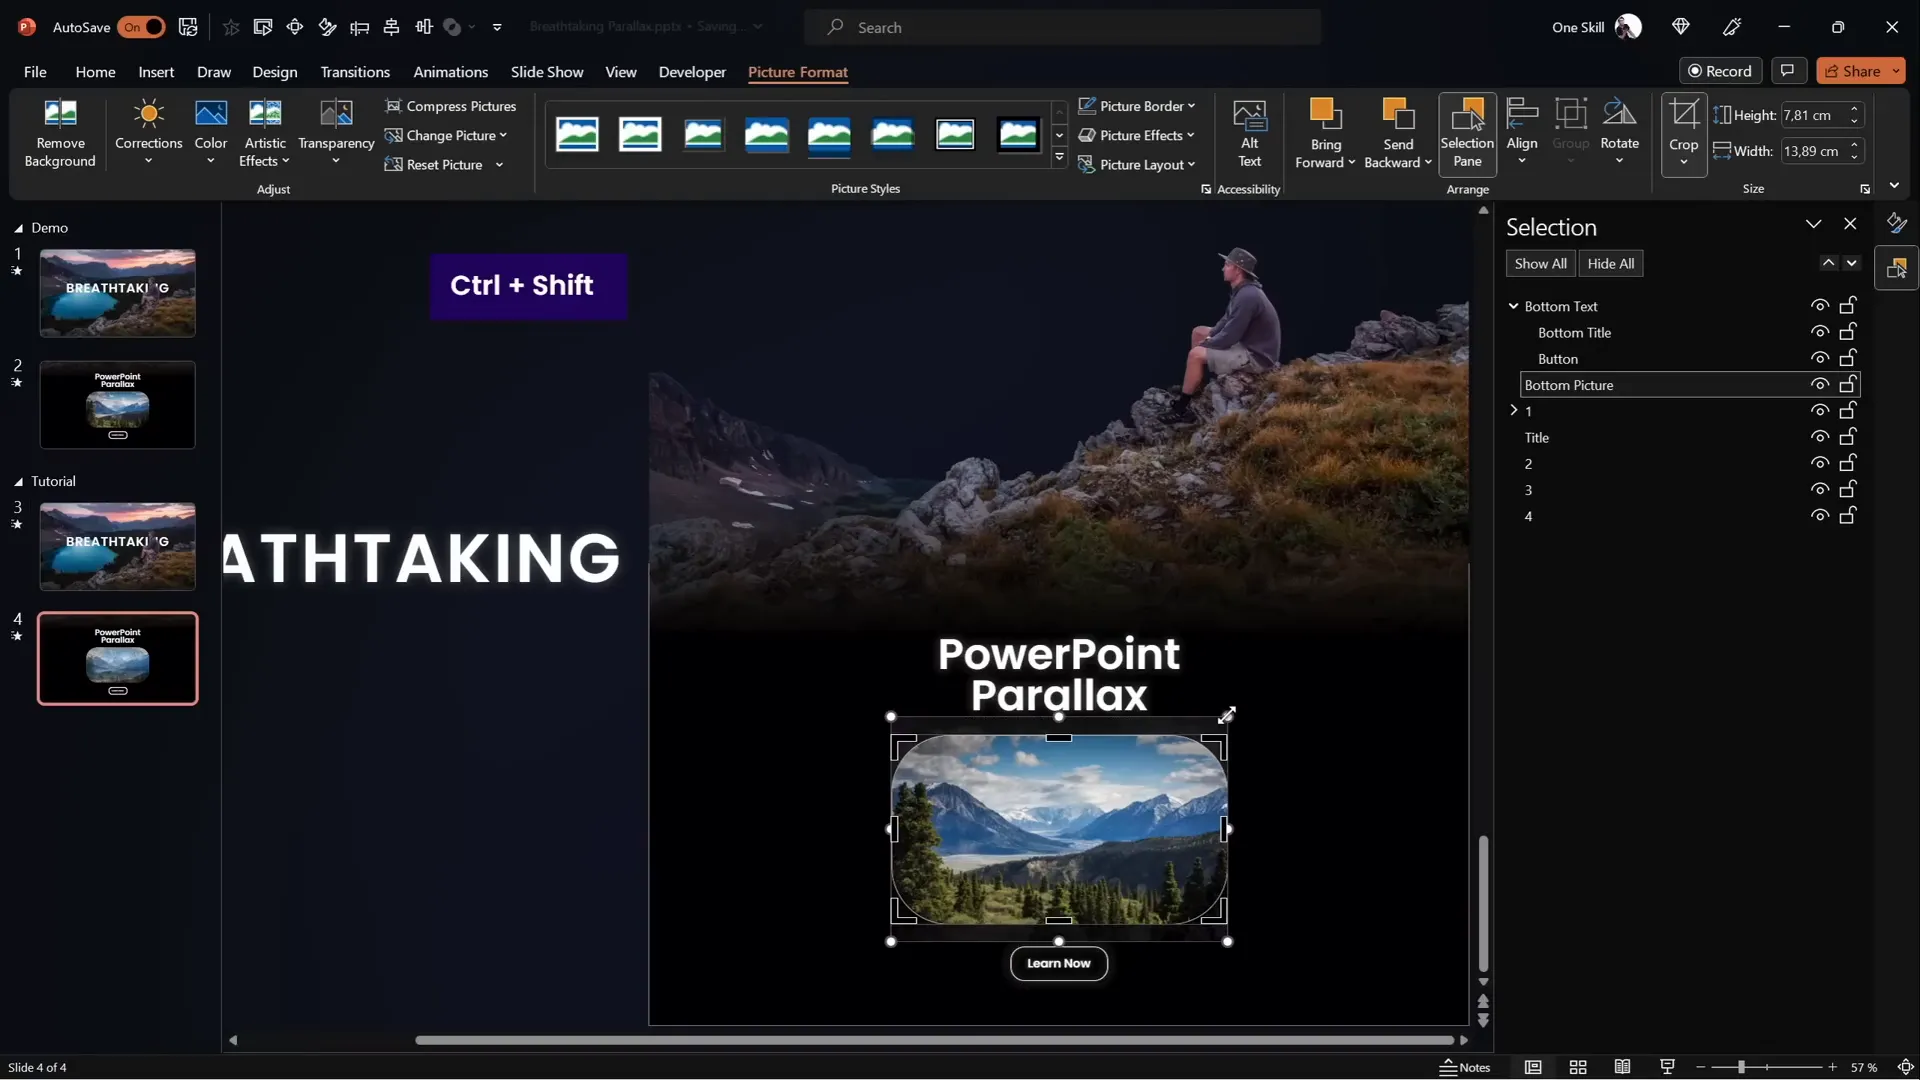
Adding Zoom Effects for Extra Visual Impact
Another way to spice up your parallax animation is by adding a subtle zoom effect to some of the smaller images or elements on your slides.
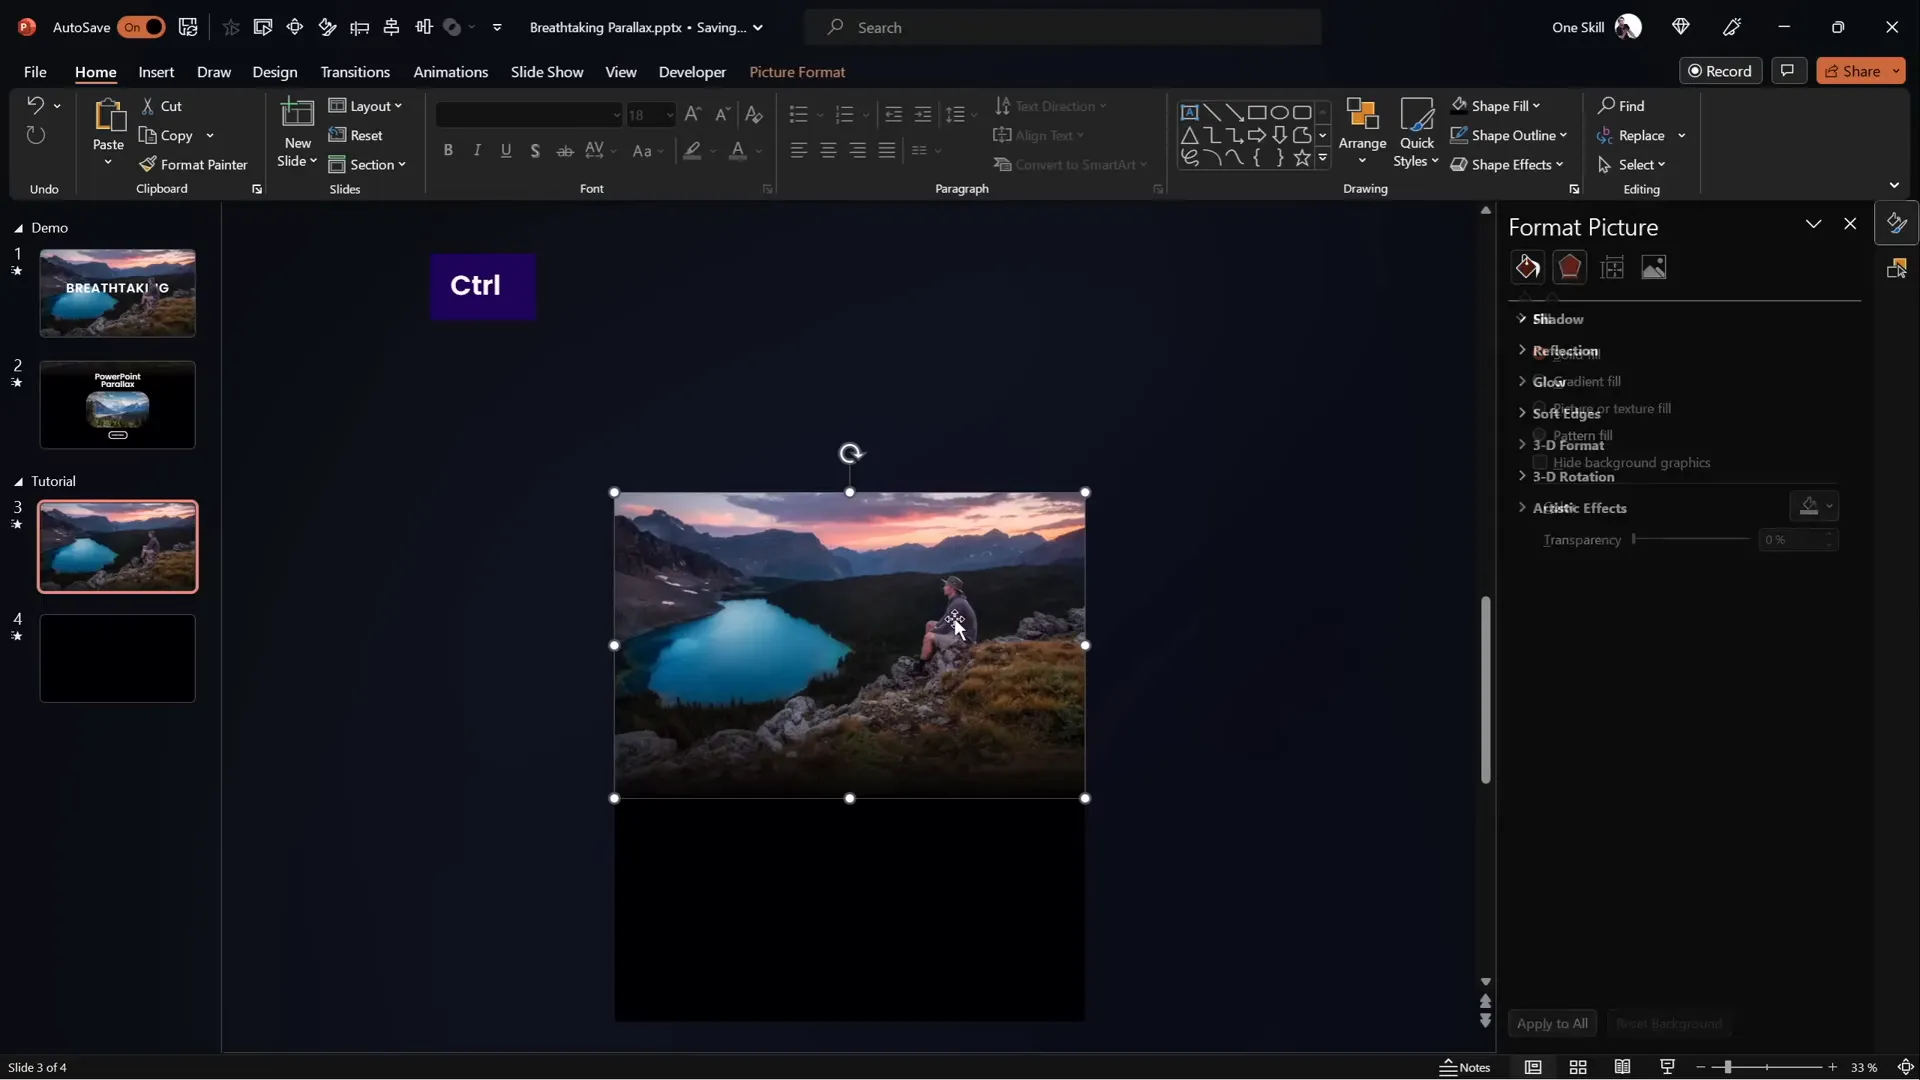
How to Add Zoom Effect
- Select the element (e.g., a small photo) on the second slide.
- Go to Picture Format and click Crop.
- Resize the photo by holding Ctrl + Shift and dragging to zoom out, revealing the edges.
- Click Crop to finalize.
- On the first slide, keep the photo zoomed in.
- The Morph transition will animate the zoom from the first to the second slide.
This zoom adds a dynamic feel and draws attention to specific elements.
Finalizing and Playing Your Parallax Animation
After completing all the steps, it’s time to preview your work and enjoy the stunning parallax animation you’ve created. Run your slideshow starting from the first slide and watch the layers move smoothly, the text enter gracefully, and the zoom effect enhance the overall experience.
Congratulations! You’ve successfully created a breathtaking PowerPoint animation effect that will impress your audience and elevate your presentation skills.

Frequently Asked Questions (FAQ)
What is parallax animation?
Parallax animation is a visual effect where layers of images move at different speeds or distances to create an illusion of depth and 3D motion in a 2D space.
Do I need Photoshop to create parallax animations in PowerPoint?
No, while Photoshop is a powerful tool for separating image layers, you can also use free online editors like PhotoP or other photo editing software with layer extraction capabilities.
Can I create parallax animation without the Morph transition?
Yes, you can use motion path animations to manually animate layers, but Morph simplifies the process and provides smoother transitions.
How do I hide the edges of layers when they move?
You can use a full-screen shape (such as a rectangle) with a solid or gradient fill to mask the edges, creating a seamless look.
Can I add text and other elements to my parallax animation?
Absolutely! Adding titles, text boxes, and images enhances your animation and makes your slides more informative and engaging.
Is this tutorial suitable for beginners?
Yes, this tutorial is designed to be beginner-friendly. However, familiarity with basic PowerPoint functions such as inserting images, duplicating slides, and using the Morph transition will help.
Conclusion
PowerPoint animation effects like parallax can transform your presentations from static and ordinary to dynamic and breathtaking. By carefully preparing your image layers, using the Morph transition, and adding thoughtful touches like gradient blends and zoom effects, you can create animations that captivate your audience and elevate your storytelling.
This tutorial has walked you through each step, from image preparation to finalizing the animation, empowering you to bring your creative vision to life with just a few clicks in PowerPoint. Remember, practice makes perfect — experiment with different images, layer movements, and timings to discover your unique style.
If you found this guide helpful, consider exploring more PowerPoint tutorials and templates to expand your skills further. With the right tools and techniques, PowerPoint becomes a canvas for your creativity, enabling you to present like a pro.
Happy animating!


