If you’ve ever wanted to create an eye-catching animated title slide in PowerPoint that captivates your audience from the very first moment, you’re in the right place. In this comprehensive guide, we’ll walk you through how to craft a beautiful animated title slide using PowerPoint animation effects, video integration, and even the PowerPoint draw tool to add a personal handwritten touch.
Whether you’re a beginner or looking to elevate your PowerPoint skills, this tutorial will empower you to create a professional and dynamic title slide that stands out. We’ll cover everything from gradient fills and text animations to video embedding and advanced animation techniques.
Let’s dive into the magical world of PowerPoint animation effects and learn how to create a stunning animated title slide step-by-step.
Table of Contents
- Getting Started: Preparing Your Slide
- Adding a Gradient Fill Background
- Inserting and Styling the Title Text
- Using the PowerPoint Draw Tool for Handwritten Text
- Adding PowerPoint Animation Effects to Text
- Cutting Out Text from the Background
- Inserting and Animating a Background Video
- Adding Exit Animations
- Final Touches: Growth and Shrink Animation
- Frequently Asked Questions (FAQ)
- Conclusion
Getting Started: Preparing Your Slide
To begin creating your animated title slide, start with a blank black slide in PowerPoint. This clean slate gives you the flexibility to build the design from scratch without any distractions.
Once you have your blank slide ready, the first step is to insert a full-screen rectangle shape that will serve as the base for your background. This rectangle should cover the entire slide area.
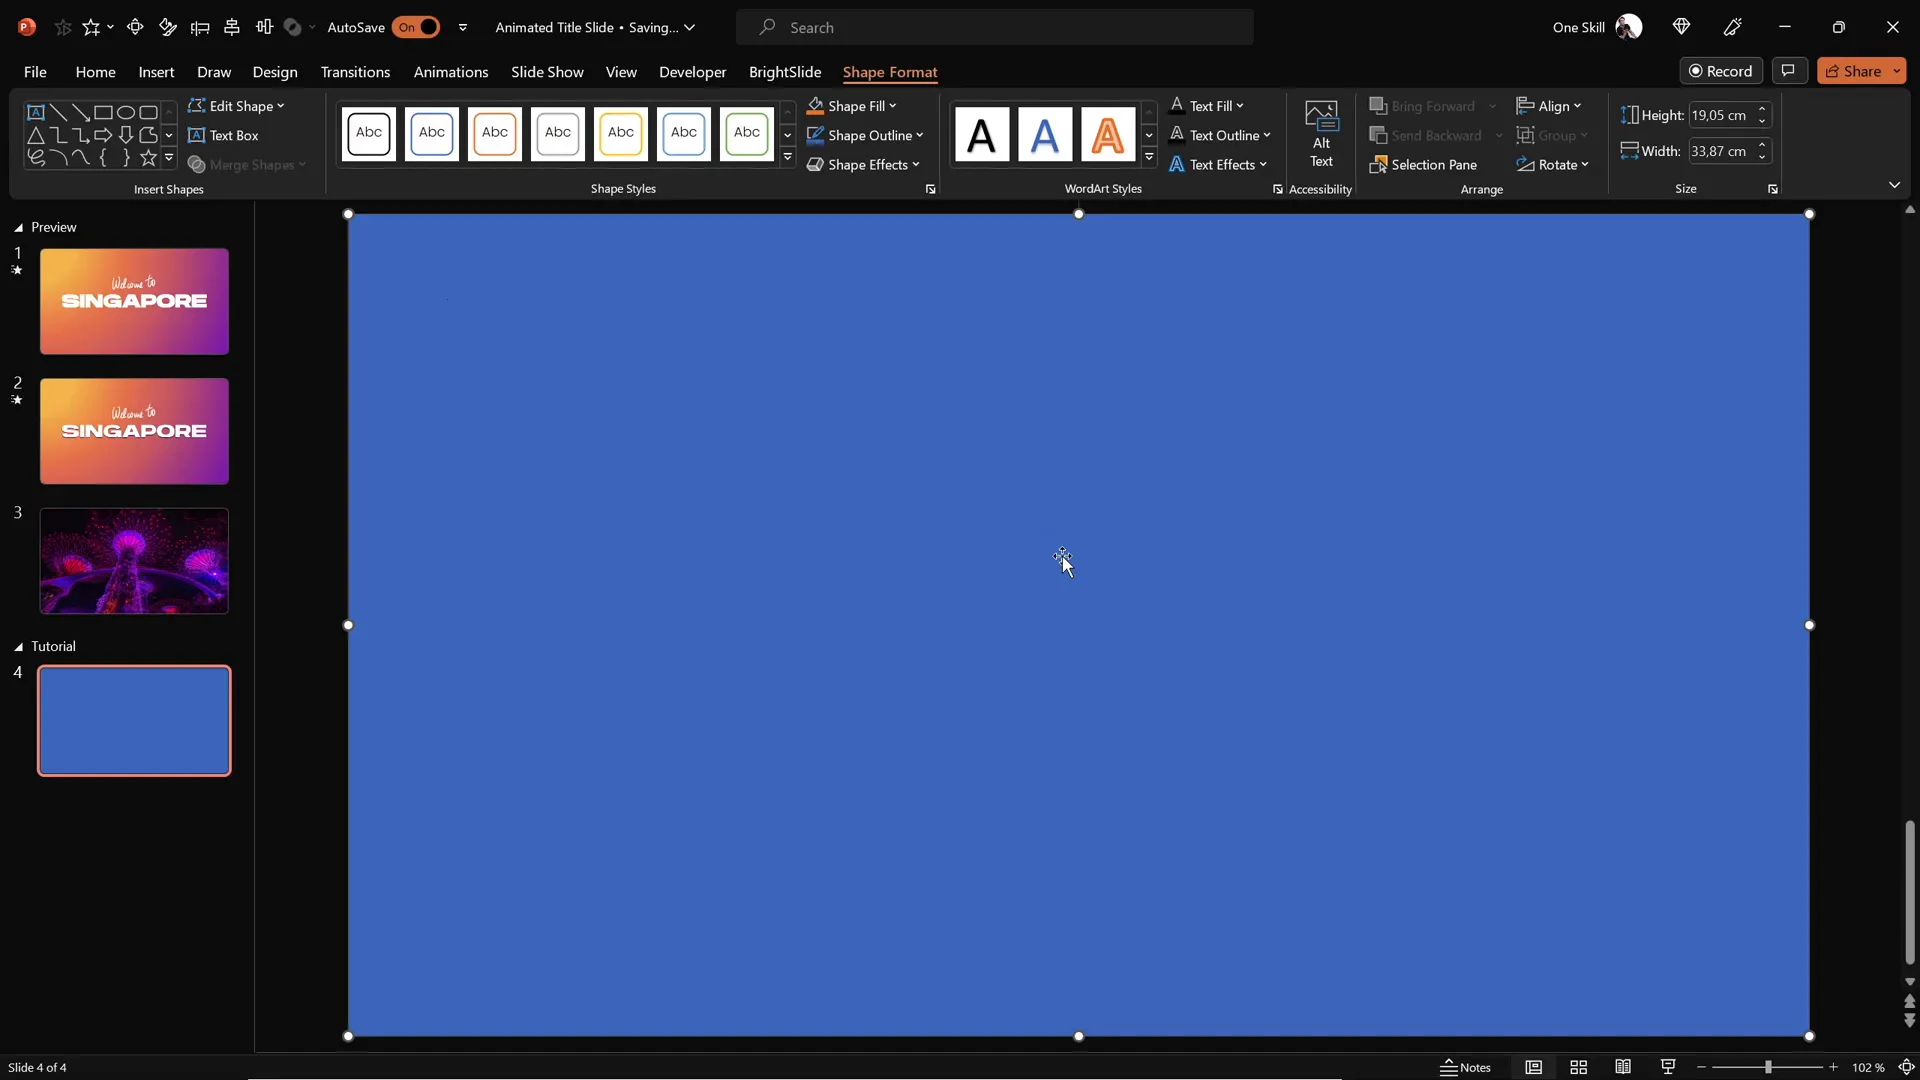
Make sure the rectangle is selected before moving on to the next step. This simple shape will soon transform into a vibrant and dynamic background using gradient fills and video effects.
Adding a Gradient Fill Background
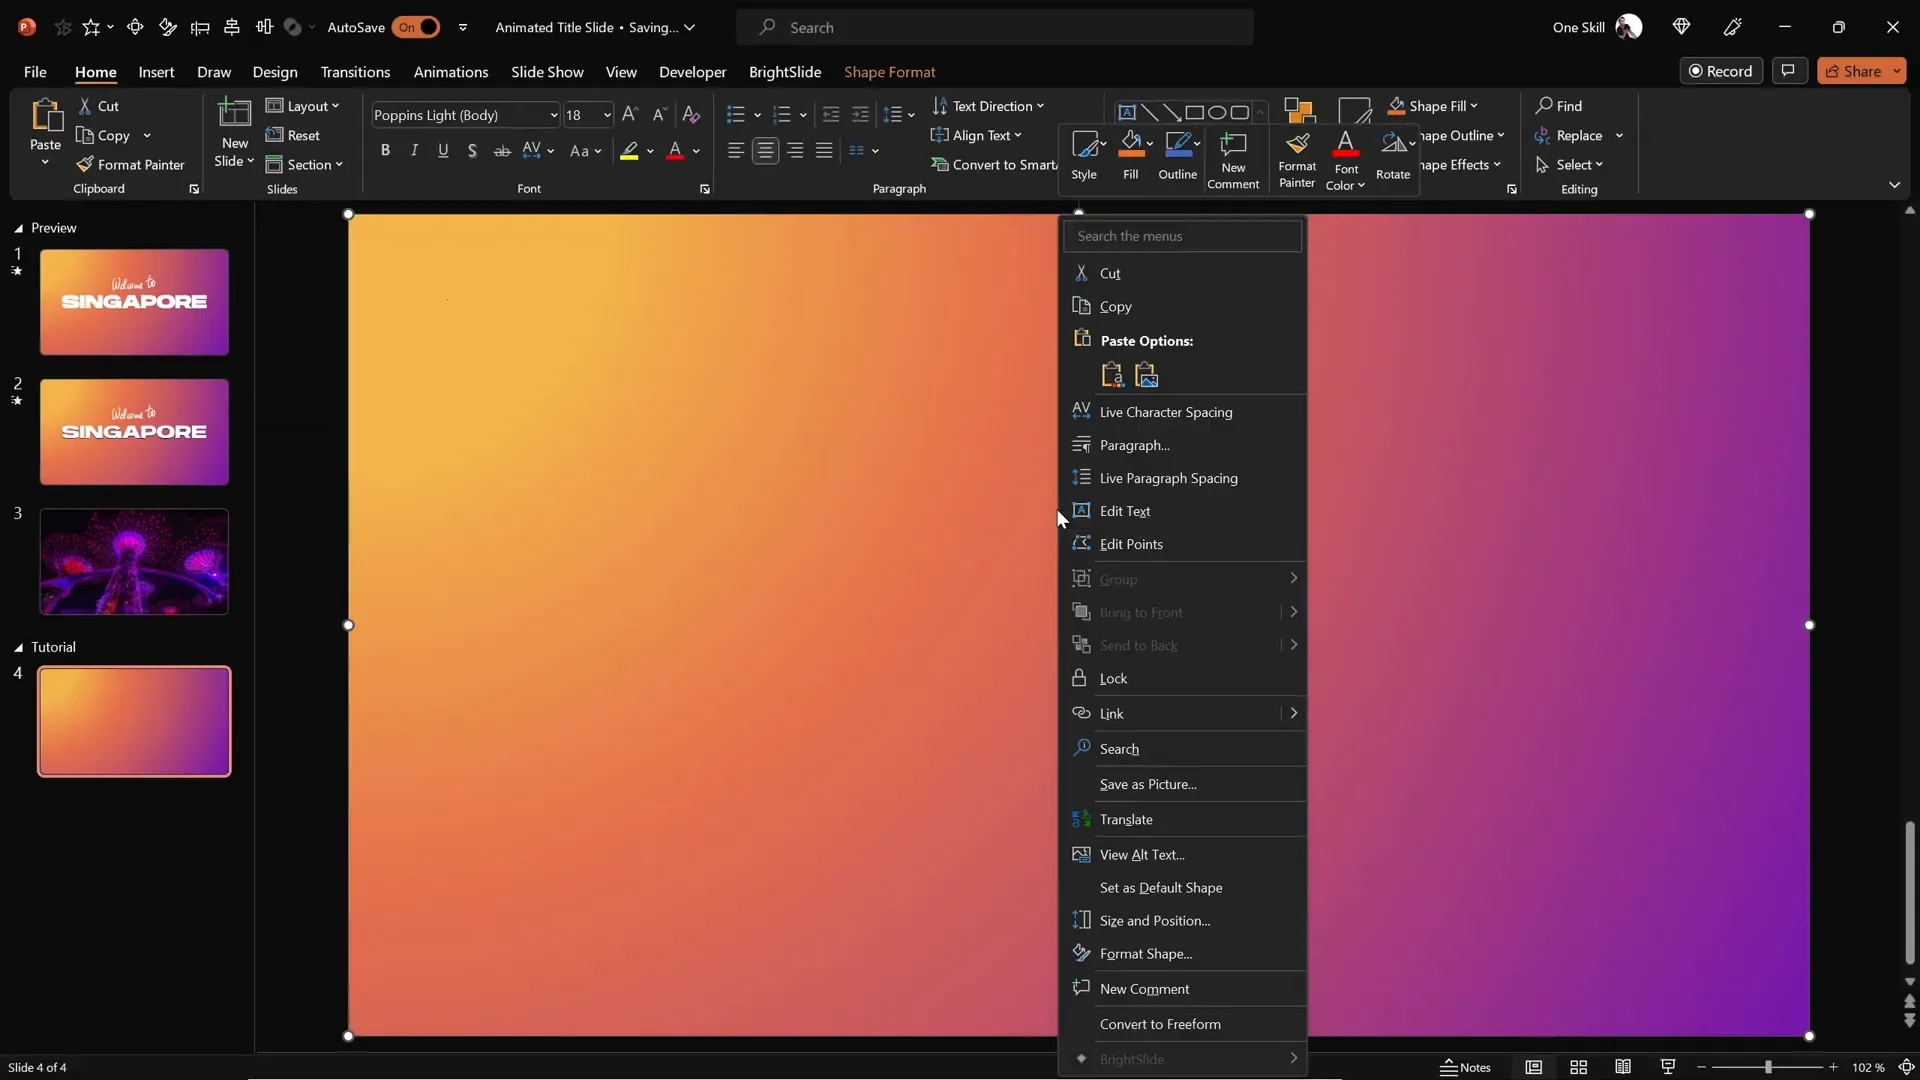
Now that you have your rectangle shape, it’s time to add a beautiful gradient fill to make your slide visually appealing. Instead of creating a gradient from scratch, you can quickly copy the gradient fill from another shape or slide using PowerPoint’s Format Painter tool.
- Select the shape with the gradient fill you want to copy.
- Go to the Home tab and click on the Format Painter.
- Click once on the rectangle you just inserted to apply the same gradient fill.
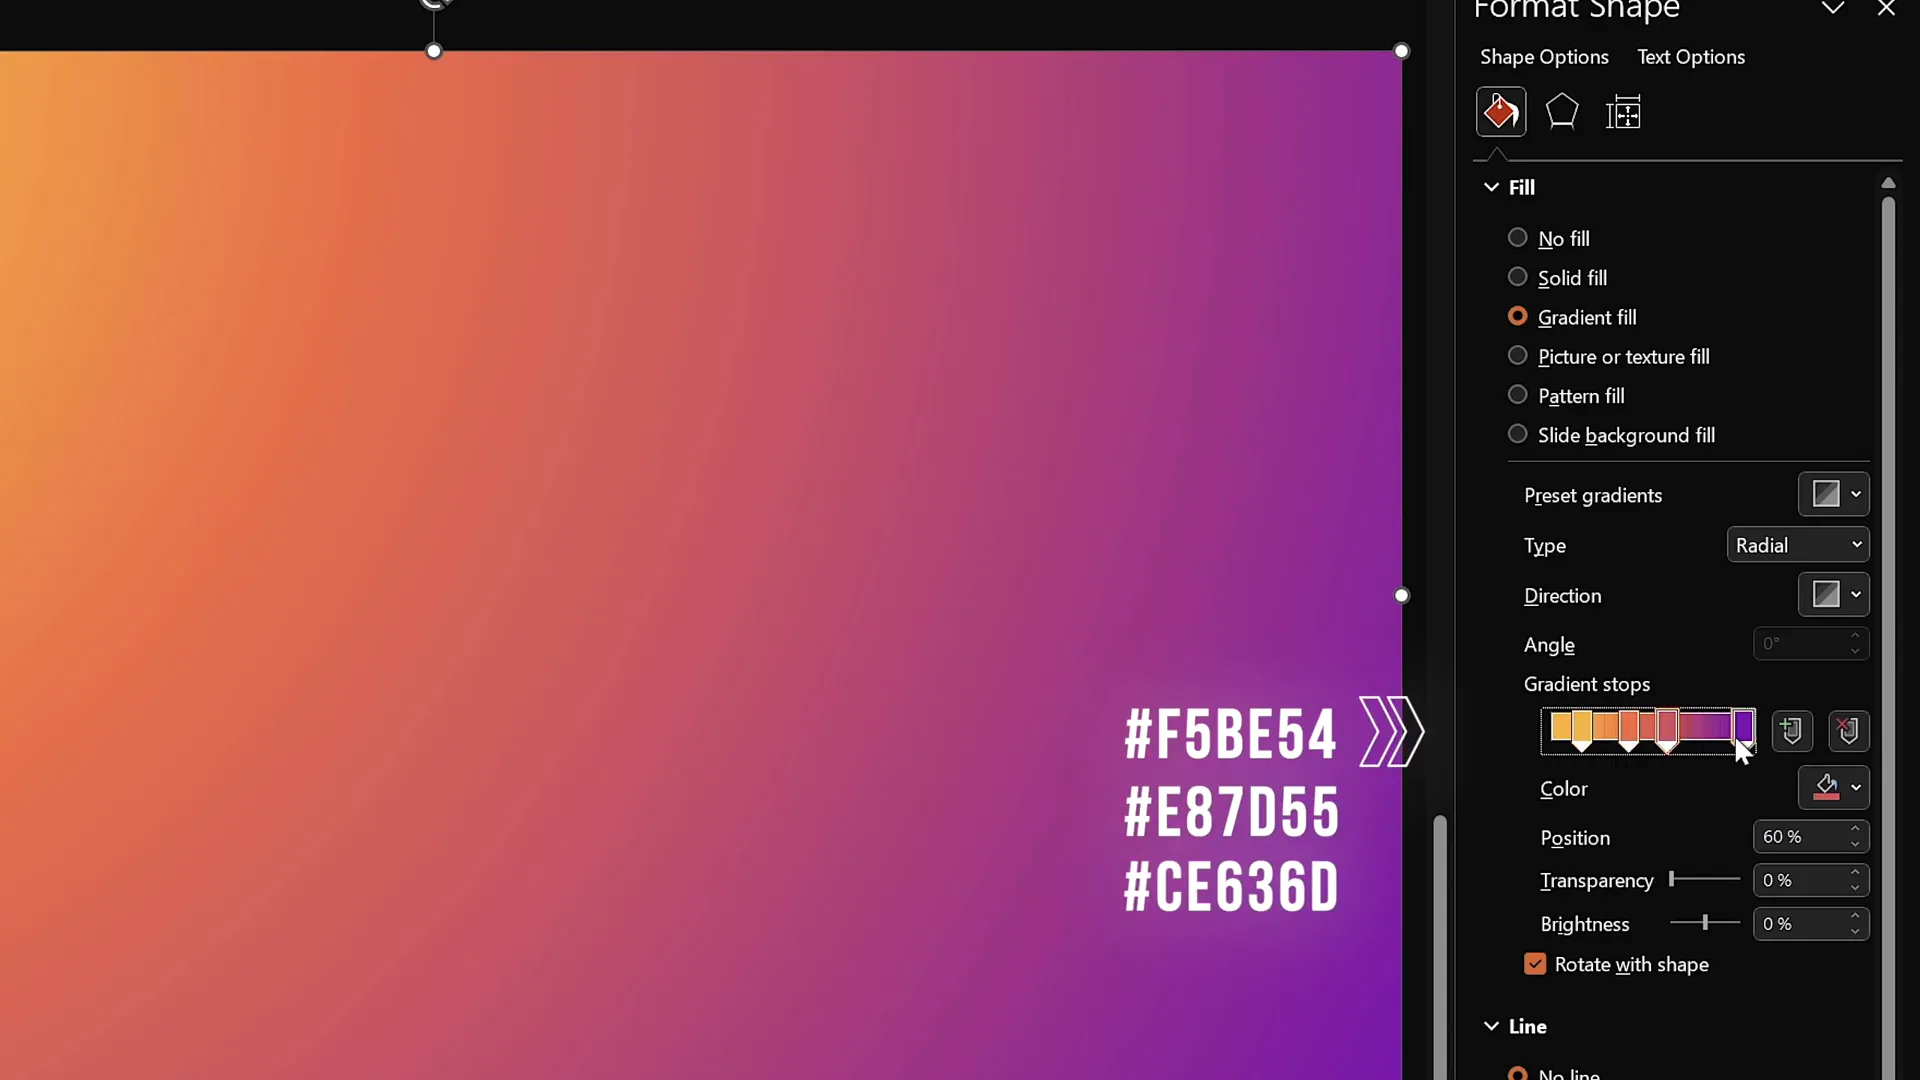
After applying the gradient, dive into the Format Shape options to fine-tune the gradient settings:
- Choose Gradient Fill as the fill type.
- Select Radial Fill to create a circular gradient effect.
- Set the gradient direction starting from the top-left corner of the slide.
- Adjust the color stops to customize the colors and create a smooth transition.
Here’s a pro tip: Use specific hex color codes if you want to replicate the exact gradient effect shown in the tutorial. This ensures consistency and a professional look.
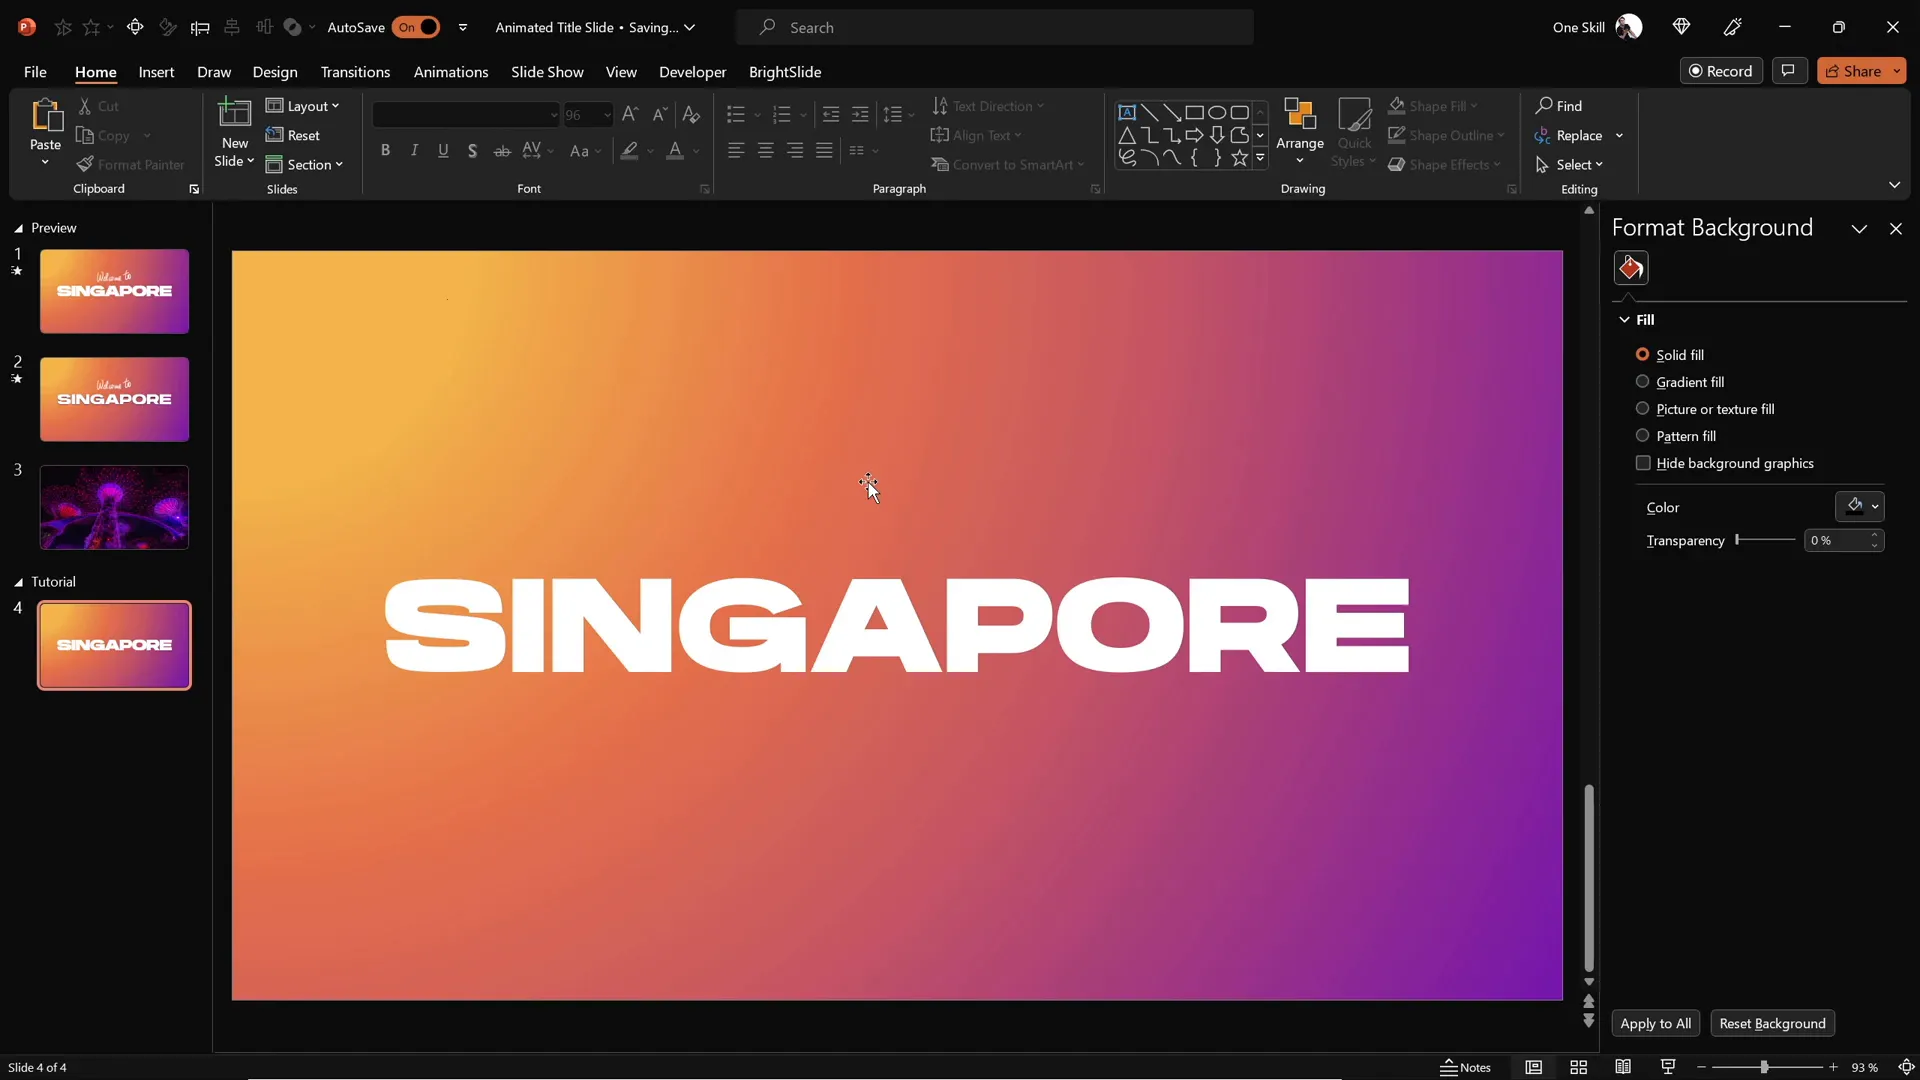
Inserting and Styling the Title Text
Next, it’s time to add your slide title. For this example, we’ll use the word Singapore as the title text.
Follow these steps to add and style the title:
- Go to the Insert tab and select the Text Box tool.
- Click on the slide and type your title text, e.g., Singapore.
- Choose a bold and clean font for impact. In this tutorial, the Hanson font was used.
- Set the font size to a large value, such as 96 pt, to make the title prominent.
- Center align the text box horizontally on the slide.
Choosing the right font and size is essential to make your title stand out. Hanson is a great choice because it’s bold and highly readable, but feel free to experiment with other fonts that fit your presentation style.
Using the PowerPoint Draw Tool for Handwritten Text
To add a personal and creative touch, you can use PowerPoint’s Draw Tool to write custom text or design elements on top of your title.
For example, you might want to add a handwritten phrase like Welcome to above the title.
Here’s how to do it:
- Click on the Draw tab in PowerPoint.
- Select a pen or pencil tool and choose your preferred color and thickness.
- Use a stylus or mouse to write your text or draw shapes directly on the slide.
Pro tip: Drawing smooth, natural-looking handwritten text can be challenging with a mouse. Using a graphics tablet like the Wacom Intuos can significantly improve the quality and fluidity of your handwriting.
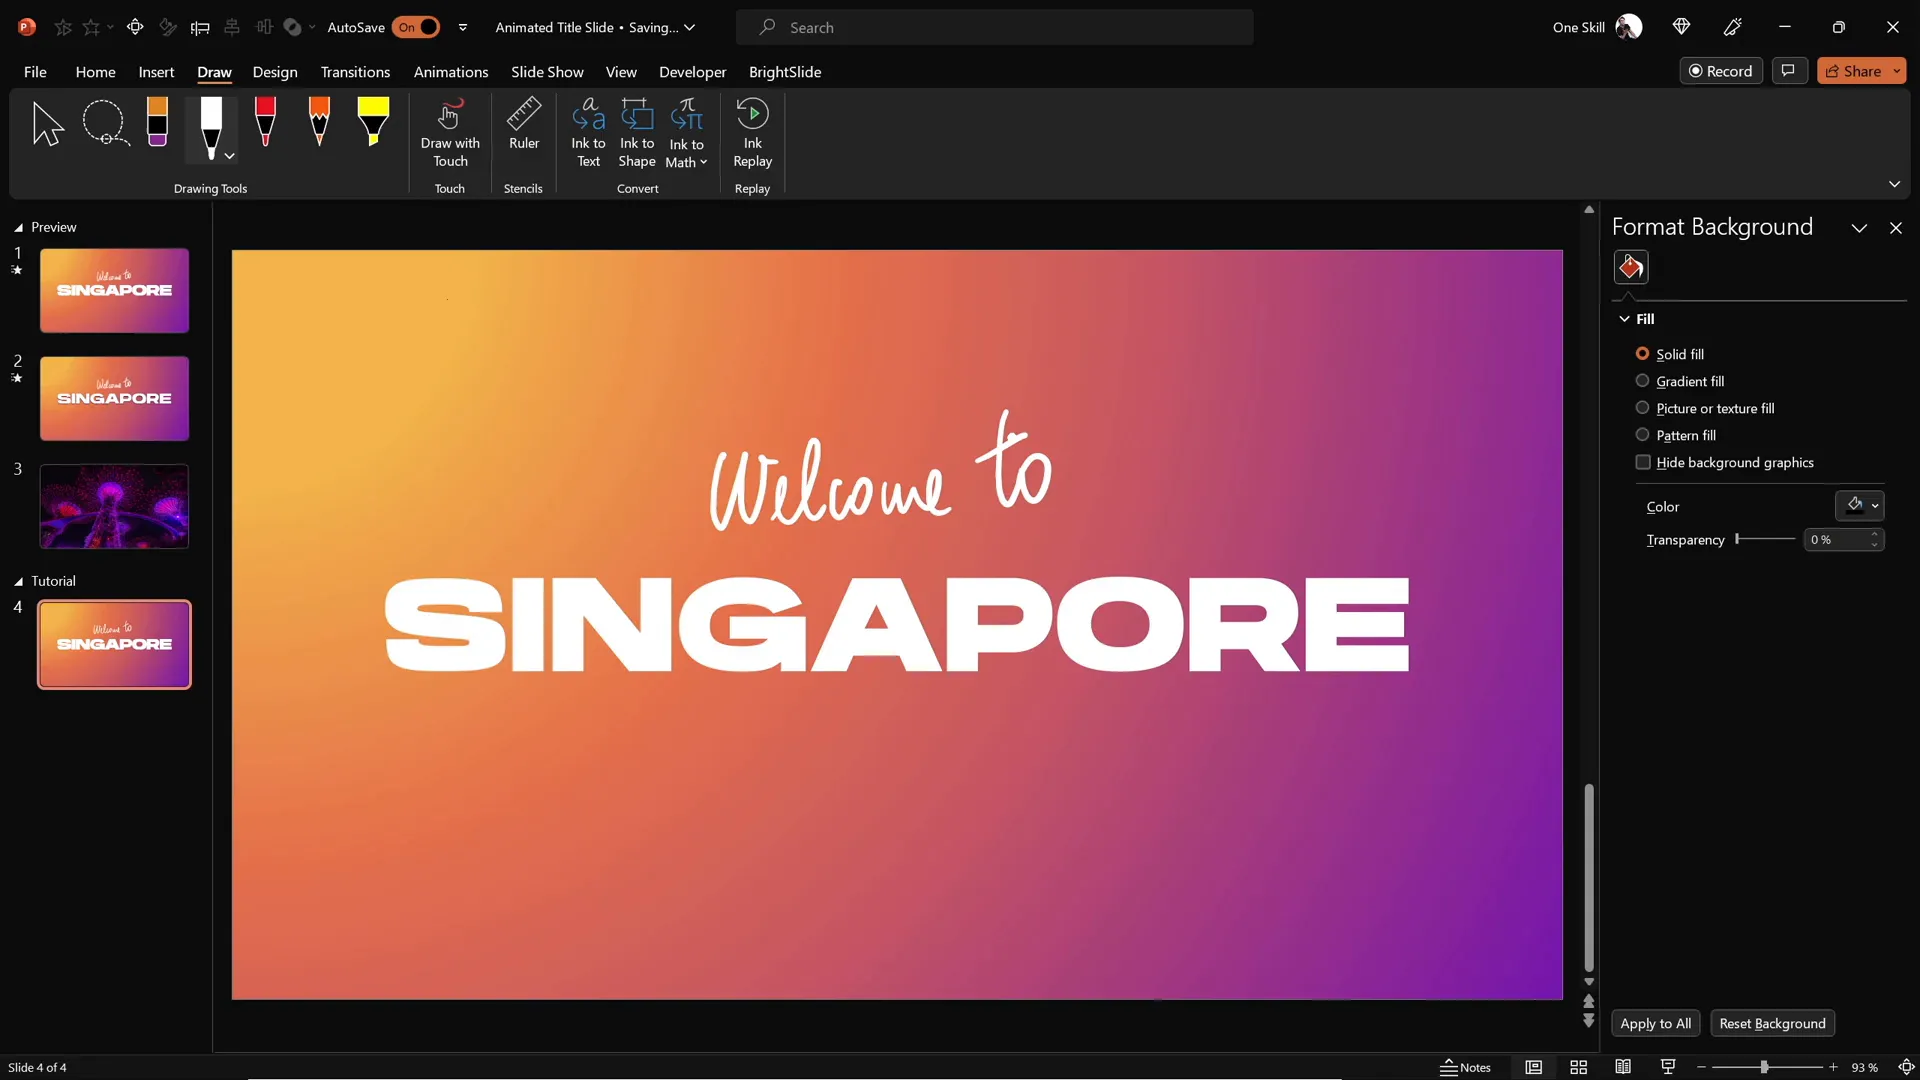
After writing your text, move the handwritten text box closer to your main title to create a cohesive look.
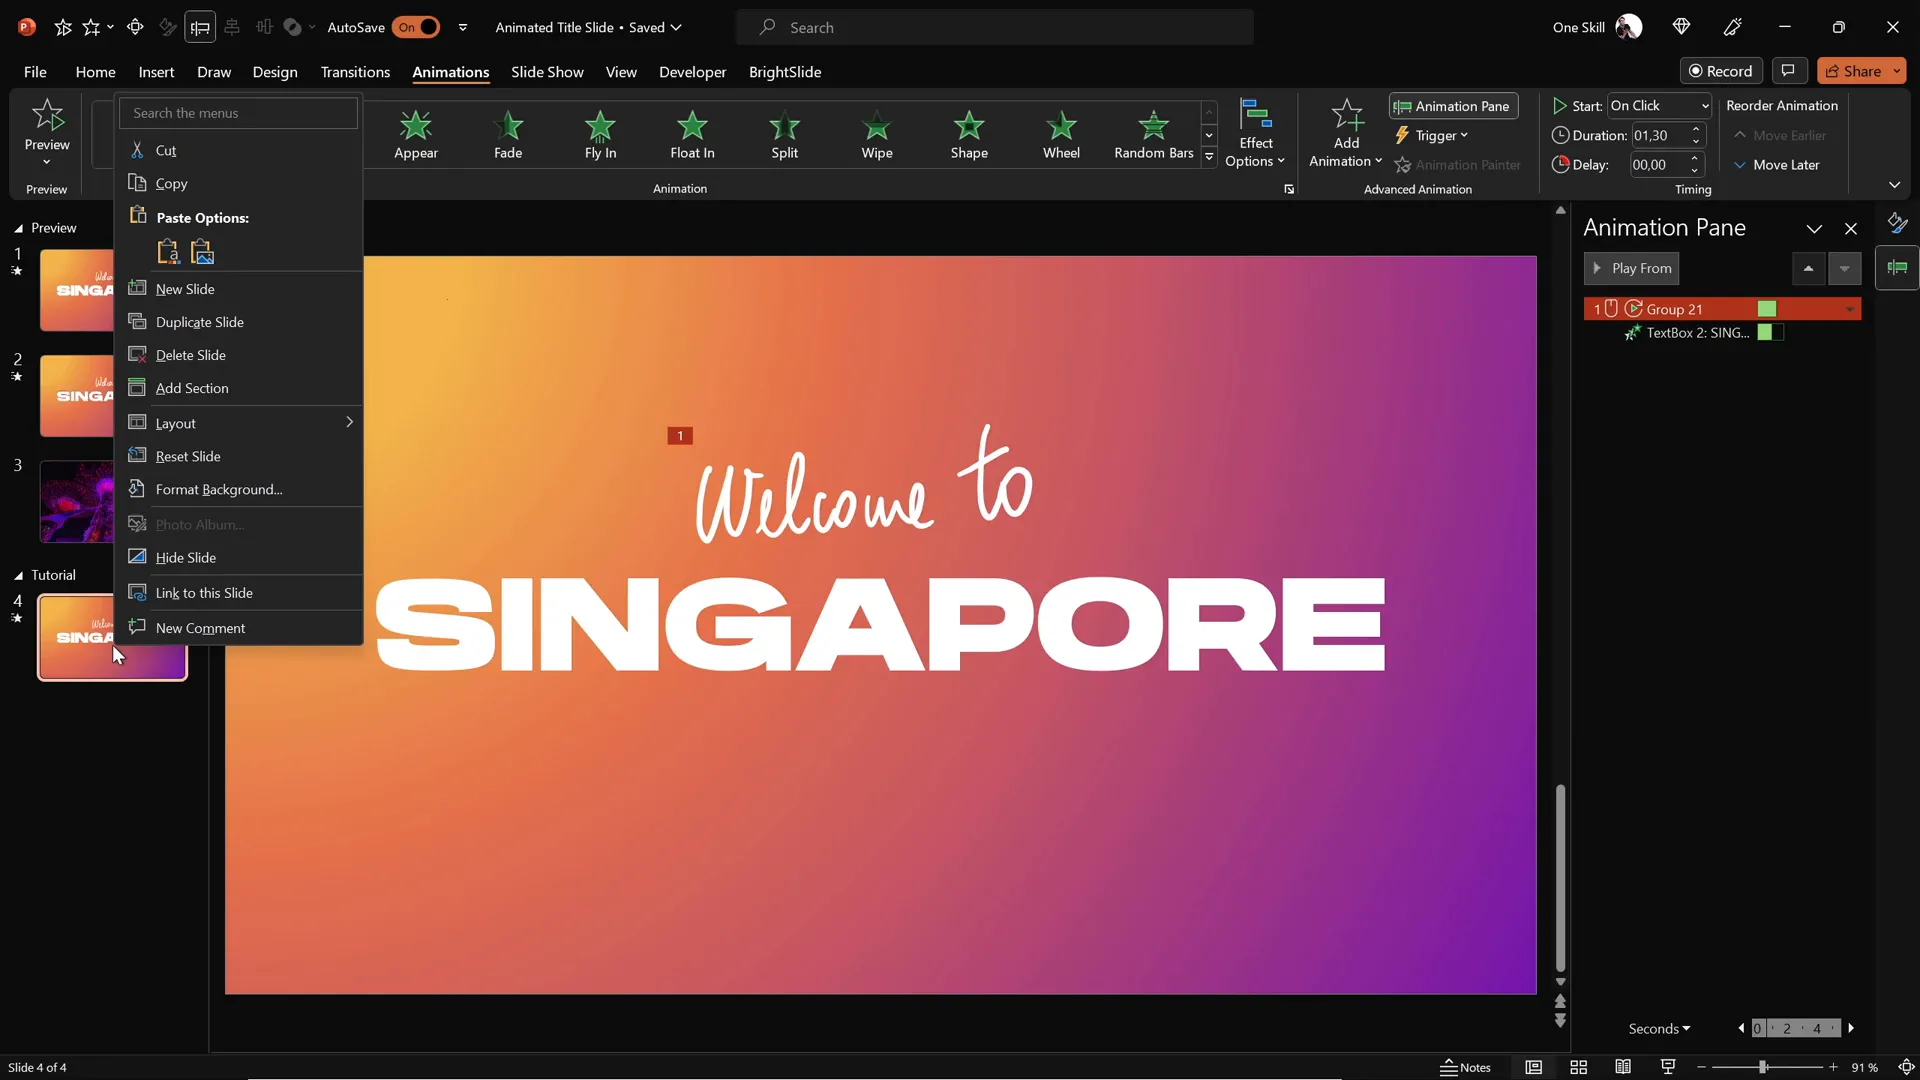
Adding PowerPoint Animation Effects to Text
Now that the text elements are in place, it’s time to animate them using PowerPoint animation effects. Animations add dynamism and help guide your audience’s attention.
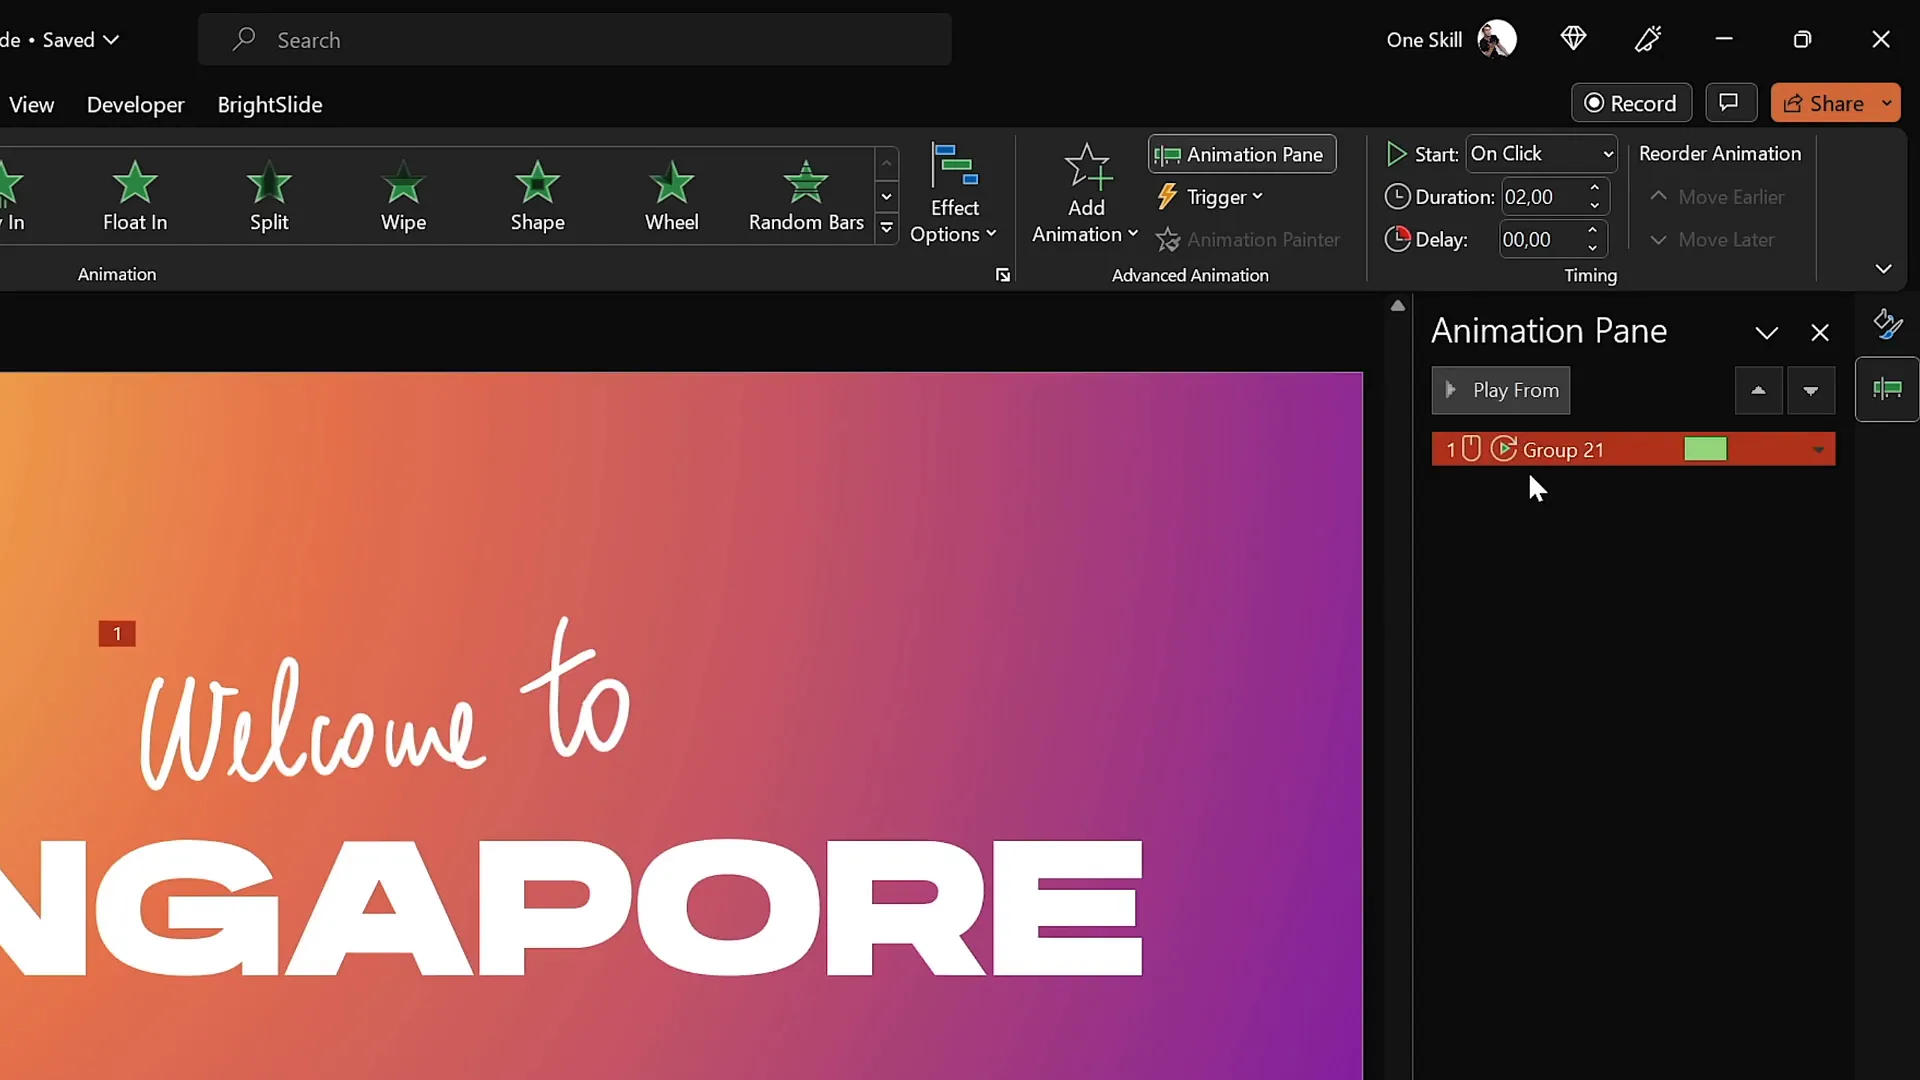
Animating the Handwritten Text
For the handwritten Welcome to text created with the Draw Tool, use the Replay animation:
- Select the handwritten text box.
- Go to the Animations tab and choose the Replay animation.
- Open the Animation Pane to customize the animation.
- Adjust the duration to around 1.3 seconds to speed up the replay effect.
Animating the Title Text
For the main title text (e.g., Singapore), use the Fly In animation with a direction from the right:
- Select the title text box.
- Choose the Fly In animation from the Animations tab.
- Set the animation to Start With Previous so it begins automatically.
- Set the duration to 1 second for a smooth effect.
- In the animation options, set the movement to maximum for a soft landing effect.
- Animate the text By Letter with a 10% delay between each letter for a sequential appearance.

This combination of animations creates a professional and engaging entrance for your text elements.
Cutting Out Text from the Background
One of the more advanced and visually stunning techniques is to create a cutout effect where the title text punches a hole through the gradient background, revealing content underneath (such as a video).
Here’s how to achieve this cutout text effect:
- Duplicate the slide with your animated title.
- On the duplicate slide, remove all animations.
- Select the gradient rectangle and then, while holding Shift, select the title text box.
- Go to the Shape Format tab, click Merge Shapes, and choose Subtract.
- This will punch a hole in the rectangle where the title text was, revealing the slide background behind it.
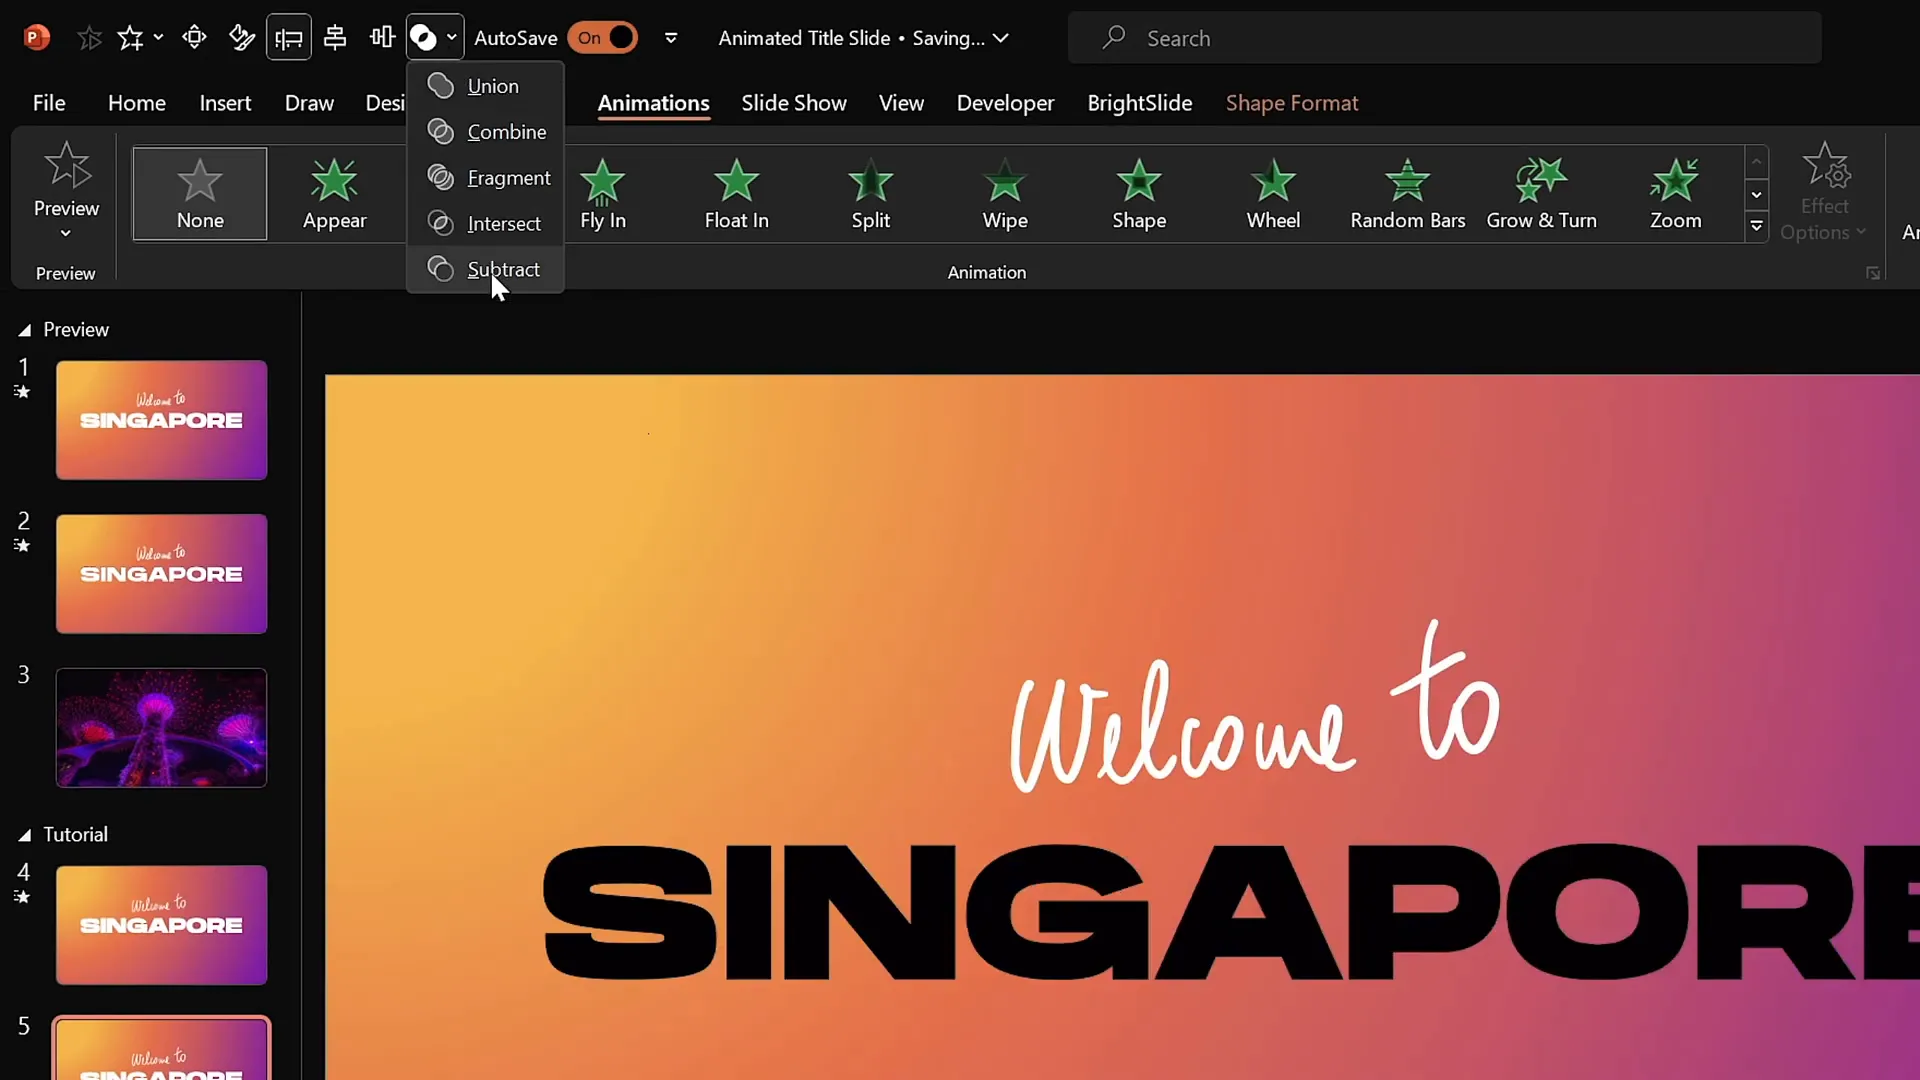
This technique gives you a powerful way to combine text and background content creatively.
Inserting and Animating a Background Video
To make your title slide even more engaging, you can insert a video that plays behind the cutout text, adding motion and atmosphere.
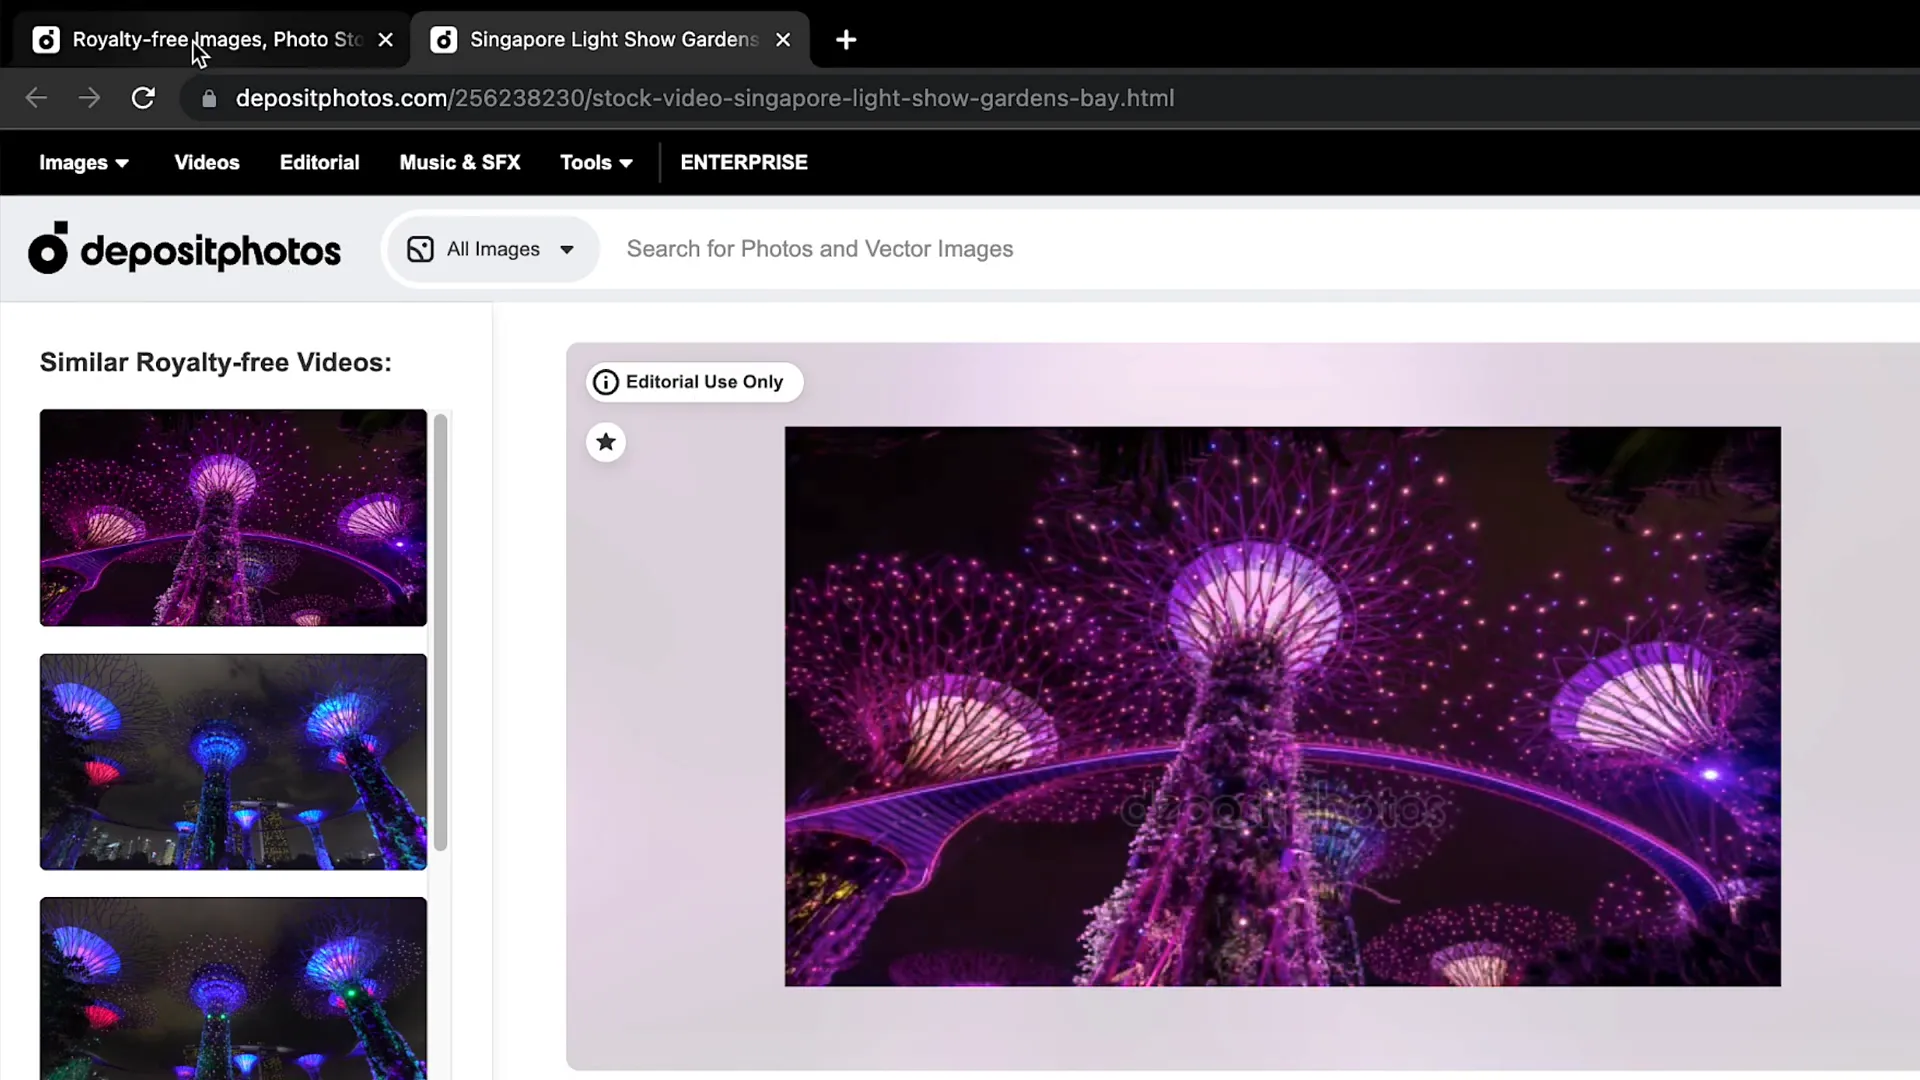
For this tutorial, the video used is a beautiful night-time clip of Singapore’s iconic super trees lighting up. You can find royalty-free videos like this on platforms such as DepositPhotos, which offers a wide range of stock photos, videos, vectors, and music for creative projects.
Tip: Use promo code ONESKILL20 on DepositPhotos to get 20% off your downloads and subscriptions.
Steps to add and animate the video:
- Download the video from a stock media site like DepositPhotos.
- Copy and paste the video onto the slide with the cutout rectangle.
- Center align the video on the slide.
- Add a Play animation to the video and set it to Start With Previous so it plays automatically when the slide loads.
- Enable loop playback in the video playback options to keep the video playing continuously.
- Send the video to the back layer so that it appears behind the rectangle and text.
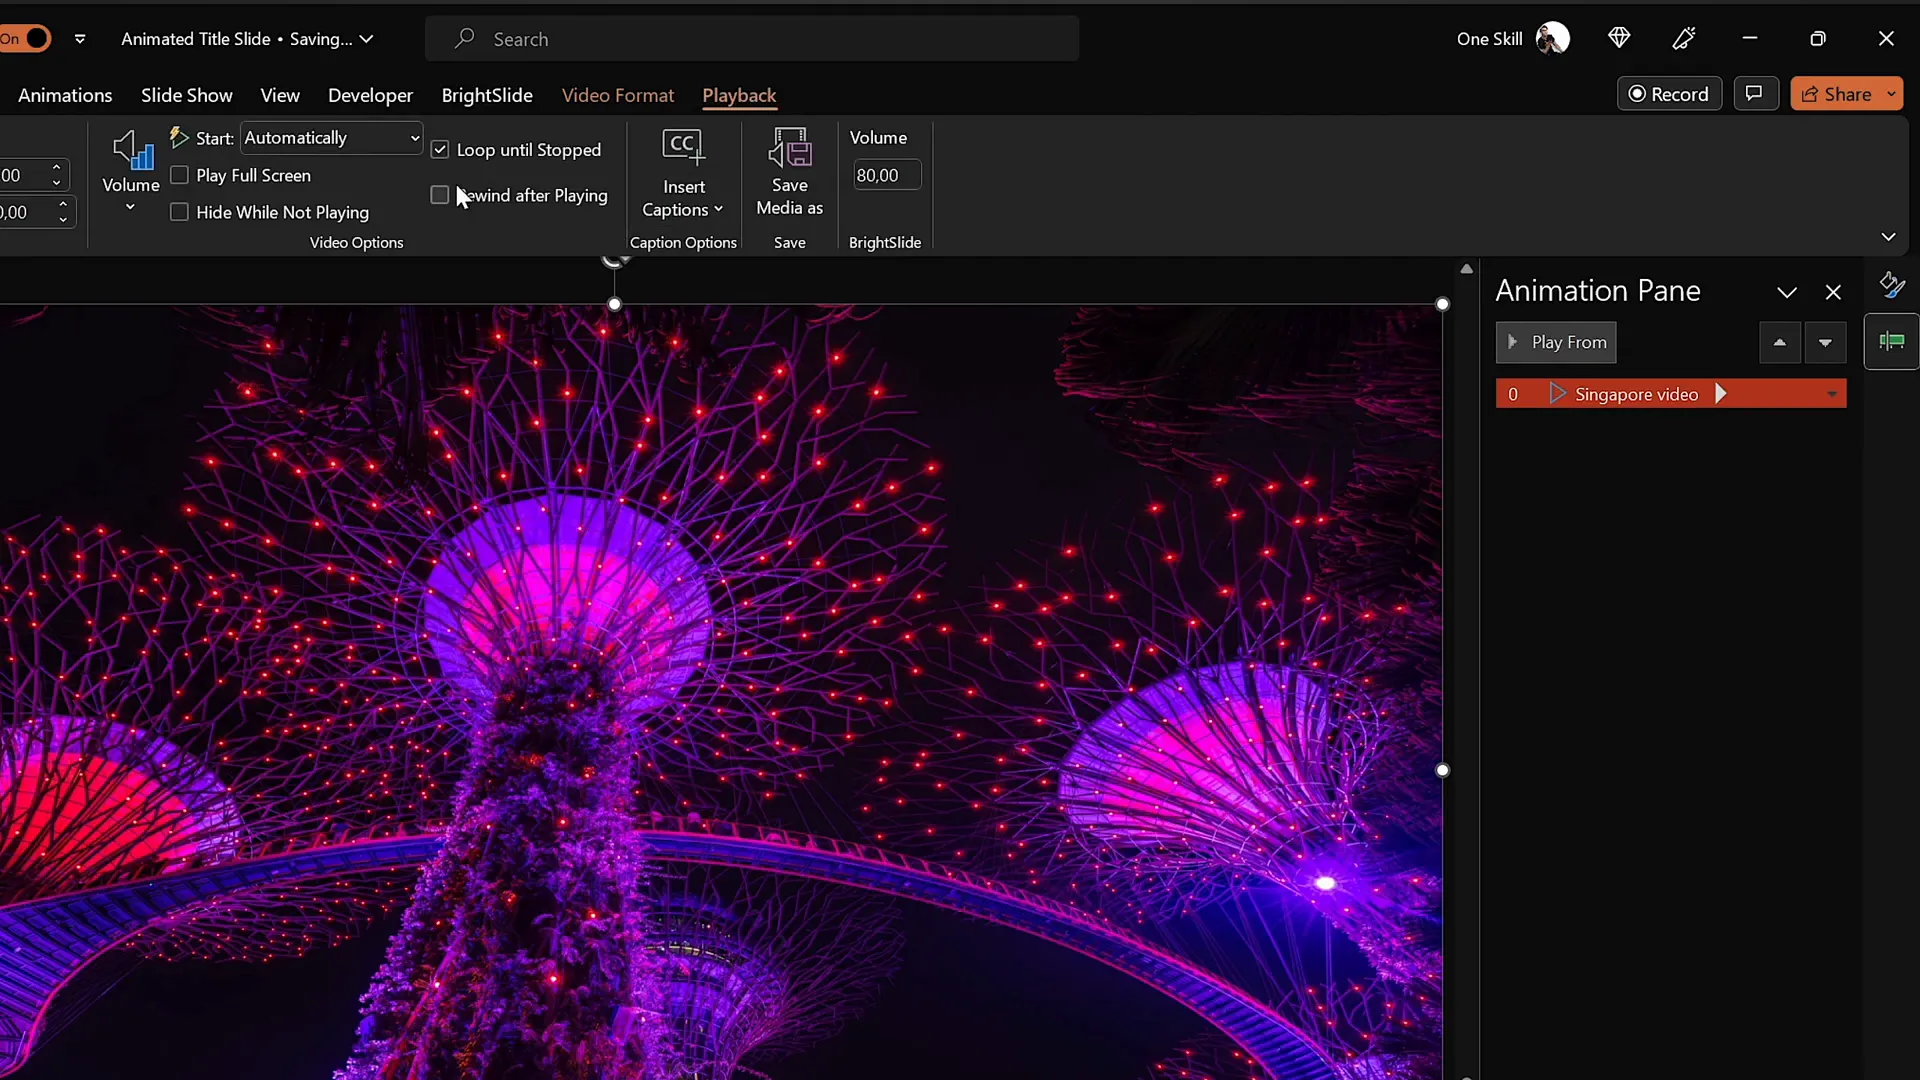
When done correctly, the video will be visible only through the cutout letters, creating a stunning visual effect.
Adding Exit Animations
To add polish and smooth transitions, apply exit animations to the text elements on the slide with the video.
Here’s how to add exit animations:
- Select both the handwritten Welcome to text and the main title text boxes.
- Go to the Animations tab, click Add Animation, and choose an exit effect such as Cloud.
- Set the animation to Start With Previous so it triggers automatically.
- Choose the animation direction as To Top and set the duration to 1 second for a smooth exit.
- In the animation options, apply a Maximum Smooth Start for a gentle effect.
- For the title text, set the exit animation to animate By Letter with a percentage delay to create a sequential fly-out effect.
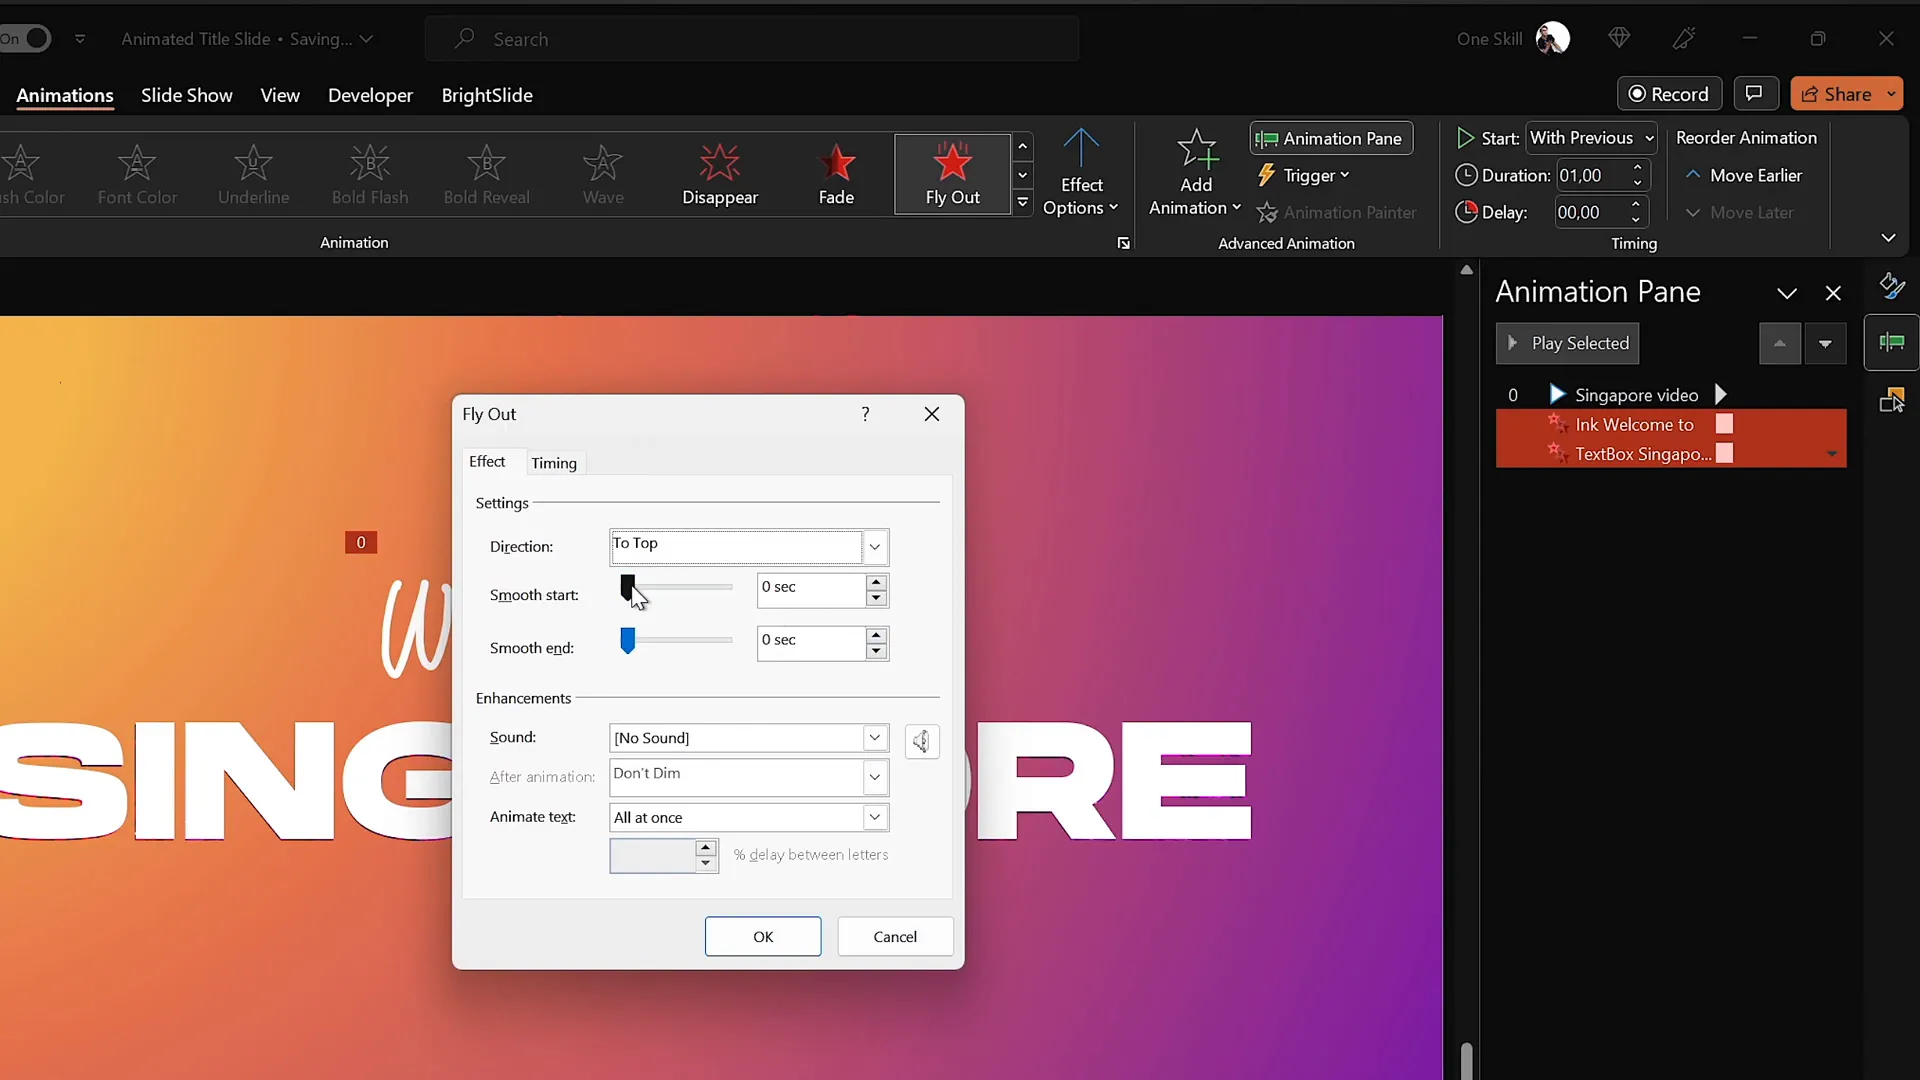
This adds a professional and dynamic exit to your text elements, making the transition to the next slide seamless.
Final Touches: Growth and Shrink Animation
As the final animation touch, apply a growth and shrink animation to the cutout rectangle to create a zooming effect that reveals the video behind the text.
Steps to add the growth/shrink effect:
- Select the cutout gradient rectangle shape.
- Apply the Grow/Shrink animation from the Animations tab.
- Set the animation to Start With Previous to synchronize with other animations.
- Set the duration to 2 seconds.
- Choose Maximum Smooth Start for a soft beginning.
- In the animation settings, set the growth size to an unusual 9000% so the rectangle grows huge and effectively zooms out, revealing the video fully.
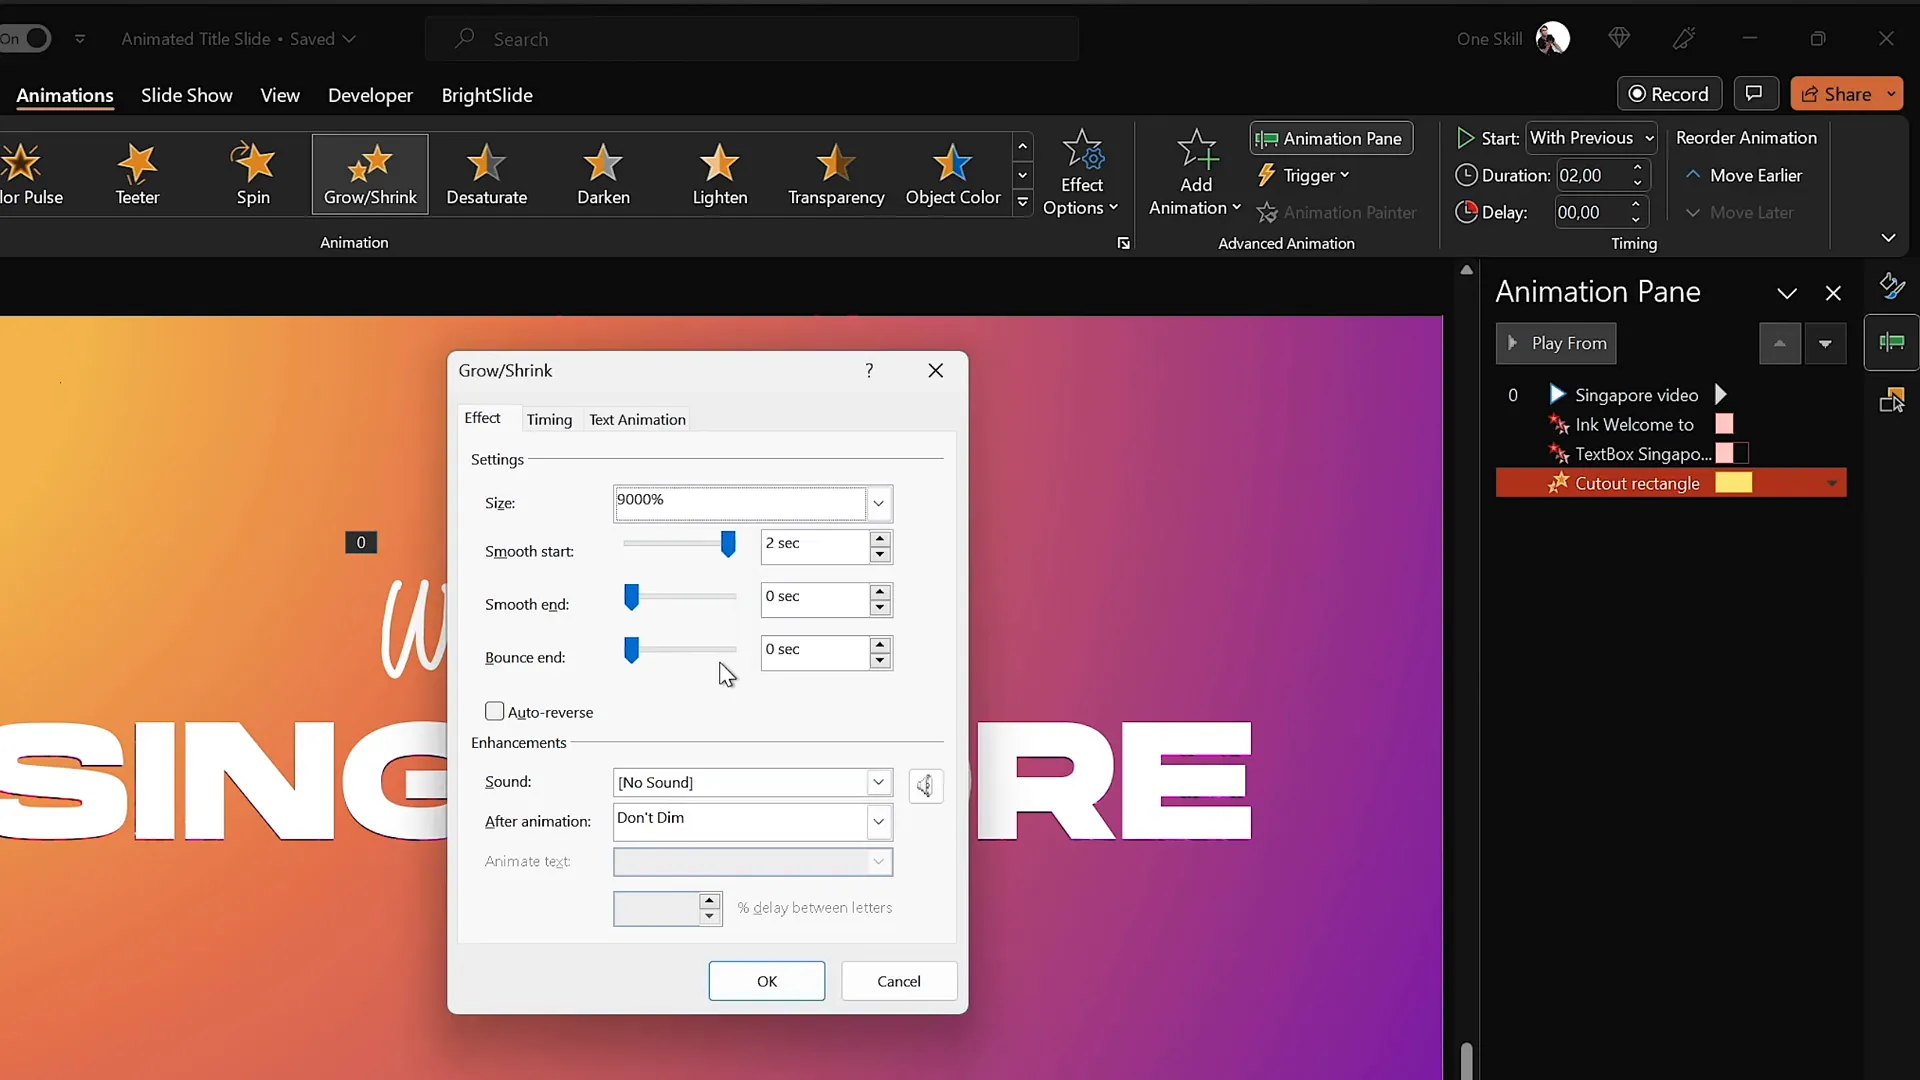
Preview the animation to see the rectangle zoom out and the video become visible through the large cutout letters, creating a dramatic and impressive effect.
One last note: Remove any slide transitions on the second slide to make the switch between slides instantaneous and smooth, enhancing the overall effect.
Frequently Asked Questions (FAQ)
What version of PowerPoint do I need to create these animation effects?
This tutorial uses PowerPoint from Microsoft 365 on Windows, which supports all the animation features used here. Most recent versions of PowerPoint (2016 and later) will also have these capabilities.
Can I use any font for the title text?
Yes, but using a bold, clean font like Hanson works best for visibility and aesthetics. Avoid overly decorative fonts that might reduce readability.
Do I need a graphics tablet to use the Draw Tool?
No, but using a tablet like the Wacom Intuos makes it much easier to create smooth, natural handwriting. You can also use a mouse, but it might be harder to achieve the same quality.
Where can I find royalty-free videos to use as backgrounds?
DepositPhotos is a great source for stock videos, photos, and music. They offer a promo code ONESKILL20 for a 20% discount on downloads and subscriptions.
Can I apply these animation effects to other slides besides the title slide?
Absolutely! The techniques shown here can be adapted for content slides, transitions, and other creative uses throughout your presentation.
How do I ensure the video plays automatically and loops?
After inserting the video, set the playback options to Play Automatically and enable Loop until Stopped to keep the video playing continuously during the slide.
What if I want to use a different video or image for the background?
You can replace the video with any other media that fits your presentation theme. Just make sure to adjust the size and alignment to match the cutout text.
Conclusion
Creating an impressive animated title slide in PowerPoint is easier than you might think when you know the right PowerPoint animation effects and techniques. By combining gradient fills, the draw tool for custom handwriting, dynamic text animations, and video backgrounds, you can design a slide that not only looks professional but also grabs your audience’s attention instantly.
Remember the key steps:
- Start with a full-screen gradient background.
- Add large, bold title text with a complementary handwritten phrase.
- Animate each text element with entrance and exit effects.
- Create a cutout text effect using the Merge Shapes Subtract tool.
- Insert and loop a background video behind the cutout text.
- Finish with growth/shrink animations to reveal the video dramatically.
With these techniques, your PowerPoint presentations will stand out with a polished and modern look that keeps your audience engaged.
For more PowerPoint animation tips and tutorials, be sure to explore additional resources and practice experimenting with different animation styles and effects.
Happy animating!