
If you’re passionate about enhancing your presentations with eye-catching visuals and smooth animation, then this guide is for you. Inspired by the newly announced Microsoft 365 Copilot AI tool, which integrates seamlessly into apps like Word, Excel, Outlook, and PowerPoint, we will explore how to replicate one of its most impressive animation styles using PowerPoint’s powerful features—especially the Morph transition.
In this detailed tutorial, you’ll discover how to create a beautiful photo crop animation paired with a sleek text reveal effect, both inspired by Microsoft 365 Copilot’s demo animations. Although Copilot isn’t publicly available yet, these tips will help you master PowerPoint animation effects that look professional and engaging.
Table of Contents
- Introduction to Microsoft 365 Copilot Animation
- Setting Up Your Slide: Shapes and Text
- Filling Rectangles with Photos Using Merge Shapes
- Arranging and Formatting Text Boxes
- Applying the Morph Transition for Animation
- Creating the Photo Crop Animation Effect
- Adding Animation Delays for a Dynamic Look
- Final Thoughts on PowerPoint Animation Effects
- Frequently Asked Questions (FAQ)
Introduction to Microsoft 365 Copilot Animation
On March 16th, Microsoft announced an exciting AI productivity tool named Microsoft 365 Copilot. Integrated into Microsoft 365 apps such as Word, Excel, Outlook, and PowerPoint, Copilot promises to transform the way we create content by automating complex tasks. One standout feature shown in the announcement video was its ability to quickly turn written documents into stunning PowerPoint presentations, complete with engaging animations.
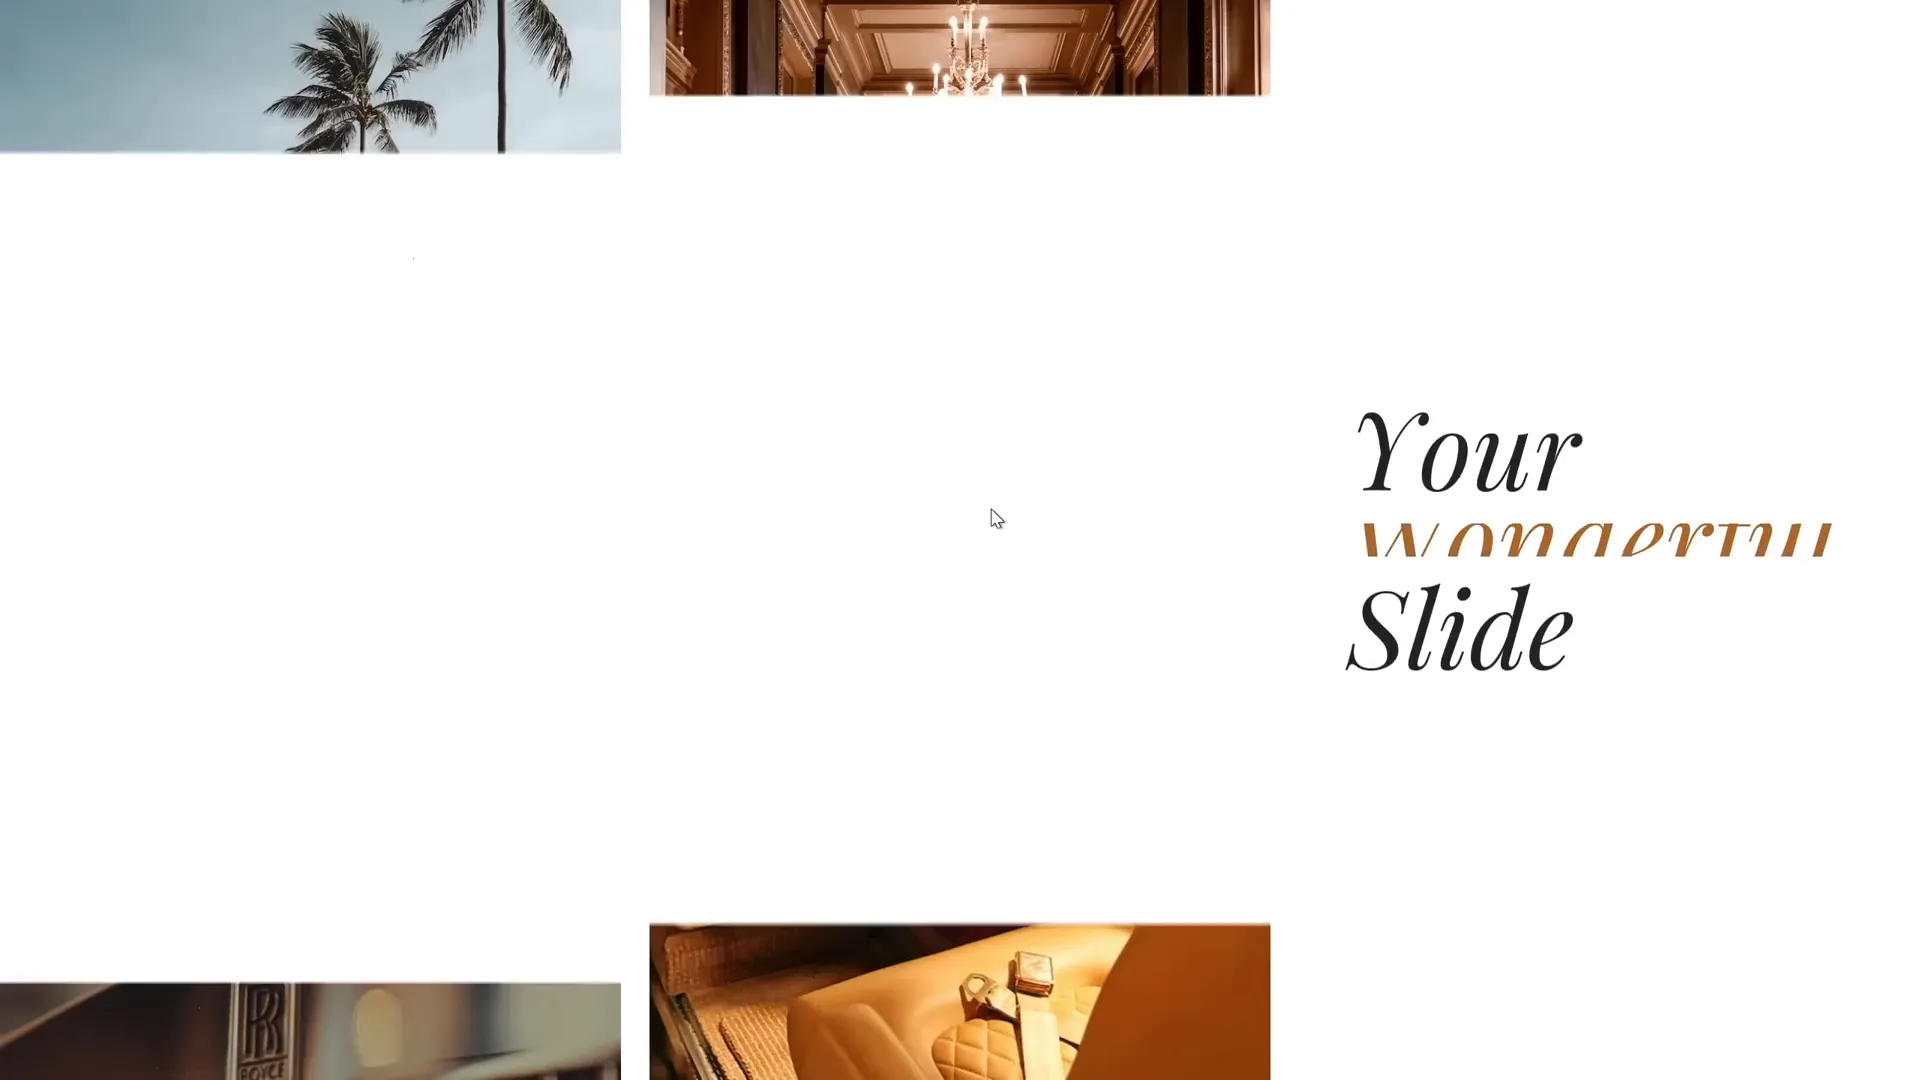
Among the many capabilities, the PowerPoint animations caught particular attention. The demonstration featured a smooth photo crop animation combined with a sophisticated text reveal on the side, creating a visually balanced and modern slide design. Since Copilot is not yet publicly available, this article will walk you through how to recreate a similar animation effect using PowerPoint’s built-in tools.
The animation technique showcased relies heavily on the Morph transition, a powerful yet underutilized feature that can create seamless movement and transformations between slides.

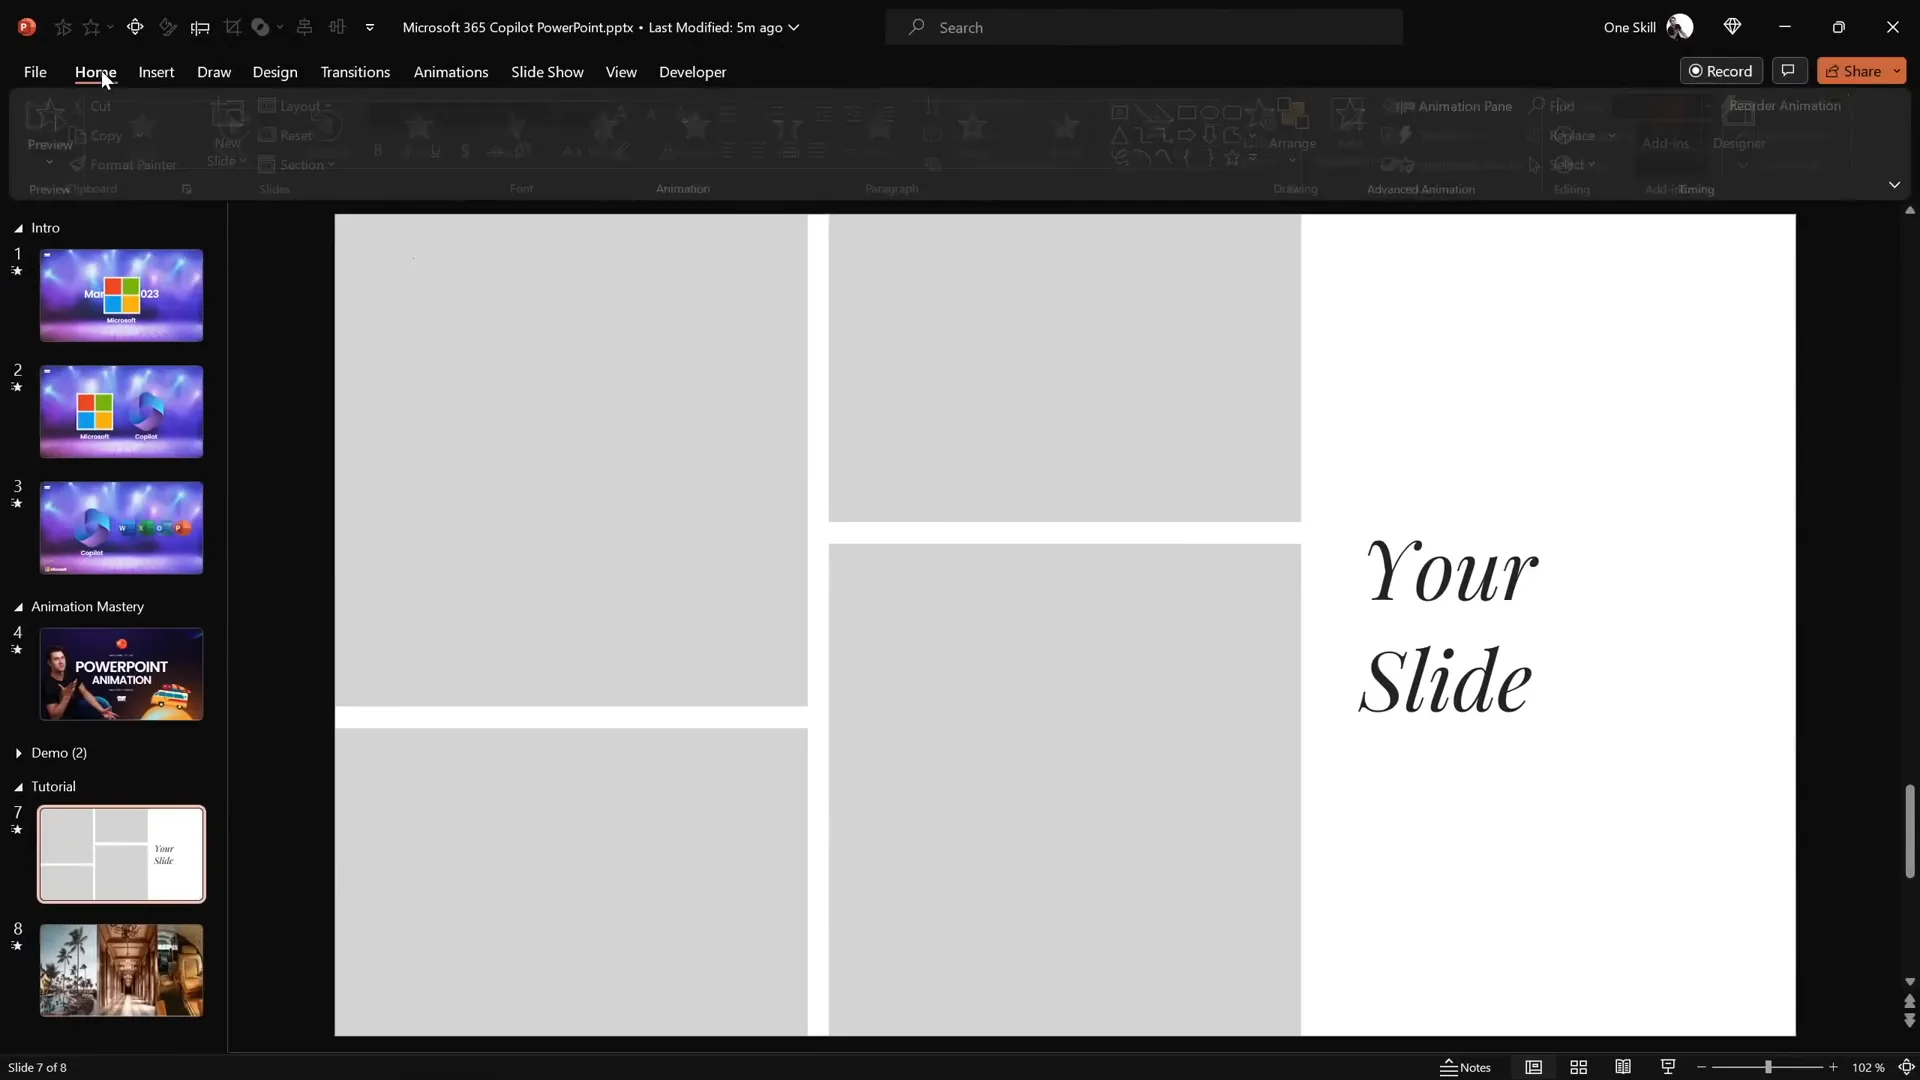
Setting Up Your Slide: Shapes and Text
Before diving into animations, the foundation of this effect starts with a well-structured slide. Here’s how to set it up:
1. Create Four Rectangles with Varying Heights
- Insert four rectangles side-by-side on the left portion of the slide.
- Vary their heights to add visual interest and avoid uniformity.
- Make sure the gaps between the rectangles are equal to maintain balance.
The varying heights give the slide a dynamic feel, and equal spacing helps keep the layout clean and professional.
2. Add Text Boxes on the Right
- Add two simple text boxes on the right side of the slide.
- Use the Playfair Display font at size 54 for an elegant look.
These text boxes will later be animated to reveal content smoothly, complementing the photo crop animation on the left.
Filling Rectangles with Photos Using Merge Shapes
One challenge is filling the rectangles with photos in a way that looks polished and professional. Here’s the step-by-step process:
Common Method and Its Limitations
You might think to right-click a rectangle, choose Format Shape, then select Picture or texture fill. However, this method often doesn’t produce the clean photo crop effect we want.
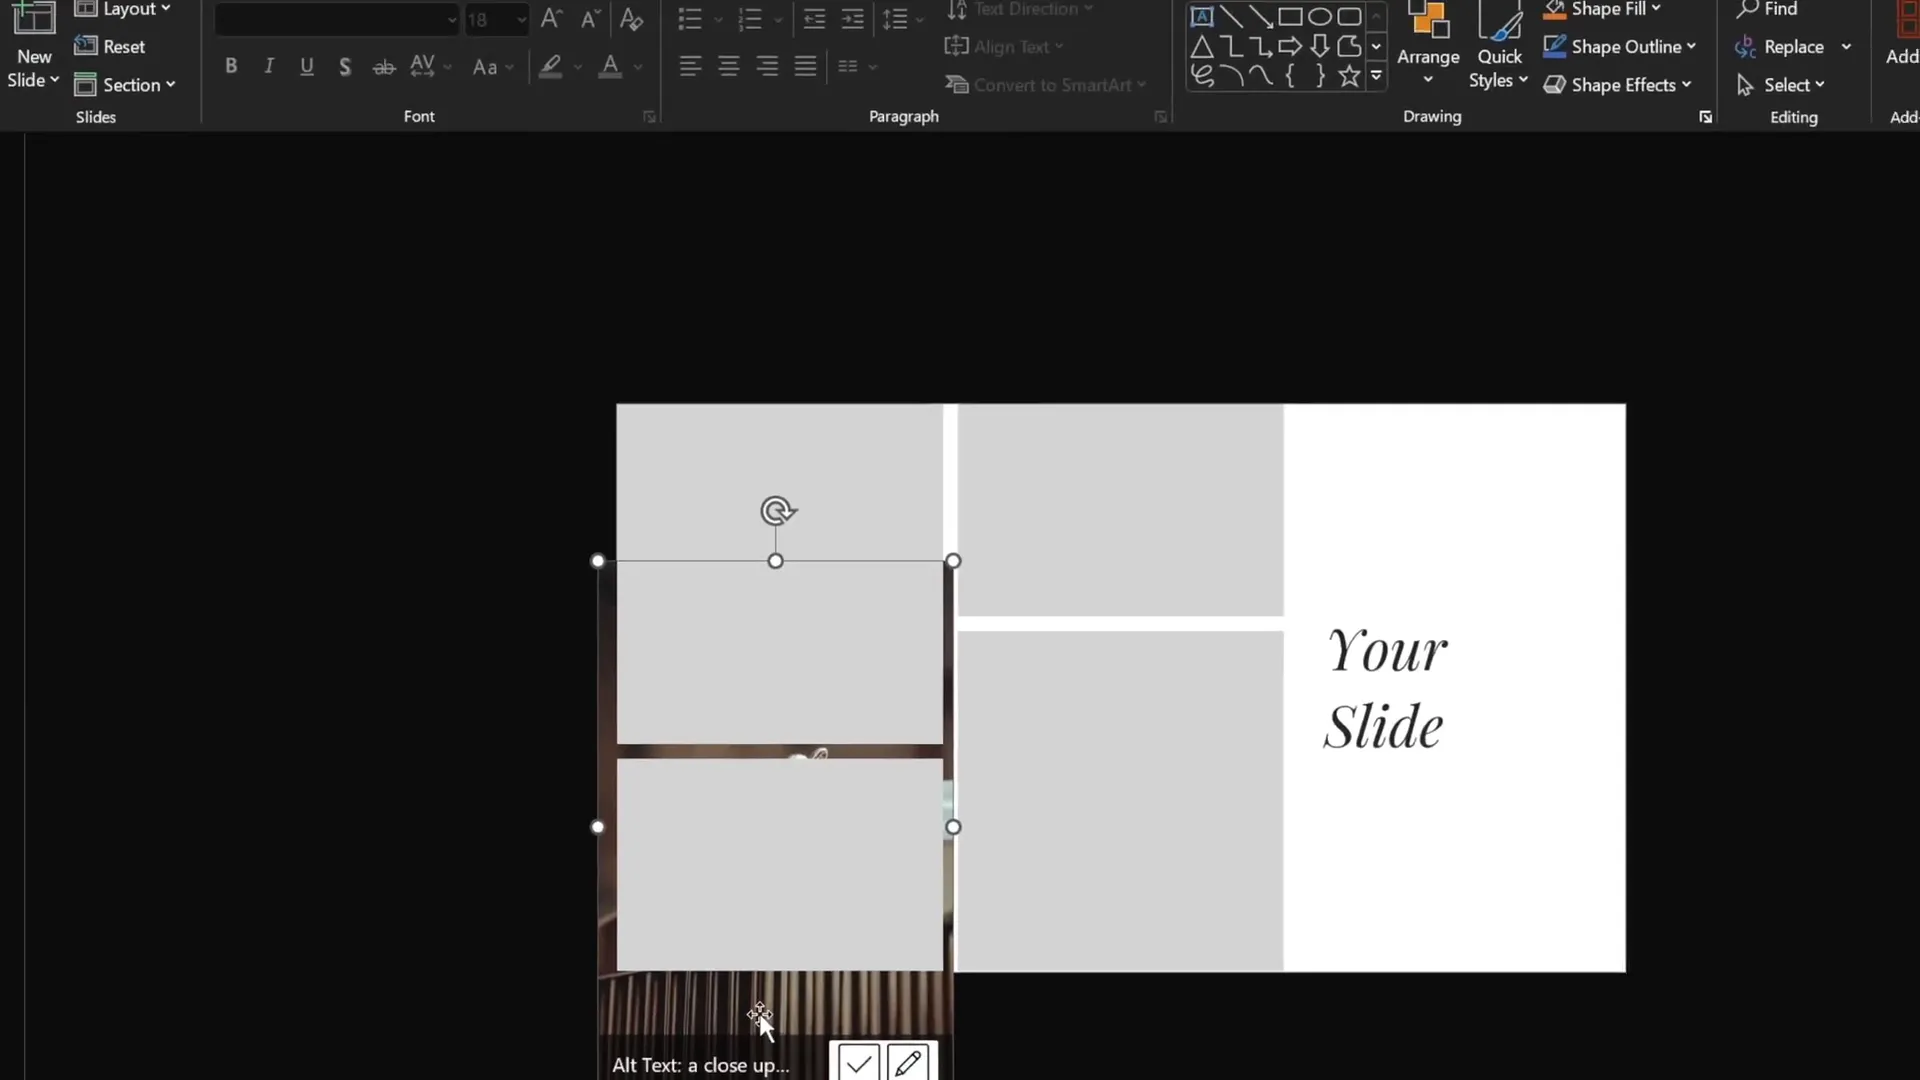
Better Method: Using Merge Shapes to Intersect Photos and Rectangles
- Upload your photos onto the slide. (The example uses photos from Unsplash—free, high-quality images.)
- Copy a photo and paste it over the rectangle you want to fill.
- Position the photo so that it covers the rectangle properly.
- Send the photo to the back by right-clicking and choosing Send to Back.
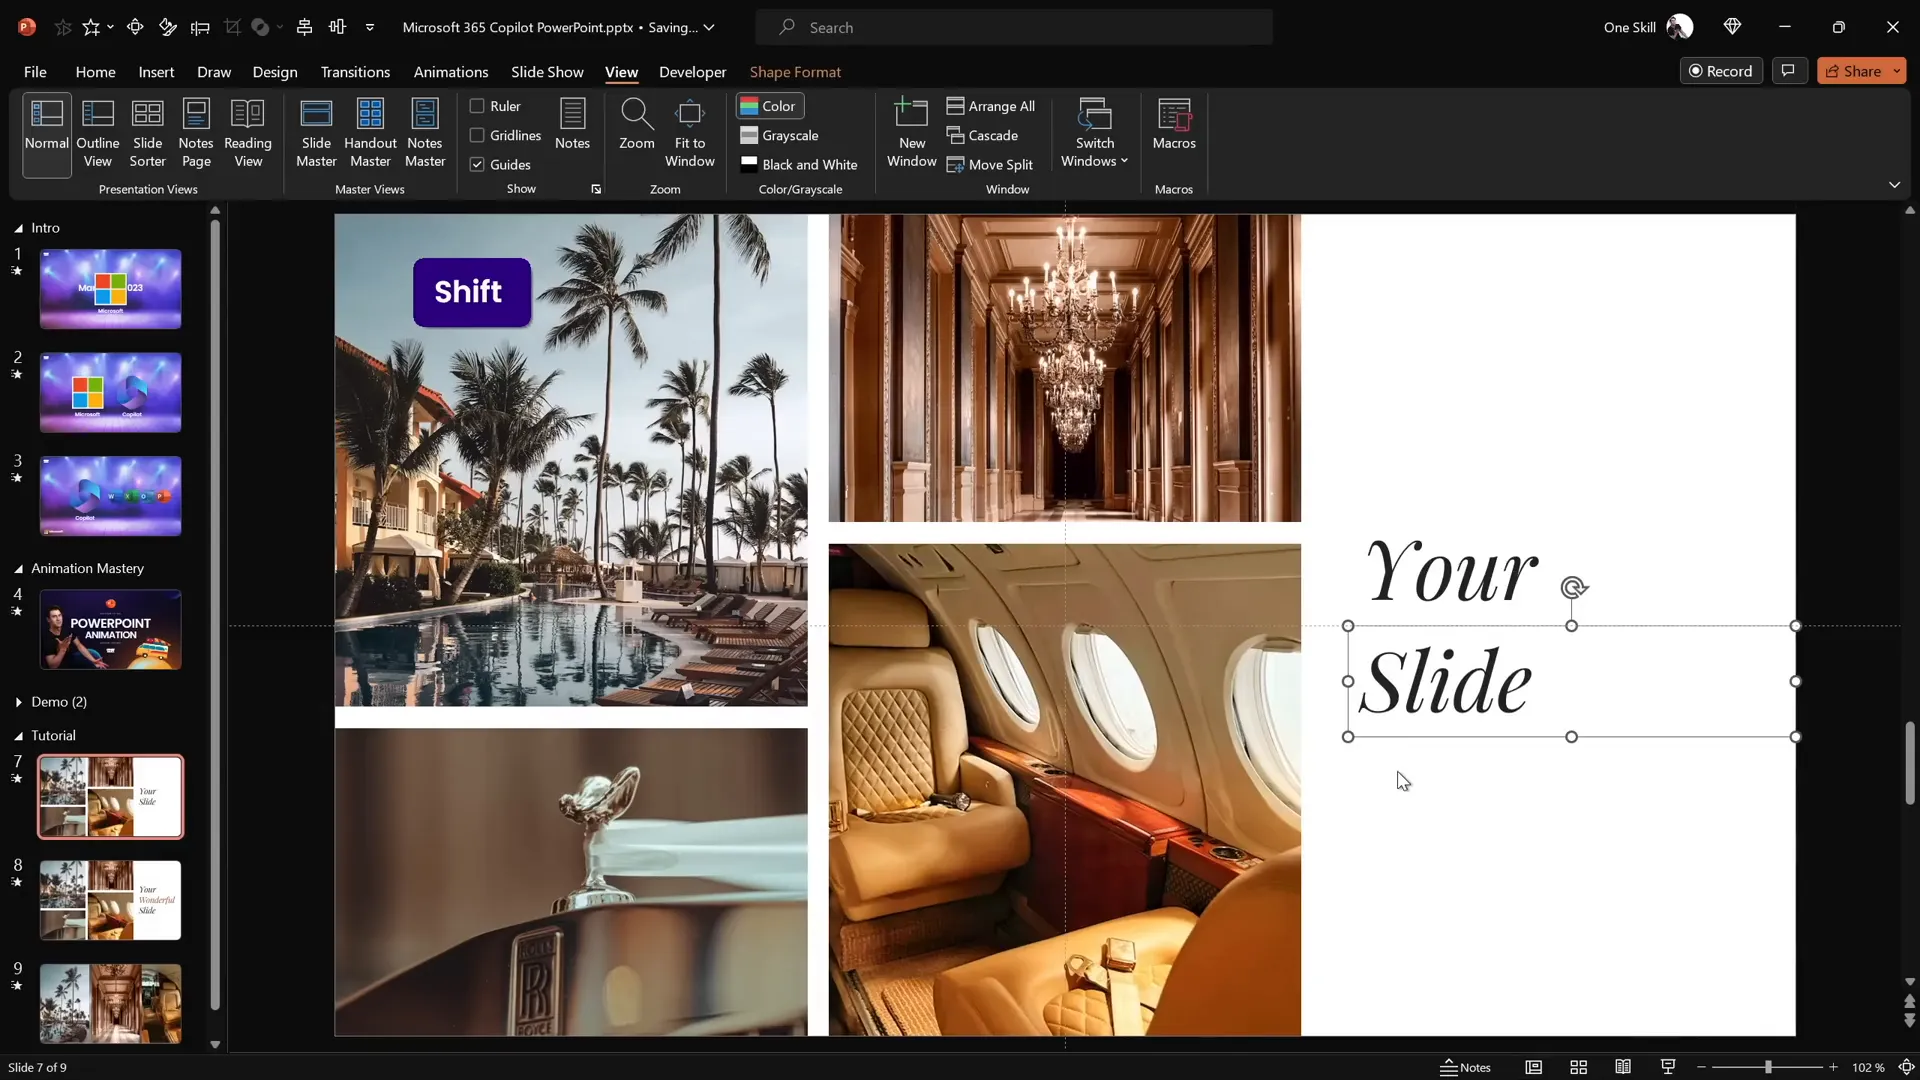
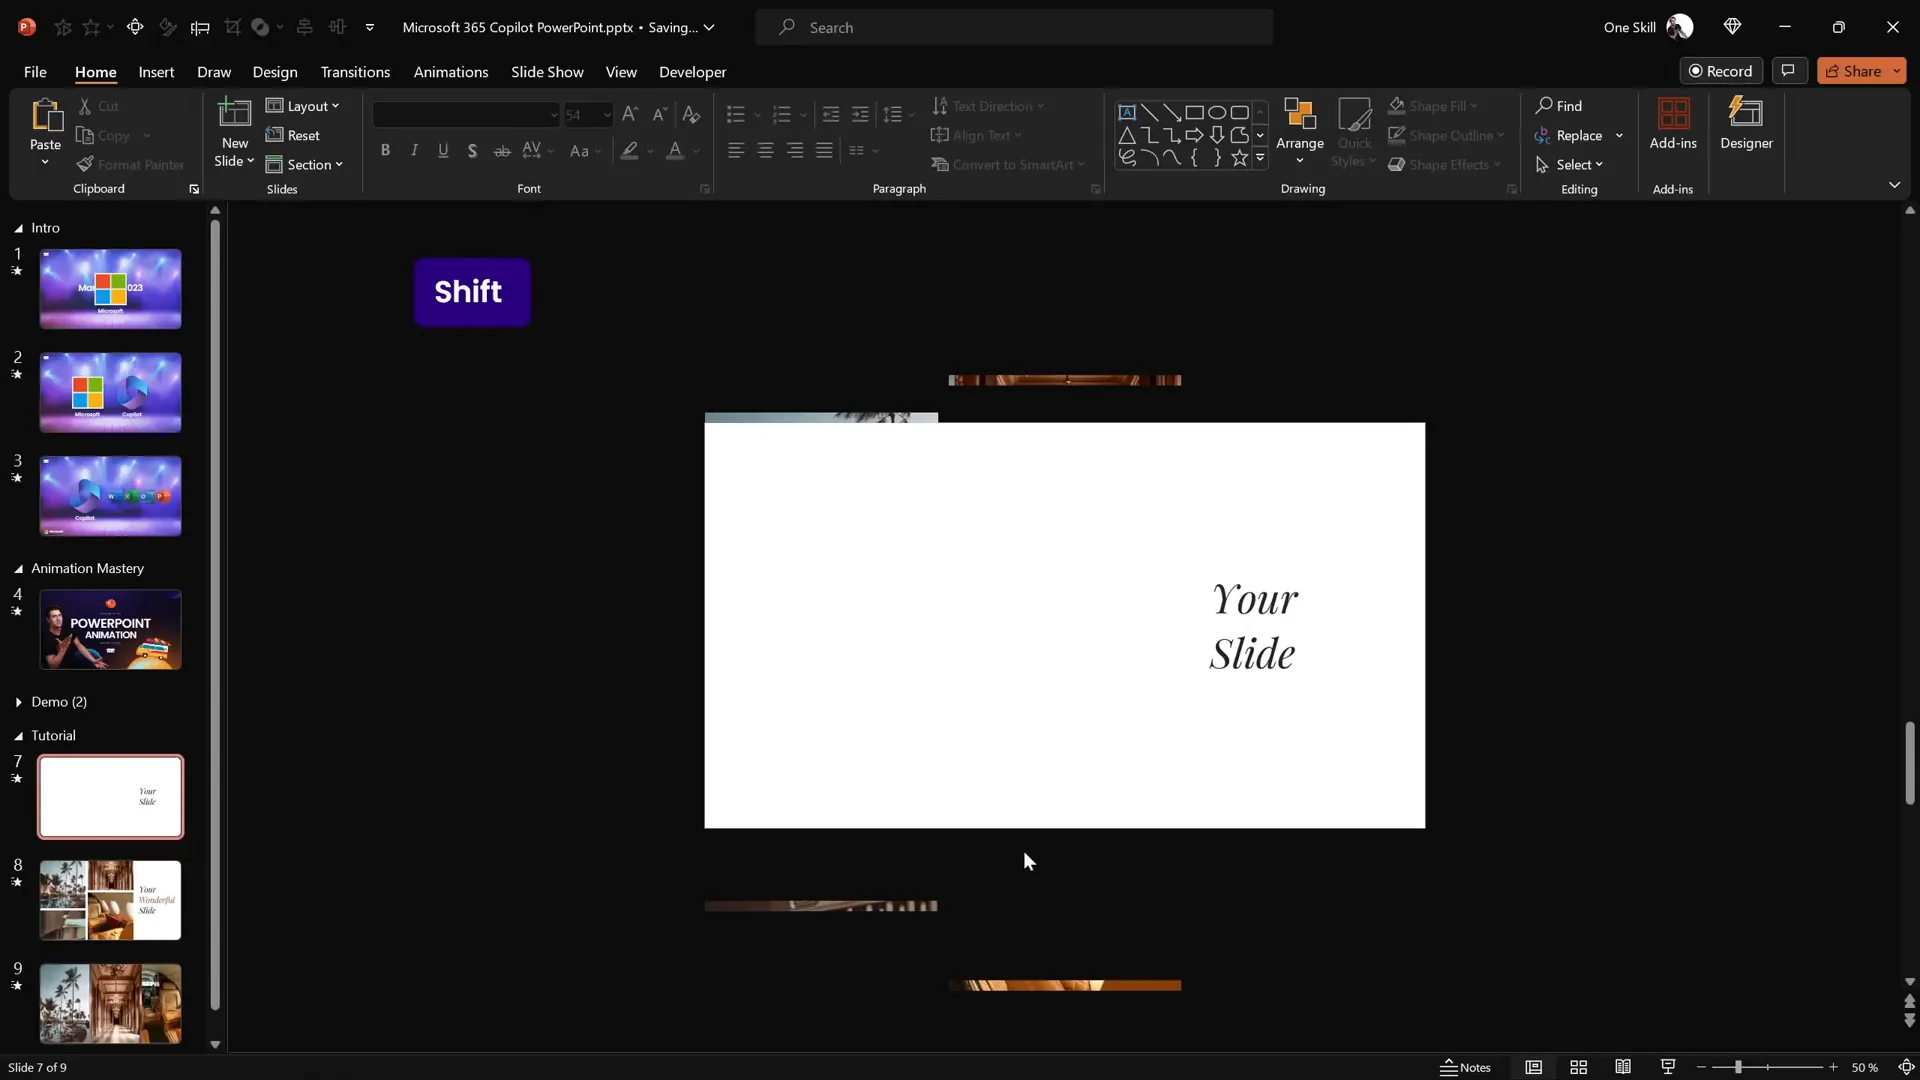
- Select the photo first, then hold
Shiftand select the rectangle. - Go to the Shape Format tab, click Merge Shapes, and select Intersect.
- PowerPoint will crop the photo precisely into the shape of the rectangle.
This process can be repeated for all rectangles, creating a neat collage of photos with custom shapes.
Pro tip: If you want to adjust the photo within the shape, select the cropped photo, click Crop, and reposition or resize the image inside the cropping frame.
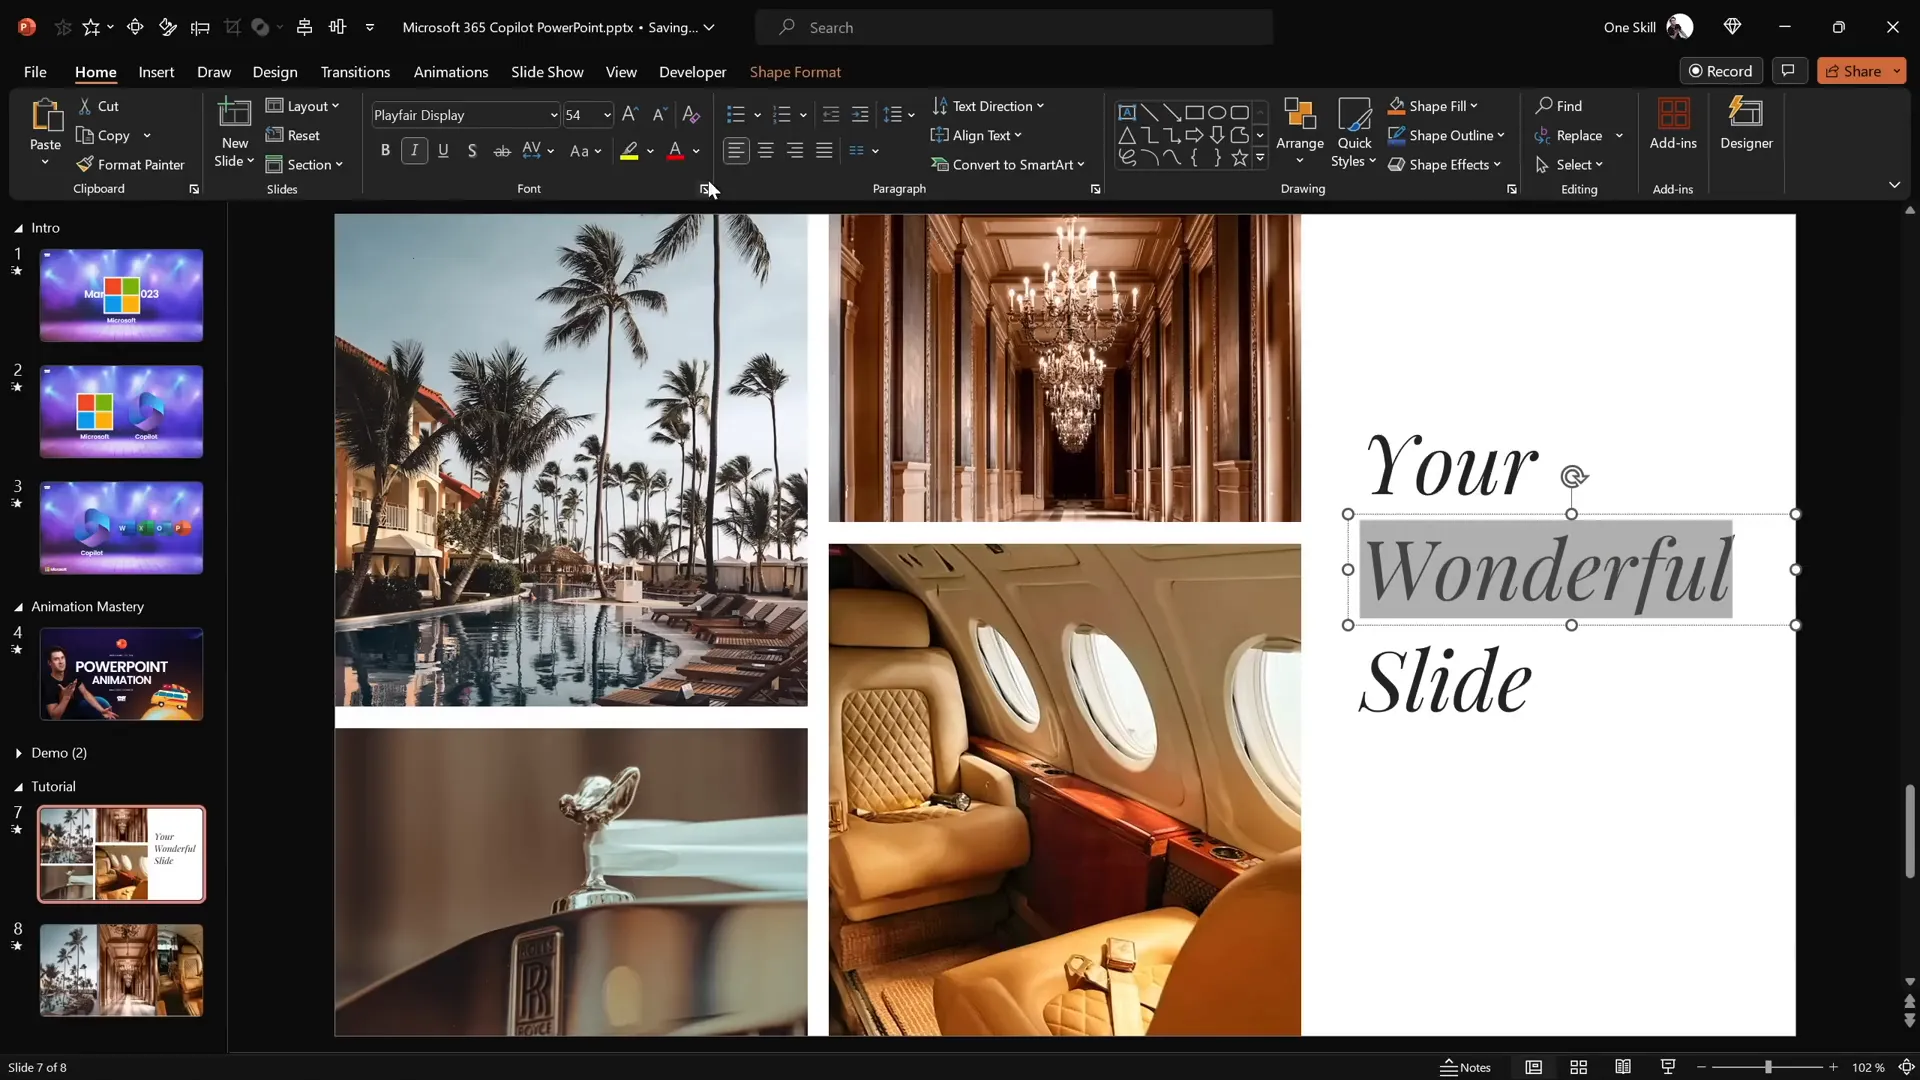
Arranging and Formatting Text Boxes
With photos nicely fitted into rectangles, it’s time to polish the text on the right side.
Adding a Third Text Box
- Duplicate one of the existing text boxes by selecting it and holding
Ctrl + Shiftwhile dragging. - Change the middle text box content to say Wonderful.
- Adjust the text color to complement the slide’s color scheme—try a subtle tone that fits the overall design.
Vertically Distribute and Align Text Boxes
- Select all three text boxes.
- Use the Align tools to distribute them vertically with equal spacing.
- Group the three text boxes to align them centrally on the slide.
- Ungroup afterward if further individual adjustments are needed.
Adding Solid White Fill to Top and Bottom Text Boxes
- Select the top and bottom text boxes.
- Go to Format Shape, select Fill, and choose Solid Fill.
- Set the fill color to white.
- Send these two text boxes to the front to ensure they will hide the middle text box during animation.
This layering trick is essential for creating a smooth text reveal effect when the middle text box is hidden.
Applying the Morph Transition for Animation
The magic behind the animation is the Morph transition, which creates seamless movement and transformation between slides.
Steps to Activate Morph Transition
- Duplicate your current slide.
- On the duplicate slide, activate the Morph transition from the Transitions tab.
- Ensure the original slide can remain on a Fade or any other transition—it won’t affect the Morph effect on the second slide.
Preparing Animation on the First Slide
- Hide the middle text box.
- Drag the top text box down to the middle horizontal line of the slide.
- Drag the bottom text box up until it covers the hidden middle text box.
When you advance to the second slide, Morph will animate the text boxes moving smoothly to their new positions, creating a beautiful reveal effect.
Creating the Photo Crop Animation Effect
Now, let’s animate the photos on the left side to complement the text reveal with a dynamic photo crop effect.
Adjusting the Crop Handles
- Return to the first slide.
- Select each photo.
- Click Picture Format and then Crop.
- Drag the cropping handles outside of the slide boundaries:
- For top photos, drag the bottom crop handle slightly below the slide.
- For bottom photos, drag the top crop handle slightly above the slide.
This setup causes the photos to appear cropped initially and then slide into view during the Morph transition.
Previewing the Animation
Run the slide show and observe the photos gradually cropping into place on the left, while the text reveals elegantly on the right. This combination creates a polished and professional animation effect.
Adding Animation Delays for a Dynamic Look
In the original Microsoft 365 Copilot animation, photos don’t animate all at once—they have slight delays that add rhythm and sophistication. You can replicate this effect using Morph transitions by adjusting the photos’ initial positions.
Creating Delays with Distance
- On the first slide, move some photos further away from the slide boundaries.
- Photos placed farther outside the slide will take longer to morph into place, creating a staggered animation effect.
- Adjust each photo’s starting position to control the timing of its entrance.
This simple trick allows you to add a natural delay between photo animations without complex animation timelines.
Final Thoughts on PowerPoint Animation Effects
The Morph transition is a powerful tool that can elevate your presentations with smooth, professional animations. By combining clever use of shapes, photos, and text, you can create impressive effects inspired by cutting-edge tools like Microsoft 365 Copilot.
Mastering these techniques not only enhances your slides visually but also engages your audience more effectively, making your presentations memorable and impactful.
If you want to dive deeper into the Morph transition and other advanced PowerPoint animation effects, be sure to explore dedicated tutorials and courses that focus on animation mastery.
Happy animating!
Frequently Asked Questions (FAQ)
What is the Morph transition in PowerPoint?
The Morph transition is a feature in PowerPoint that creates smooth animations between slides by automatically moving, resizing, and transforming objects from one slide to the next.
Can I use Morph to animate photos and text together?
Yes! Morph works beautifully to animate multiple object types simultaneously, such as photos cropping into shapes while text slides or fades into place.
How do I create animation delays with Morph?
By positioning objects at different distances outside the slide boundaries on the initial slide, you can create staggered animation delays when Morph transitions to the next slide.
Is it possible to adjust photos inside shapes after cropping?
Absolutely. After cropping a photo into a shape using Merge Shapes, you can select the photo and use the Crop tool to reposition or resize it within the shape.
Do I need special skills to create these PowerPoint animation effects?
Basic familiarity with PowerPoint’s shape tools, transitions, and formatting options is helpful. This tutorial breaks down each step clearly, so even intermediate users can achieve professional results.
Where can I find free photos for my presentations?
Websites like Unsplash offer high-quality, free-to-use photos perfect for presentations and creative projects.


