
If you want to elevate your PowerPoint presentations and engage your audience with interactive, visually stunning slides, you’re in the right place. In this comprehensive guide, you’ll learn powerpoint animation how to create a fully functional, clickable interactive menu using animated icons, hyperlinks, and morph transitions. Inspired by a popular viewer request, this tutorial walks you through the process step-by-step, helping you build a sophisticated presentation from scratch using Microsoft 365 PowerPoint.
By the end of this article, you’ll understand how to design a sleek, modern slide with blurry photo masks, glowing circles, clickable navigation buttons, and beautiful animated icons sourced from Lordicon.com. You’ll also learn tips to optimize user experience and add elegant content with smooth animations. Whether you’re a beginner or an intermediate PowerPoint user, this guide will equip you with practical skills to create interactive presentations that truly impress.
Table of Contents
- Getting Started: Setting Up Your Slide
- Designing the Blurry Photo Section
- Creating Clickable Circles for Navigation
- Adding an Active Arrow Indicator
- Setting Up Slides and Morph Transitions
- Inserting Animated Icons with Lordicon
- Positioning Icons and Enhancing User Experience
- Adding Content and Animations
- Final Check and Tips for Interactive Presentations
- Frequently Asked Questions
Getting Started: Setting Up Your Slide
Before diving into complex animations and interactivity, it’s important to start with a clean and simple slide that will serve as the foundation for your presentation. Here’s how to begin:
- Open PowerPoint and insert a new blank slide. You want a fresh canvas without any pre-existing layouts or content.
- Set the slide background fill to black. This dark background will make your icons, text, and effects pop visually. You can do this by right-clicking the slide, selecting Format Background, and choosing a solid black fill.

Starting with a dark background is a design choice that helps your interactive elements stand out while giving the presentation a sleek, professional look.
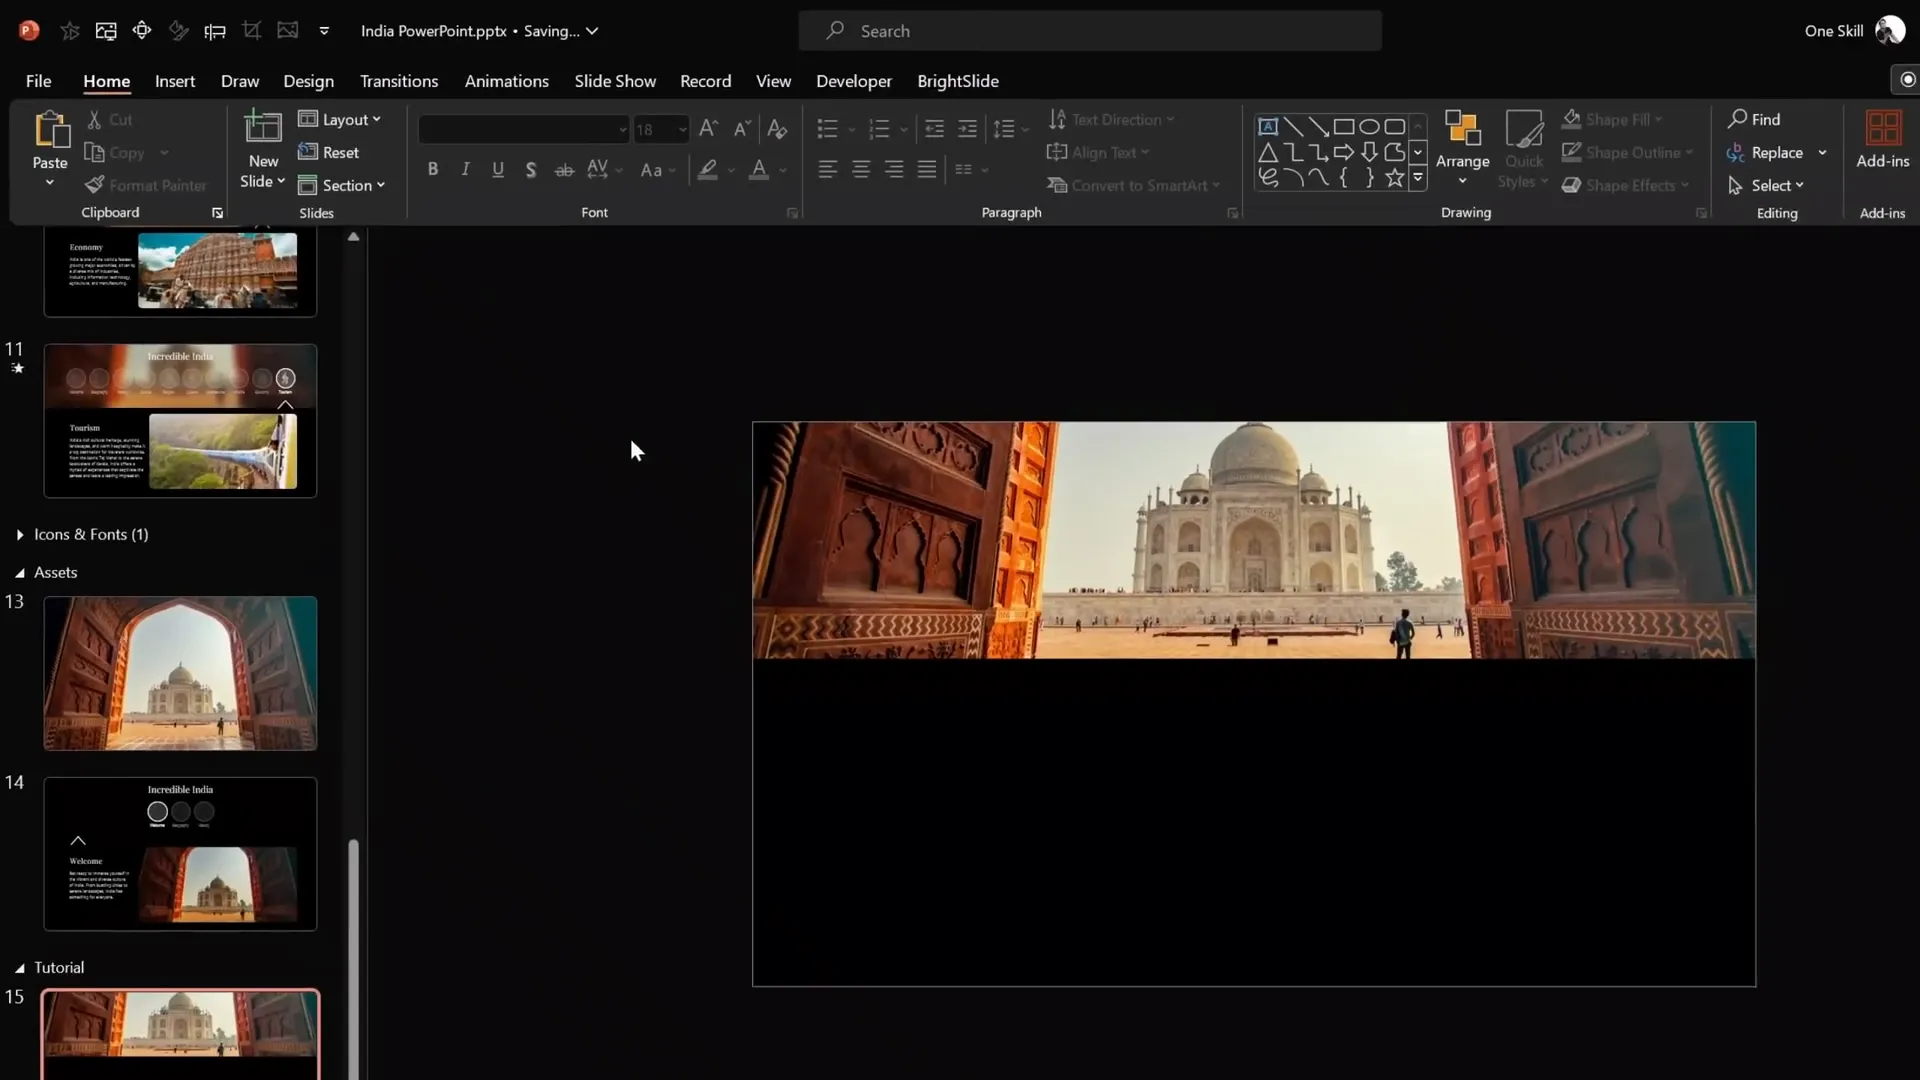
Designing the Blurry Photo Section
One of the eye-catching features of this presentation is the blurry photo banner at the top of the slide. It acts as a stylish backdrop for your title or header text, improving readability and adding visual appeal. Follow these steps to create it:
- Insert a rectangle shape at the top of the slide. Set the height to 8 cm and stretch it across the entire width of the slide.
- Choose a beautiful photo to use as the background for the rectangle. For example, a stunning photo of the Taj Mahal can be used (links to photos are available in the video description).
- Paste the photo onto the slide and send it to the back. This allows the rectangle to remain visible on top.
- Add transparency to the rectangle so the photo underneath becomes partially visible. This creates a photo mask effect.
- Adjust the photo position by moving it up or down to get the perfect crop within the rectangle area.
- Use the “Merge Shapes” tool with the “Intersect” option to crop the photo exactly to the shape of the rectangle. This ensures a clean and precise photo section.
- Modify the photo’s brightness and contrast to make it darker and more contrasty, enhancing the text readability on top.
- Apply a blur effect using PowerPoint’s artistic effects, setting it to maximum (100 points). This blurs the photo, reducing distractions behind your text.
This blurry photo section serves as a stylish header area that makes your title or menu text stand out clearly.
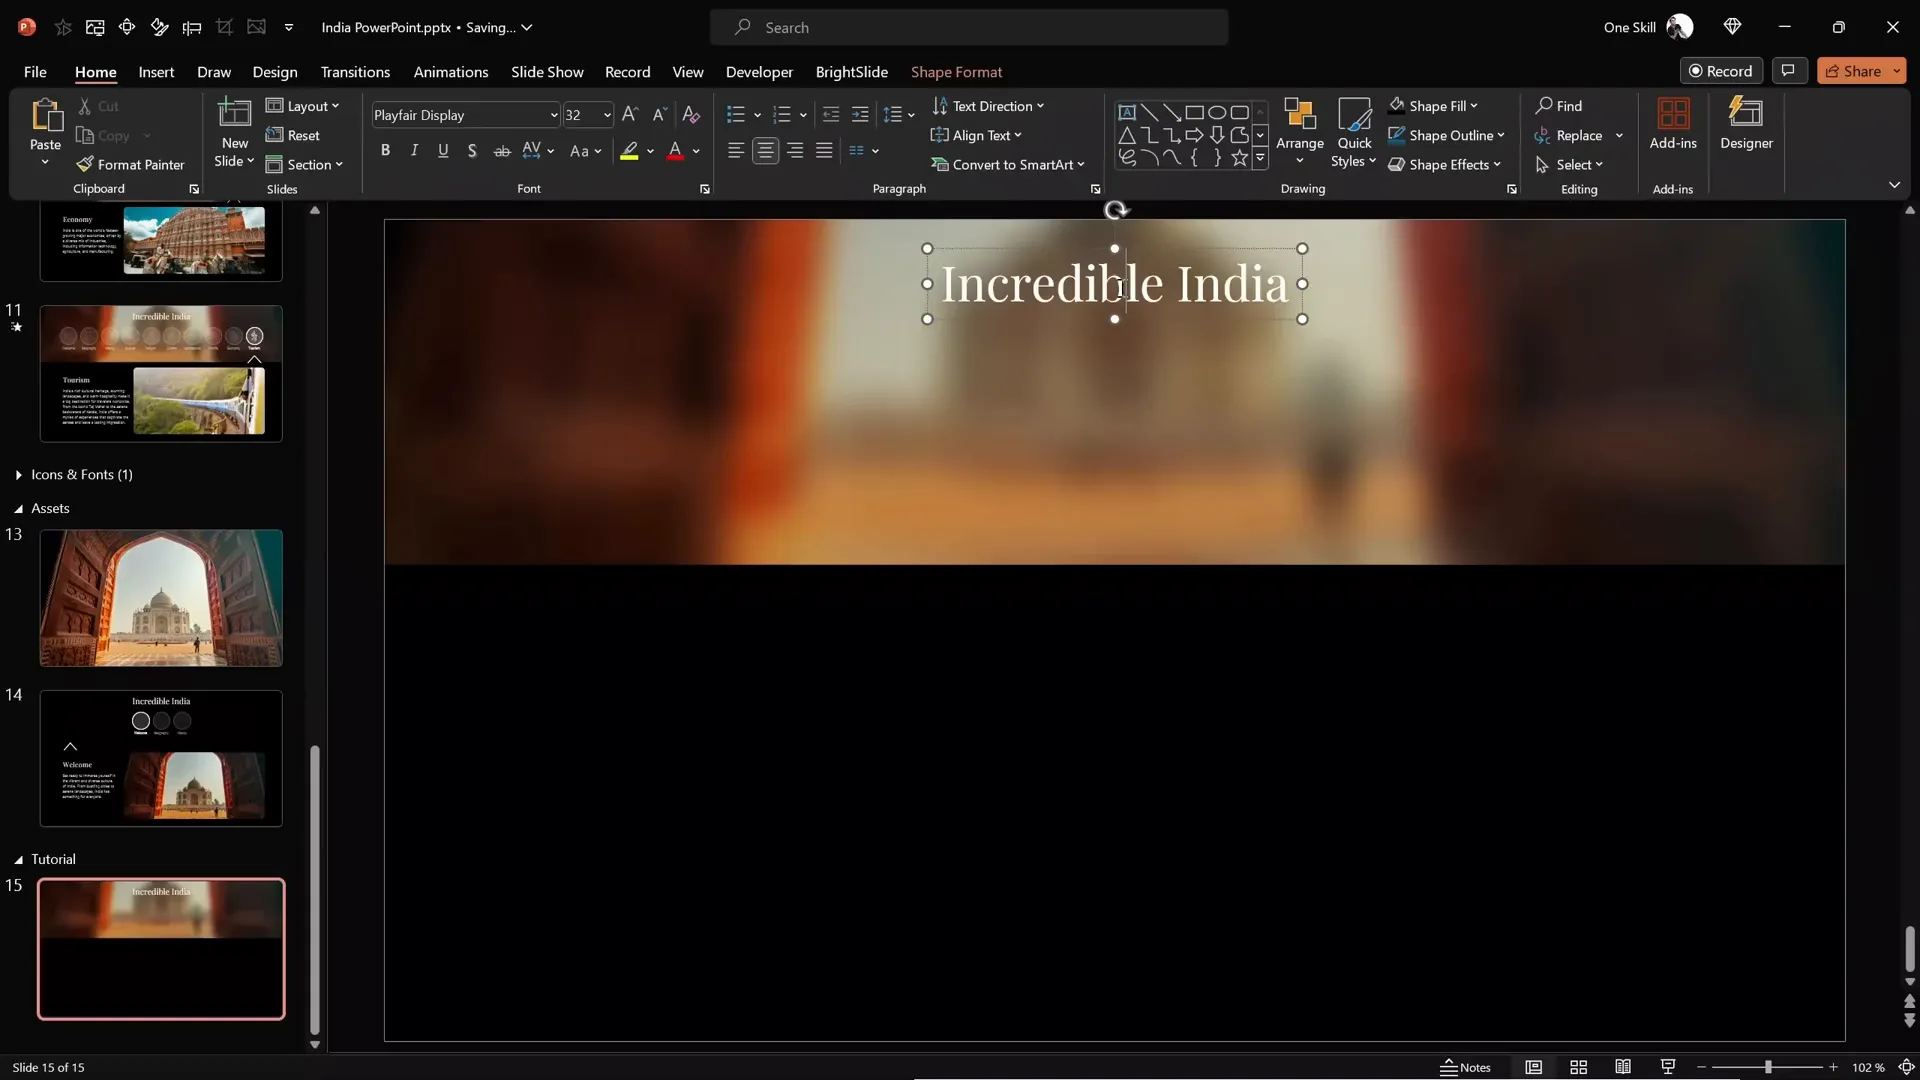
Adding Text on Top
Next, add your slide title or header text over the blurry photo. Use a stylish font like Playfair Display to give a sophisticated, elegant vibe. Position the text so it’s perfectly readable against the blurred background.
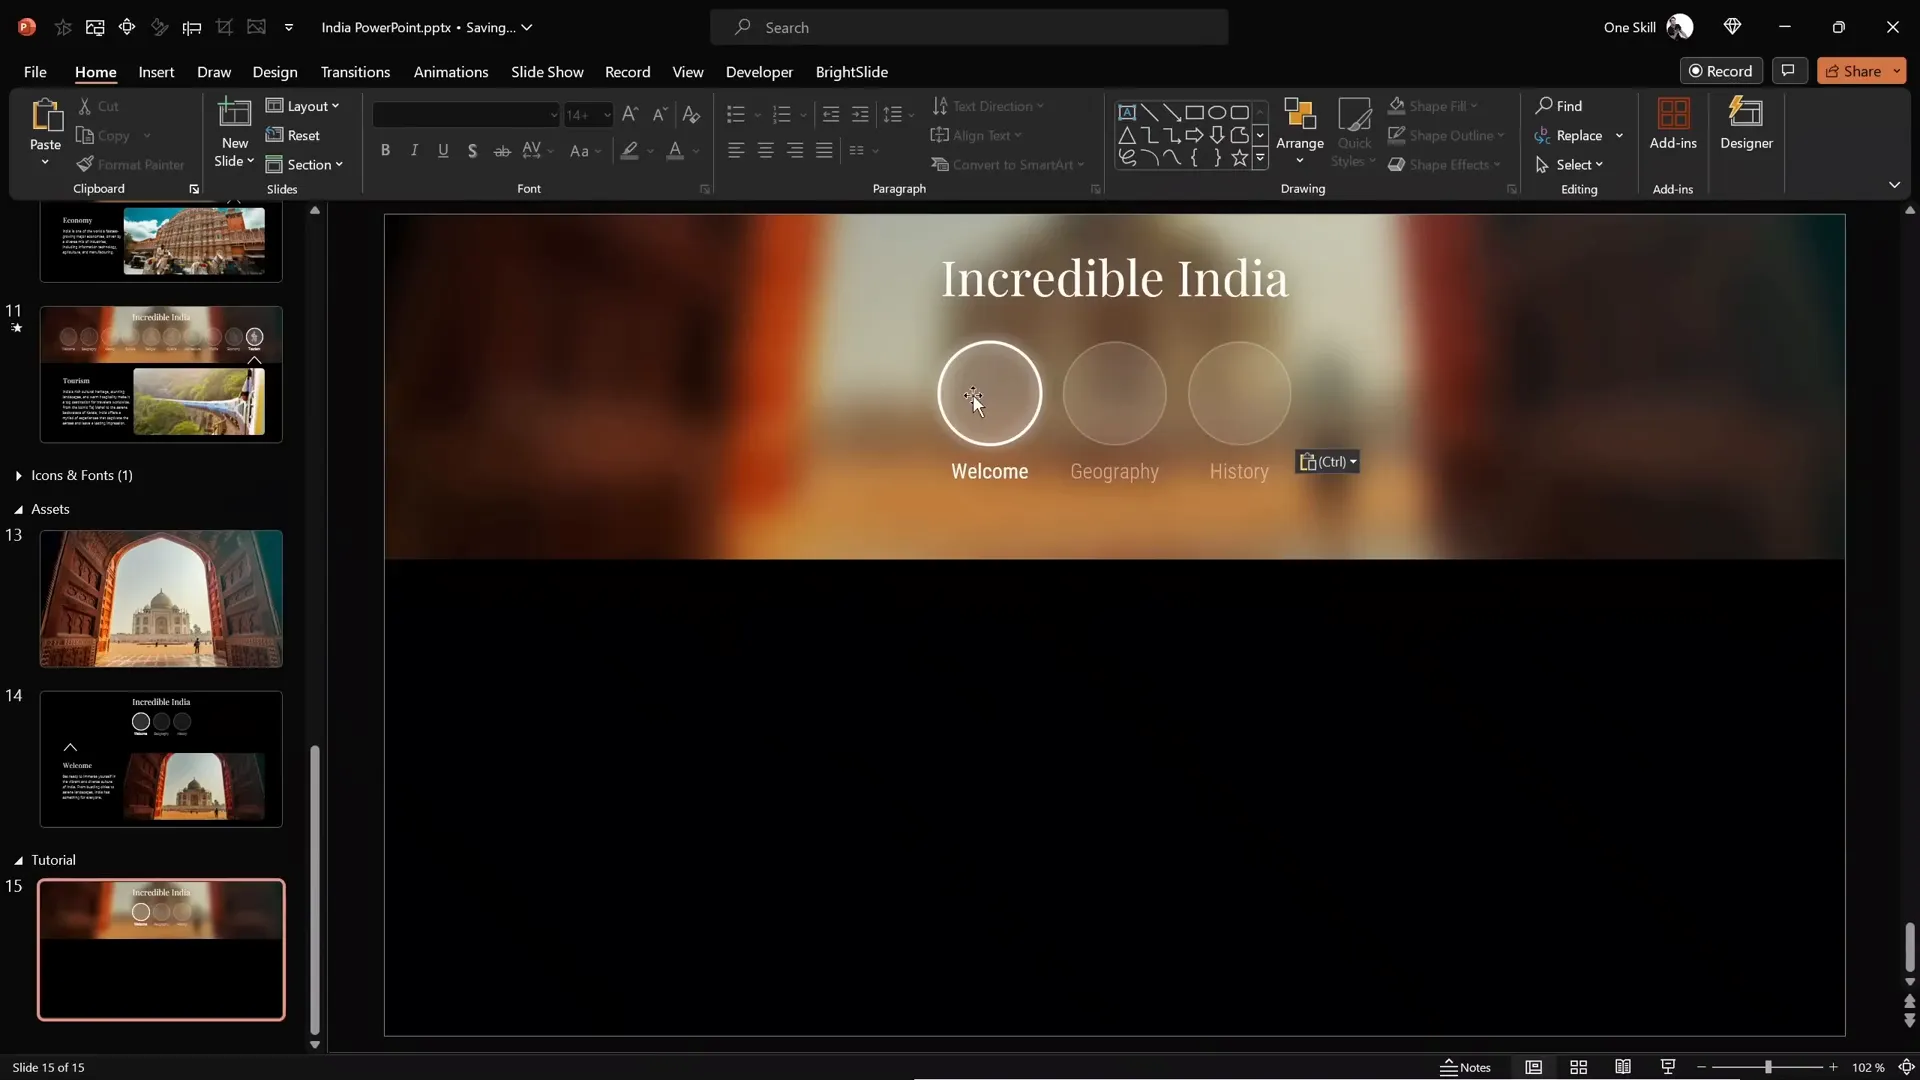
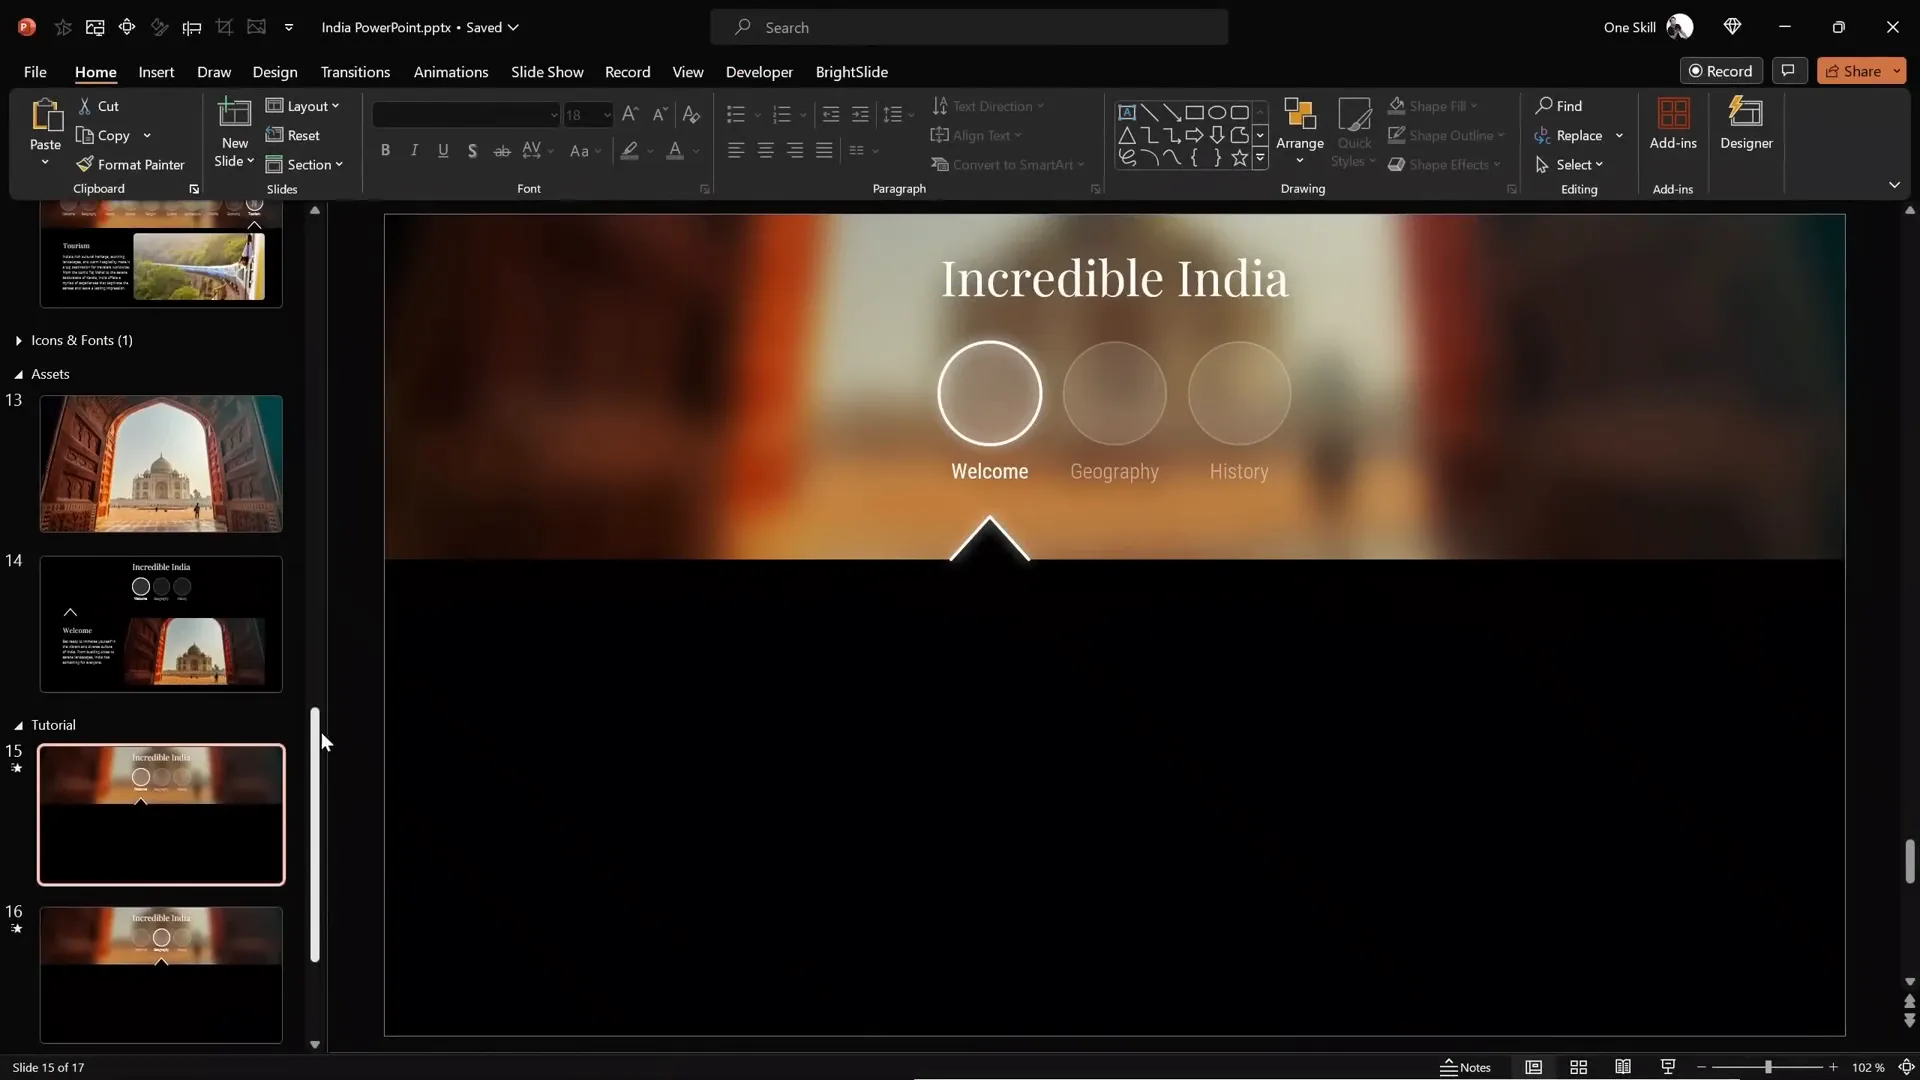
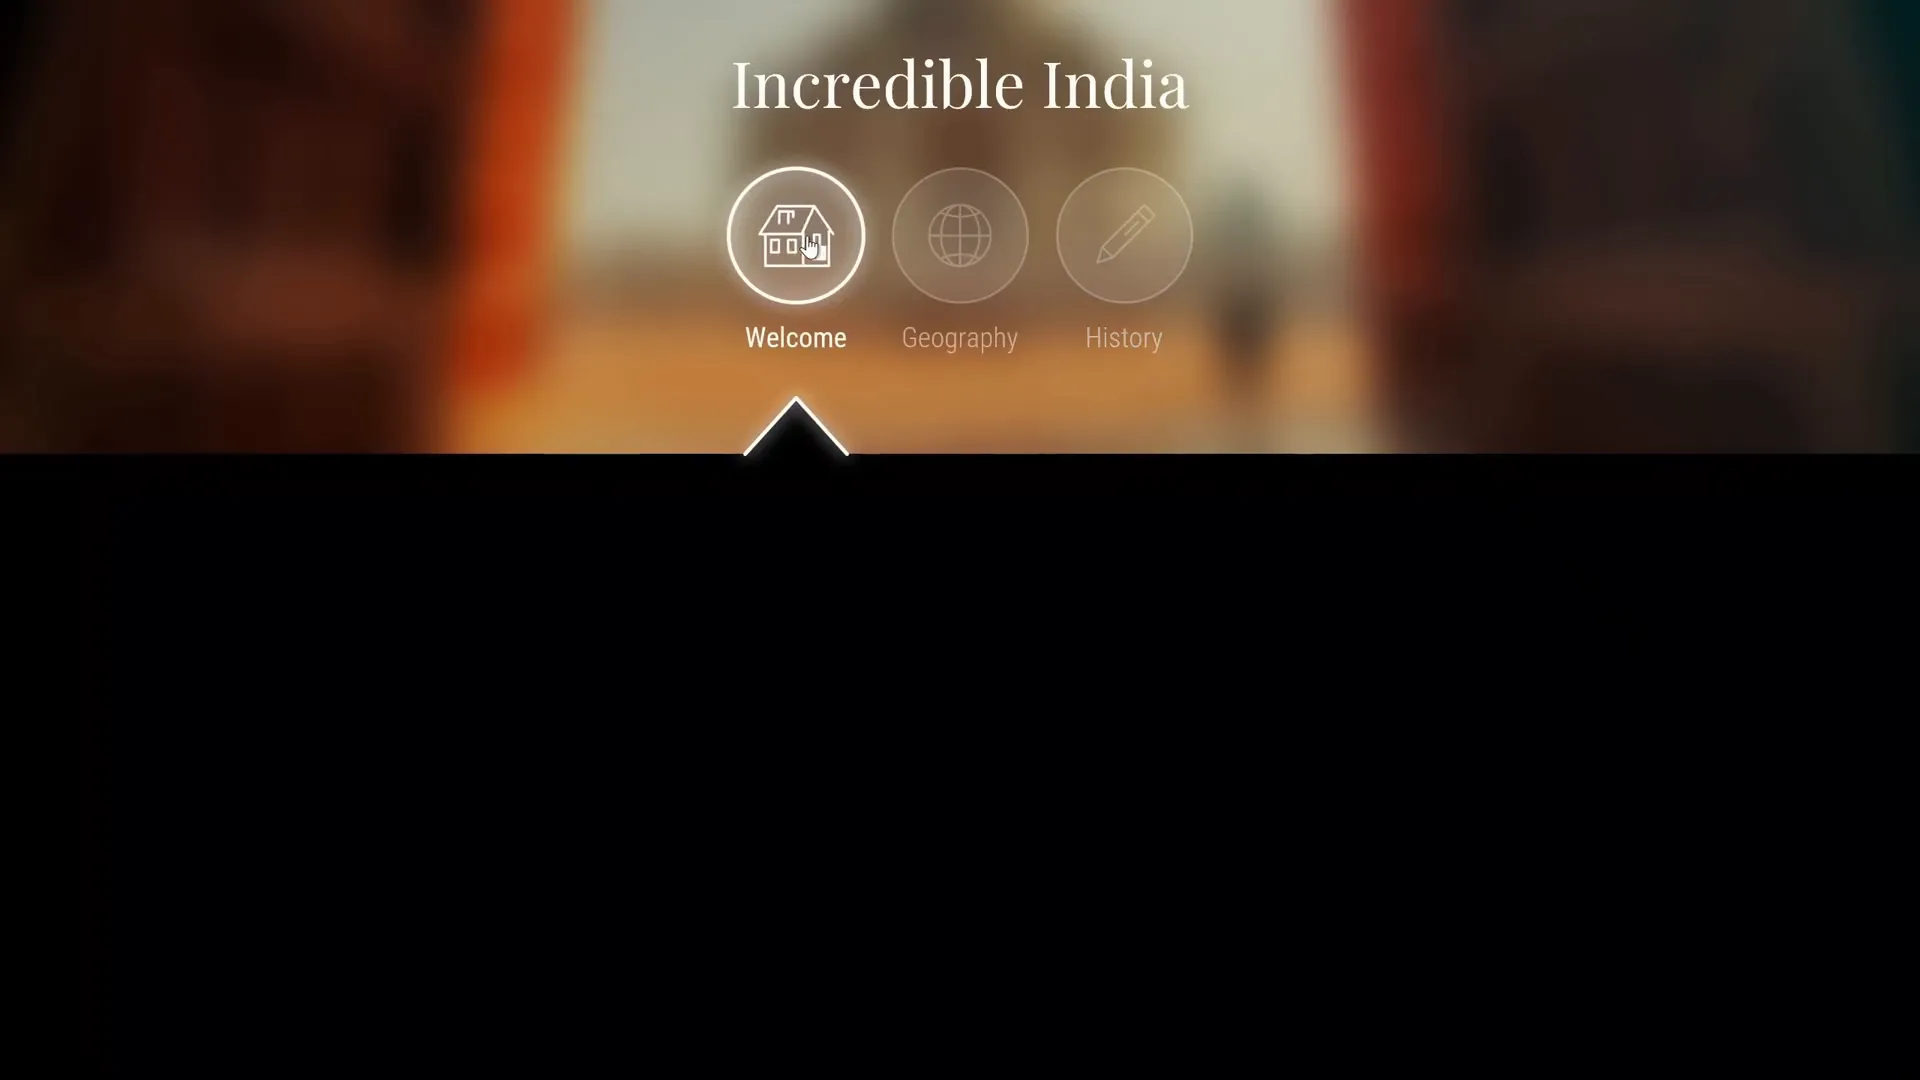
Creating Clickable Circles for Navigation
To create an interactive menu, you’ll need clickable buttons that users can select to navigate different slides. In this tutorial, these buttons are designed as glowing circles with text labels. Here’s how to create them:
- Insert circles using the shape tool. Hold down the Shift key while drawing to make perfect circles.
- Design two types of circles: active (highlighted) and inactive (dimmed). The active circle has a white fill with 90% transparency, a solid white border with 2pt thickness, and a glowing white shadow with 10pt blur. The inactive circles have 90% transparency fill, 1pt white border with 75% transparency, and no glow.
- Add text labels inside each circle. For inactive circles, set the text transparency to 50% to visually differentiate them from active ones.
- Name each circle precisely in the selection pane. Use a naming convention starting with double exclamation marks (!!) to ensure smooth morph transitions and avoid animation glitches.
These circles act as navigation bubbles that users can click to jump to different sections of your presentation.
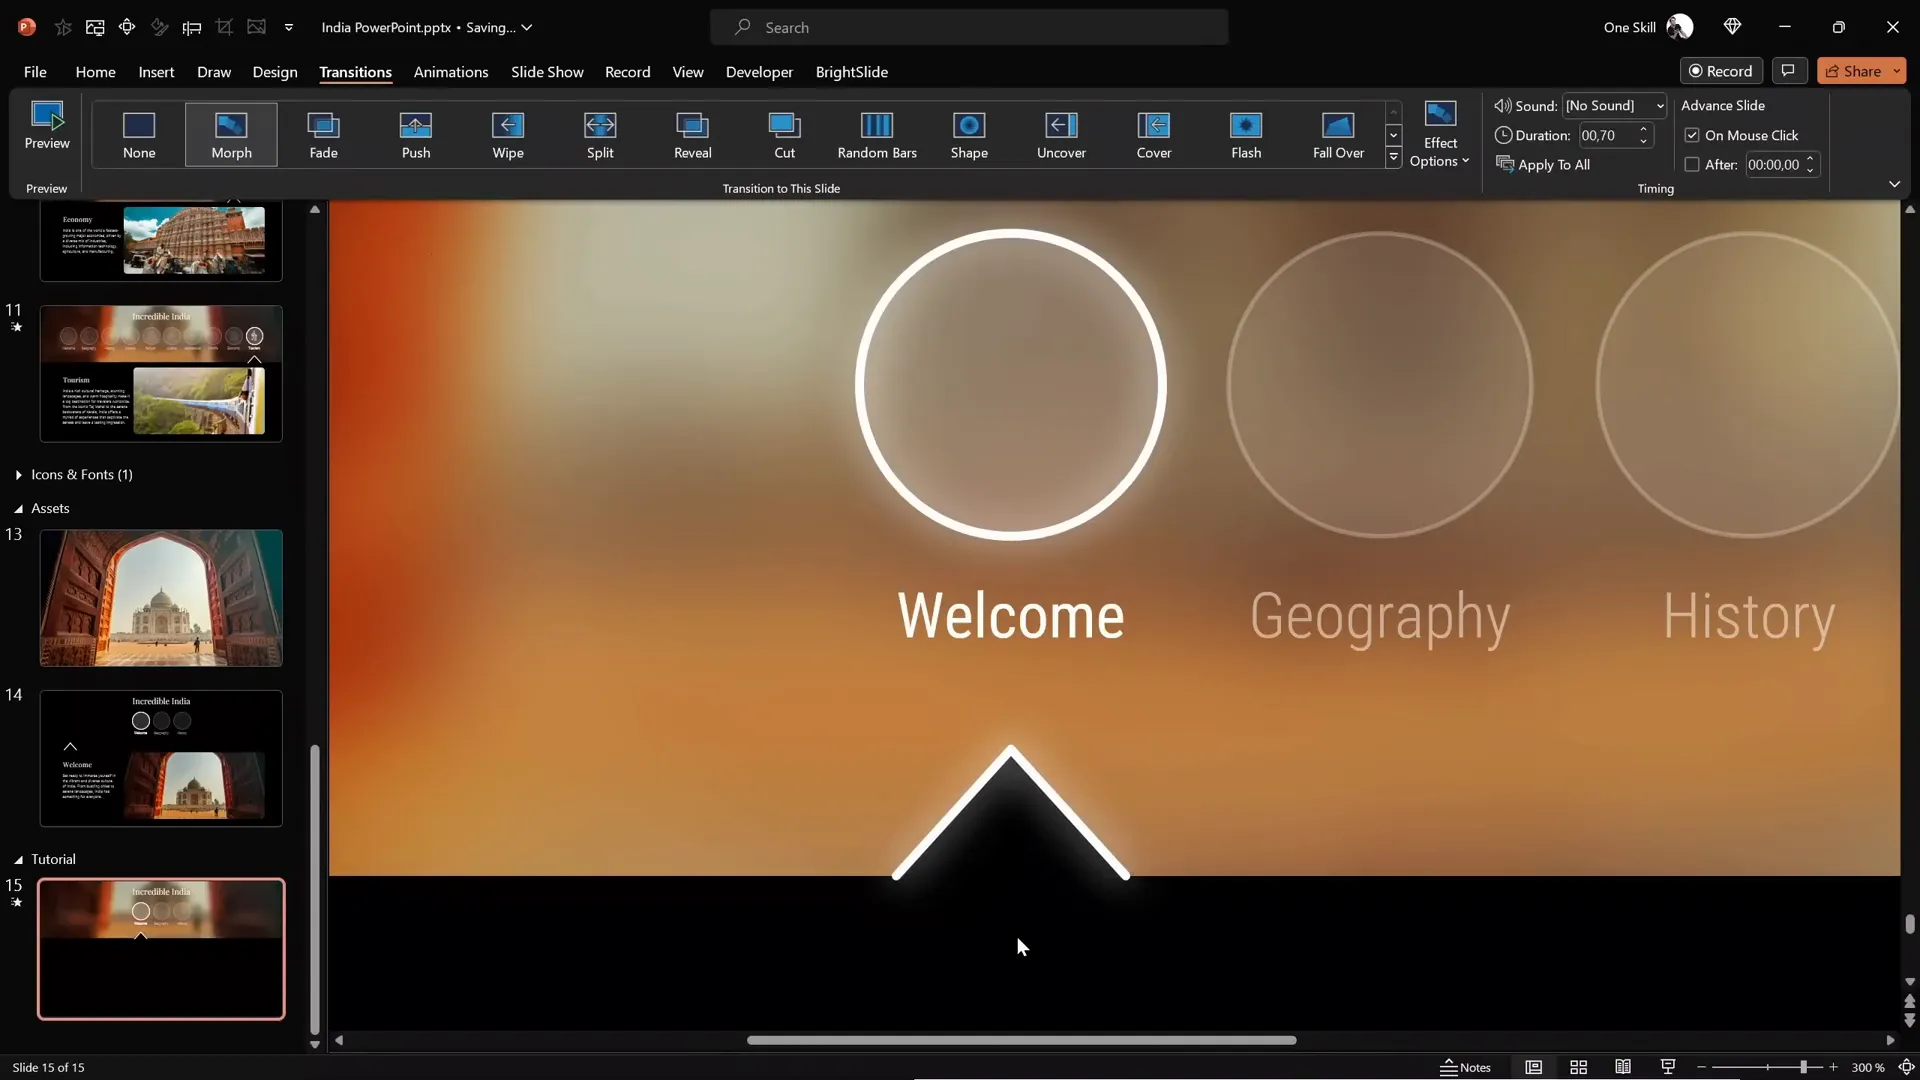
Adding an Active Arrow Indicator
To further emphasize which circle is active, add a small arrow pointing to the active bubble. This arrow is constructed using simple lines and a triangle shape:
- Create two lines and a triangle.
- Set the line color to white, width to 2pt, and add a white shadow with 10pt blur to create a glowing effect.
- Position the lines at the edges of the triangle to form an arrow shape.
- Group all elements together and align the arrow beneath the active circle.
This arrow clearly shows users which section is currently selected, improving navigation clarity.
Setting Up Slides and Morph Transitions
To make the clickable circles functional, you need to set up individual slides for each section and link the circles accordingly. Here’s how:
- Add two more slides, so you have three slides total—one for each bubble.
- Apply the Morph transition to all slides with a duration of 0.7 seconds. Morph creates smooth animated transitions between slides.
- Link each circle to its corresponding slide using the hyperlink feature (Ctrl + K). For example, link the first circle to slide 15, second to slide 16, and so on.
- Use the format painter to quickly update the active and inactive circle styles on each slide, and reposition the arrow indicator accordingly.
- Ensure all circles keep their unique names with double exclamation marks on all slides to avoid morph transition issues.
Now, when you click any circle during the presentation, you will smoothly transition to the corresponding slide, with animations reinforcing the active selection.
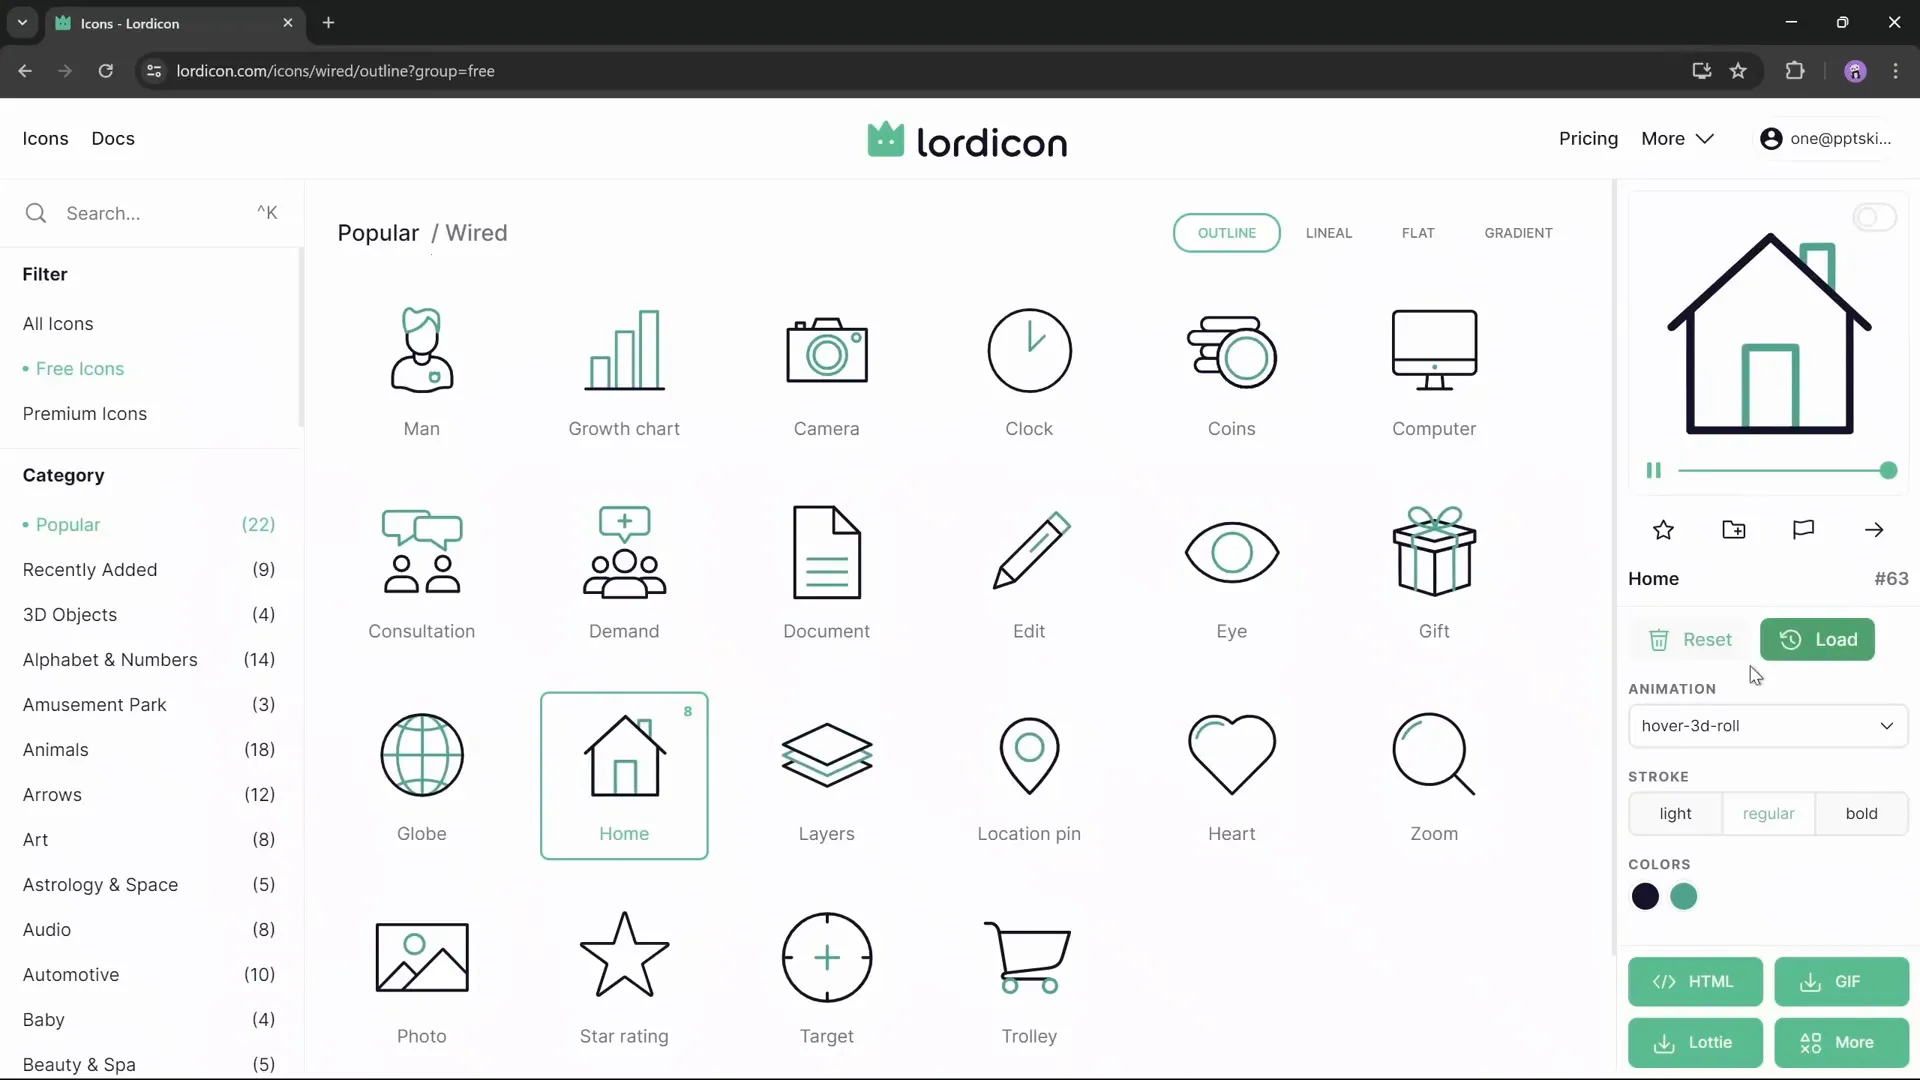
Inserting Animated Icons with Lordicon
To add a professional touch, use animated icons inside your clickable circles. Lordicon.com offers thousands of beautiful animated icons ready for download. Here’s how to use them:
- Visit Lordicon.com.
- Browse the icon library and filter for free white outline icons for consistency with your dark-themed slide.
- Select an icon (e.g., a home icon) and customize its animation style from the dropdown menu.
- Set icon colors to white and preview on a dark background.
- Export the icon as a GIF for the animated (active) state and as a PNG for the static (inactive) state.
- Repeat for additional icons to represent different menu items.
Using animated icons adds dynamic visual interest and enhances user engagement with your interactive menu.
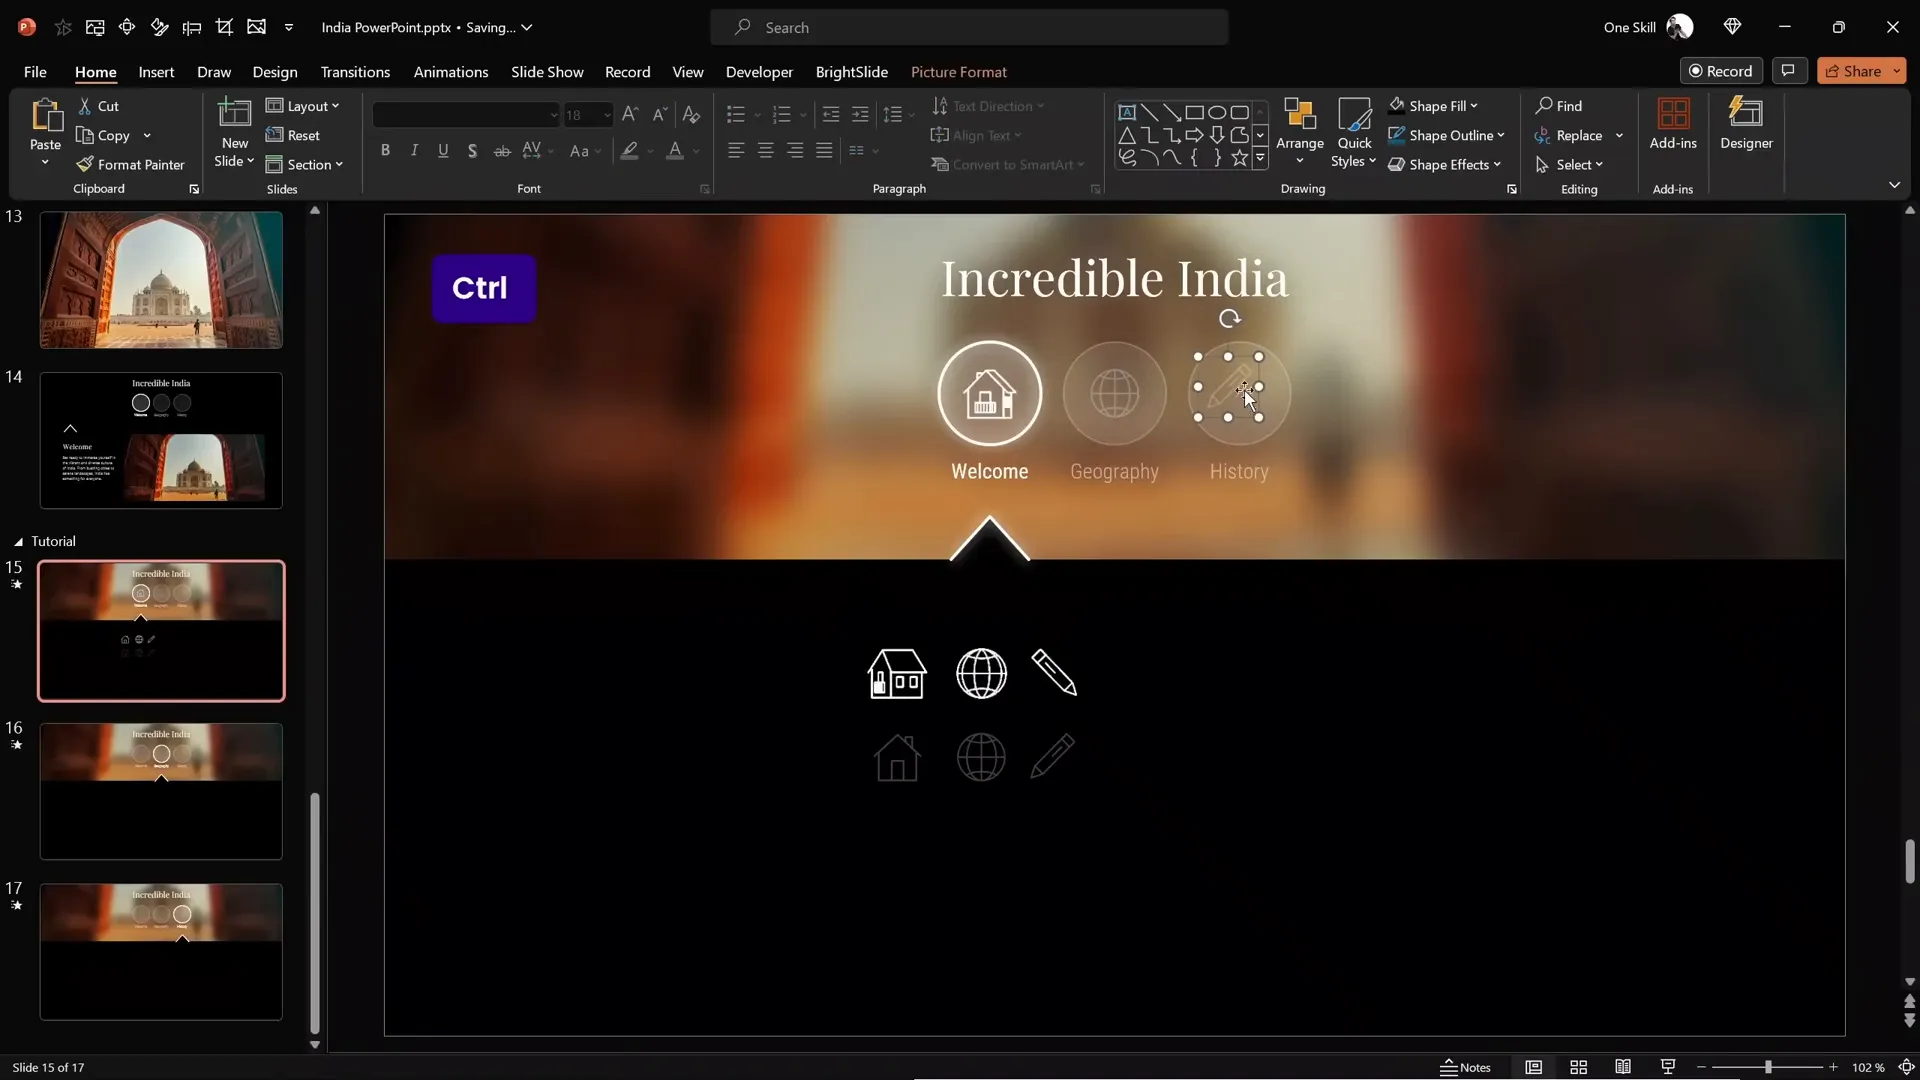
Positioning Icons and Enhancing User Experience
Once you have your animated GIFs and static PNGs, it’s time to insert and position them in your PowerPoint slides:
- Insert all GIF and PNG icons onto your first slide.
- Resize all icons to a uniform size (e.g., 1.4 cm).
- Arrange animated GIFs above the static PNGs to keep them visually grouped.
- Set the transparency of PNG icons to 75% to indicate inactive states.
- Name each icon with the same double exclamation mark naming convention as the circles (e.g., !!icon1).
- Position the animated icon inside the active circle and the static icons inside inactive circles.
- Bring all circles to the front to ensure they receive clicks and don’t obstruct the icons.
- Repeat this setup on all slides, moving the animated icon to the relevant active circle while keeping others static.
These steps make sure the user clearly sees which icon is active, improving navigation feedback and overall user experience.
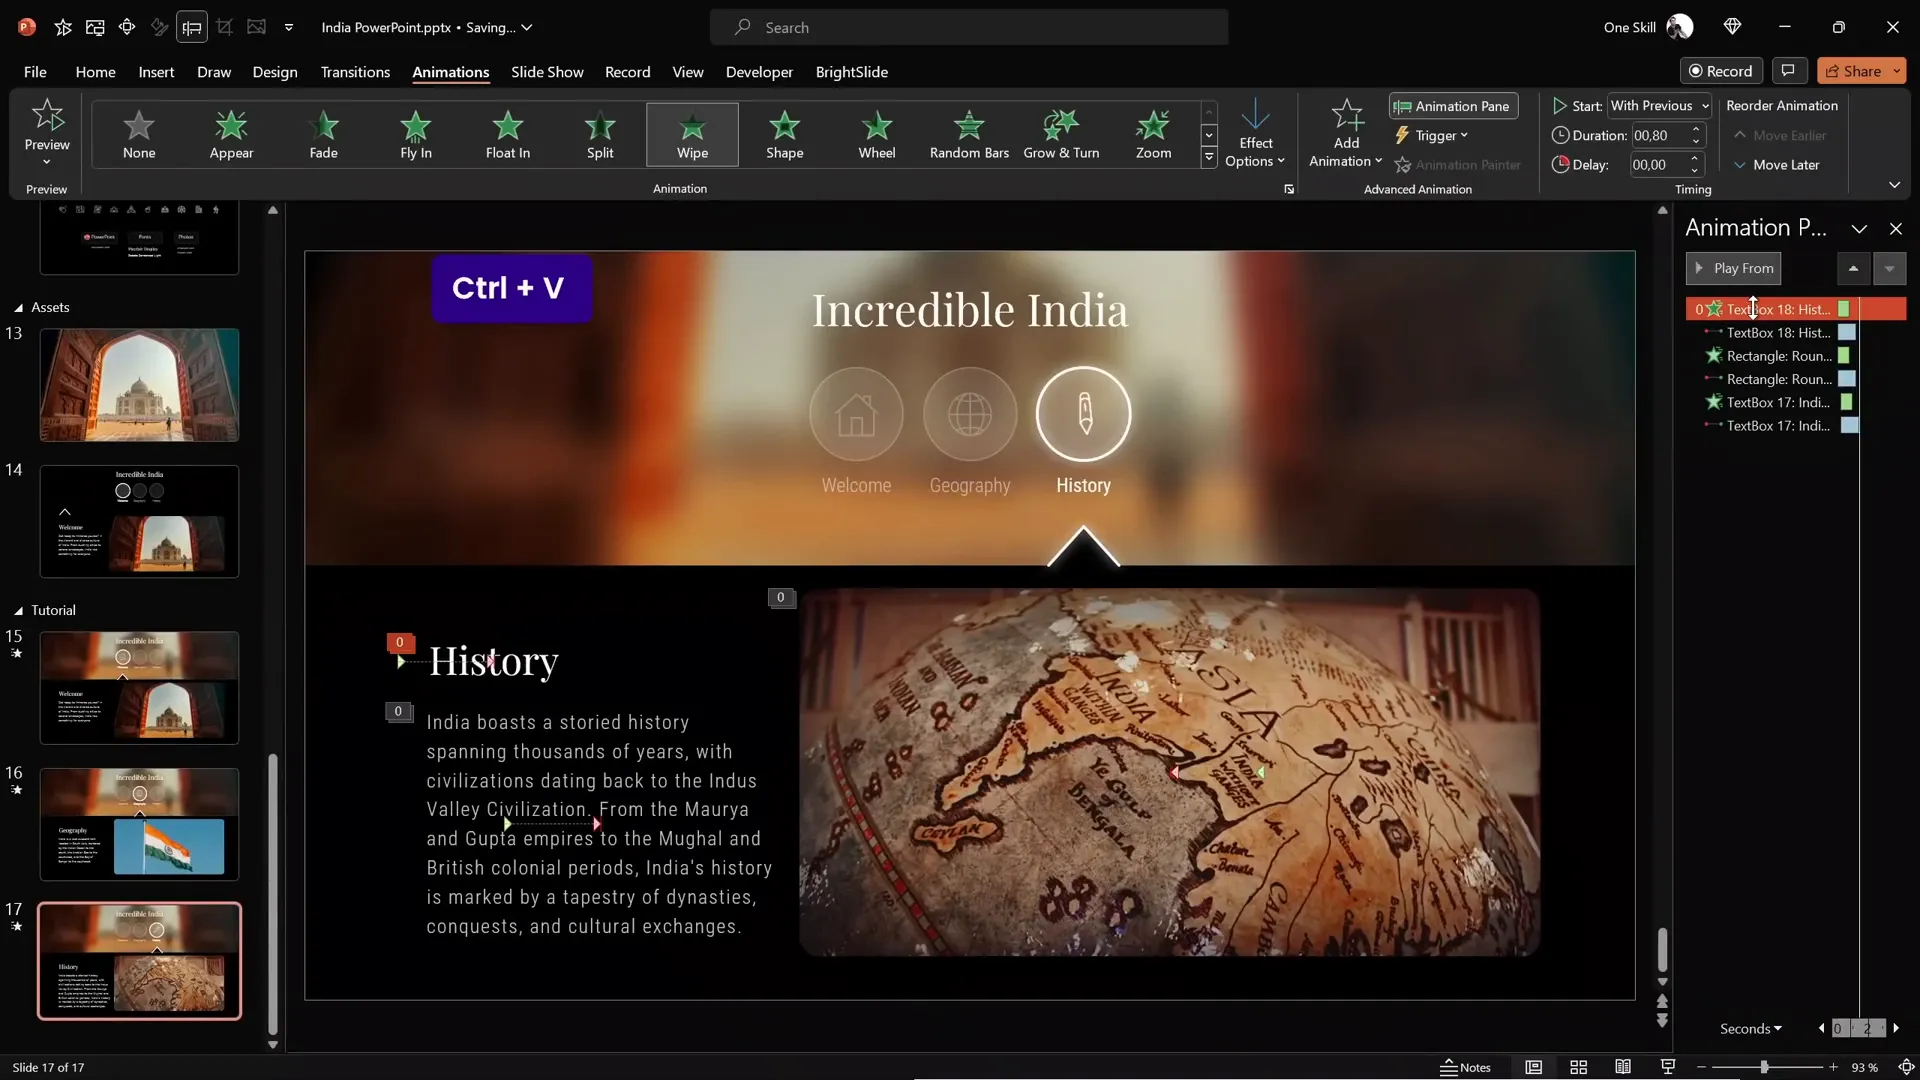
Adding Content and Animations
With the interactive menu and icons ready, it’s time to add informative content to your slides:
- Copy text boxes and images from previous slides or create your own content for each section.
- Paste the content onto each slide, ensuring layout consistency.
- Apply entrance animations such as wipe effects to text and images to add visual interest.
- Use the Morph transition between slides to smoothly animate changes in menu and content.
These content elements combined with the interactive menu make your presentation engaging and easy to navigate.
Final Check and Tips for Interactive Presentations
Before finalizing your presentation, run through these checks and tips:
- Test all clickable circles. Click each circle in presentation mode to ensure hyperlinks and morph transitions work flawlessly.
- Check icon animations. Make sure the animated GIF icons play only inside active circles and static PNGs show in inactive circles.
- Keep consistent naming conventions. Use double exclamation marks (!!) in the selection pane for all interactive elements to avoid animation glitches.
- Use the BrightSlide add-in (free PowerPoint add-in) to utilize handy shortcuts for aligning and managing shapes quickly.
- Add more clickable buttons as needed. This method scales well if you want to add 10 or more navigation circles.
- Keep your design clean and simple. Avoid cluttering slides with too many effects or text to maintain professionalism.
Following these best practices will help you create polished, professional, and interactive PowerPoint presentations that impress your audience.
Frequently Asked Questions
What version of PowerPoint do I need to create animated interactive menus?
This tutorial uses Microsoft 365 PowerPoint, which supports the Morph transition and advanced shape merging features. Older versions may not support all features.
Where can I find the animated icons used in this presentation?
The animated icons come from Lordicon.com, a platform with thousands of free and premium animated icons customizable for your needs.
How do I ensure smooth morph transitions between slides?
Use consistent naming conventions for shapes and icons, starting with double exclamation marks (!!). Also, keep elements in the same order on each slide and avoid renaming or duplicating shapes inconsistently.
Can I add more than three clickable circles?
Absolutely! You can create as many clickable circles as you want by duplicating slides and following the same formatting and linking procedures.
Is there a way to speed up the design process?
Yes, use the BrightSlide PowerPoint add-in to access shortcuts for aligning and managing shapes efficiently. Also, use format painter to quickly copy styles between objects.
How can I make sure my text is readable over images?
Apply blur effects and reduce brightness on your background images, and use overlays with transparency. Choose contrasting font colors and elegant fonts like Playfair Display for readability.
Can I use this method for presentations on other topics?
Definitely! This interactive menu style is versatile and can be adapted for any presentation theme or subject.
Conclusion
Creating interactive PowerPoint presentations with animated icons, clickable menus, and smooth transitions is easier than you might think. By following this detailed powerpoint animation how to guide, you can build an engaging presentation that captivates your audience and elevates your storytelling.
Remember to start with a clean slide, design your blurry photo mask, create visually distinct clickable circles, add an active arrow indicator, and leverage the Morph transition for seamless animations. Incorporate animated icons from Lordicon to add professional polish and enhance user interaction. Finally, populate your slides with meaningful content and animations to complete your presentation.
With these techniques, your PowerPoint presentations will not only look incredible but also provide a dynamic and interactive experience for your viewers. Ready to try it yourself? Download the free resources linked in the description and start creating today!
Happy presenting!


