
If you’ve ever wanted to elevate your PowerPoint presentations with captivating animations, you’re in for a treat. Creating a parallax animation in PowerPoint may sound complex, but with the right approach and tools, it becomes an achievable and even fun task. In this comprehensive guide, you will learn step-by-step how to craft a breathtaking parallax animation using PowerPoint Animations, inspired by the creative work of Dennis Snellenberg and brought to life using Microsoft PowerPoint Office 365.
Parallax animation creates a beautiful sense of depth and motion by animating different layers of an image independently. This effect makes your slides feel dynamic and engaging, perfect for storytelling, presentations, or any project where you want to impress your audience with professional-quality visuals.
Let’s dive into the process, from selecting the perfect image to layering, animating, and polishing your presentation with smooth transitions and effects that bring your design to life.
Table of Contents
- Choosing the Right Image for Parallax Animation
- Separating Your Photo into Layers
- Preparing Your Layers in PowerPoint
- Animating with Morph Transition
- Hiding Layer Edges with Shapes
- Enhancing the Transition with Gradient Blending
- Adding Text and Additional Details
- Final Touches: Adding a Zoom Effect
- Frequently Asked Questions (FAQs)
- Conclusion
Choosing the Right Image for Parallax Animation
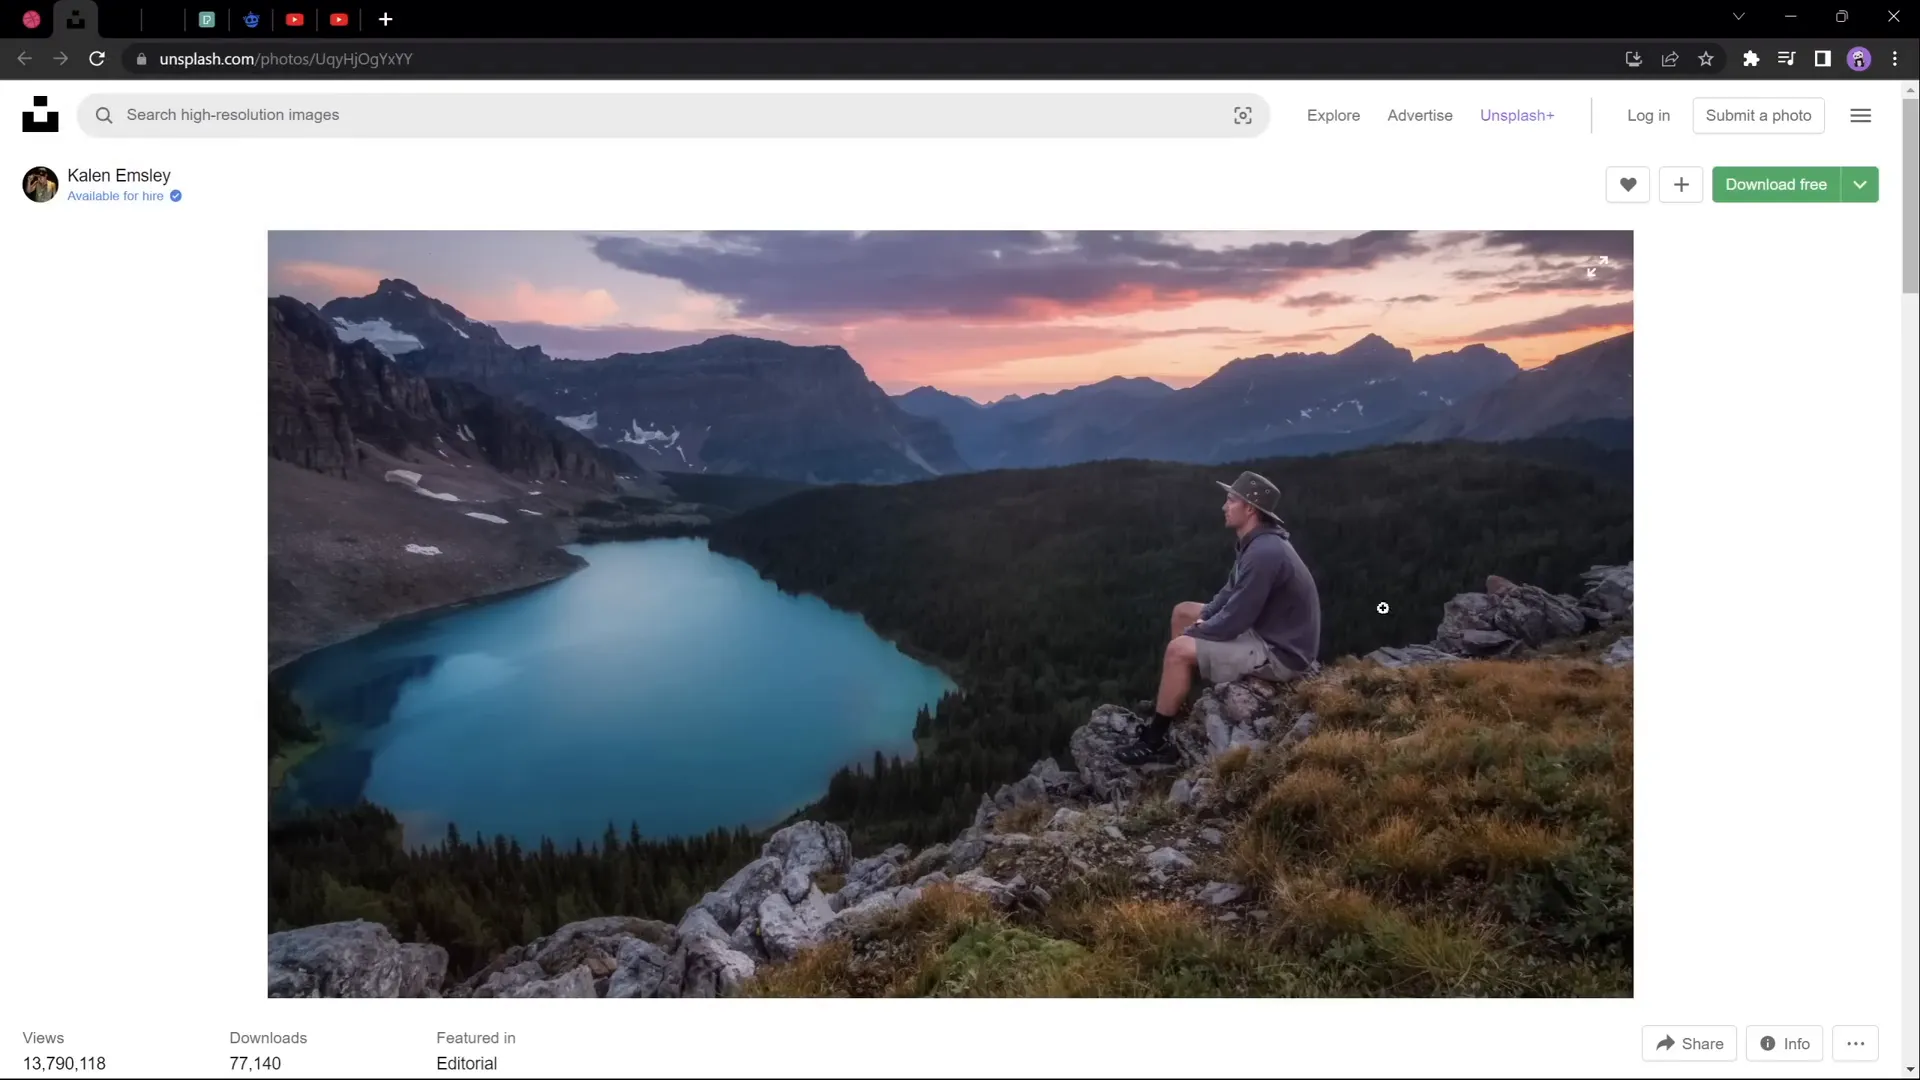
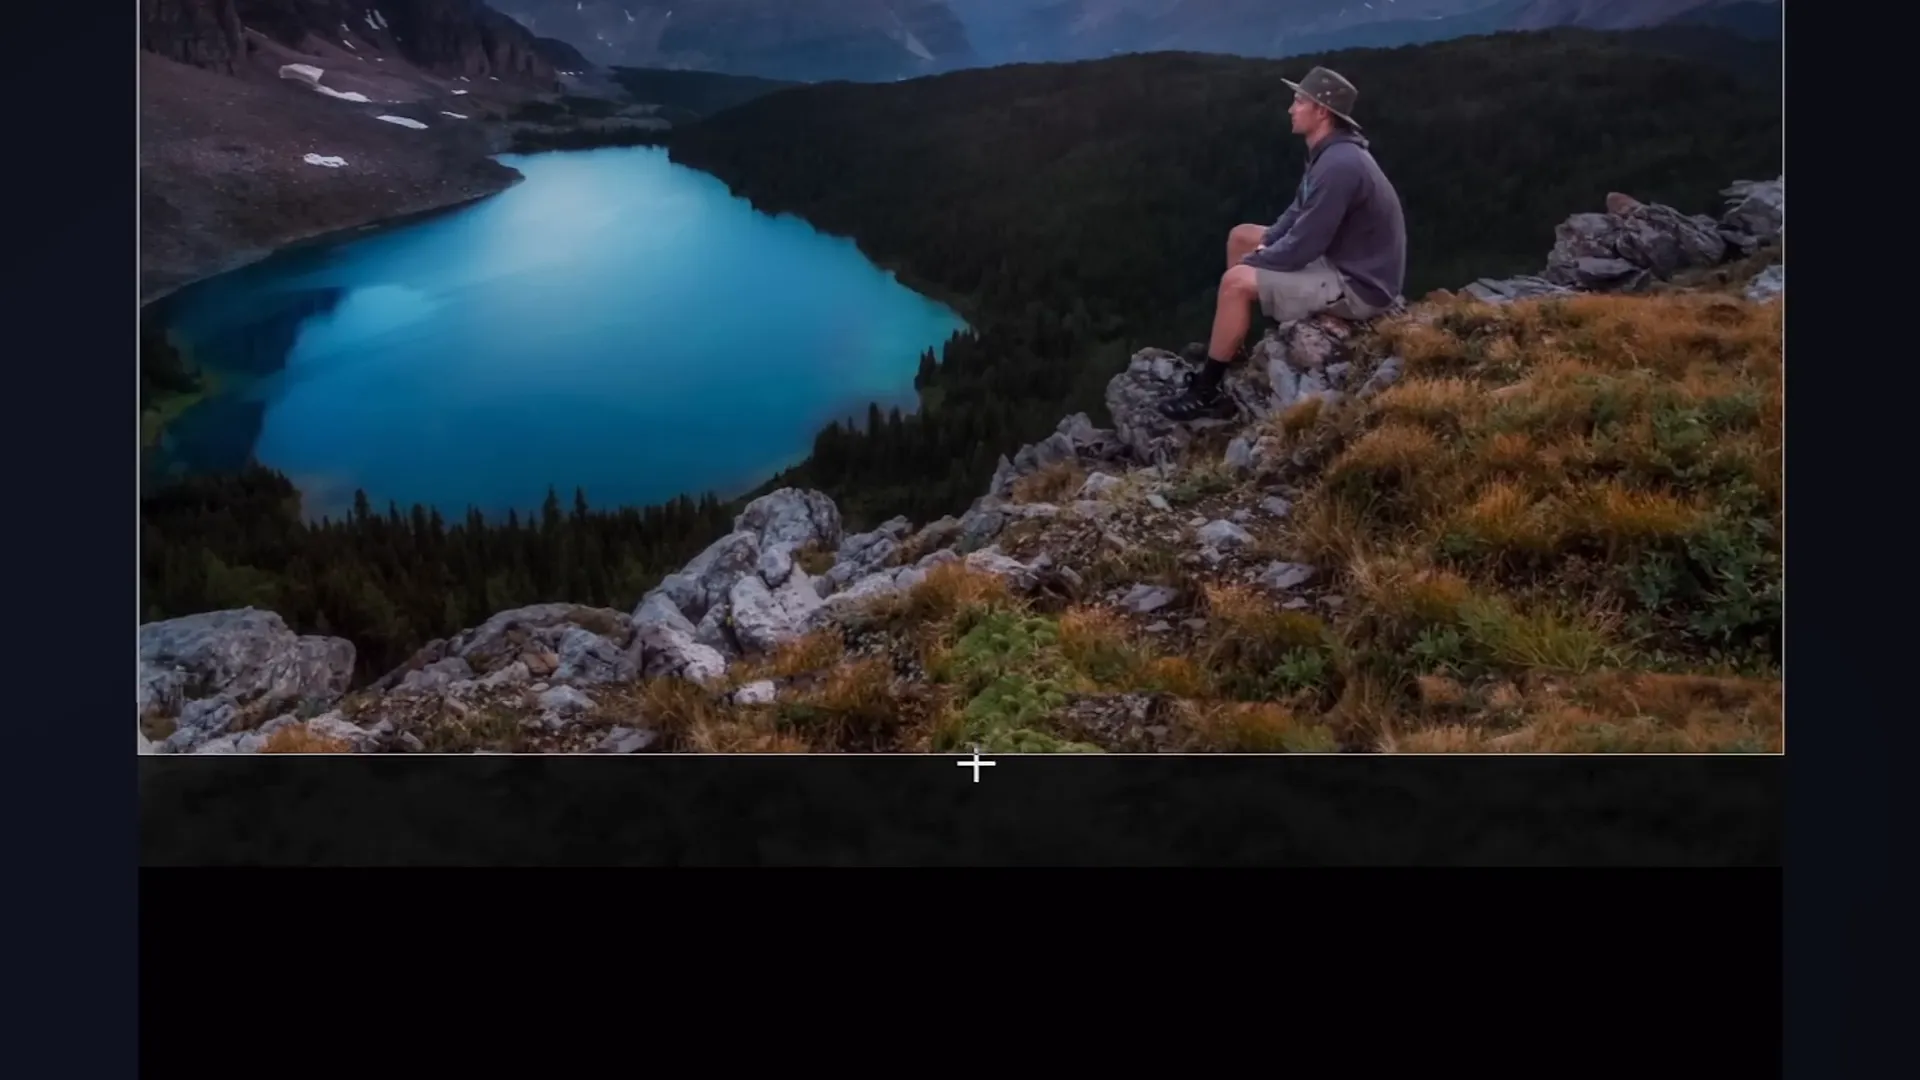
The foundation of any great parallax animation is the image you select. The key is to pick a photo that naturally divides into distinct layers — a foreground, one or more middle layers, and a background. This layered structure allows you to create the illusion of depth and motion when these layers move at different speeds.
For today’s tutorial, a beautiful photo featuring a hiker sitting on a rock in the foreground, a forest with a lake, a second line of mountains, and a sky background was chosen. This composition works perfectly because it contains clear, separable elements that can be isolated and animated independently.
When searching for your own images, look for photos that have:
- Distinct layers: Foreground objects, midground elements, and background scenery.
- Clear edges: Objects that can be easily extracted from the photo.
- Visual interest: A combination of natural elements like mountains, trees, or people can add depth and storytelling to your animation.
Here are some great photo resources to find suitable images:
Separating Your Photo into Layers
Once you have your perfect image, the next step is to separate it into layers that you will animate independently. You can do this using photo-editing tools such as Photoshop, Affinity Photo, or free online editors like PhotoP. These tools allow you to cut out foreground objects, mountains, skies, and any other elements you want to isolate.
If you’re new to photo editing or want a quick tutorial on how to separate photos into layers using a free tool, here’s a simple approach:
- Open your photo in the editor.
- Use the selection tools (lasso, magic wand, or pen tool) to carefully select the foreground elements first.
- Copy and paste the selected area into a new layer.
- Repeat the process for each layer you want to isolate (mountains, sky, etc.).
- Save each layer as a separate image file (PNG format with transparency is ideal).
These isolated layers will be imported into PowerPoint for animation.
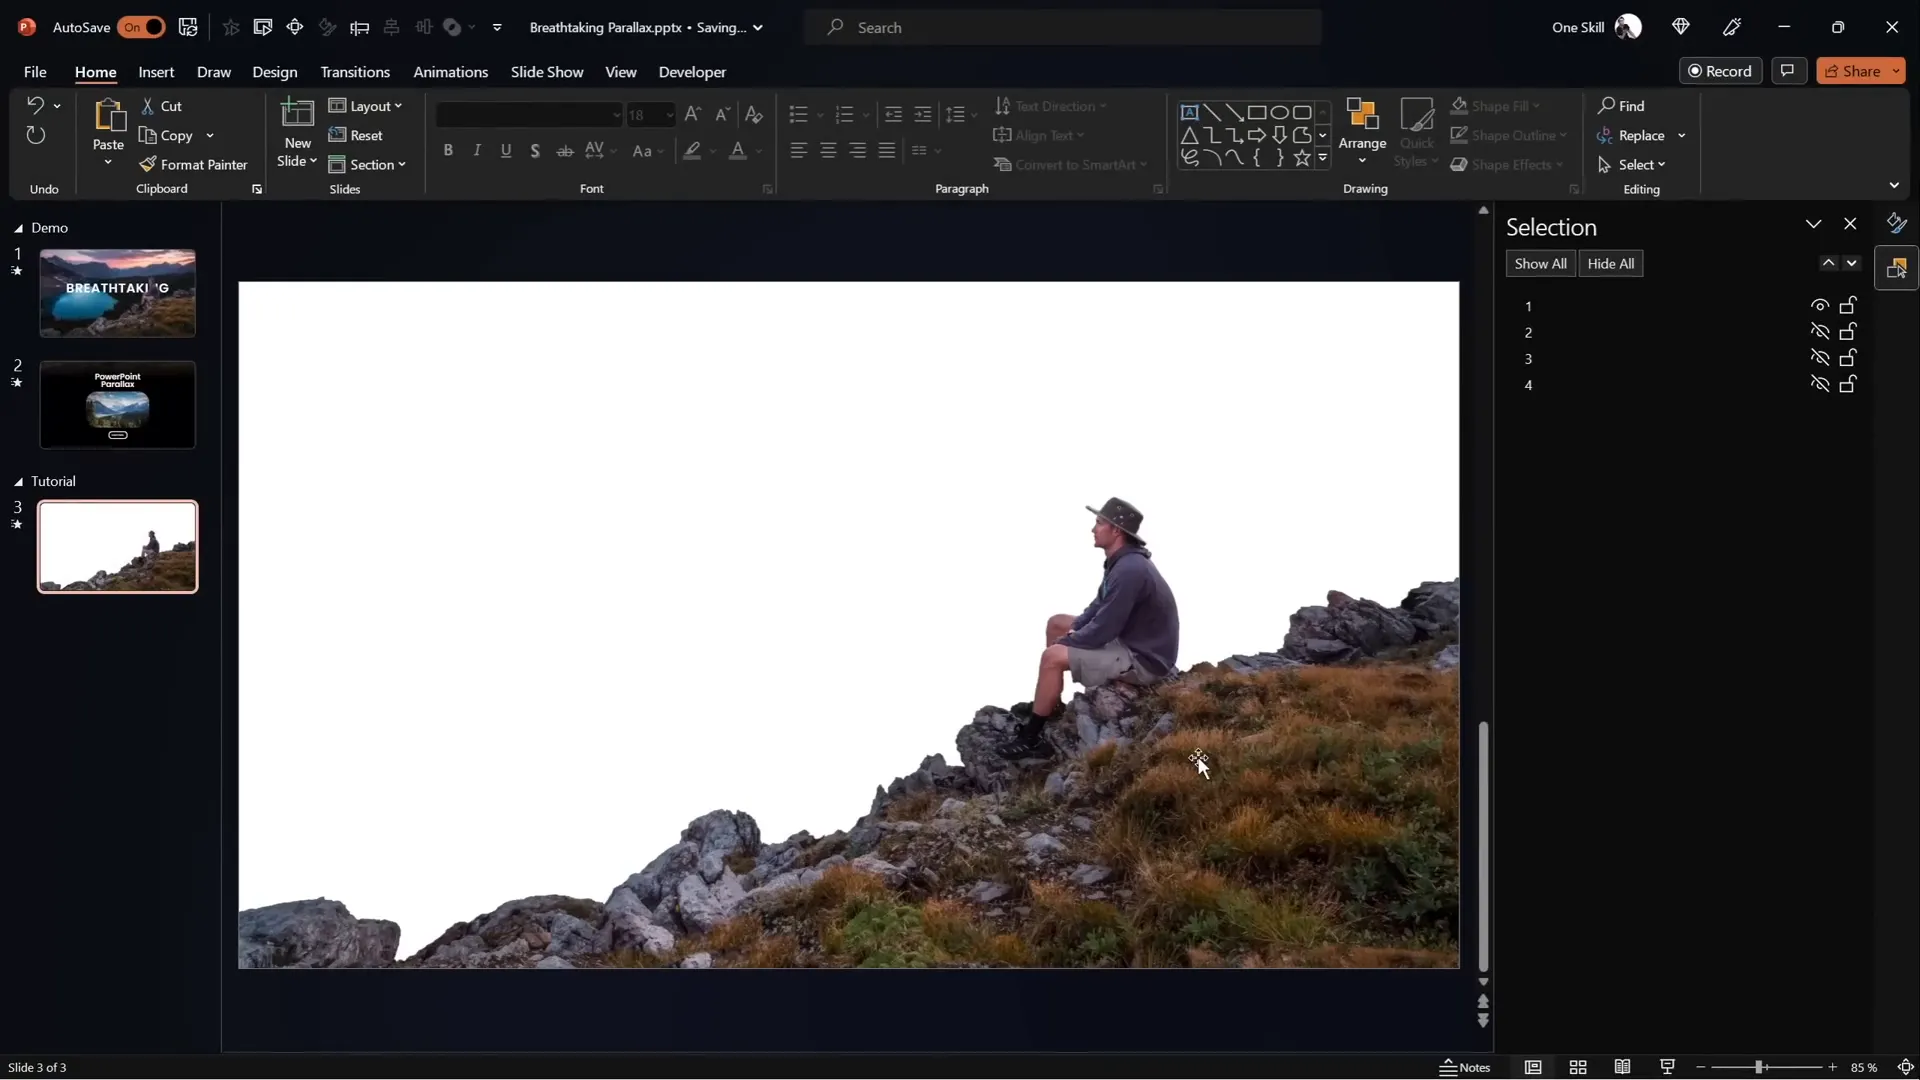
Preparing Your Layers in PowerPoint
With your photo layers ready, it’s time to bring them into PowerPoint. Create a new slide and insert each layer as a separate image. Organize them in the correct order, from background to foreground.
For example, in our project, the layers are:
- Layer 4: Sky background
- Layer 3: Second line of mountains
- Layer 2: Forest with lake
- Layer 1: Hiker on the rock (foreground)
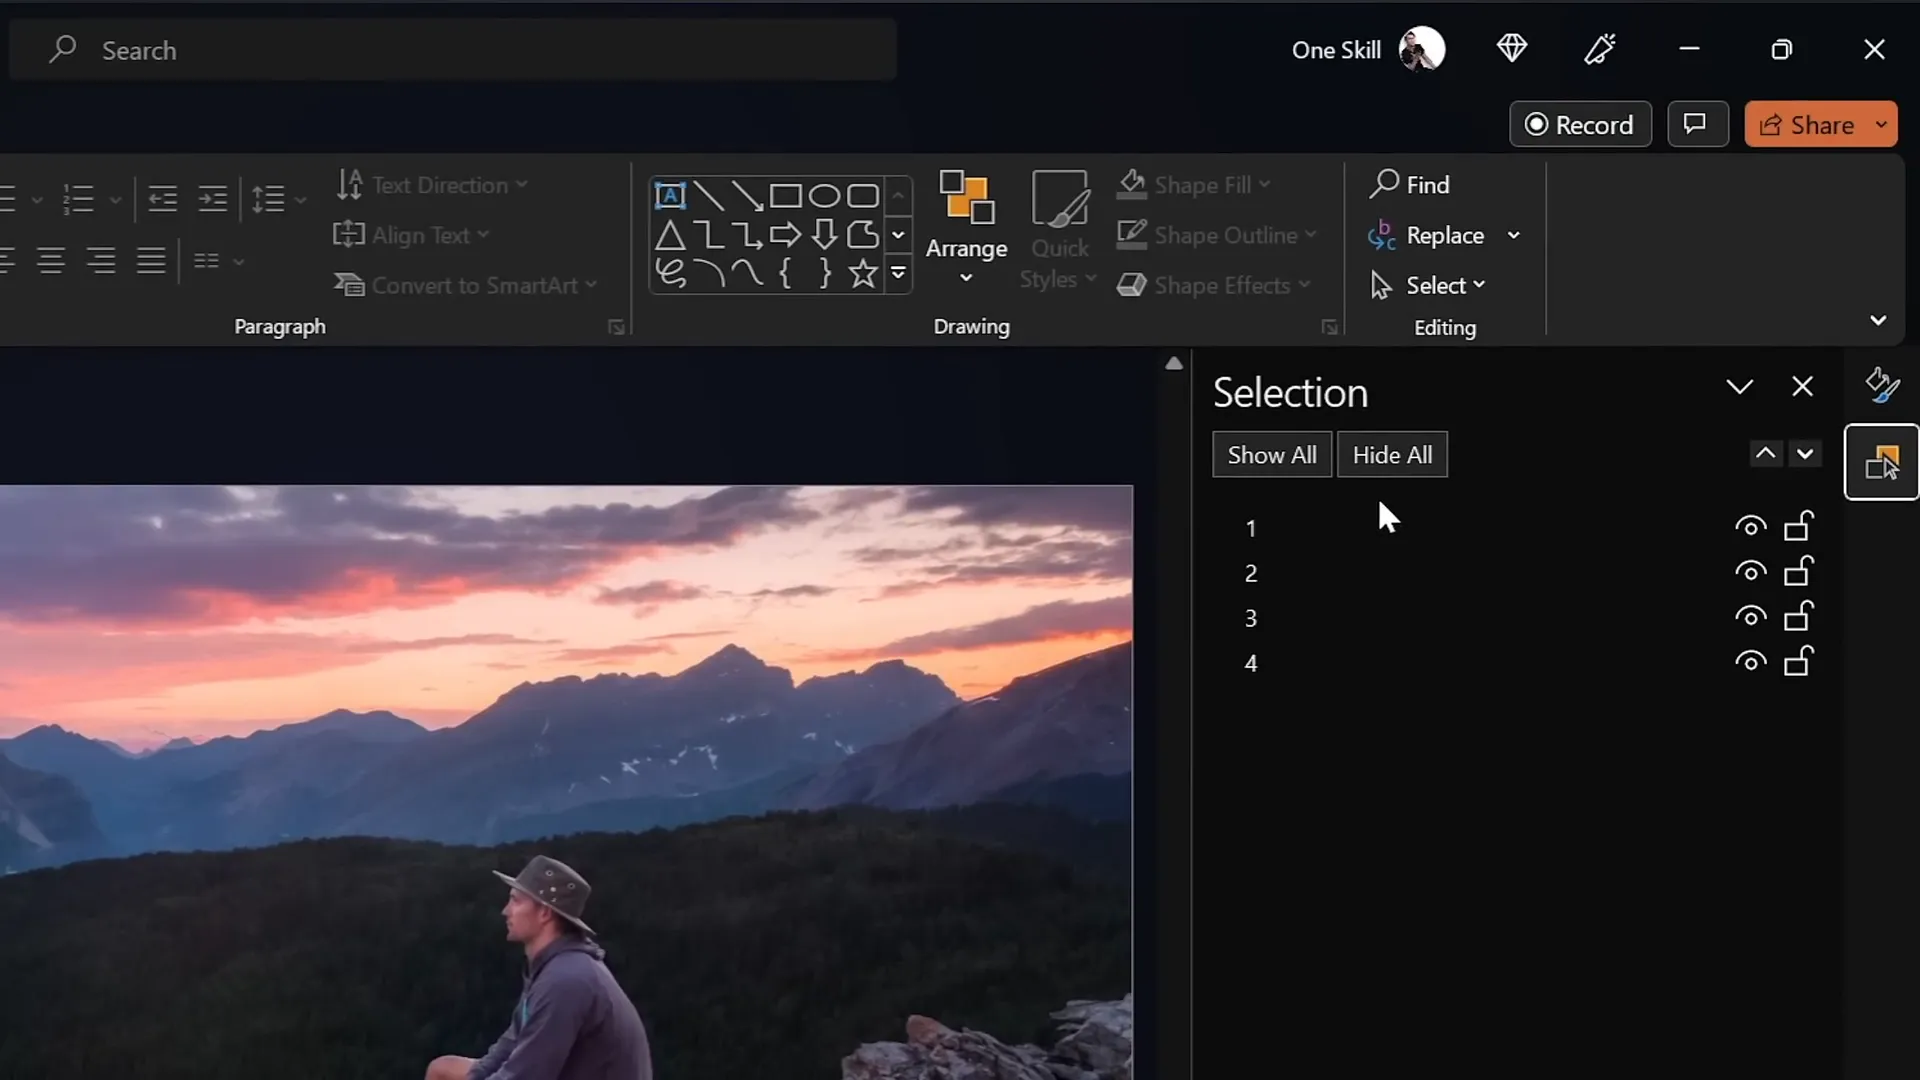
Use the Selection Pane in PowerPoint to manage and toggle the visibility of these layers as you work. This will help you focus on each layer individually and ensure they stack correctly.
Once your layers are arranged, duplicate the slide. You will animate the transition between these two slides to create the parallax effect.
Animating with Morph Transition
The magic of the parallax animation comes from using PowerPoint’s Morph transition. This feature allows smooth animation between two slides by recognizing objects with the same names and animating their position, size, or appearance changes seamlessly.
Here’s how to set it up:
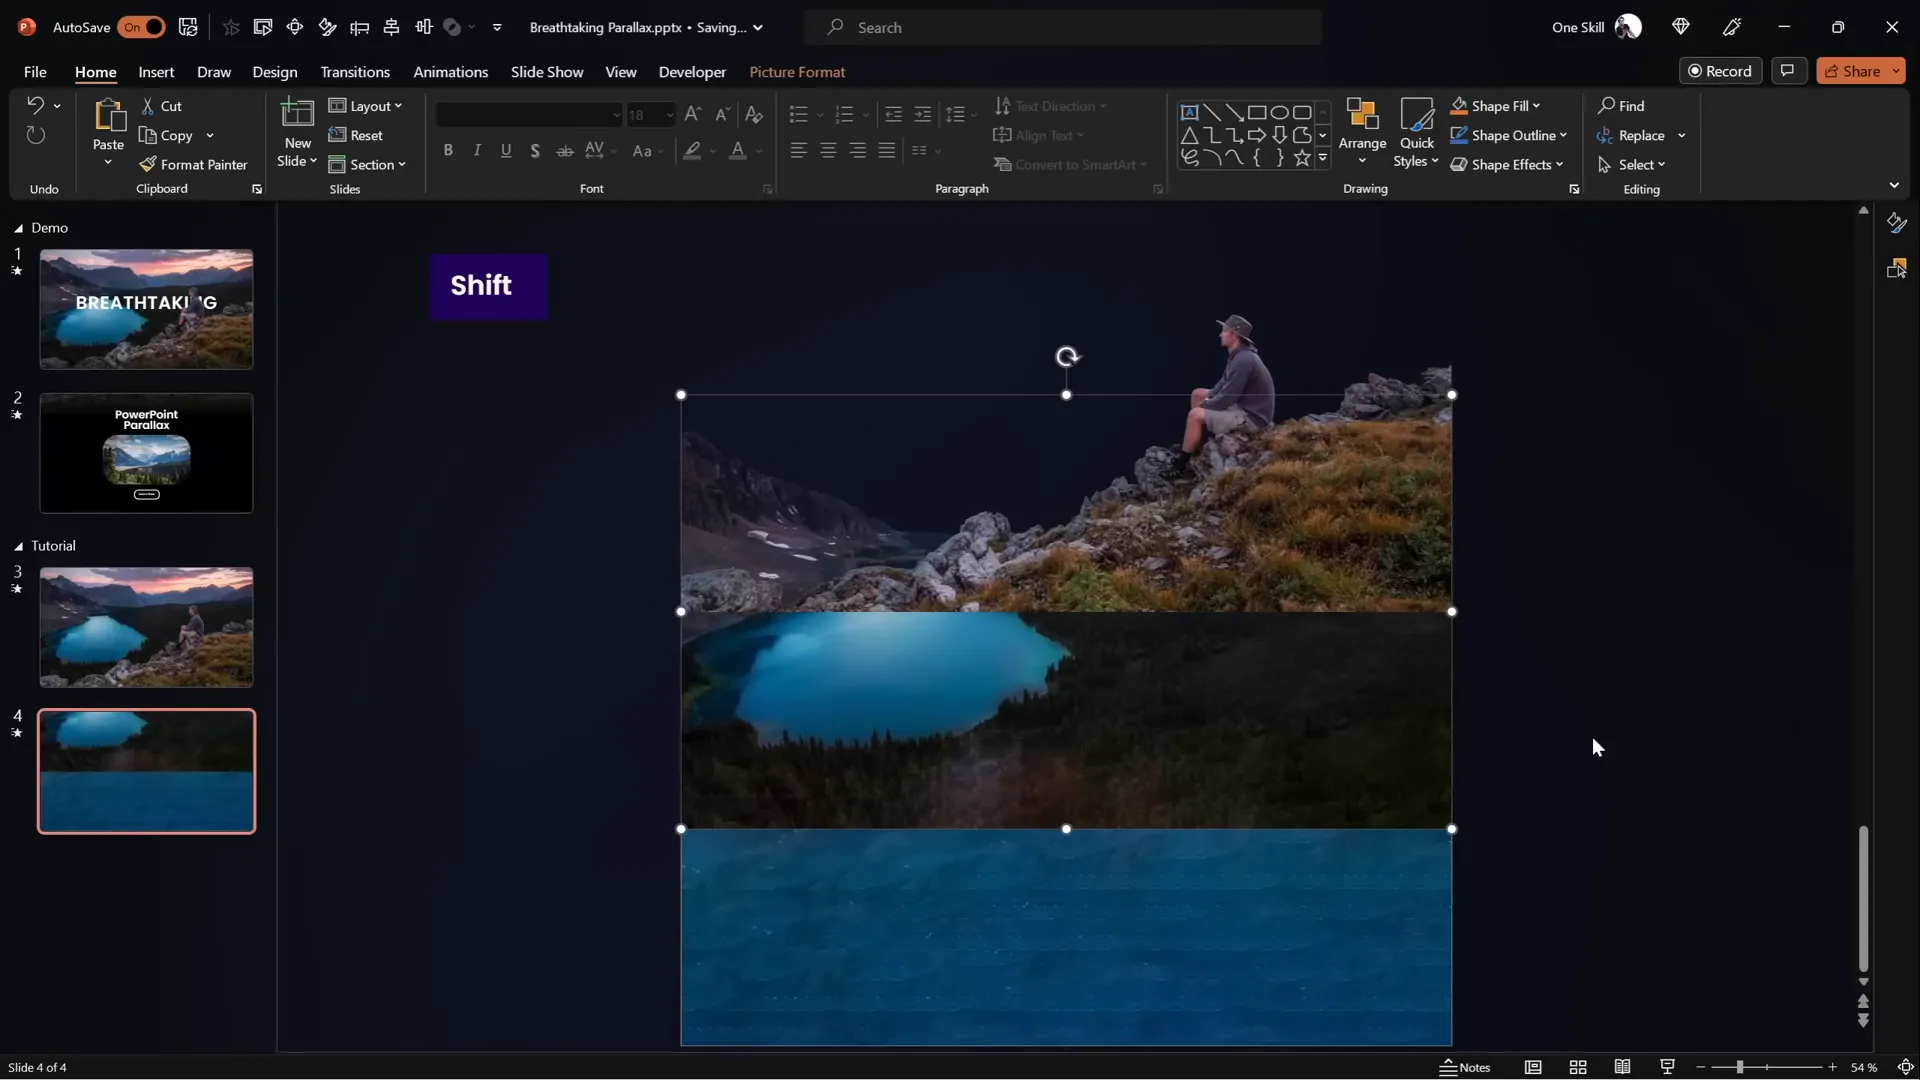
- On the second slide, move each layer vertically upward but by different amounts. For instance:
- Move the foreground layer (Layer 1) all the way up so its bottom touches the top of the slide window.
- Move the forest layer (Layer 2) halfway up.
- Move the mountain layer (Layer 3) about a quarter way up.
- Keep the sky background (Layer 4) mostly static or move it slightly for subtle depth.
- Make sure that each layer has the same name on both slides for Morph to work correctly.
- Apply the Morph transition to the second slide and set the duration to about 3 seconds for a smooth animation.
If you don’t have access to Morph (available in Office 365 and later versions), you can use motion path animations as an alternative, but Morph simplifies the process tremendously.
Play the slide show to preview the animation. You should see the layers moving independently, creating a convincing parallax effect. However, you might notice that the edges of the layers become visible as they move, which can disrupt the illusion.
Hiding Layer Edges with Shapes
To fix the visible edges of the moving layers, the trick is to use a full-screen shape to mask the slide boundaries effectively.
Follow these steps:
- On the first slide, insert a rectangle shape covering the entire slide.
- Set the fill color of the rectangle to solid black and remove any outline.
- Position the rectangle so that its top edge touches the bottom of the slide window, hiding the lower edges of the foreground layer.
- Copy this rectangle and paste it onto the second slide.
- On the second slide, move the rectangle so that it fully covers the slide, masking the edges of all layers.
This black rectangle acts like a window frame hiding unwanted parts of the layers during the animation, making the parallax effect look cleaner and more professional.
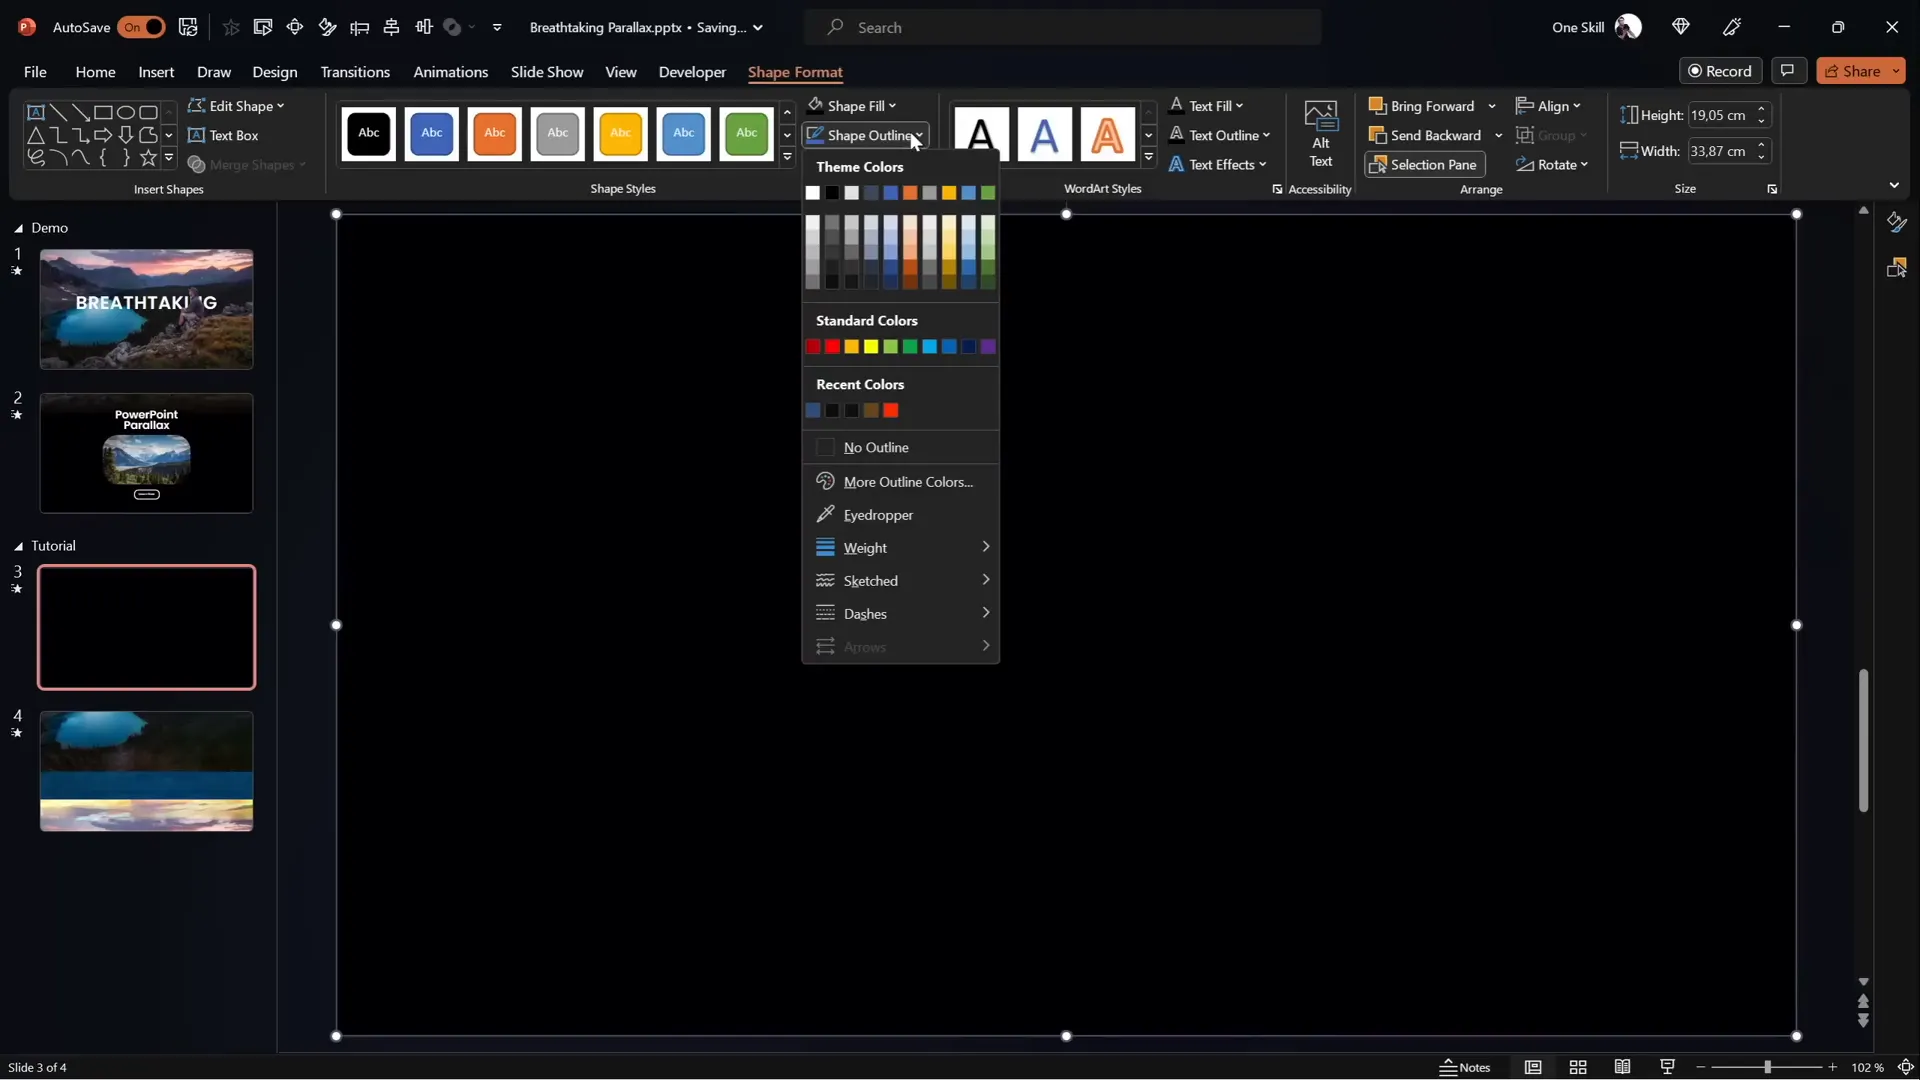
Enhancing the Transition with Gradient Blending
To make the transition between the foreground layer and the black rectangle even smoother, apply a gradient fill to the rectangle and slightly crop the foreground layer to extend its bottom edge.

Here’s how to do it:
- On the first slide, select the foreground layer and go to Picture Format > Crop.
- Extend the bottom crop handle downward slightly to reveal some extra photo area beneath the main image.
- For the black rectangle, change the fill to a Gradient Fill with two color stops:
- Both stops are black in color.
- Set one stop’s transparency to 100% (fully transparent) and the other to 0% (fully opaque).
- Adjust the gradient stops so the transparent part blends seamlessly into the foreground photo.
- Extend the height of the rectangle if needed to improve blending.
- Select both the foreground image and the gradient rectangle, then group them together. Rename this group to “Layer 1” for consistency.
- On the second slide, replace the old foreground and black rectangle with the new grouped object and position it accordingly.
This gradient blending creates a subtle, natural fade from the image to the black background, enhancing the overall visual quality and realism of the parallax effect.
Adding Text and Additional Details
Now that the animation looks great, it’s time to add some textual elements to spice up your slide and provide context.
Here’s a streamlined approach:
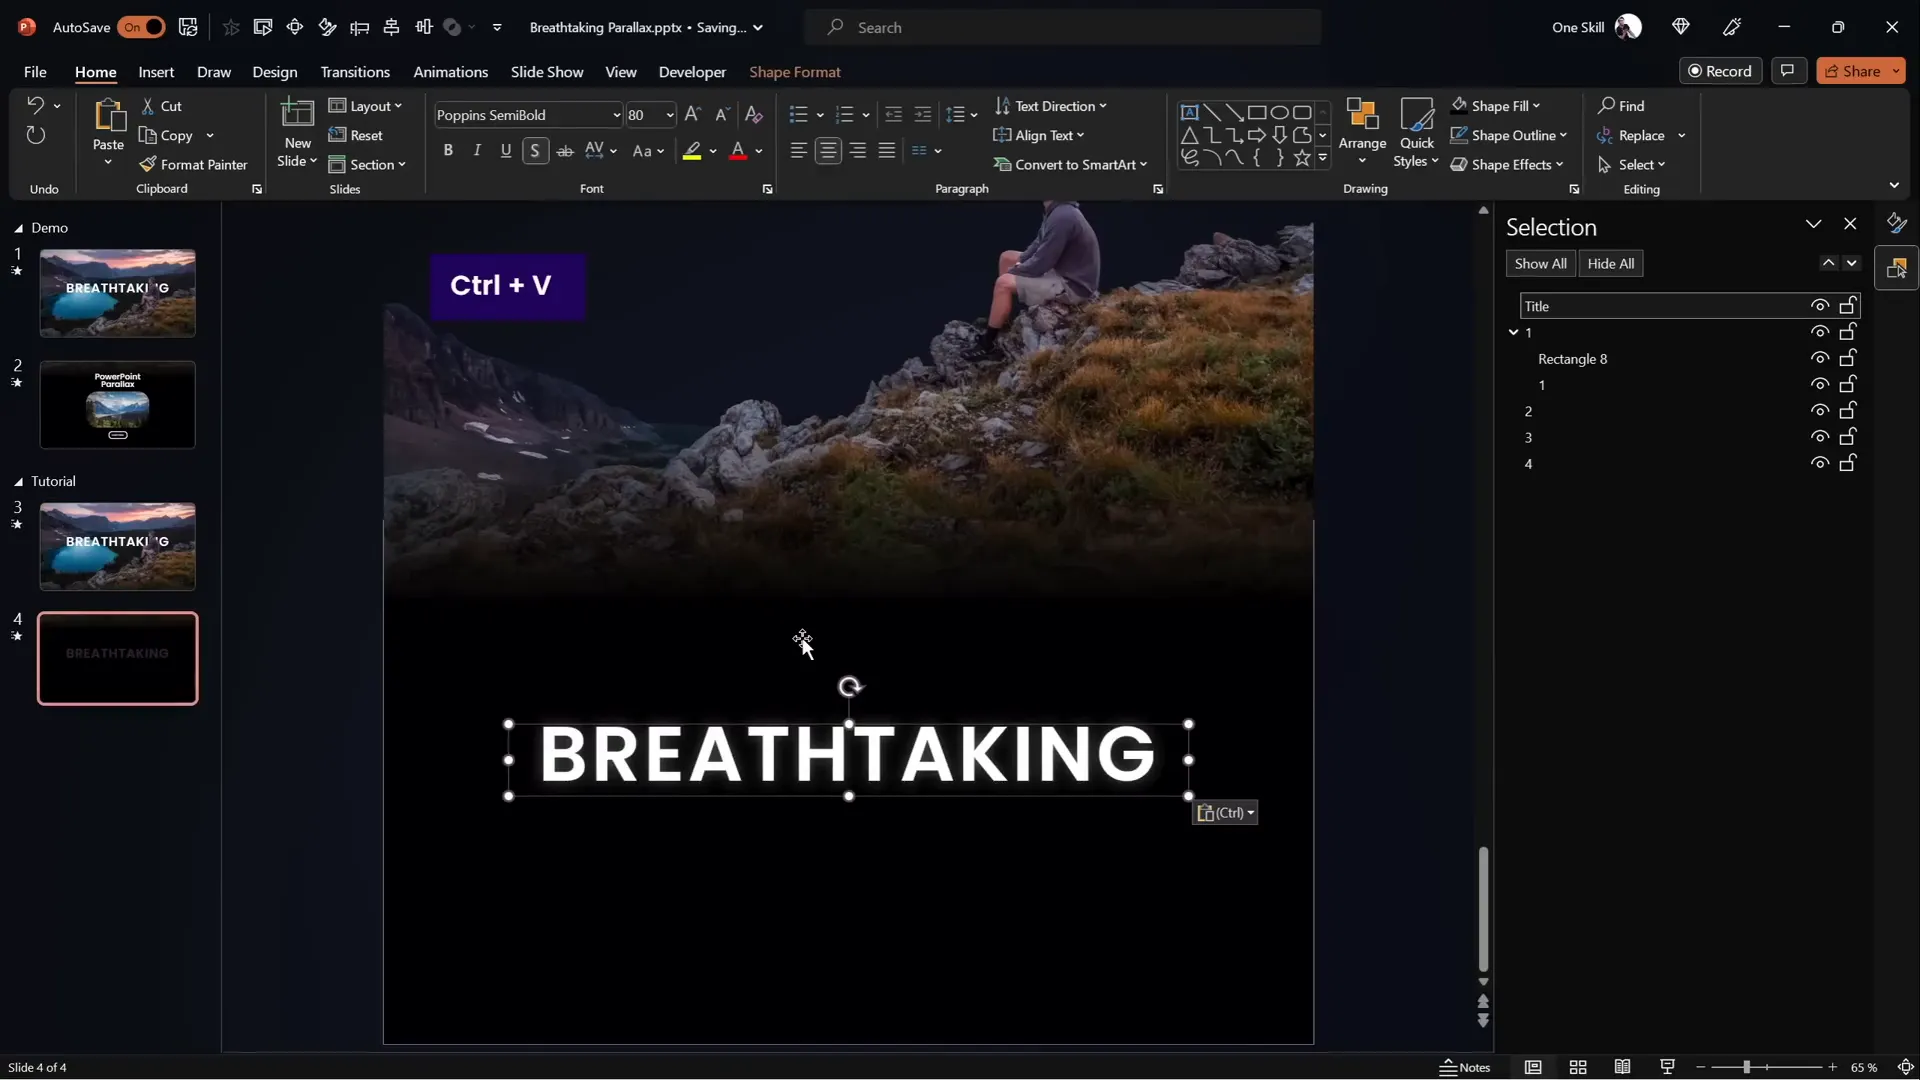
- Copy a slide title from a previous presentation or create your own.
- Paste the title onto the first slide and position it below the foreground layer so it doesn’t obscure key visual elements like the hiker.
- Copy this title to the second slide and move it outside the slide window to the left and near the top, creating a dynamic entrance during the morph animation.
- Ensure the title remains below the foreground layer on both slides for proper layering.
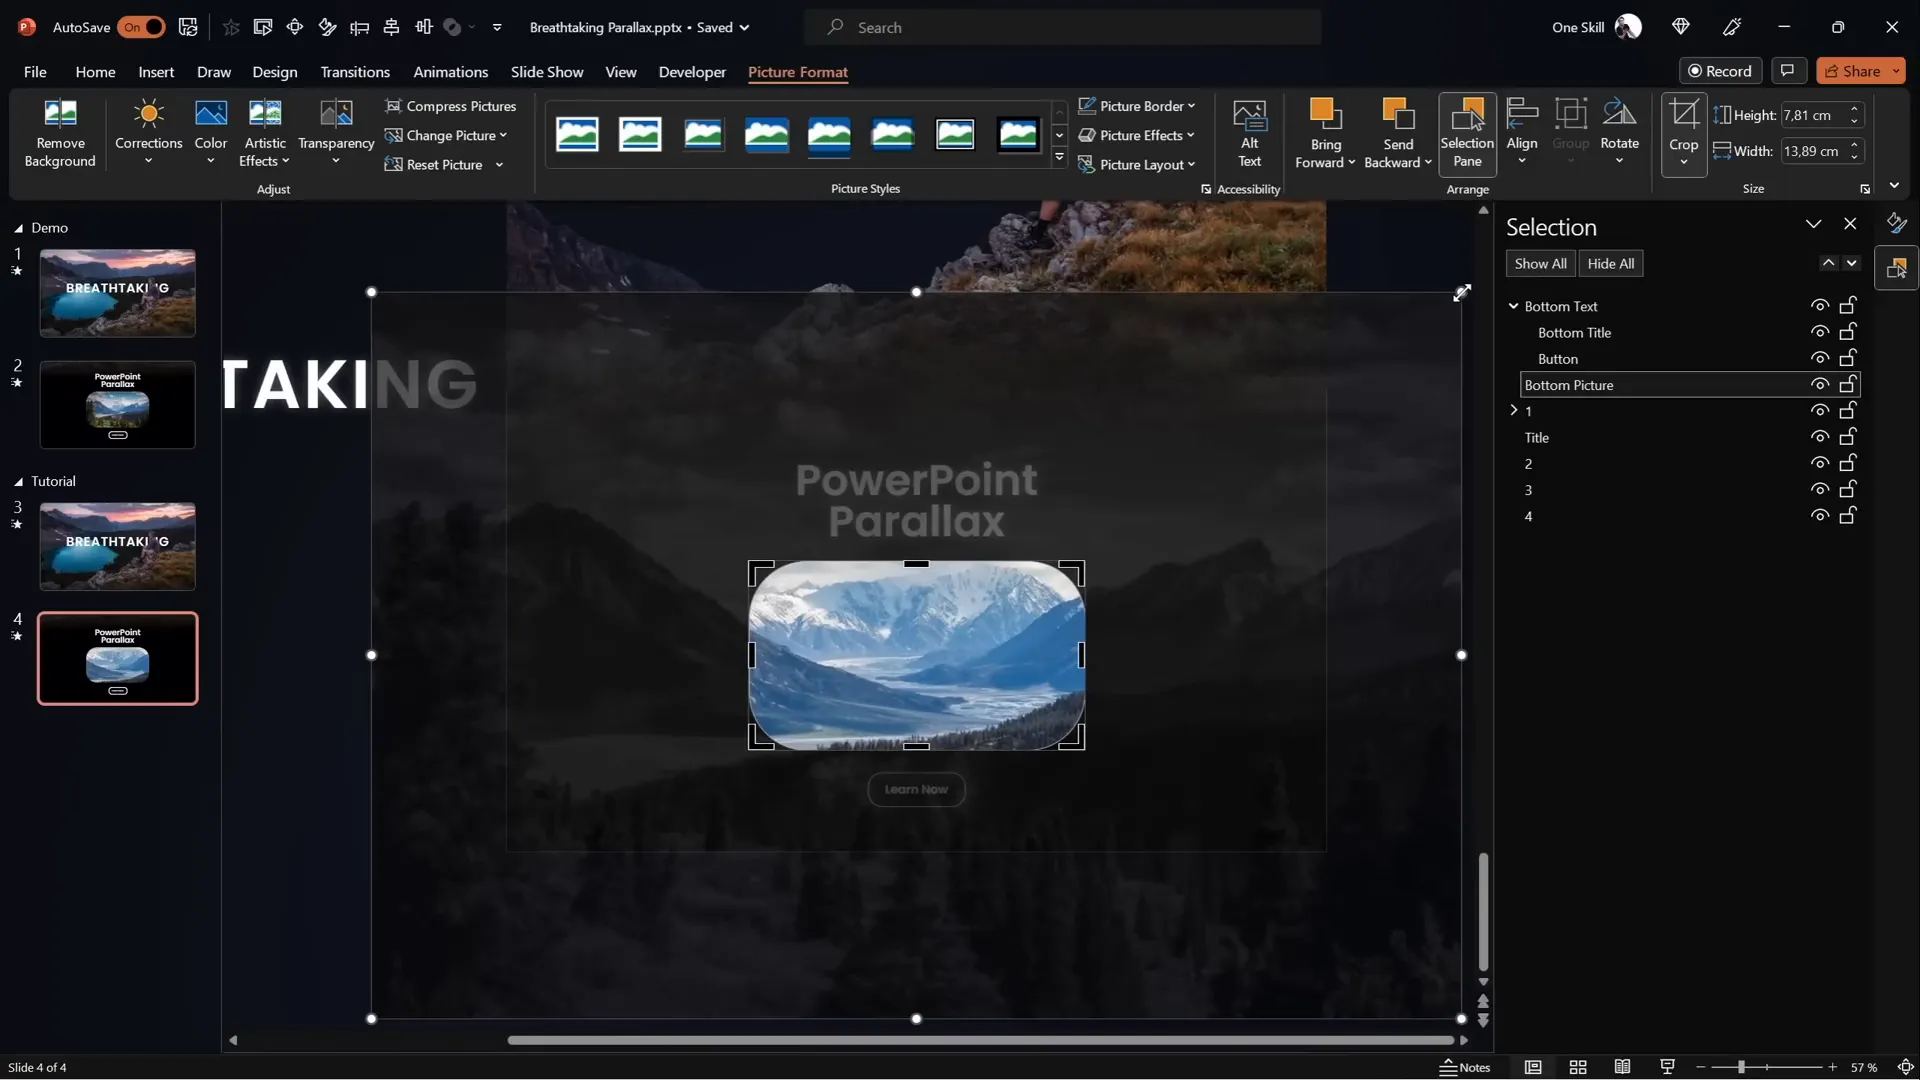
- Add any additional information, such as text boxes or smaller images, on the second slide and position them centrally or where you want them to appear as part of the animation.
With the Morph transition, these textual elements will smoothly animate into view, complementing the parallax motion and making your slide more informative and visually appealing.
Final Touches: Adding a Zoom Effect
To add even more polish, you can apply a subtle zoom effect to any photo or element in your slide. This adds extra depth and keeps the viewer engaged.
To create a zoom effect on an image:
- On the second slide, select the target photo or image.
- Go to Picture Format > Crop.
- Resize the crop frame by zooming out slightly to show more of the photo edges.
- Hold down Ctrl + Shift while resizing to keep the crop centered.
- Click Crop to finalize.
- On the first slide, keep the photo zoomed in (default crop).
- When Morph runs, the photo will smoothly zoom out from the first to the second slide, creating a dynamic visual effect.
This zoom effect, combined with the layered parallax animation, adds a professional touch that can elevate your entire presentation.
Frequently Asked Questions (FAQs)
What is a parallax animation, and why use it in PowerPoint?
Parallax animation is a technique where multiple layers of an image move at different speeds or directions to create a sense of depth and three-dimensionality. In PowerPoint, it makes your slides more engaging and visually interesting, helping to capture and hold audience attention.
Do I need advanced software to create parallax animations?
No. While photo editing software like Photoshop can help separate layers, you can use free online tools such as PhotoP to isolate layers. PowerPoint itself, especially with the Morph transition feature, is powerful enough to animate these layers effectively.
What if I don’t have access to the Morph transition?
If your version of PowerPoint doesn’t support Morph, you can use motion path animations to manually animate each layer’s movement. This requires more work but achieves a similar effect. Check online tutorials for step-by-step guides on motion path animations.
How do I select the best images for parallax animation?
Choose images with clear separable layers such as foreground subjects, middle ground elements, and backgrounds. Photos with natural divisions like mountains, trees, people, or buildings work well. Avoid cluttered or flat images that don’t have distinct layers.
Can I add text and other elements to the parallax animation?
Yes! Adding text, titles, and additional images can enhance your presentation. Position these elements thoughtfully in your slide layers, and animate them with the Morph transition for smooth entrance effects.
Are there any tips for making the parallax animation look more polished?
Yes. Use gradient fills to blend layer edges with background shapes, hide layer edges with shapes, and add subtle zoom effects to photos. Group related elements for easier management and keep the animation duration smooth and not too fast.
Conclusion
Creating breathtaking parallax animations in PowerPoint is easier than you might think. By carefully selecting your image, separating it into layers, and using the Morph transition, you can produce professional-quality animations that bring depth and motion to your slides.
Remember these key steps for success:
- Select images with clear, separable layers.
- Use photo editing tools to isolate those layers.
- Import layers into PowerPoint and arrange them correctly.
- Animate with Morph transition by moving layers different amounts.
- Hide unwanted edges with shapes and smooth transitions with gradient fills.
- Add text and extra elements to enrich your slide content.
- Apply zoom effects for extra polish.
With these techniques, your PowerPoint Animations will captivate your audience and elevate your presentations to a whole new level. So go ahead, experiment, and watch your slides come alive!
For those eager to explore more PowerPoint magic, consider diving deeper into advanced animations, templates, and design principles. Your journey into creating stunning presentations is just beginning.
Stay creative, stay inspired, and happy animating!
Check out the full video: BREATHTAKING PowerPoint ✨PARALLAX✨ Animation Tutorial


