PowerPoint animations can elevate your presentations from ordinary to extraordinary. Among the many animation techniques, the parallax effect stands out for its ability to add depth and visual interest, making your slides truly captivating. In this comprehensive tutorial, inspired by One Skill PPT and Dennis Snellenberg, we will walk you through creating a breathtaking parallax animation using PowerPoint, step-by-step.
If you’re ready to learn how to transform a simple image into a dynamic, multi-layered animation that draws your audience in, keep reading. This guide covers everything from image selection and layer separation to animation tricks and finishing touches, all within PowerPoint.
Table of Contents
- What is Parallax Animation?
- Preparing Your Image: Choosing and Layering
- Setting Up Your PowerPoint Slides
- Animating with the Morph Transition
- Hiding Layer Edges for a Clean Look
- Blending Layers and Backgrounds Seamlessly
- Adding Text and Additional Details
- Adding a Zoom Effect for More Depth
- Final Tips and Resources
- FAQ: PowerPoint Animations & Parallax Effects
What is Parallax Animation?
Parallax animation is an effect where different layers of an image move at varying speeds or distances relative to the viewer, creating an illusion of depth and immersion. This technique is often used in video games, films, and web design to simulate 3D movement on a 2D plane.
In PowerPoint, creating a parallax effect involves separating a single image into multiple layers and animating those layers to move independently. This dynamic visual can bring presentations to life, making them more engaging and memorable.
Preparing Your Image: Choosing and Layering
The first and arguably most crucial step in creating a parallax animation is selecting the right image. Here are some key points to consider:
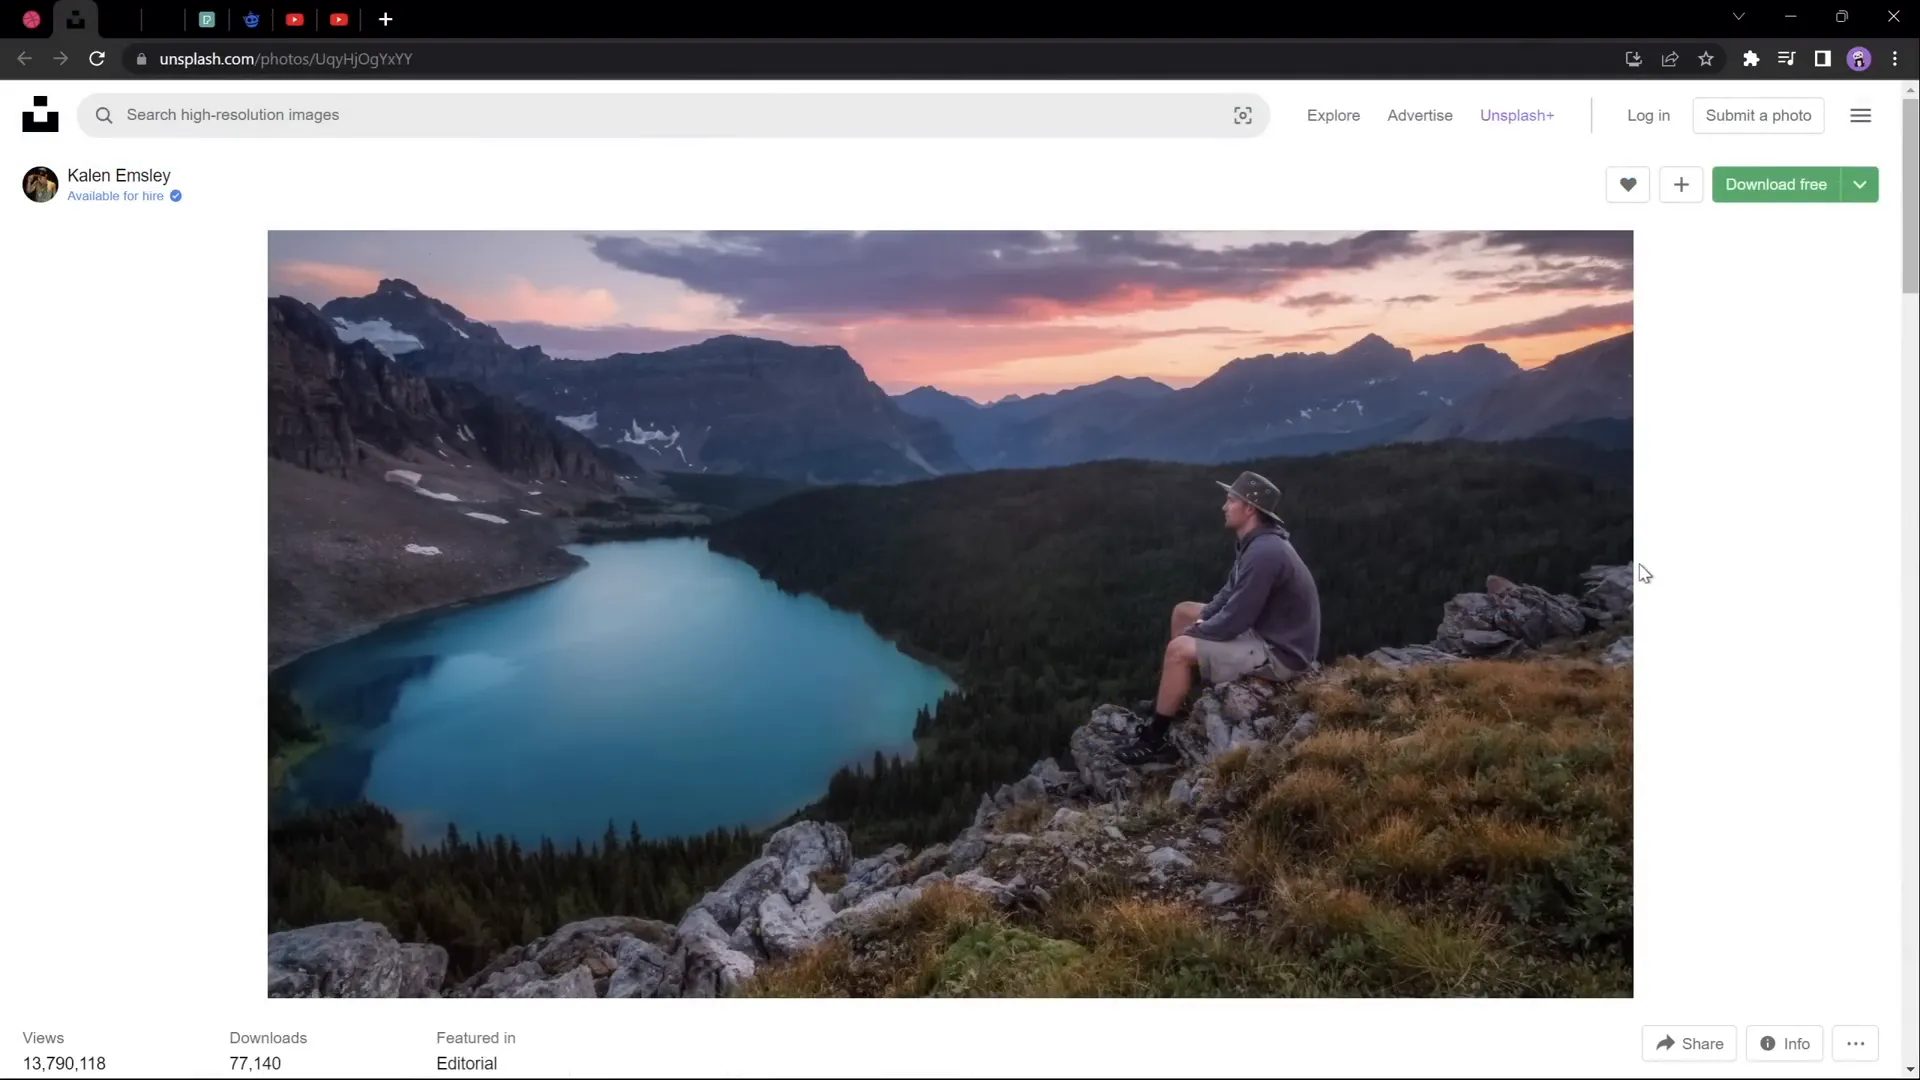
- Look for Images with Clear Layers: Choose photos that naturally separate into distinct foreground, midground, and background elements. For example, an image with a person in the foreground, mountains in the midground, and sky in the background works beautifully.
- Image Examples: A photo featuring a foreground subject like a hiker, layered mountains, and a sky backdrop creates the perfect base for parallax.
- Image Resources: Free images suitable for this effect can be found on platforms like Unsplash and Pexels. The tutorial video description includes direct links to the photos used.
Once you have your image, the next step is to separate it into layers. This process requires photo editing software.
How to Separate Your Photo into Layers
You can use various tools to separate your image into layers:
- Photoshop: Industry-standard software with powerful selection and masking tools.
- Affinity Photo: A budget-friendly alternative with similar capabilities.
- Photopea: A free, online photo editor that supports layer extraction.
For those interested in a free online method, the tutorial video links to a detailed guide on using Photopea to separate photos into layers.
Setting Up Your PowerPoint Slides
After preparing your image layers, it’s time to bring them into PowerPoint and set up your slides for animation.
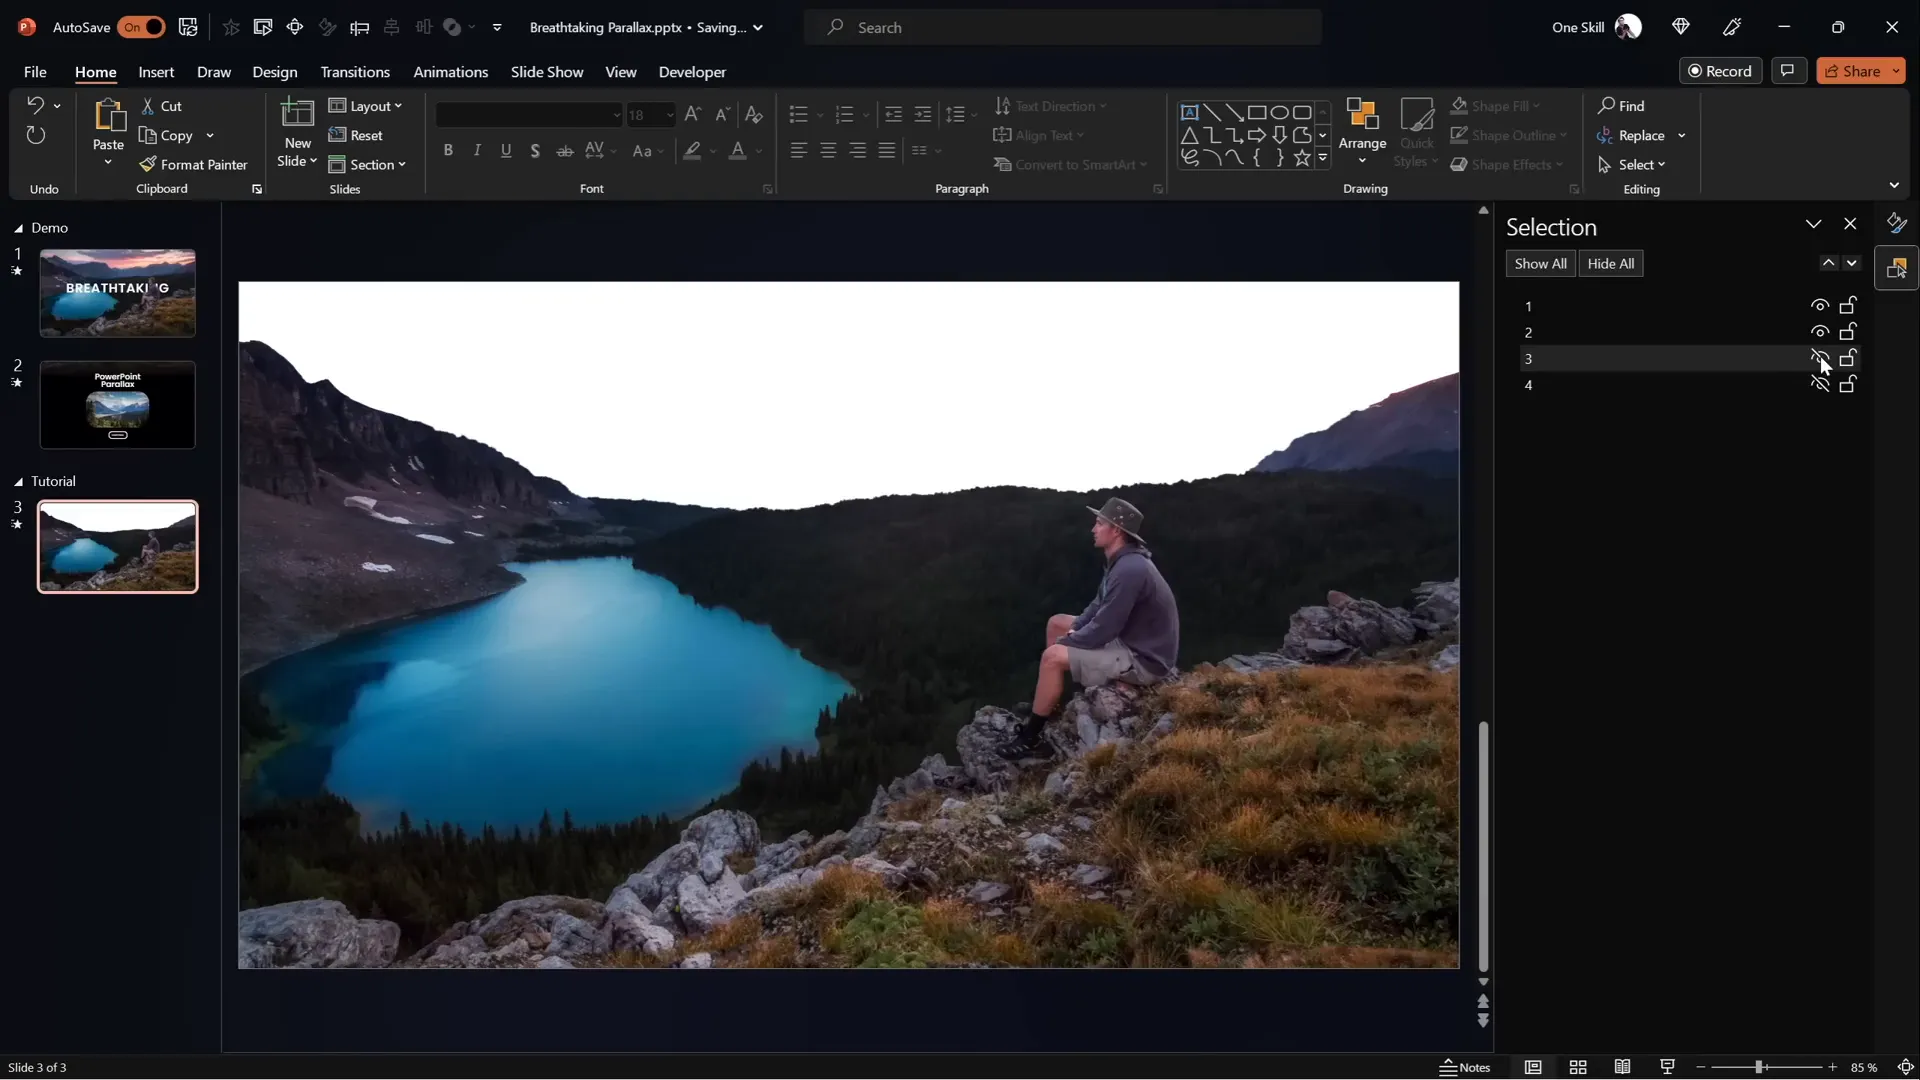
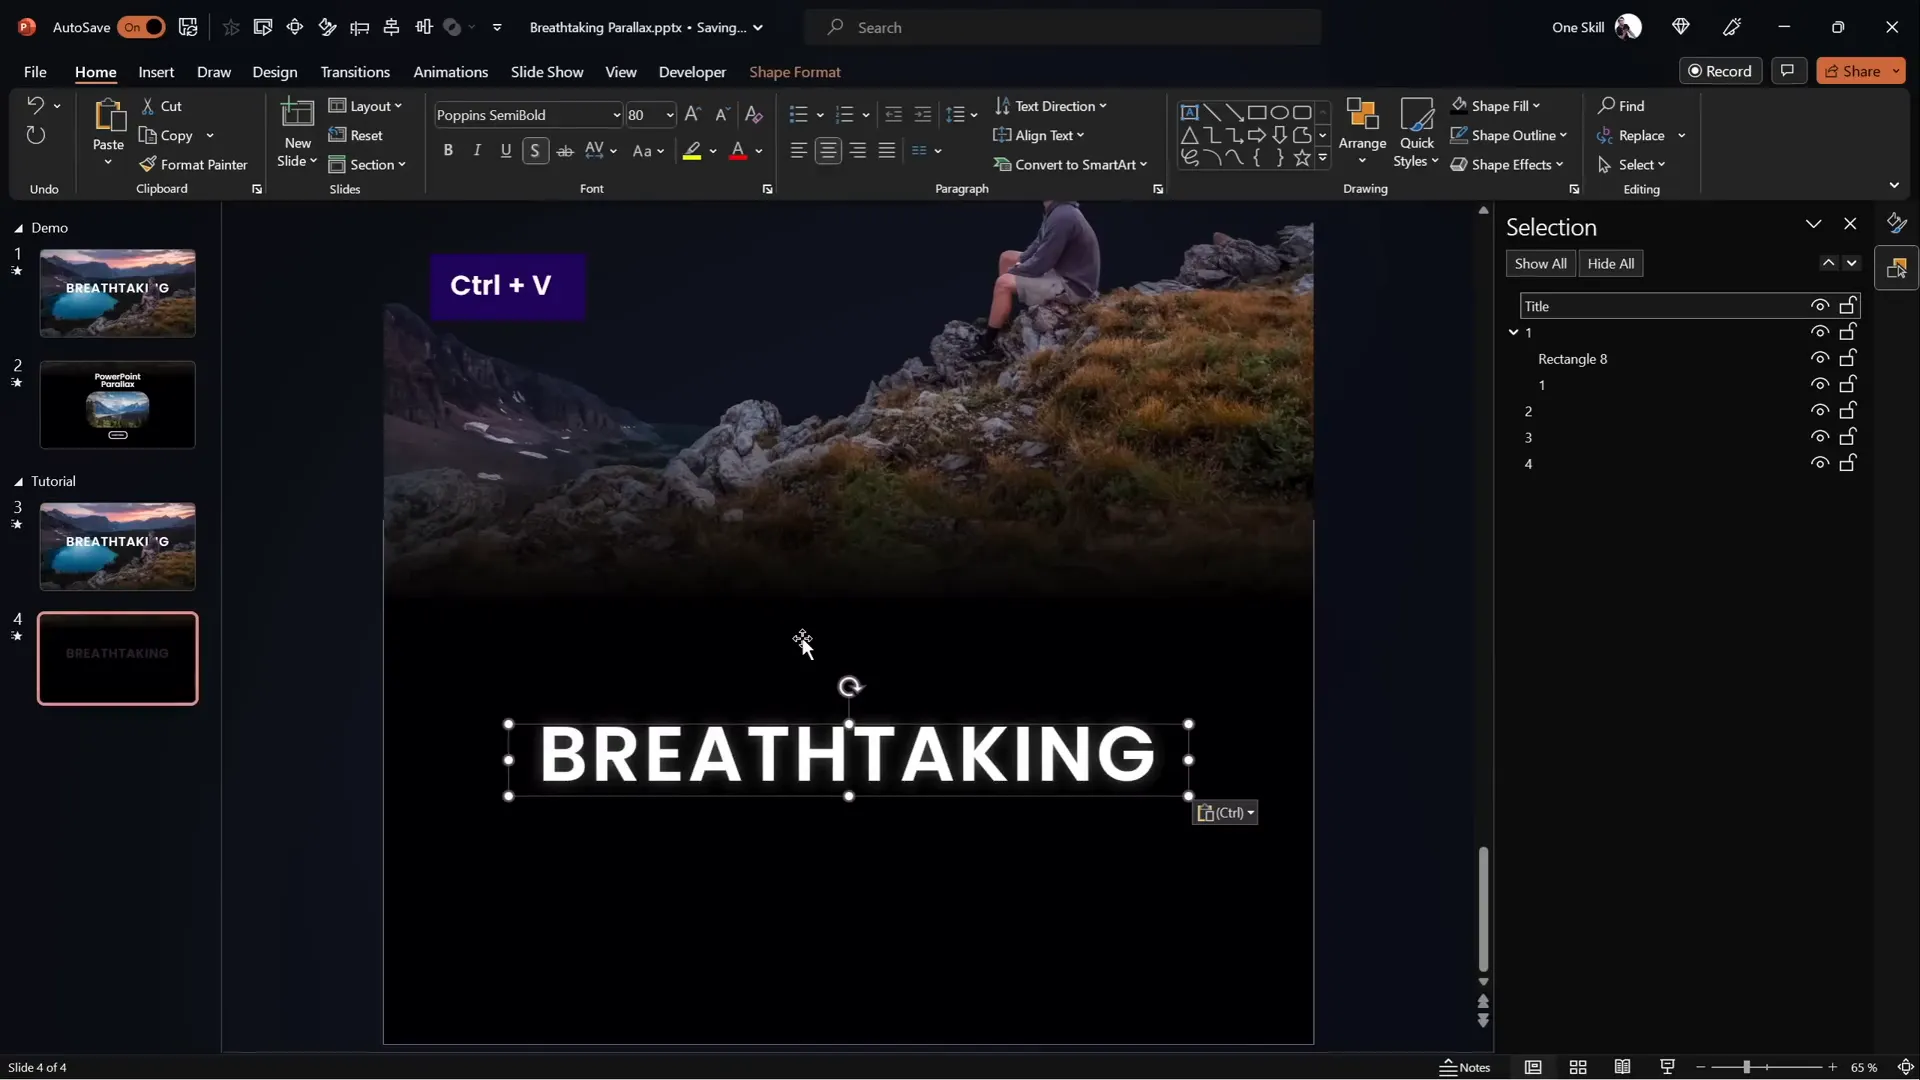
Importing and Organizing Layers
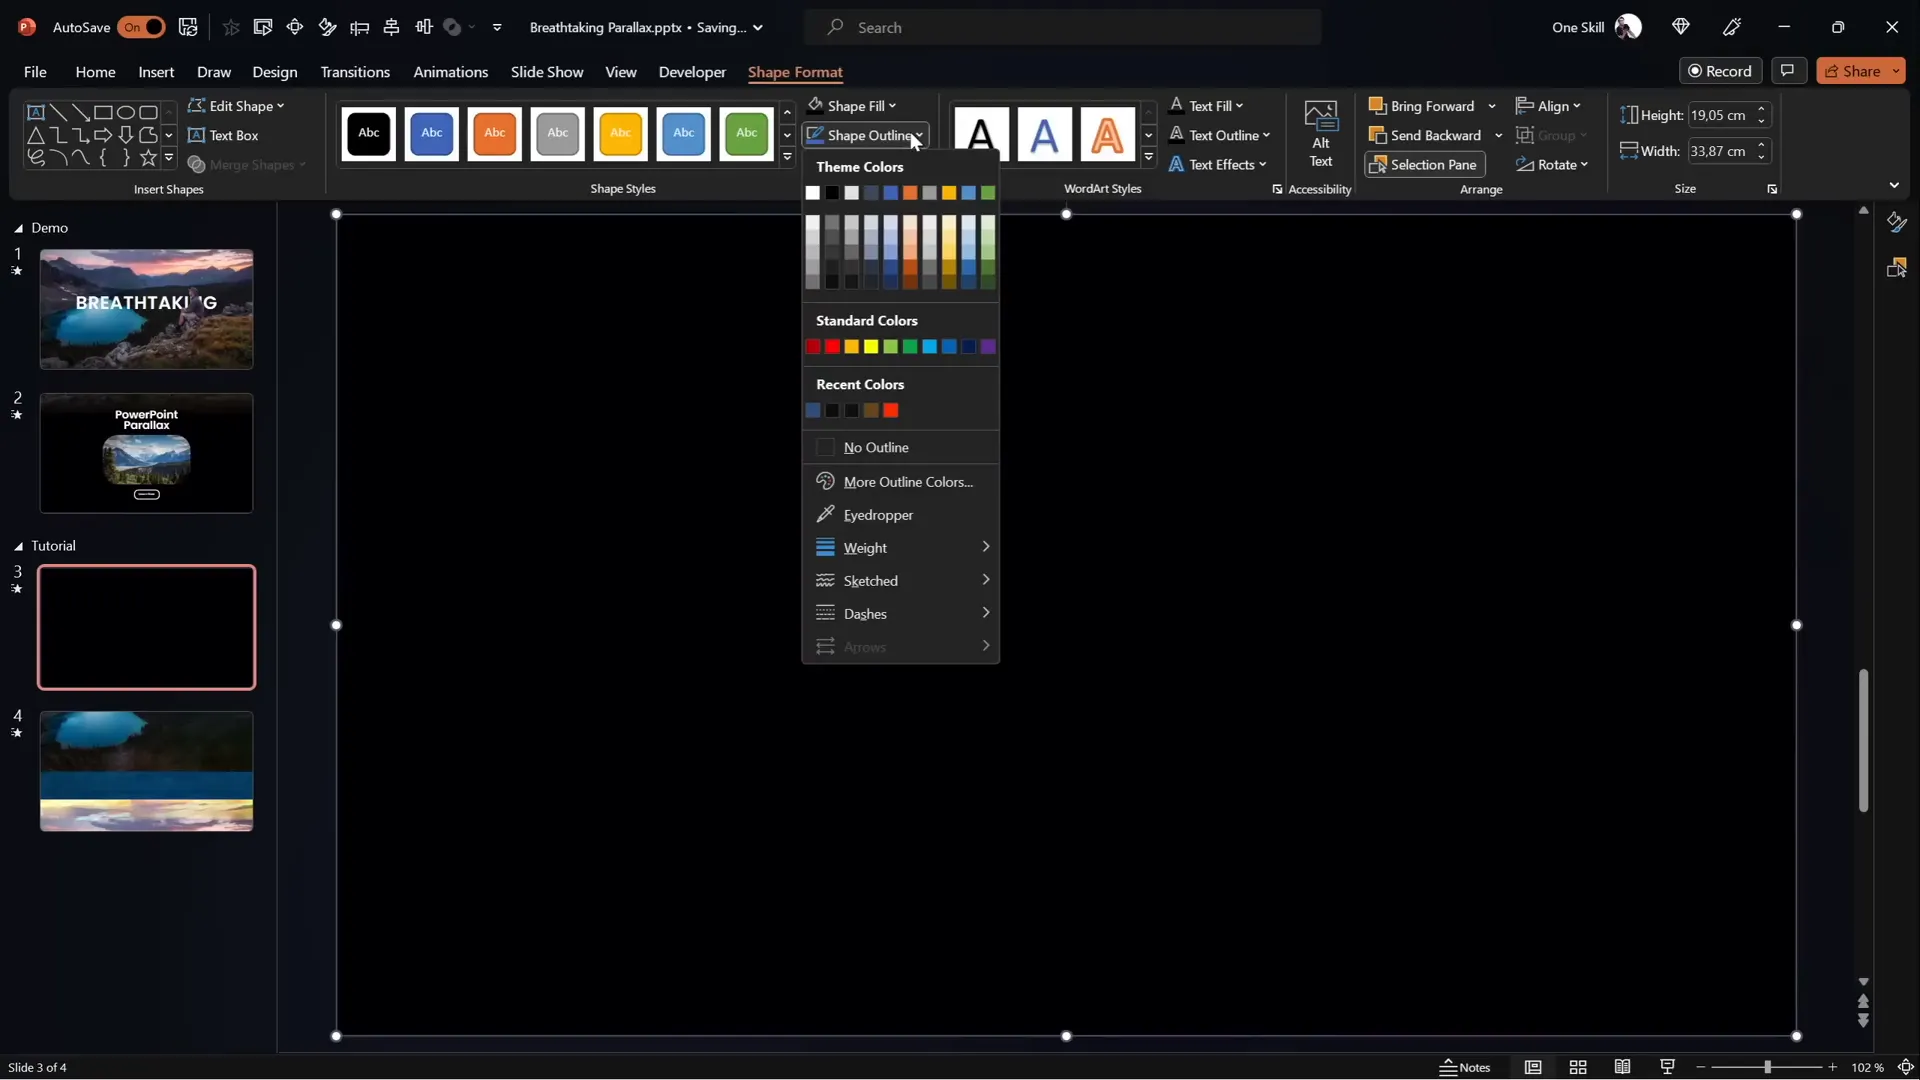
Start by importing each layer as a separate image on a single slide. Use the Selection Pane (available in PowerPoint under the Home tab > Select > Selection Pane) to organize and name your layers for easy management.
The example has four layers:
- Foreground: Hiker sitting on a rock.
- Forest and Lake: Midground with natural elements.
- Second Line of Mountains: Background mountain range.
- Sky: The farthest background layer.
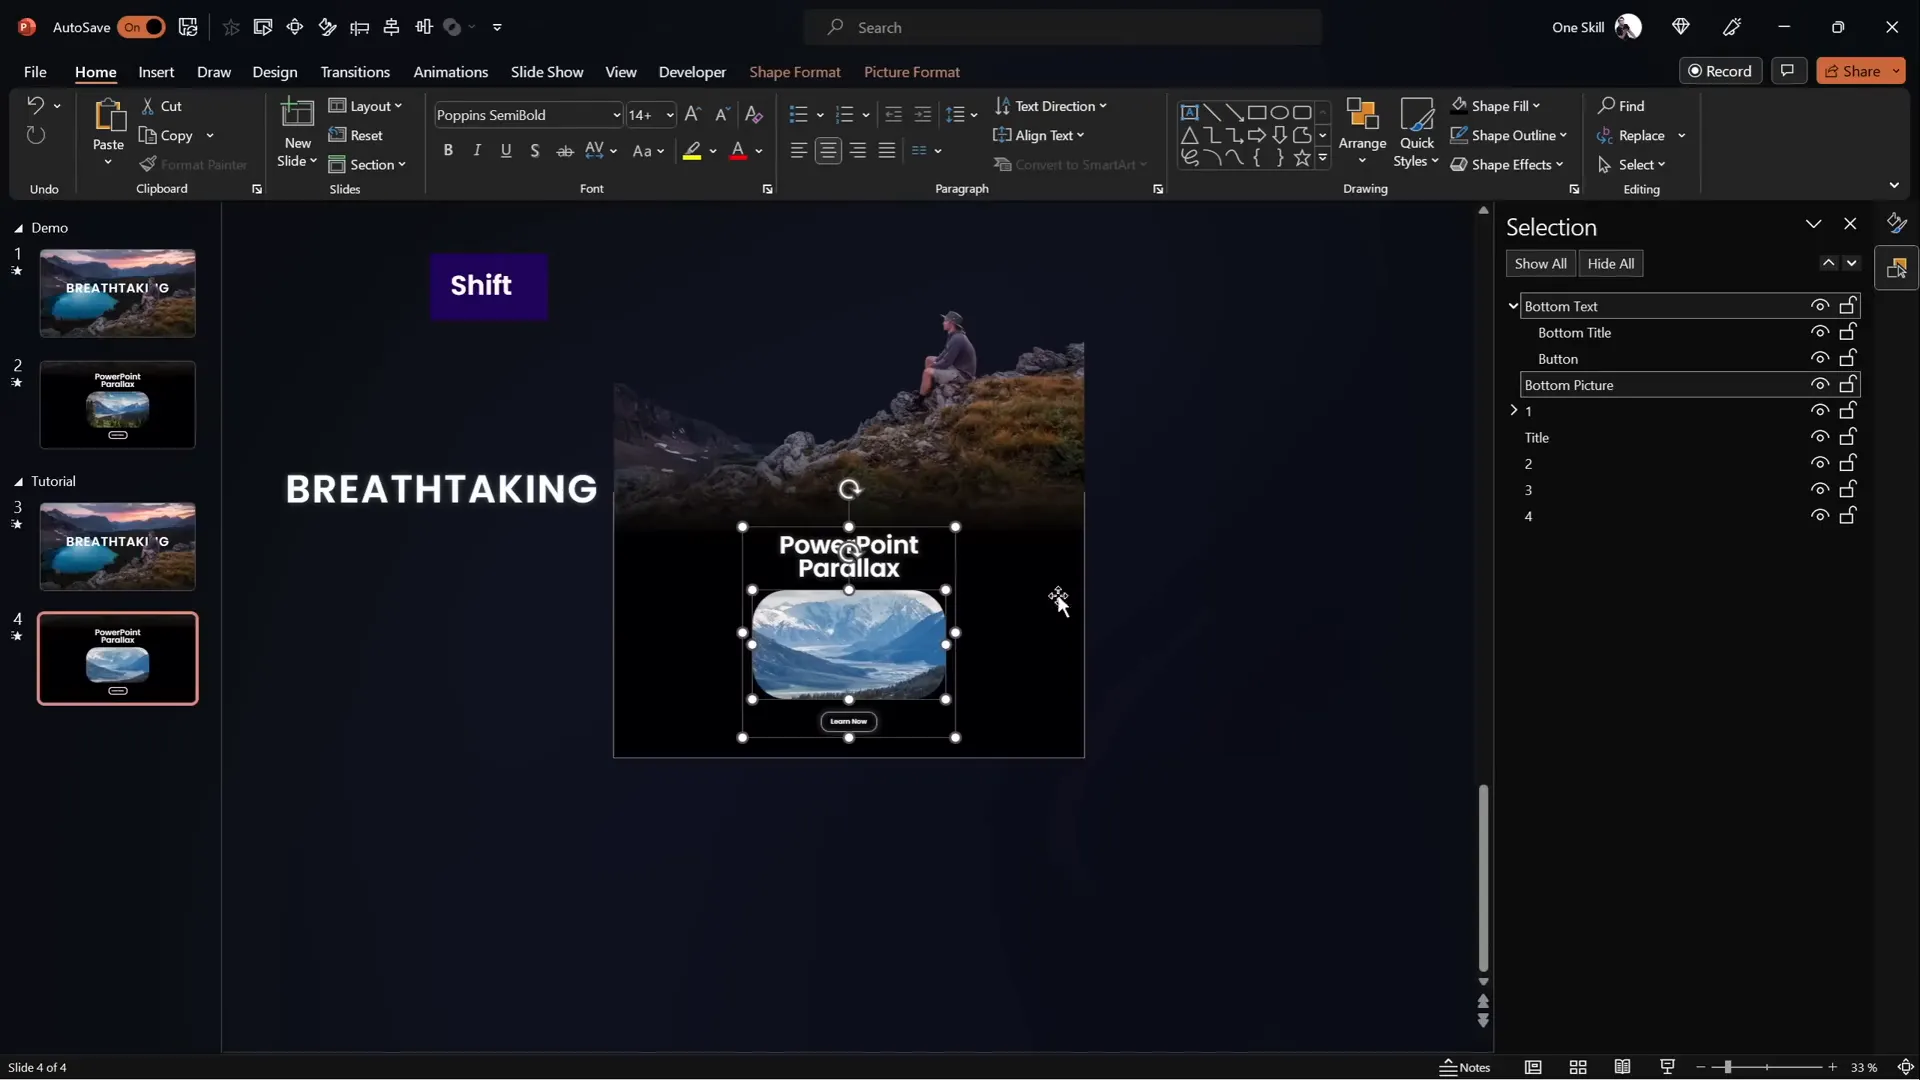
Duplicating the Slide for Animation
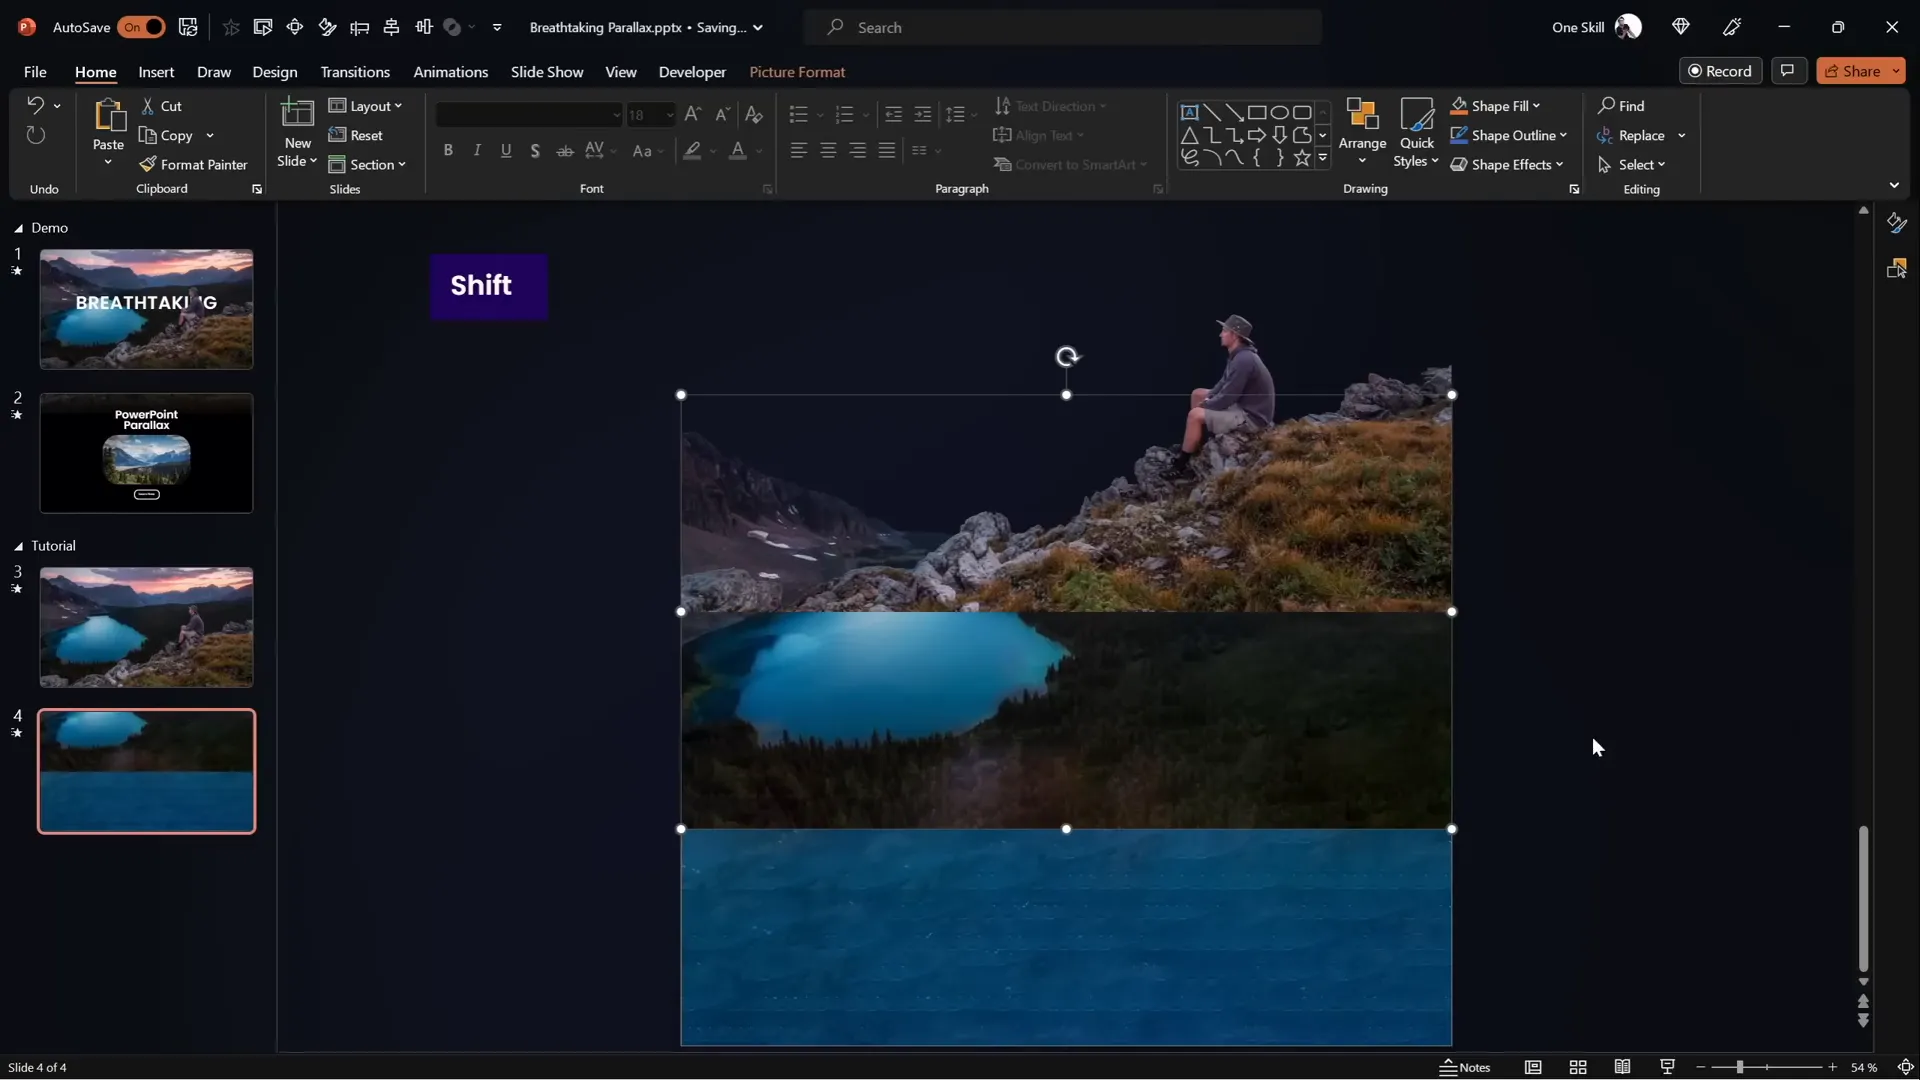
Duplicate this slide to create the second frame of your animation. On the second slide, you will slightly shift each layer upwards to simulate the parallax movement.
Layer Movement Guidelines
- Layer 1 (Foreground): Move to the top so the bottom touches the top edge of the slide.
- Layer 2 (Midground): Move halfway up the slide height.
- Layer 3 (Background Mountains): Move about 25% (a quarter) of the slide height upwards.
- Layer 4 (Sky): Generally remains fixed or slightly adjusted depending on desired effect.
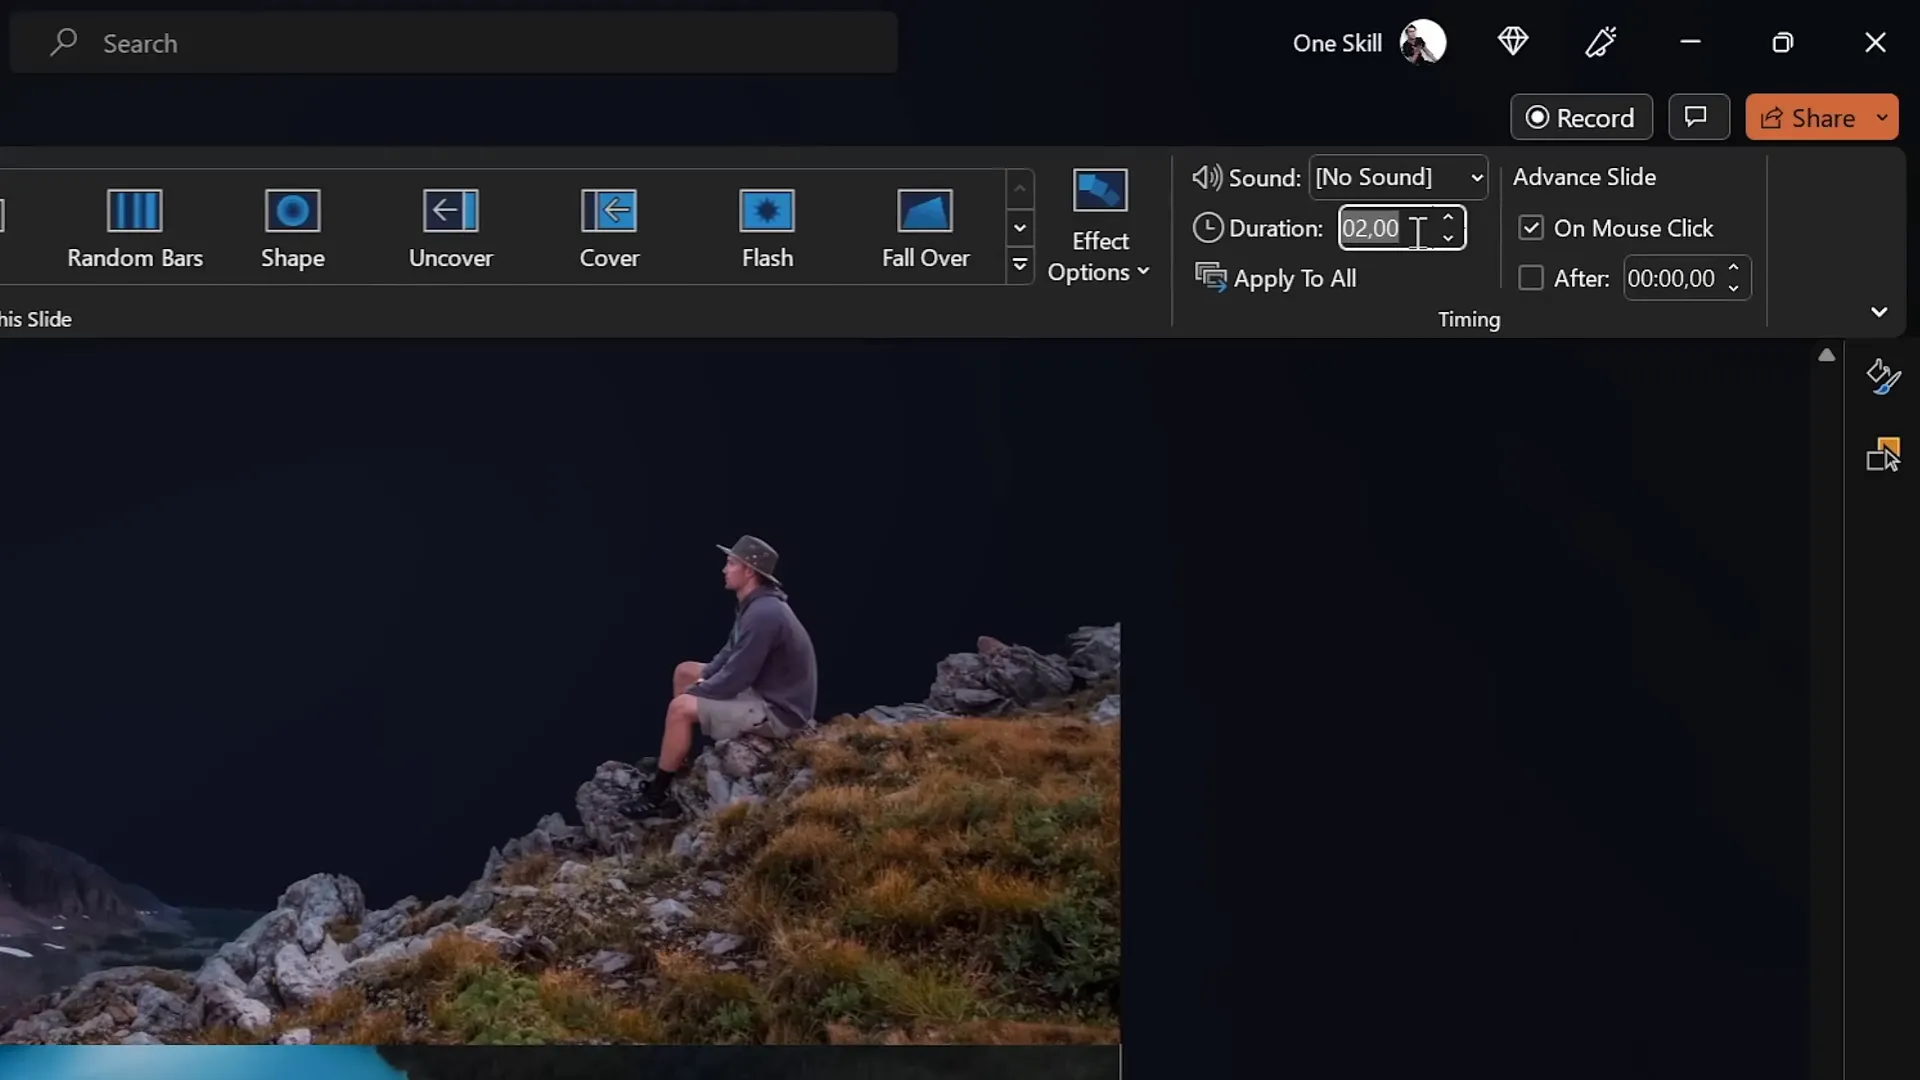
Animating with the Morph Transition
PowerPoint’s Morph Transition is a powerful tool that automatically animates the movement of objects between two slides, creating smooth motion effects.
Enabling Morph Transition
- Select the second slide.
- Go to the Transitions tab.
- Choose Morph as the transition effect.
- Set the duration to around 3 seconds for a smooth, noticeable animation.
If your version of PowerPoint does not support Morph, you can alternatively use motion path animations to manually animate layers. The tutorial video description contains a link to a detailed guide on this alternative method.
Previewing the Animation
Play your slide show from the first slide to preview the parallax effect. You should see the layers moving independently, creating a sense of depth.

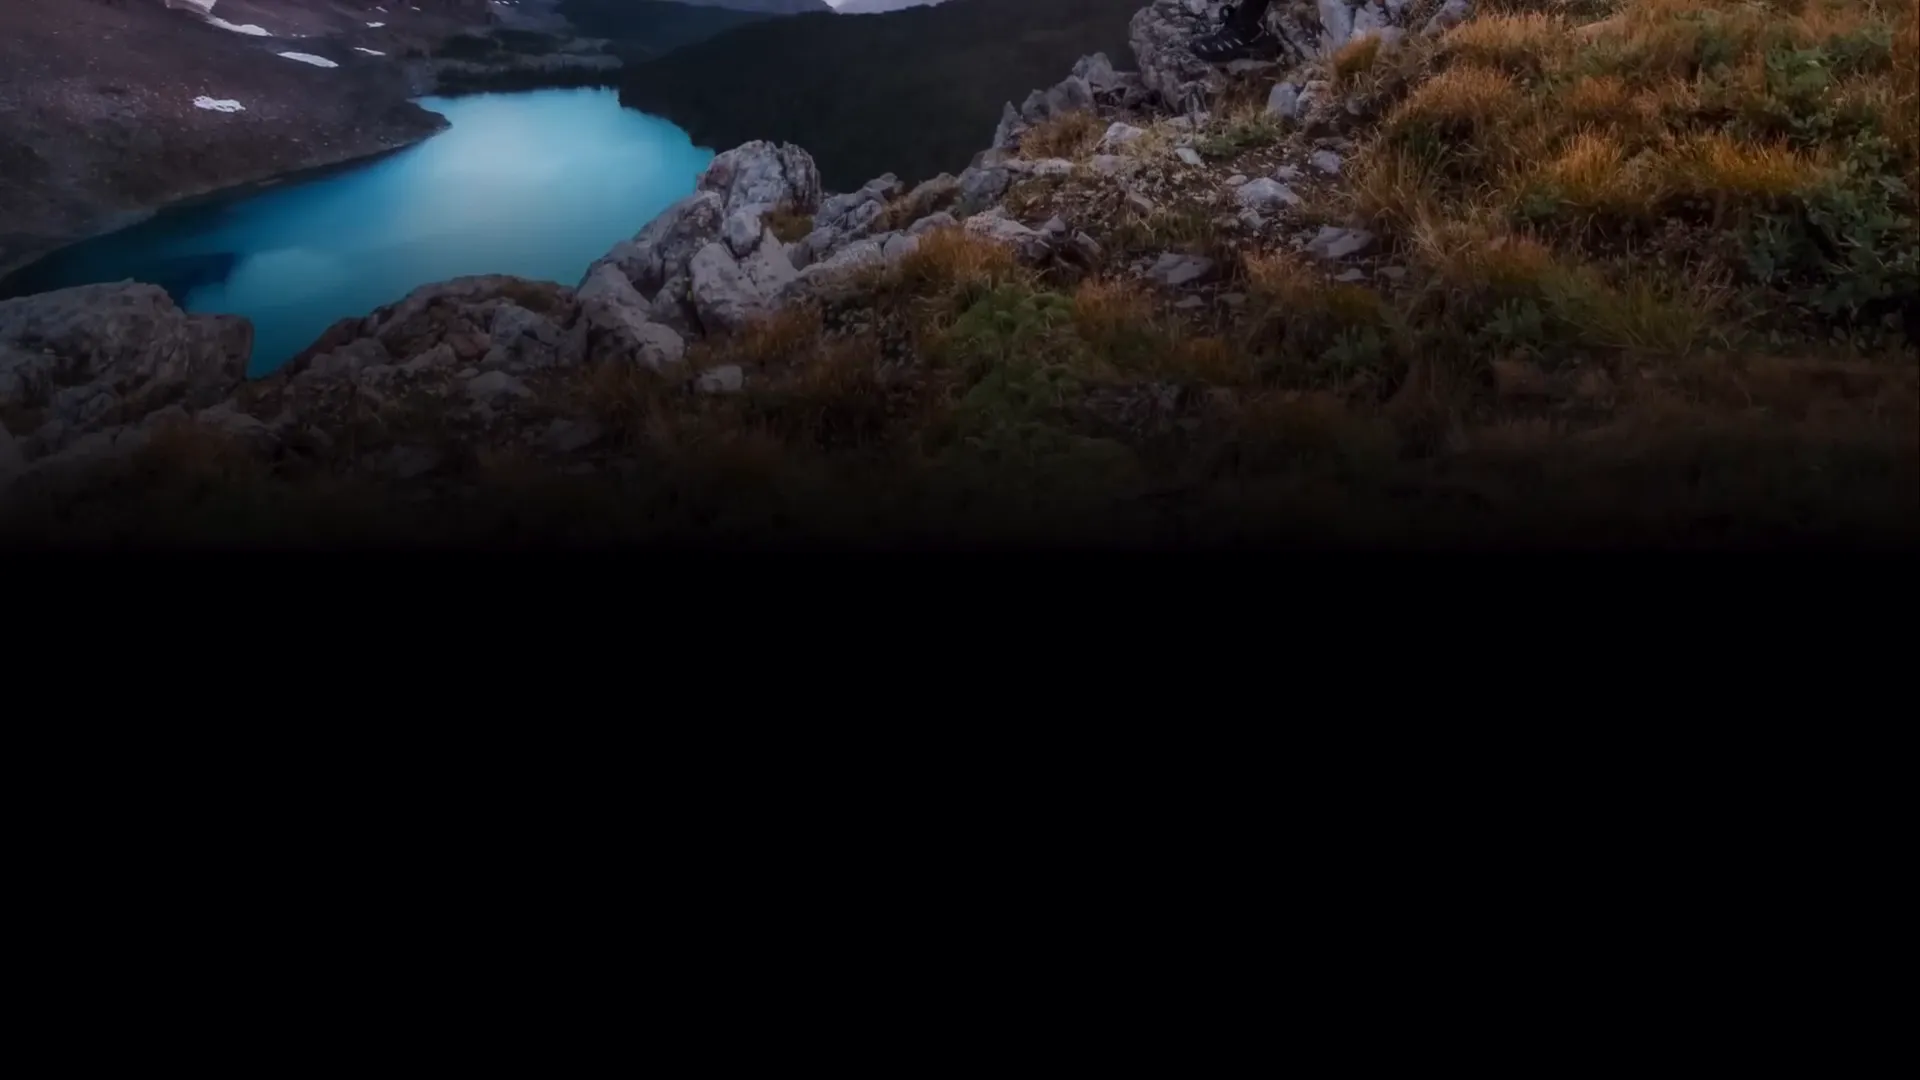
Hiding Layer Edges for a Clean Look
During the animation, you might notice some unwanted edges or gaps at the borders of the layers. To fix this, use a full-screen rectangle as a mask to hide these edges.
Adding a Masking Rectangle
- On the first slide, insert a rectangle shape that covers the entire slide.
- Set the fill color to solid black and remove any outline.
- Position the rectangle so its top edge touches the bottom of the slide window.
- Copy this rectangle and paste it onto the second slide.
- On the second slide, move the rectangle to cover the entire slide area.
Effect of the Mask
When you preview the animation again, the black rectangle hides the layer edges, resulting in a cleaner and more polished parallax effect.

Blending Layers and Backgrounds Seamlessly
To enhance the transition between the foreground and the black rectangle, apply a gradient fill to the rectangle and crop the foreground photo for a smooth blend.
Steps for Blending
- On the first slide, select the foreground layer (Layer 1) and crop it slightly at the bottom to reveal some photo information that will blend with the mask.
- Select the black rectangle and change its fill to a gradient fill with two color stops:
- Both stops are black, but one stop is 100% transparent.
- Adjust the position of the opaque black stop to about 30% to create a smooth gradient.
- Extend the height of the rectangle if needed to improve blending.
- Select both the cropped foreground layer and the rectangle, then group them together.
- Rename this group to “Layer 1” for consistency.
- On the second slide, delete the old foreground layer and rectangle, then paste the new group.
- Position the group so the black rectangle covers the entire slide.
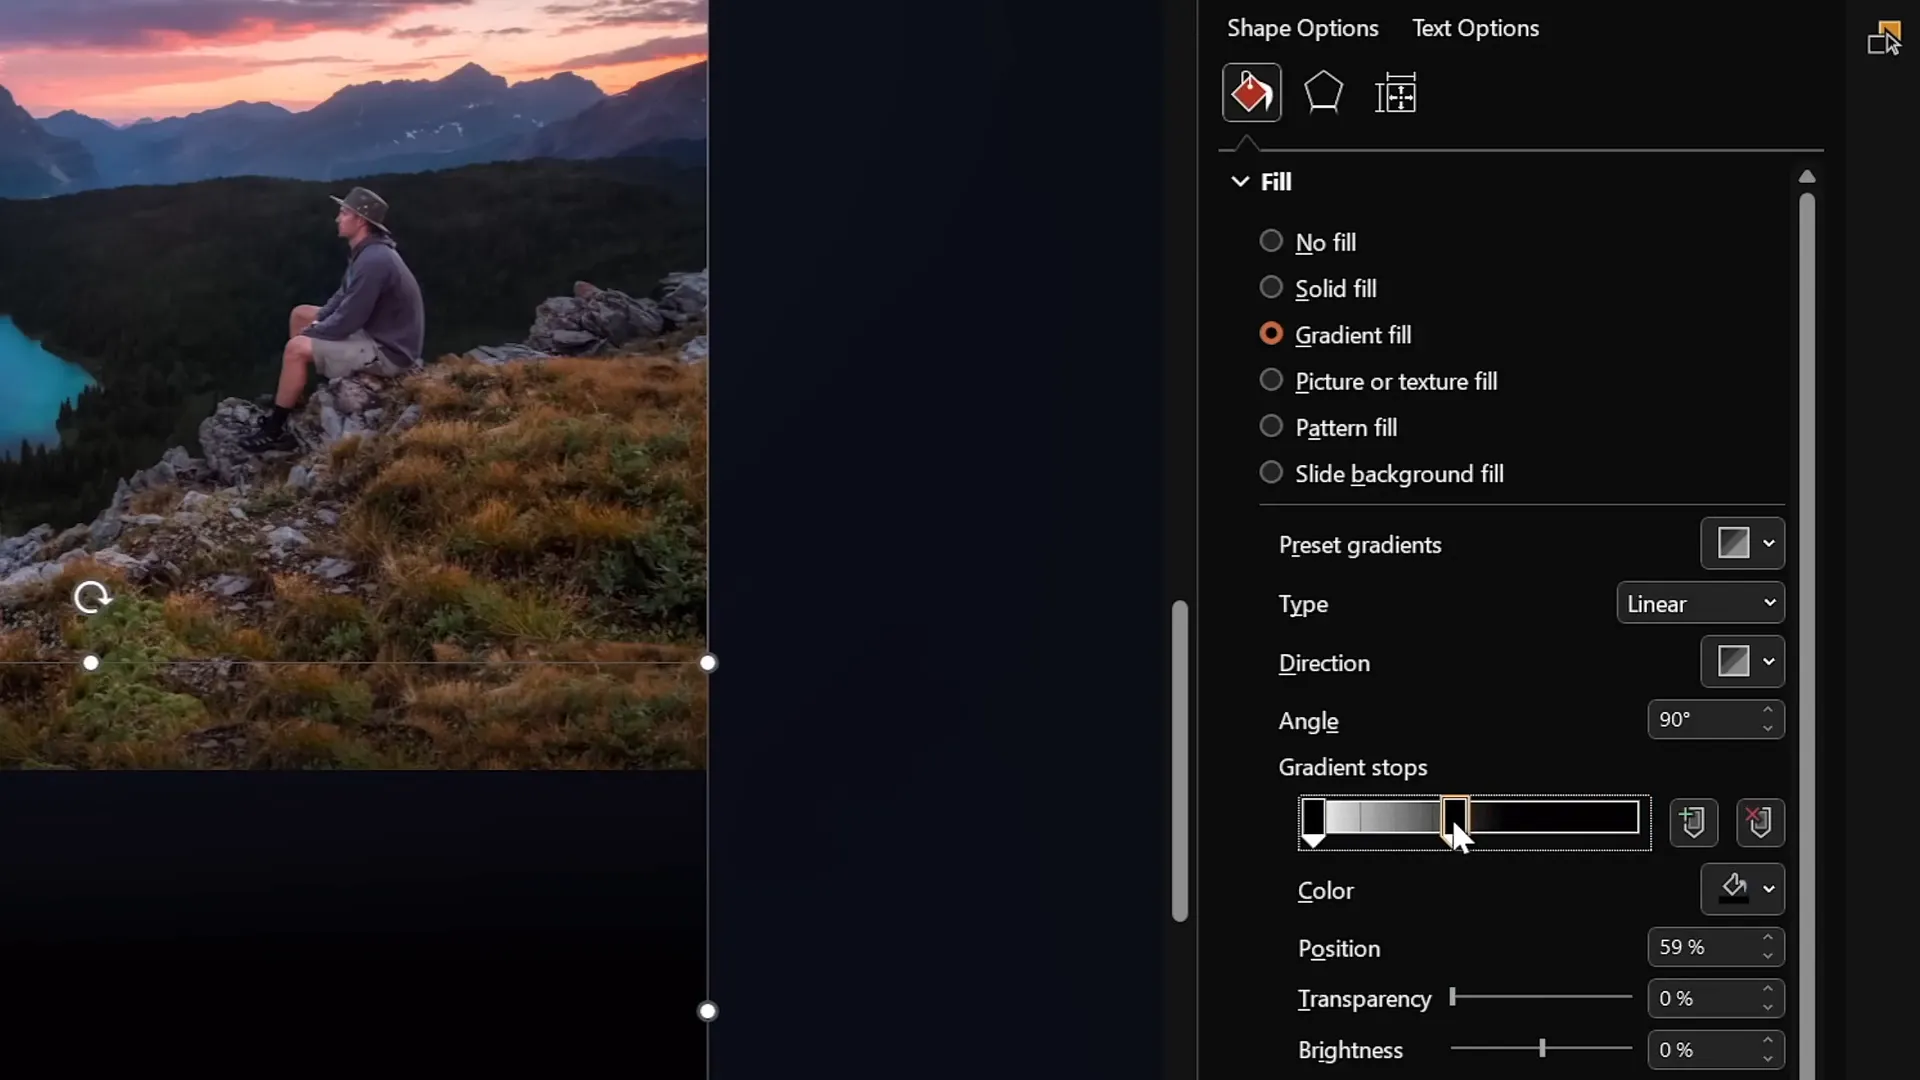
Result
This technique creates a seamless transition from the foreground layer into the black background, preserving continuity and enhancing the overall parallax effect.
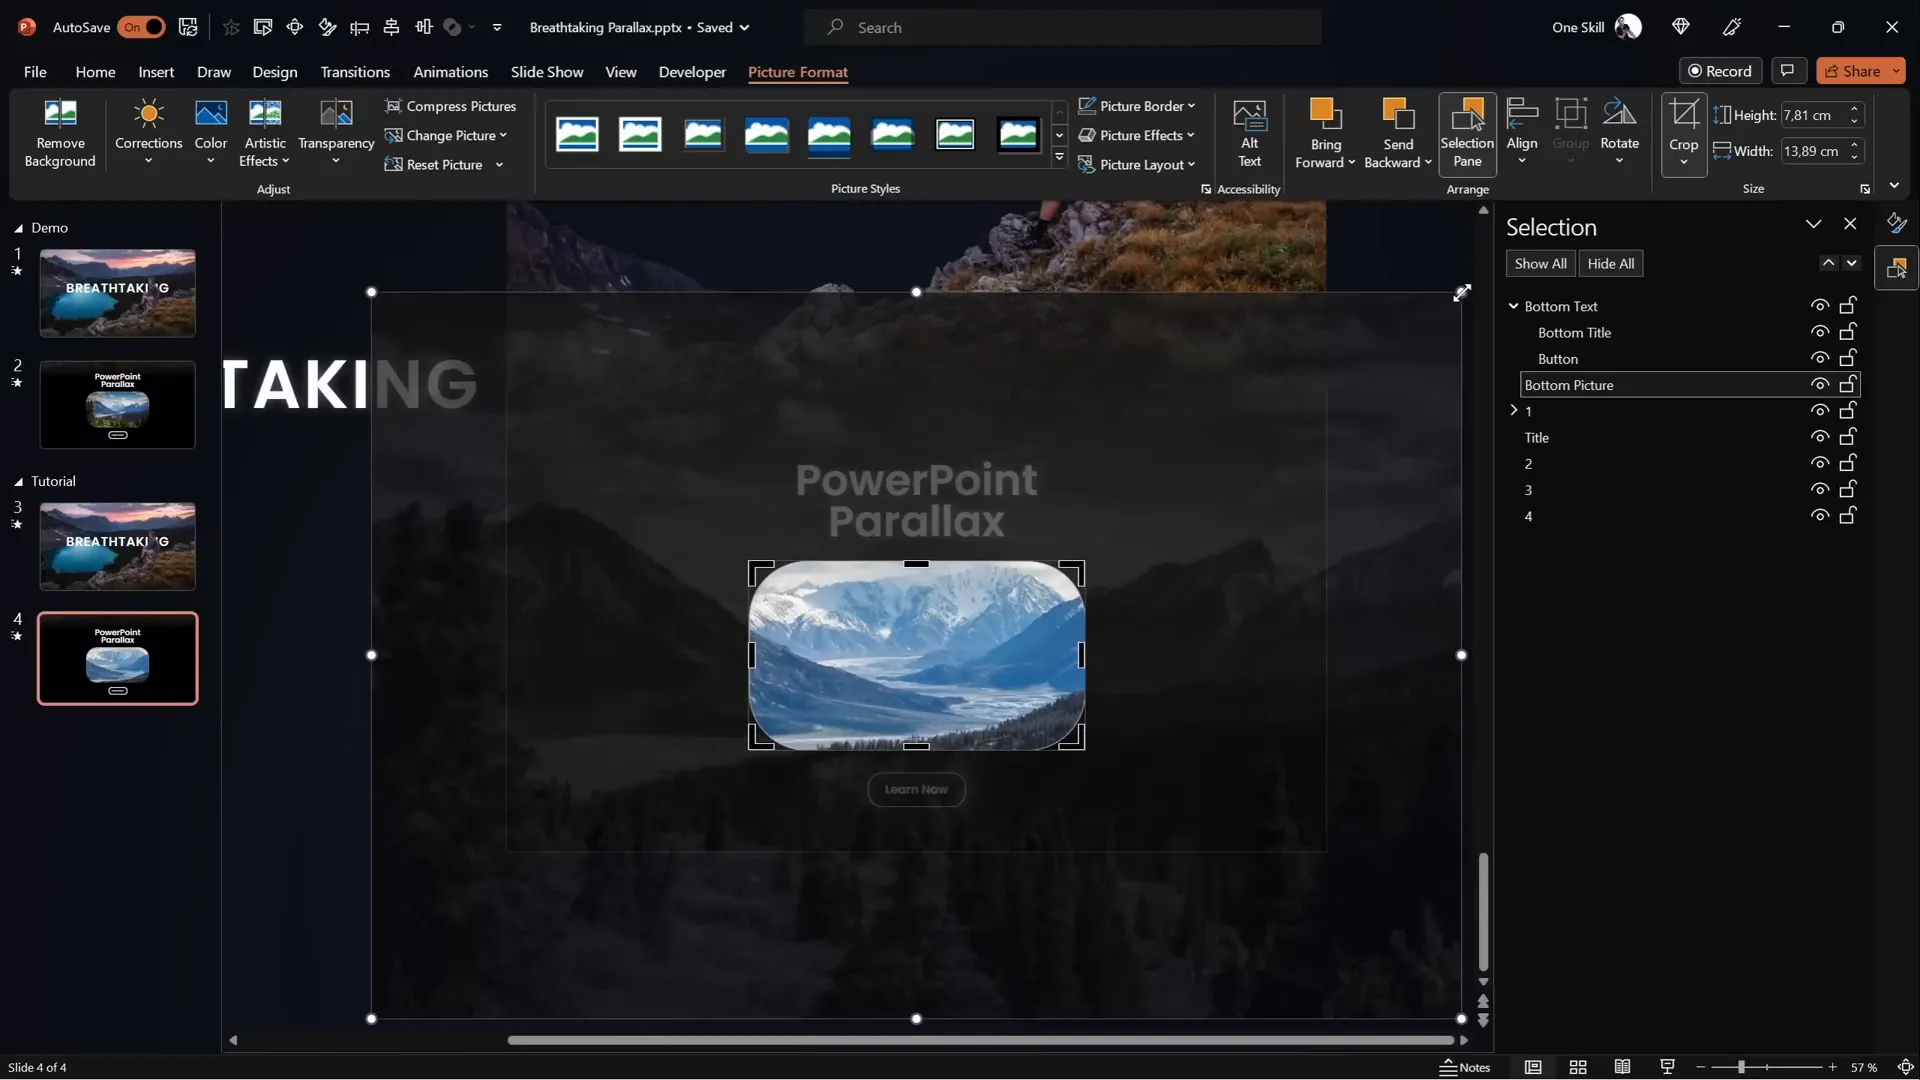
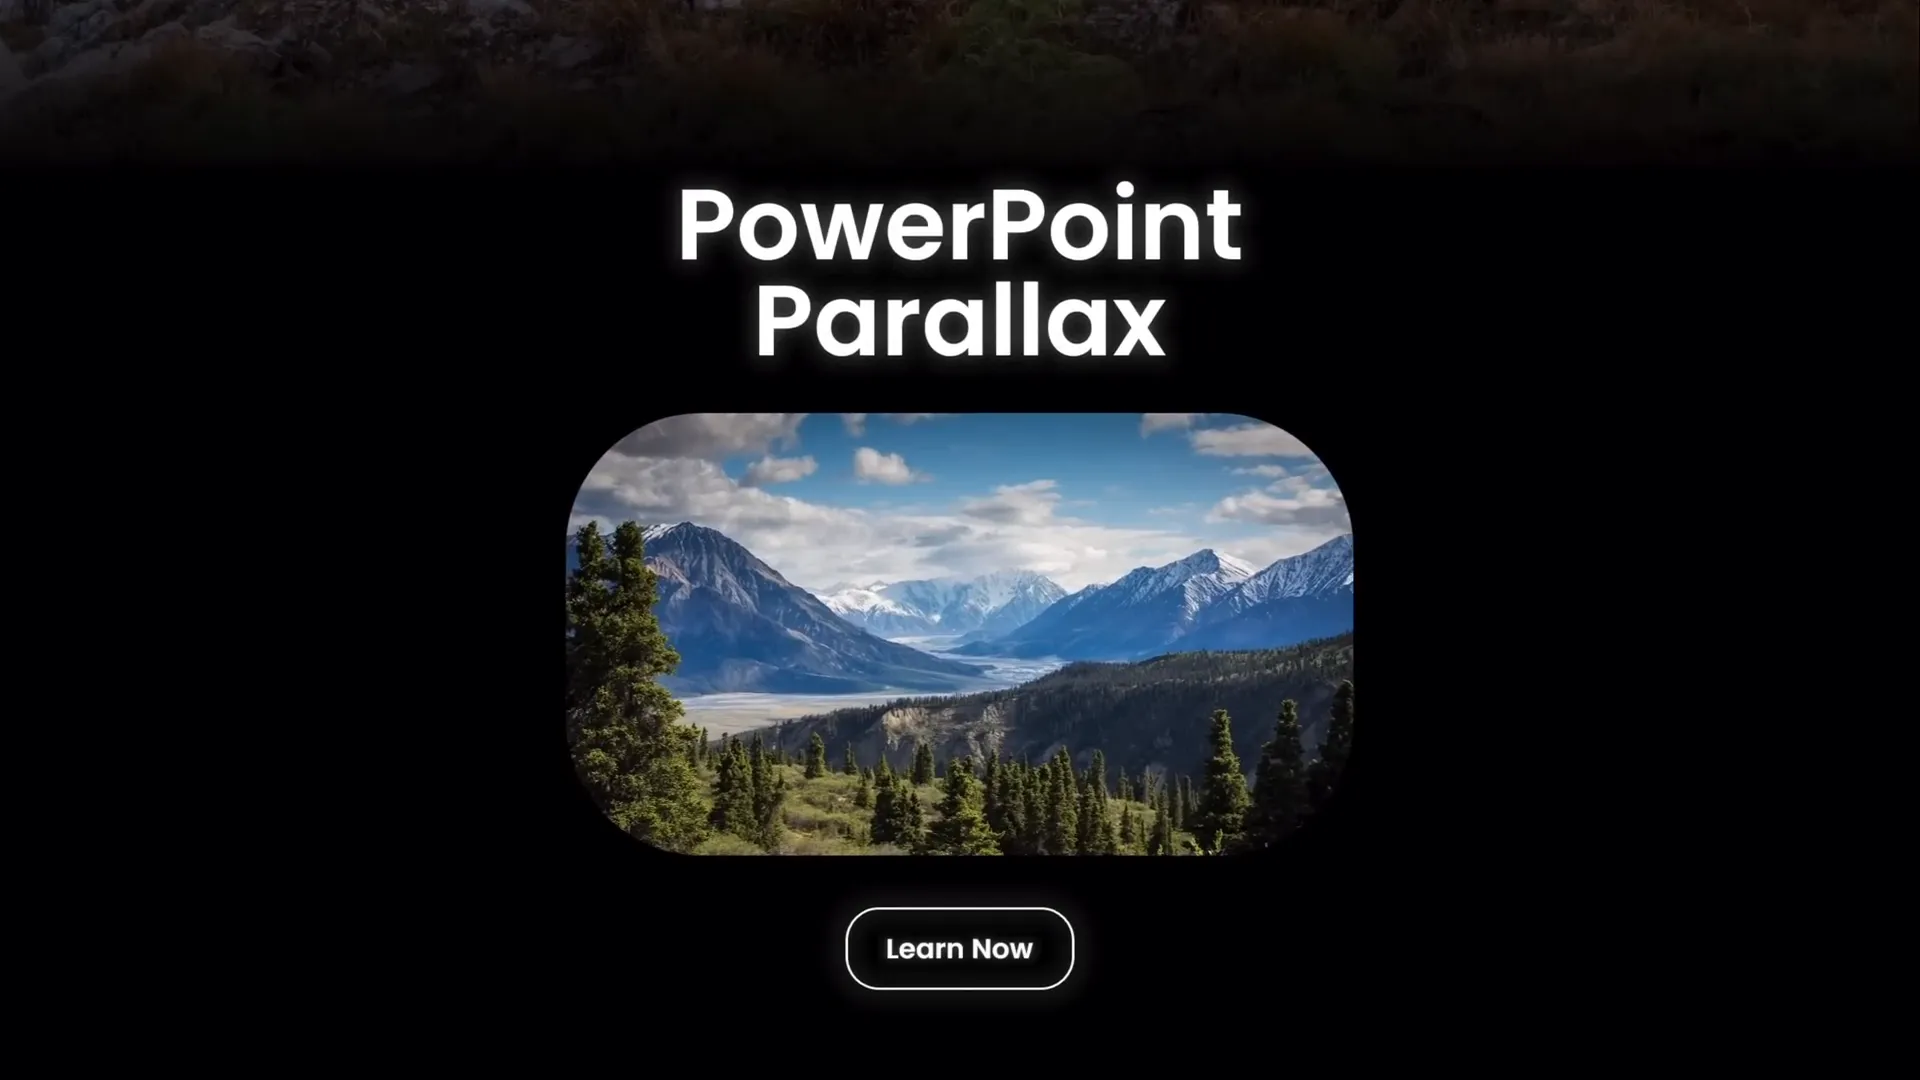
Adding Text and Additional Details
To further enhance your parallax animation and make it presentation-ready, add slide titles and informational text that appear dynamically with the animation.
Adding a Slide Title
- Copy a pre-designed slide title from a previous slide or create a new one.
- Paste the title onto the first slide, positioning it below the foreground layer so it doesn’t obscure important elements.
- Copy the title onto the second slide and move it outside the slide window to the left and near the top.
- Ensure the title remains below the foreground layer on the second slide as well.
Adding Informational Text and Photos
- Copy any additional text boxes and small photos you want to include from previous slides or create new ones.
- Paste these onto both slides.
- On the second slide, move the elements to the center of the slide to have them appear during the morph transition.
This approach creates a smooth reveal of content that complements the parallax background animation.
Adding a Zoom Effect for More Depth
To add extra dynamism and depth, you can apply a zoom effect to photos used in your slide, such as a small photo in the bottom corner.
Creating a Zoom Effect
- On the first slide, keep the photo slightly zoomed in.
- On the second slide, select the photo and crop it to zoom out, revealing the edges.
- Hold down the Control and Shift keys while resizing to zoom evenly from the center.
- Click Crop to apply the changes.
- With the morph transition, this will create a smooth zoom-out animation.
Preview the Effect
When you run the slide show, the photo zooms out as part of the morph transition, adding another layer of visual interest to your presentation.
Final Tips and Resources
Congratulations! You now know how to create a breathtaking parallax animation using PowerPoint animations and the morph transition. Here are some additional tips and resources to help you master this technique:
- Use High-Quality Images: The better your source images, the more professional your animation will look.
- Experiment with Layer Movement: Adjust how far each layer moves to control the depth perception.
- Explore Motion Paths: If your PowerPoint version lacks morph, use motion paths to animate layers.
- Keep Layers Organized: Name and group your layers consistently for easier editing.
- Practice Timing: Adjust transition duration to fit your presentation flow.
For more inspiration and tutorials, check out the following:
- Separate Photos into Layers using Photopea
- Create Parallax Animation using Motion Path Lines
- Parallax Animation Inspiration
Tutorial slides are also available on Patreon.
FAQ: PowerPoint Animations & Parallax Effects
What is the Morph transition in PowerPoint?
The Morph transition is a feature that creates smooth animations by moving, resizing, or morphing objects from one slide to the next, making complex animations easier to create without manual keyframing.
Can I create parallax animation without Morph transition?
Yes, you can use motion path animations to manually move each layer independently to simulate parallax. It requires more setup but achieves similar results.
Which images work best for parallax animations?
Images with distinct foreground, midground, and background layers work best, such as landscapes with objects or people in front of mountains and sky.
Do I need advanced photo editing skills to separate layers?
Basic knowledge of photo editing software is helpful. Free editors like Photopea provide tools for layer separation, and there are tutorials available to guide you through the process.
How long should the morph transition duration be?
Three seconds is a good starting point for smooth animation, but you can adjust it based on your presentation style and pacing.
Can I add text and other elements to parallax animations?
Absolutely! Adding titles, text boxes, and images that animate with your parallax layers enhances the overall effect and presentation quality.
Where can I find free images suitable for parallax animation?
Sites like Unsplash and Pexels offer high-quality free images. The tutorial video description provides direct links to specific photos used.
Is this technique suitable for all versions of PowerPoint?
The Morph transition is available in PowerPoint 2019, Office 365, and later versions. For earlier versions, motion path animations are a viable alternative.
Can I use this animation for professional presentations?
Yes! Parallax animations add a polished, engaging touch, suitable for business, education, or creative presentations.
How can I learn more about PowerPoint animations?
Explore PowerPoint’s Transitions and Animations tabs, watch tutorials like this one, and practice combining effects for unique results.


