
Mastering PowerPoint animations can transform your presentations from static slideshows into interactive experiences that captivate your audience. One of the most powerful yet underutilized features in PowerPoint is the use of animation triggers. These allow you to control when and how animations play, making your slides more dynamic and engaging.
In this comprehensive guide, I’ll walk you through how to create and control animations using triggers in PowerPoint. You’ll learn how to design clickable options that reveal content only when you want them to, enhancing your presentation’s interactivity. This tutorial is based on my detailed process, designed to help you build polished animations with ease.
Let’s dive in!
Table of Contents
- Understanding Animation Triggers in PowerPoint
- Preparing Your Slide: Setting Up the Background and Guides
- Creating Shapes and Visual Elements for Interactive Options
- Designing Clickable Buttons with Text and Icons
- Grouping Elements and Arranging Your Slide
- Adding and Customizing Animations
- Setting Triggers to Control Animation Playback
- Testing and Controlling Your Animated Slide
- Frequently Asked Questions (FAQ)
- Conclusion
Understanding Animation Triggers in PowerPoint
Animation triggers in PowerPoint allow you to start an animation only when a specific object is clicked. Unlike standard animations that run automatically or in sequence, triggers provide precise control over when animations happen. This is especially useful for interactive slides where you want the audience to explore the content at their own pace.
For example, imagine you have four options on a slide, and clicking each option reveals different content with an animation. With triggers, the animation only plays when the corresponding option is clicked, making your presentation more engaging and intuitive.
Why use animation triggers?
- Interactive control: Animations happen only when you want, not automatically.
- Cleaner presentations: Avoid clutter by revealing content on demand.
- Enhanced engagement: Encourage audience interaction by letting them choose what to see.
In this tutorial, we’ll build a slide with four interactive options, each triggering an animation to reveal content.
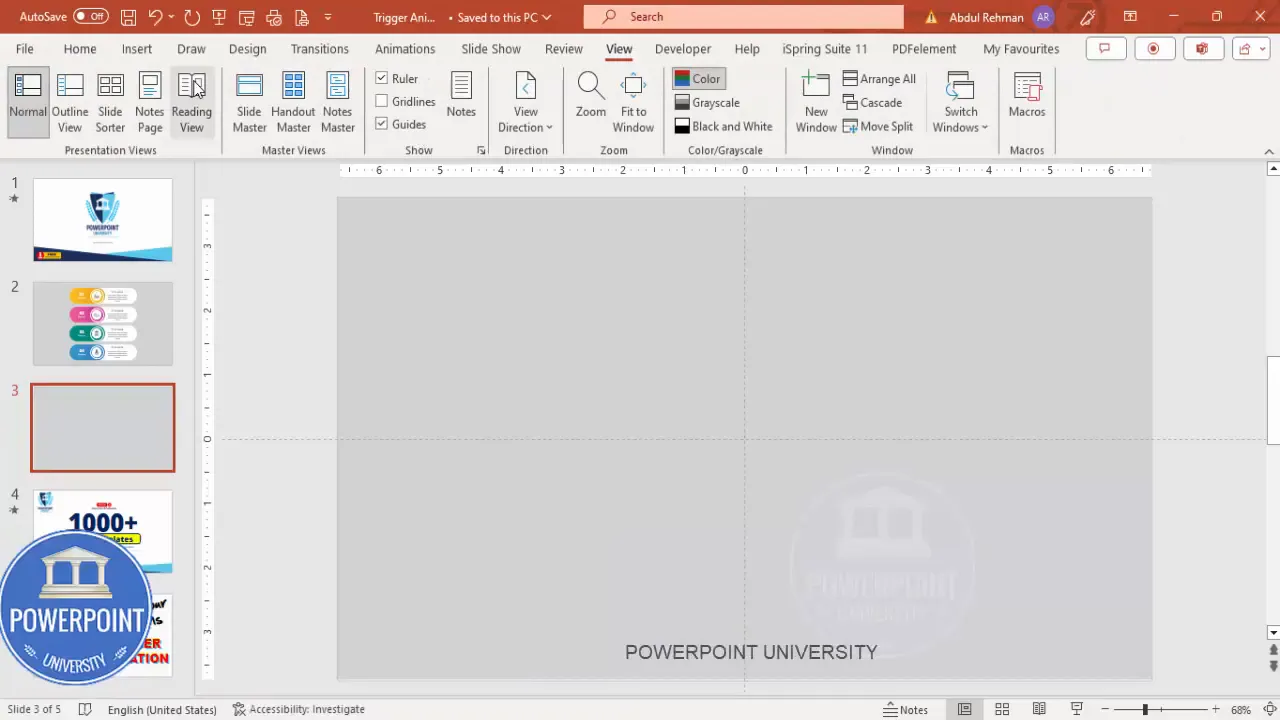
Preparing Your Slide: Setting Up the Background and Guides
First things first, let’s prepare the canvas for our interactive slide.
- Add a new slide in your PowerPoint presentation.
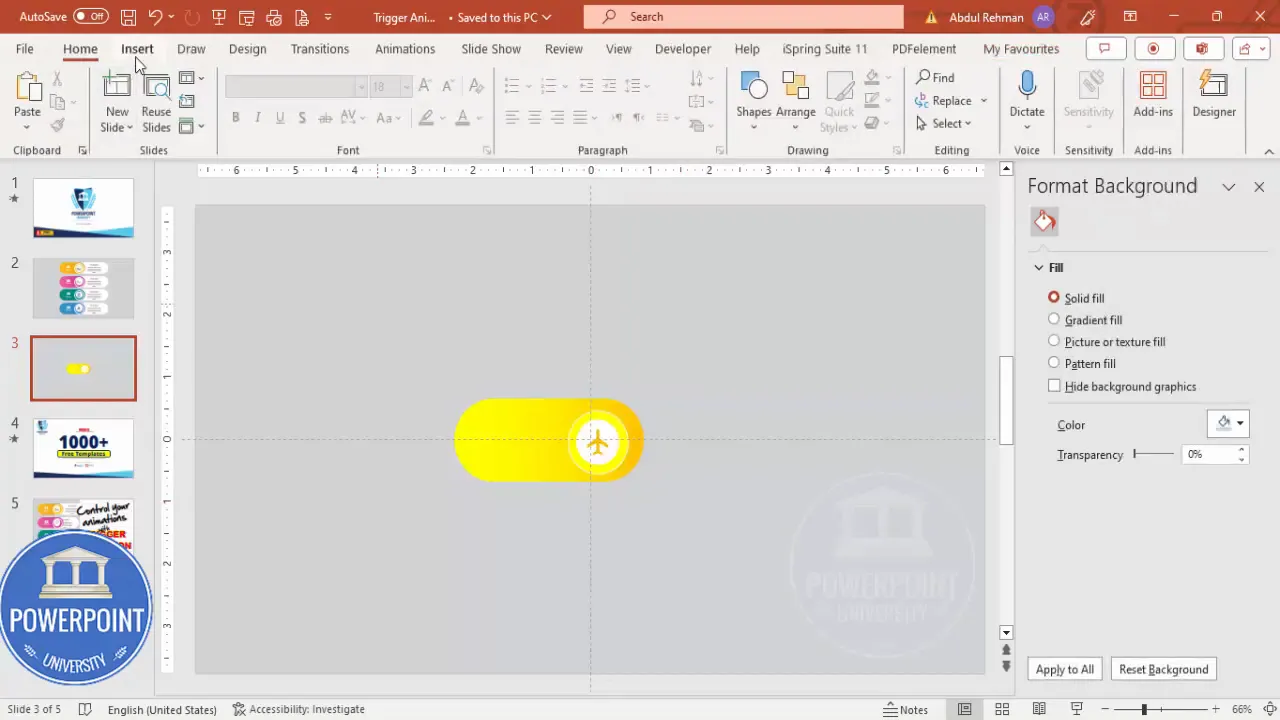
- Change the background color to a light gray shade. This neutral backdrop helps your shapes and animations stand out.
- Go to the View tab and enable the guides. These help you align objects precisely, ensuring a professional look.
Setting up guides early on is a smart move. It keeps your layout consistent and visually balanced as you add more elements.
Creating Shapes and Visual Elements for Interactive Options
Next, we’ll create the visual components for each clickable option. These include rounded rectangles, ovals, and icons that make the options visually appealing and easy to interact with.
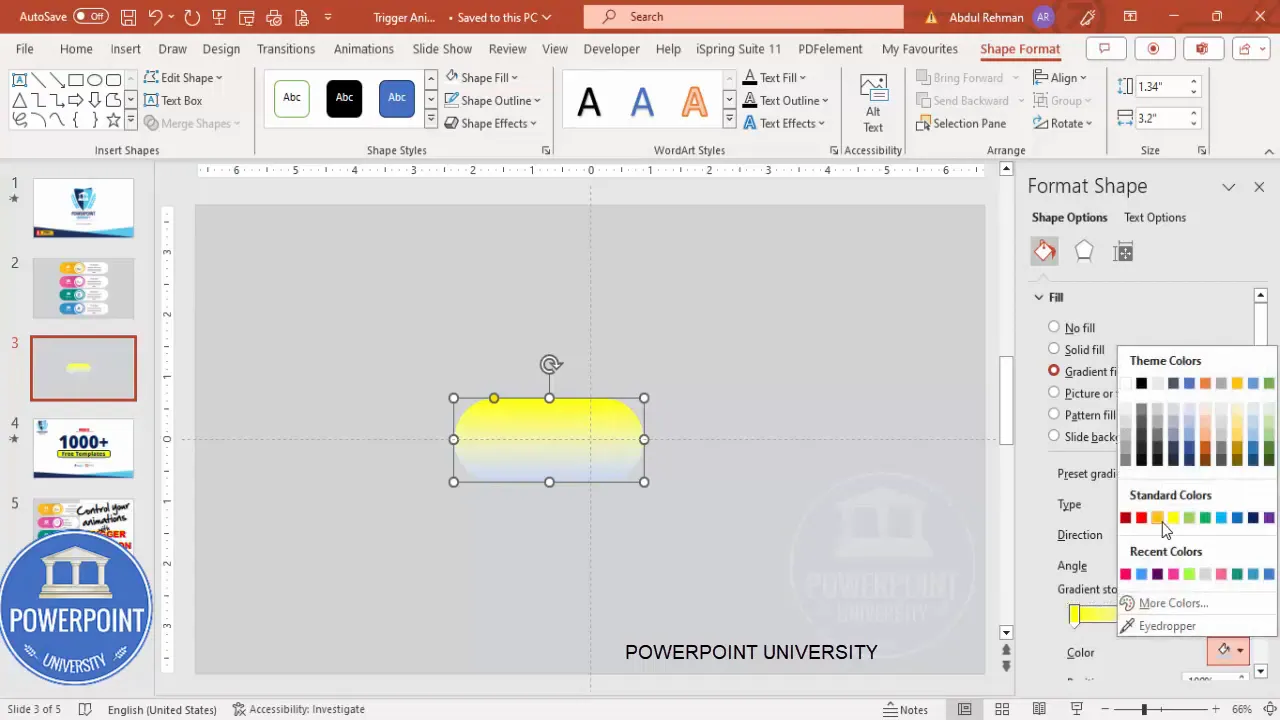
Step 1: Draw Rounded Corner Rectangles
- Go to Insert > Shapes and select the Rounded Corner Rectangle.
- Draw a rectangle of your preferred size on the slide. You can adjust the size later as needed.
- You’ll notice a small orange handle on the shape’s corner. Drag it inside to control the roundness of the corners.
- Remove the outline by selecting Shape Outline > No Outline.
- Right-click the shape and select Format Shape. Under the Fill options, choose Gradient Fill.
- Delete two of the gradient stops so that only two stops remain.
- Set one stop to a light yellow color and the other to orange for a warm gradient effect.
- Adjust the gradient direction to create a visually pleasing transition.
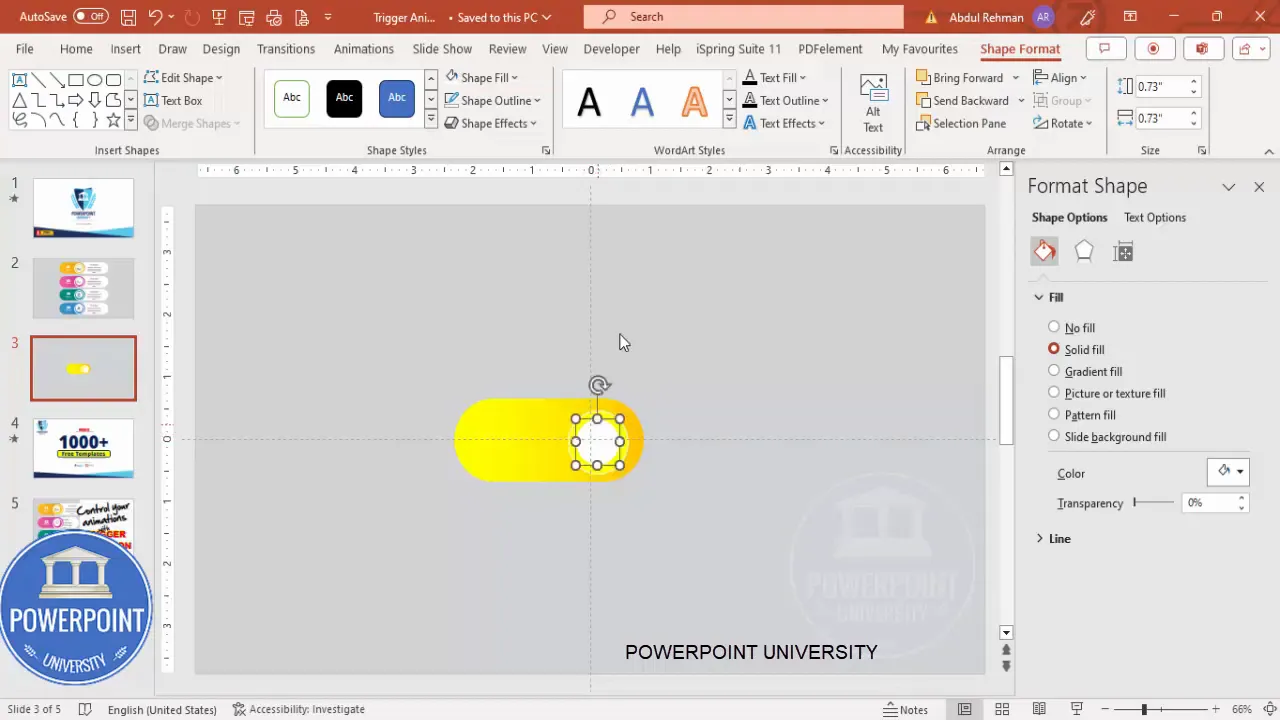
Step 2: Add Oval Shapes for Decoration
- Insert an oval shape by going to Insert > Shapes > Oval.
- Hold the Shift key while drawing to create a perfect circle.
- Position the oval in the center of your rounded rectangle.
- Set the Shape Outline to white.
- Choose a shape fill color that complements your background, such as a light color.
- Duplicate the oval by pressing Ctrl + D.
- For the duplicate, remove the outline and fill it with white.
- Reduce the size while holding Shift and center it again inside the first oval.
- Select both ovals, go to Shape Format > Align, and choose Align Center and Align Middle to perfectly center them.
Step 3: Insert Icons
Icons add clarity and visual interest to your interactive options.
- Go to Insert > Icons and select an icon that fits your content or theme. For example, an airplane icon.
- Click Insert to add it to the slide.
- Resize the icon to approximately 0.5 inches in both height and width.
- Change the icon color to match the orange/yellow color scheme used in the gradient fill.
Designing Clickable Buttons with Text and Icons
Now, let’s add text labels to the buttons to make their function clear.
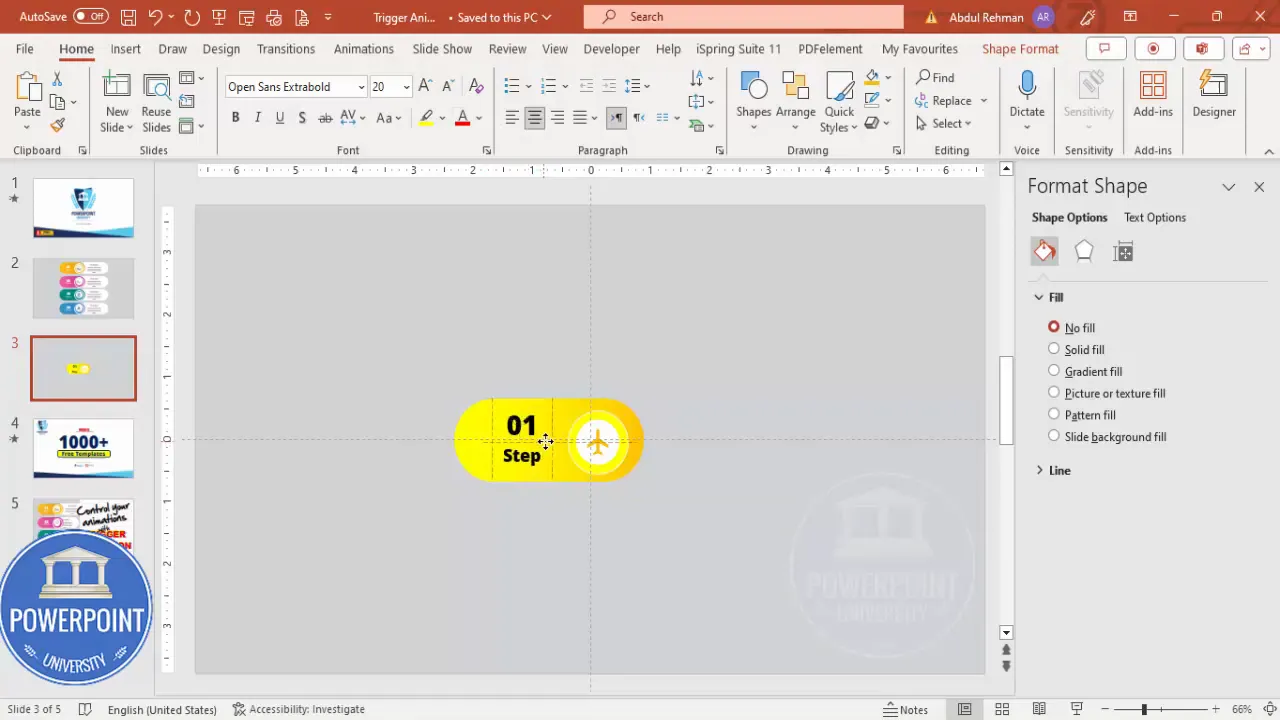
- Insert a text box and type “01”.
- Center-align the text and select a bold font such as Open Sans Extra Bold or any font of your choice.
- Increase the font size to make it prominent.
- Position this number near the icon or within the button.
- Insert another text box below the number and type “Step”.
- Reduce the font size for this label and position it neatly below the number.
- Select both text boxes and group them by pressing Ctrl + G. Grouping ensures they move and resize together.
Grouping Elements and Arranging Your Slide
To keep your slide organized and make animations easier to manage, group related elements.
- Select all the shapes and text boxes that belong to one option (except the background shape if you prefer to animate it separately).
- Press Ctrl + G to group them.
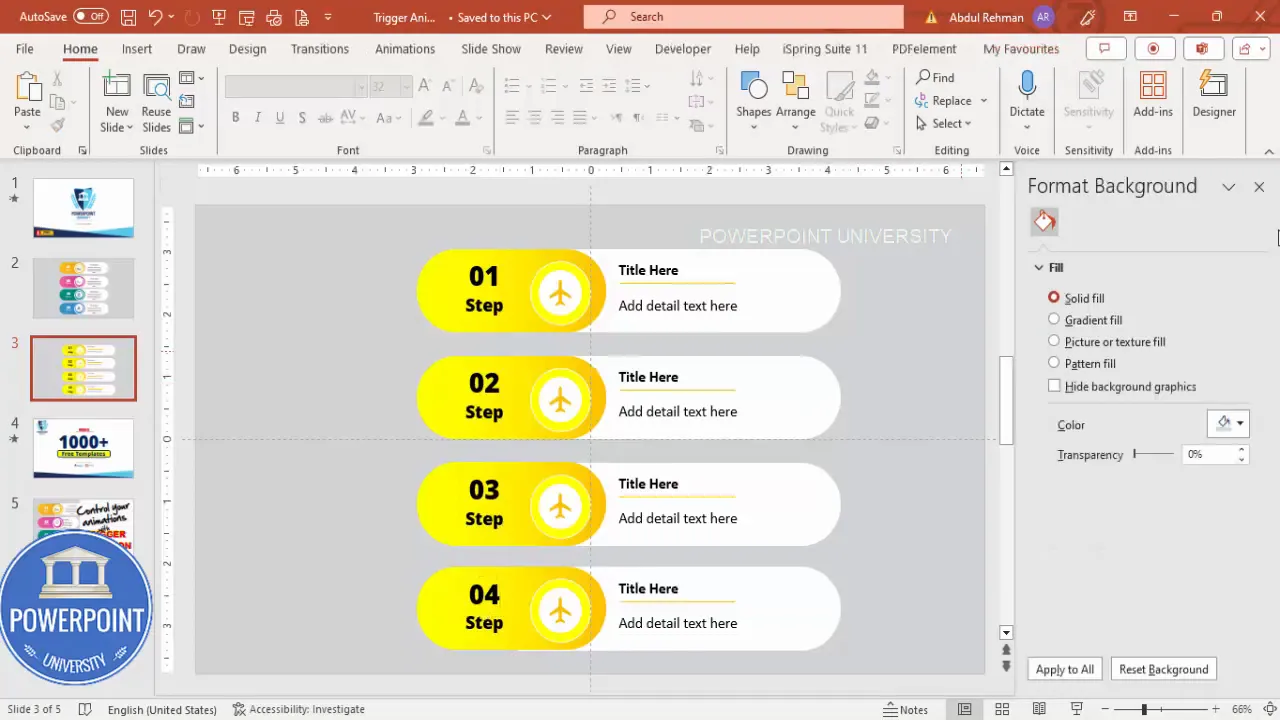
- Duplicate the group by holding Ctrl + Shift and dragging it to create multiple options (e.g., four options).
- Rename the text in each group to reflect the correct step number (e.g., Step 2, Step 3, Step 4).
- Arrange the groups evenly across the slide, using guides to align them horizontally and vertically.
Adding and Customizing Animations
With your slide layout ready, it’s time to add animations that will reveal content when triggered.
- Select the content group or shape you want to animate.
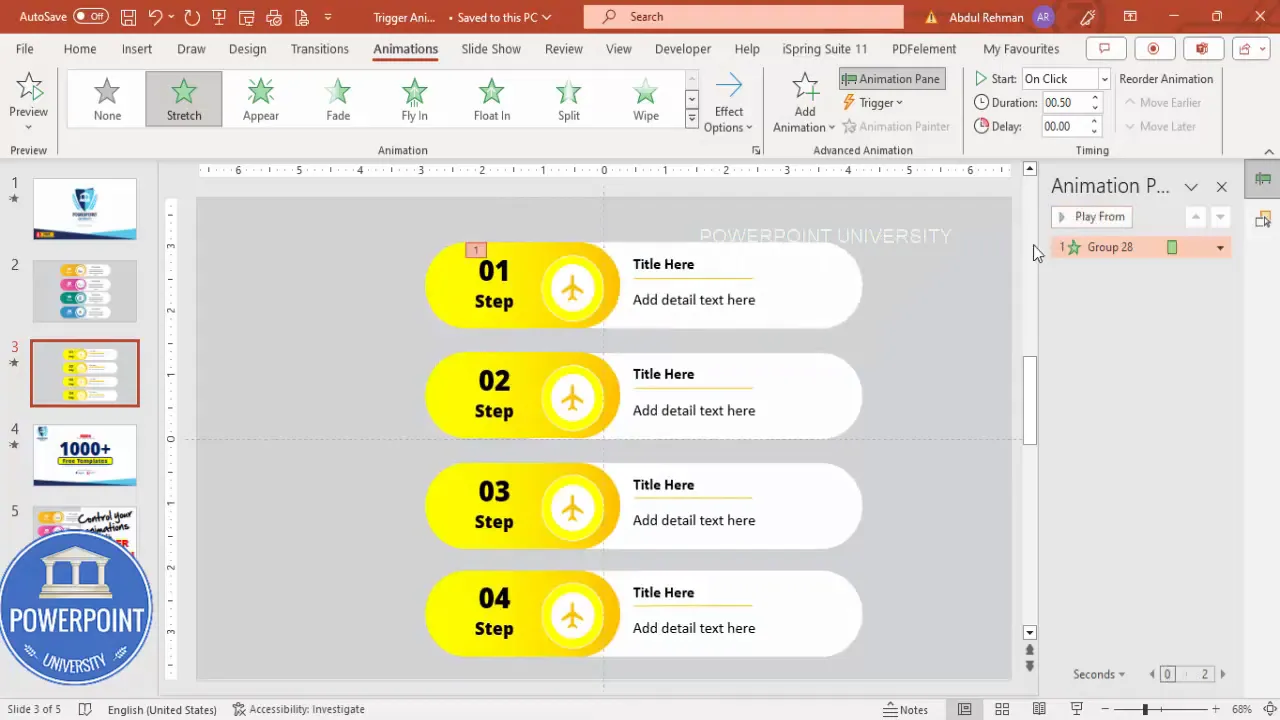
- Go to the Animations tab and open the Animation Pane to track your animations.
- Click Add Animation and choose More Entrance Effects for more options.
- Select the Stretch animation effect, then click OK.
- Adjust the effect options to stretch from the left (or any direction that fits your design).
- Test the animation by clicking it in the animation pane and previewing the effect.
This animation will make the content slide in smoothly when triggered.
Setting Triggers to Control Animation Playback
Here’s where the magic happens. Instead of animations playing automatically or on click anywhere, we set them to play only when you click specific objects (the buttons you created).
- In the Animation Pane, double-click the animation effect you want to assign a trigger to.
- In the dialog box, go to the Timing tab.
- Click the Triggers button to expand it.
- Select Start effect on click of and choose the corresponding button or grouped object from the dropdown list (e.g., Step 1, Step 2).
- Click OK to save the trigger.
- Repeat this process for each animation, linking each to its respective trigger button.
By doing this, your animations will only play when you click the specific step button, giving you full control over the presentation flow.
Create Slides in Seconds with ExpertSlides AI |
|
Generate AI Presentations today: |
| TRY NOW! |

Testing and Controlling Your Animated Slide
After setting your triggers, it’s essential to test your slide in Slide Show mode.
- Hover over the buttons to see the mouse pointer change to a hand icon, indicating clickable areas.
- Click each button to trigger the corresponding animation and reveal content.
- Click different buttons in any order to verify that animations respond correctly to your clicks.
- If needed, return to the animation pane to tweak timings or triggers for smoother transitions.
This interactive approach lets you control exactly when content appears, making your presentations more engaging and professional.
Frequently Asked Questions (FAQ)
What are animation triggers in PowerPoint?
Animation triggers are settings that allow an animation to start only when a specific object on the slide is clicked, instead of running automatically or in sequence.
Why should I use triggers instead of regular animations?
Triggers provide more control and interactivity. They prevent animations from playing prematurely and allow your audience or you to reveal content on demand.
Can I use triggers with any animation effect?
Most entrance, exit, emphasis, and motion path animations can be triggered. However, some complex or custom animations might not support triggers.
How do I name objects for setting triggers?
Use the Selection Pane under the Home > Select > Selection Pane menu to rename objects clearly (e.g., Step1Button). This makes it easier to assign triggers.
Can I use triggers for multiple animations on the same object?
Yes, you can assign multiple animations to an object and set different triggers for each, allowing complex interactivity.
Is it possible to reset or reverse animations triggered by clicks?
PowerPoint does not natively support resetting animations with triggers, but you can create custom buttons with reverse animations or use hyperlinks to navigate between slides for similar effects.
Are animation triggers compatible with all versions of PowerPoint?
Animation triggers are supported in PowerPoint 2010 and later versions. Ensure your software is up to date for best compatibility.
Conclusion
Animation triggers are a game-changer for anyone looking to make their PowerPoint presentations more interactive and engaging. By following this step-by-step tutorial, you’ve learned how to create clickable options that reveal content only when selected, giving you precise control over your animations.
From setting up your slide background and guides, creating shapes and icons, grouping elements, to adding animations and assigning triggers, this process equips you with the skills to build professional and dynamic slides.
Remember, the key benefits of using triggers include:
- Interactivity: Your audience can explore content in a non-linear way.
- Control: Animations play only when you want, avoiding distractions.
- Professionalism: Clean, polished presentations that stand out.
Don’t forget to experiment and customize your animations to fit your presentation style and content. With practice, you’ll be able to create engaging slides that leave a lasting impression.
For those interested, you can download a free PowerPoint template featuring these trigger animations to jumpstart your projects.
Happy presenting!
Check out the full video: Control your PowerPoint Animations with Triggers | Tutorial 1030 | Free Template


