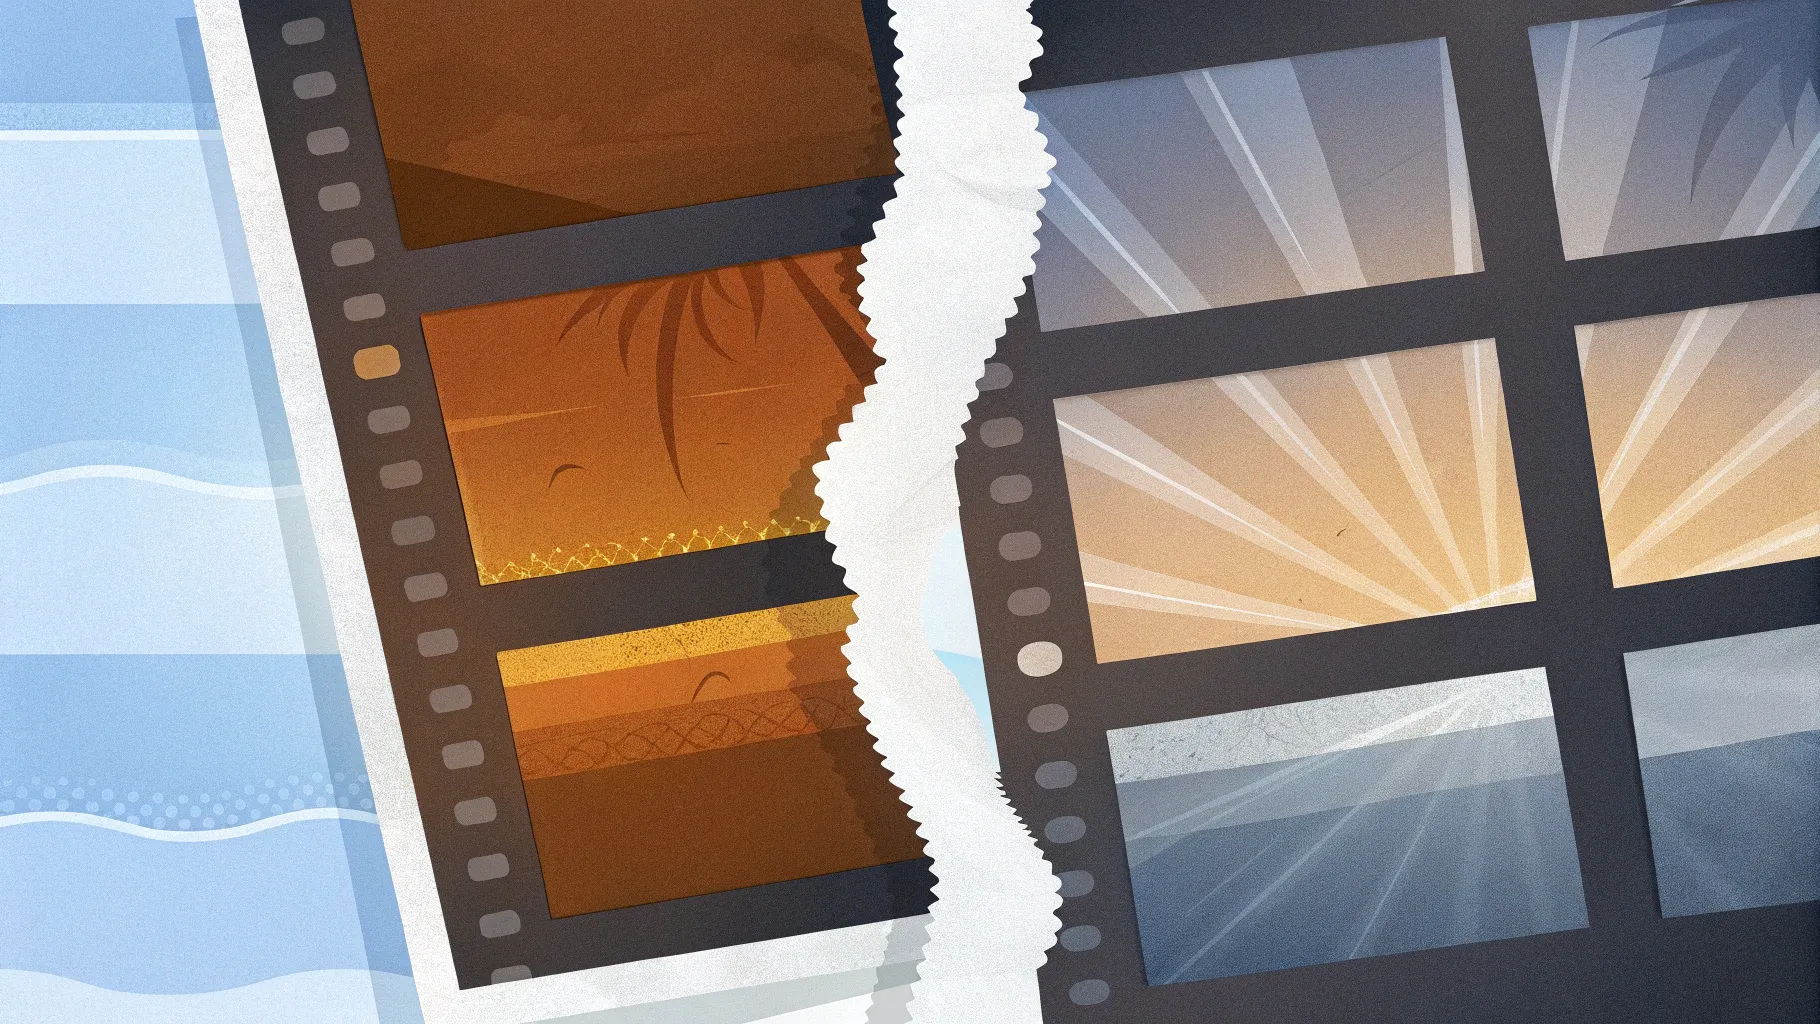
If you’re looking to elevate your PowerPoint presentations with creative and dynamic cover pages, mastering PowerPoint design animation is a game-changer. In this detailed guide, I’ll walk you through how to create an eye-catching animated cover page slide featuring a stylish torn paper effect and vibrant colors. This tutorial is perfect for anyone wanting to make their presentations stand out with professional design elements and smooth animations.
Throughout this article, I’ll share step-by-step instructions to design this cover page from scratch using PowerPoint’s built-in shapes, image fills, and animations. You’ll also learn tips on customizing colors, images, and text to match your presentation’s theme, making it versatile for any topic — especially outdoor activities or creative projects.
This tutorial is inspired by the expertise of POWERPOINT UNIVERSITY, a leading source for free PowerPoint templates and tutorials. Let’s dive into the creative process and unlock powerful PowerPoint design animation techniques that will impress your audience.
Table of Contents
- Getting Started: Setting Up Your Slide
- Creating the Torn Paper Effect
- Adding and Adjusting Background Images
- Enhancing the Design with Custom Shapes
- Inserting and Formatting Text
- Adding Animation for Dynamic Impact
- Customization Tips and Best Practices
- Frequently Asked Questions (FAQ)
- Conclusion
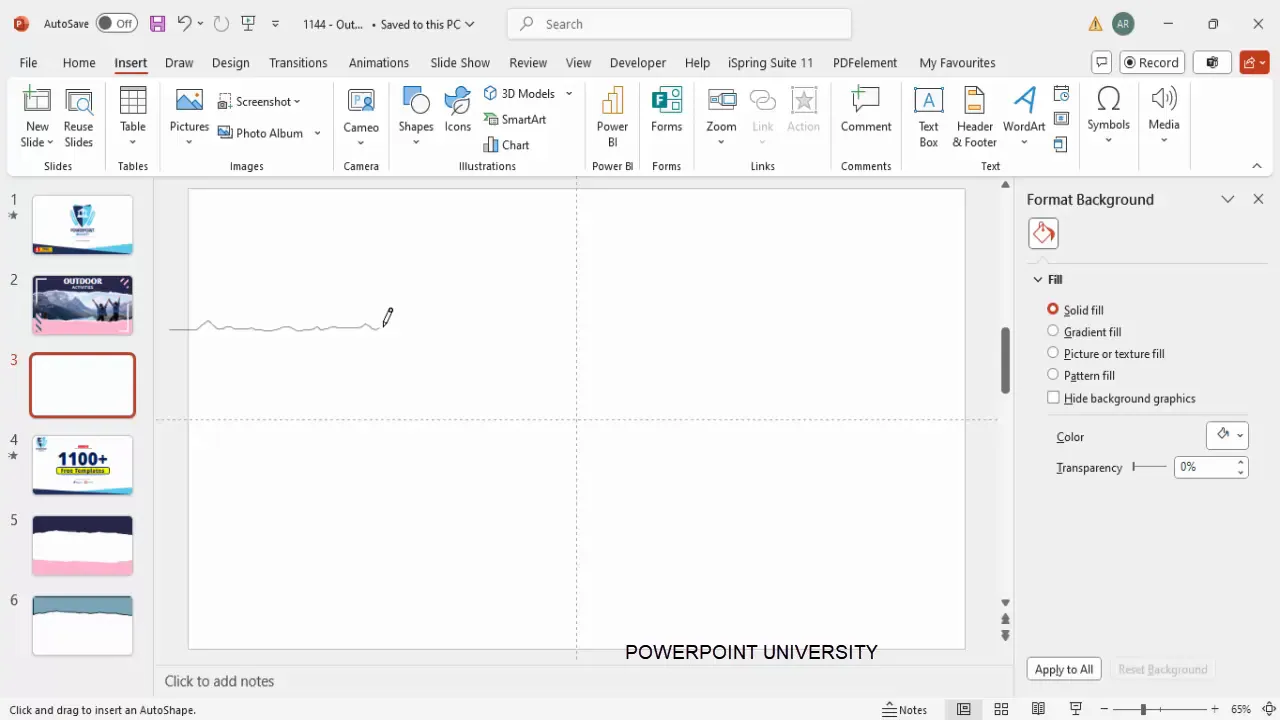
Getting Started: Setting Up Your Slide
Before diving into the creative aspects, you’ll want to set up a fresh PowerPoint slide where you can build your cover page design. Starting clean allows you to focus on the design without distractions.
- Add a new slide: Open your PowerPoint presentation and insert a new blank slide. This will be your canvas for the cover page.
- Prepare the slide workspace: Familiarize yourself with the Insert tab where most of your shapes and images will come from.
This initial setup is straightforward but crucial for smooth workflow as you move forward with the design process.
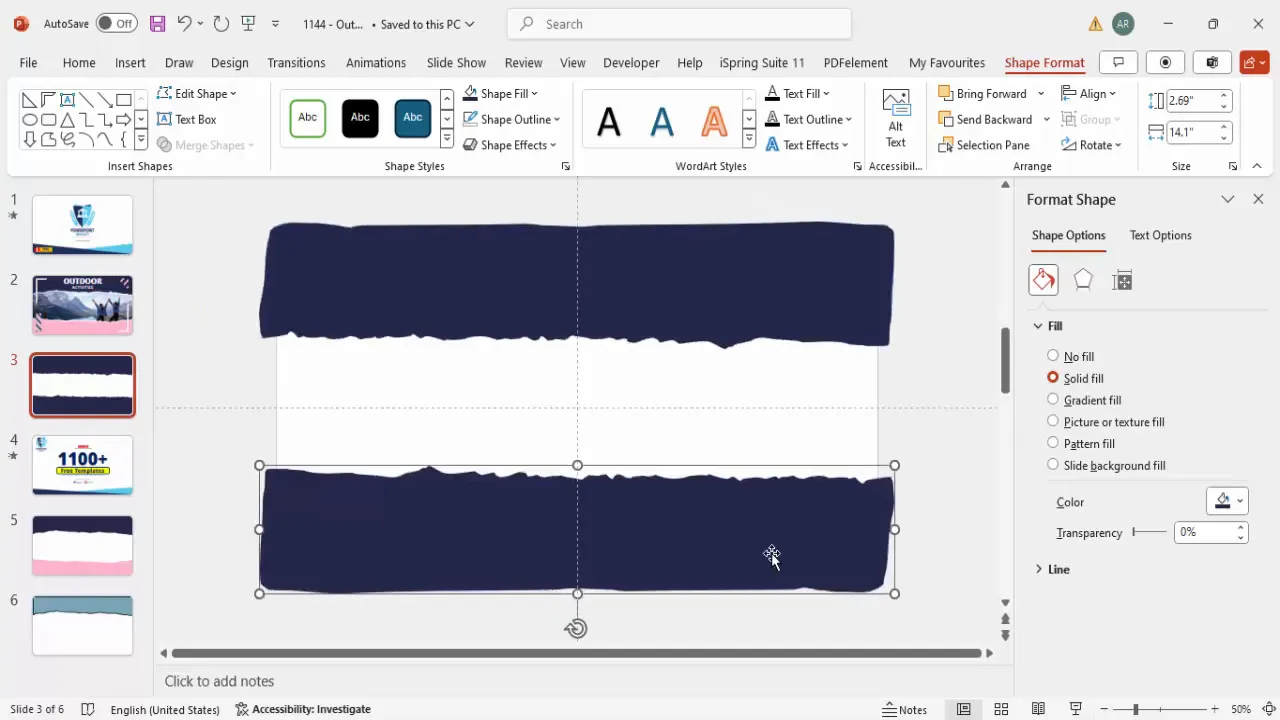
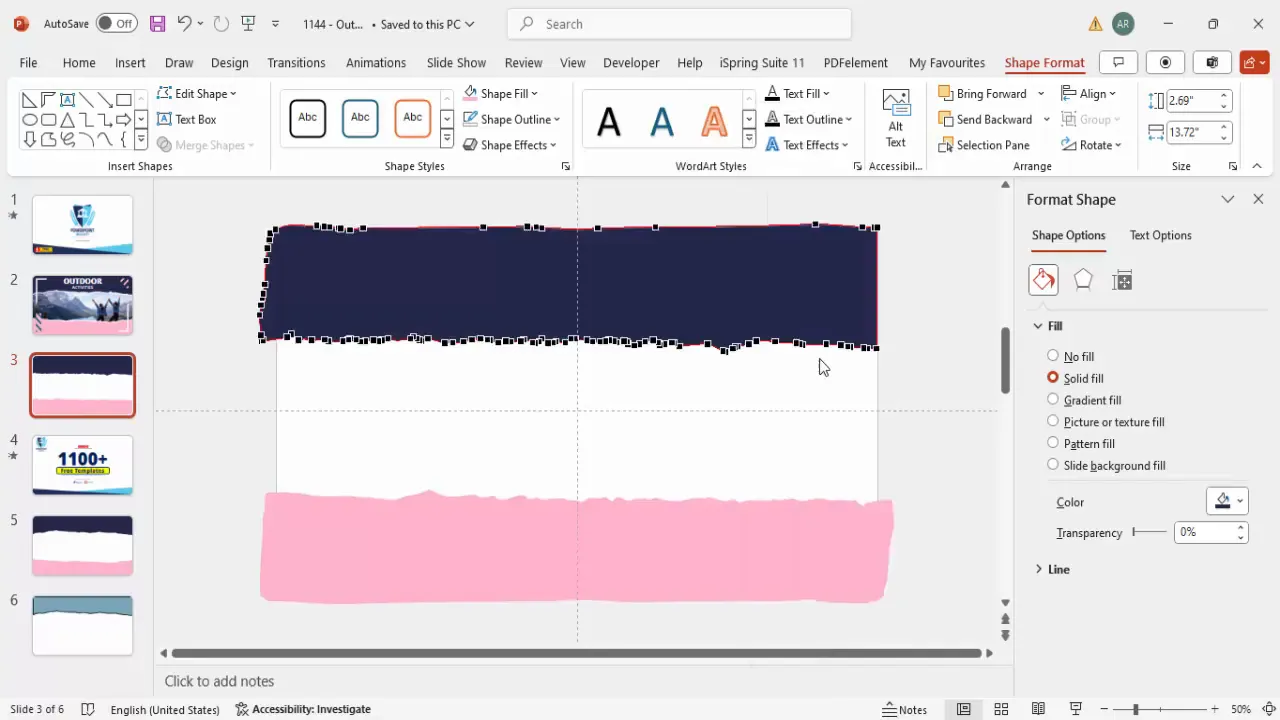
Creating the Torn Paper Effect
The standout feature of this cover page is the torn paper effect, which adds texture and visual interest. Here’s how to create it step-by-step using PowerPoint‘s freeform scribble tool and shape manipulation:
Step 1: Draw the Torn Paper Shape
- Go to Insert > Shapes > Lines, and select Freeform Scribble.
- Start drawing an irregular shape along the edge of your slide area to mimic torn paper. The key is to create jagged ups and downs, resembling torn edges.
- Extend the shape beyond the slide boundary so it looks natural and not confined.
Think of the torn paper as having random peaks and valleys — don’t make the edges too smooth. This adds realism.
Step 2: Format the Shape
- Once your shape is drawn, remove the outline by selecting No Outline.
- Fill the shape with a dark indigo color to create contrast.
Step 3: Duplicate and Flip for the Bottom Layer
- Select the torn paper shape and press Ctrl + D to duplicate it.
- Move the duplicate down below the first shape.
- Right-click and choose Rotate > Flip Vertical, then Flip Horizontal to invert the shape.
- Adjust its position so it aligns nicely beneath the first shape, even if it extends beyond the slide area.
This second shape will serve as the torn paper’s underside, adding depth and dimension.
Step 4: Optional Shape Trimming
If you want to clean up any excess parts of the shapes extending beyond the slide, you can use the Merge Shapes > Subtract tool:
- Insert a rectangle shape covering the unwanted area.
- Select the rectangle, hold Shift, then select the torn paper shape.
- Go to Shape Format > Merge Shapes > Subtract.
However, this step is optional because any overflowing parts won’t show in presentation mode.
Step 5: Adjust the Bottom Shape Color
Change the fill of the bottom torn paper shape to a light pink color for contrast and a soft, inviting look.
Step 6: Fine-tune the Shapes
You can right-click the shapes and select Edit Points to make precise adjustments to the torn edges. Move points up or down to perfect the jagged effect.
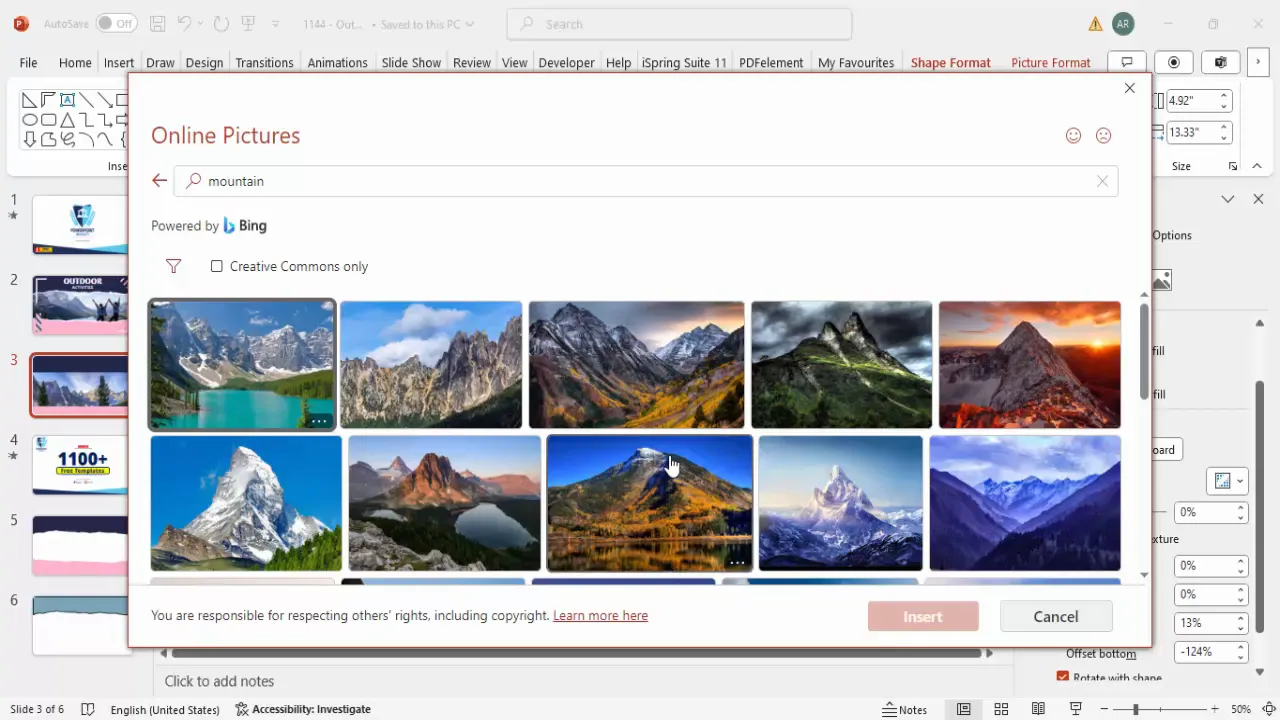
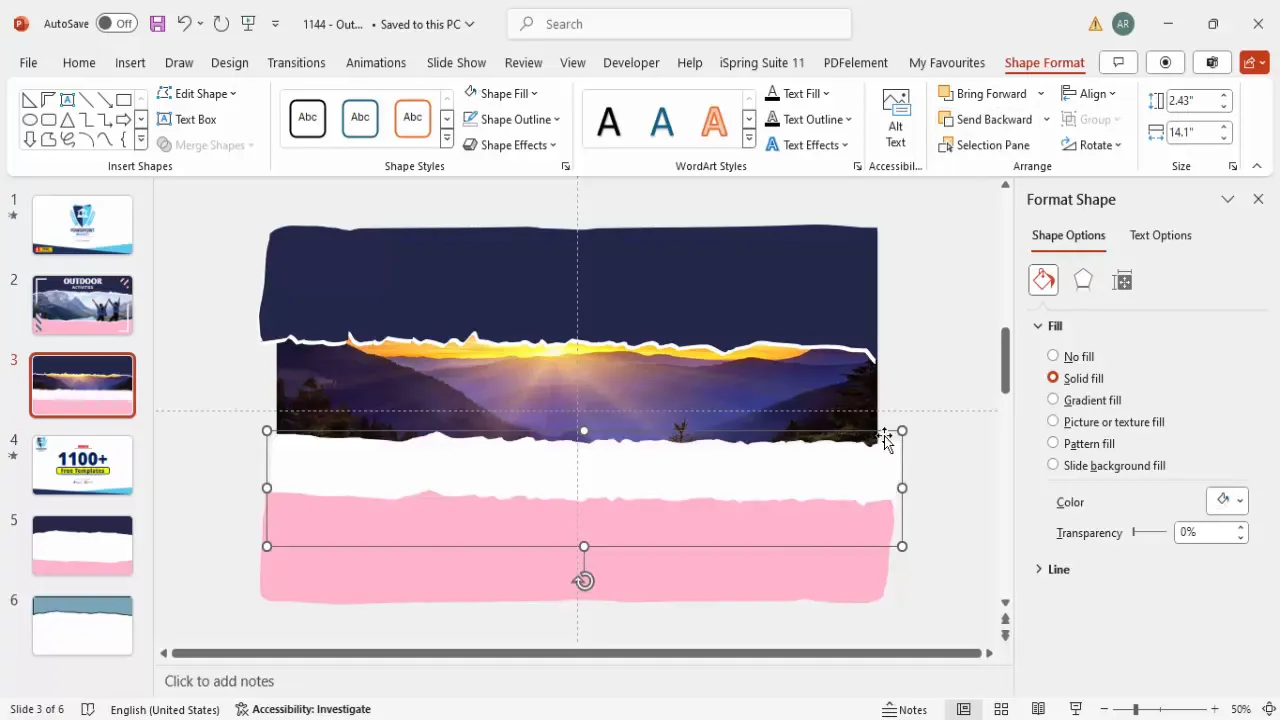
Adding and Adjusting Background Images
To give your cover page a rich, thematic background, you can add images inside a rectangle shape and customize their appearance.
Step 1: Insert a Rectangle Shape
- Go to Insert > Shapes > Rectangle and draw a rectangle covering the area where you want your image.
- Remove the outline by selecting No Outline.
Step 2: Fill the Rectangle with an Image
- Right-click the rectangle and choose Format Shape.
- Under Fill, select Picture or texture fill.
- You can insert an image from your local files or use Insert > Pictures > Online Pictures to search royalty-free images.
For example, if your cover page theme is “outdoor activities,” type “mountain” or relevant keywords to find a suitable image.
Step 3: Adjust Image Position and Size
Ensure the image fills the rectangle properly by unchecking Tile picture as texture and adjusting the Offset X and Offset Y to zero for proper alignment.
Step 4: Create the Torn Paper Depth Effect
- Duplicate the rectangle shape with the image fill by pressing Ctrl + D.
- Change the fill of the duplicate to white and send it backward behind the original image.
- Adjust its position slightly to create the illusion of torn paper layers.
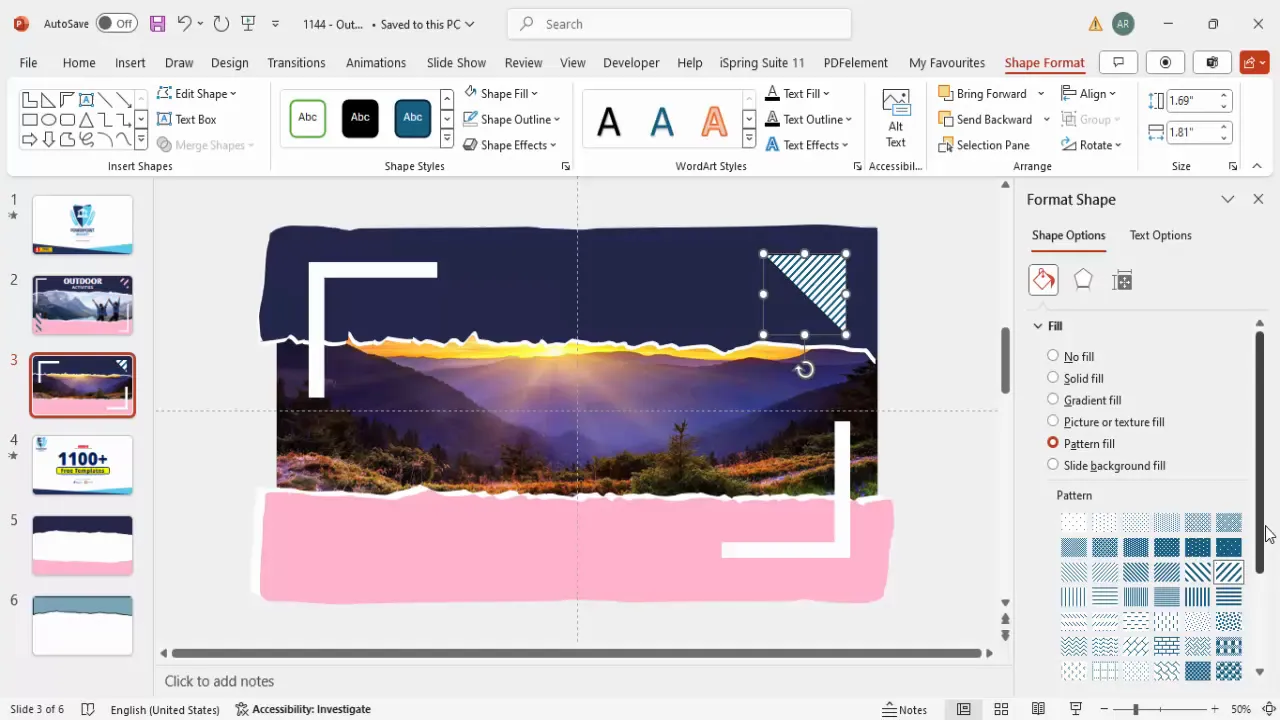
Enhancing the Design with Custom Shapes
To add more visual interest and polish to your cover page, you can insert various shapes and customize their fills and rotations.
Step 1: Add L-Shaped Accents
- Insert an “L” shape from Insert > Shapes.
- Draw a small L shape and reduce its width and size.
- Remove the outline and fill it with white.
- Rotate and flip the shape vertically or horizontally using the rotation options.
- Duplicate the shape and place the copies strategically to frame or accent your design.
Step 2: Add Patterned Shapes
- Insert additional shapes and fill them with patterns using the Format Shape > Pattern Fill option.
- Choose a pattern style and set the background color to match your cover page color scheme.
- Adjust the foreground color of the pattern to complement or contrast with the background.
These subtle shapes add texture and complexity without overwhelming the design.

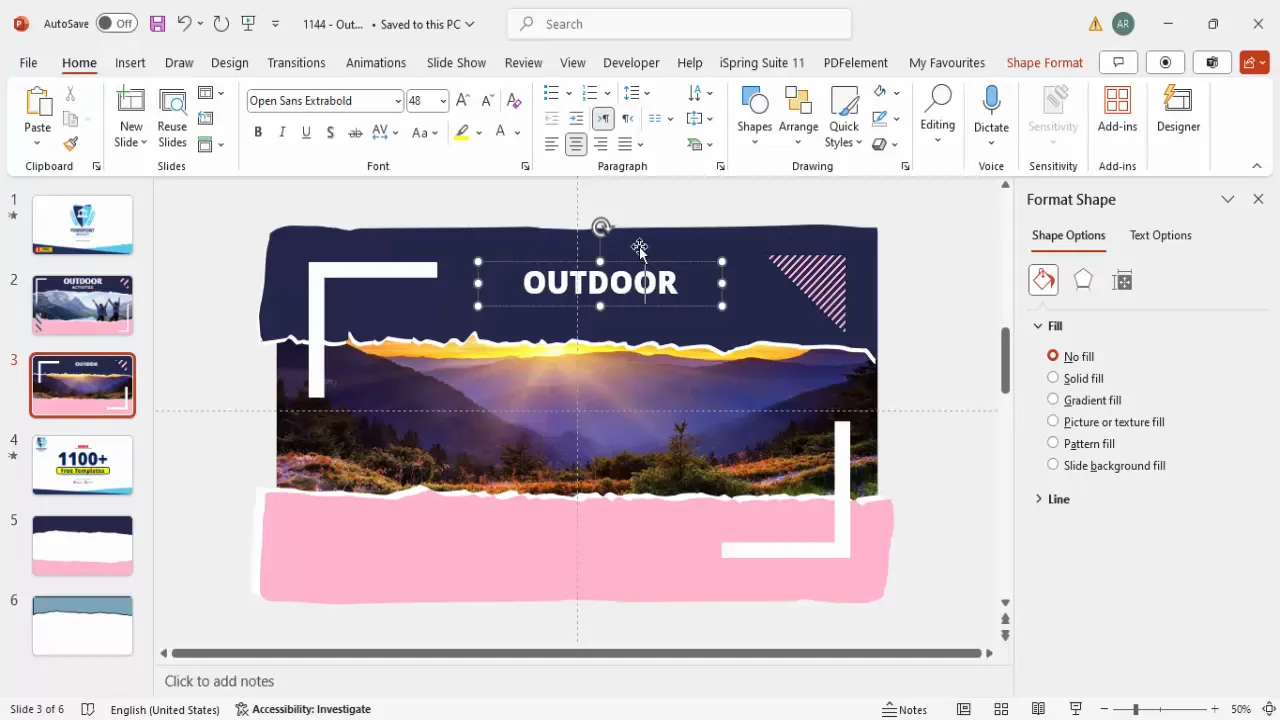
Inserting and Formatting Text
Text is a vital component of your cover page, providing context and setting the tone for your presentation.
Step 1: Insert Text Boxes
- Go to Insert > Text Box and draw a text box on your slide.
- Type your main title, for example, “Outdoor.”
Step 2: Format the Text
- Set the font color to white for contrast against the dark background.
- Center-align the text for balanced aesthetics.
- Choose a bold, modern font such as Open Sans Extra Bold for strong emphasis.
- Increase the font size to make the title prominent.
- Correct any spelling errors and adjust spacing as needed.
Step 3: Add a Subtitle
- Insert another text box below the main title.
- Type a subtitle such as “Activities.”
- Use a semi-bold font weight and reduce the font size slightly for hierarchy.
- Align the subtitle with the main title for consistency.
You can add more text boxes if you want to include additional details or taglines.
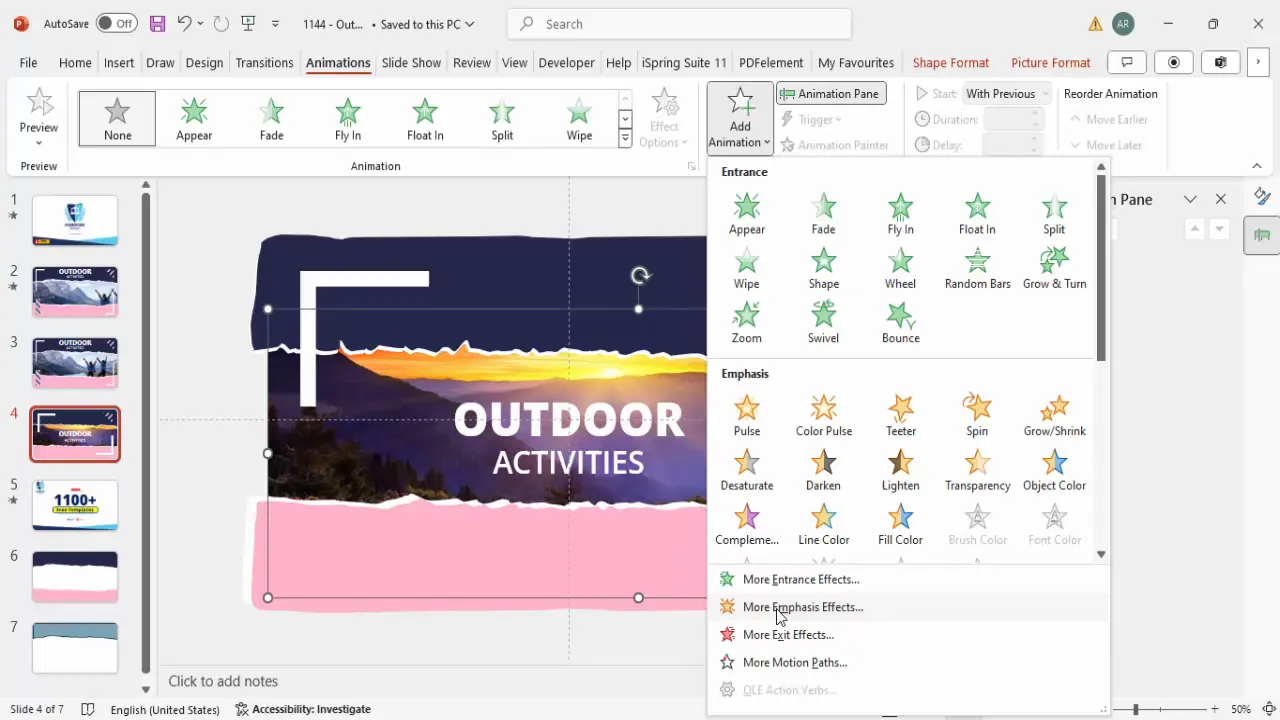
Adding Animation for Dynamic Impact
To truly bring your cover page to life, adding subtle animation can captivate your audience right from the start. Here’s how to animate your background image with a smooth sliding effect:
Step 1: Prepare for Animation
- Select the background image shape.
- Hold the Shift key and slightly increase the size of the image to give room for the animation movement.
Step 2: Add a Motion Path Animation
- Go to the Animations tab and open the Animation Pane.
- Click Add Animation > More Motion Paths.
- Choose the Left motion path and click OK.
- Adjust the motion path length to control how far the image moves left.
Step 3: Refine Animation Settings
- Double-click the animation in the Animation Pane to open settings.
- Set Smooth Start and Smooth End to zero for a consistent speed.
- Adjust the duration to “Slow” or “Very Slow” to create a gentle slide effect.
- Set the animation to start With Previous and add a slight delay (e.g., 0.25 seconds) for smooth timing.
When you play the slideshow, the background image will slowly slide left, adding a dynamic and professional touch to your cover page.
Customization Tips and Best Practices
To make your animated cover page truly your own and fit any presentation theme, here are some helpful tips and best practices:
| Aspect | Tips | Best Practices |
|---|---|---|
| Colors | Use contrasting colors for torn paper layers to create depth. | Stick to a consistent color palette aligned with your brand or theme. |
| Images | Choose high-resolution images relevant to your topic. | Ensure images are copyright-free or properly licensed. |
| Shapes | Experiment with different shapes and rotations for accents. | Keep shapes subtle to avoid cluttering the slide. |
| Fonts | Use bold fonts for titles and lighter weights for subtitles. | Maintain readability with appropriate font sizes and colors. |
| Animation | Use smooth, slow animations to enhance without distracting. | Test animations on different devices to ensure smooth playback. |
Remember, the goal of PowerPoint design animation is to support your message and engage your audience, not to overwhelm them. Balance creativity with clarity.
Frequently Asked Questions (FAQ)
Q1: Can I use any image for the background?
Yes, you can use any image, but it’s important to ensure the image is either your own or free from copyright restrictions. Use royalty-free image libraries or your own photos to avoid legal issues.
Q2: How do I edit the torn paper shape if I make a mistake?
Right-click the shape and select Edit Points. You can then drag individual points to adjust the jagged edges to your liking.
Q3: Can I change the animation type?
Absolutely! PowerPoint offers various animation effects. For subtlety, motion path animations like the sliding effect are ideal, but you can experiment with fades or zooms depending on your style.
Q4: Will the animation play automatically during the presentation?
If you set the animation to start With Previous, it will begin automatically when you advance to the slide. You can also add delays or triggers to control timing.
Q5: Can I use this design for other topics besides outdoor activities?
Definitely. The torn paper effect and animation techniques are versatile and can be customized with different images, colors, and text to suit any presentation theme.
Conclusion
Mastering PowerPoint design animation empowers you to create visually compelling and professional presentations. This tutorial demonstrated how to build an animated cover page with a torn paper effect, combining creative shape drawing, image fills, text formatting, and smooth motion path animations.
By following these step-by-step instructions, you can craft a unique cover slide that grabs attention and sets the tone for your entire presentation. Remember to customize colors, images, and fonts to align with your message and brand identity.
Animation, when used thoughtfully, enhances storytelling and audience engagement. This approach to cover page design balances creativity with clarity, ensuring your presentation starts with impact.
For more inspiration and free PowerPoint templates to jumpstart your design process, explore resources provided by PowerPoint University and similar trusted channels. With practice, you’ll be creating stunning PowerPoint design animations in no time!
Check out the full video: Design an animated cover page easily in PowerPoint


