
Are you fascinated by the new Microsoft 365 Copilot AI productivity tool and its sleek animations in PowerPoint? If so, you’re not alone. This year on March 16th, Microsoft unveiled Copilot, an AI assistant integrated into Microsoft 365 apps like Word, Excel, Outlook, and PowerPoint. One of the features that caught many eyes was Copilot’s ability to transform documents into dynamic PowerPoint presentations complete with engaging animations.
While Copilot is not yet publicly available, this guide will walk you through creating a similar PowerPoint design animation using native PowerPoint tools, specifically the powerful Morph transition. You’ll learn how to build beautiful photo crop animations alongside smooth text reveal effects that bring your slides to life.
This tutorial is perfect for anyone looking to elevate their presentation design skills and master animations that captivate audiences. Let’s dive in!
Table of Contents
- Introduction to Microsoft 365 Copilot Animation
- Preparing the Slide Layout: Rectangles and Text
- Filling Rectangles with Photos Using Merge Shapes
- Working with Text Boxes for Text Reveal Animation
- Applying the Morph Transition for Animations
- Adding the Photo Crop Animation
- Creating Animation Delays for Photos
- Final Tips and Further Learning
- Frequently Asked Questions (FAQ)
Introduction to Microsoft 365 Copilot Animation
Microsoft 365 Copilot is an AI-powered assistant designed to boost productivity by seamlessly integrating into Microsoft 365 apps. It can generate content, analyze data, and even create compelling presentations from written documents. One of the standout features demonstrated was Copilot’s ability to automatically add sophisticated animations, such as photo crop effects and text reveals, to PowerPoint slides.
Inspired by this, we’ll recreate a similar animation effect manually using PowerPoint’s built-in tools. The key to this effect is the Morph transition, which allows smooth object transformations between slides.
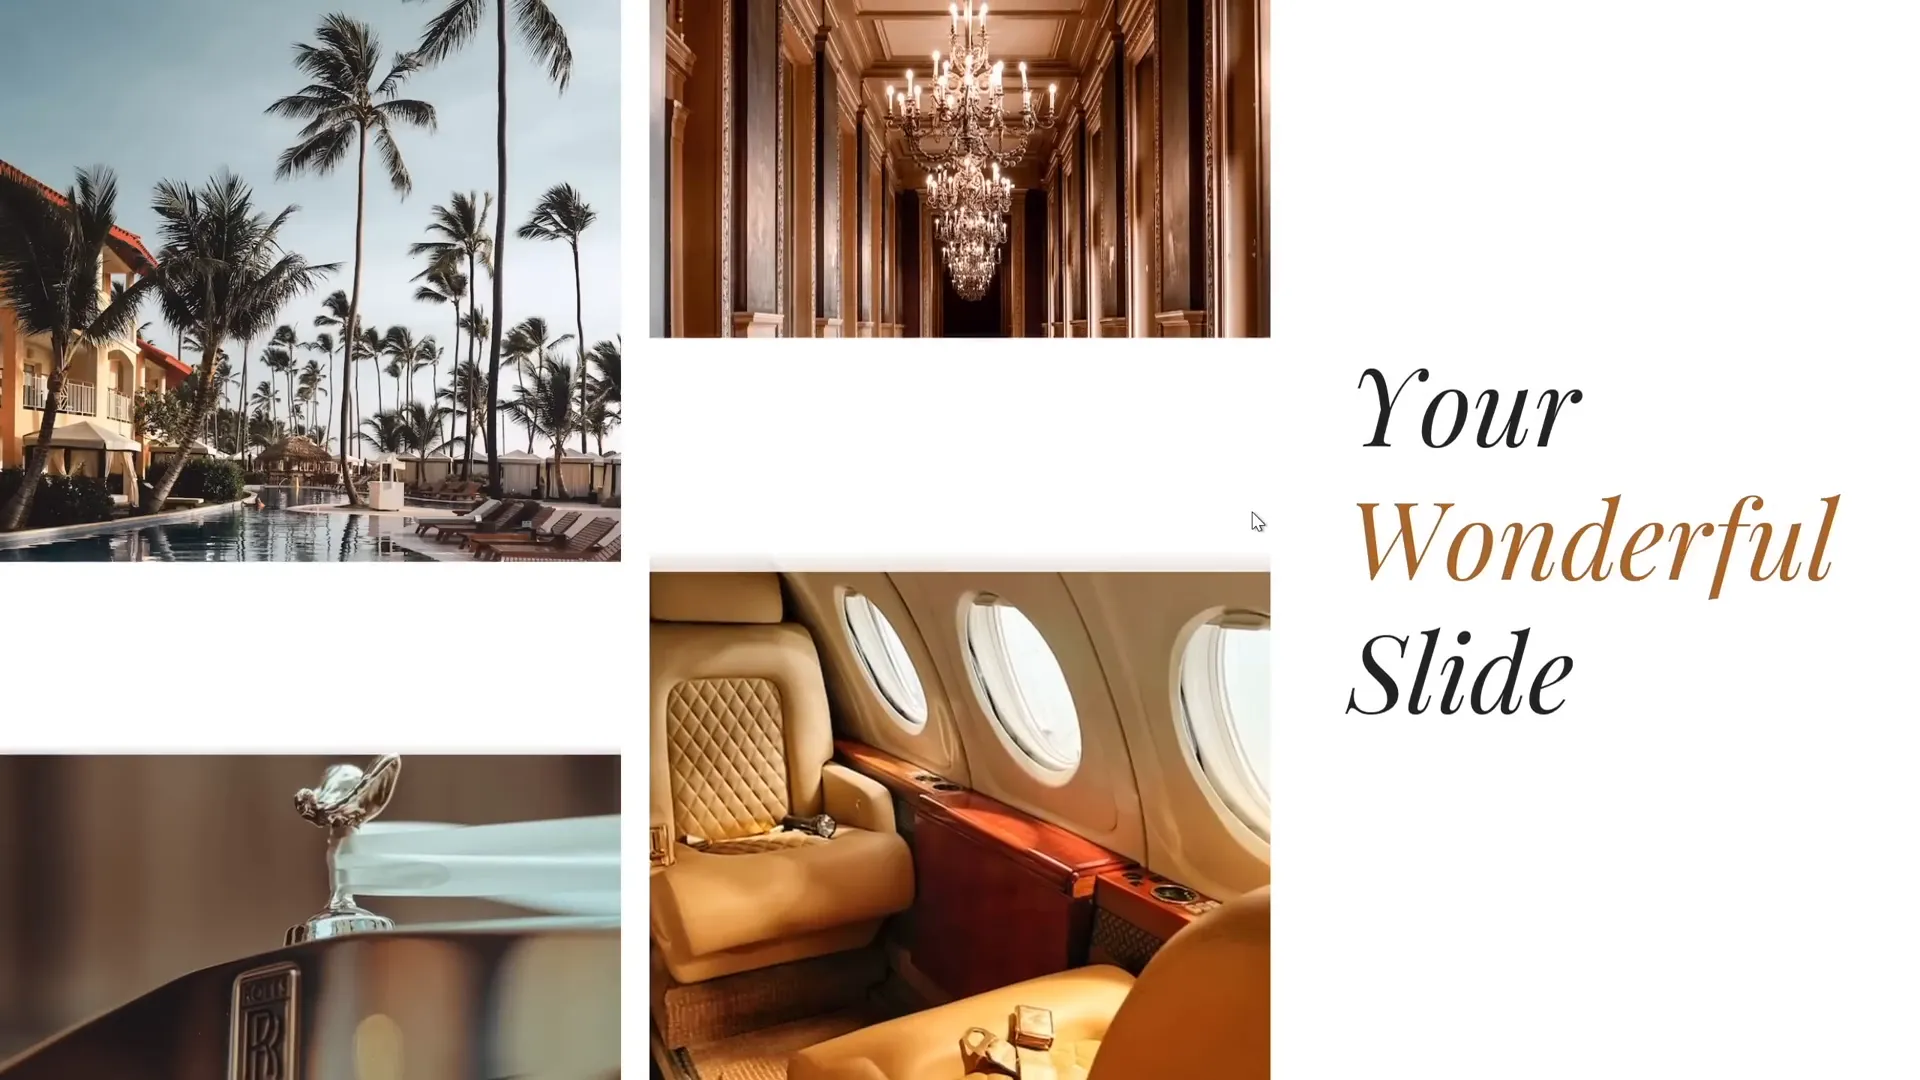
Before we jump into the steps, here’s a sneak peek at what you’ll create:

Preparing the Slide Layout: Rectangles and Text
The foundation of this animation lies in a well-prepared slide layout. Here’s how to set it up:
- Create Four Rectangles with Varying Heights
Insert four rectangles on the left side of the slide. Vary their heights to add visual interest and ensure there are equal gaps between them for balance. - Add Text Boxes on the Right
On the right side of the slide, insert two simple text boxes. Use the Playfair Display font at size 54 for elegance and readability.

Ensuring your layout is balanced will make the animation look polished and professional.
Filling Rectangles with Photos Using Merge Shapes
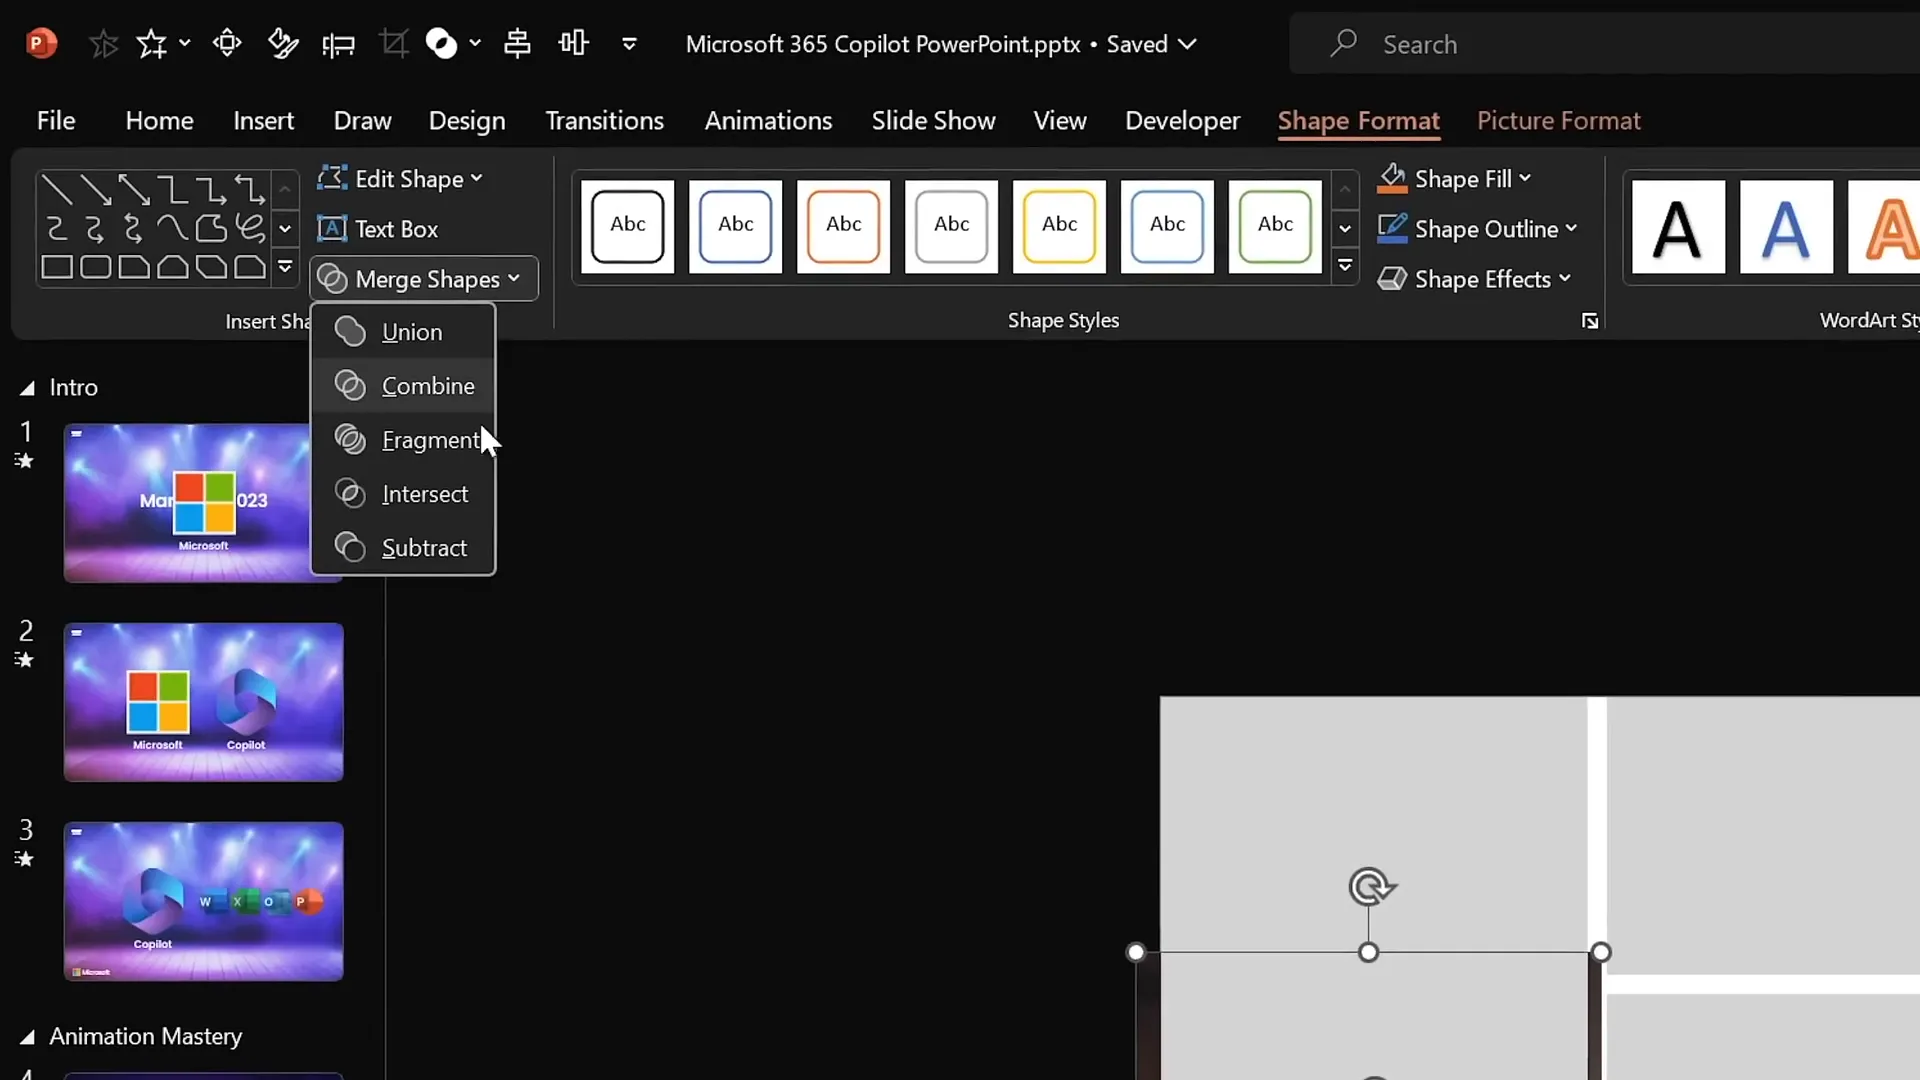
Filling shapes with pictures in PowerPoint can be tricky if you want creative control. Instead of using the standard “Format Shape → Picture Fill” method, we’ll use the Merge Shapes > Intersect feature for a precise crop effect.
Here’s the step-by-step process:
- Upload or insert your desired photos onto the slide. You can find high-quality free images at Unsplash.
- Position each photo over its corresponding rectangle, aligning it carefully.
- Send the photo to the back (Right-click > Send to Back).
- Select the photo, hold down the Shift key, then select the rectangle.
- Go to Shape Format > Merge Shapes > Intersect. This crops the photo perfectly inside the rectangle shape.
- Repeat for each rectangle with different photos.
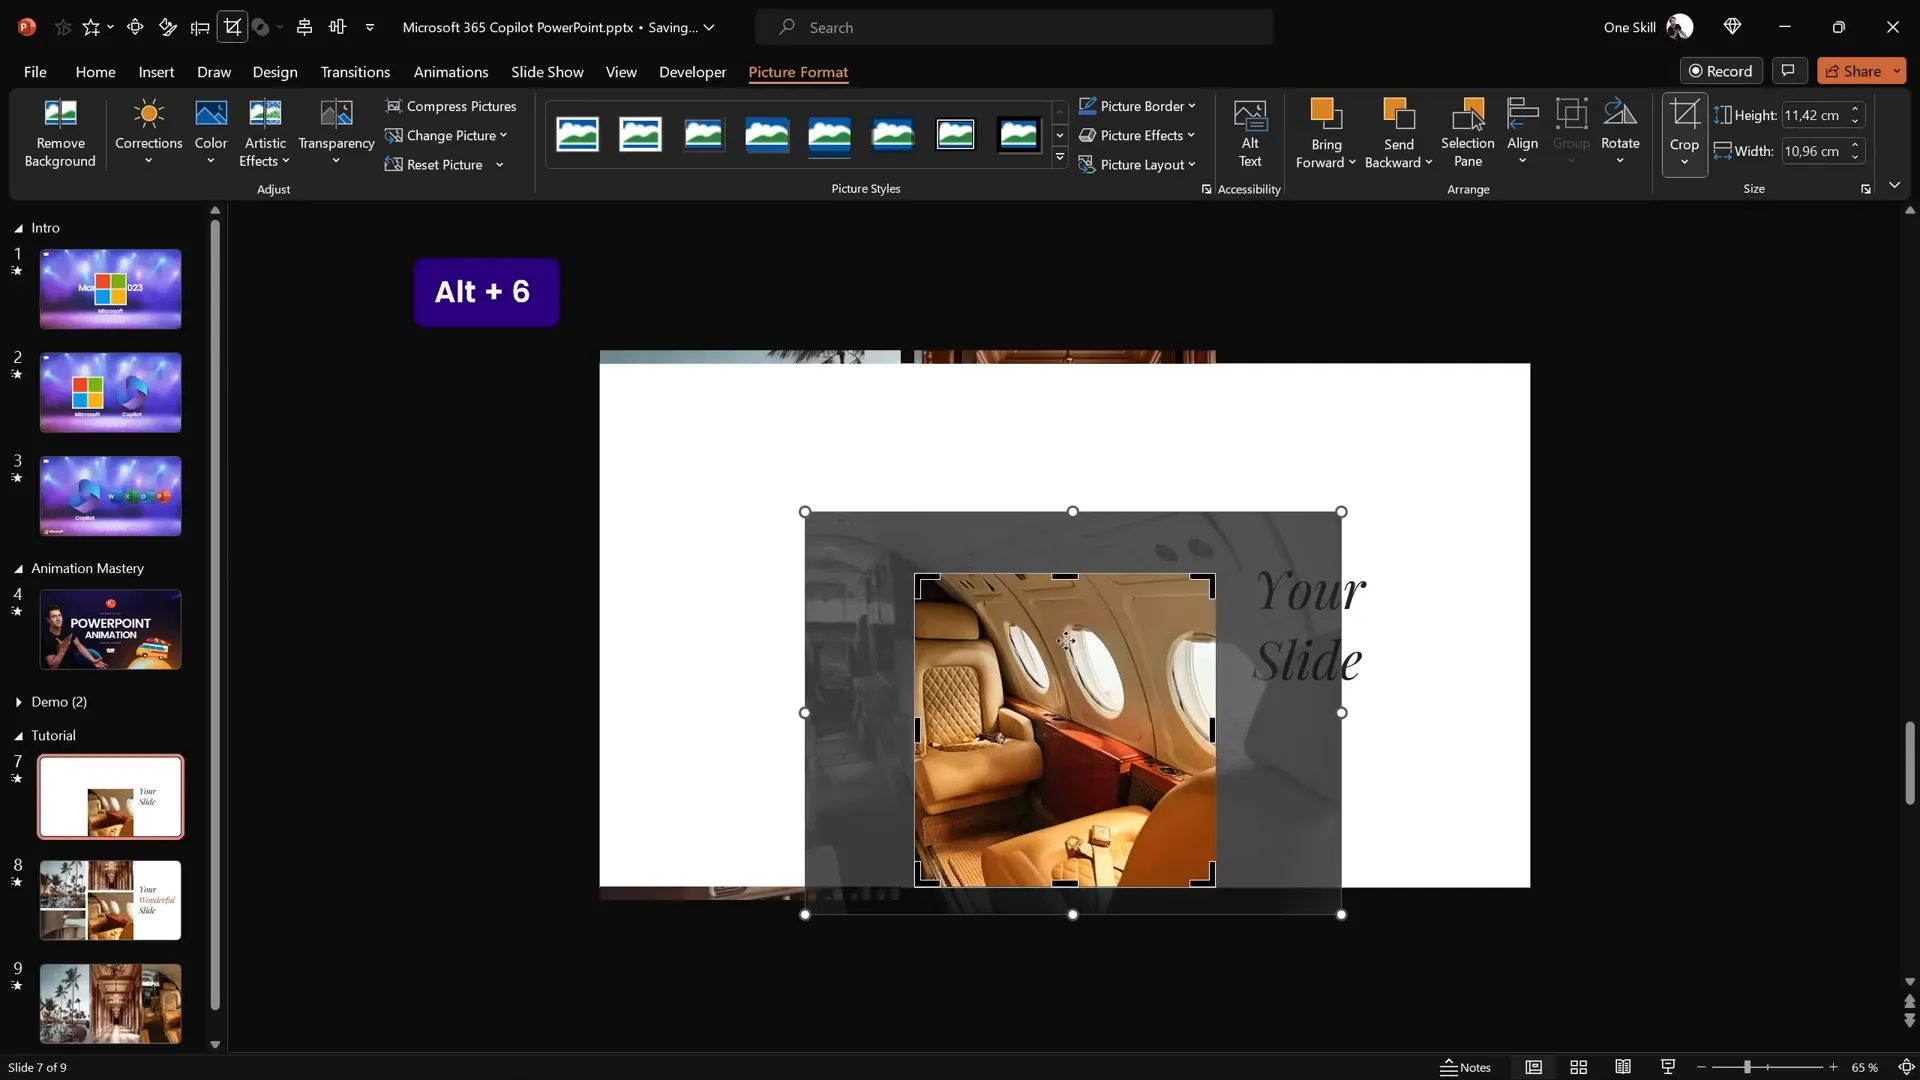
Pro Tip: If you want to adjust how the photo fits inside the rectangle after merging, use the Crop tool under Picture Format to reposition or resize the photo within the crop area.
Working with Text Boxes for Text Reveal Animation
To create a smooth text reveal animation on the right side of the slide, follow these steps:
- Duplicate one of the existing text boxes by selecting it and holding Ctrl + Shift while dragging to copy it directly below or above.
- Change the text in the new, middle text box to “wonderful” (or your desired word) and adjust the text color to complement your design.
- Select all three text boxes and distribute them vertically for even spacing (Shape Format > Align > Distribute Vertically).
- Group the three text boxes and align the group to the slide center horizontally.
- Ungroup the text boxes to work with them individually.
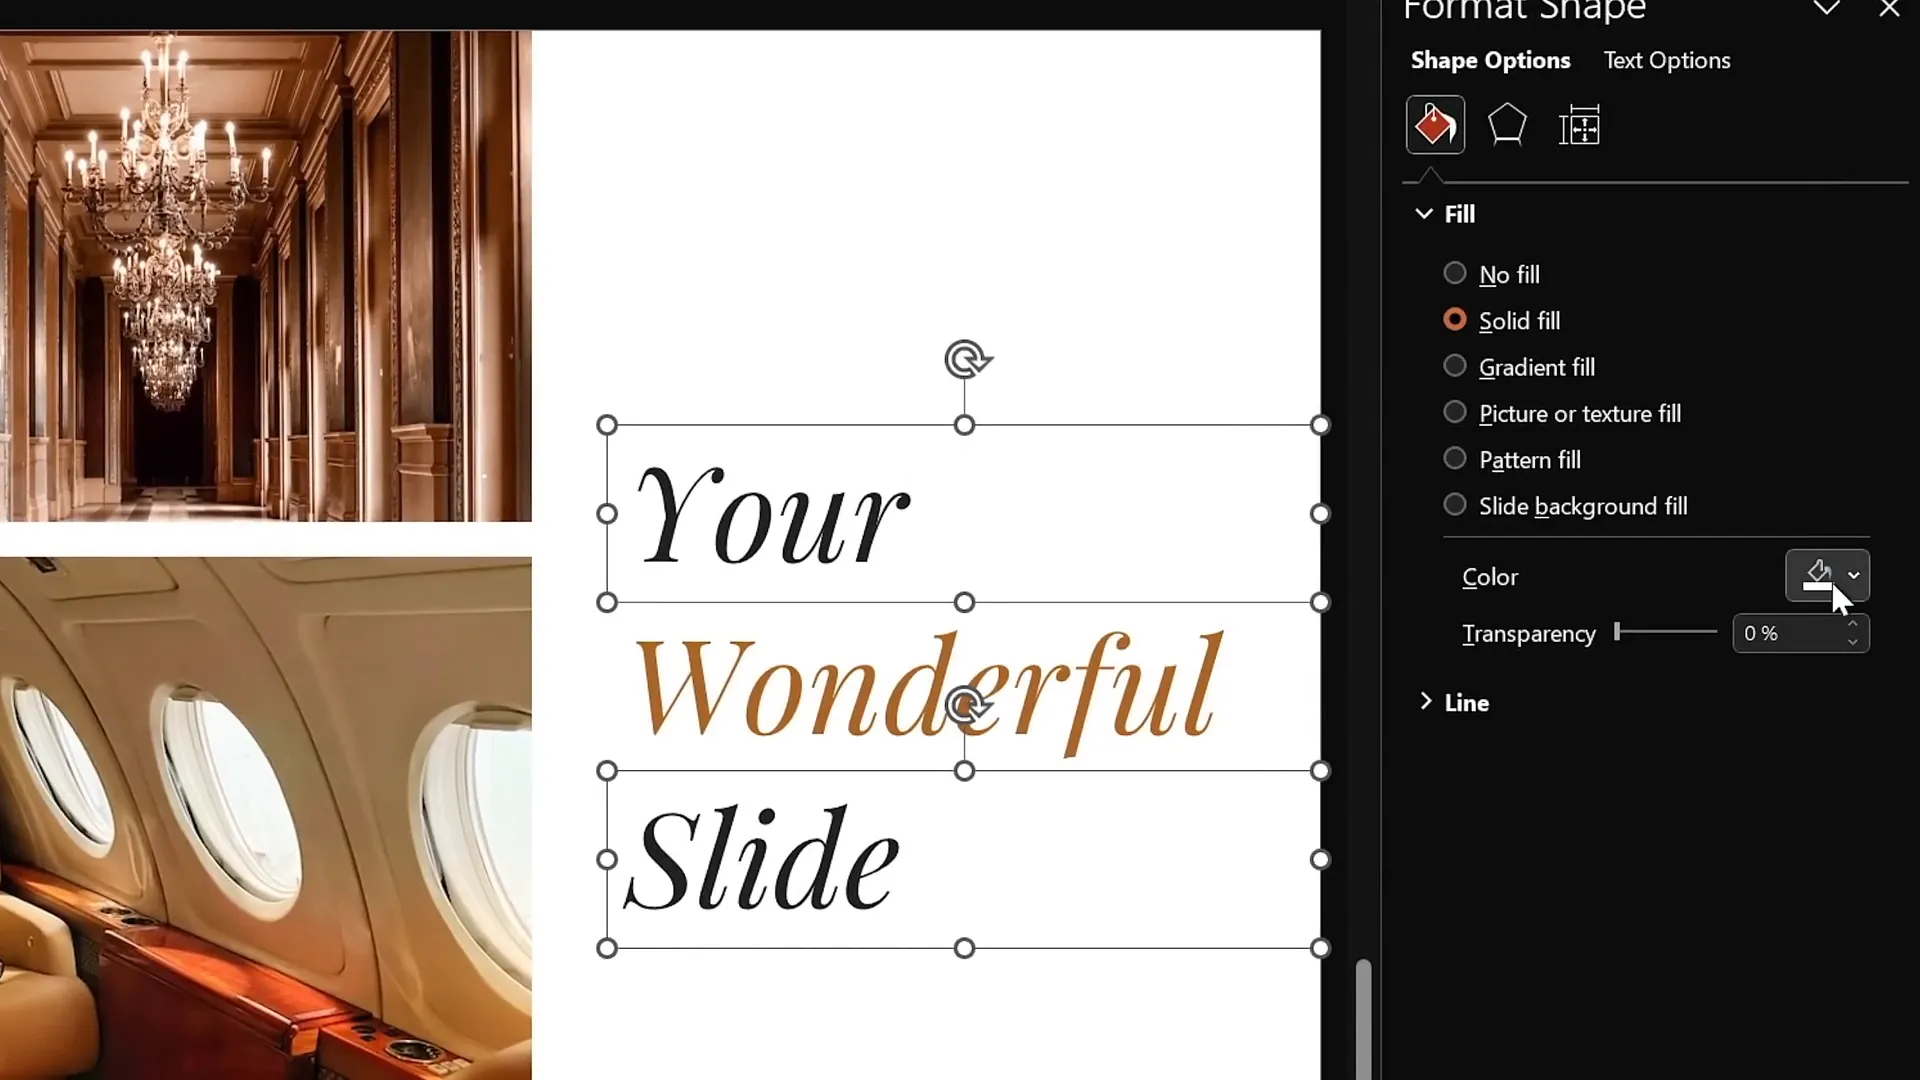
- Select the top and bottom text boxes and add a solid white fill (Format Shape > Fill > Solid Fill > White). This fill will hide the middle text box during animation.
- Send these two white-filled boxes to the front (Right-click > Bring to Front).
These steps prepare the text boxes for a reveal animation using the Morph transition.
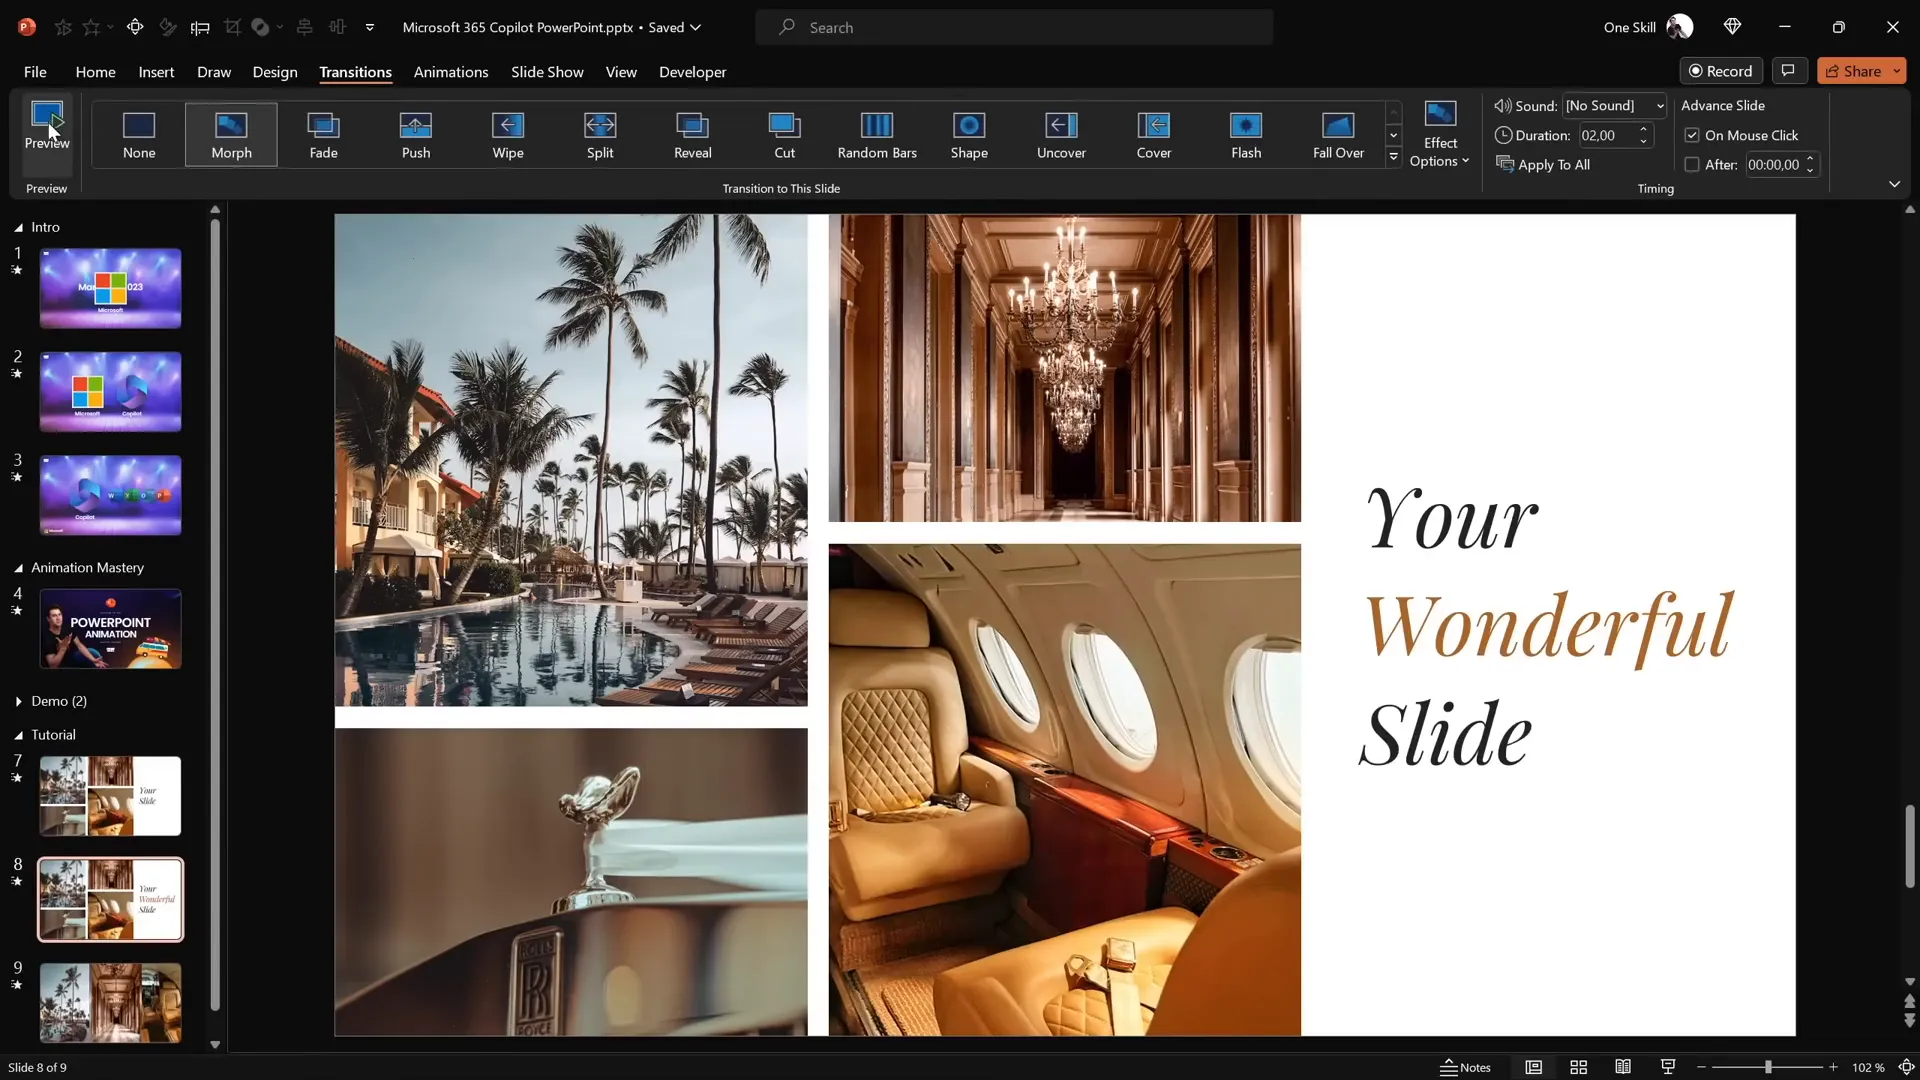
Applying the Morph Transition for Animations
The Morph transition is the secret sauce for creating smooth, professional animations in PowerPoint. It automatically animates the movement, resizing, and transformation of objects across slides.
Follow these steps for your slide animation:
- Duplicate your prepared slide (Right-click slide thumbnail > Duplicate Slide).
- On the duplicated slide, enable the Morph transition (Transitions tab > Morph).
- On the original slide, keep the transition as Fade or none.
- On the first slide, hide the middle text box (select it and click Hide Slide Object or move it off slide).
- Drag the top text box downwards until its bottom aligns with the center of the slide.
- Drag the bottom text box upwards until it overlaps or hides the middle text box.
Preview the transition by clicking Transitions > Preview. You should see a smooth text reveal animation on the right side.
Adding the Photo Crop Animation
Next, let’s animate the photos on the left side to create a dynamic crop effect:
- Go back to the original slide.
- Select the top left photo, go to Picture Format > Crop.
- Drag the bottom cropping handle slightly outside the slide boundary to “crop” the photo beyond the slide edge.
- Repeat for the other photos, adjusting the crop handles similarly (bottom photos get the top crop handle moved down outside the slide).
When you move to the duplicated slide with Morph transition, the photos will “slide” into place from their cropped positions, creating a smooth photo crop animation.
Check your slide in full-screen mode for the best effect.
Creating Animation Delays for Photos
In the original Microsoft Copilot animation, photos appear with slight delays rather than all at once. We can mimic this effect by varying the distance photos are moved off-slide before morphing.
To do this:
- On the original slide, select each photo and move it a different distance outside the slide boundary (some further than others).
- The Morph transition will then animate these photos back onto the slide with staggered timing, creating a natural delay effect.
This simple trick adds sophistication and polish to your PowerPoint design animation.
Final Tips and Further Learning
Congratulations! You’ve now learned how to create a stunning photo crop animation paired with a smooth text reveal effect inspired by Microsoft 365 Copilot’s PowerPoint animations.
Here are some final tips to keep in mind:
- Use the Morph transition: It’s a powerful tool that can transform static slides into engaging animations with minimal effort.
- Plan your objects carefully: Consistent alignment, grouping, and layering are key to seamless animations.
- Leverage Merge Shapes: This tool allows precise cropping and creative shape combinations that enhance your design.
- Experiment with timing: Creating staggered movement outside the slide adds natural animation delays for a professional look.
- Practice and preview: Always test your animations in Slide Show mode to ensure smooth playback.
If you’d like to dive deeper into mastering PowerPoint animations, consider exploring PowerPoint Animation Mastery courses and tutorials for comprehensive training.
Credits & Resources
- Photos used are from Unsplash
- Fonts: Playfair Display
- Animation inspiration: Microsoft 365 Copilot
Frequently Asked Questions (FAQ)
What is the Morph transition in PowerPoint?
The Morph transition is a feature in PowerPoint that animates smooth movement and transformation of objects across slides. It can move, resize, rotate, and recolor objects to create seamless animations without manual keyframing.
Can I use Morph transition on all versions of PowerPoint?
Morph transition is available in PowerPoint for Microsoft 365 (subscription versions), PowerPoint 2019, and later. It may not be available in older versions or some standalone editions.
How do I create photo crop animations in PowerPoint?
You can create photo crop animations by combining the Merge Shapes > Intersect feature to crop photos inside shapes and then animating their crop boundaries or position using the Morph transition.
Is it possible to add animation delays with Morph transition?
Yes! By positioning objects at different distances off-slide before the Morph transition, you can create natural animation delays as objects move back onto the slide at staggered times.
Can I adjust photos after merging shapes to crop them?
Absolutely. After using Merge Shapes to intersect a photo with a shape, use the Crop tool in Picture Format to reposition or resize the photo within the cropped area.
Where can I find high-quality free photos for my PowerPoint slides?
Unsplash (unsplash.com) is an excellent source for free, high-resolution images you can use legally in presentations.
What fonts work well for professional presentations?
Simple serif and sans-serif fonts like Playfair Display, Arial, and Calibri are great choices. Avoid overly decorative fonts to maintain readability and professionalism.
How can I learn more about advanced PowerPoint animations?
Consider enrolling in animation mastery courses such as the PowerPoint Animation Mastery course offered by One Skill PPT or watching detailed tutorials on YouTube.


