
If you’re looking to elevate your PowerPoint presentation skills and create visually stunning, seamless animations without complex tools, mastering the Morph transition is a game-changer. This powerful feature in PowerPoint allows you to move, resize, rotate, flip, and even morph objects across slides with incredible smoothness, making your presentations more dynamic and engaging.
In this comprehensive guide, we’ll explore everything you need to know about using the Morph transition effectively—from the basics of moving objects to advanced techniques like photo cropping and morphing different shapes or images. Whether you’re using PowerPoint 2019, Microsoft 365, or later versions, this tutorial will unlock the full potential of Morph in your presentations.
Let’s dive into the world of Morph animations and transform your slides into professional, eye-catching presentations.
Table of Contents
- What is the Morph Transition?
- Getting Started with Morph Transition
- Moving, Resizing, Rotating, and Flipping Objects
- Using Color and Transparency Effects
- Photo Cropping and Zoom Effects
- Tips to Ensure Perfect Morph Effects
- Advanced Morphing Examples
- Conclusion and Next Steps
- Frequently Asked Questions
What is the Morph Transition?
The Morph transition is one of the most powerful animation tools available in PowerPoint. It creates smooth, fluid animations between two slides by automatically animating the movement, resizing, rotation, flipping, and other transformations of objects between those slides.
Unlike traditional animations that require setting motion paths or multiple steps, Morph does the heavy lifting for you. By duplicating a slide and adjusting the objects on the second slide, Morph seamlessly animates the transition when moving from the first to the second slide.
This feature can dramatically improve your PowerPoint presentation skills by making your slides more professional, engaging, and visually appealing with minimal effort.
Getting Started with Morph Transition
To start using the Morph transition, ensure you have PowerPoint 2019 or later, or Microsoft 365, because Morph is only available in these versions.
Here’s a simple step-by-step process to create a Morph animation:
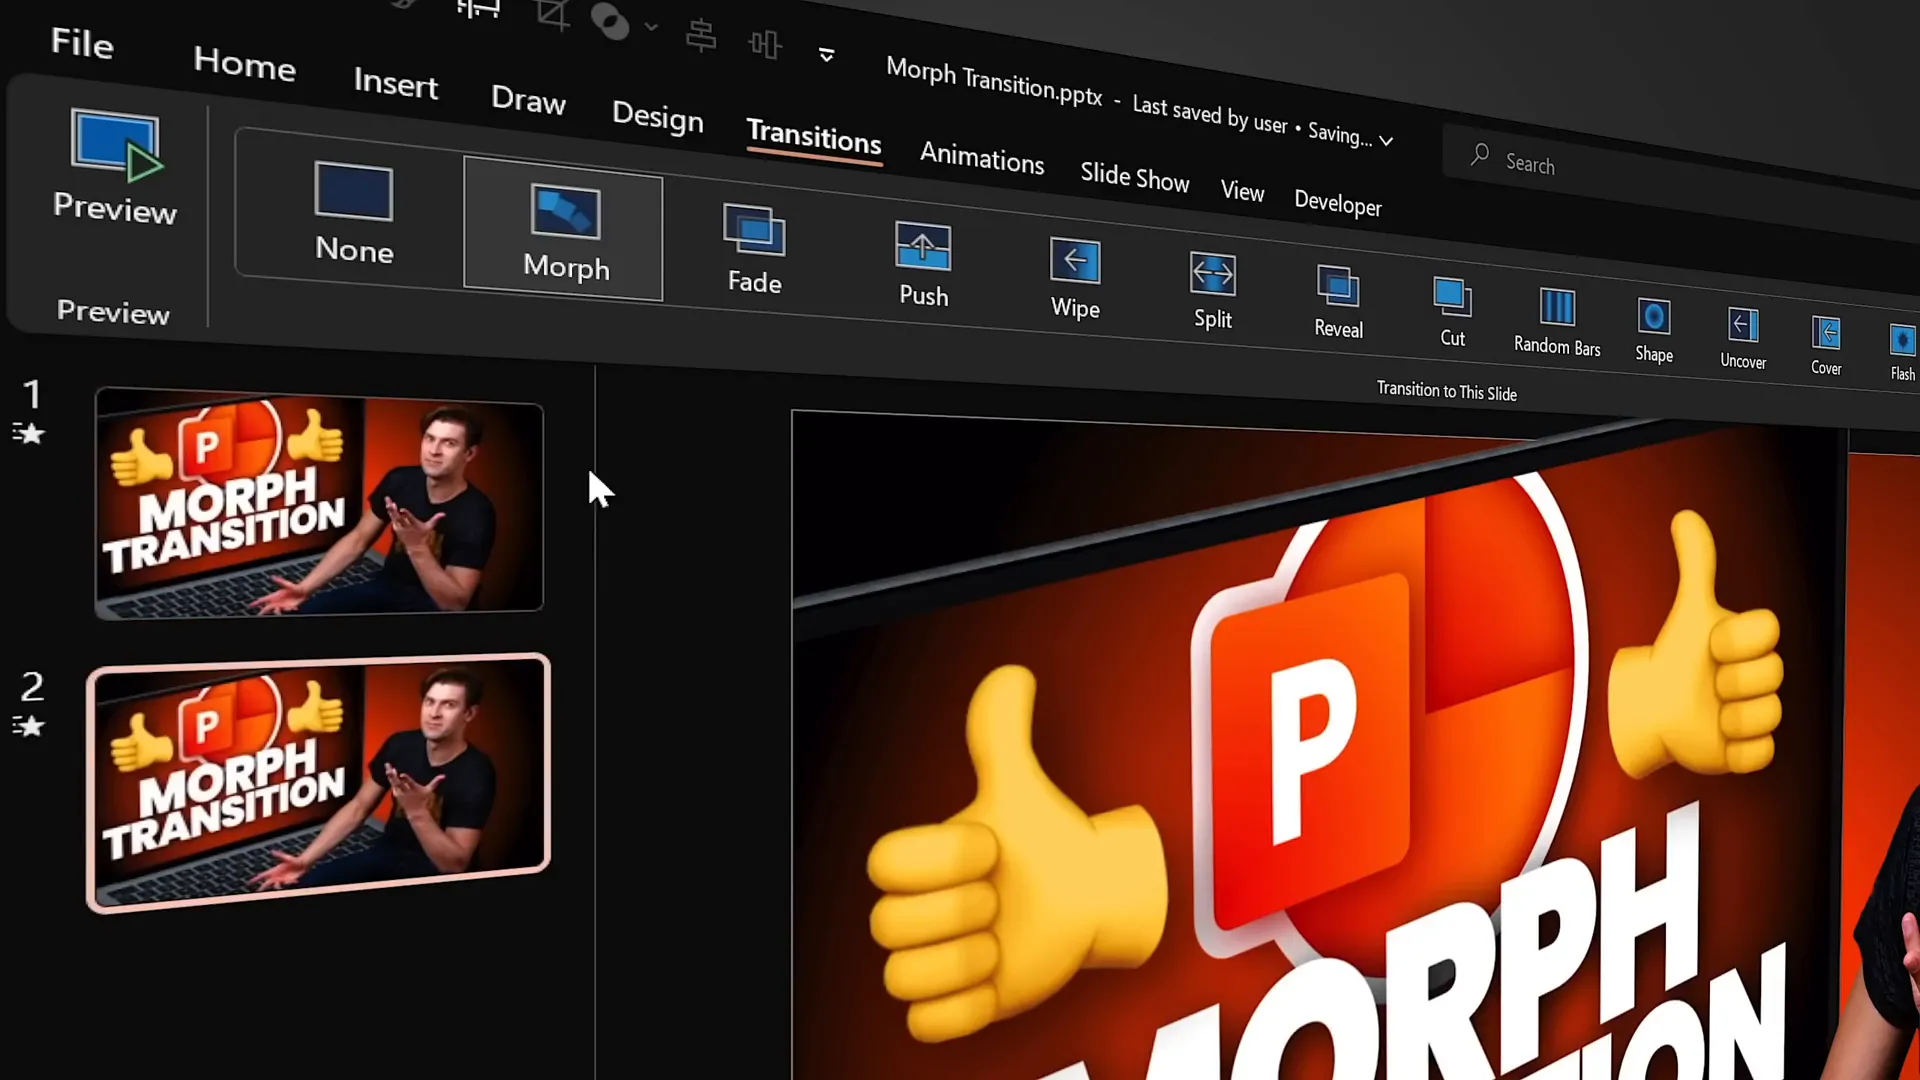
- Duplicate your slide: Right-click the slide you want to animate and select Duplicate Slide.
- Apply Morph transition: Select the duplicated slide, go to the Transitions tab, and choose Morph from the list of transitions.
- Modify objects on the second slide: Move, resize, rotate, flip, or change colors of objects on the duplicated slide to create the desired animation effect.
- Preview your animation: Click the Preview button on the Transitions tab to see Morph in action.
The Morph transition will automatically animate changes between the first and second slide without the need for complex animation paths or triggers.
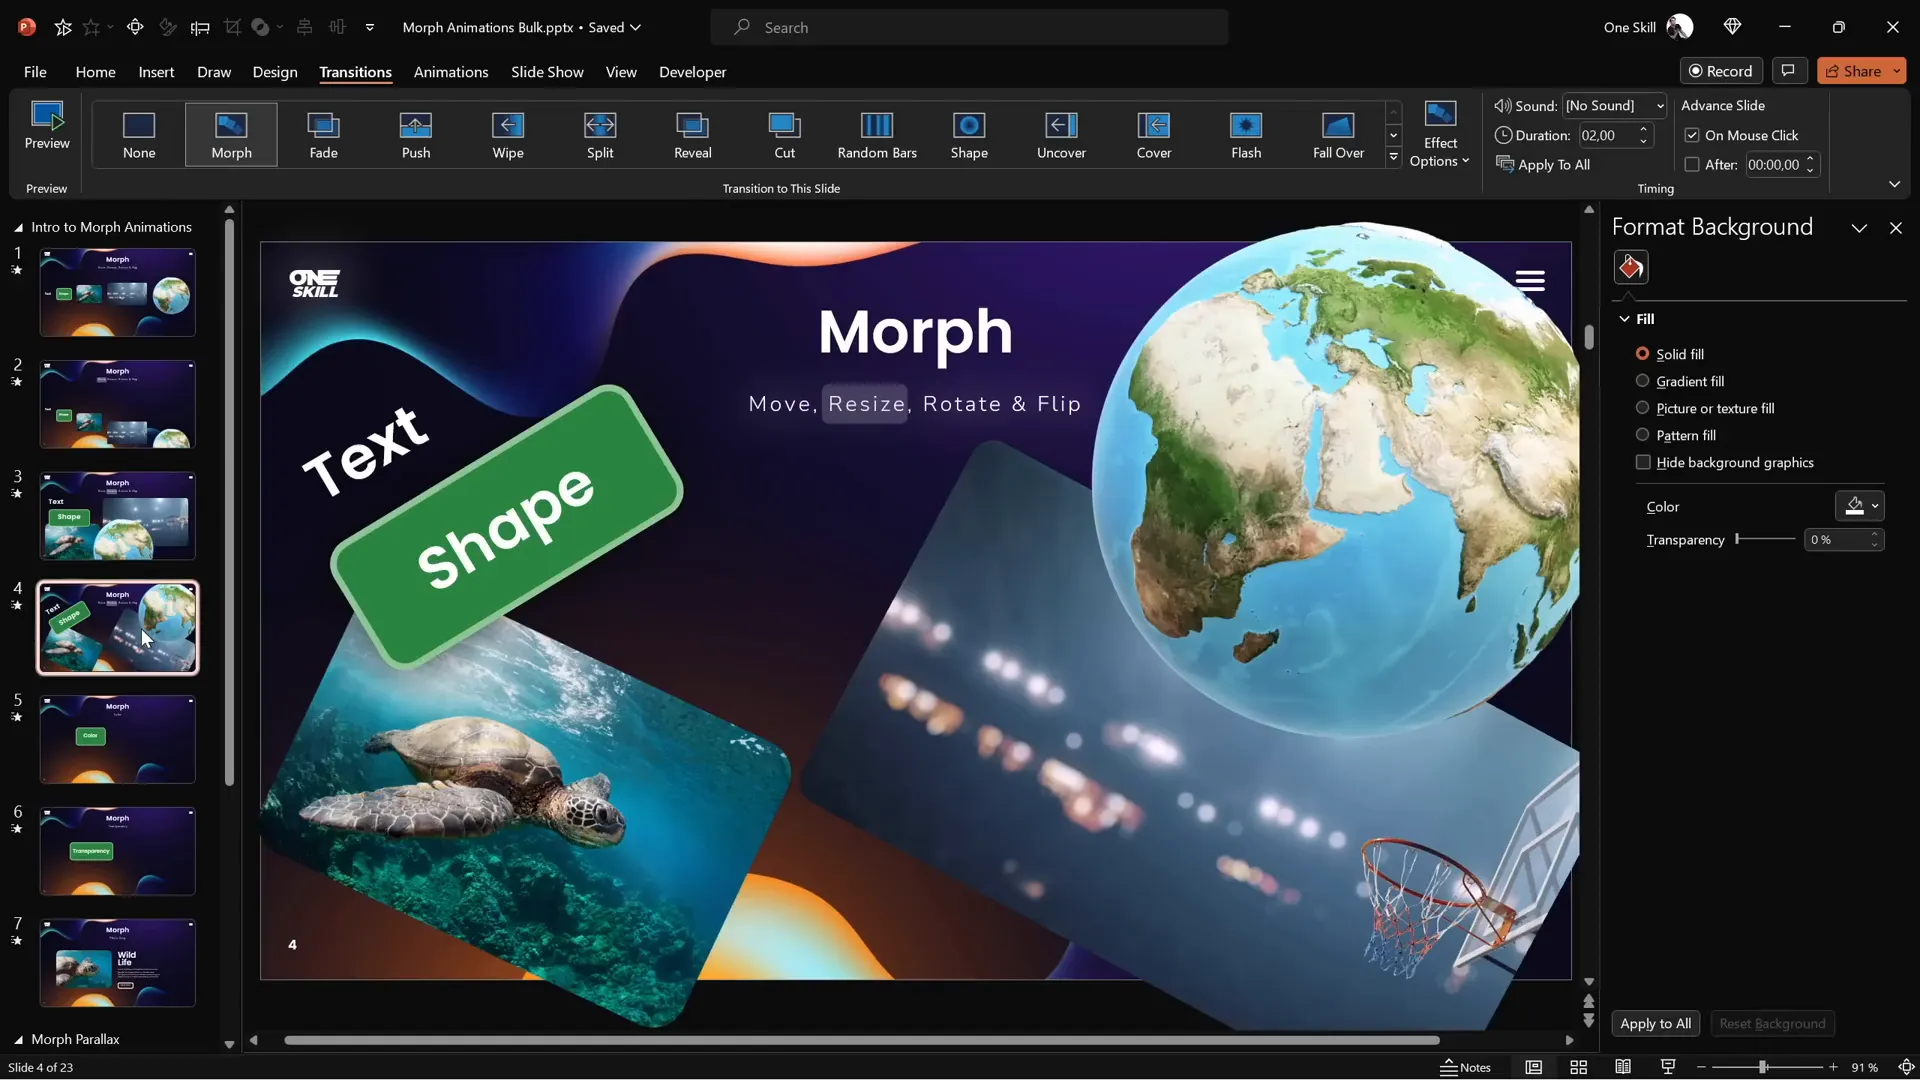
Moving, Resizing, Rotating, and Flipping Objects
Moving Objects
One of the simplest uses of Morph is moving objects smoothly across the slide. For example, you can move text boxes, shapes, pictures, videos, and even 3D models.
Here’s how to create a smooth move effect:
- Duplicate the slide.
- On the second slide, select the objects and drag them to a new position.
- Apply the Morph transition to the second slide.
When you play the slide show, the objects will glide smoothly to their new locations without any motion paths.

Resizing Objects
Morph also allows you to resize objects seamlessly. You can increase or decrease the size of text boxes, shapes, images, videos, and 3D models.
Steps to create resizing animations:
- Duplicate your slide.
- On the second slide, select the objects and resize them by dragging their corners.
- Apply Morph transition to the second slide.
The result is a smooth growth or shrink effect that looks much more professional than simple appear/disappear animations.

Rotating Objects
You can rotate objects with Morph just as easily. This includes text boxes, shapes, pictures, videos, and 3D models.
To create rotation animations:
- Duplicate the slide.
- On the second slide, rotate the objects using the rotation handles.
- Apply Morph transition.
Watch as the objects spin or rotate smoothly during the transition.
Flipping Objects
Morph even supports flipping objects horizontally or vertically. This is useful for creating mirror effects or dynamic changes in layout.
Here’s how to flip:
- Duplicate the slide.
- On the second slide, select the objects (except 3D models) and use Rotate → Flip Horizontal or Flip Vertical.
- For 3D models, use the special rotation handle inside the model to flip or rotate it to the desired position.
- Apply Morph transition.
Note: Text boxes flip in a different way—they rotate rather than flip, so for perfect flipping, convert your text to pictures.
Using Color and Transparency Effects
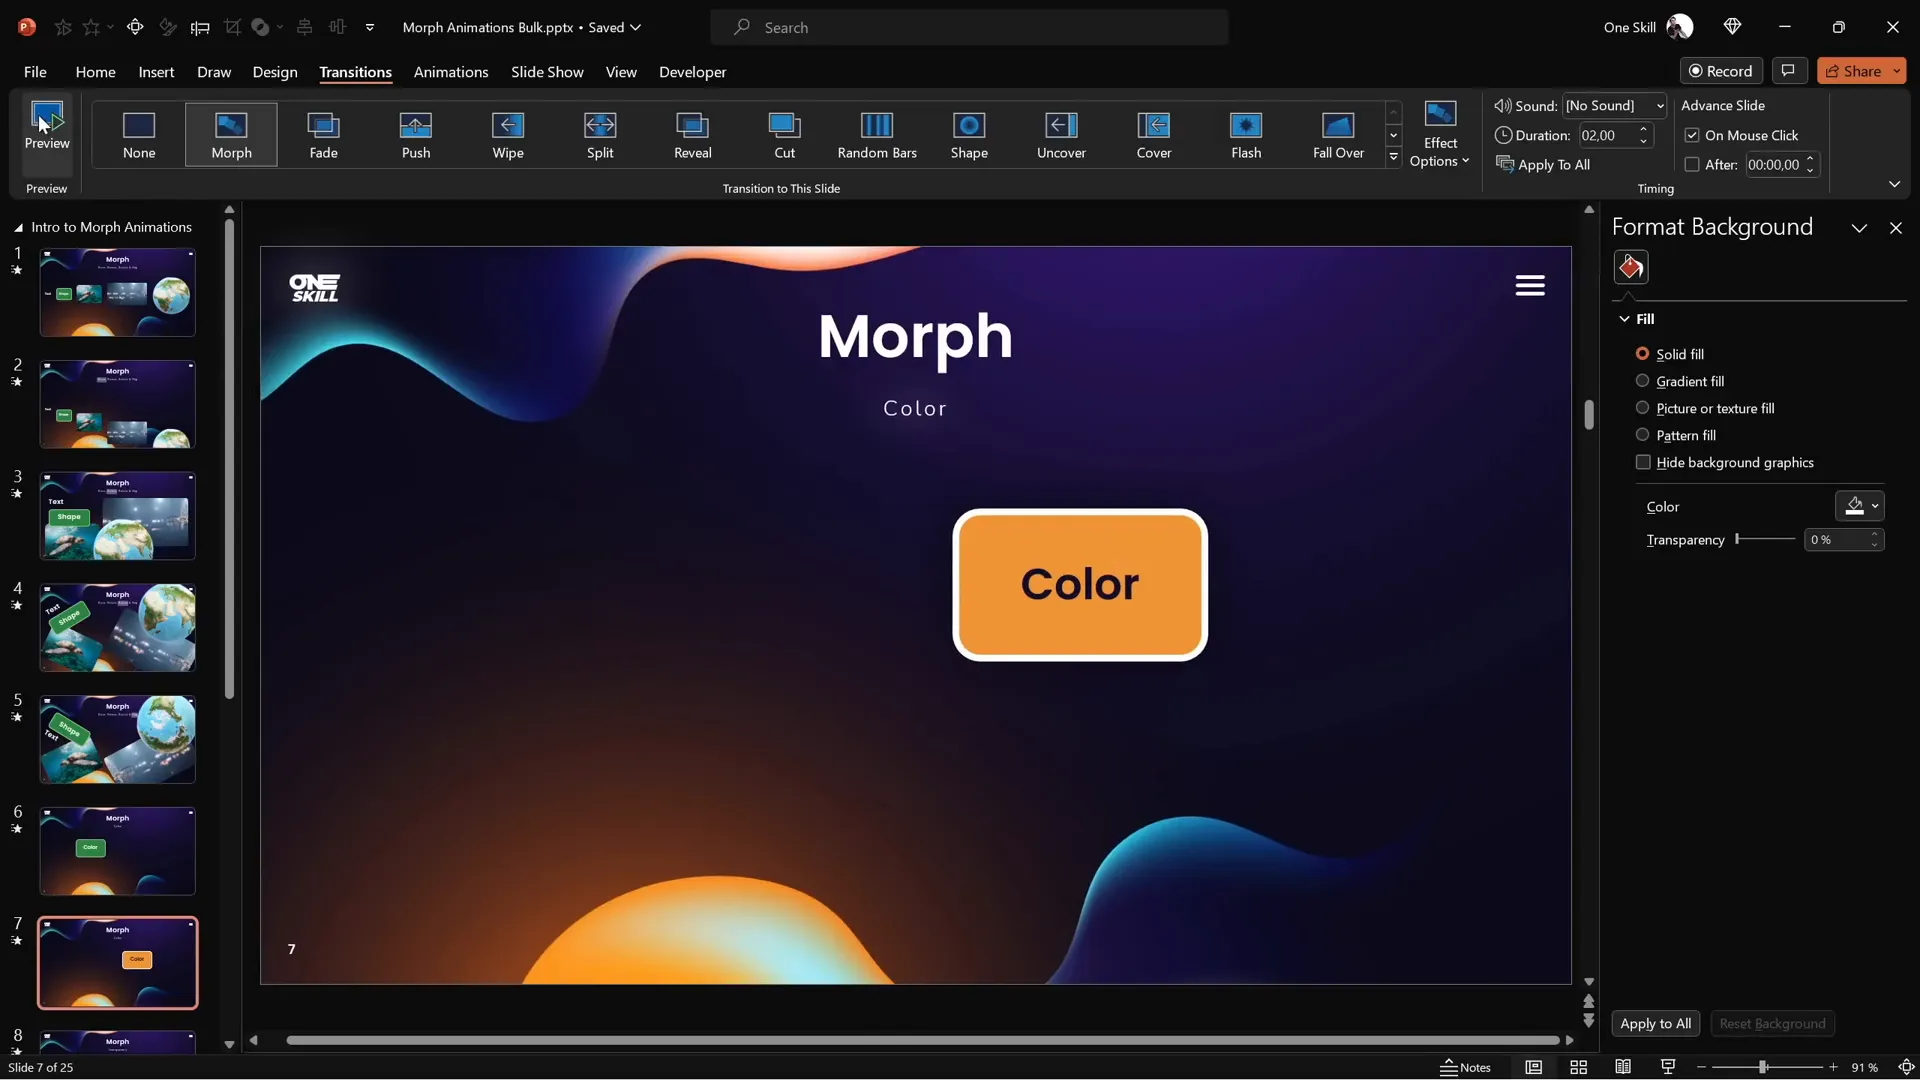
Color Transitions
Morph can smoothly animate color changes for shapes and text, making your slides more vibrant and dynamic.
Example steps:
- Duplicate the slide.
- Change the fill color of shapes and the font color of text on the second slide.
- Apply Morph transition.
The transition will morph the original color into the new color seamlessly.
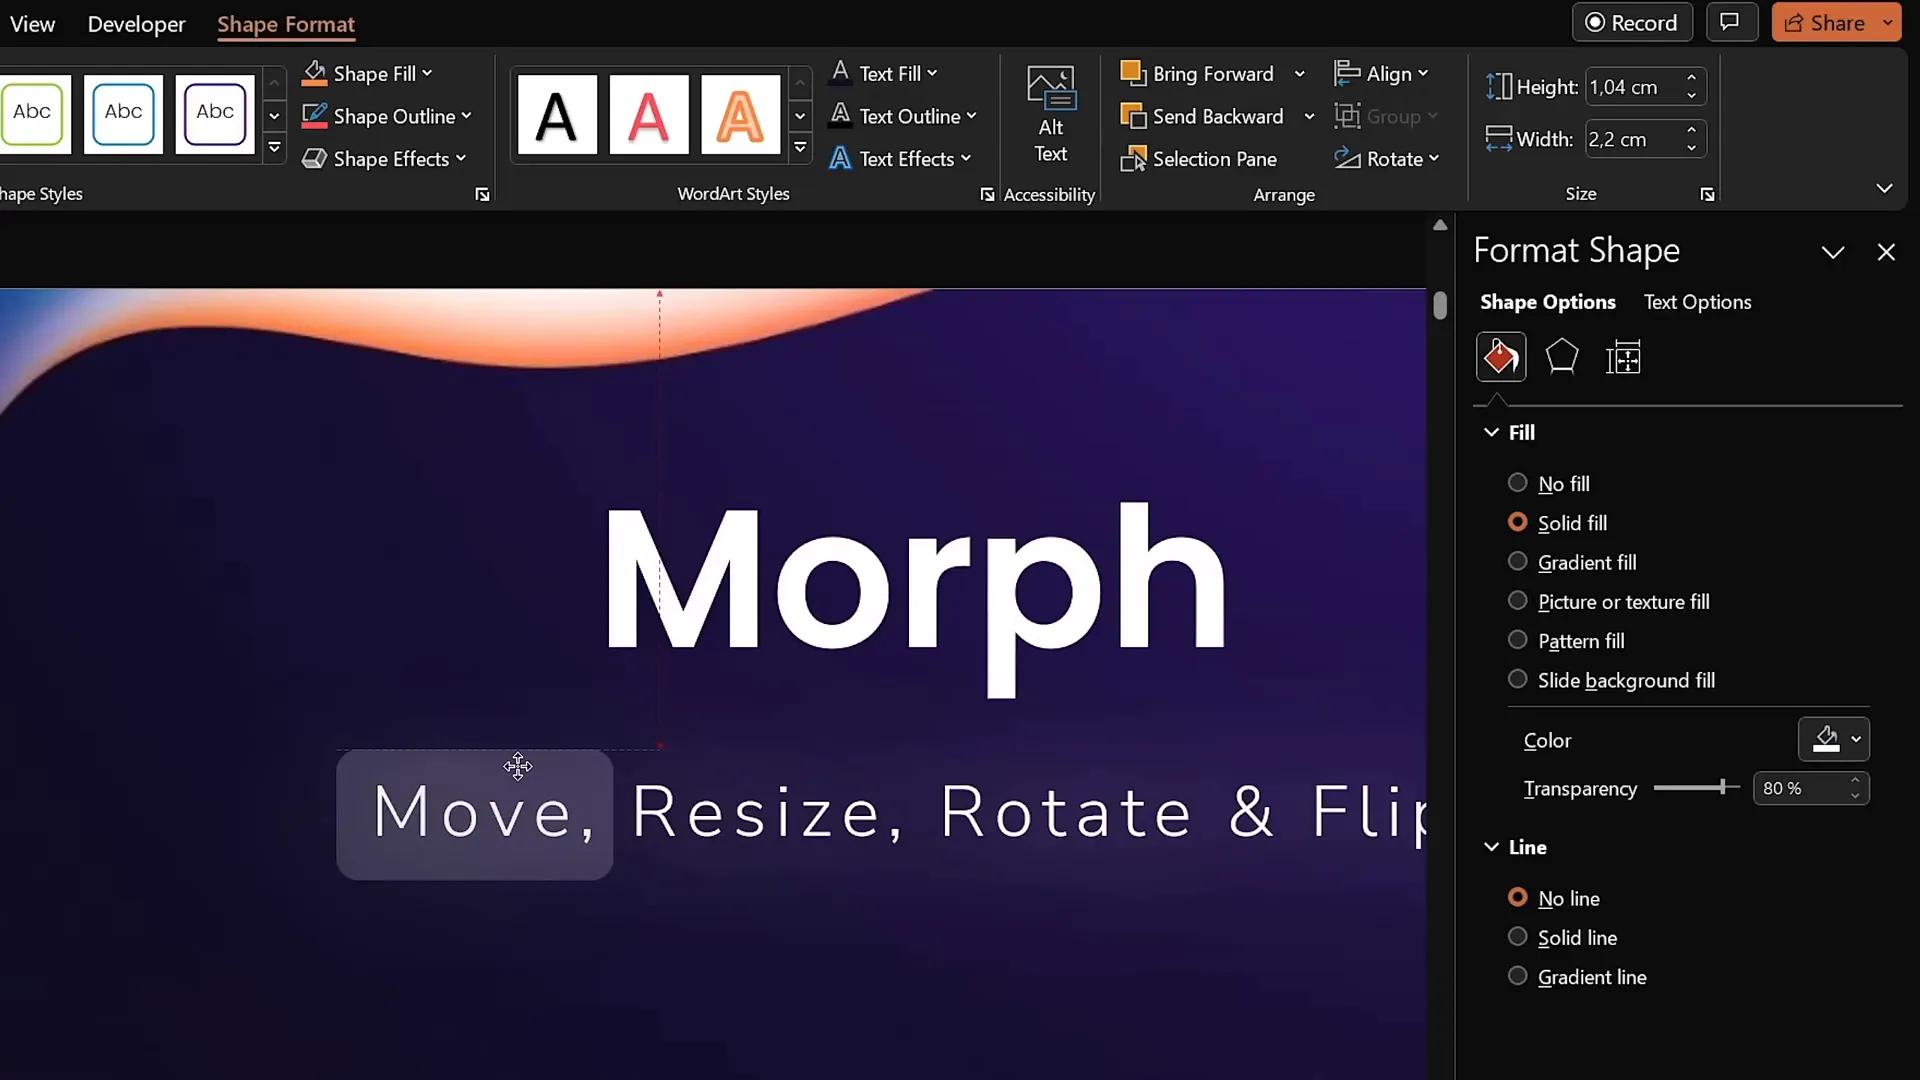
Transparency Effects
You can also animate transparency changes using Morph, creating fade-in or fade-out effects without traditional fade animations.
How to create transparency animations:
- Duplicate the slide.
- On the second slide, adjust the transparency of the fill, line, and font color (up to 100%) to make objects fade out.
- Apply Morph transition.
This technique lets objects move and fade simultaneously for smooth, professional effects.

Photo Cropping and Zoom Effects
Photo Cropping Animation
One of the most impressive uses of Morph is animating photo cropping. You can create the illusion of a photo being revealed or cropped dynamically.
How to do it:
- Insert a photo and duplicate the slide.
- On the second slide, select the photo, go to Picture Format → Crop.
- Use the black crop handles to adjust the visible area of the photo.
- Apply Morph transition.
The photo will animate as if the cropping area is changing smoothly.
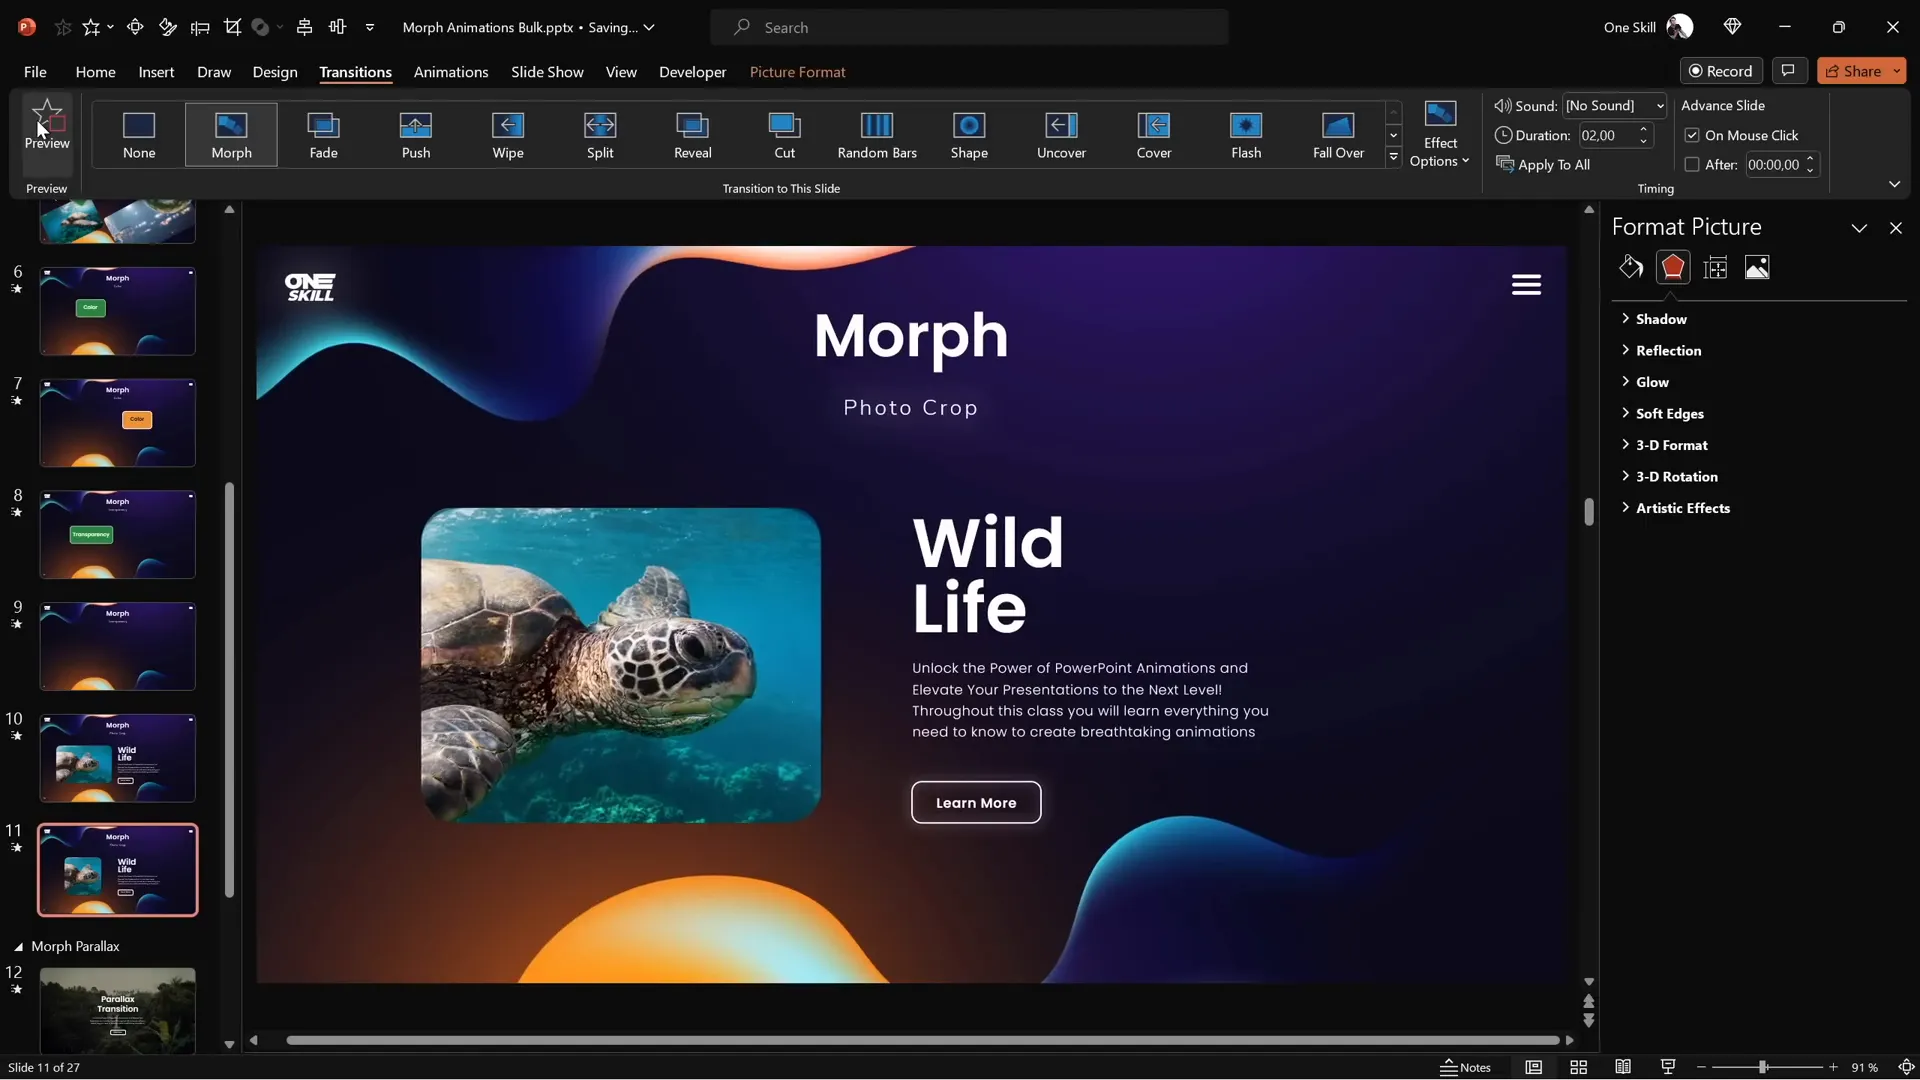
Photo Zoom Animation
You can also create zoom effects by adjusting the photo’s position inside the cropping area using the white handles.

Steps:
- On the first slide, set the photo zoomed out.
- On the second slide, zoom in on the photo by dragging the white handles or picture inside the crop frame.
- Apply Morph transition.
This creates a smooth zoom-in effect, great for emphasizing details.

Sliding Photos Into View
You can also simulate photos sliding into the cropping area by moving the photo outside the visible crop area on one slide and inside on the next.
For example:
- Move the photo completely outside the crop area on the first slide (making it invisible).
- Move it back inside the crop area on the second slide.
- Move accompanying text off-slide on the first slide and back on-slide on the second slide.
- Apply Morph transition.
This creates a slick sliding-in animation for both photo and text.
Tips to Ensure Perfect Morph Effects
While Morph is powerful, it has some nuances you should keep in mind to get smooth, flawless animations every time.
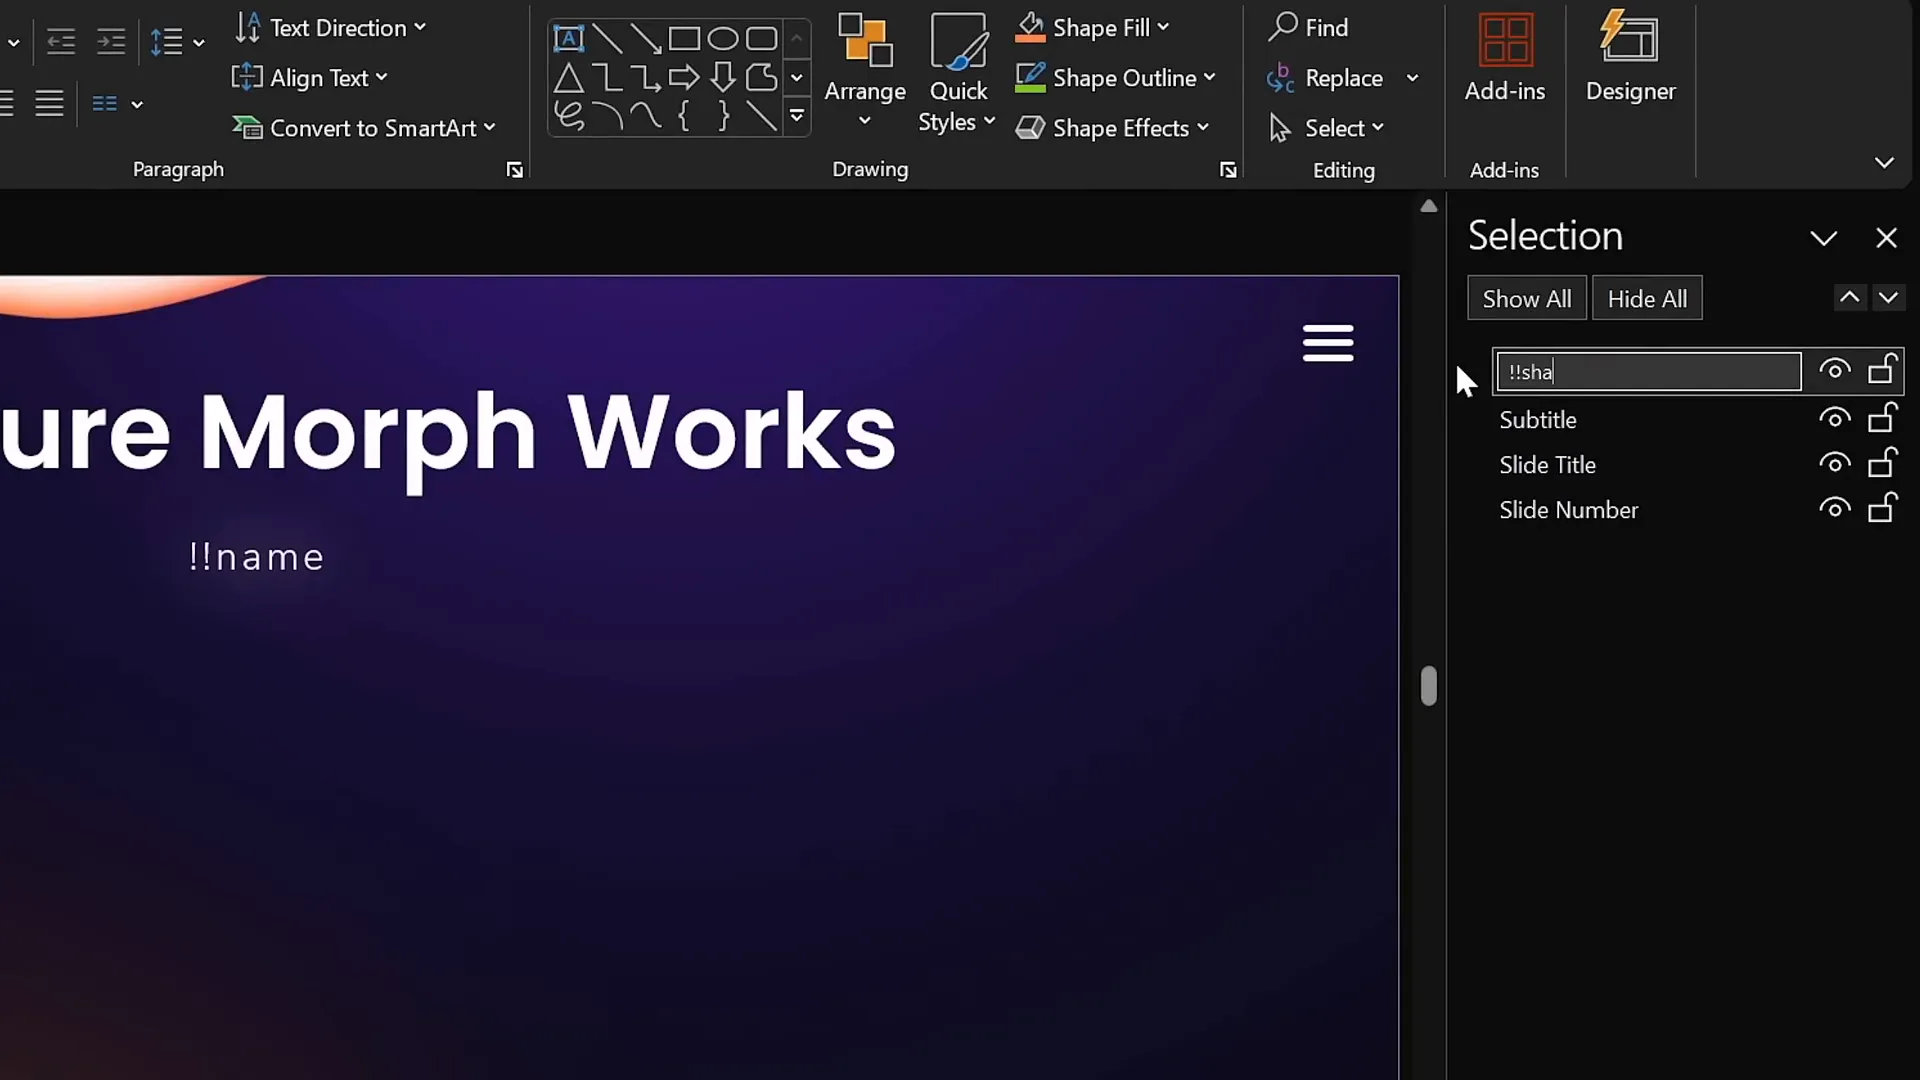
Use Consistent Object Names
Morph matches objects between slides based on their names. If you want two different shapes or photos to morph into each other, you must assign them the same name, starting with double exclamation marks !!.
| Scenario | Without Same Name | With Same Name (e.g., !!shape) | Effect |
|---|---|---|---|
| Shape morph (rectangle to circle) | Rectangle fades out, circle fades in | Rectangle morphs smoothly into circle | Improved morph effect |
| Photo morph (cat to lion) | Cat photo fades out, lion photo fades in | Cat photo morphs smoothly into lion photo | Seamless photo morph |
Use the Selection Pane (Home → Select → Selection Pane) to rename objects easily.
Ensure Objects Exist on Both Slides
Morph only animates objects that appear on both slides. If an object exists only on one slide, it will fade in or out rather than morph.
To avoid unwanted fade animations:
- Have the exact same object on both slides (even if moved or resized).
- Use consistent names if morphing between different objects.
Limitations with Videos
While Morph can animate videos moving or resizing, note that videos stop playing during the transition and resume afterward. Videos set to loop and start automatically will behave this way.
Advanced Morphing Examples
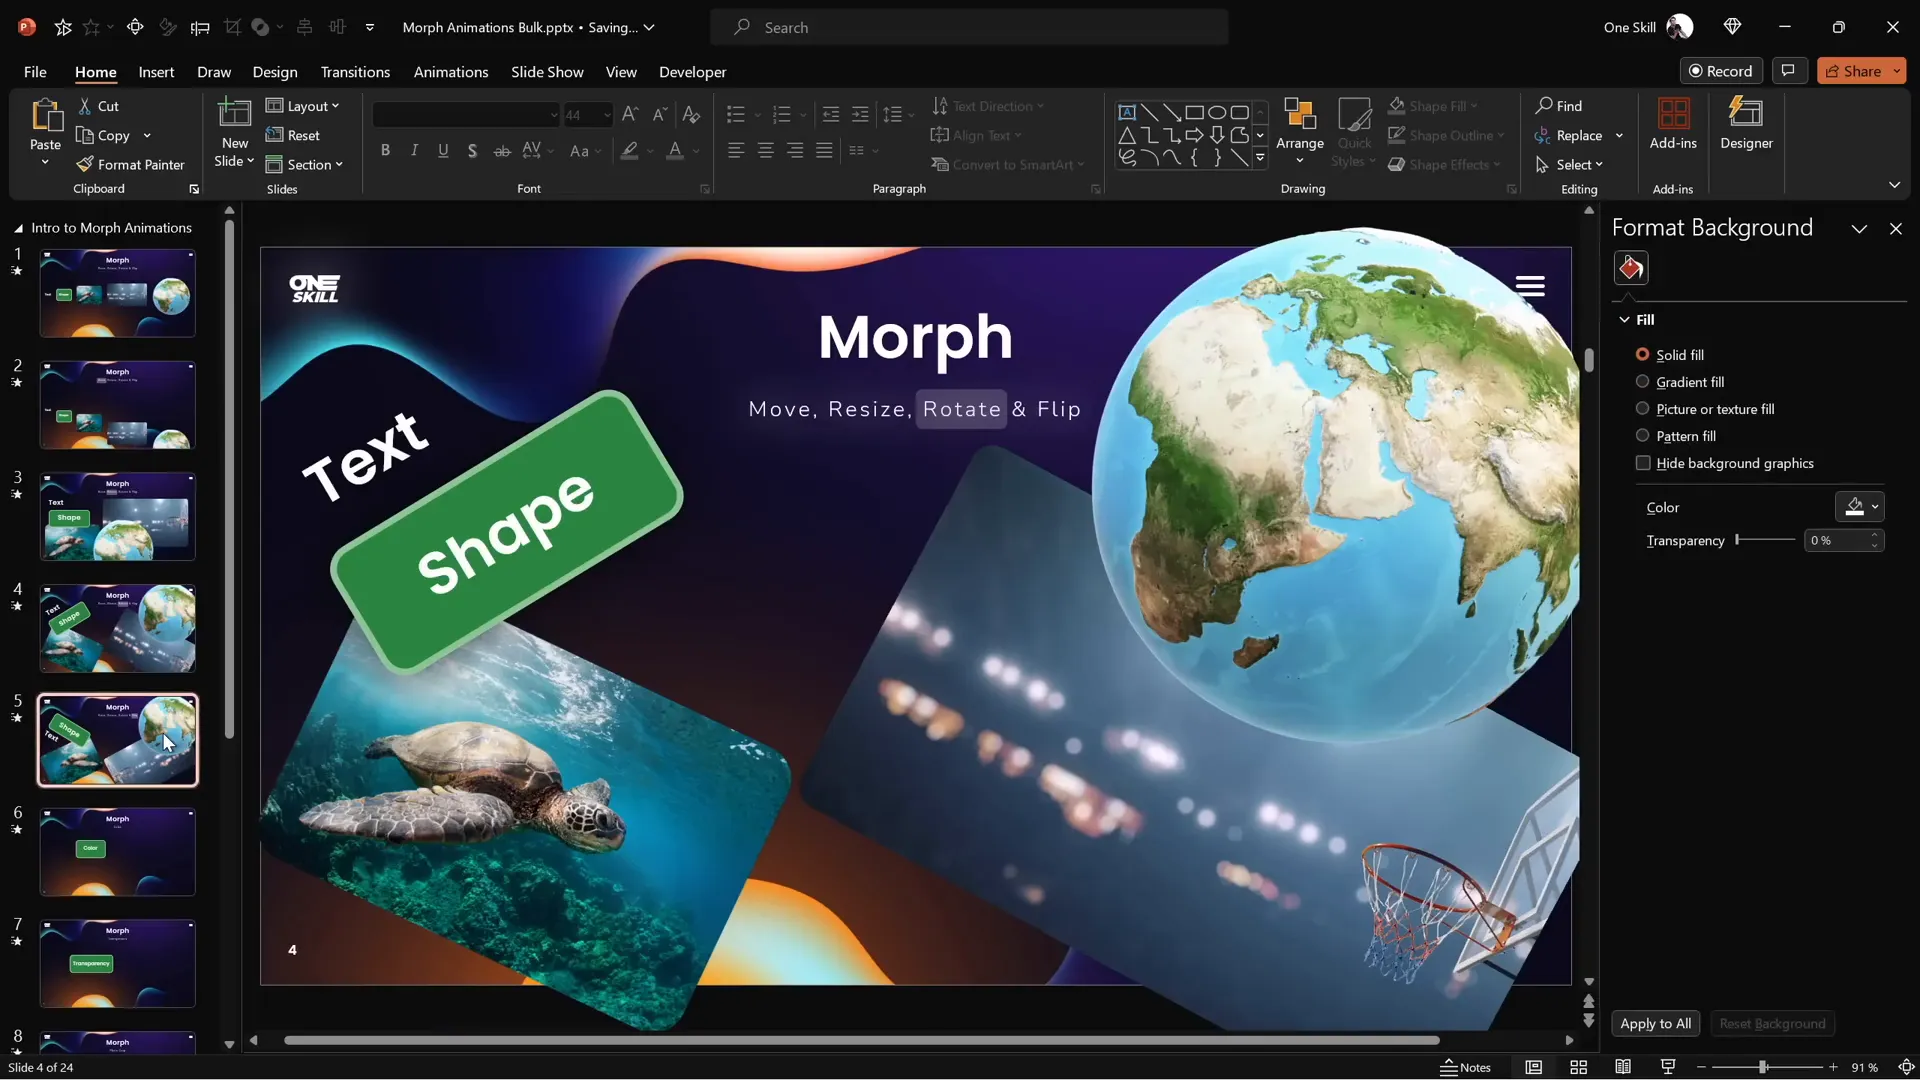
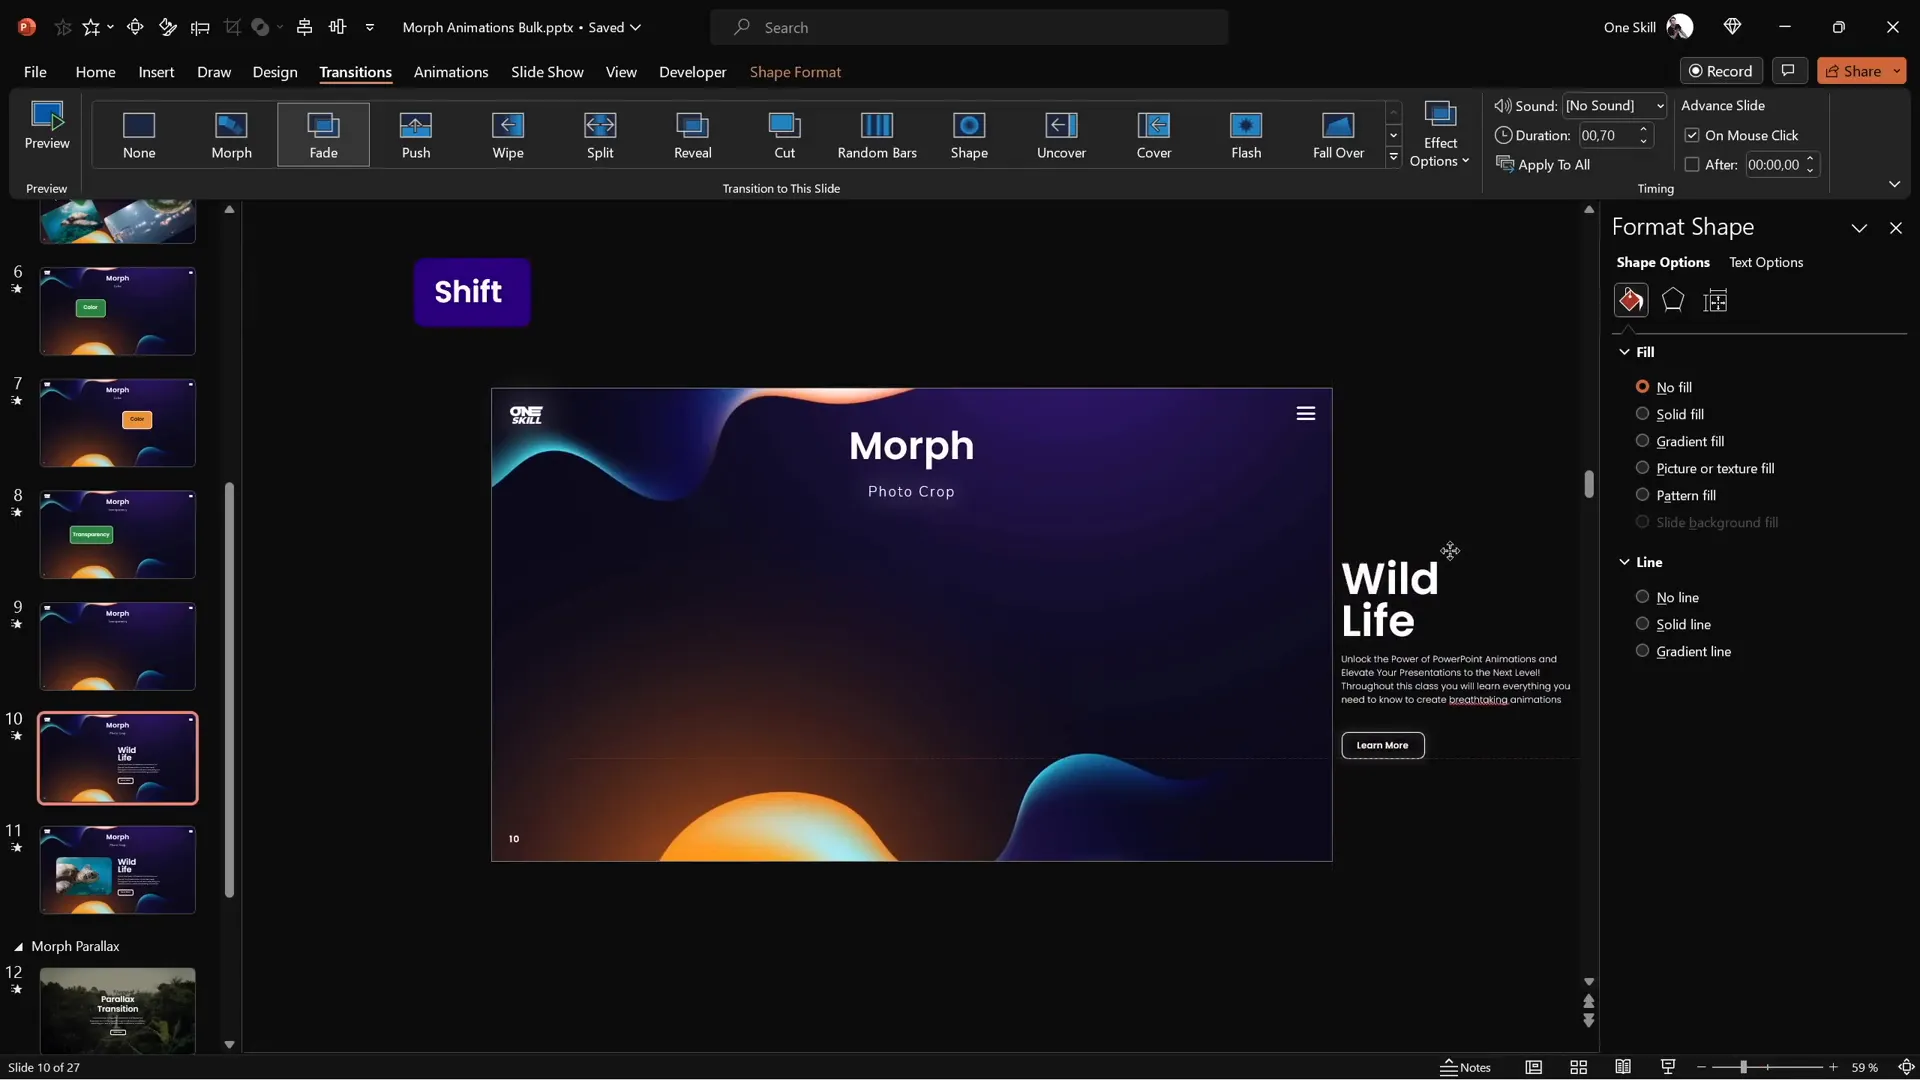
Animating Slide Titles with Highlights
You can create engaging animations for slide titles or subtitles by using semi-transparent shapes to highlight words or parts of text.
Example:
- Create a semi-transparent rounded rectangle with white fill and high transparency (e.g., 80%).
- Move this rectangle over different words on successive slides.
- Apply Morph transition to animate the highlight moving smoothly.
This technique adds visual emphasis and professionalism to your titles.
Creating Parallax Transitions
By combining multiple Morph effects such as moving, resizing, and layering objects, you can create sophisticated parallax animations that add depth and interest to your slides.
These techniques require planning and layering objects carefully but can be mastered once you understand the basics of Morph.
Conclusion and Next Steps
The Morph transition is an indispensable tool for boosting your PowerPoint presentation skills. It simplifies complex animations and makes your slides look polished and professional with minimal effort.
We covered how to:
- Move, resize, rotate, and flip objects
- Animate color changes and transparency
- Create powerful photo cropping and zoom effects
- Use consistent object naming for perfect morphing
- Work around limitations with video and text flipping
Experiment with these techniques to add dynamic, engaging animations to your presentations. Once comfortable, you can explore advanced animations like parallax transitions to wow your audience even more.
For those eager to deepen their skills, consider comprehensive courses or tutorials specializing in PowerPoint animation mastery to unlock even more creative possibilities.
Frequently Asked Questions
What versions of PowerPoint support the Morph transition?
Morph transition is available in PowerPoint 2019, PowerPoint for Microsoft 365, and later versions. It is not available in earlier versions like PowerPoint 2016 or 2013.
Can Morph animate any object on a slide?
Morph works with most objects including text boxes, shapes, pictures, videos, and 3D models. However, videos pause during transitions, and text flipping requires converting text to images for perfect results.
How do I make Morph morph one shape into another?
To morph one shape into another, assign both objects the same name in the Selection Pane, starting with double exclamation marks (e.g., !!shape). Morph then recognizes them as the same object and animates the transformation.
Why does Morph sometimes show a fade effect instead of morphing?
This happens if the object does not exist on both slides or the names don’t match. Ensure both slides have the object with the exact same name to enable morphing.
Can Morph animate photo cropping?
Yes! By adjusting the crop handles on a photo between duplicated slides and applying Morph, you can create smooth cropping and zoom effects that look very professional.
Is Morph better than traditional animations in PowerPoint?
Morph is easier and faster for many types of animations because it automatically animates changes between slides without you needing to set motion paths or complex animation sequences. However, traditional animations still have their place for more custom effects.
Can I use Morph for professional business presentations?
Absolutely! Morph helps create polished, engaging presentations that keep audiences interested. Just use it tastefully and avoid overdoing animations to maintain professionalism.
Where can I learn more about advanced Morph animations?
Many online courses and tutorials focus on PowerPoint animation mastery, including advanced Morph techniques like parallax effects. Exploring these resources can help you take your skills to the next level.
Check out the full video: PowerPoint Presentation Skills: Master Morph Transition! ✨


