
If you’re looking to elevate your PowerPoint presentations with dynamic, engaging, and interactive slide designs, then you’re in the right place. In this comprehensive tutorial, we’ll walk you through creating an impressive interactive morph animated slide design in PowerPoint, inspired by the sleek design from Filmora 14’s website. This tutorial not only teaches you how to use PowerPoint’s powerful morph transition features but also integrates clickable buttons and scrolling photo galleries to make your presentations truly stand out.
Whether you’re a designer, educator, marketer, or anyone who wants to harness the power of PowerPoint morph to create stunning presentations, this guide has you covered. Plus, you’ll get access to a free template so you can follow along and start creating your own interactive slides right away.
Table of Contents
- Introduction to PowerPoint Morph and Interactive Slide Design
- Using Filmora 14’s AI Audio to Video Feature: A Quick Overview
- Preparing Your Slide Assets: Backgrounds, Fonts, and Buttons
- Step-by-Step Guide to Creating the Interactive Morph Slide
- Making Buttons Clickable: Adding Hyperlinks and Grouping Elements
- Finalizing and Testing Your Interactive Morph Slide Design
- Frequently Asked Questions (FAQ)
- Conclusion
Introduction to PowerPoint Morph and Interactive Slide Design
PowerPoint morph is an advanced transition feature that allows smooth movement and transformation of objects between slides, creating a dynamic and fluid presentation experience. When combined with interactive elements like clickable buttons and scrolling image galleries, morph can transform static slides into engaging, user-controlled experiences.
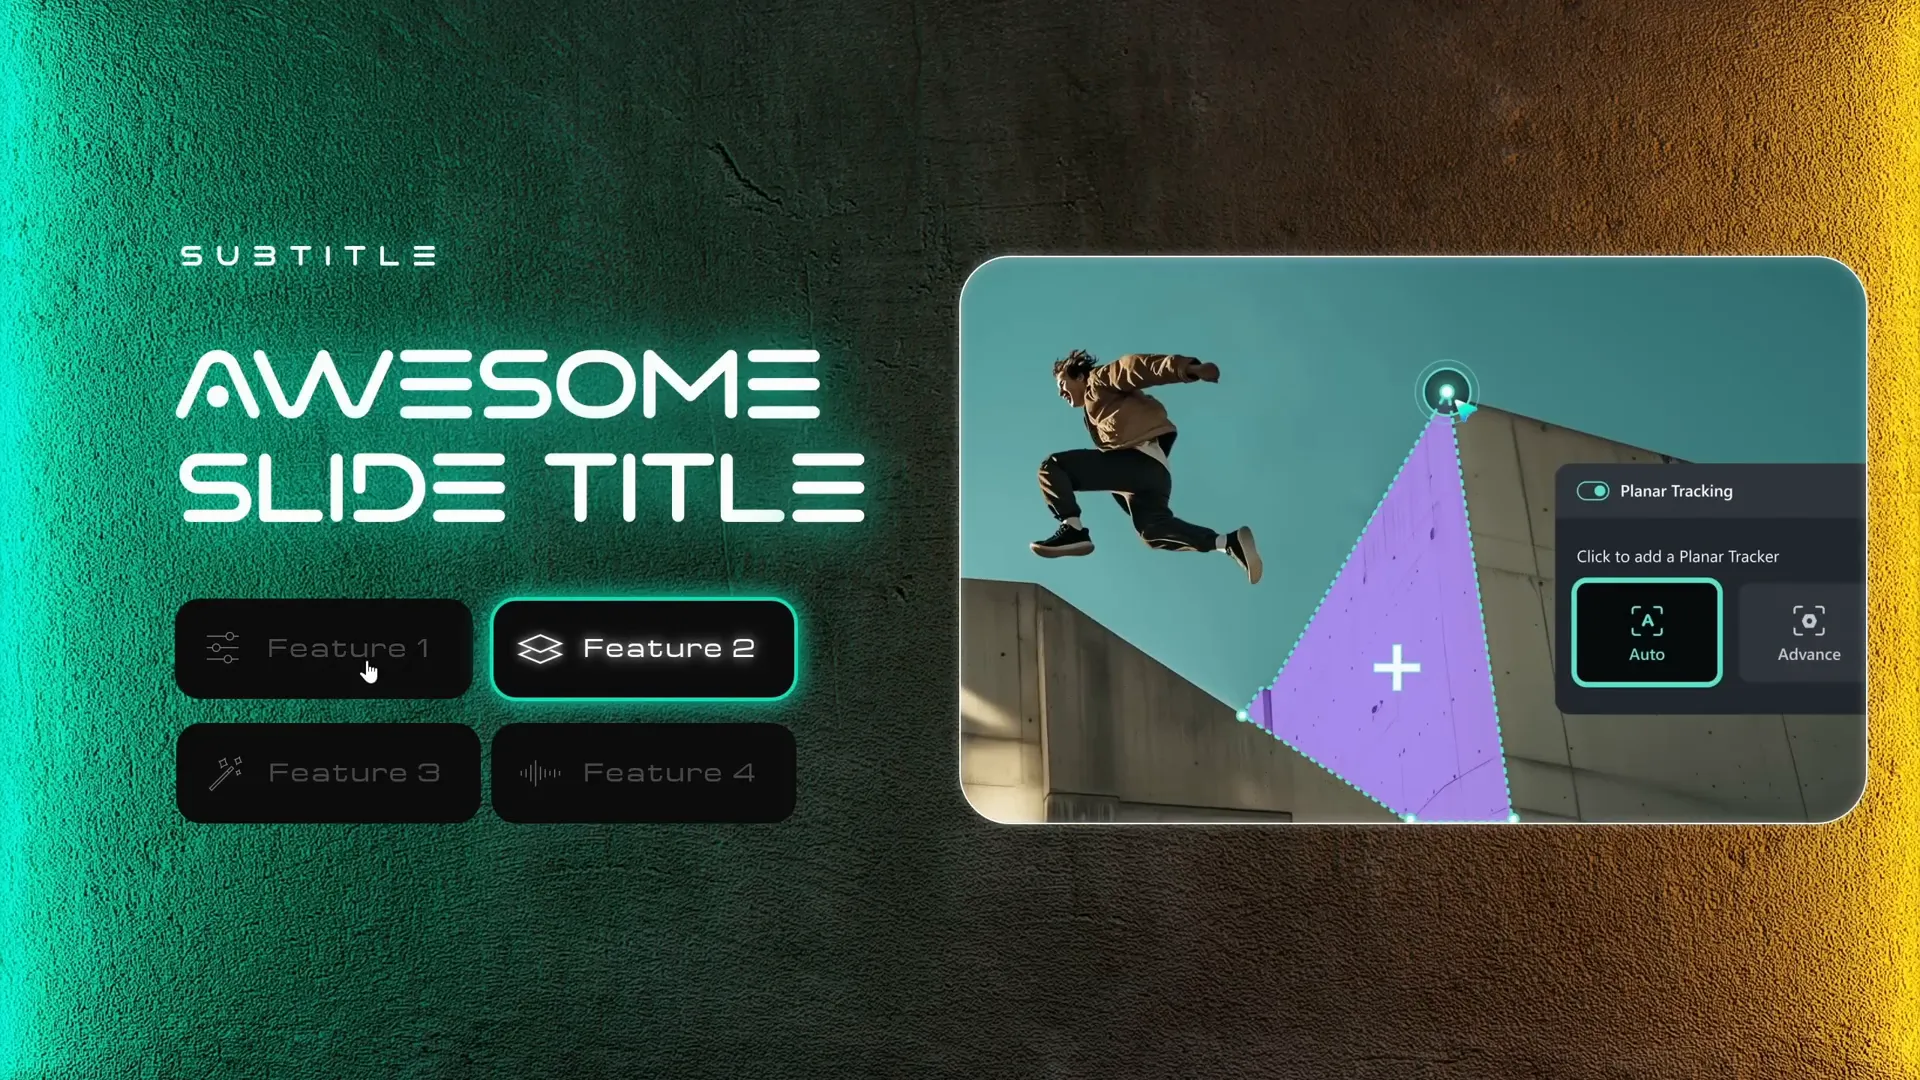
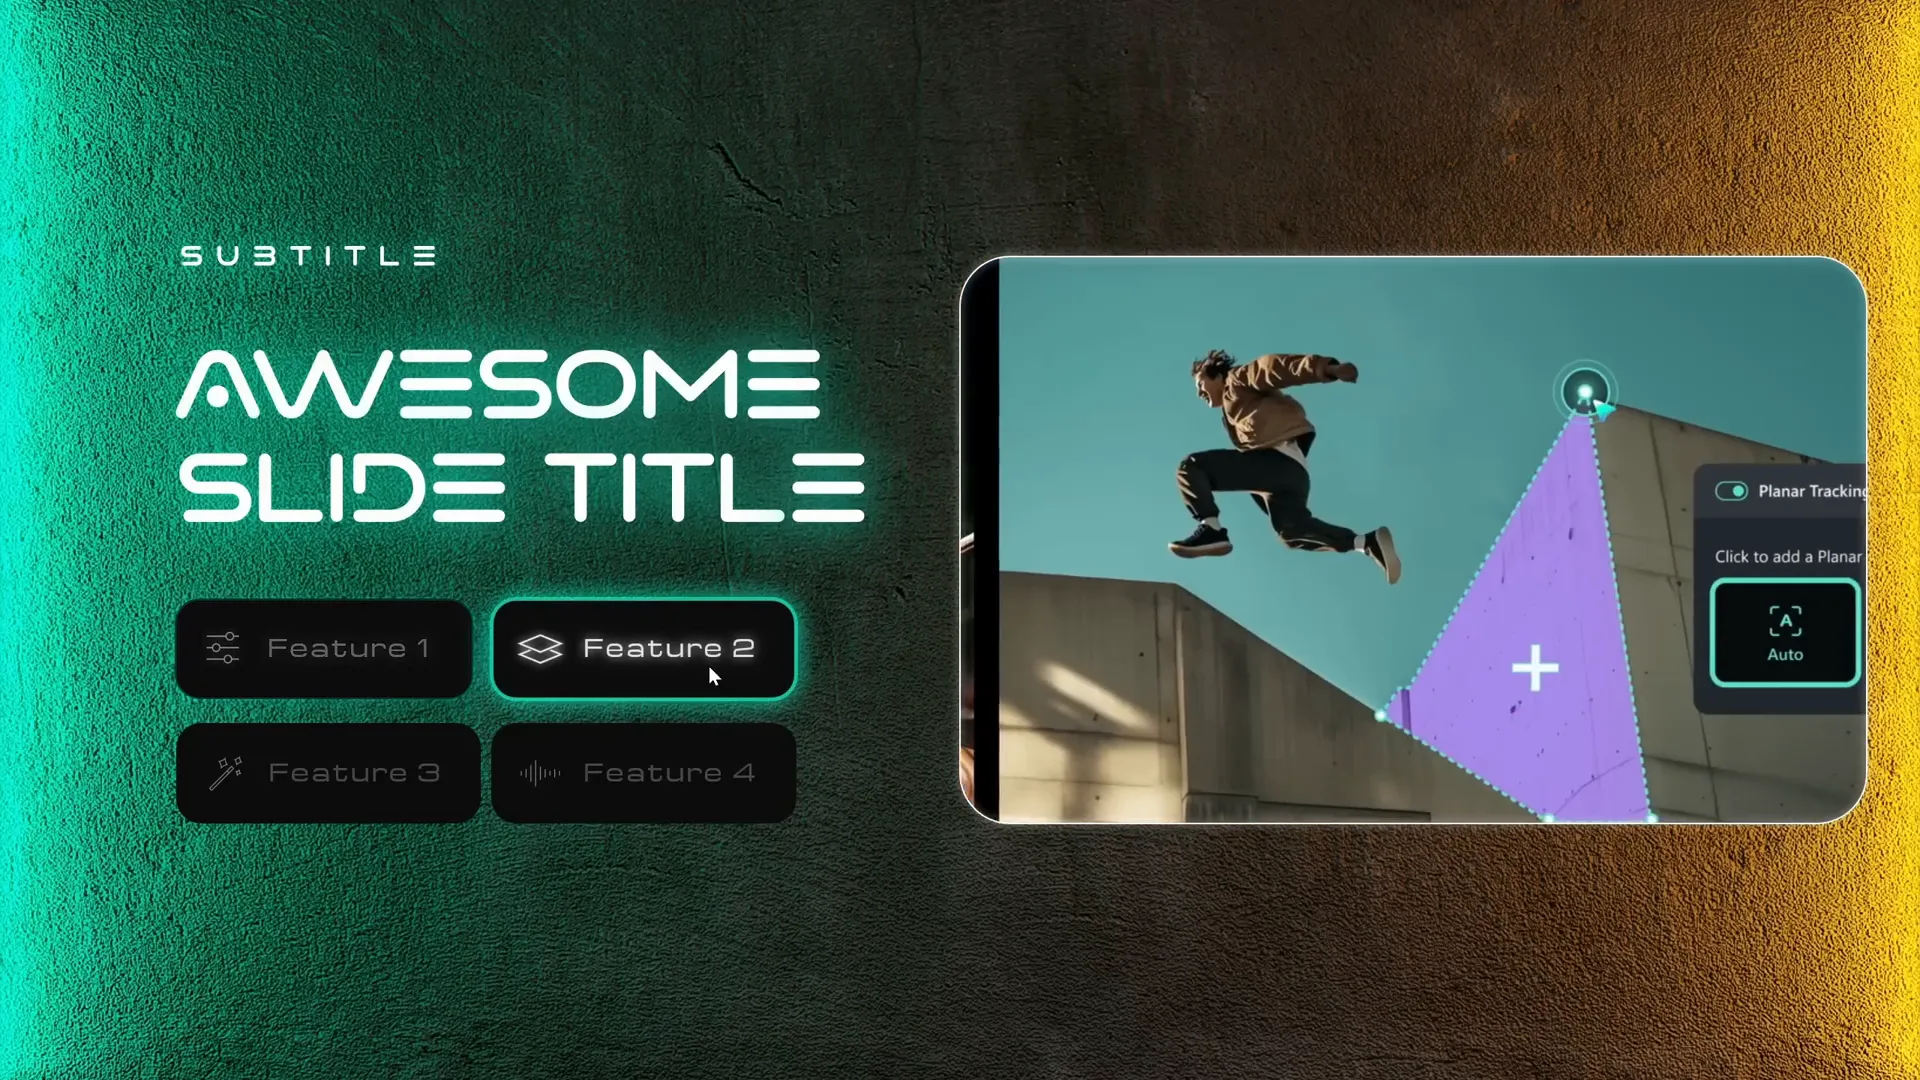
The interactive morph slide design we’ll create is inspired by Filmora 14’s website interface, which features a neat interactive menu that allows users to click and scroll through different features. This tutorial will help you replicate a similar effect that’s futuristic, visually appealing, and highly functional.

Before diving into PowerPoint, the tutorial also introduces Filmora 14’s new AI-powered feature that converts audio files into engaging videos — a handy tool for podcasters, storytellers, and content creators. We’ll briefly explore this tool because it inspired the design and can complement your presentations by adding multimedia elements.
Using Filmora 14’s AI Audio to Video Feature: A Quick Overview
Filmora 14 has introduced an exciting AI-powered feature called Audio to Video, which allows users to convert audio files into captivating videos within minutes. This is particularly useful if you have audio content like podcasts, stories, or interviews and want to add visual appeal without extensive video editing skills.
Here’s a brief walkthrough of how to use Filmora’s Audio to Video tool:
- Open Filmora and locate the Audio to Video button, typically found in the toolbox section.
- Upload your audio file. It can be anywhere from 10 seconds to 120 minutes long. You can also upload audio directly from your YouTube account.
- Choose the language of your audio (e.g., English, United States).
- Select the content type (e.g., history, education).
- Set the video aspect ratio, commonly 16:9.
- Pick a video style, such as flat illustration or watercolor sketch, or keep it on auto.
- Choose material templates, which control how text captions and transitions appear.
- Click “Generate” to create your video.
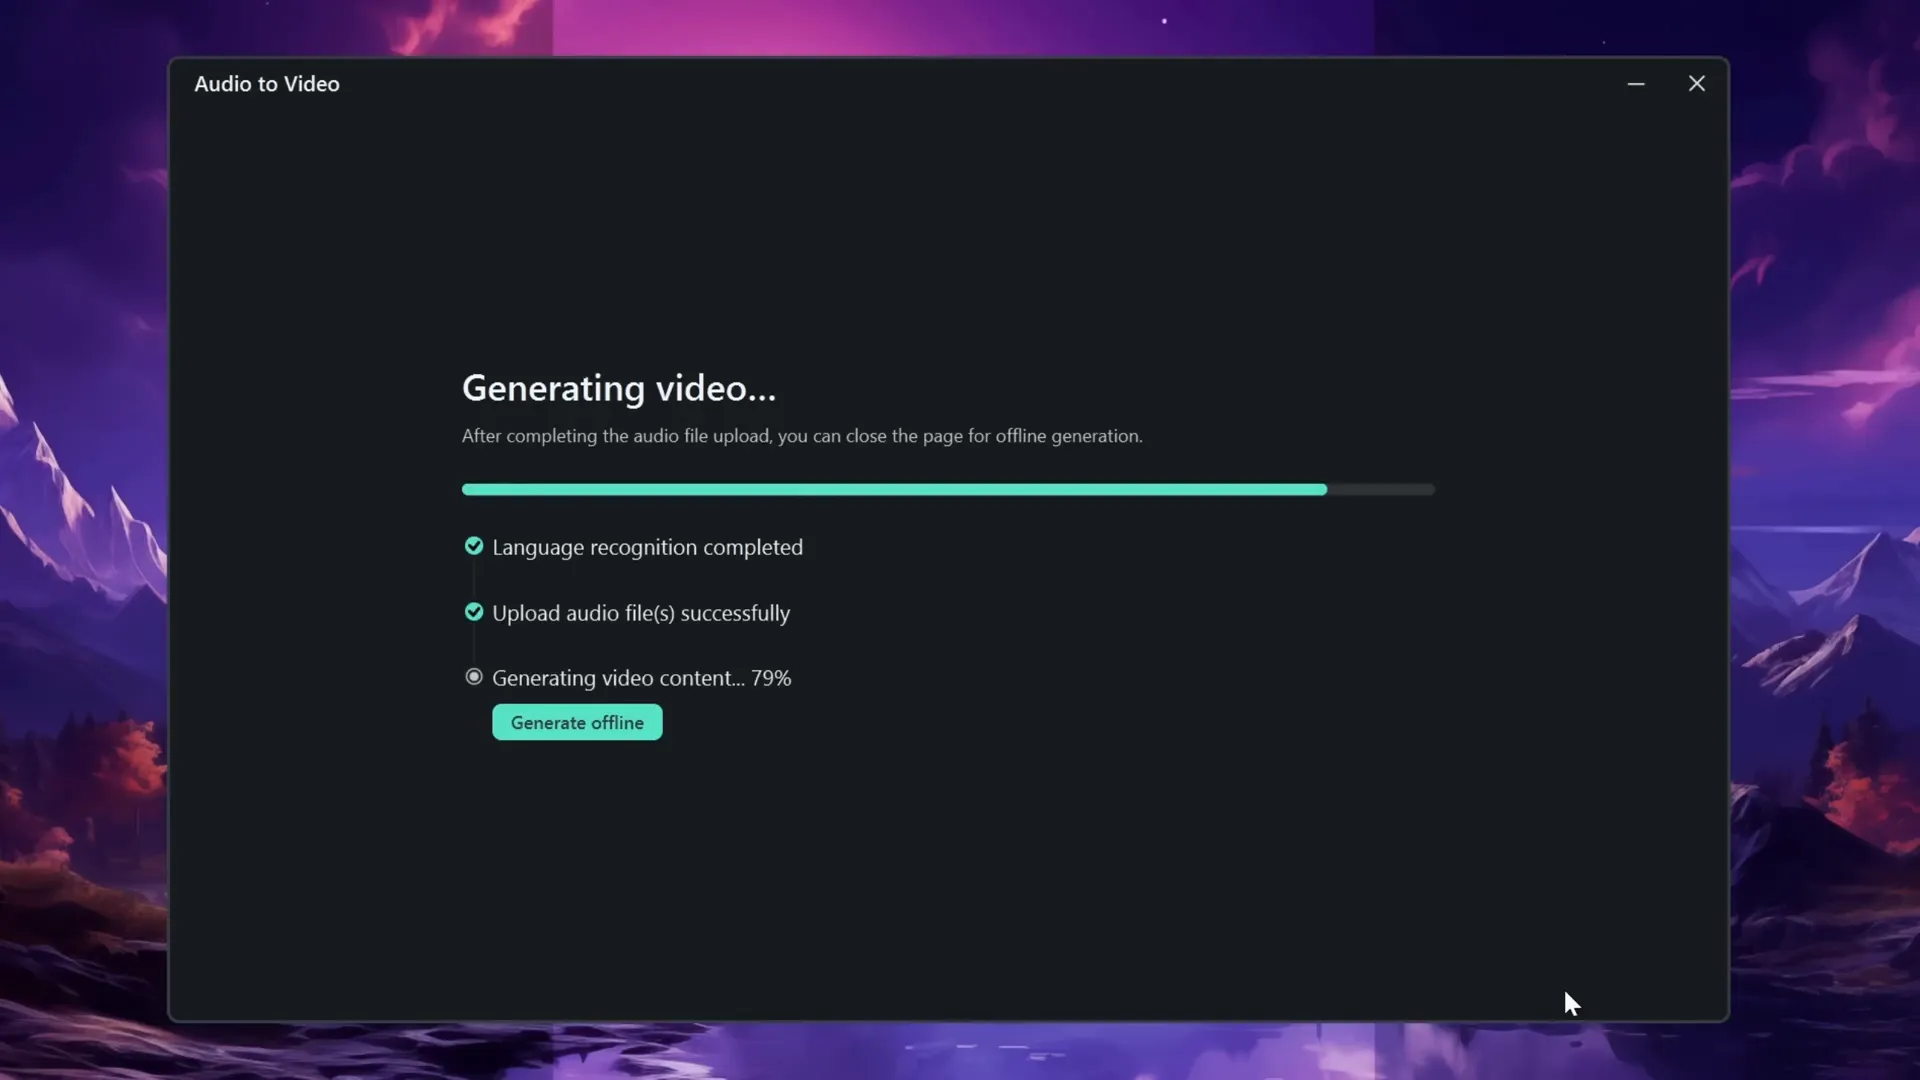
Once generated, you can preview the video, export it, or continue editing by rearranging clips and transitions. This feature is a great way to add rich multimedia content to your presentations or social channels without investing hours in video production.
For more information and to try Filmora 14 yourself, check out the link in the video description.
Preparing Your Slide Assets: Backgrounds, Fonts, and Buttons
Before building the interactive morph slide in PowerPoint, it’s essential to gather and prepare your assets to ensure a smooth design process. Here’s what you’ll need:
1. Background Image
The futuristic background image used in the tutorial is sourced from FreePic.com. It features a sleek neon aesthetic that complements the interactive elements well.
To set the slide background:
- Right-click on your slide and select Format Background.
- Choose Solid fill and set the color to black for a clean, modern look.
- Insert your background photo and center it on the slide.

2. Fonts
Typography plays a crucial role in the slide’s visual appeal. The tutorial uses the Vareno font, which is available for free and can be downloaded from DaFont.
Font settings used:
| Text Element | Font | Font Size | Additional Style |
|---|---|---|---|
| Subtitle | Vareno | 14 pt | Loose letter spacing |
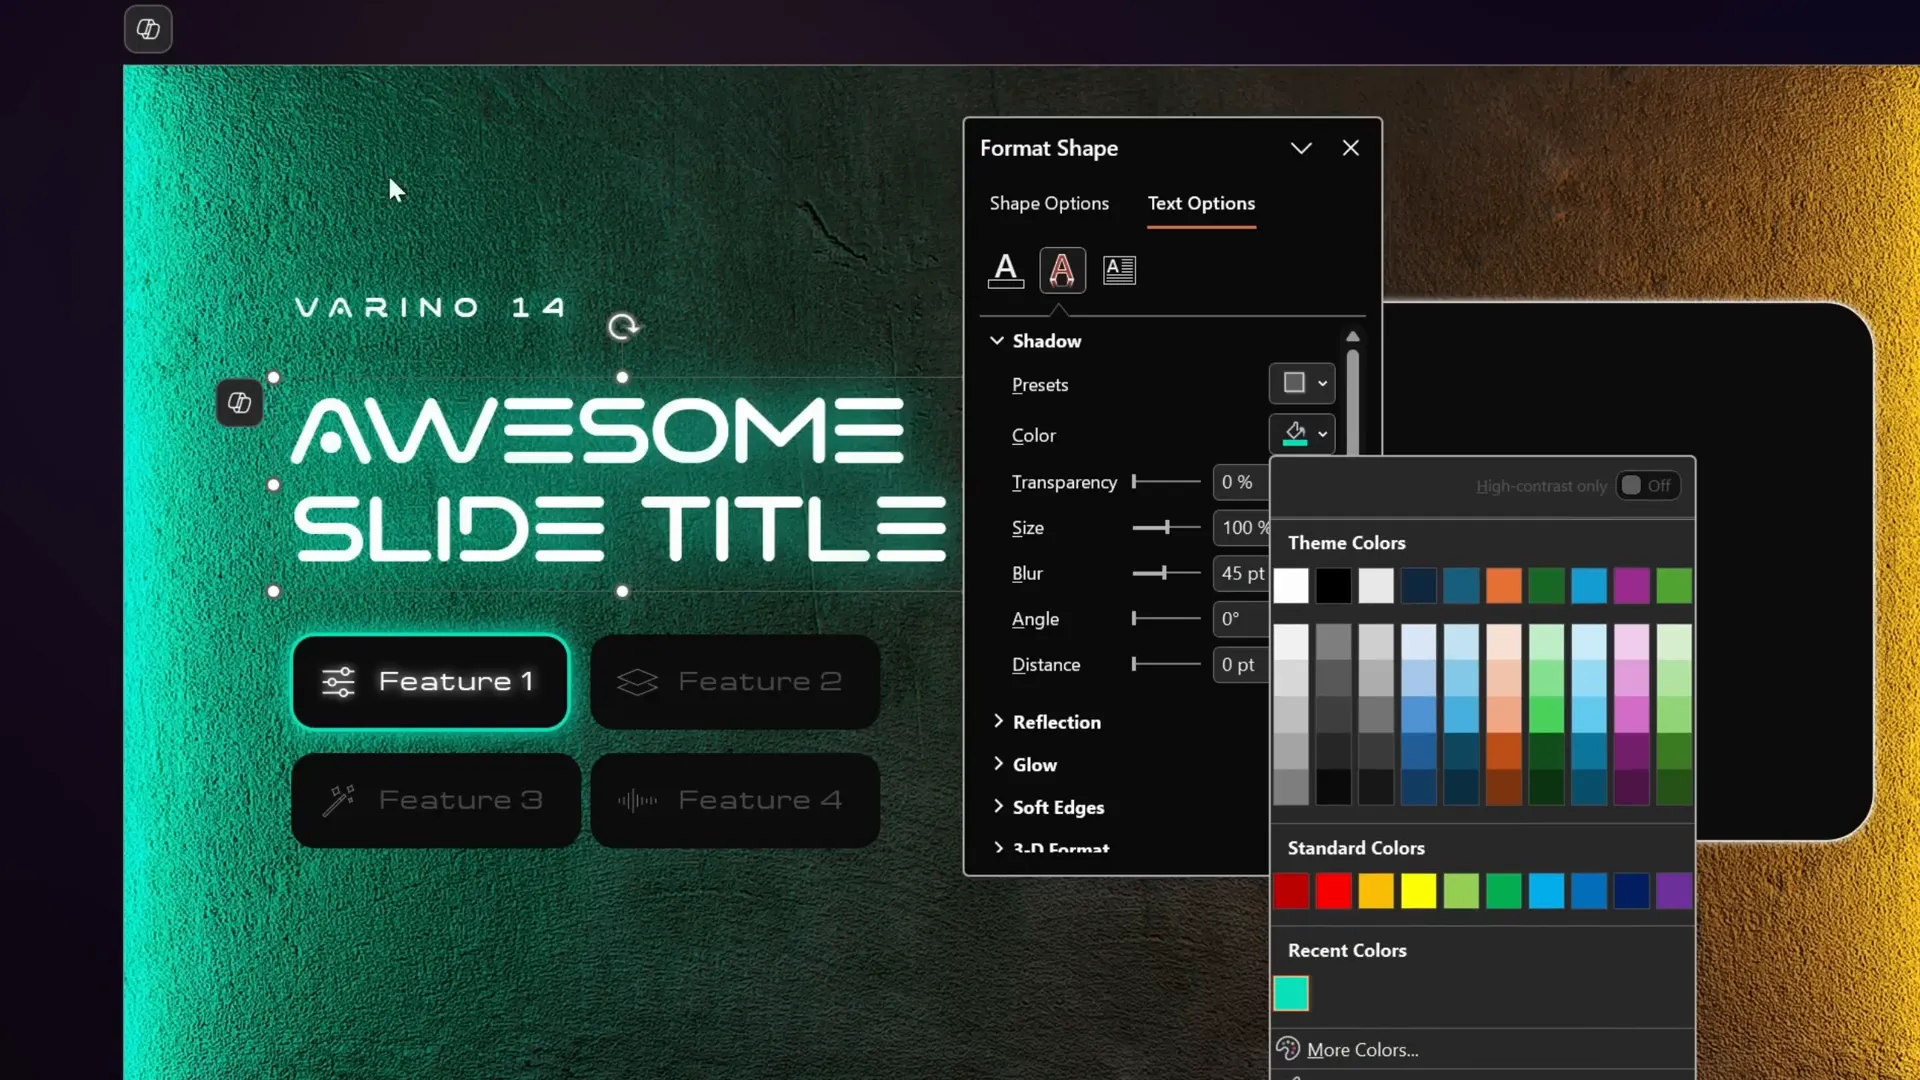
| Slide Title | Vareno | 48 pt | Text shadow/glow effect |
The text shadow effect is created by applying a greenish glow, using a color sampled directly from the background image. The shadow settings are:
- Shadow transparency: 0%
- Size: 100%
- Blur: 45 points
- Color: Custom hex code from background
To apply this, right-click on the text box, go to Format Shape > Text Options > Shadow, and enter these values.
3. Buttons and Icons
The interactive menu buttons are simple rounded rectangles with text and icons inside. Here’s how to replicate their design:
- Create rounded rectangles for each button.
- Insert text inside the rectangles and set the left margin to 1.5 cm to make space for icons.
- Use PowerPoint’s built-in icons (available in recent versions) or import SVG icons found online.
- For inactive buttons, reduce font transparency to 75% to give a faded effect.
Grouping the icon and button together later helps ensure smooth morph transitions.
Step-by-Step Guide to Creating the Interactive Morph Slide
Now that your assets are ready, let’s dive into building the interactive morph slide with scrolling photos and clickable buttons.
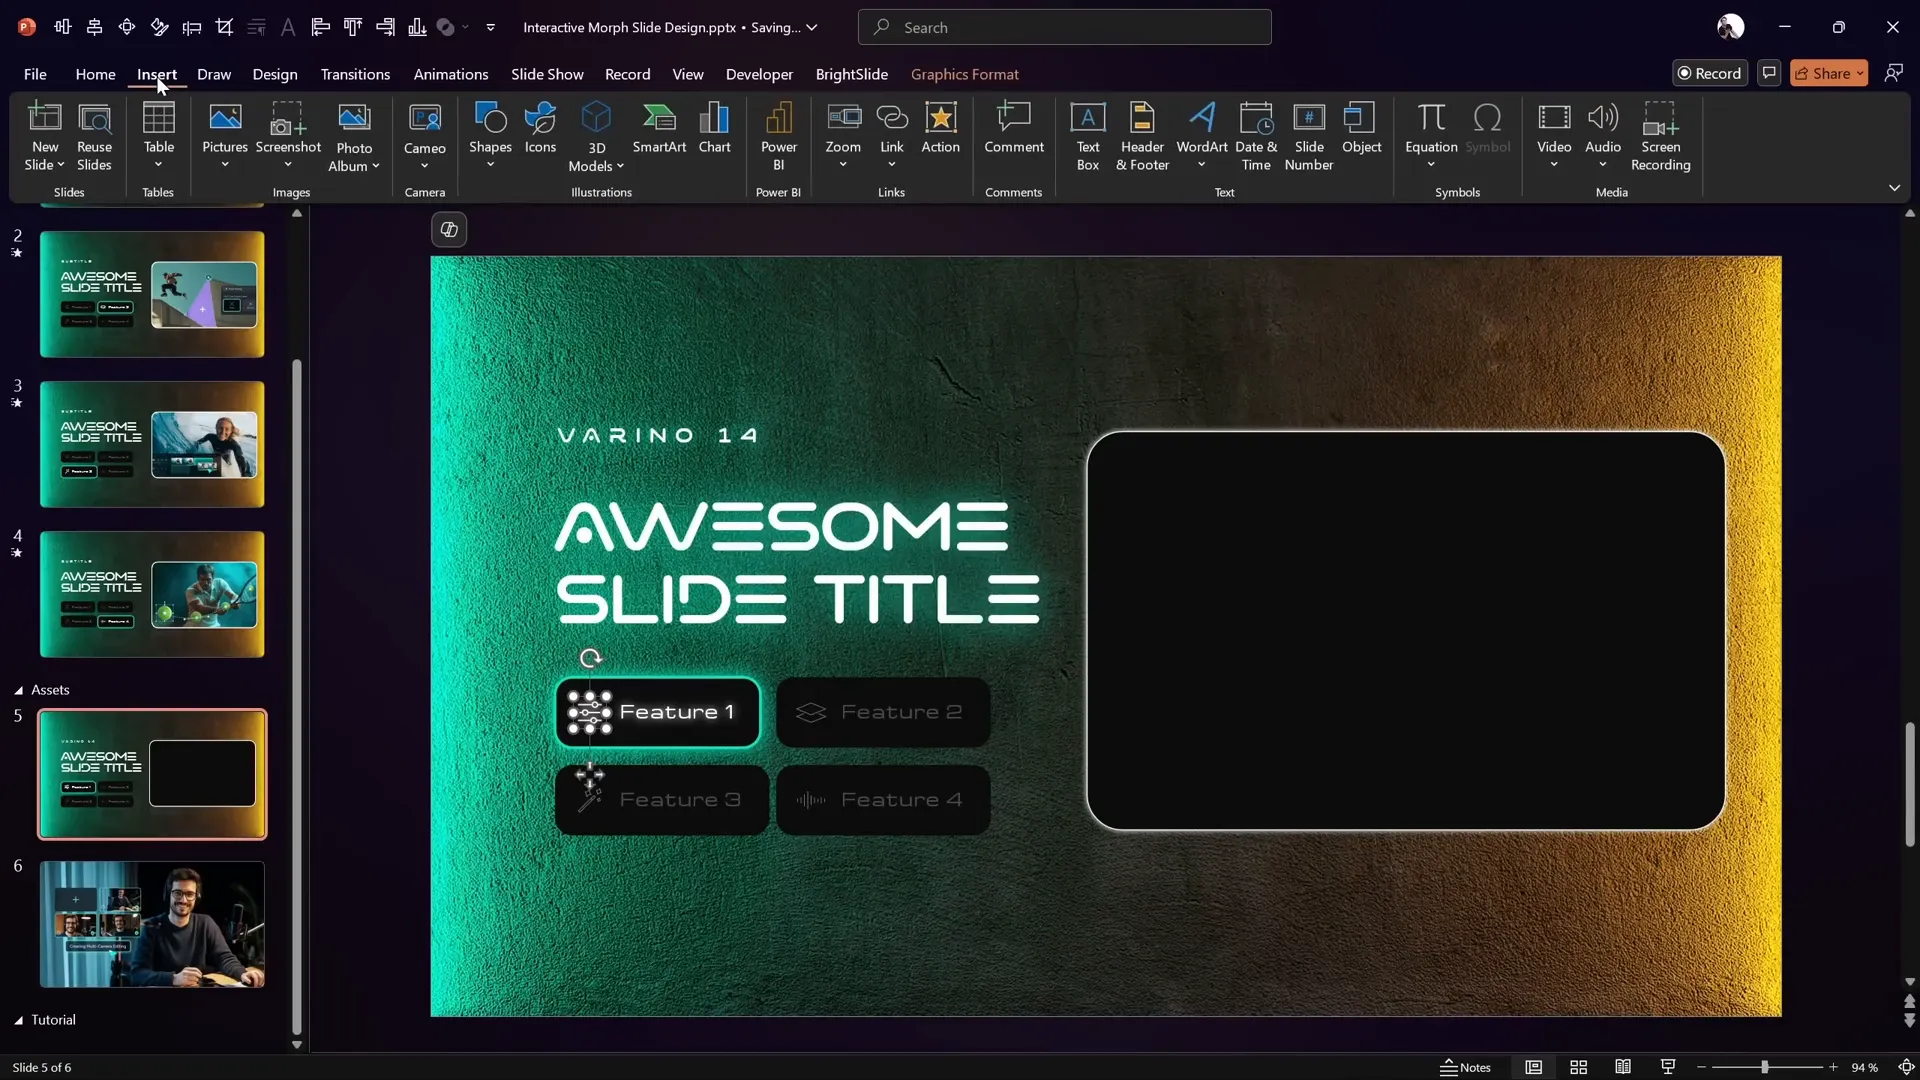
1. Punching a Hole in the Background Image
This step creates a mask effect where the background image has a “window” through which scrolling photos are visible.
- Insert a rounded rectangle shape where you want the hole to appear.
- Select the background image, hold Shift, and select the rounded rectangle.
- Go to Shape Format > Merge Shapes > Subtract. This subtracts the rectangle from the image, creating a hole.
- Center the resulting image with the hole back on the slide.
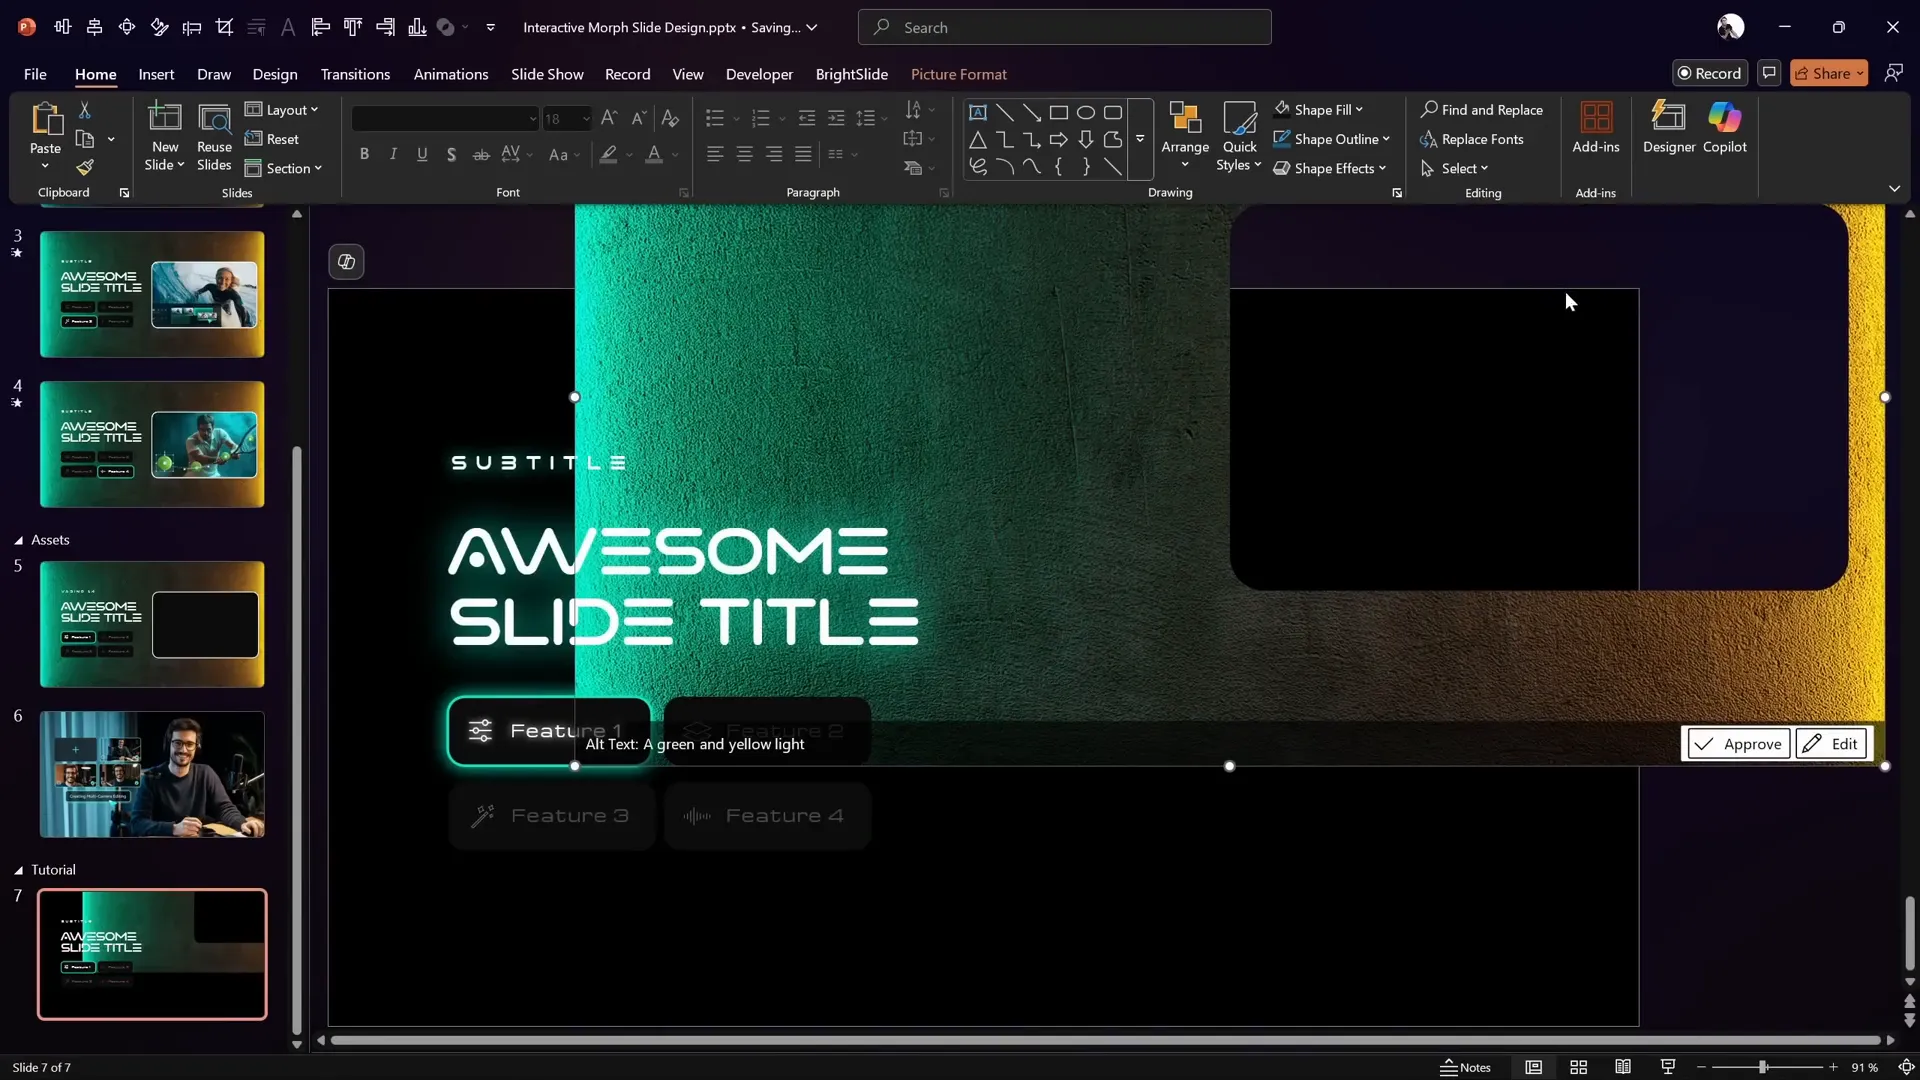
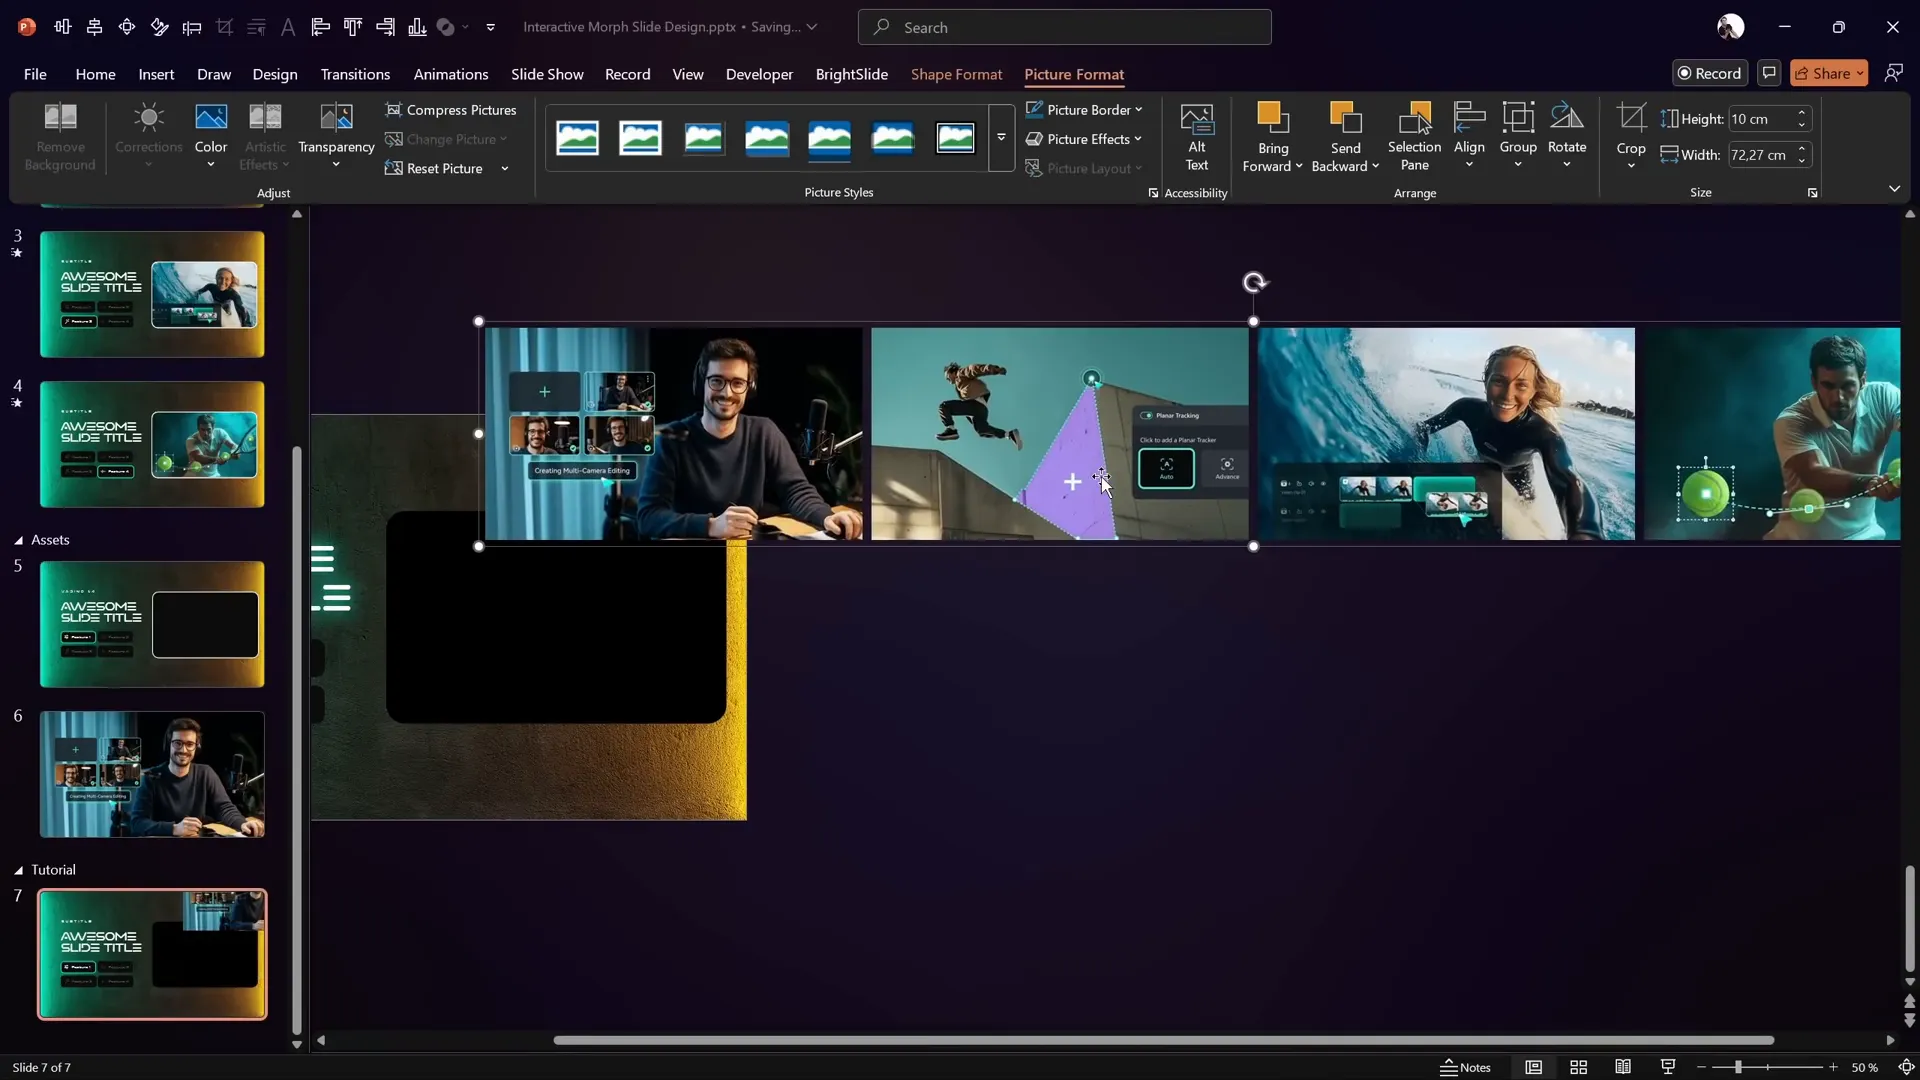
2. Adding and Arranging the Scrolling Photos
Next, add the photos that will scroll behind the mask window.
- Insert all your photos in a single row.
- Set all photos to have the same height as the rounded rectangle mask (e.g., 10 cm), ensuring the aspect ratio is locked.
- Arrange the photos with small horizontal gaps for spacing.
- Select all photos, align them to the top, and distribute them evenly horizontally.
- Group all photos into a single group (Ctrl + G).
- Send the photo group to the back so it sits behind the mask.
3. Adding a Glowing Edge Around the Mask
To enhance the mask’s appearance, add a glowing line around the hole:
- Copy the rounded rectangle used for the hole and paste it onto the slide.
- Remove the fill color, leaving only the outline.
- Add a white shadow or glow effect to the outline for the glowing edge.
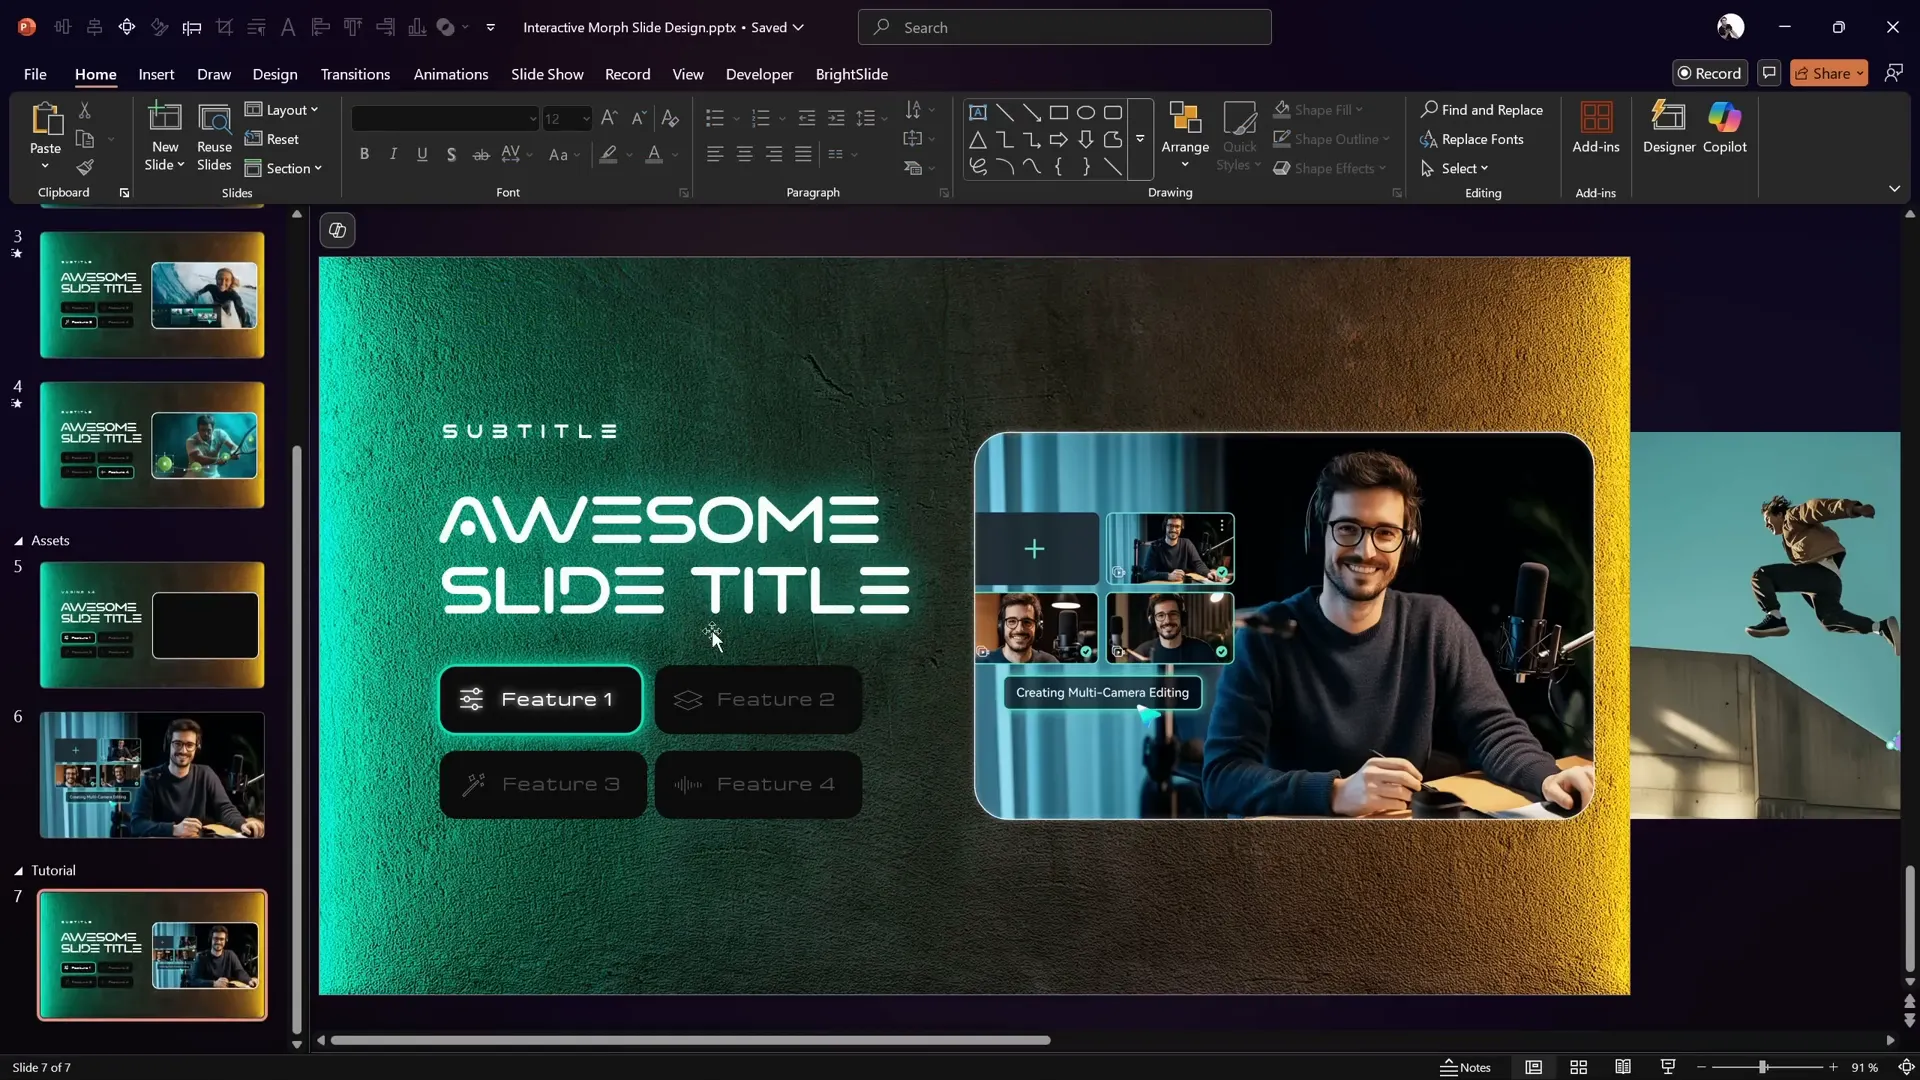
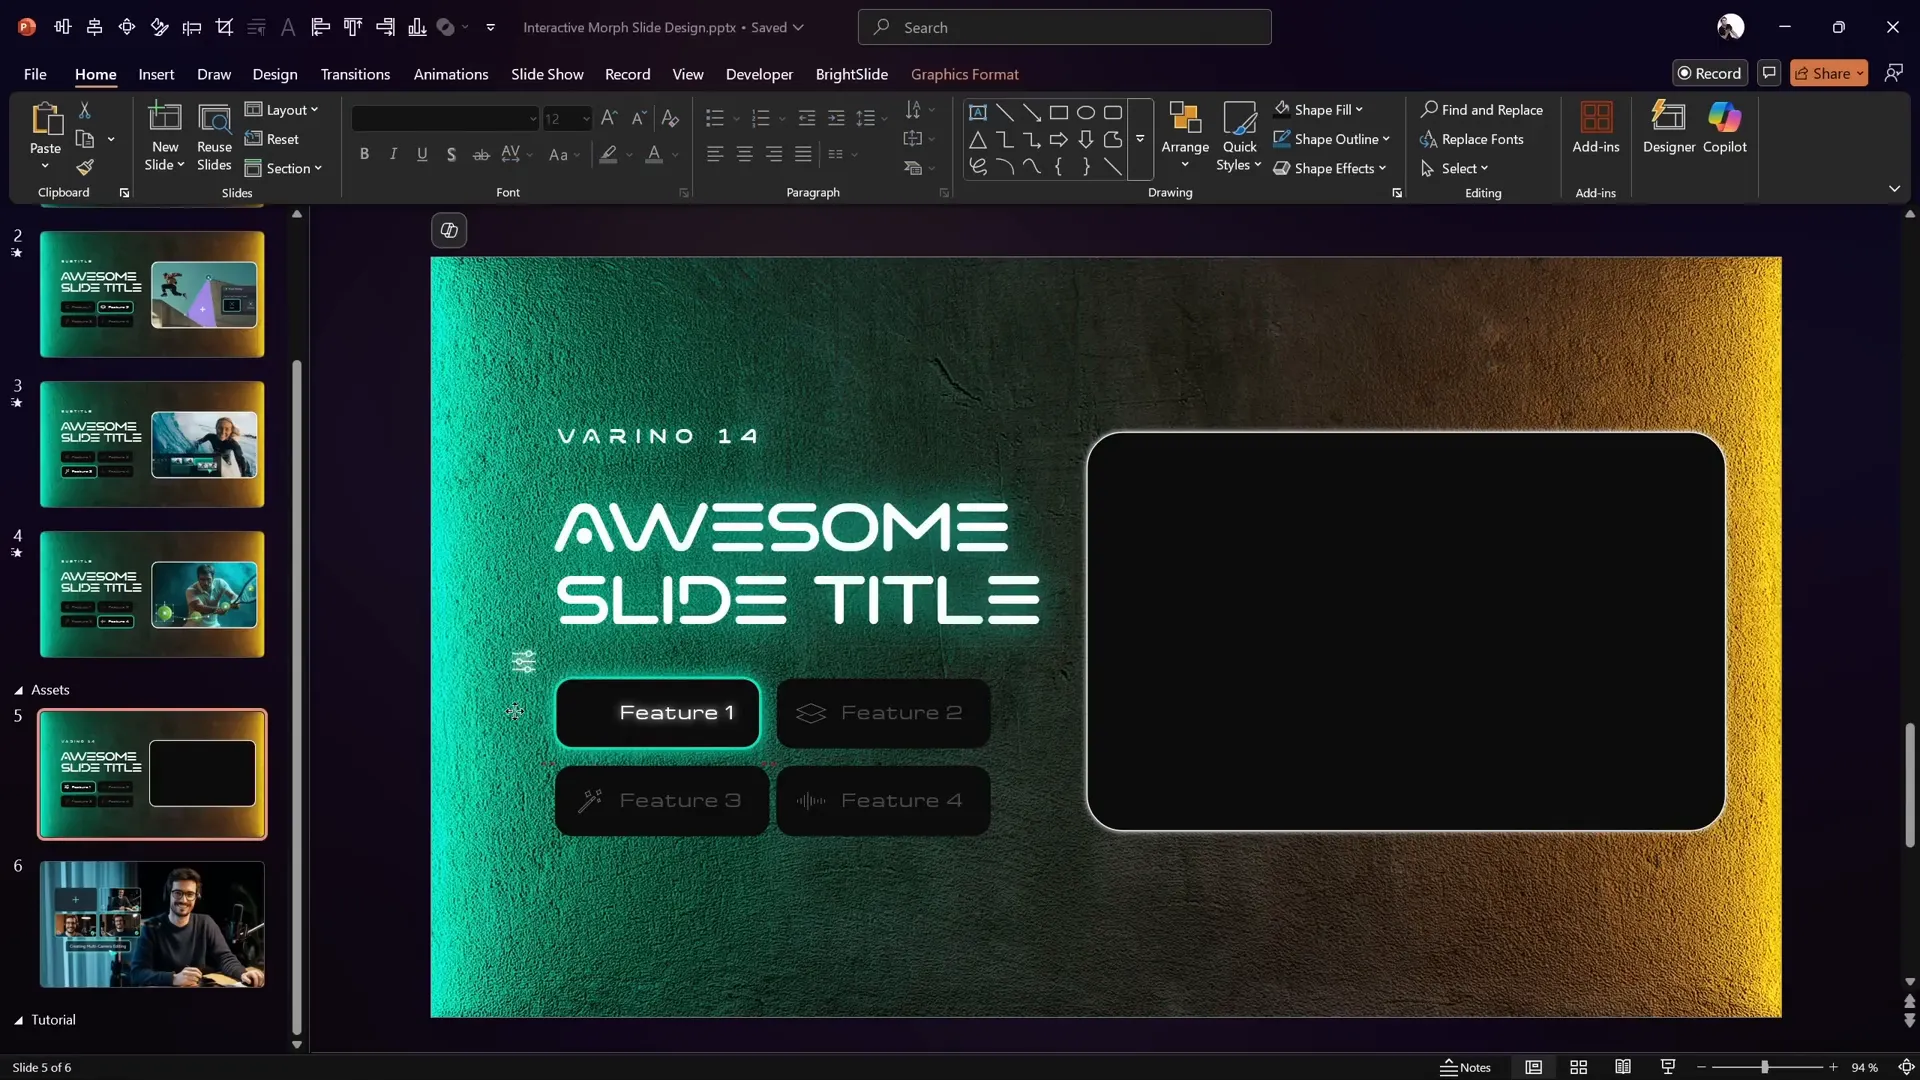
4. Setting Up the Buttons
Place your four rounded rectangle buttons below the subtitle area. Ensure the first button is styled as active (full brightness) and the others as inactive (faded). Include icons inside the buttons aligned with the text.
Making Buttons Clickable: Adding Hyperlinks and Grouping Elements
To make the slide interactive, each button will link to a different slide showing the corresponding photo in focus. We’ll also group icons and buttons to maintain smooth morph transitions.
1. Preparing Slides for Each Button
Add three more slides after your main slide, so you have four total slides (one for each button). These will serve as the target slides for the hyperlinks.
2. Adding Hyperlinks to Buttons
- Select the first button, go to Insert > Link.
- Link it to slide number 7 (the first target slide).
- Repeat for the other buttons, linking them to slides 8, 9, and 10 respectively.
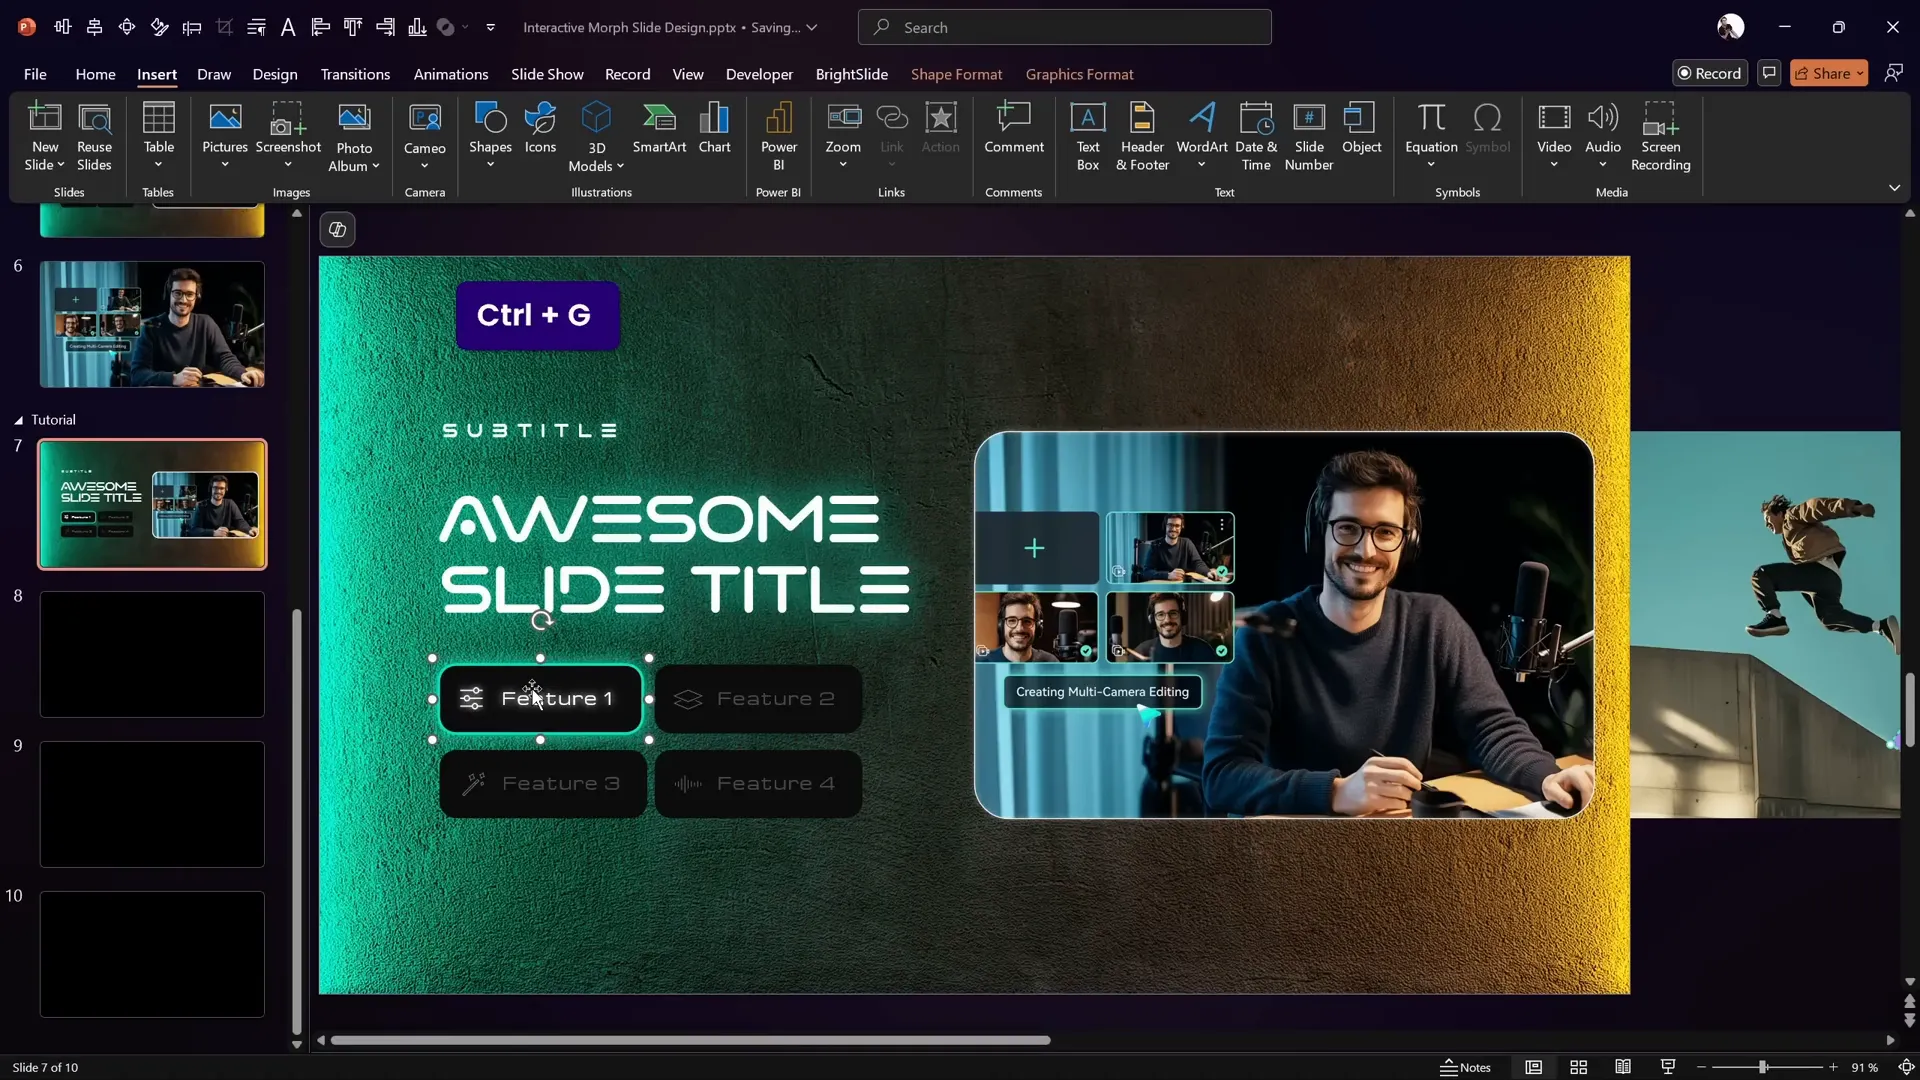
3. Grouping Buttons with Icons
Since morph transitions can behave unpredictably with separate objects, group each button with its icon:
- Select the icon and the associated button (Shift + click).
- Press Ctrl + G to group.
- The hyperlink remains active on the grouped object.
4. Copying and Adjusting Content Across Slides
Copy the entire content from the first interactive slide and paste it into each of the target slides. Then, for each slide:
- Shift the photos horizontally to bring the relevant photo into view through the mask.
- Use Format Painter (Ctrl + Shift + C and Ctrl + Shift + V) to toggle which button is styled as active on each slide.
Finalizing and Testing Your Interactive Morph Slide Design
Once all slides are set up with photos shifted and buttons linked, apply the Morph transition between the slides:
- Select all slides involved in the interaction.
- Go to Transitions > Morph.
- Set the transition duration (e.g., 2 seconds) for smooth animation.
Now, run the slideshow and test clicking the buttons:
- Clicking a button should navigate to the corresponding slide.
- The morph transition animates the photo scrolling smoothly.
- The active button visually updates to indicate the current selection.
This interactive morph slide design is now fully functional and visually striking, perfect for presentations where you want to guide your audience through different features, products, or concepts interactively.
Frequently Asked Questions (FAQ)
What is PowerPoint Morph and why should I use it?
PowerPoint Morph is a transition effect that animates smooth movement and transformation of objects between slides. It’s ideal for creating dynamic presentations that captivate audiences with fluid animations and seamless transitions.
Can I create interactive buttons in PowerPoint?
Yes! You can add clickable buttons by inserting shapes and linking them to other slides via Insert > Link. Grouping icons with buttons ensures smooth morph transitions.
Do I need advanced PowerPoint skills to follow this tutorial?
This tutorial is designed for PowerPoint users with basic to intermediate skills. It explains each step in detail, so even if you’re new to morph transitions or interactive design, you can follow along and learn as you go.
Where can I get the free template used in this tutorial?
The free interactive morph slide template is available through the video description link or the creator’s Patreon page. It includes all the assets and slide setups needed to replicate the design.
Is Filmora 14 required to create this PowerPoint slide?
No, Filmora 14 is not required to create the PowerPoint interactive morph slide. However, Filmora’s AI audio to video feature was used as inspiration and can complement your presentation by converting audio into engaging videos.
Can I use this technique for any type of presentation?
Absolutely! Interactive morph slides can be adapted for product showcases, portfolios, educational content, marketing decks, and more.
Conclusion
Mastering PowerPoint morph opens up a world of creative possibilities for your presentations. With this tutorial, you’ve learned how to build a futuristic, interactive slide design featuring clickable buttons, smooth scrolling photos, and dynamic morph transitions.
Using well-prepared assets like backgrounds, fonts, and icons, along with careful slide setup and hyperlinking, you can transform your presentations into immersive experiences that engage and impress your audience.
Don’t forget to download the free template and experiment with your own content to make the design uniquely yours. Whether you’re showcasing products, features, or educational material, interactive morph slides will elevate your PowerPoint game.
Thank you for following along. Stay creative, stay inspired, and see you in the next tutorial!
Resources & Links:
- Filmora 14 – Get Started for Free
- Free Tutorial Slides by One Skill PPT
- Vareno Font Download
- Background Image Source
- One Skill PPT YouTube Channel


