

Creating stunning presentations in PowerPoint has never been easier or more exciting than with the Morph transition. In this comprehensive guide, I’ll walk you through how I crafted a dynamic Olympics-themed presentation using Microsoft 365 PowerPoint, highlighting every step from the initial setup to the final ripple animation effect. Whether you’re a beginner or an experienced user, this tutorial will equip you with practical techniques to elevate your slides and engage your audience like never before.
My name is Luis Urrutia, and I specialize in PowerPoint tutorials that help you unlock the full creative potential of your presentations. Today, I’m sharing how to transform simple shapes and images into an animated masterpiece using Morph, a powerful transition feature exclusive to Microsoft 365 PowerPoint. While the theme here is the Olympics, the techniques you’ll learn can be adapted to any topic or style. Let’s dive in!
Table of Contents
- Getting Started: Setting Up Your Slide Elements
- Recreating and Animating the Olympic Rings Logo
- Creating a Dynamic Border and Slide Animation
- Adding the Ripple Effect for Text
- Final Tips and Customization Ideas
- Frequently Asked Questions (FAQs)
- Conclusion
Getting Started: Setting Up Your Slide Elements
The first step in creating this presentation is to build the foundational visual elements. We begin by inserting shapes and images that will form the core of the slides.
Step 1: Insert Basic Shapes
Start by selecting a rectangle from the shapes panel and insert it onto your slide. This rectangle serves as a base component of your design.
Next, select a circle from the shapes panel. Holding down the Shift key ensures the circle is perfectly round as you place it on the right-hand side of the slide.
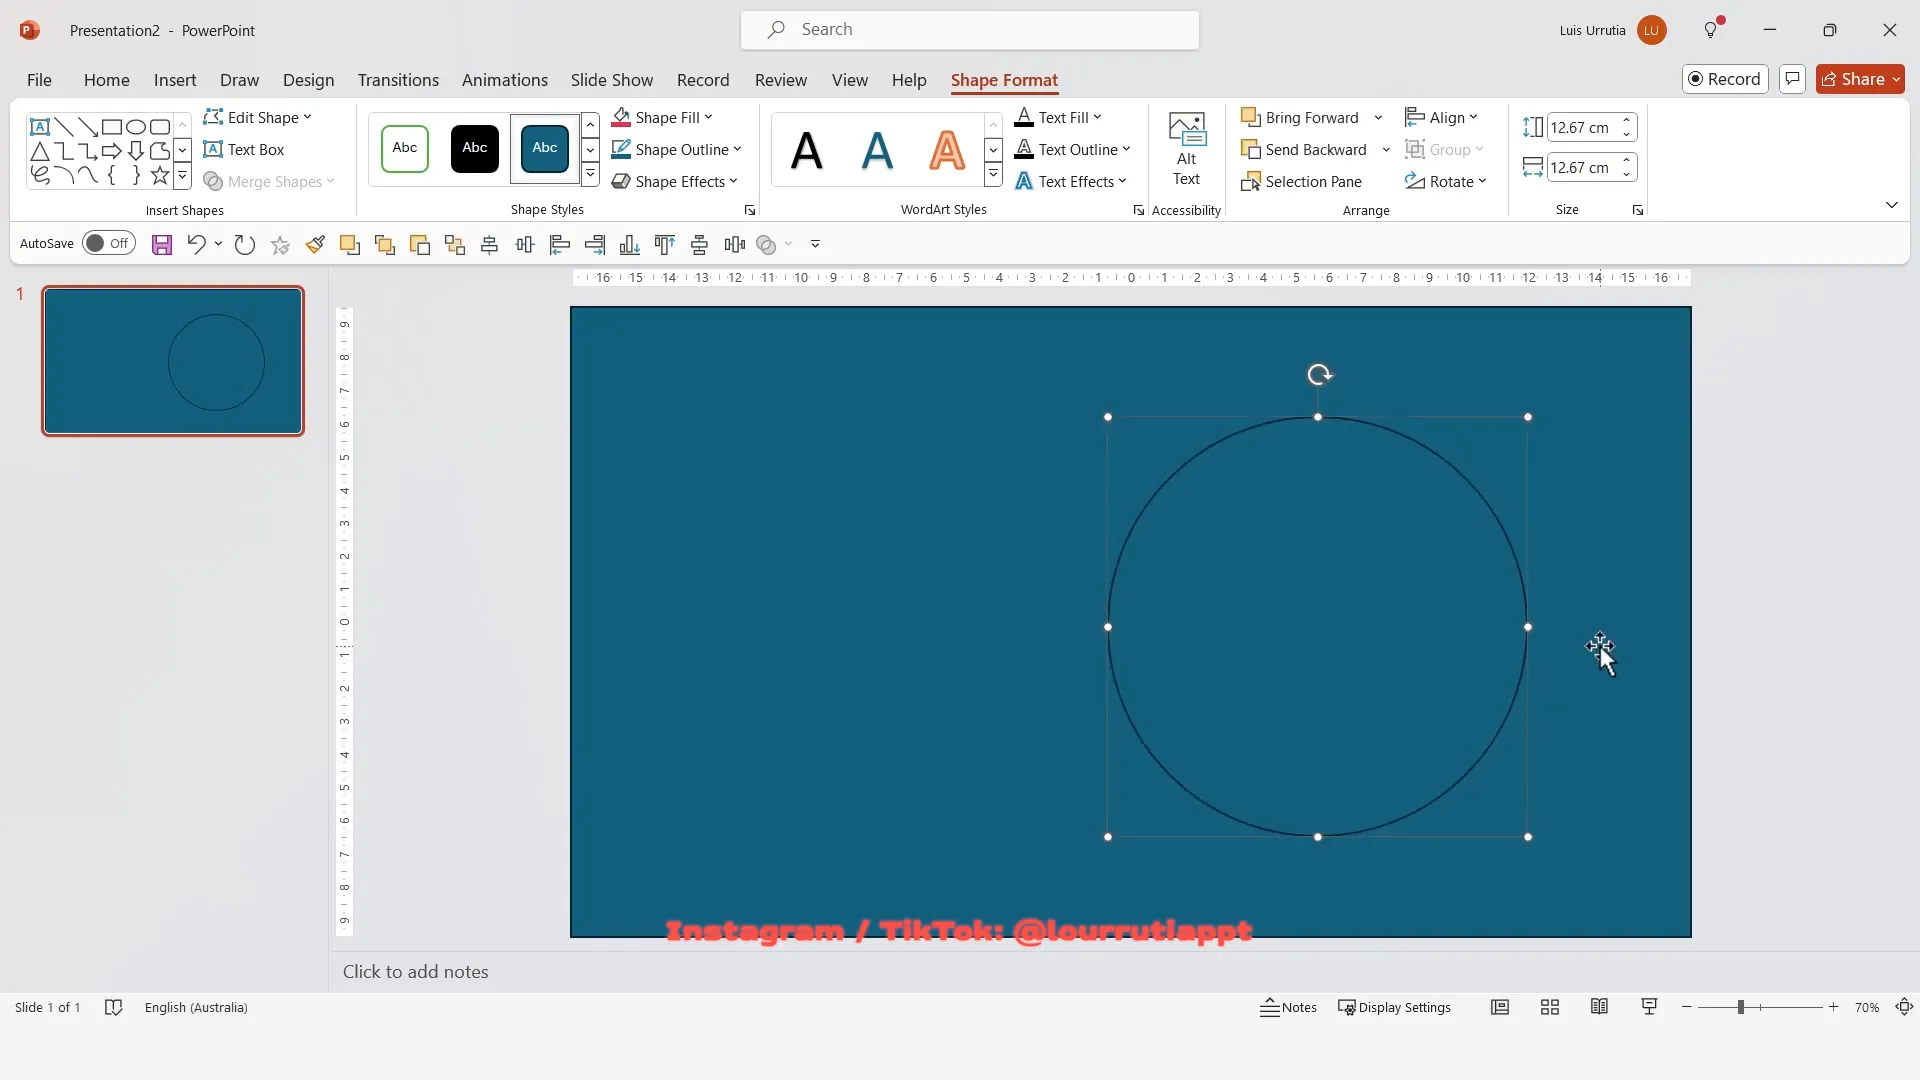
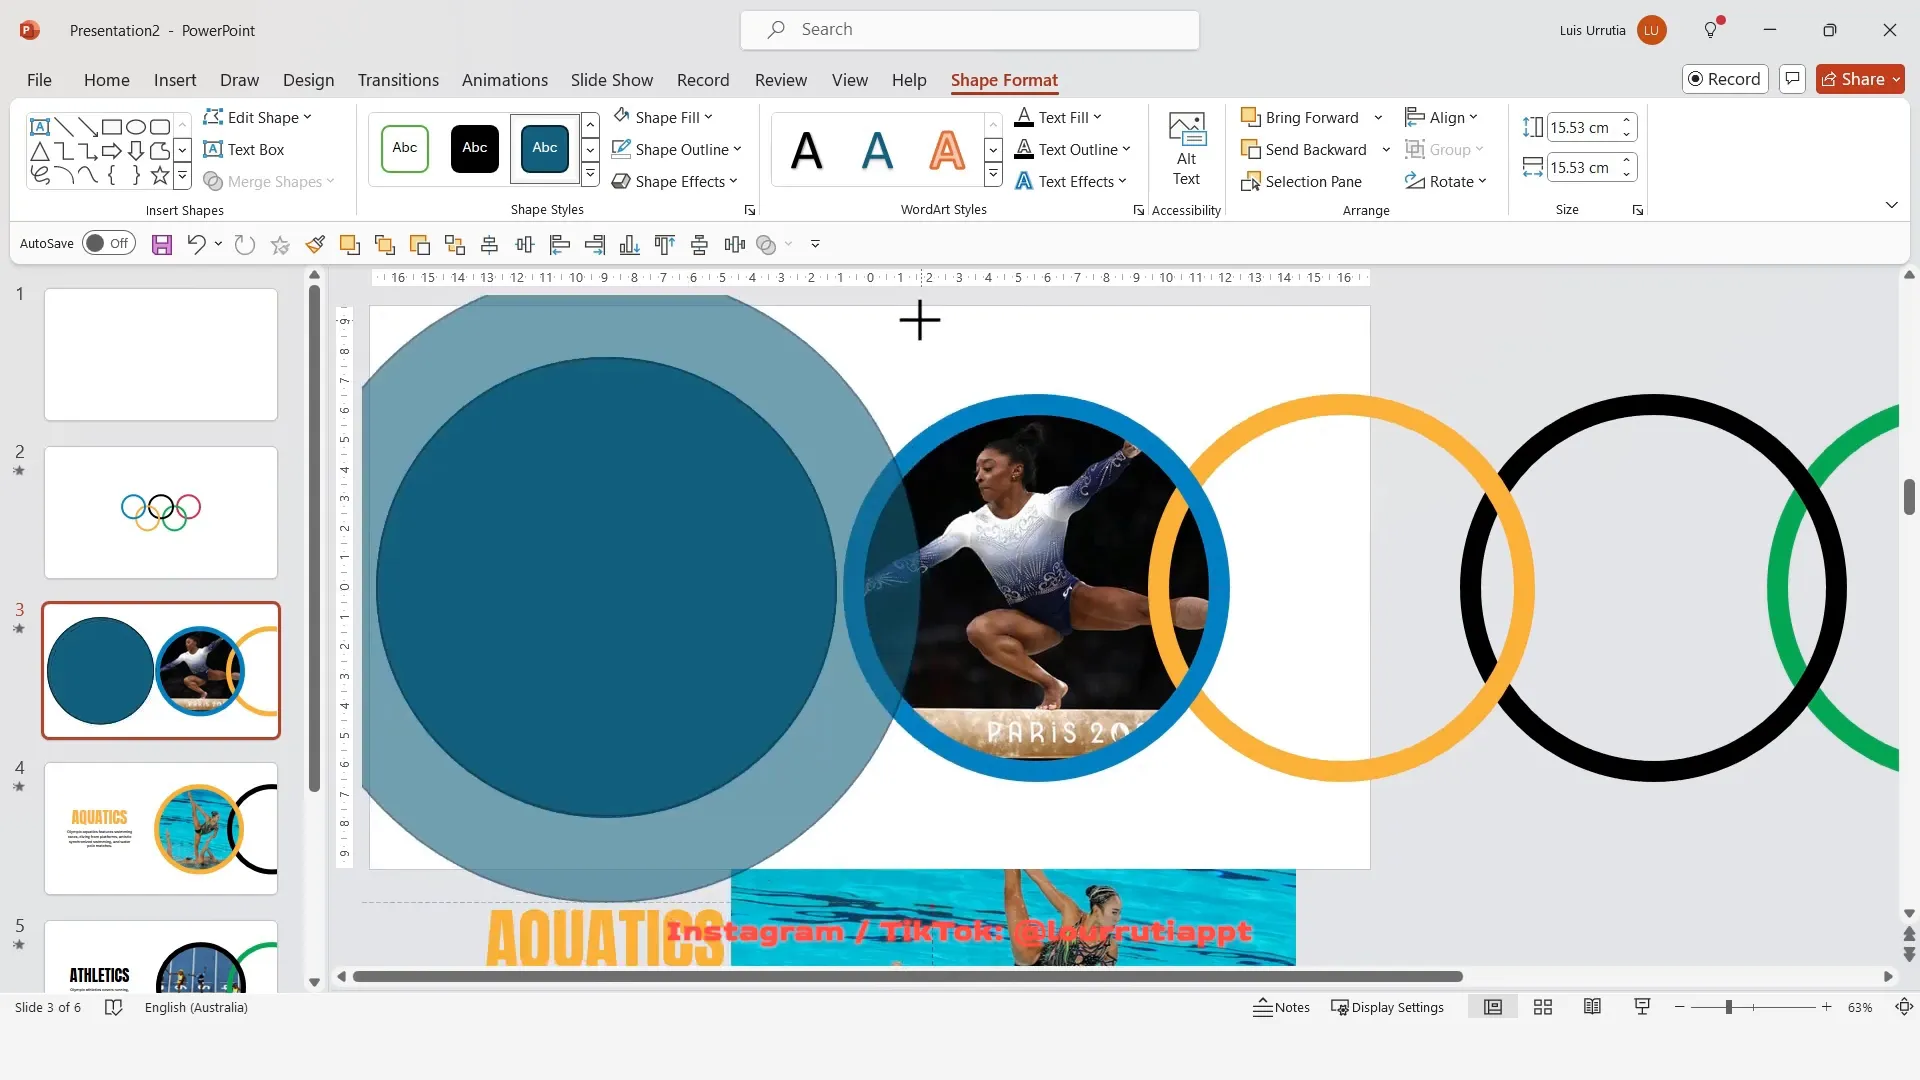
Step 2: Align and Merge Shapes
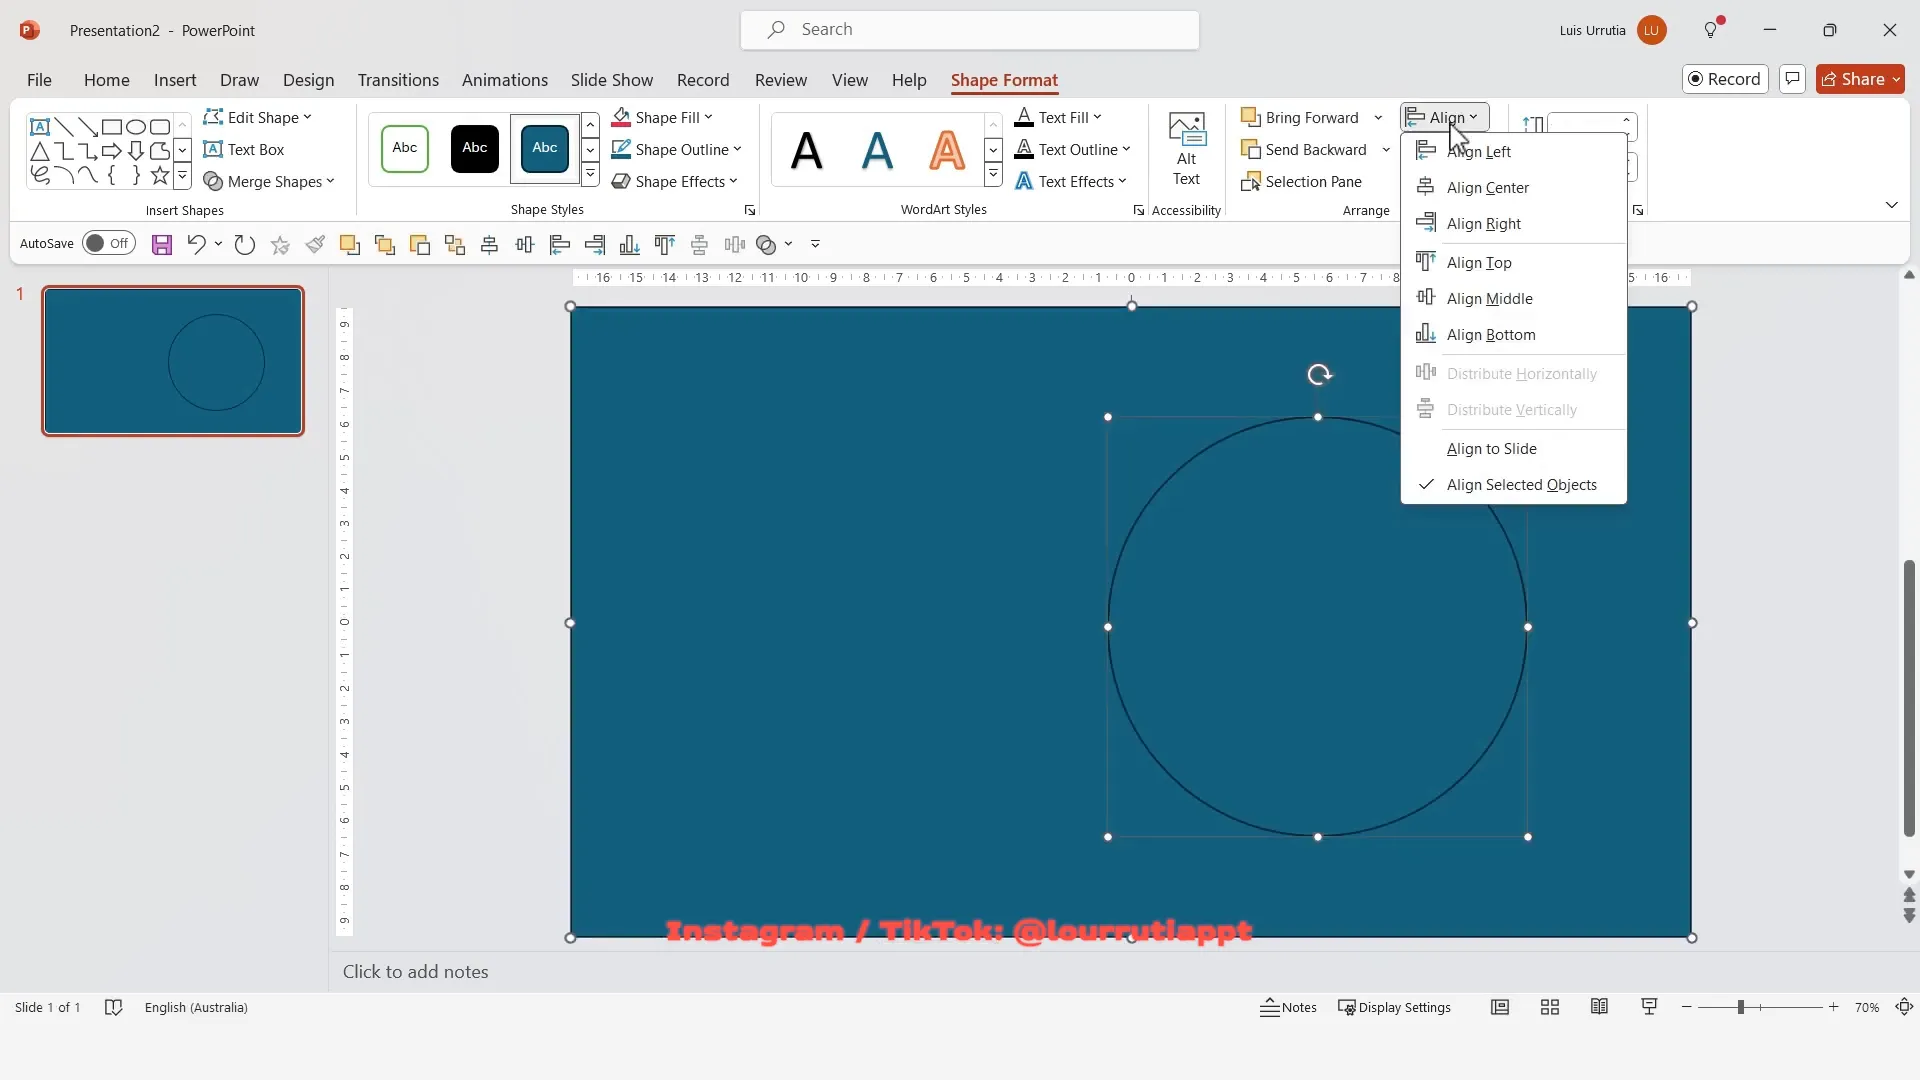
With both the rectangle and circle selected (hold Shift to select multiple objects), align them vertically by choosing Align > Align Middle from the toolbar. Then, merge these shapes by selecting Merge Shapes > Subtract. This operation cuts the circle out of the rectangle, creating a unique shape that adds visual interest.
After merging, remove the outline by setting Shape Outline > No Outline and fill it with white color via Shape Fill > White. This clean, crisp shape will serve as a container or background element for your images.
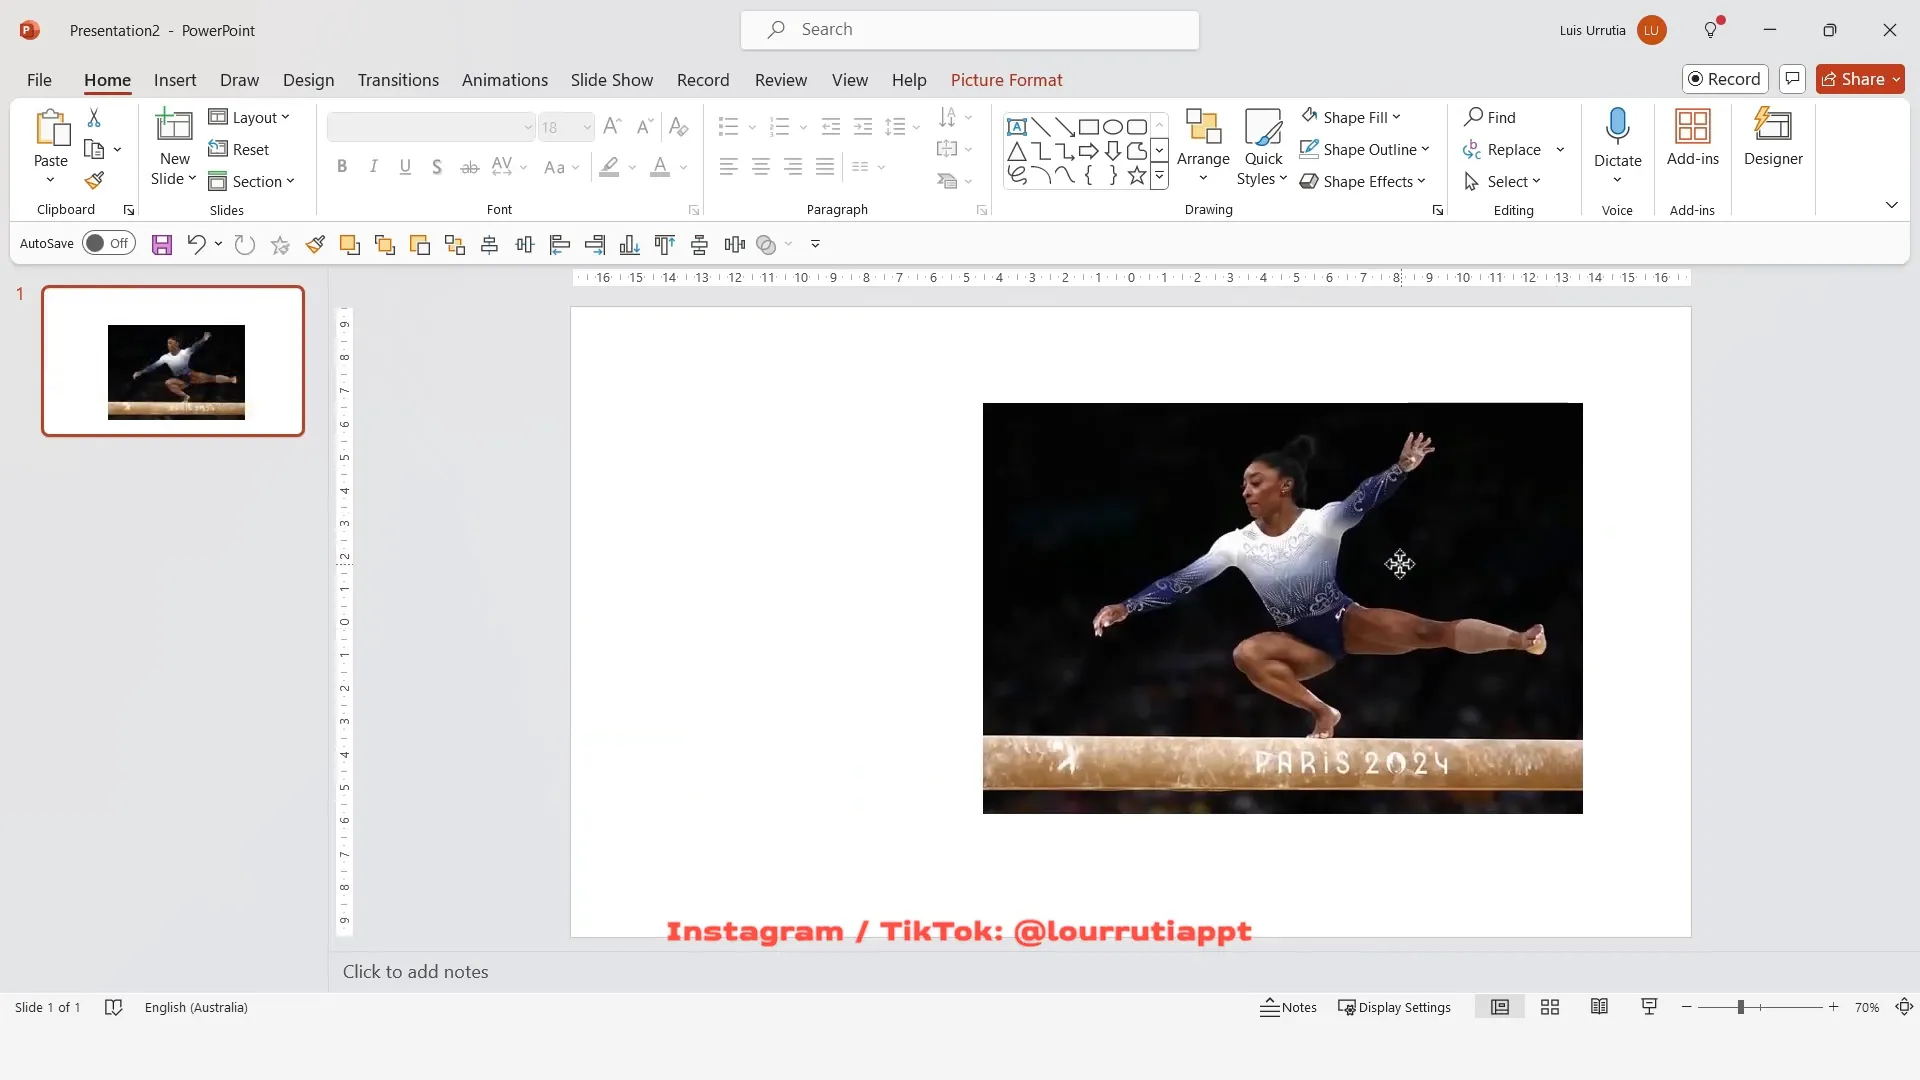
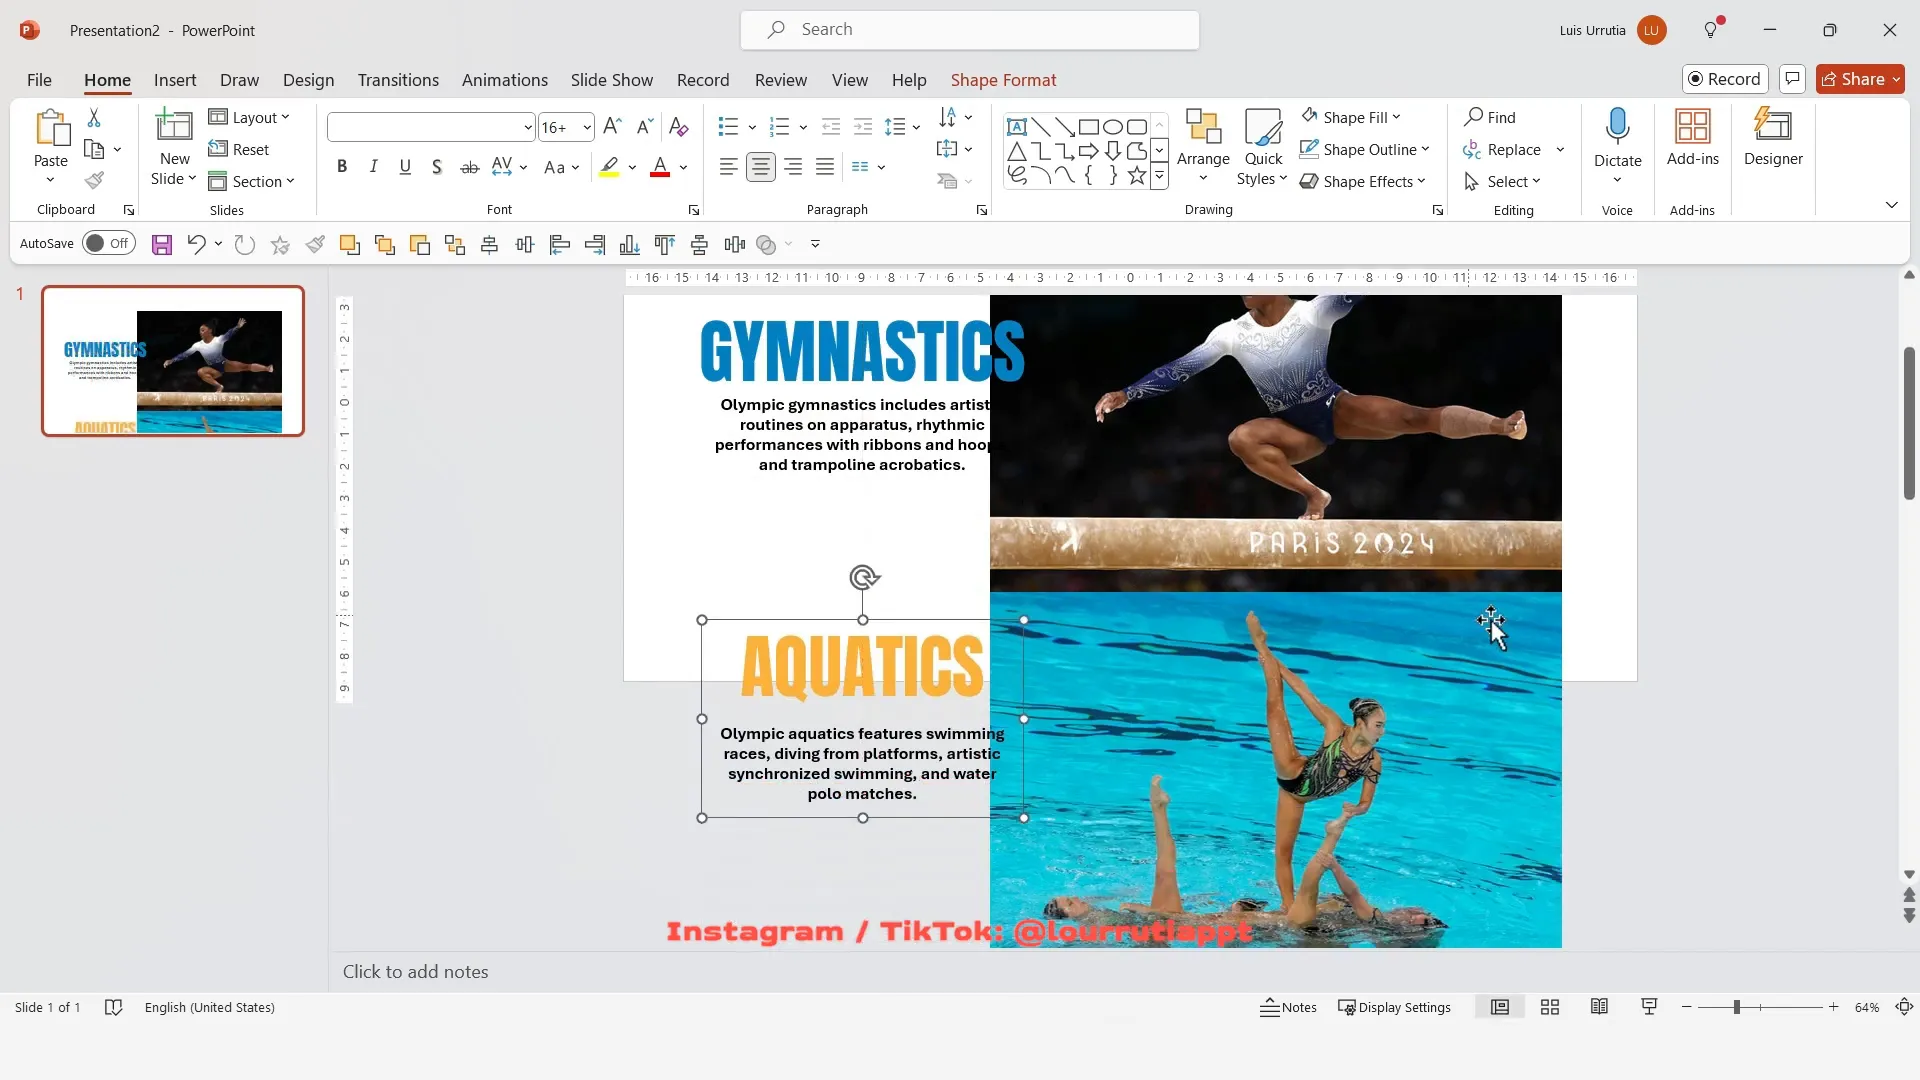
Step 3: Adding and Adjusting Images
Now it’s time to incorporate images that relate to your presentation’s theme—in this case, the Olympics. Copy and paste an image you found online, then resize it to match the height of the circle shape we created.
To help with sizing, temporarily change the slide’s background color to a contrasting shade, making it easier to gauge the image dimensions. Once sized correctly, revert the background to white.
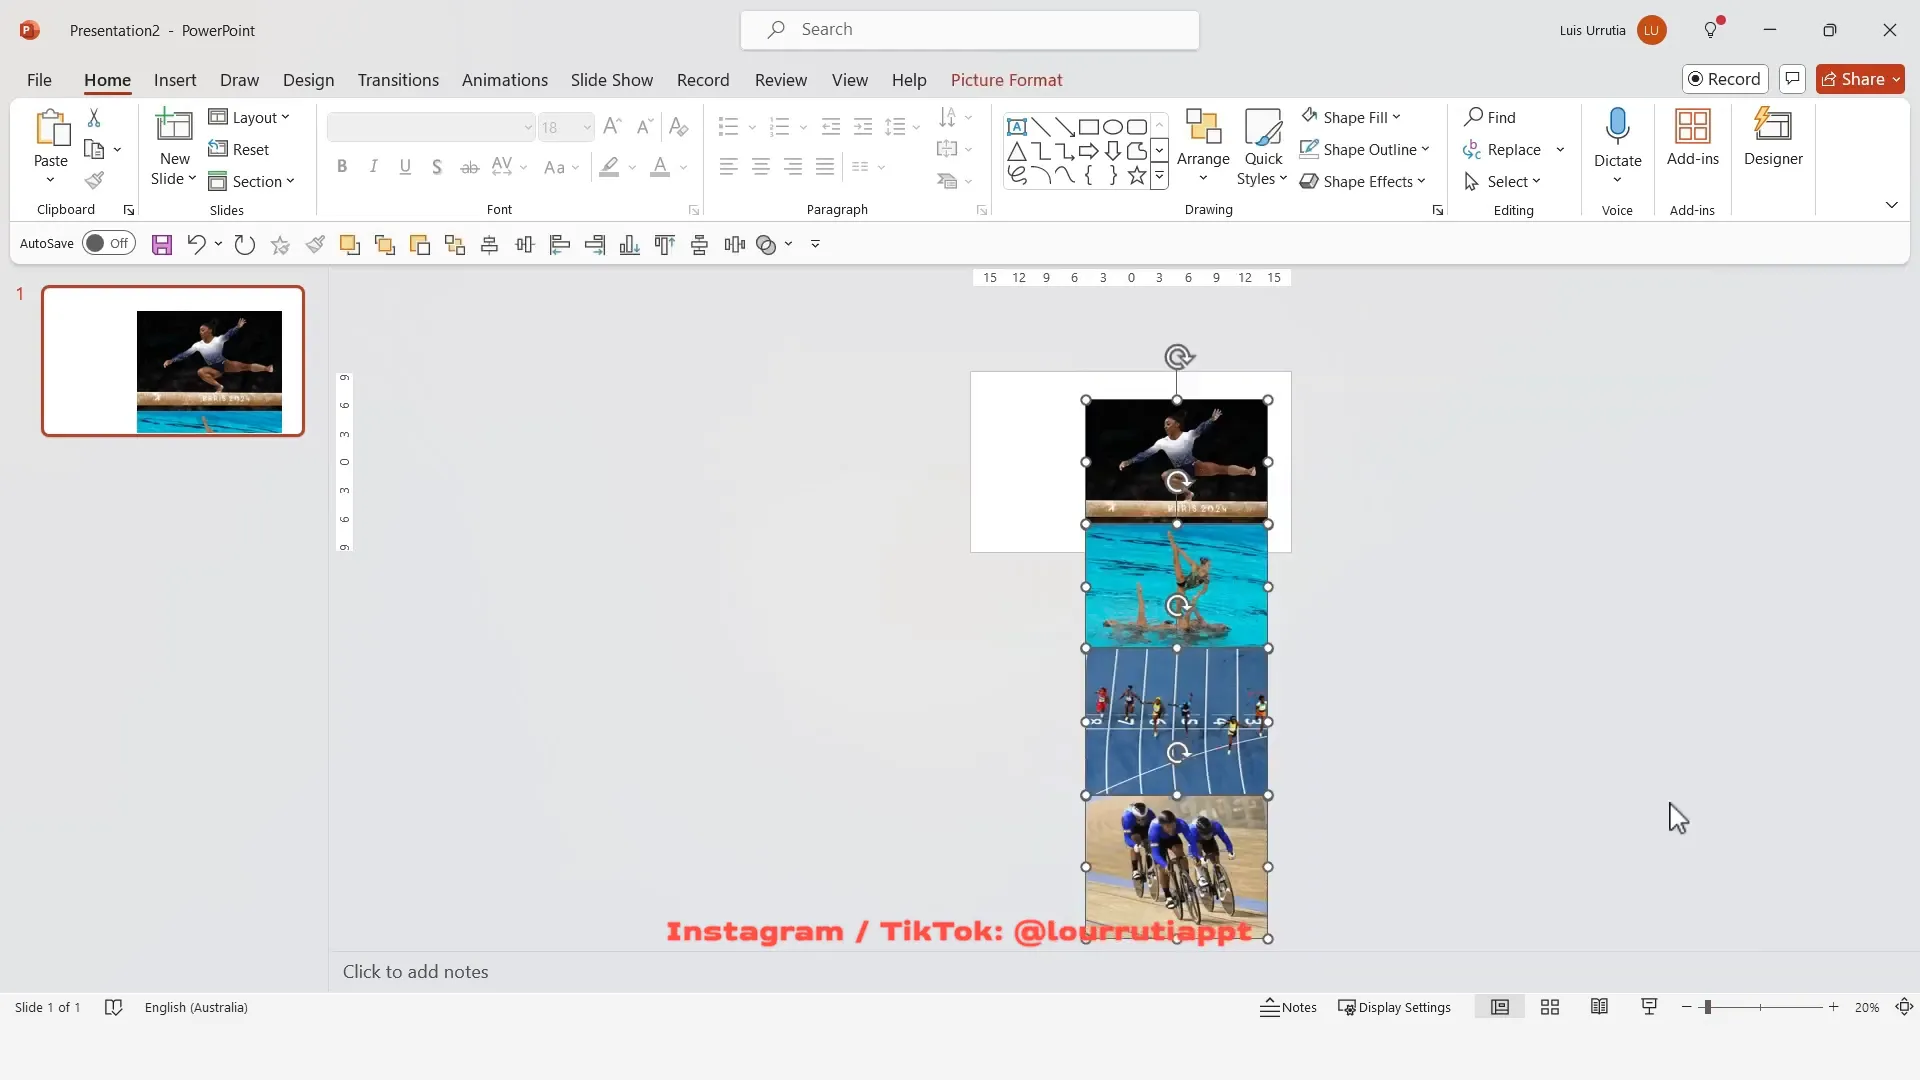
Repeat this for the rest of your images, ensuring consistent height for a tidy, professional look. Position each image below the previous one to create a neat vertical stack.
Step 4: Crop and Group Images
Optionally, tidy up your images by cropping unnecessary parts using the crop handles. This is not mandatory, but it enhances the presentation’s neatness.
Once all images are placed, select them all, right-click, and choose Group. Grouping images allows you to move and animate them as a single unit, simplifying your workflow.
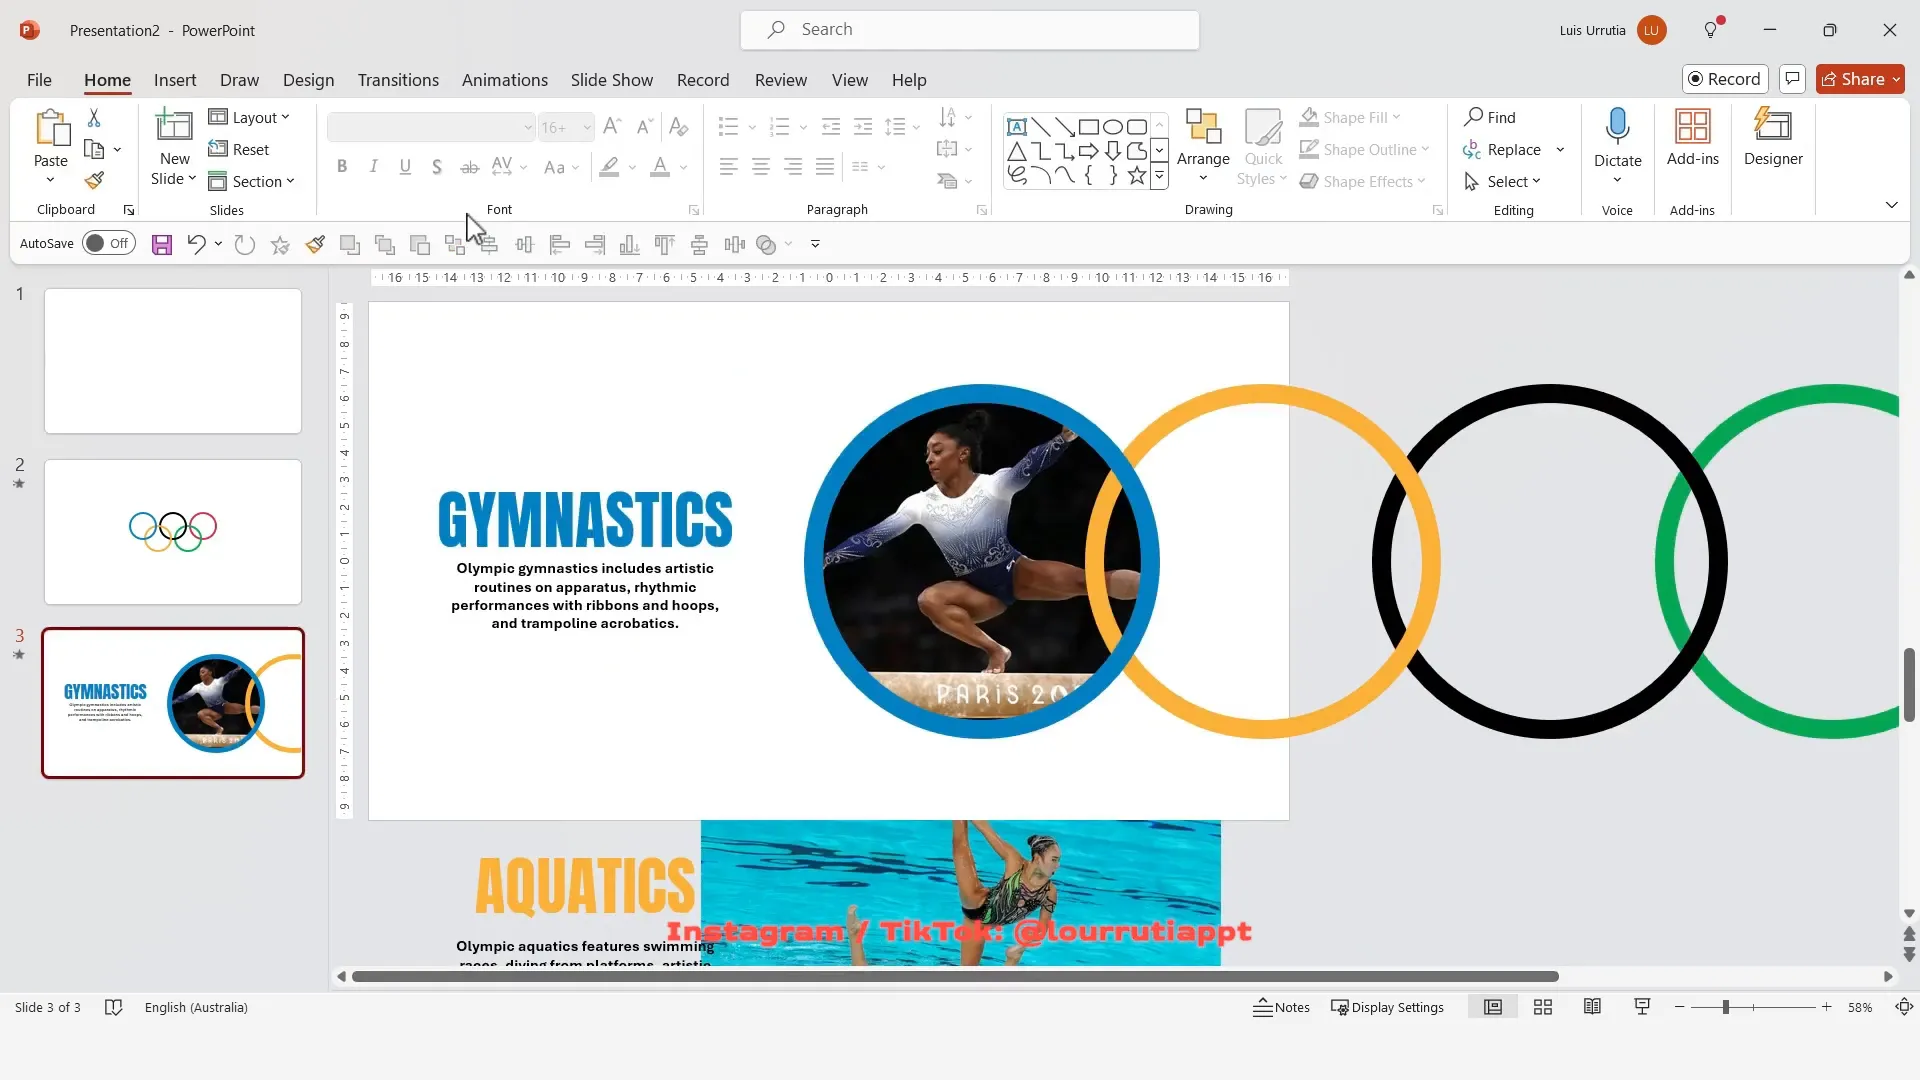
Step 5: Adding Corresponding Text
For each image, add a text box to the left side to provide context or description. When adding text boxes for images further down, place these text boxes outside the visible slide area (on the gray workspace) to prepare for animation later.
Repeat for all images and then send the grouped images backward to keep the text visually prioritized.
Recreating and Animating the Olympic Rings Logo
One of the most iconic elements of the Olympics is its rings logo. Next, we’ll recreate this logo from scratch using simple shapes, then animate it using Morph.
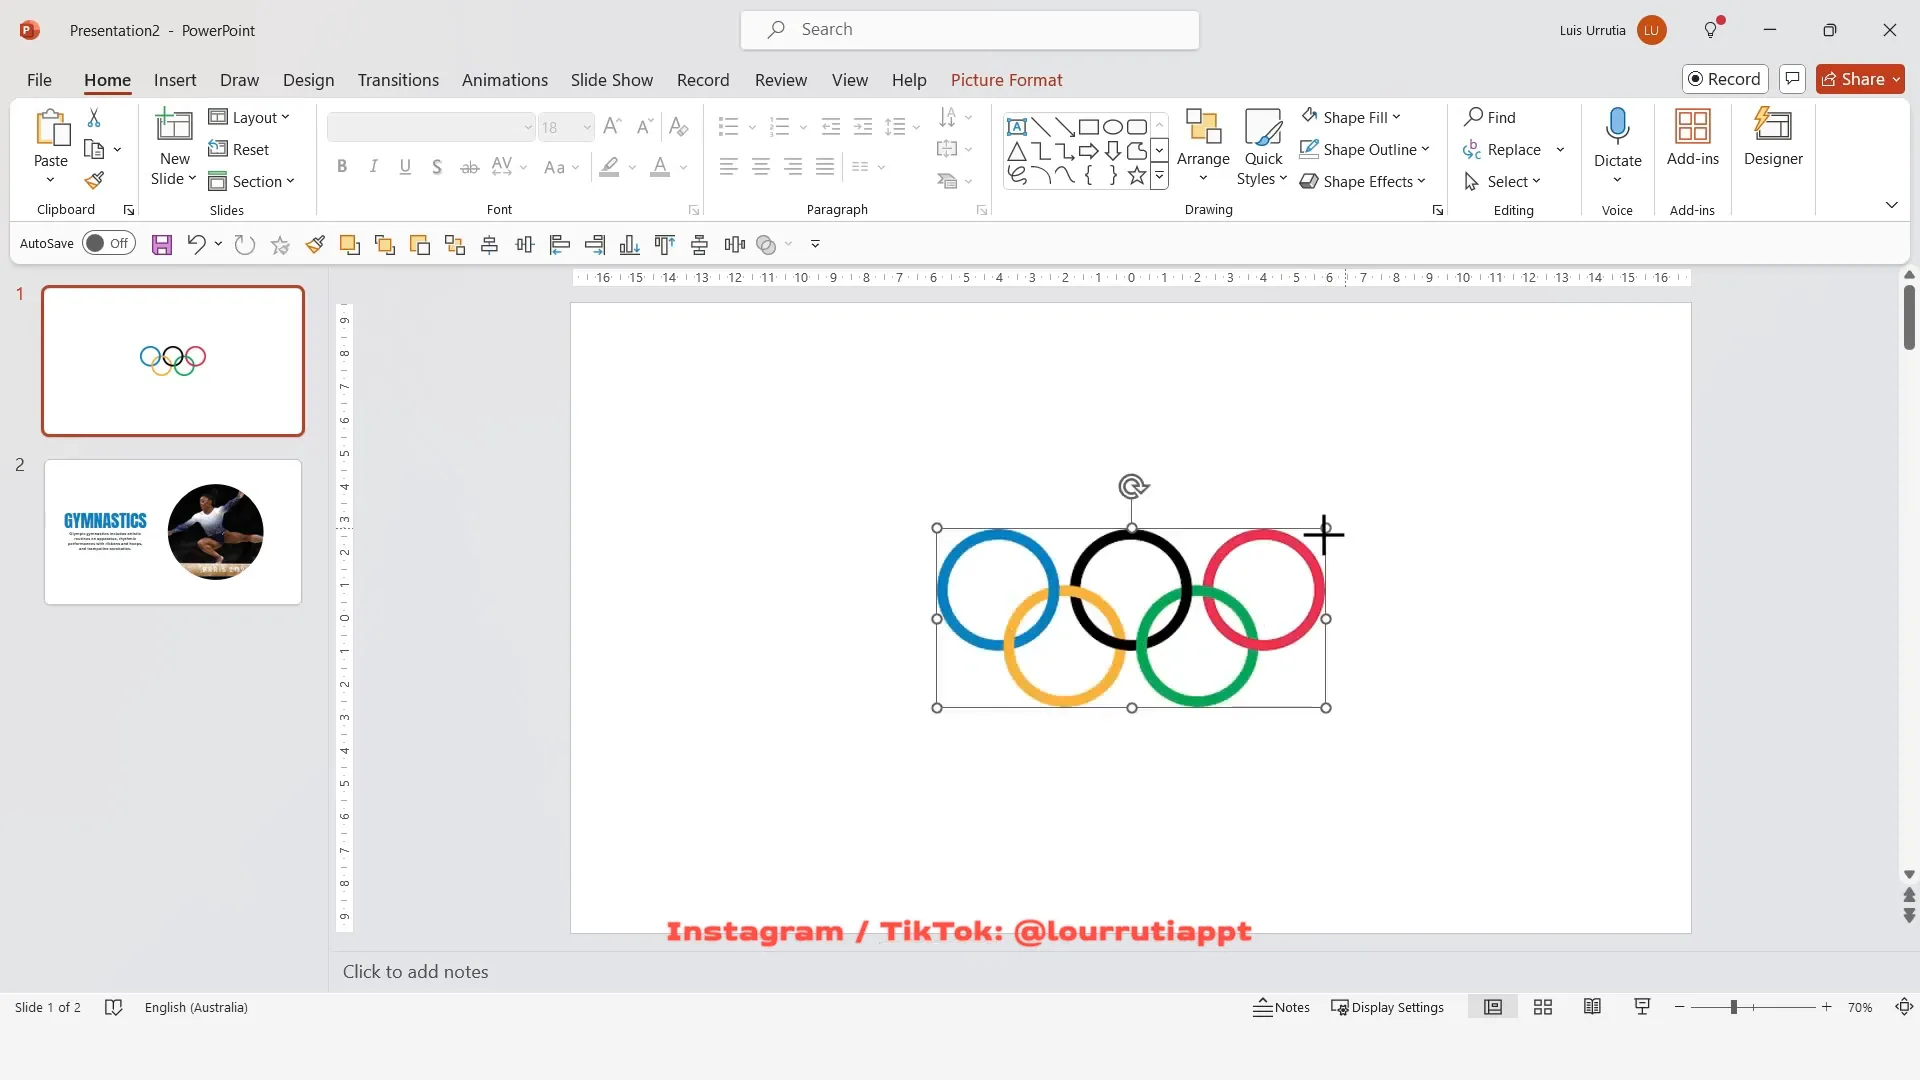
Step 1: Using the Original Logo as a Reference
Paste an image of the Olympic rings onto your slide as a reference layer. This will guide you in accurately tracing and sizing the rings.
Step 2: Drawing the Rings
Select Circle from the shapes panel, hold Shift for a perfect circle, and draw a ring that matches the size of the red ring in the reference image.
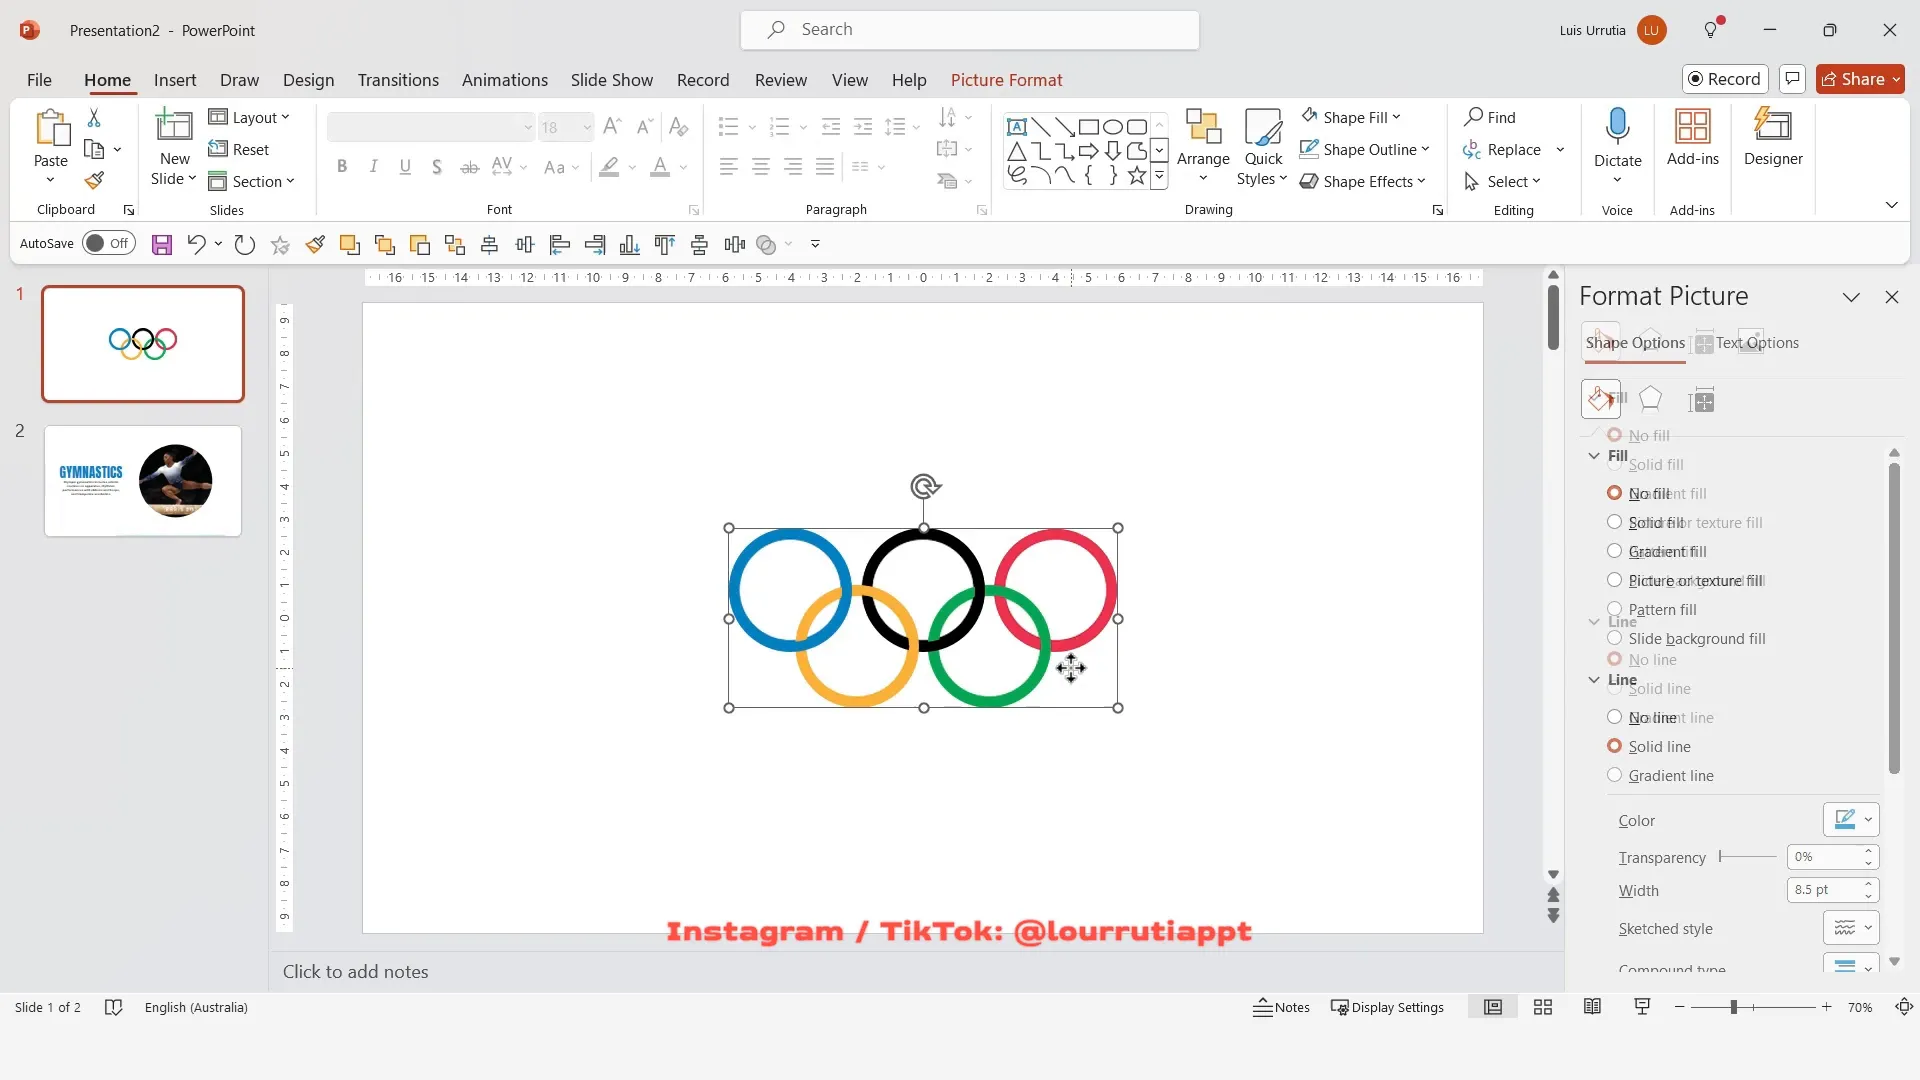
Right-click the circle and select Format Shape. Remove the fill by selecting No Fill, then set the outline to a solid line. Increase the stroke weight to about 8-8.5 points to match the thickness of the original ring.
Use the Eyedropper Tool to match the ring’s outline color to the red in the reference logo.
Step 3: Duplicating and Coloring the Rings
Hold Ctrl and drag the circle to duplicate it. Adjust the position to align with the other rings in the logo. Change the outline color of each duplicated circle to match the corresponding colors of the Olympic rings (blue, black, yellow, green).
Once all rings are created and colored, delete the original reference image to clean up your workspace.
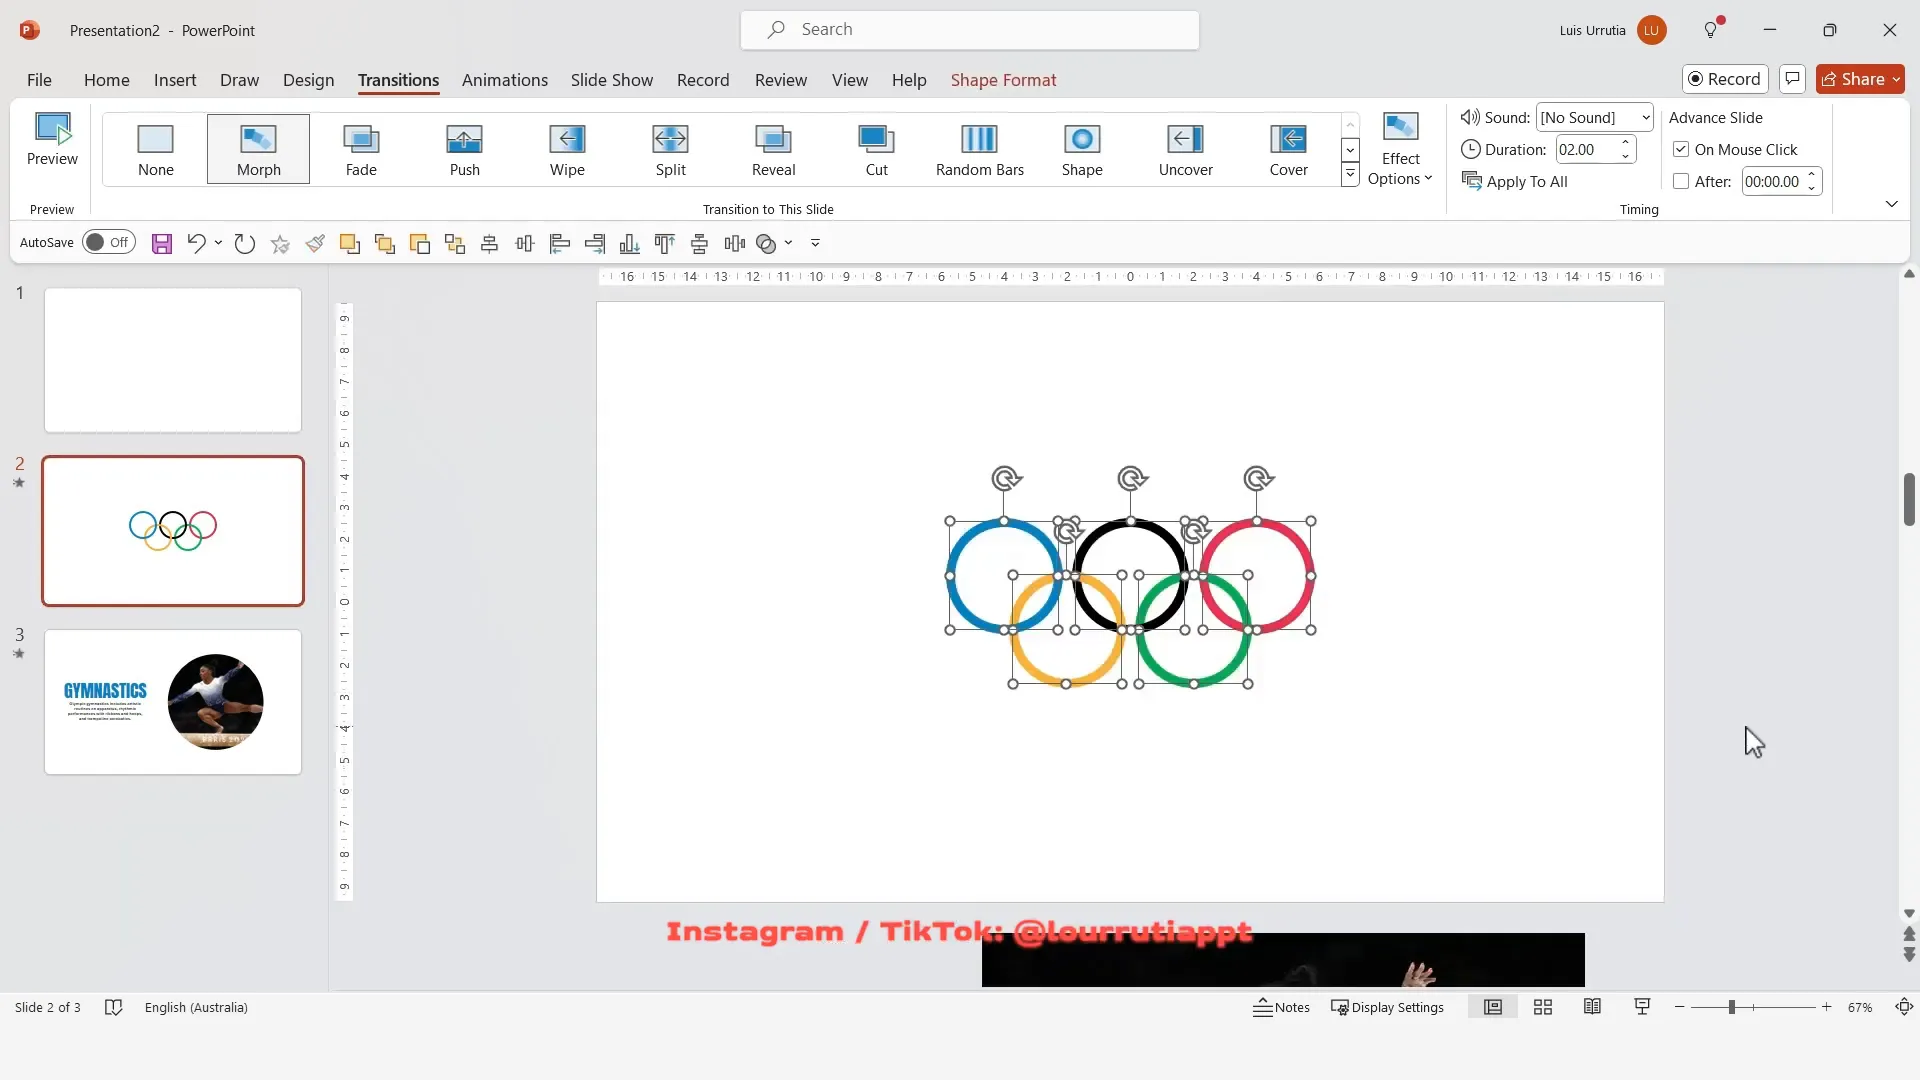
Step 4: Animating the Logo with Morph
Duplicate the slide with Ctrl + D. On the duplicated slide, zoom out and move all the rings off the slide into the gray workspace. Delete all images and text boxes, as they are not needed for this animation stage.
Apply the Morph transition to the duplicated slide. This creates a smooth animation effect where the rings appear to animate in a dynamic way, simulating the formation of the Olympic logo.
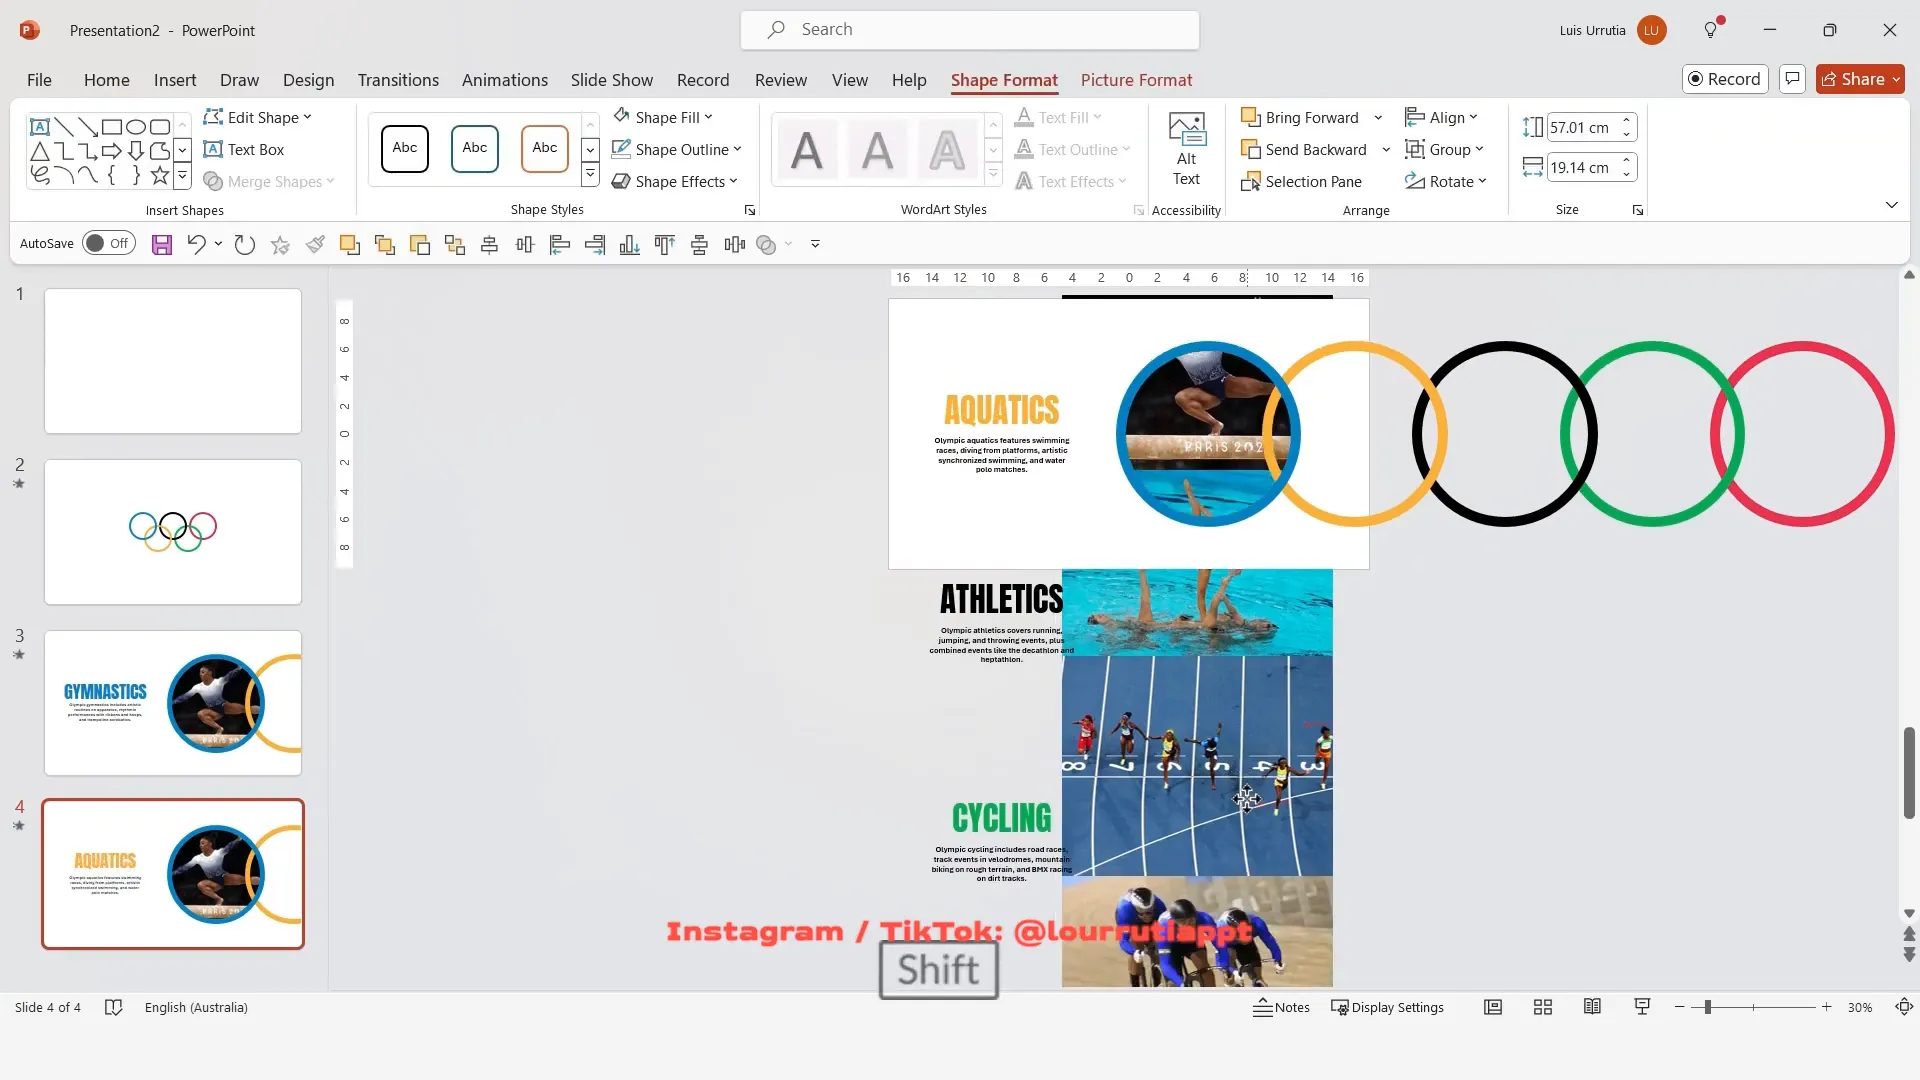
Creating a Dynamic Border and Slide Animation
Next, we’ll enhance the presentation by creating a dynamic border effect with the rings and animating the slideshow content to slide smoothly.
Step 1: Copy and Resize the Rings
Select all rings from the animated slide and copy them (Ctrl + C). Paste onto the next slide (Ctrl + V), then use Align > Align Middle to center them horizontally.
Group all rings, then enlarge the group holding Ctrl and dragging a corner. Move the group to the right side of the slide to create a border effect around your images.
With the group selected, open Format Shape and increase the stroke width to 20 points for a bold outline.

Step 2: Ungroup and Spread the Rings
Ungroup the rings for individual manipulation, then spread them out slightly to enhance the visual effect. This subtle spacing adds depth and interest.

Repeat this adjustment for each ring, ensuring consistency across the border.
Step 3: Slide Content Animation with Morph
On the transition panel, apply the Morph effect to the slide. This creates an engaging animation where the logo zooms in and the content slides up, adding a dynamic flow to your presentation.
To continue the animation sequence, move all text boxes up to reveal the next text, and slide the grouped images upward to show the next image. Similarly, select all rings and move them leftwards. If any ring obstructs the text, move it off the slide to the left.
Ensure the Morph transition is applied to all relevant slides to maintain smooth animations throughout the presentation.
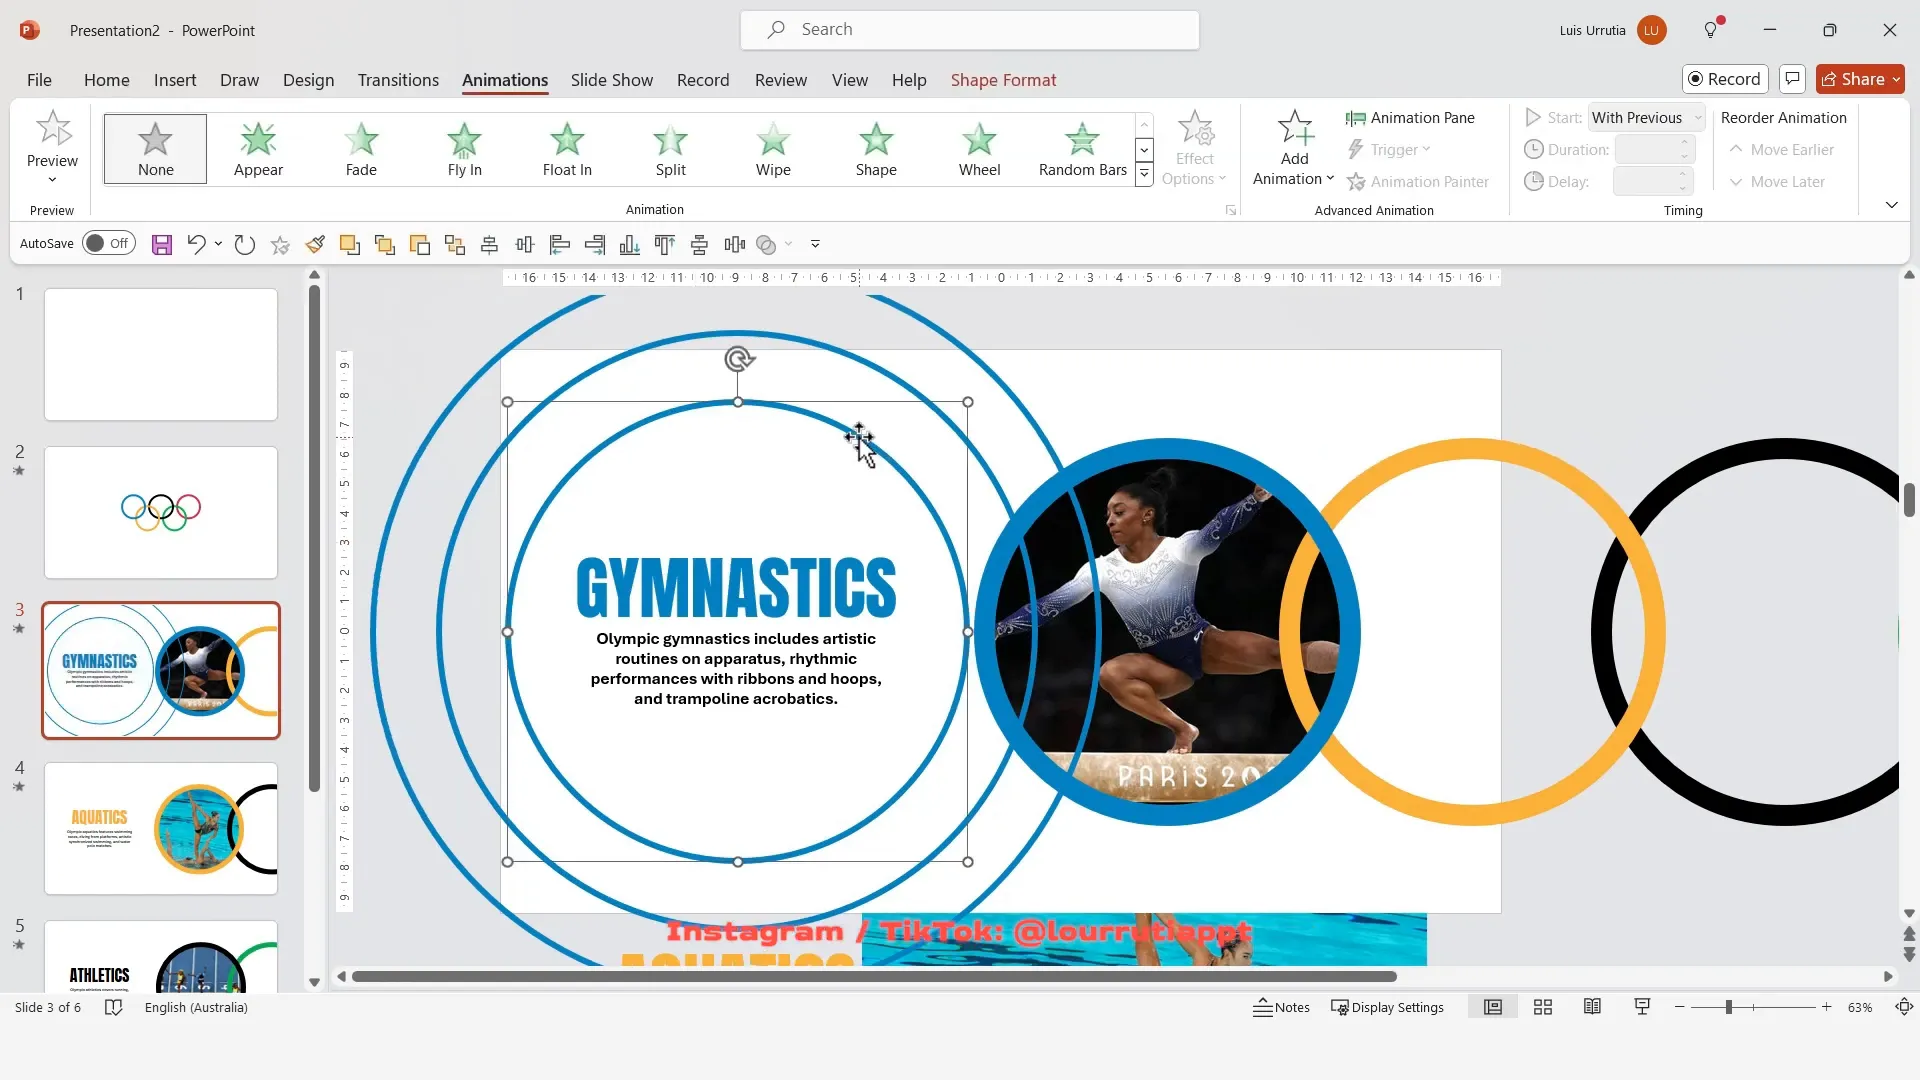
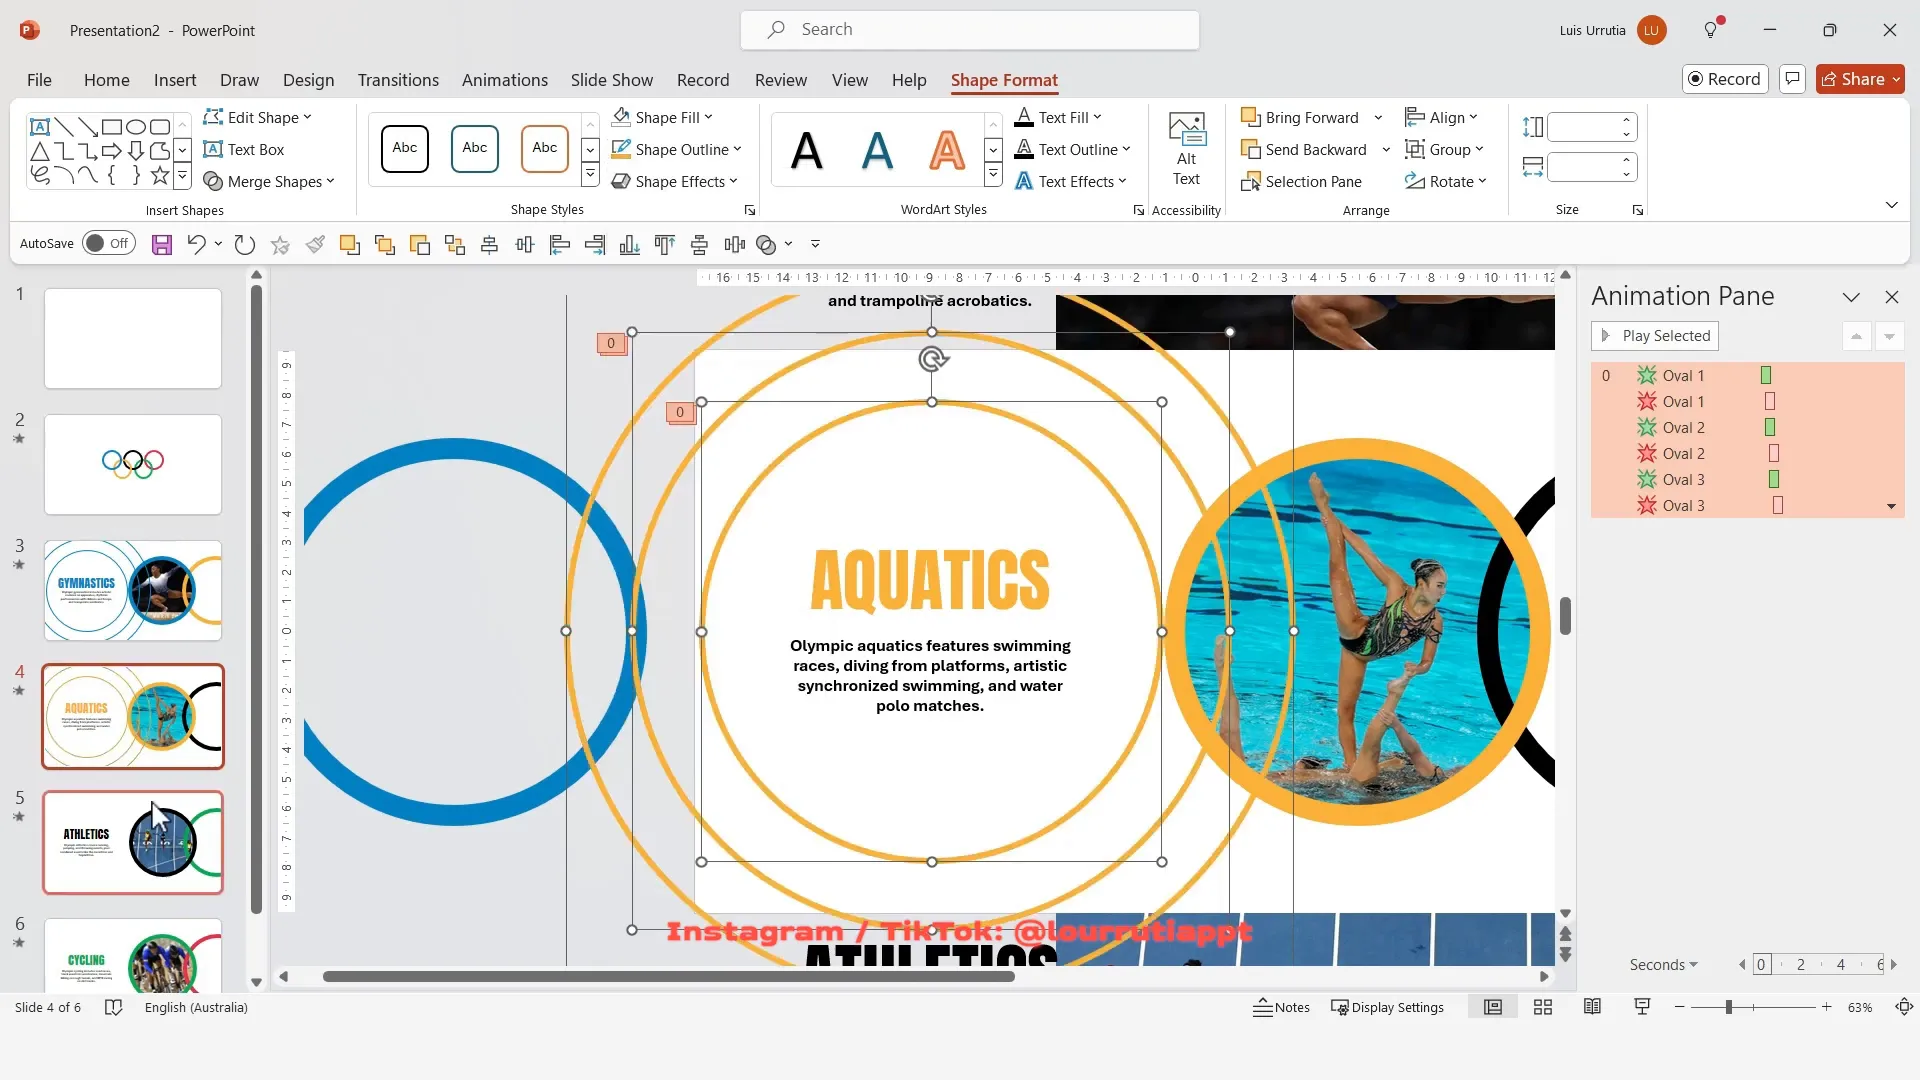
Adding the Ripple Effect for Text
The final touch is creating a ripple animation effect around the text, which adds a professional and captivating feel to your presentation.
Step 1: Insert Circles for Ripple
Insert a small circle near your text, holding Shift to keep it perfectly round. Align it vertically with the text using Align > Align Middle.
Duplicate this circle twice (Ctrl + D) and increase each duplicate’s size incrementally to create concentric circles.
Step 2: Formatting the Ripple Circles
Remove the fill from all circles by selecting No Fill. Set the outline color to match the color of the first Olympic ring and increase the outline weight to 6 points.
Use the Format Painter tool to apply this formatting uniformly across all circles.

Step 3: Animating the Ripple Effect
Select the smallest circle, then apply a Fade In animation set to start with previous. Open the animation pane and add a Fade Out exit animation, also set to start with previous but delayed by 0.2 seconds.
Repeat this process for the second circle, applying fade in and fade out animations with a 0.4-second delay on the fade out. For the largest circle, do the same but with a 0.6-second delay on the fade out.
This staggered fade creates a ripple effect that draws the audience’s attention smoothly and elegantly.
Step 4: Applying Ripple Effect Across Slides
Group all ripple circles and copy them (Ctrl + C). Paste them (Ctrl + V) onto each slide where you want the ripple effect. Adjust the outline colors to match the ring colors on each slide.
Finally, add your presentation title to the top right corner of every slide for consistency and professionalism.
Final Tips and Customization Ideas
The beauty of this tutorial is its flexibility. Although I used the Olympics as a theme, you can adapt the colors and shapes to suit any topic or brand. The Morph transition and ripple animation techniques will give your presentations a modern, polished look that captivates your audience.
Remember to always group your objects for easier animation and alignment. Use the gray workspace outside the slide to prepare elements for smooth transitions. And most importantly, experiment with colors, sizes, and timing to make the animations uniquely yours.
For those interested, you can download the full presentation slides from my website. The link is provided in the description of the original video.
Frequently Asked Questions (FAQs)
What version of PowerPoint do I need to use the Morph transition?
The Morph transition is available in Microsoft 365 PowerPoint (formerly Office 365). Ensure your PowerPoint is up to date to access this feature.
Can I use this tutorial for non-Olympics presentations?
Absolutely! The techniques demonstrated here are versatile and can be adapted to any theme by changing the colors, shapes, and images.
Is it necessary to group objects when animating?
Grouping objects simplifies the animation process, allowing you to move and animate multiple elements simultaneously. It is highly recommended for complex slides.
How can I ensure smooth animations throughout my presentation?
Always apply the Morph transition consistently across slides where you want smooth animations. Prepare objects outside the slide area for seamless movement, and keep your slide elements organized.
Where can I download the presentation template used in this tutorial?
You can download the slides featured in this tutorial from my official website. The link is usually provided in the description of the original video or on my site directly.
Conclusion
Mastering PowerPoint animations like the Morph transition and ripple effects can transform your presentations from static to spectacular. This Olympics-themed tutorial showcases how simple shapes, strategic grouping, and clever animation timing can create an engaging and professional slideshow.
By following these steps, you’ll not only learn how to recreate the iconic Olympic rings animation but also gain skills that can be applied to any presentation project. Don’t hesitate to experiment with colors, timing, and positioning to make your slides truly unique.
Remember, the key to stunning presentations lies in creativity and practice. Keep exploring PowerPoint’s features, and soon, you’ll be crafting presentations that wow every audience.
If you found this tutorial helpful, feel free to explore more of my content for additional tips and tricks on mastering PowerPoint.
Check out the full video: How I made this INSANE “Olympics” Presentation in PowerPoint. 🤯 MORPH Tutorial


