
If you’re looking to elevate your PowerPoint presentation skills and impress your audience with eye-catching animations, you’ve come to the right place. In this comprehensive guide, you’ll learn how to design a beautiful, looping animation slide featuring a video background, animated text, and charming motion-path illustrations. These techniques will not only boost your presentation’s visual appeal but also demonstrate your advanced command of PowerPoint’s capabilities.
This tutorial breaks down the process step-by-step, showing you how to combine video elements, motion paths, text animations, and seamless looping to create an engaging summer-themed slide. While the example centers on a summer vibe, the techniques are versatile and can be adapted to any theme, such as your favorite travel destination or cultural motifs.
Let’s dive into the magical world of PowerPoint and discover how to transform your slides from static to spectacular with looping sticker animations and dynamic text effects.
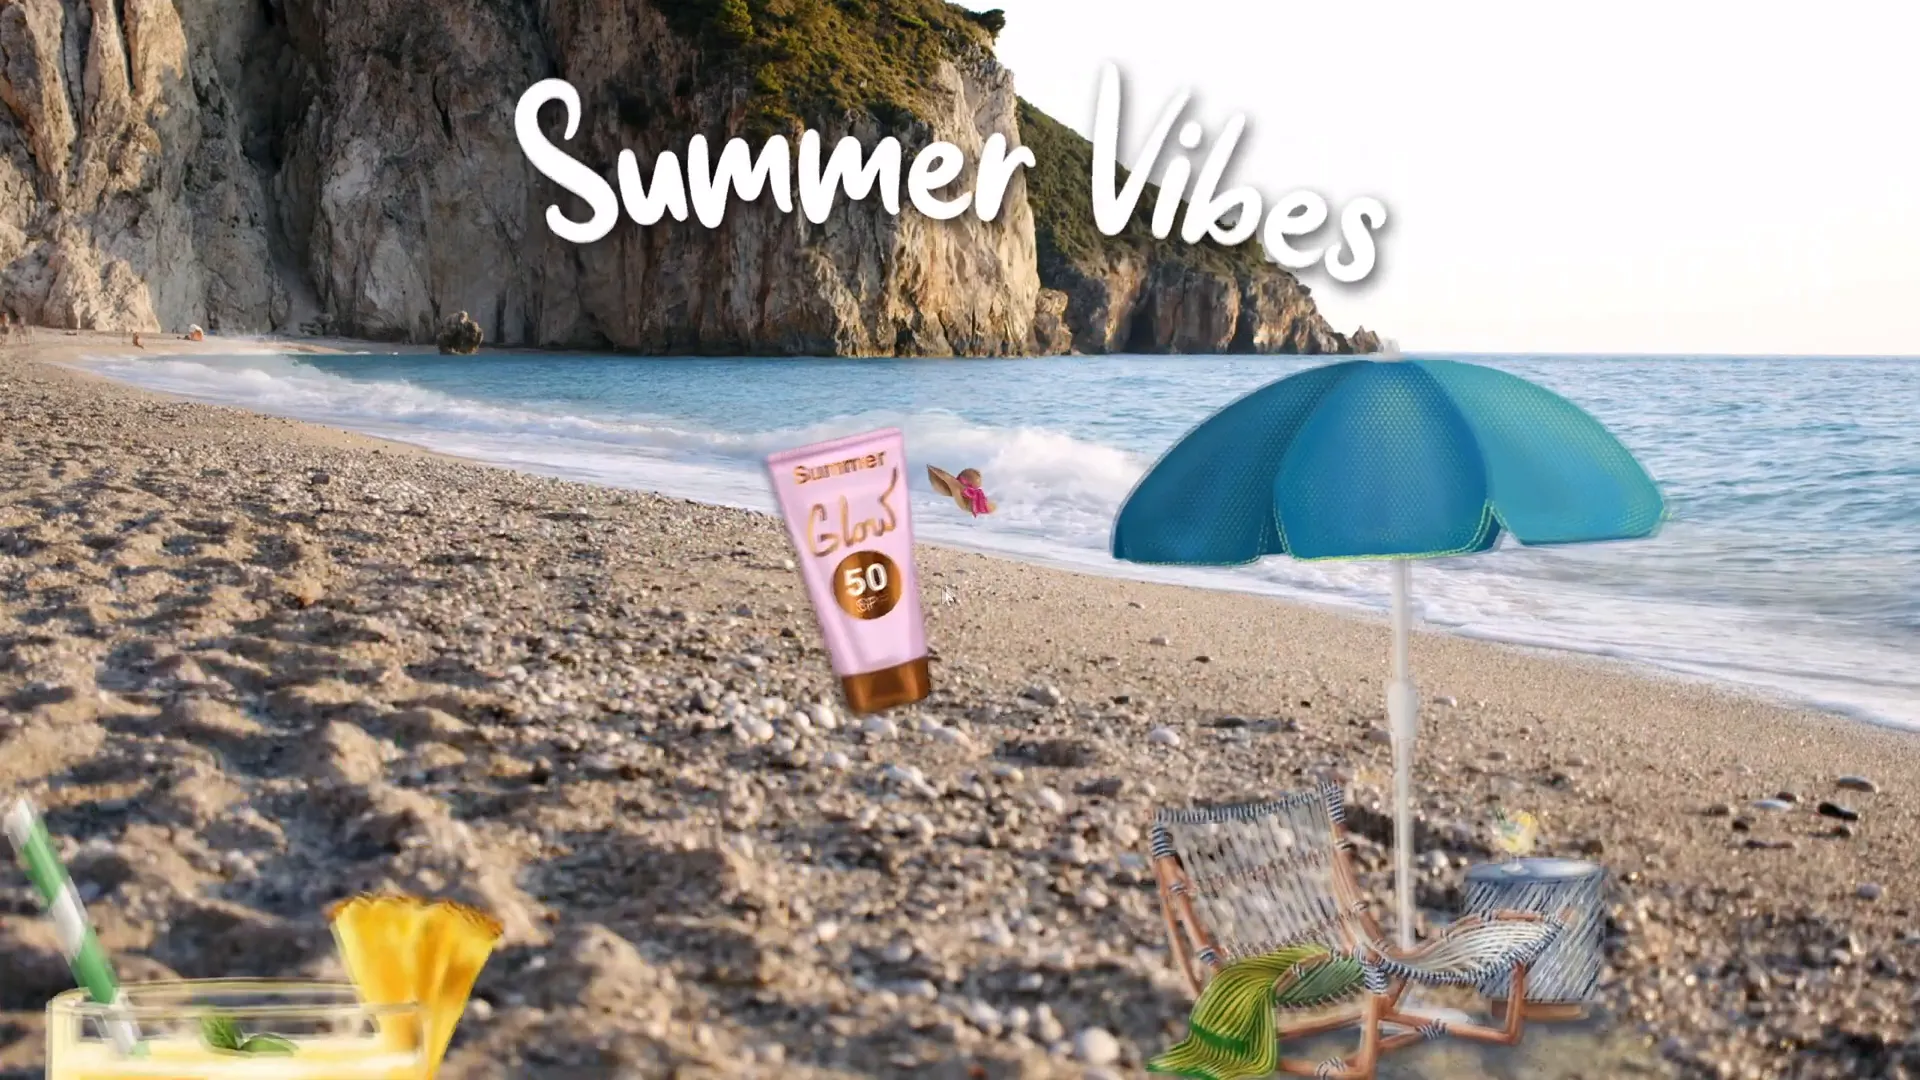
Table of Contents
- Getting Started: Preparing Your PowerPoint Environment
- Adding and Configuring a Looping Video Background
- Creating Animated Wavy Text Titles
- Inserting and Animating Looping Summer Illustrations
- Additional Animation Tips for Smooth Loops
- Finalizing and Testing Your Animated Slide
- Frequently Asked Questions (FAQ)
- Conclusion: Elevate Your PowerPoint Presentation Skills
Getting Started: Preparing Your PowerPoint Environment
Before jumping into animation, it’s essential to prepare your workspace and gather the assets you’ll need for your slide. Using Microsoft PowerPoint 365 ensures you have access to the latest animation features and smooth video playback options.
Gather Your Visual Assets
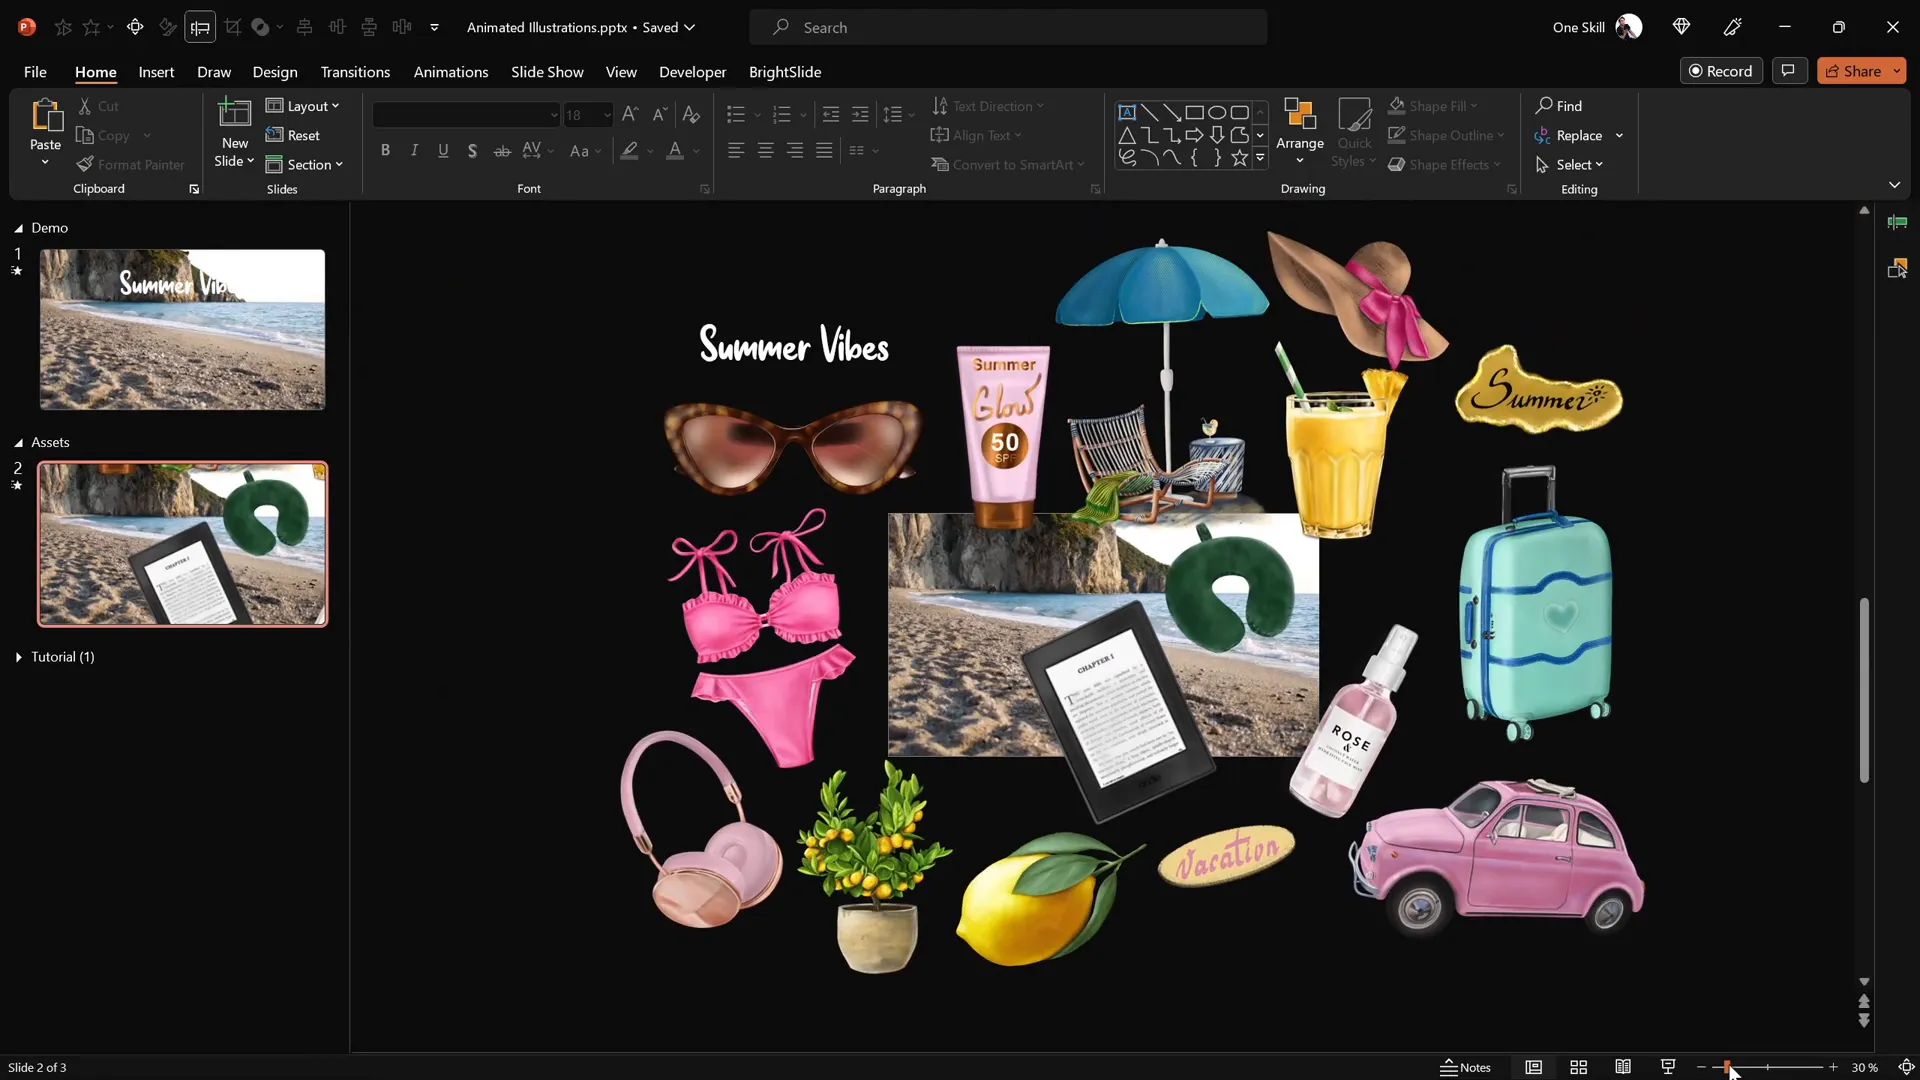
For this tutorial, we’re using a collection of delightful summer-themed illustrations including sunglasses, headphones, lemons, luggage, cars, a Kindle reader, cocktail glasses, sunscreen bottles, and umbrellas. These graphics are hand-drawn, high-quality PNG images with transparent backgrounds, created by the talented digital artist Raminta.
To get similar assets, you can check out her Etsy store, which offers these illustrations at affordable prices. Using PNG files with transparent backgrounds is crucial because it allows you to layer and animate the images seamlessly over your slide without unwanted borders or backgrounds.
Set Up a Blank Slide
Start with a fresh, blank slide in PowerPoint to give yourself a clean canvas. This approach helps avoid any template constraints and lets you customize every element of your animation.
Adding and Configuring a Looping Video Background
One of the standout features of this slide is its dynamic video background, which brings life and movement to the presentation. Here’s how to add and configure it properly.
Insert Your Video
- Download a suitable video clip, such as a summer beach scene, from a stock footage site like Artlist.io.
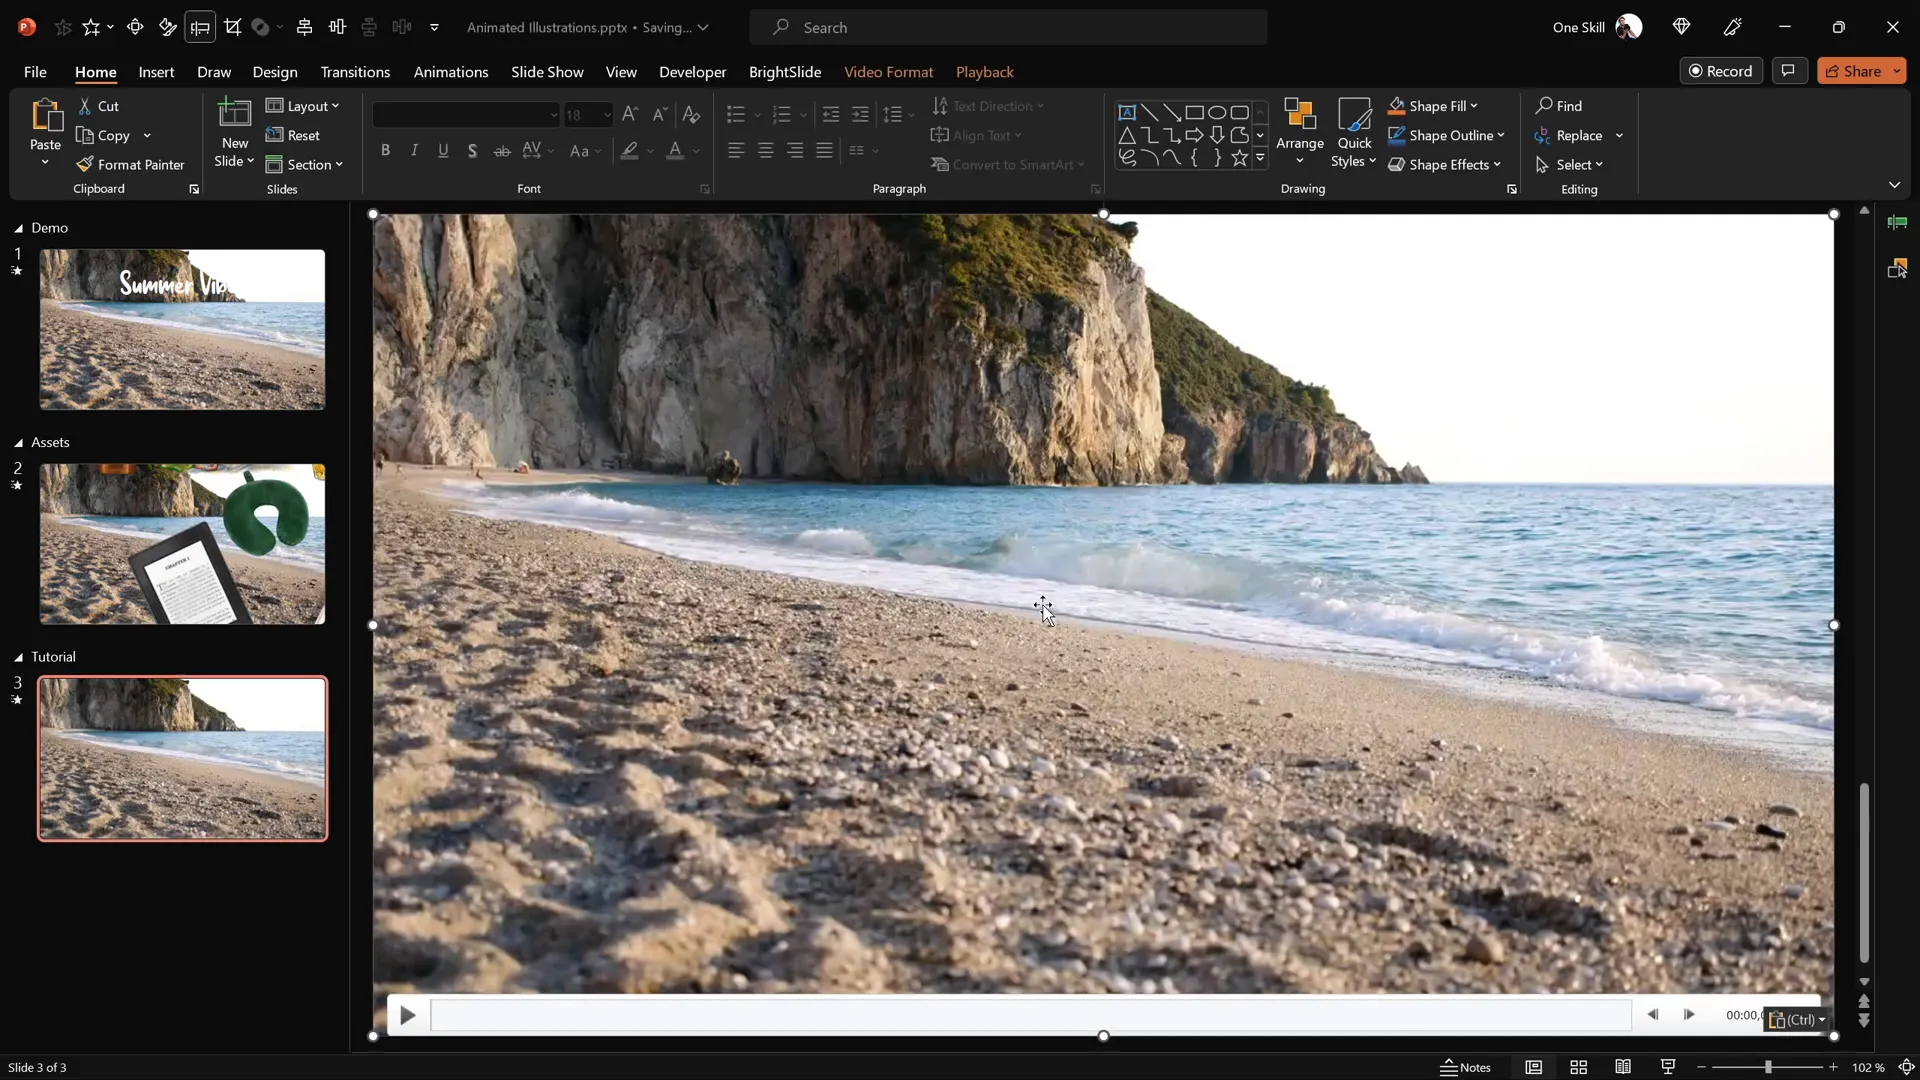
- Copy the video file and paste it directly onto your blank slide.
- Resize the video to cover the entire slide area, ensuring it fills the background completely.
Set Video Playback to Automatic and Loop
To ensure the video starts playing as soon as the slide appears and loops continuously:
- Select the video on your slide.
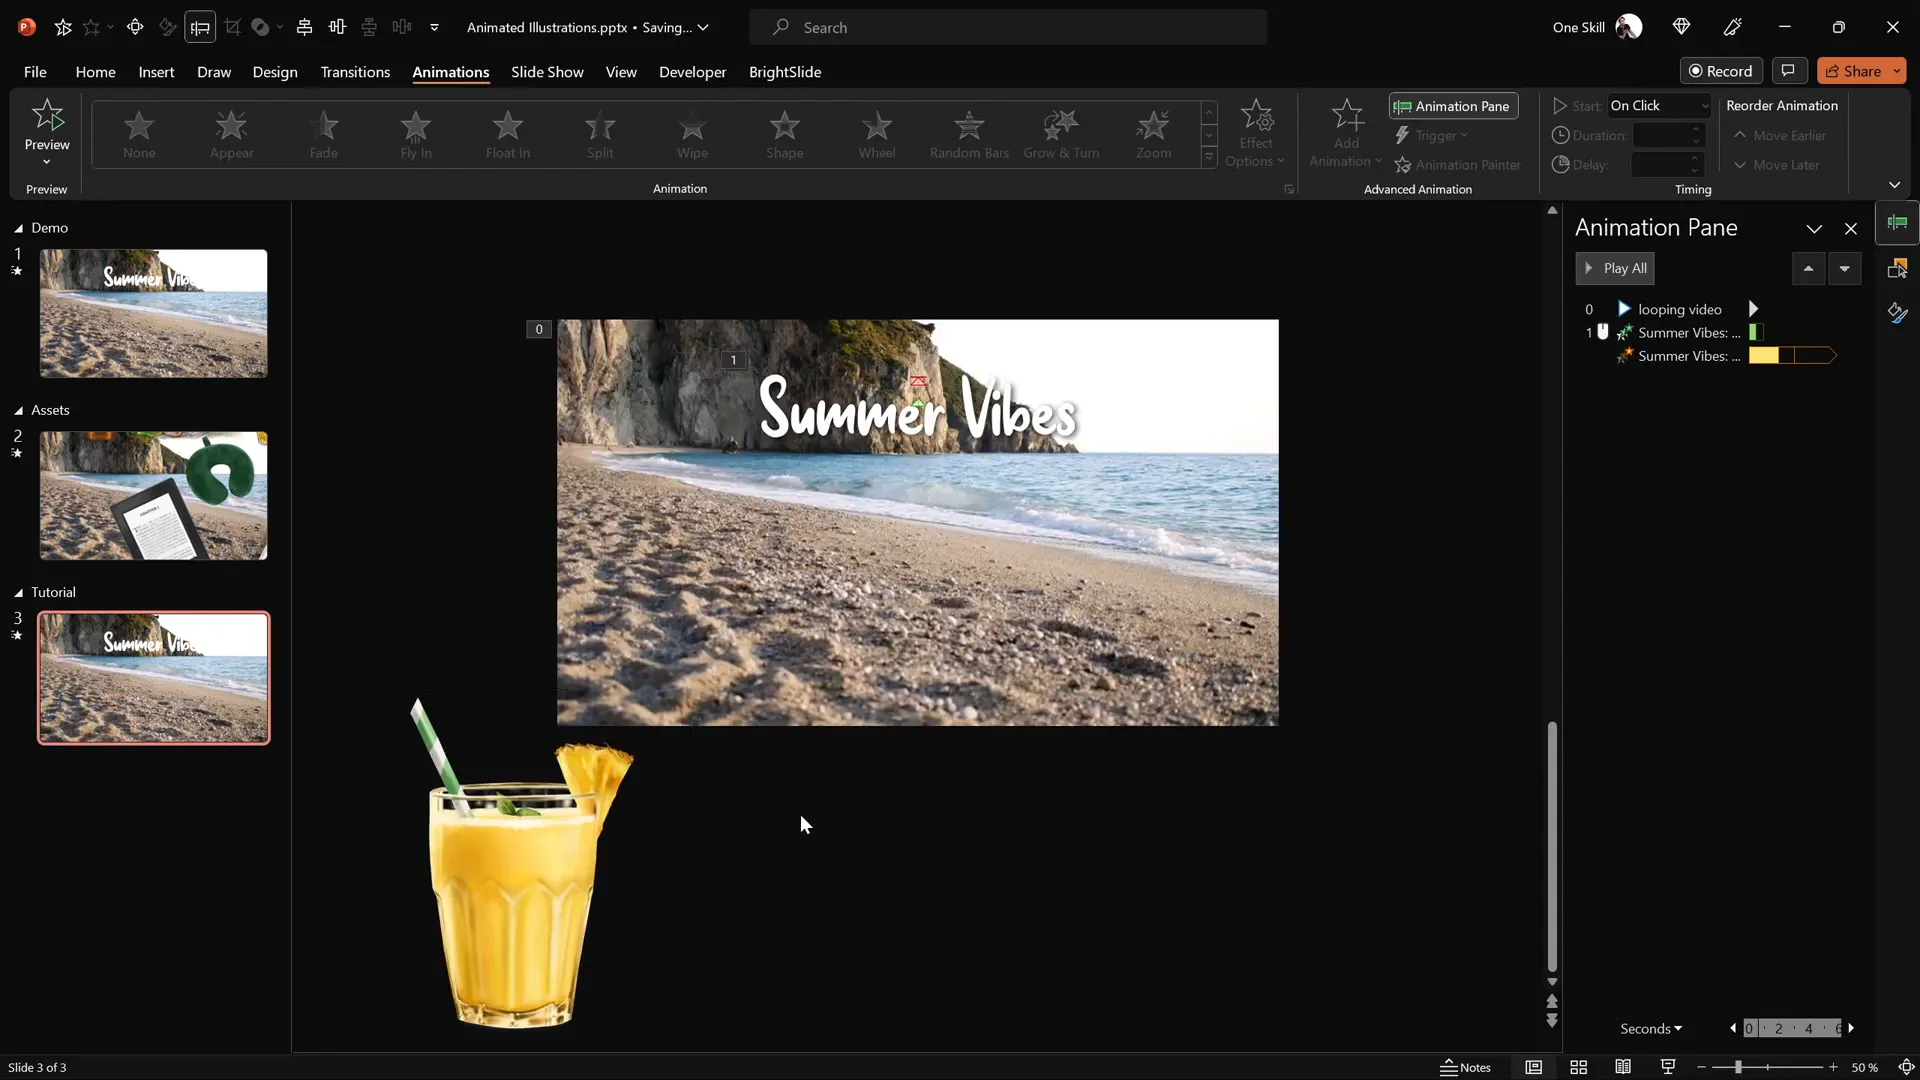
- Go to the Animations tab and add a Play animation.
- In the Animation Pane, set the Play animation to start With Previous, so it plays automatically when the slide loads.
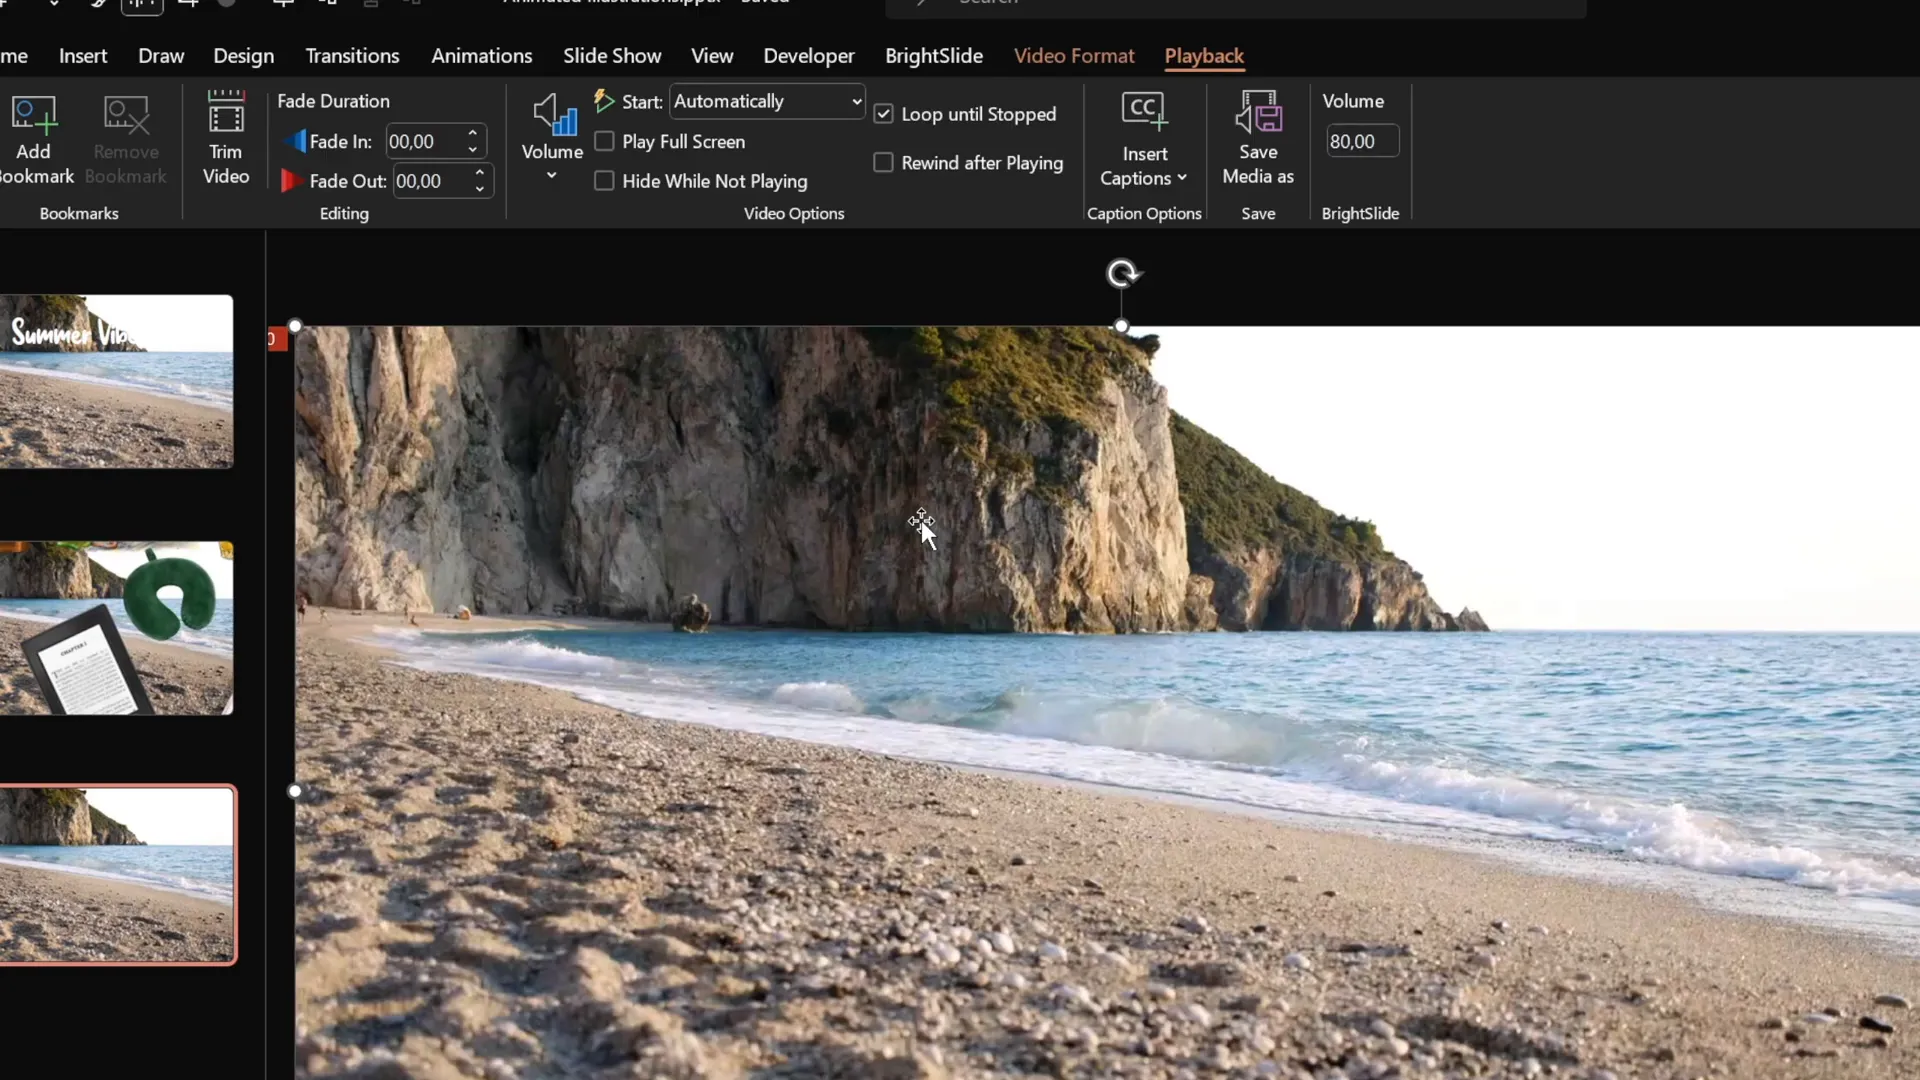
- Under Playback options, check the box Loop until Stopped.
Hide Video Controls and Prevent Click Interference
To maintain a clean look and avoid distracting media controls:
- Go to the Slideshow tab and uncheck Show Media Controls.
- To prevent the video from being clickable (which resets playback on click), insert a transparent rectangle shape over the entire slide:
- Insert > Shapes > Rectangle.
- Draw the rectangle to cover the slide fully.
- Remove the outline and set the fill transparency to 100%.
- Rename the shape in the Selection Pane for easy access.
This transparent shape intercepts clicks, so your video plays uninterrupted without accidental resets.
Creating Animated Wavy Text Titles
Adding animated text with a wavy effect at the top of your slide gives it a playful and dynamic feel. Here’s how to create this effect using PowerPoint’s animation tools.
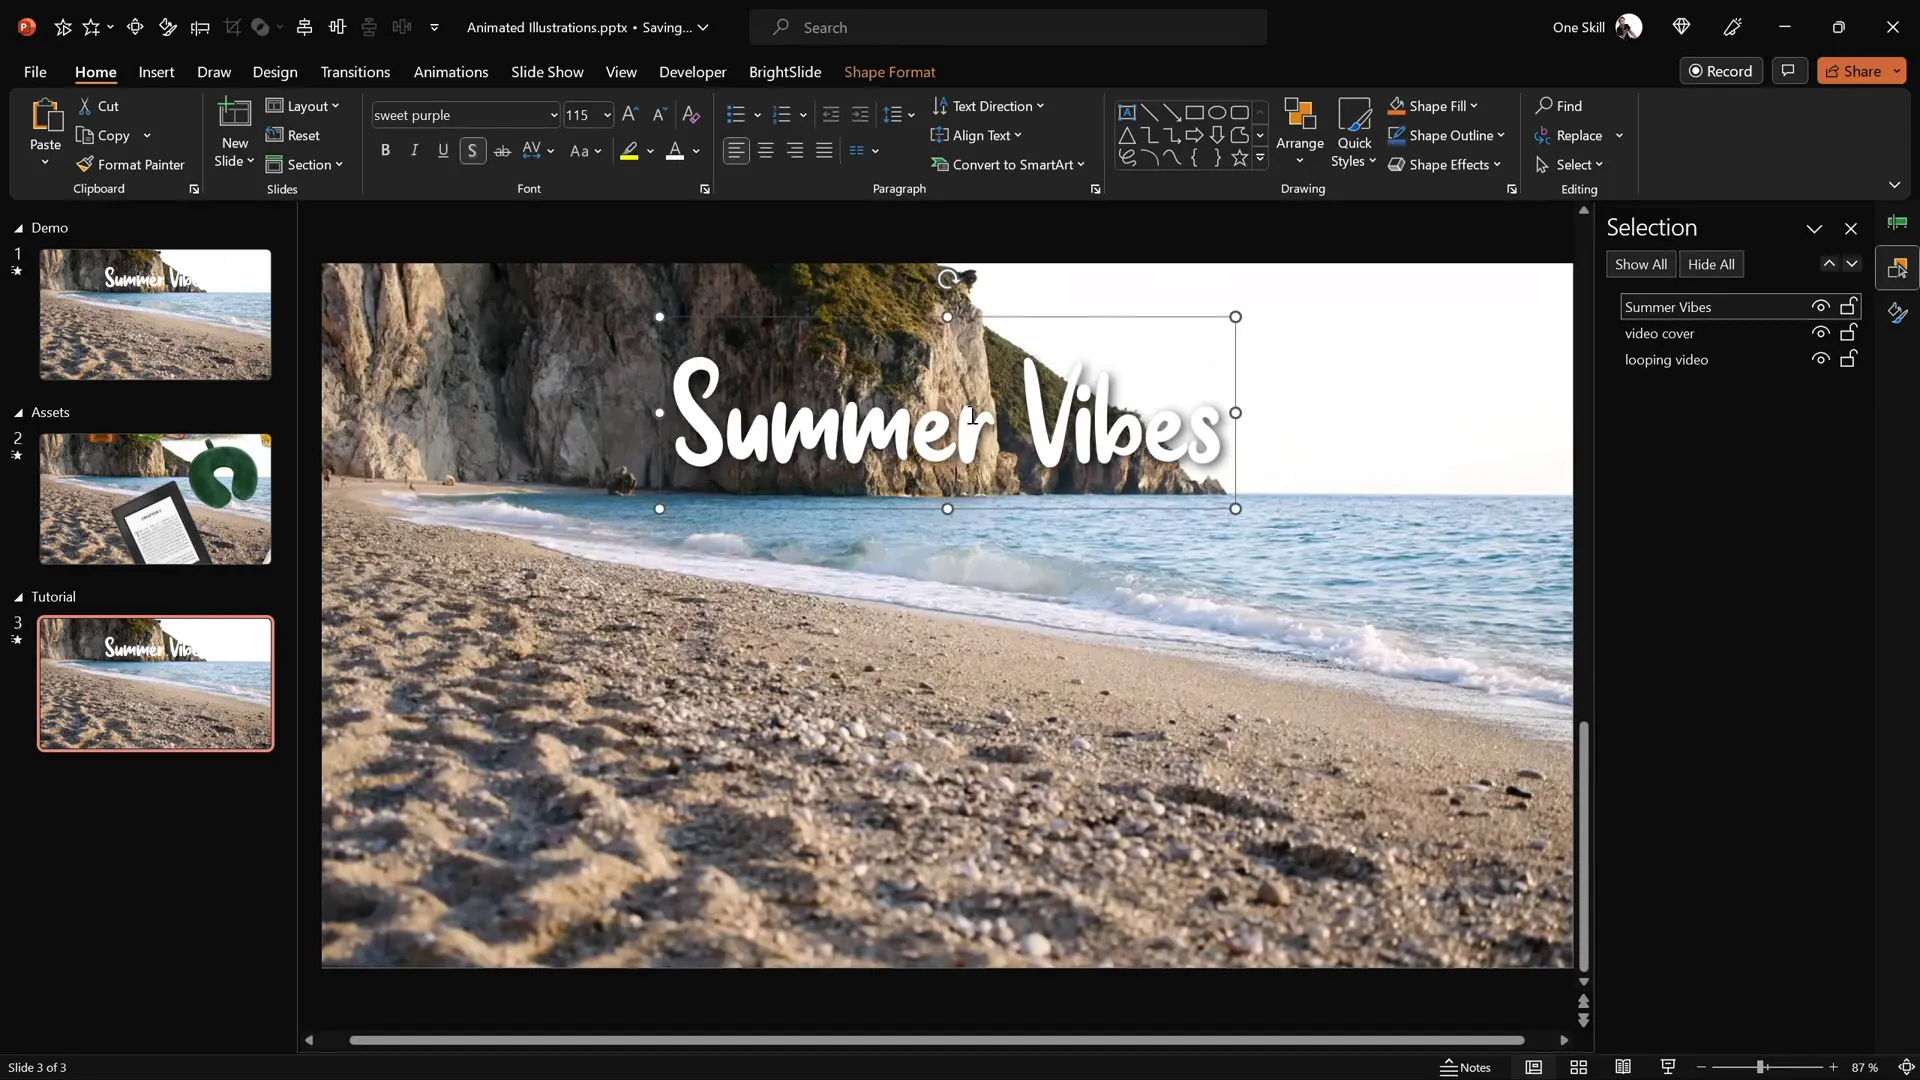
Insert and Format Your Text
- Use a stylish font such as Sweet Purple at a large size (e.g., 115 pt) to make your title prominent.
- Type your slide title, for example, “Summer Vibes”, and position it near the top center of your slide.
Add the Basic Zoom Entrance Animation
This animation will make each letter of your title zoom in sequentially:
- Select the text box.
- Go to Animations > Add Animation > More Entrance Effects.
- Choose Basic Zoom and click OK.
- Set the animation to start On Click with a duration of 0.5 seconds.
- Under Effect Options, animate the text By Letter with a delay between letters of 10%.
Preview the animation to see the letters zoom in individually, creating a lively entrance effect.
Add the Text Wave Animation
To add a continuous wavy motion to your text:
- With the text box still selected, add another animation: Text Wave under Entrance or Emphasis animations.
- Set this animation to start With Previous and adjust the duration to 2 seconds.
- Configure the animation to animate By Letter with a 5% delay.
- In the Timing tab, set the animation to repeat Until End of Slide.
This will create a smooth, waving motion that loops indefinitely, giving your title an engaging, fluid feel.
Inserting and Animating Looping Summer Illustrations
Now for the fun part: adding animated summer-themed illustrations that float and move around the slide in a loop. This adds a dynamic, playful element to your presentation.
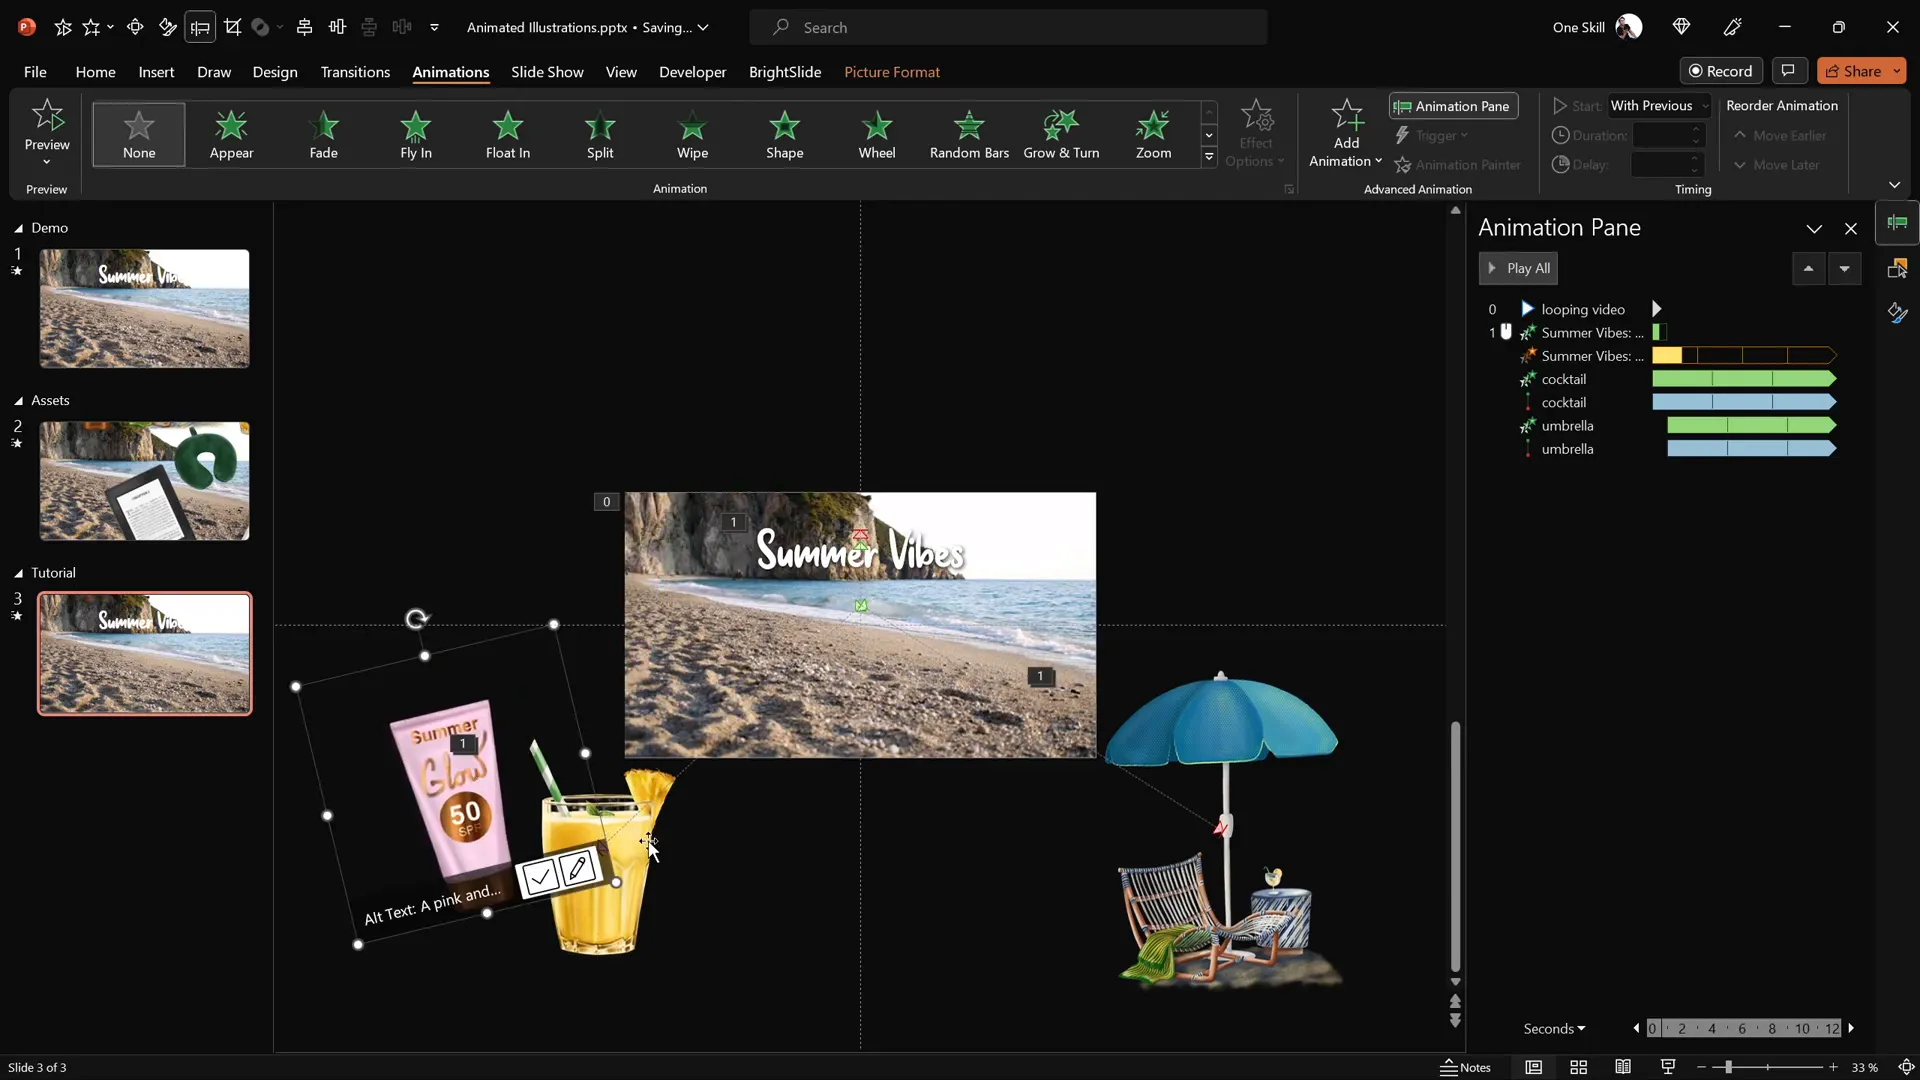
Choose and Place Illustrations
From your asset collection, pick a few illustrations to start with, such as a cocktail glass, umbrella, sunscreen bottle, and a hat. Copy and paste each onto your slide, positioning them in different corners or areas where they’ll be visible but not obstruct the text.

Add Motion Path Animations
To animate each illustration so it moves smoothly across the slide:
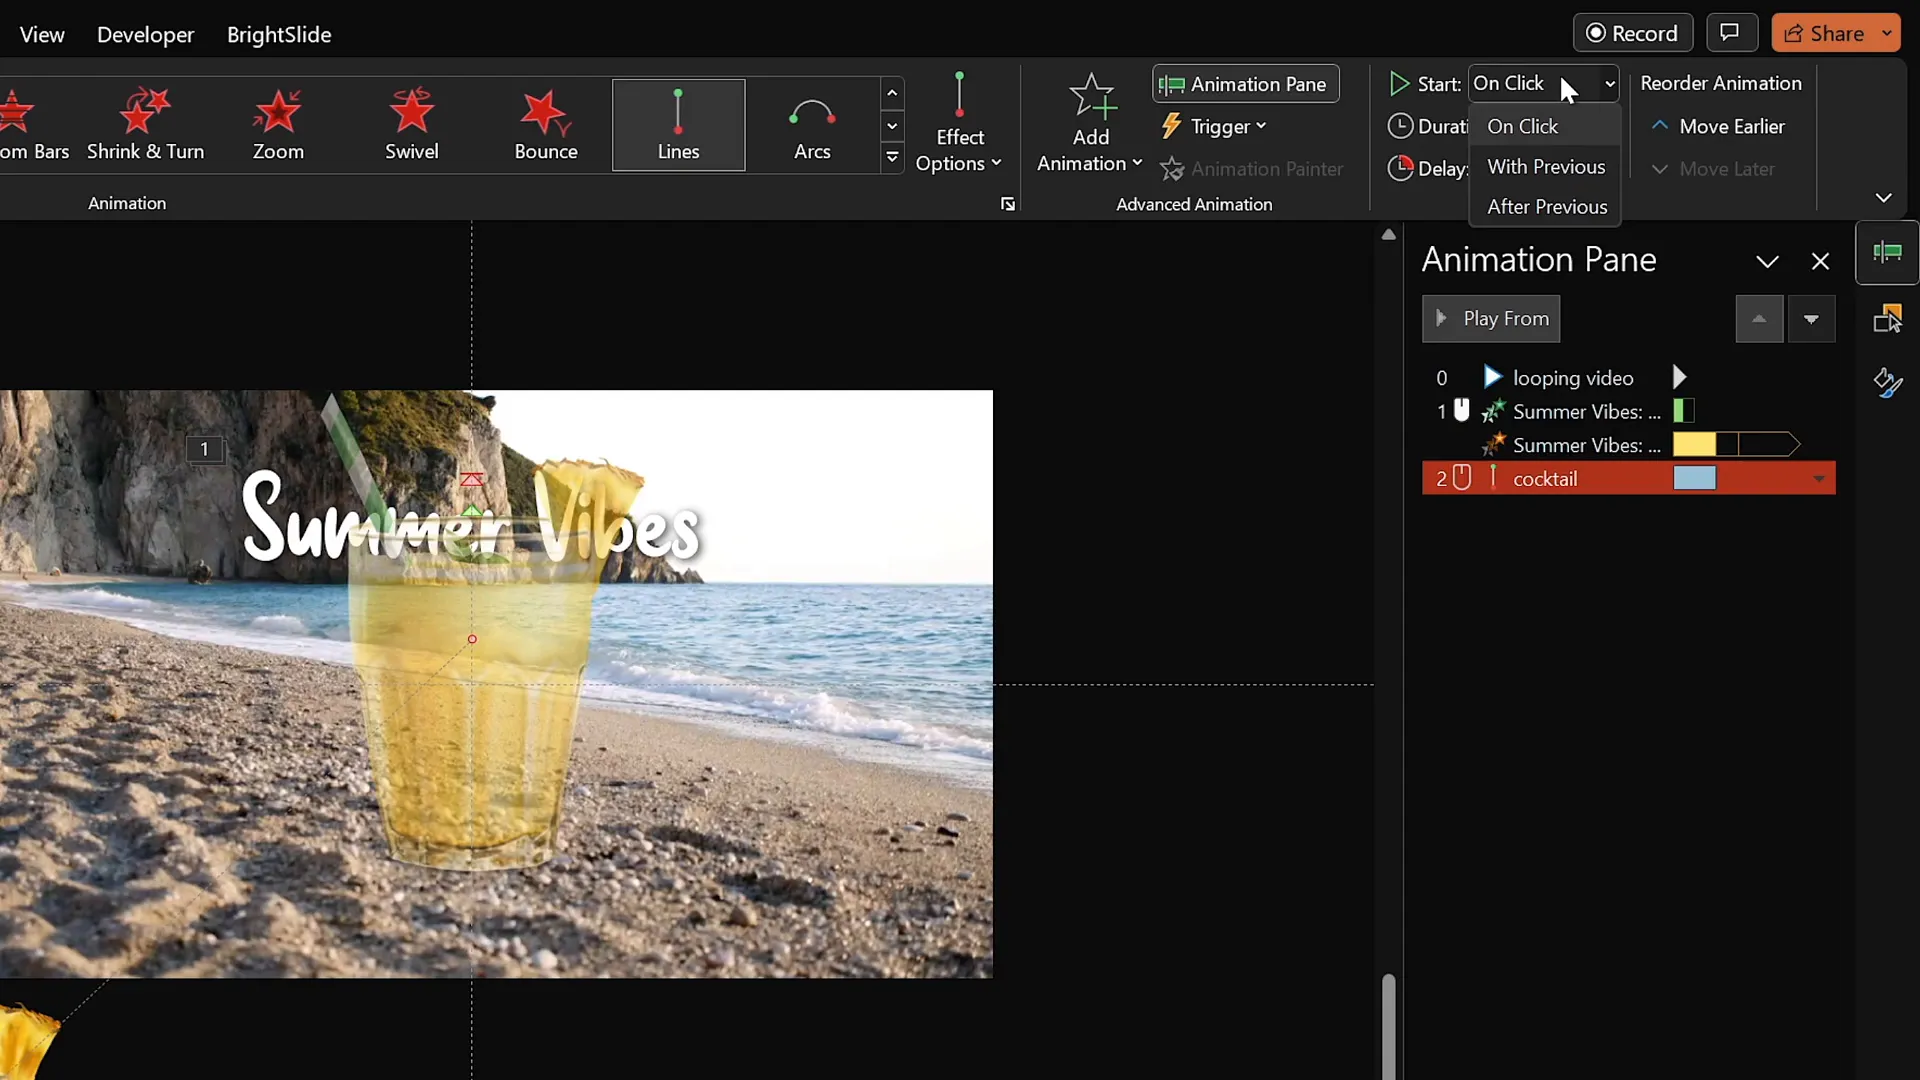
- Select the illustration (e.g., cocktail glass).
- Go to Animations > Add Animation > Motion Paths > Lines.
- Adjust the motion path’s endpoint by dragging the red handle to a position near the slide’s center or anywhere you want the illustration to move.
- Reverse the path if necessary to set the correct starting point.
- Set the motion path animation to start With Previous and duration to 4 seconds.
- In the Animation Pane, smooth the start for a more natural movement.
- Set the animation to repeat Until End of Slide.
Add Entrance Zoom Animation for Size Growth
To make the illustration grow in size as it moves:

- Add a Basic Zoom entrance animation to the illustration.
- Set it to start With Previous, before the motion path animation.
- Match the duration to 4 seconds.
- Set this zoom animation to repeat Until End of Slide.
This simultaneous zoom and movement creates a smooth, natural effect of the illustration growing and floating into place.
Copy Animations to Other Illustrations
To maintain consistency and save time, use PowerPoint’s Animation Painter tool:
- Select the illustration with the desired animations.
- Click the Animation Painter icon.
- Click on another illustration to apply the same animations.
Adjust the motion path’s starting point for each illustration to ensure they begin from the slide center or wherever you prefer. Stagger the animations by adding delays (e.g., 1 second, 2 seconds, 3 seconds) so the illustrations animate in sequence rather than all at once.
Layer Your Illustrations Properly
Use the Selection Pane to arrange the layering order of your illustrations, ensuring that larger or more important graphics appear on top and smaller ones below. This layering enhances the visual depth and prevents overlapping issues.
Additional Animation Tips for Smooth Loops
Here are some extra tips to perfect your looping animation slide:
| Tip | Description | Benefit |
|---|---|---|
| Use Transparent Shapes to Prevent Clicks | Cover your video with a transparent rectangle to block accidental clicks. | Prevents video playback resets and keeps the animation seamless. |
| Loop Animations Until End of Slide | Set all animations to repeat continuously. | Keeps your slide dynamic without manual restarting. |
| Stagger Animation Start Times | Add delays to animations for sequential effects. | Creates visual variety and avoids cluttered movement. |
| Smooth Start and End of Motion Paths | Adjust animation options for smoother transitions. | Enhances natural movement feel and professionalism. |
| Use PNGs with Transparent Backgrounds | Choose illustrations without backgrounds. | Allows layering and cleaner animation integration. |
Finalizing and Testing Your Animated Slide
Once you’ve set up your video background, animated text, and looping illustrations, it’s time to preview your slide in full-screen presentation mode to ensure everything works flawlessly.
- Verify the video starts automatically and loops continuously.
- Click to trigger the zoom animation of your wavy text title.
- Observe the sequential animations of your illustrations gracefully moving and growing across the slide.
- Ensure that the transparent rectangle prevents accidental clicks on the video.

If any animations feel too fast or too slow, adjust the duration and delay settings accordingly. Fine-tuning these parameters will help you achieve the perfect balance of movement and pacing.
Frequently Asked Questions (FAQ)
How can I get the summer illustrations used in the animation?
The summer illustrations are created by the digital artist Raminta and are available for purchase on her Etsy store. These come as PNG files with transparent backgrounds, perfect for PowerPoint animations. You can find the link to her shop online through various digital asset platforms.
Can I use this animation technique for other themes?
Absolutely! While this tutorial uses a summer theme, the animation techniques—video background, motion paths, looping animations, and wavy text—can be adapted to any theme such as travel, business, education, or culture. Simply swap the illustrations and video background to suit your topic.
Which version of PowerPoint is required?
This tutorial uses Microsoft PowerPoint 365, which has the latest animation and video playback features. However, many of the steps should work in recent versions of PowerPoint, but some options like looping video playback may vary.
How do I prevent the video from restarting when I click during the presentation?
To avoid restarting the video on mouse clicks, insert a transparent shape over the video that blocks clicks. This way, your video plays continuously without interruption.
Can I customize the wave height of the animated text?
Yes, PowerPoint allows you to adjust the amplitude of the wave animation on your text. You can experiment with this setting to achieve the desired visual effect.
How do I make sure animations loop indefinitely?
In the animation timing options, set the repeat value to Until End of Slide. This ensures the animation loops continuously as long as the slide is displayed.
Are there any tips for layering multiple animations without clutter?
Use the Selection Pane to manage the layering order. Also, stagger animation delays so that elements animate sequentially rather than simultaneously, creating a clean and professional look.
Conclusion: Elevate Your PowerPoint Presentation Skills
Mastering PowerPoint presentation skills involves more than just adding text and images—it’s about creating engaging, dynamic content that captivates your audience. With the techniques outlined here, you can create stunning looping sticker animations featuring video backgrounds, animated wavy text, and moving illustrations that breathe life into your slides.
These skills not only enhance the visual appeal of your presentations but also demonstrate your professionalism and creativity. Remember to gather high-quality assets, plan your animations carefully, and fine-tune timing for smooth, continuous loops.
Whether you’re preparing a summer-themed presentation or any other topic, these techniques will help you deliver a memorable and impressive performance. Stay creative, keep experimenting, and enjoy the magic of PowerPoint animation!
Happy presenting!
Check out the full video: PowerPoint Presentation Skills: Looping Sticker Animation! ✨


