

Mastering PowerPoint presentation skills is essential for creating impactful and professional slideshows that capture your audience’s attention. One of the most powerful yet often underutilized tools in PowerPoint is the Morph Transition. This feature allows you to create smooth, dynamic animations that can make your presentations stand out without requiring complex motion paths or external software. In this comprehensive guide, we’ll explore everything you need to know about using the Morph transition effectively—covering how to move, resize, rotate, flip objects, and even animate colors, transparency, and photo cropping. Whether you’re a beginner or looking to enhance your animation skills, this article will equip you with practical tips and techniques to elevate your PowerPoint game.
Let’s dive into the world of Morph transitions and unlock your presentation’s full potential!
Table of Contents
- What is Morph Transition?
- Getting Started with Morph Transition
- Moving Objects Using Morph Transition
- Animating Slide Titles with Morph
- Resizing Objects with Morph Transition
- Rotating Objects with Morph Transition
- Flipping Objects Using Morph
- Animating Color Changes and Transparency
- Creating Photo Cropping Effects with Morph
- Tips for Making Morph Transition Work Perfectly
- Frequently Asked Questions (FAQ)
- Conclusion
What is Morph Transition?
The Morph Transition in PowerPoint is a versatile animation tool that automatically animates the movement, resizing, rotation, and transformation of objects from one slide to the next. Instead of manually creating motion paths or complex animations, Morph seamlessly connects two slides by recognizing identical objects and animating their changes smoothly.
This transition is available in PowerPoint 2019, Microsoft 365, and later versions. Because it simplifies animation creation, Morph is an excellent feature for anyone looking to add professional polish to their presentations without spending hours on detailed animations.
Getting Started with Morph Transition
To harness the power of Morph, the basic workflow involves duplicating a slide, modifying objects on the duplicate, and then applying the Morph transition to the second slide. Here’s a simple step-by-step process:
- Duplicate your slide: Select the slide you want to animate and duplicate it. This creates two slides with identical objects.
- Modify objects on the second slide: Move, resize, rotate, flip, or change the properties of objects on the duplicate slide.
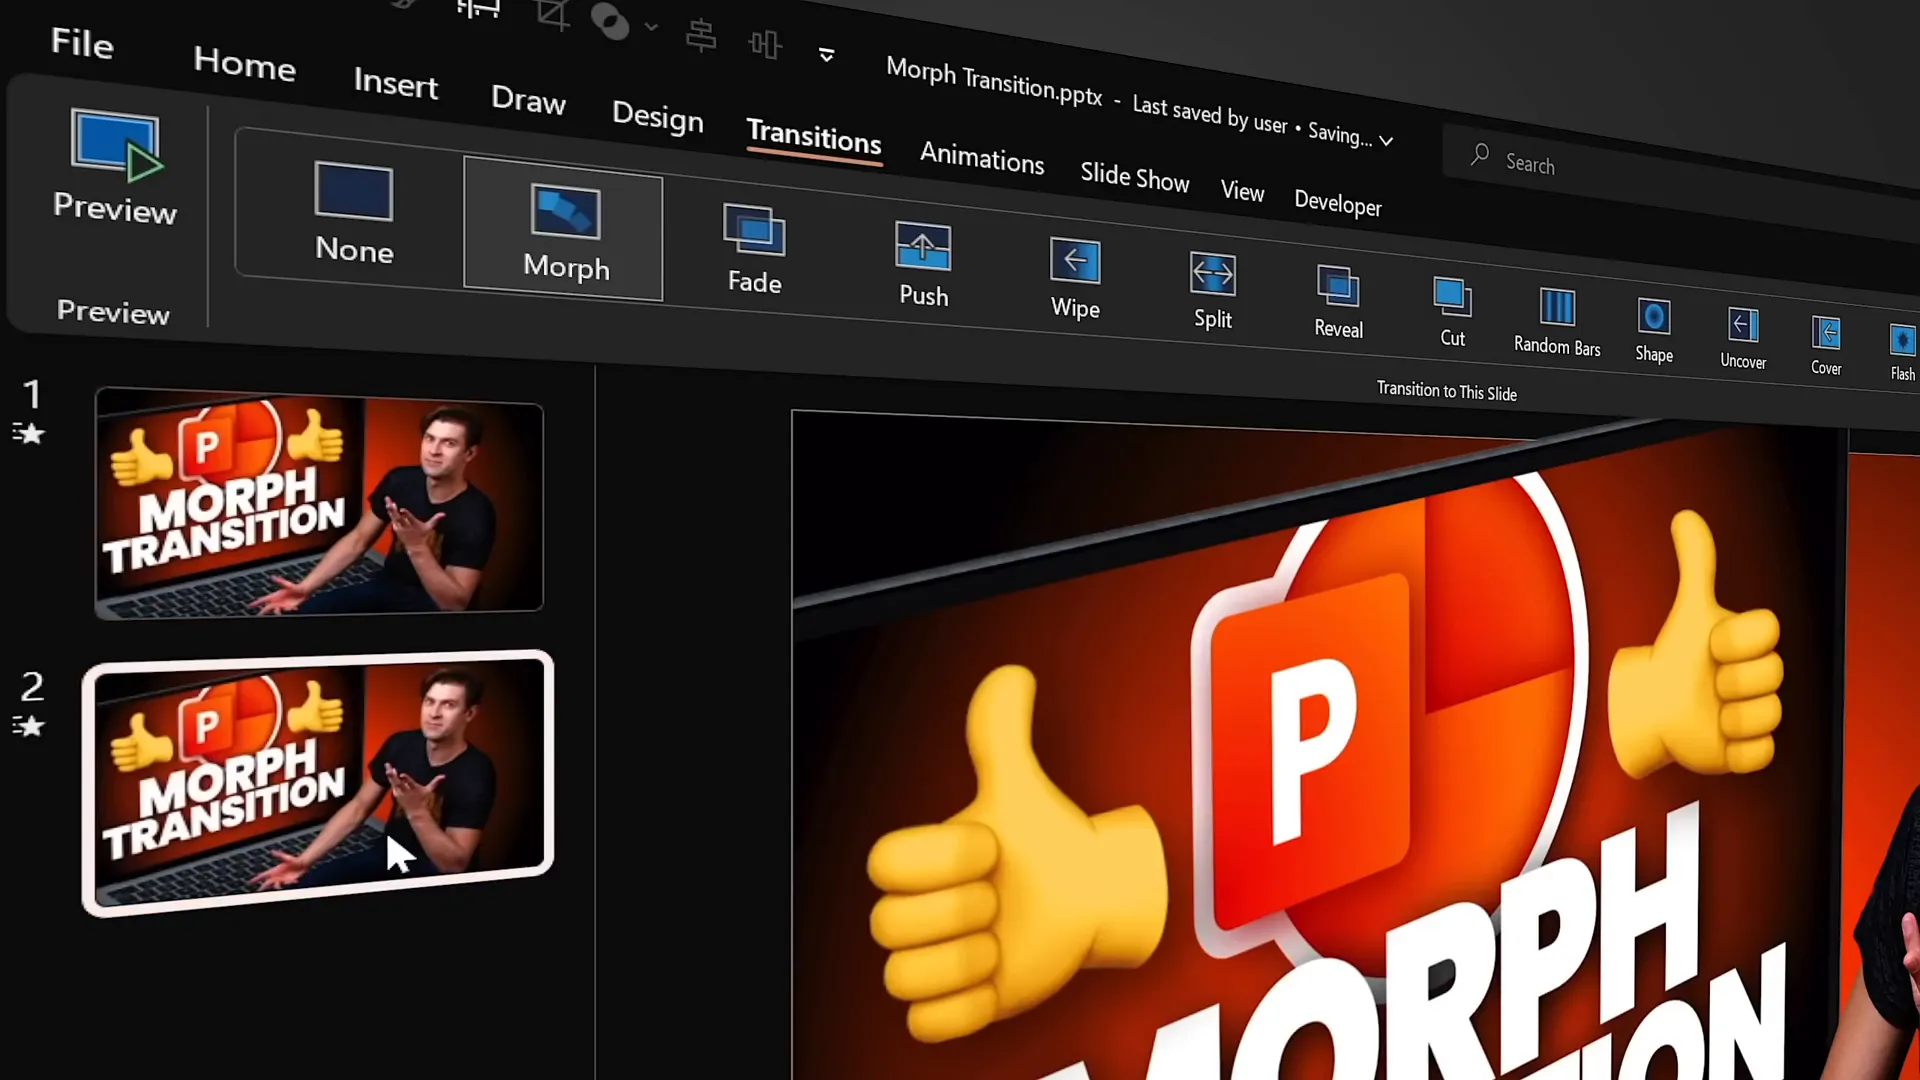
- Apply Morph transition: Select the second slide, go to the Transitions tab, and choose Morph as the transition.
- Preview and adjust: Use the preview button or run the slide show to see the smooth animation created by Morph.
You can also adjust the duration of the Morph transition to control the speed of your animation. The default is typically two seconds, but feel free to make it faster or slower based on your presentation style.
Moving Objects Using Morph Transition
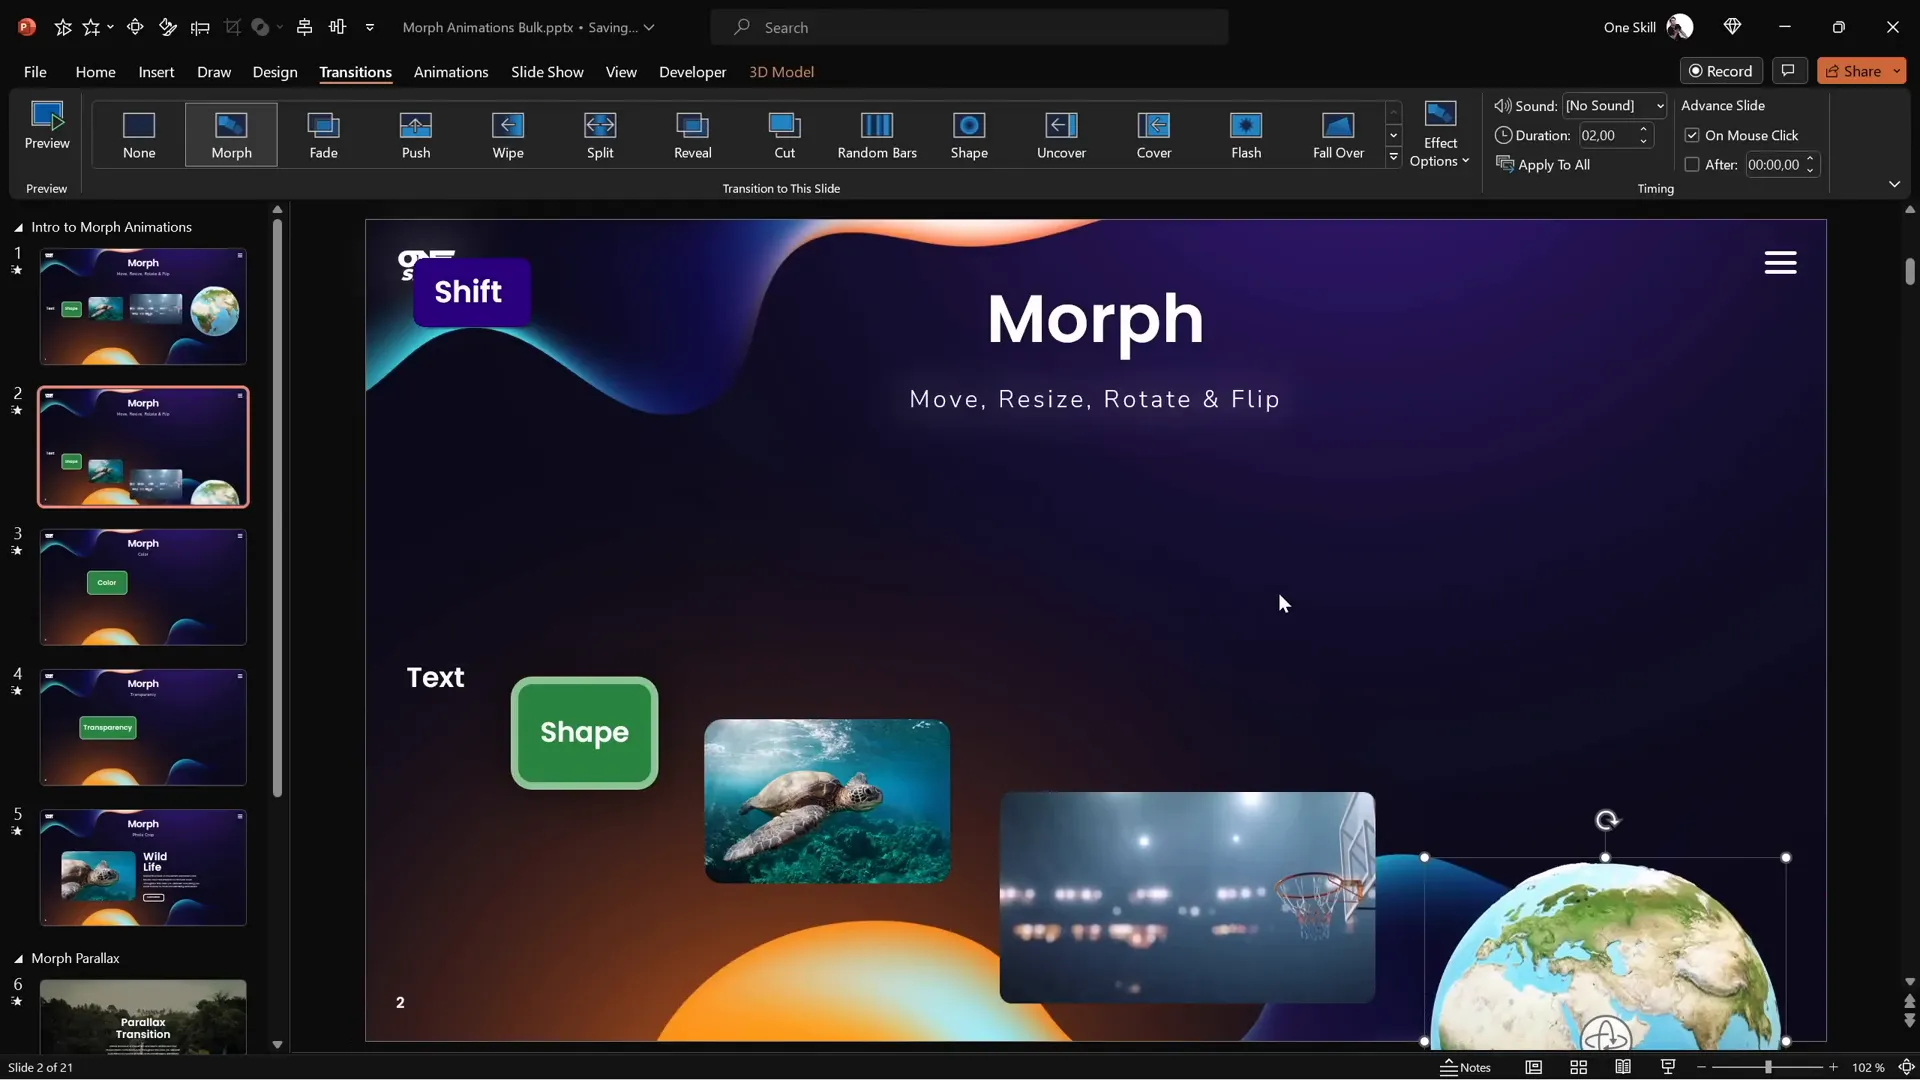
One of the simplest and most common uses of Morph is moving objects smoothly across the slide. Instead of manually animating motion paths, Morph automatically animates the movement of objects when they are repositioned between slides.
For example, if you have a text box, shape, image, video, or even a 3D model on the first slide, and you slightly move these objects downward or sideways on the second slide, Morph will animate their movement fluidly.
Here’s how to try it:
- Duplicate your slide with the objects.
- On the second slide, hold the Shift key and drag the objects downward or to a new position.
- Apply Morph transition to the second slide.
- Preview the animation to see all objects moving simultaneously.
This method eliminates the need for motion path animations and lets you animate multiple objects at once effortlessly.
Note on Videos: If you include a video set to loop and auto-play, be aware that during the Morph transition, the video will pause and resume only after the transition completes. This is a limitation to keep in mind when designing your animations.
Animating Slide Titles with Morph Transition
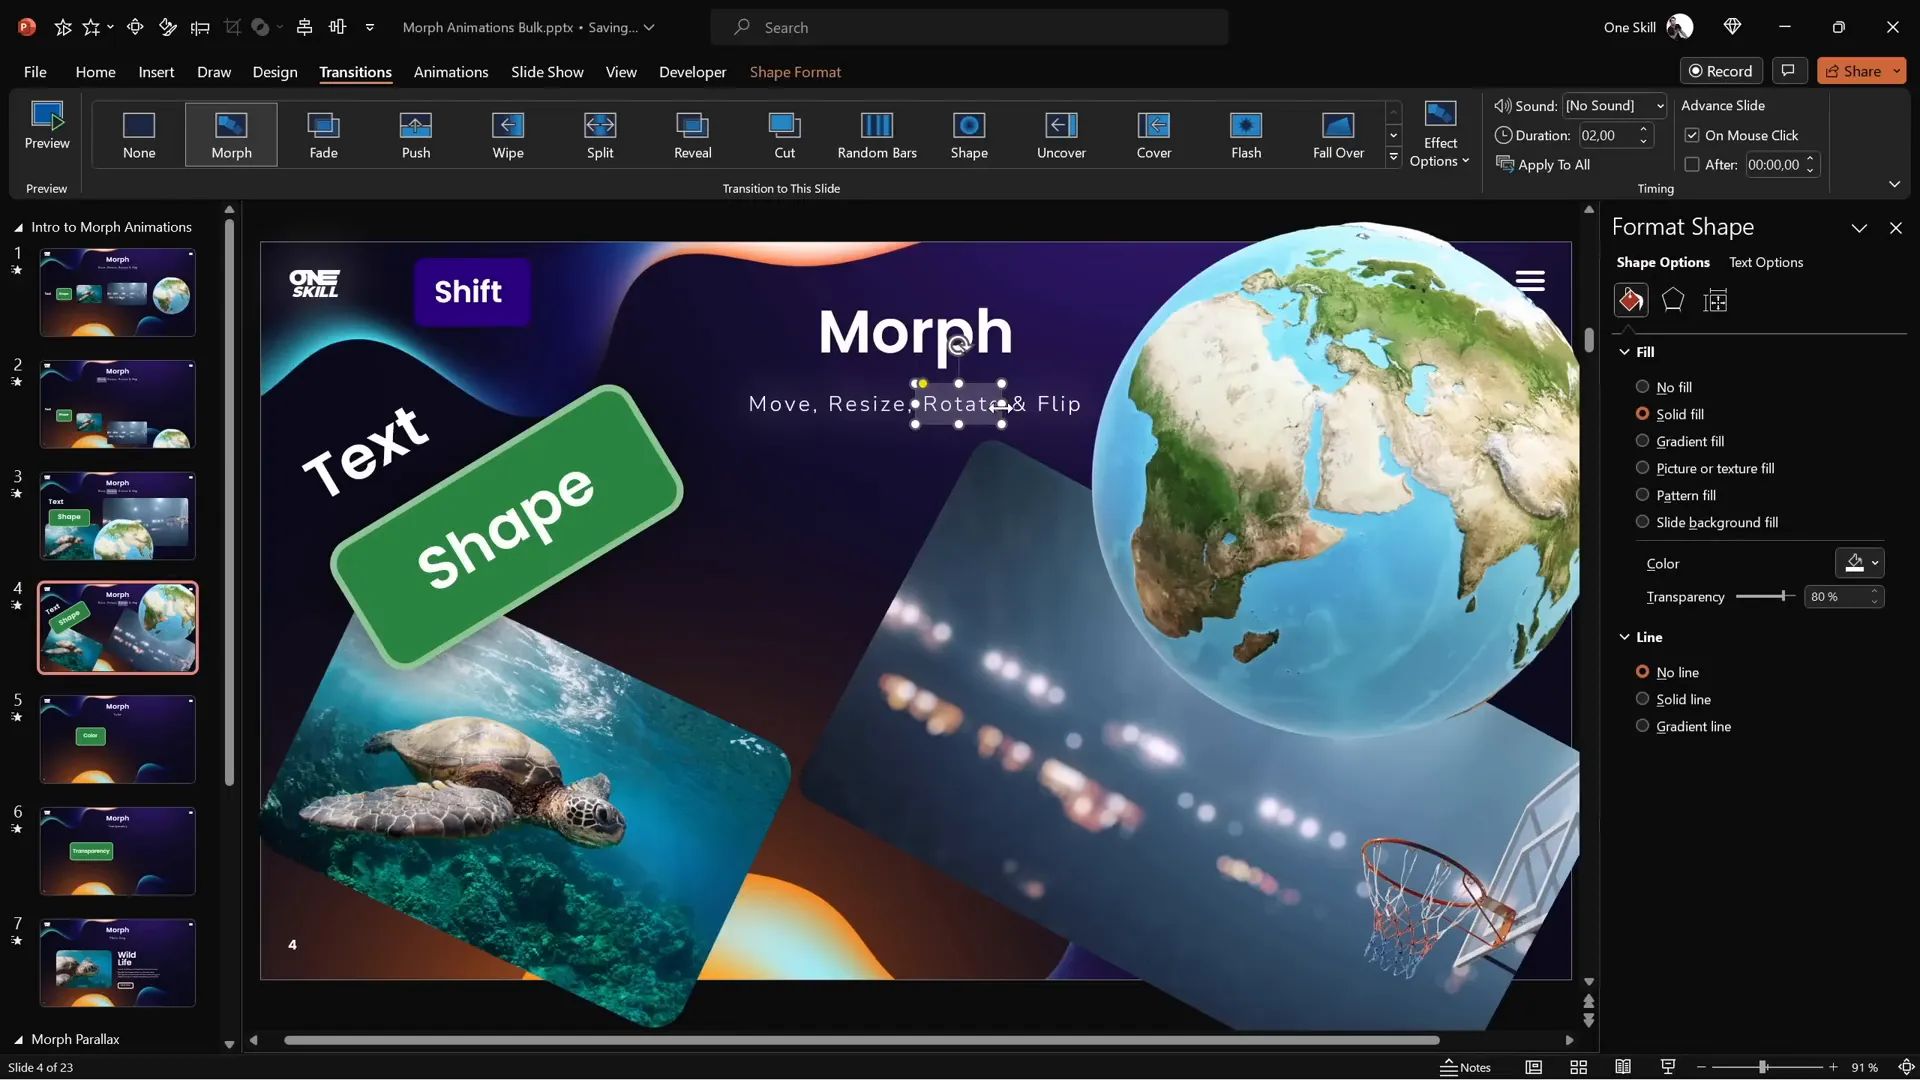
Animating slide titles or subtitles can be enhanced using Morph by highlighting parts of the text dynamically. One effective technique is to use a semi-transparent rounded rectangle to emphasize different words or phrases as you transition between slides.
Here’s a quick guide:
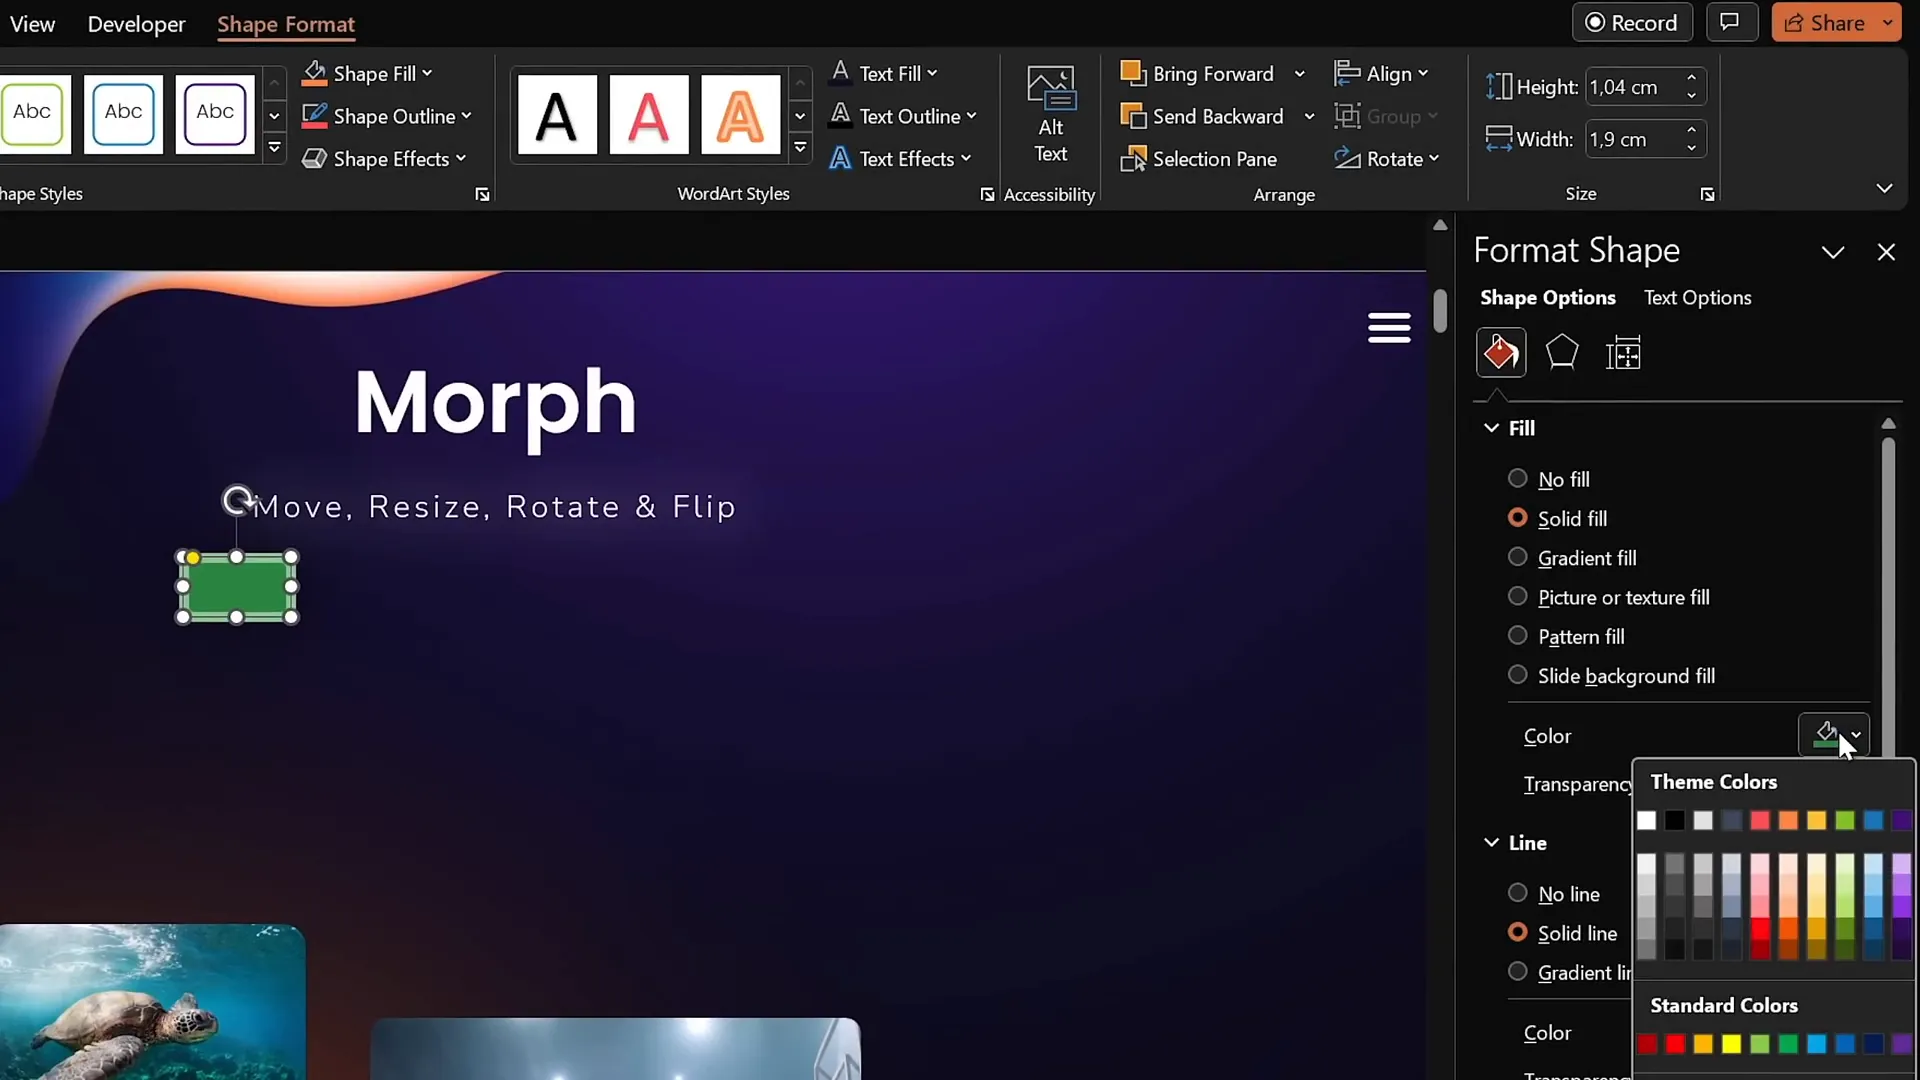
- Use the Rounded Rectangle shape tool to draw a small semi-transparent box.
- Set the fill color to white with about 80% transparency.
- Remove the outline by setting the line to ‘No Line.’
- Place this rectangle over the first word or phrase you want to highlight on the second slide.
- On subsequent slides, move this rectangle to highlight other words or phrases.
Because the rounded rectangle appears only on the second slide and not on the first, Morph will apply a subtle fade effect to it during the transition. This is useful for drawing attention while keeping the animation smooth.
Tip: If you notice a fade animation instead of Morph, ensure the same object exists on both slides to get the full Morph effect.
Resizing Objects with Morph Transition
Beyond moving objects around, Morph also animates resizing seamlessly. You can increase or decrease the size of text boxes, shapes, images, videos, and even 3D models, and Morph will handle the animation for you.
To use resizing animations:
- Duplicate your slide with the objects.
- On the second slide, resize the objects as desired (e.g., increase font size, stretch or shrink shapes, enlarge pictures or videos).
- Apply Morph transition to the second slide.
- Preview the transition to see the objects smoothly grow or shrink.
This technique is especially useful for emphasizing key points or creating dynamic visual effects without complicated animation setups.

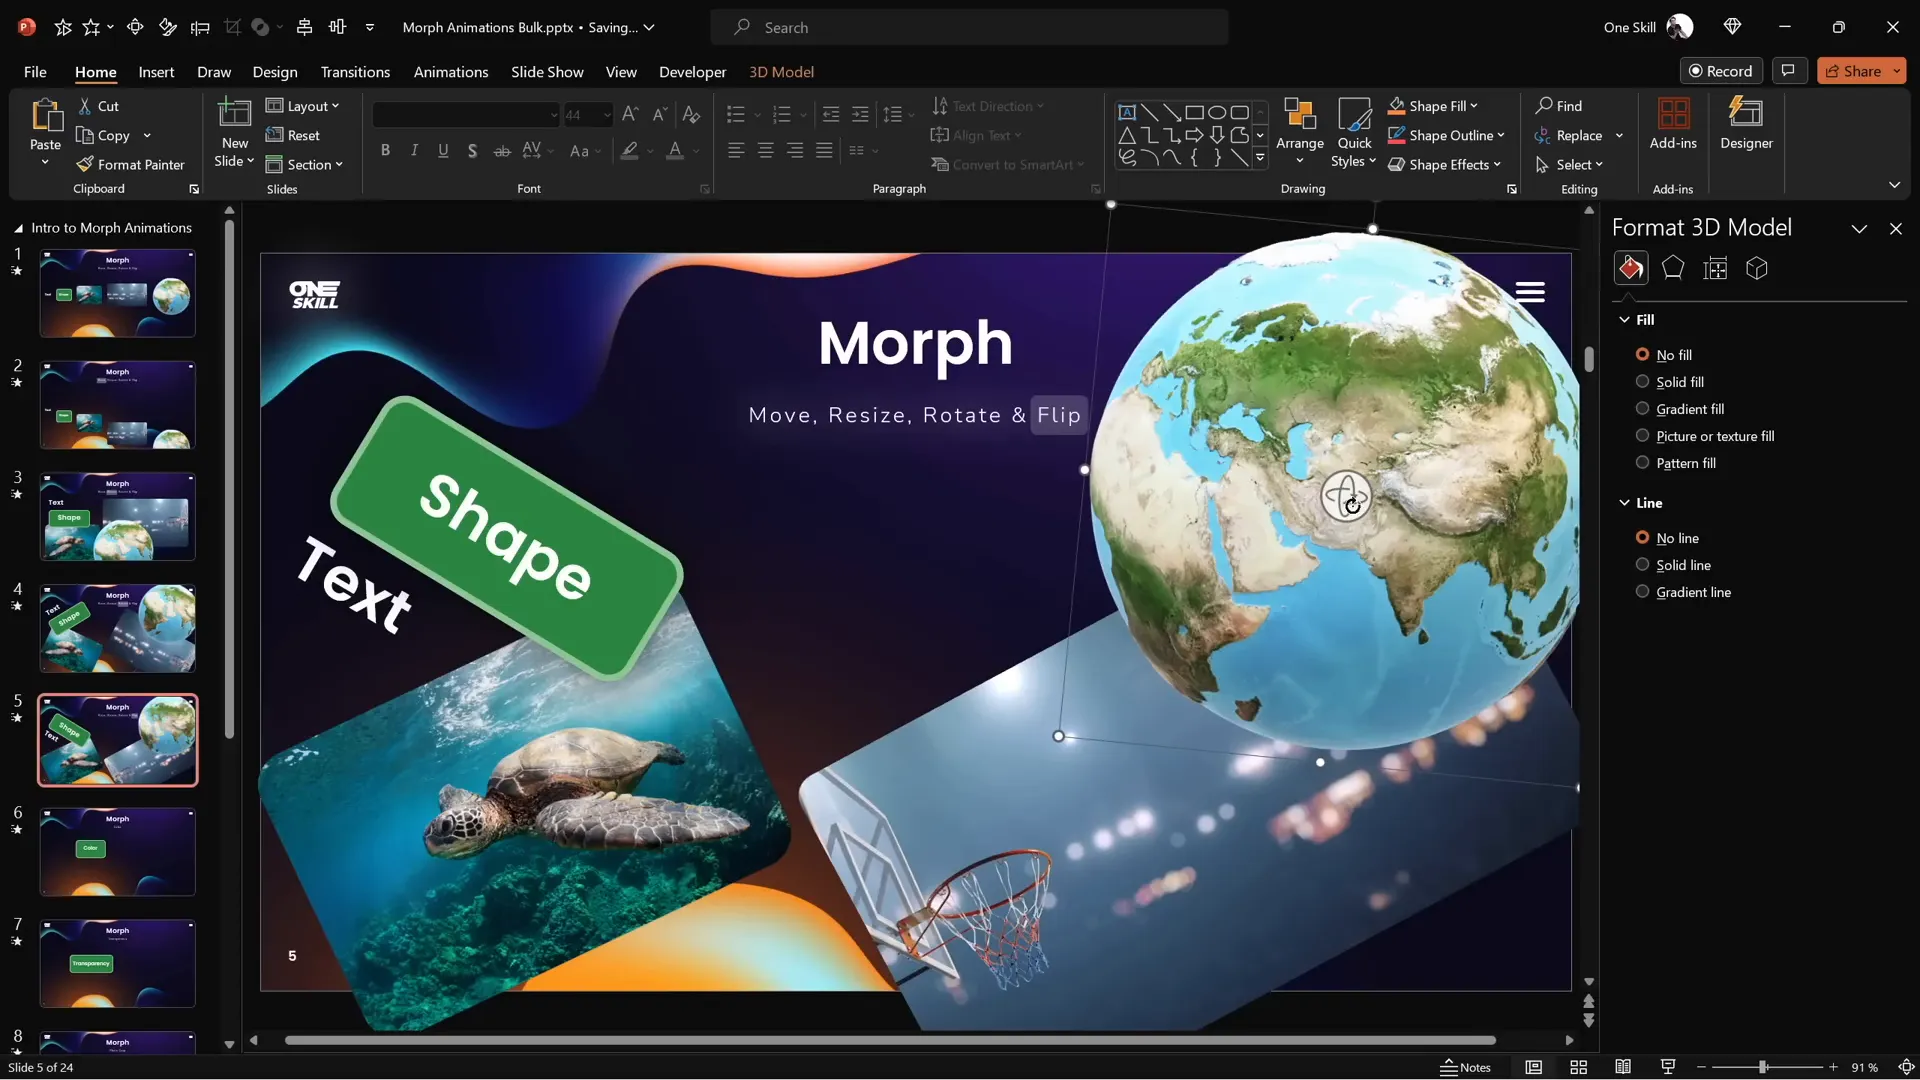
Rotating Objects with Morph Transition
Morph can also animate rotation of objects on your slides. Whether it’s a text box, shape, picture, or 3D model, rotating them between slides will create a smooth rotation animation during the Morph transition.
Here’s how to do it:
- Duplicate your slide with the objects.
- On the second slide, rotate the objects using the rotation handle.
- For 3D models, use the special rotation handle inside the model to rotate it to the desired angle.
- Apply Morph transition on the second slide.
- Preview the animation to see all objects rotate smoothly.
One great feature of Morph is that animations also play backwards when you return to the previous slide, adding to your presentation’s fluidity.
Flipping Objects Using Morph
In addition to rotation, Morph can animate flipping objects horizontally or vertically. This is useful for creating mirror effects or dynamic transformations.
To flip objects:
- Duplicate your slide with the objects.
- On the second slide, select all objects except 3D models (which require a different method).
- Go to the rotation options and choose Flip Horizontally or Flip Vertically.
- For 3D models, use the internal rotation handle to flip the model to the desired position (e.g., show the North Pole on a globe).
- Apply Morph transition to the second slide.
- Preview to see the flip animation in action.
Note that text flipping behaves differently—it tends to rotate rather than flip. To achieve a proper flip effect on text, you can cut the text and paste it as a picture, which Morph will flip correctly.

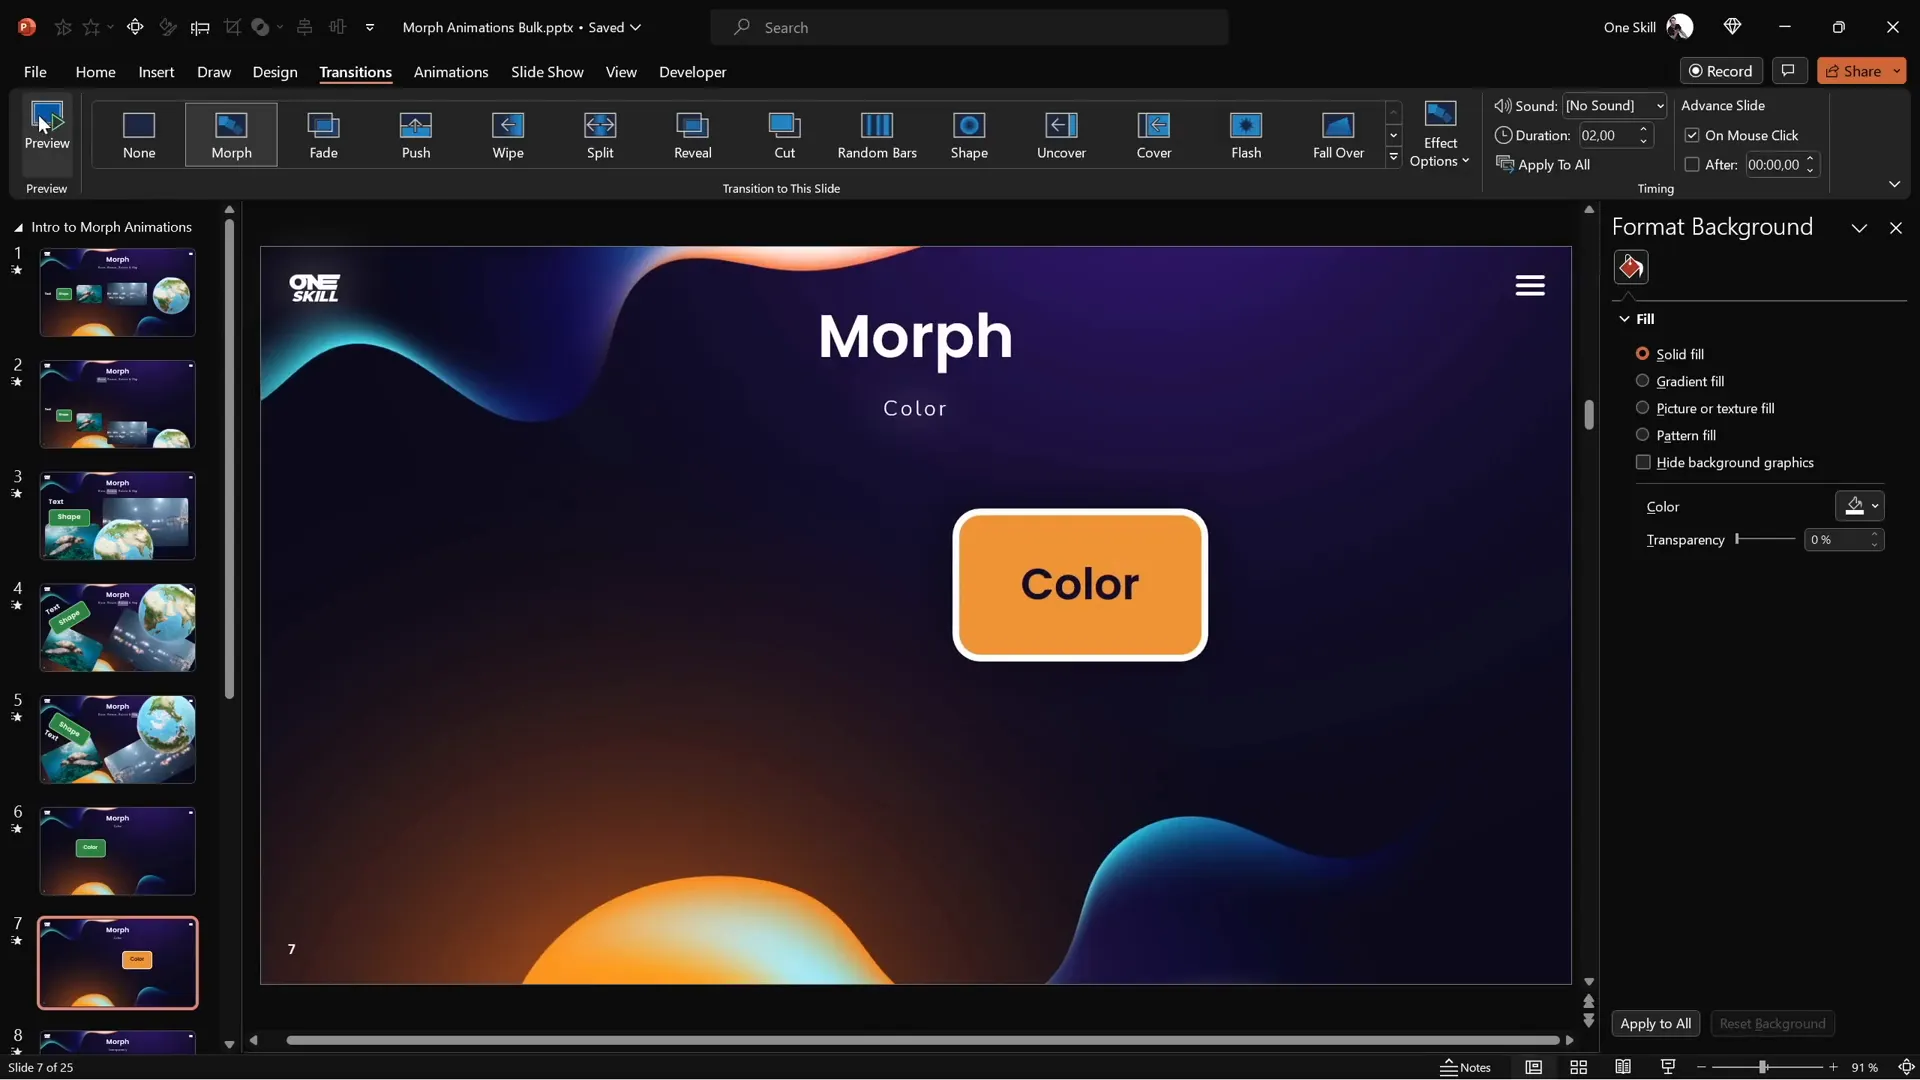
Animating Color Changes and Transparency
Morph can handle color transitions and transparency changes gracefully, providing smooth visual transformations for your shapes and text.
Color Changes
To animate color changes:
- Duplicate your slide.
- On the second slide, change the fill color and text color of your shapes or text boxes.
- Apply Morph transition and preview the smooth color morphing.
This allows you to draw attention or indicate change without abrupt cuts or fades.
Transparency Changes
Similarly, you can animate objects fading in or out by adjusting their transparency:
- Duplicate your slide.
- On the second slide, adjust the fill, line, and text transparency (up to 100%).
- Apply Morph transition.
- Preview to see objects move and fade simultaneously.
While traditional fade animations exist, using Morph for transparency changes lets you combine movement and fading in a single, smooth transition.
Creating Photo Cropping Effects with Morph
One of the most powerful and visually appealing uses of Morph is animating photo cropping. Morph can animate the changes in cropping areas, creating dynamic photo zooms, slides, and reveals.
How to Animate Photo Cropping
- Insert a photo on your slide.
- Duplicate the slide.
- On the second slide, select the photo and click Crop.
- Use the black crop handles around the photo to adjust the cropping area.
- Click outside the photo or the crop button again to apply changes.
- Apply Morph transition on the second slide.
- Preview to see the photo cropping animation.
You can also use the white crop handles inside the cropping area to reposition or zoom the photo inside its frame. Holding down Ctrl + Shift while dragging helps resize the crop from the center.
Creative Photo Cropping Effects
- Zoom Effect: Adjust the crop area to zoom in or out on the photo between slides.
- Slide-in Effect: Move the photo outside the crop area on the first slide and bring it inside on the second slide to create a sliding reveal.
Combining photo cropping with moving other elements like text outside the slide window can create engaging, dynamic slide entrances.

Tips for Making Morph Transition Work Perfectly
While Morph is powerful, it has some quirks and requirements to work correctly. Here are essential tips to ensure your Morph animations perform flawlessly:
| Issue | Cause | Solution |
|---|---|---|
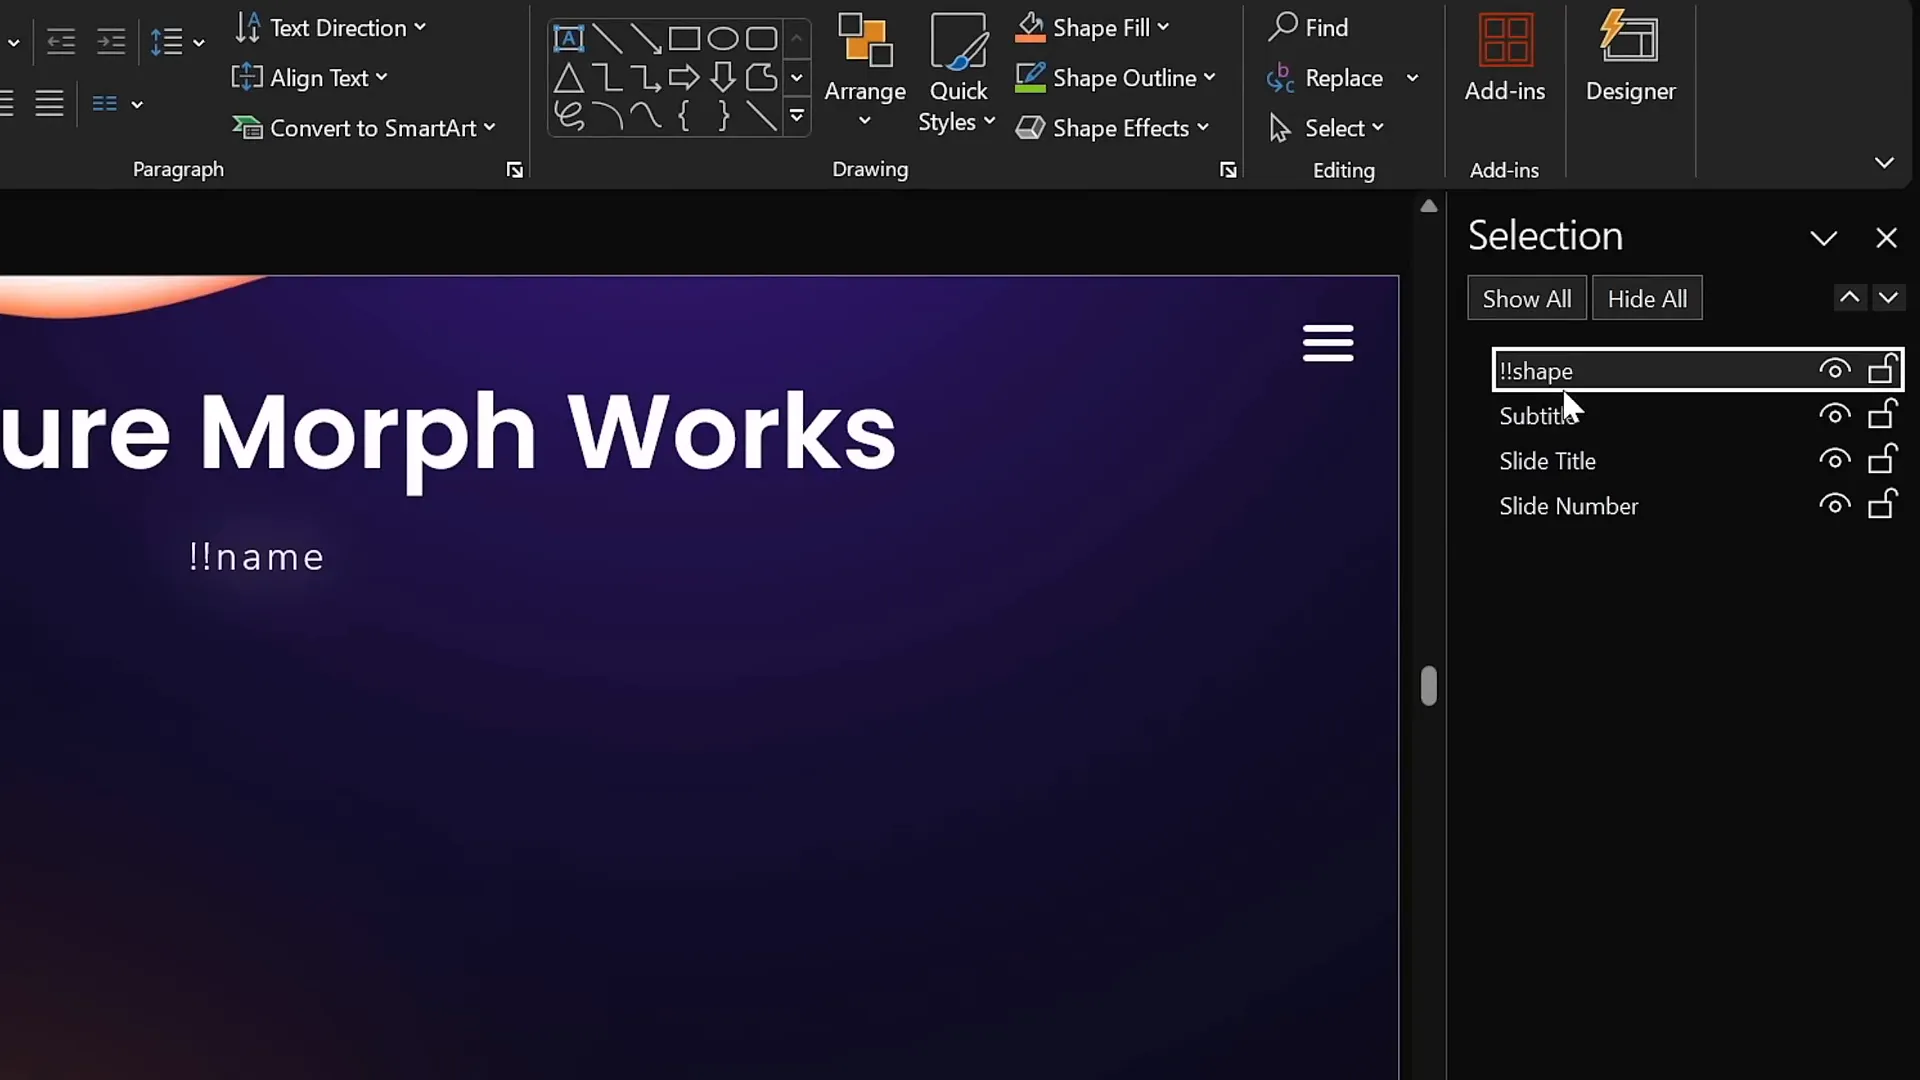
| Objects fade instead of morphing | Objects have different names or types | Use the Selection Pane to name objects identically on both slides, starting with !! (double exclamation marks). |
| Morph doesn’t animate between different shapes/colors | Objects are not recognized as the same | Rename objects consistently and use the same base shape or photo with identical names. |
| Text flips incorrectly | Text objects do not flip like shapes | Cut and paste text as pictures to enable proper flipping animations. |
| Videos pause during transition | PowerPoint limitation | Plan video animations accordingly; Morph pauses videos during transitions. |
How to Name Objects in Selection Pane:
- Go to the Home tab and click Select → Selection Pane.
- Find the object you want to rename.
- Rename it with a name starting with
!!followed by a descriptive word (e.g.,!!Shapeor!!Photo). - Repeat on the corresponding object on the next slide with the exact same name.
This naming convention tells PowerPoint that these objects are related and should morph into each other.
Frequently Asked Questions (FAQ)
What versions of PowerPoint support Morph transition?
Morph is available in PowerPoint 2019, Microsoft 365, and later versions. If you have one of these versions, you can use Morph out of the box.
Can Morph animate multiple objects at the same time?
Yes! Morph can animate the movement, resizing, rotation, flipping, color, and transparency changes of multiple objects simultaneously, making it very efficient for complex animations.
Why does Morph sometimes only fade objects instead of morphing?
This usually happens when objects have different names or types between slides. To fix this, use the Selection Pane to assign the same name (starting with double exclamation marks) to corresponding objects on both slides.
Can I morph between different shapes or photos?
Yes, but you need to assign the same object name to both shapes or photos to enable Morph to recognize them as the same object and animate between them.
Does Morph work with videos?
Morph can animate videos moving, resizing, or flipping, but videos will pause during the transition and resume playing afterward. Also, videos set to loop and auto-play will behave accordingly.
Can I animate text flipping with Morph?
Text does not flip correctly by default. However, if you convert text into a picture by cutting and pasting it as an image, Morph will flip it properly.
Conclusion
The Morph transition is a game-changer for anyone looking to improve their Powerpoint presentation skills through stunning animations. It simplifies the animation process while producing professional-quality effects that can elevate your slides dramatically. From moving objects seamlessly to resizing, rotating, flipping, changing colors, adjusting transparency, and even animating photo cropping—the possibilities are vast.
By mastering the techniques covered in this guide, including the essential tips for ensuring Morph works perfectly, you’ll be able to create dynamic, engaging presentations that captivate your audience. Practice these methods, experiment with different effects, and watch as your PowerPoint presentations transform from ordinary to extraordinary.
Remember, the key to success with Morph is to duplicate slides, make thoughtful changes, and apply the Morph transition with consistent object naming. Embrace this powerful tool and watch your presentation skills soar!
Happy presenting!
Check out the full video: PowerPoint Presentation Skills: Master Morph Transition! ✨


