If you’re looking to elevate your PowerPoint presentation skills, mastering the Morph transition is a game-changer. This powerful tool enables you to create seamless, dynamic animations that impress your audience and enhance your storytelling without complicated motion paths or tedious animation setups.
In this comprehensive guide, we’ll dive deep into how to use the Morph transition effectively in PowerPoint 2019 and later versions, including Microsoft 365. We’ll explore how to move, resize, rotate, flip objects, and even manipulate color, transparency, and photos—all with Morph. Plus, you’ll learn key tips to ensure your morph animations work perfectly every time.
Let’s unlock the full potential of Morph transition to transform your presentations from static slides to engaging visual stories.
Table of Contents
- What is Morph Transition?
- Getting Started with Morph Transition
- Moving Objects with Morph
- Animating Text and Subtitles
- Resizing Objects
- Rotating Objects
- Flipping Objects
- Color and Transparency Effects
- Photo Cropping and Zoom Effects
- Tips to Make Morph Work Perfectly
- Frequently Asked Questions
- Conclusion
What is Morph Transition?
The Morph transition is one of the most powerful animation tools in PowerPoint. It allows you to create smooth animations between two slides by automatically animating objects that change position, size, rotation, or appearance from one slide to the next.
Unlike traditional animations, where you have to manually set motion paths or animation effects, Morph does the heavy lifting by analyzing the differences between the two slides and animating the changes seamlessly. This makes it easy to create professional-looking animations with minimal effort.
To get the best results with Morph, PowerPoint recommends duplicating a slide, then moving or editing objects on the duplicated slide before applying the Morph transition to the second slide.
Getting Started with Morph Transition
Before we dive into advanced animations, let’s cover the basics to get you comfortable with Morph:
- Check your PowerPoint version: Morph is available in PowerPoint 2019, PowerPoint for Microsoft 365, and later versions.
- Prepare your slides: Start by creating a slide with objects (text boxes, shapes, pictures, videos, 3D models).
- Duplicate the slide: Right-click the slide thumbnail and select Duplicate Slide.
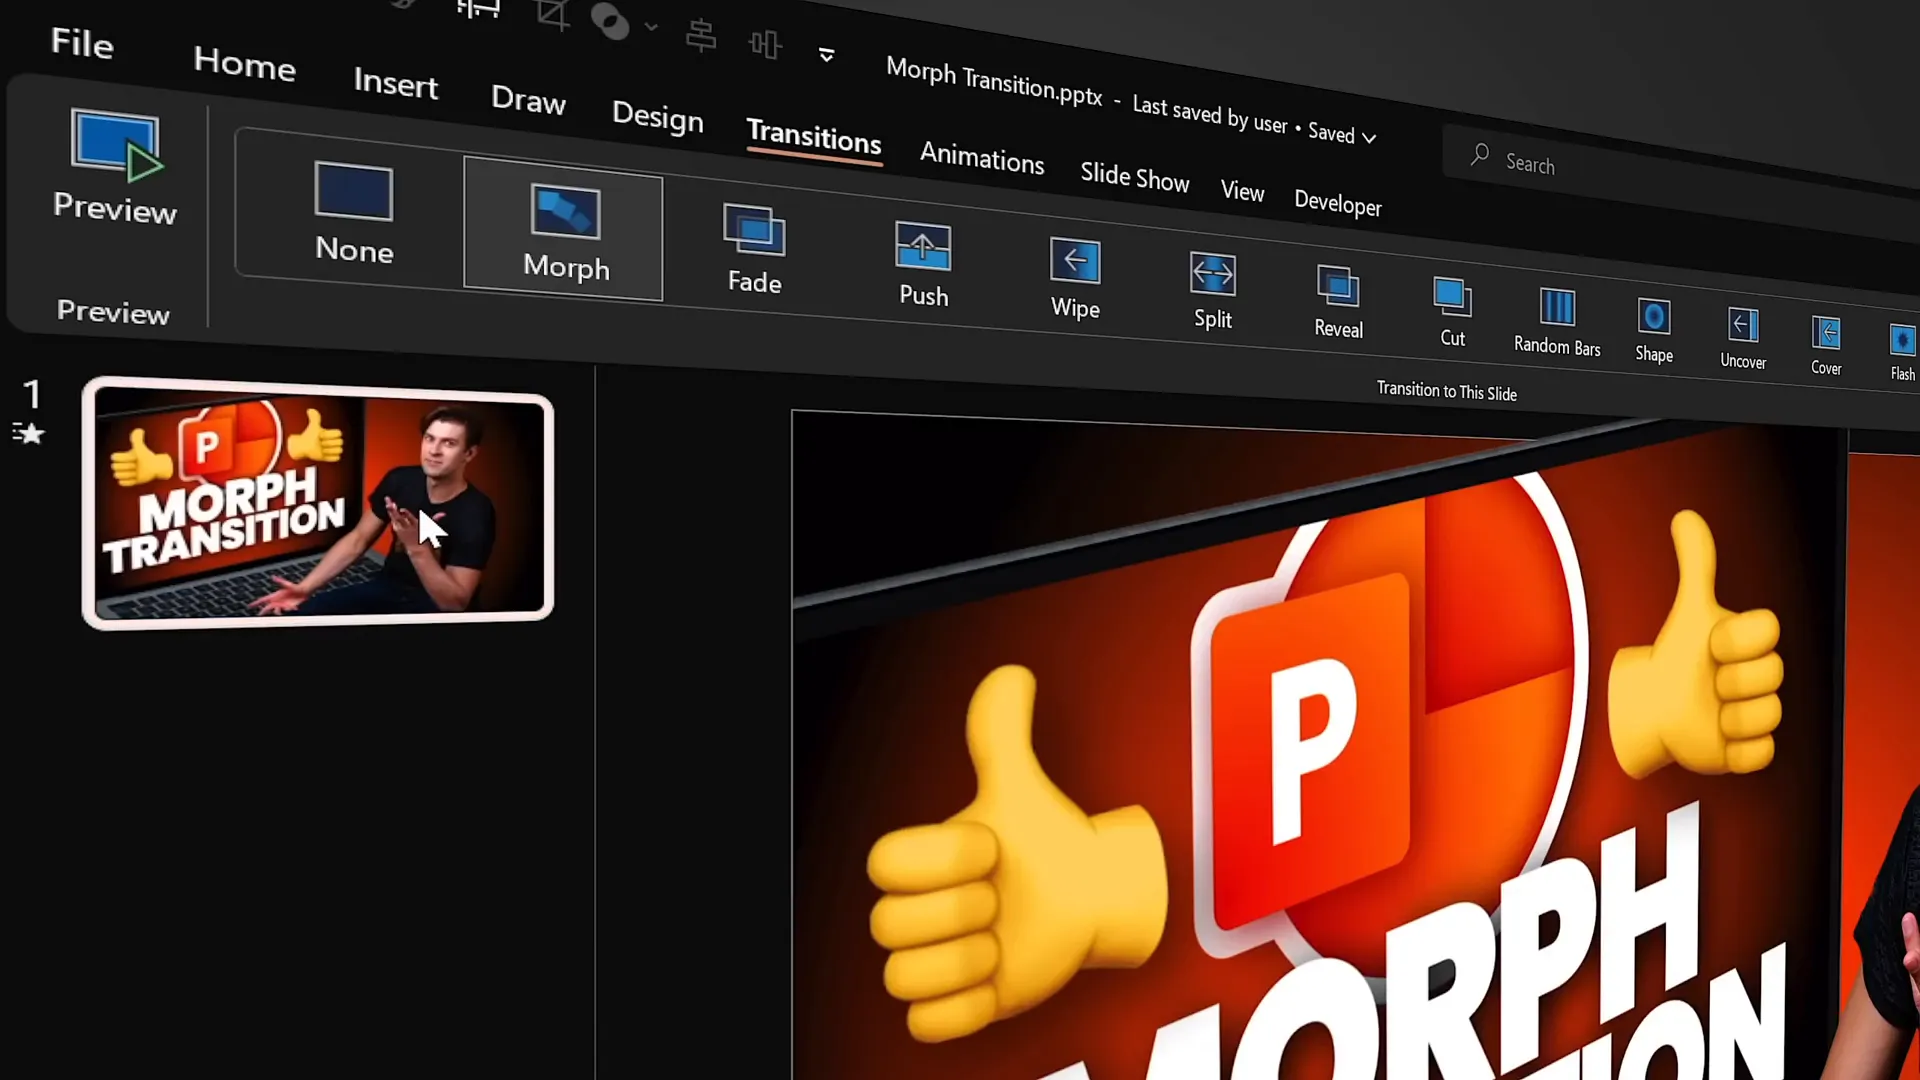
- Apply Morph transition: Select the duplicated slide, go to the Transitions tab, and choose Morph.
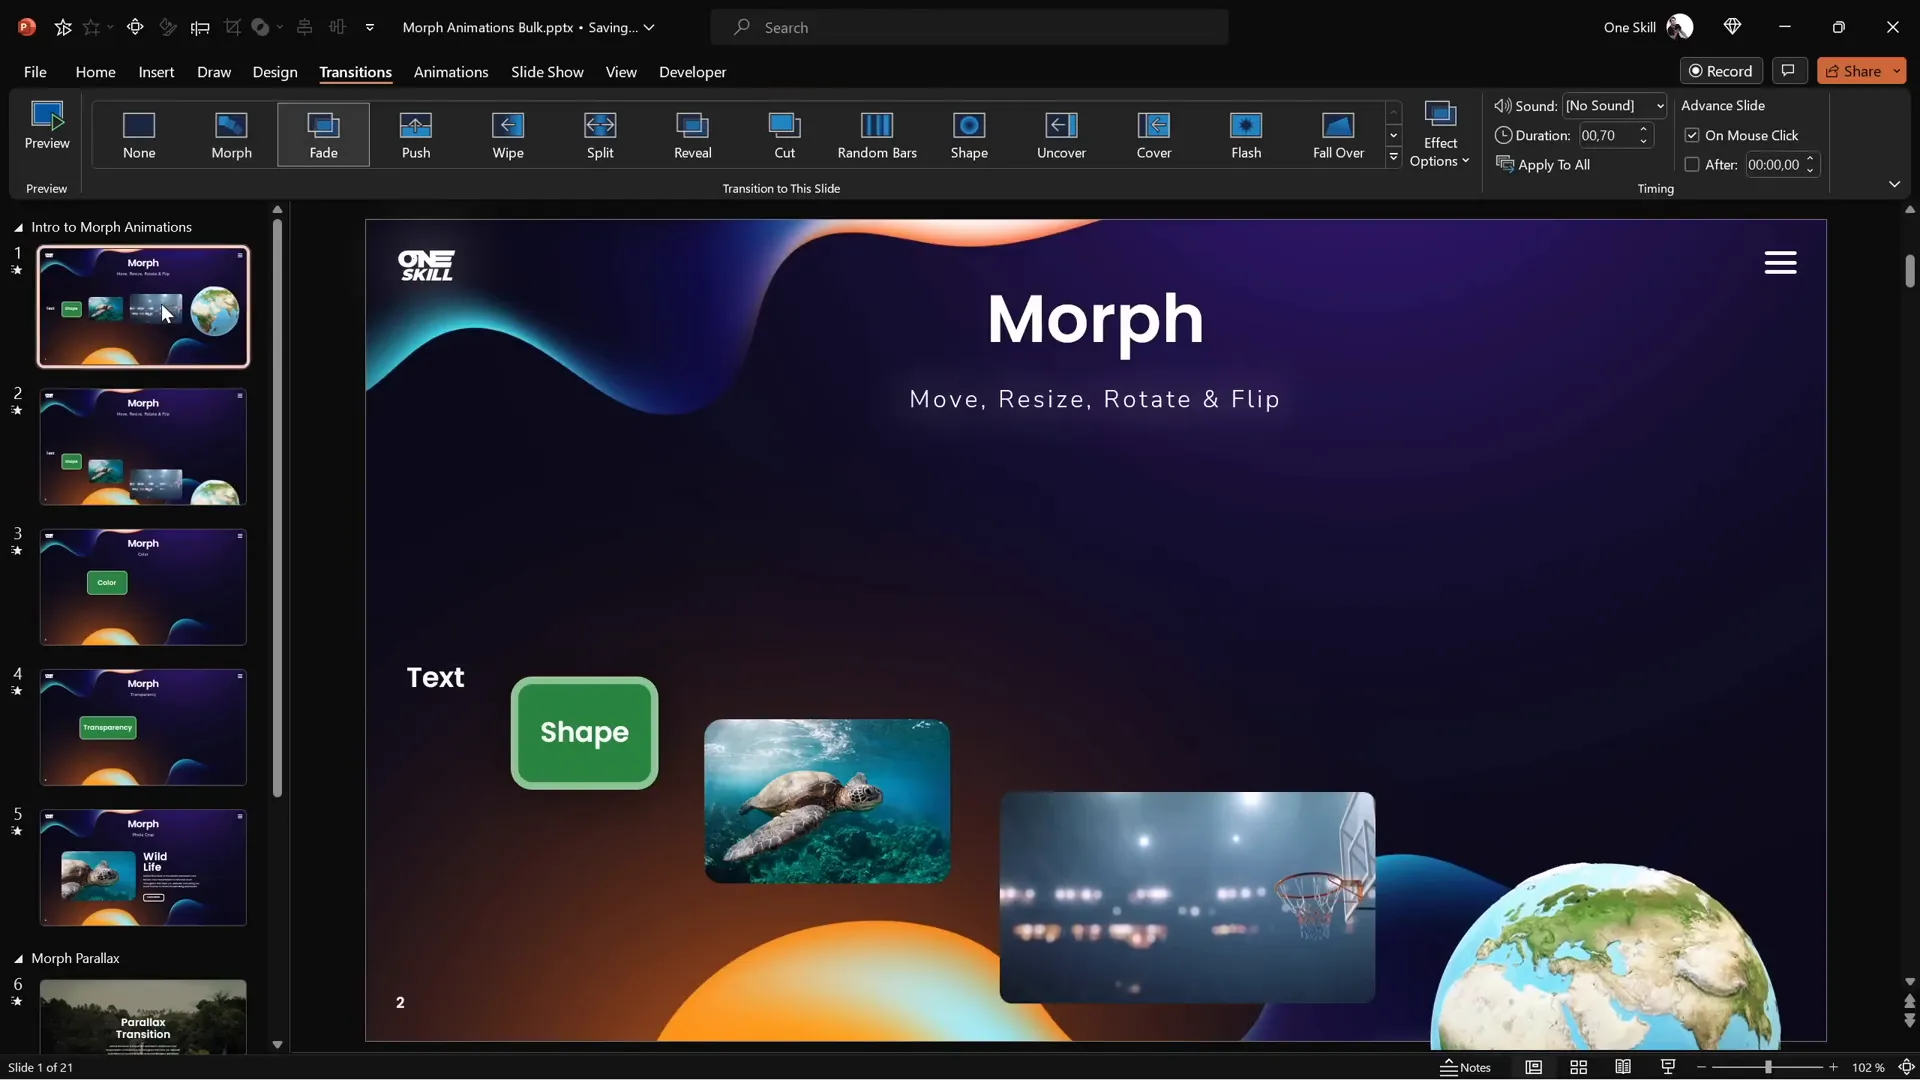
- Adjust Morph duration: You can set how fast or slow the transition happens by adjusting the duration (default is 2 seconds).
Now you’re ready to start animating objects by moving, resizing, rotating, or changing them on the second slide.
Moving Objects with Morph
One of the simplest yet most effective uses of Morph is to animate objects moving across the slide.
Here’s how to do it:
- On the second slide, select the objects you want to move.
- Hold down the Shift key to constrain movement, then drag the objects to the new position.
- Preview the Morph transition by clicking the Preview button in the Transitions tab or by running the slideshow.
The Morph transition will automatically animate the objects moving from their original position on the first slide to their new location on the second slide.
One key advantage is that you don’t need to create motion paths manually. Morph handles multiple objects simultaneously and even supports reverse playback if you go back to the previous slide during the presentation.
Note on video objects: If you have a video playing on a slide, Morph will stop the video during the transition and resume it after the transition completes. Videos set to loop and start automatically work best for smooth playback.
Animating Text and Subtitles with Morph
Animating text is a common need in presentations, especially when highlighting or emphasizing parts of your slide’s content.
A neat trick is to use a semi-transparent rounded rectangle as a highlight box that moves along with the text during Morph transitions.
To create this effect:
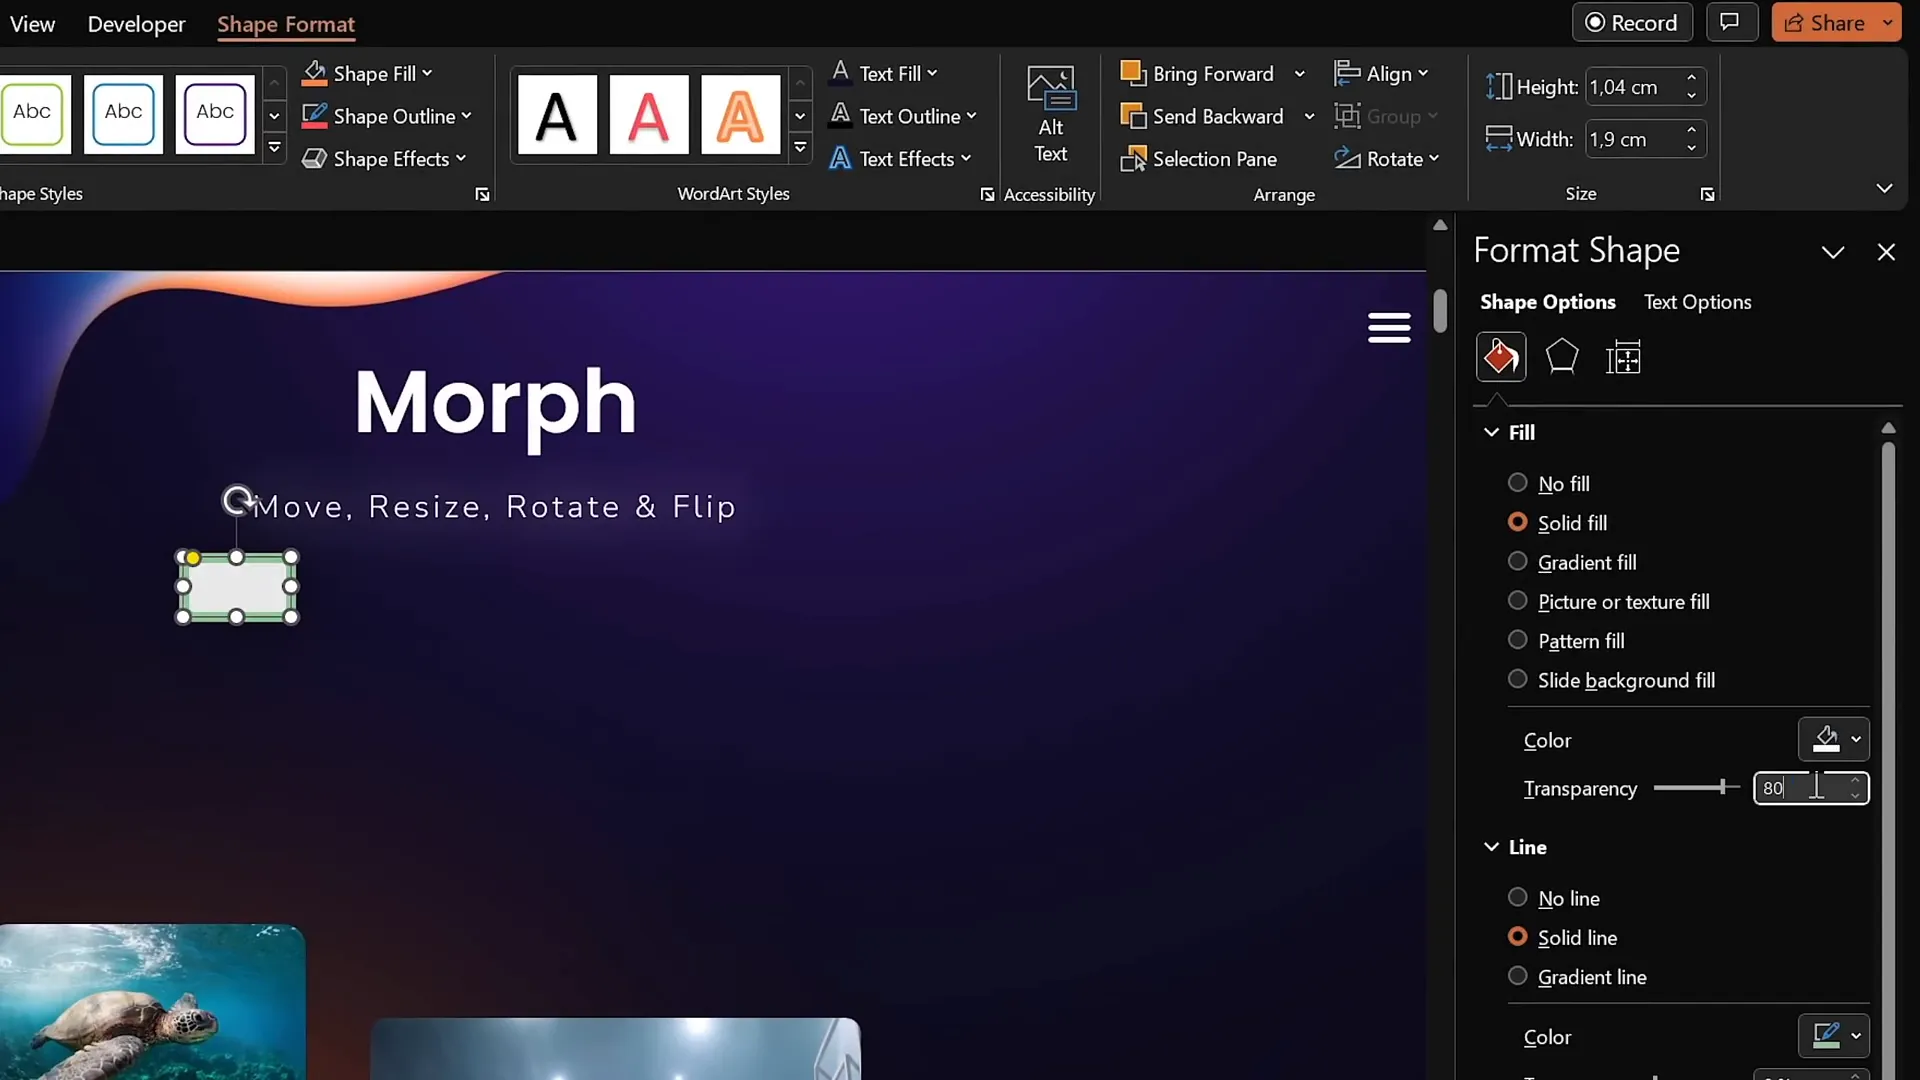
- Insert a rounded rectangle shape and adjust its fill color to white with about 80% transparency.
- Remove the outline of the shape for a clean look.
- Place the rectangle over the word or phrase you want to highlight.
- On subsequent slides, move the rectangle to highlight different words or phrases.
During the Morph transition, the rectangle will animate smoothly between positions, creating an elegant highlight effect.
Important: If an object appears on only one slide and is missing on the next, Morph defaults to a fade animation for that object. To avoid unwanted fades, ensure the same object (with the same name) exists on both slides.
Resizing Objects with Morph
Morph also supports smooth resizing of objects. You can animate text boxes, shapes, images, videos, and even 3D models growing or shrinking between slides.
To animate resizing:
- Duplicate your slide and make sure Morph is applied to the second slide.
- Select objects on the second slide and drag their handles to resize them.
- For text boxes, increase or decrease the font size to animate text resizing.
- Preview the animation by running the slide show or using the preview button.
This technique can be used to emphasize key elements by making them larger or to de-emphasize by shrinking them.
Rotating Objects with Morph
Rotation animations add a dynamic flair to your presentations, and Morph makes it easy to rotate objects smoothly.
Here’s how to rotate objects with Morph:
- Duplicate your slide and ensure Morph is applied to the second slide.
- Select the objects you want to rotate on the second slide.
- Use the rotation handle at the top of the object box to rotate it to the desired angle.
- For 3D models, use the special rotation handles within the model to adjust its orientation.
- Preview the Morph transition to see the objects rotate smoothly.
Rotation animations work well for shapes, images, and 3D models. Text rotation is a bit different—text boxes tend to rotate like a block, which might not always be the desired effect.

Flipping Objects with Morph
Flipping objects horizontally or vertically can create interesting visual effects during transitions.
To flip objects:
- Duplicate the slide and apply Morph to the second slide.
- Select the objects (except 3D models) you want to flip.
- Go to the Shape Format or Picture Format tab and select Rotate > Flip Horizontal or Flip Vertical.
- For 3D models, use the internal rotation handles to flip or rotate them to a new position.
- Preview the Morph transition to see the flipping effect.
Note that while shapes, pictures, videos, and 3D models flip smoothly, text boxes tend to rotate instead of flipping. A workaround is to convert text boxes to pictures before flipping, which allows Morph to flip them correctly.
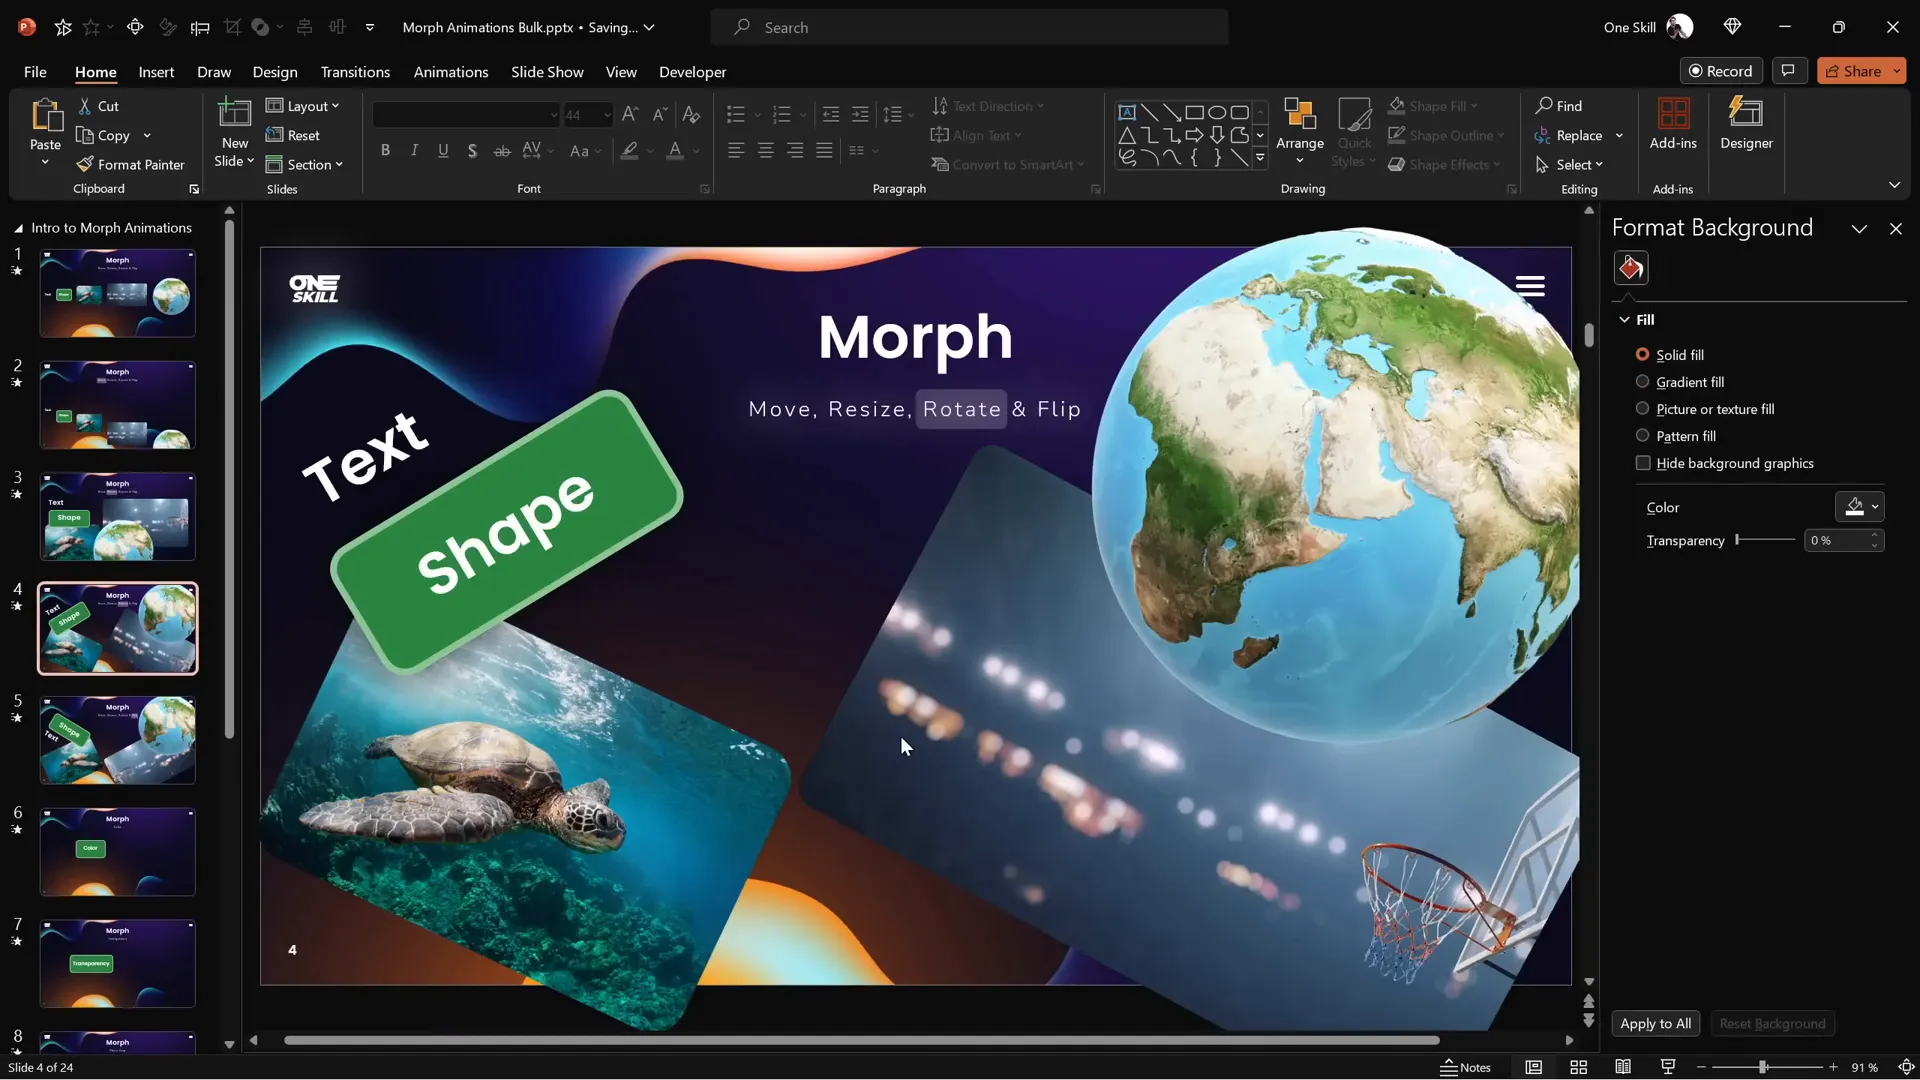
Color and Transparency Effects with Morph
Morph can animate color changes and transparency effects to add polish to your slides.
Animating Color Changes
You can change the fill color, line color, or text color of shapes and text boxes on the second slide, and Morph will animate the color transition smoothly.
Animating Transparency
Adjusting transparency is another powerful effect. For example, you can animate a shape fading out by increasing its transparency to 100% on the second slide.
Steps for transparency animation:
- Duplicate your slide and apply Morph to the second slide.
- Select the shape or object and increase the fill transparency to 100%.
- Do the same for the line and text color if applicable.
- Preview the Morph transition to see the fade effect combined with movement if the object is repositioned.
While traditional fade animations are still useful, Morph allows you to combine fading with other transformations like moving or resizing for more complex effects.

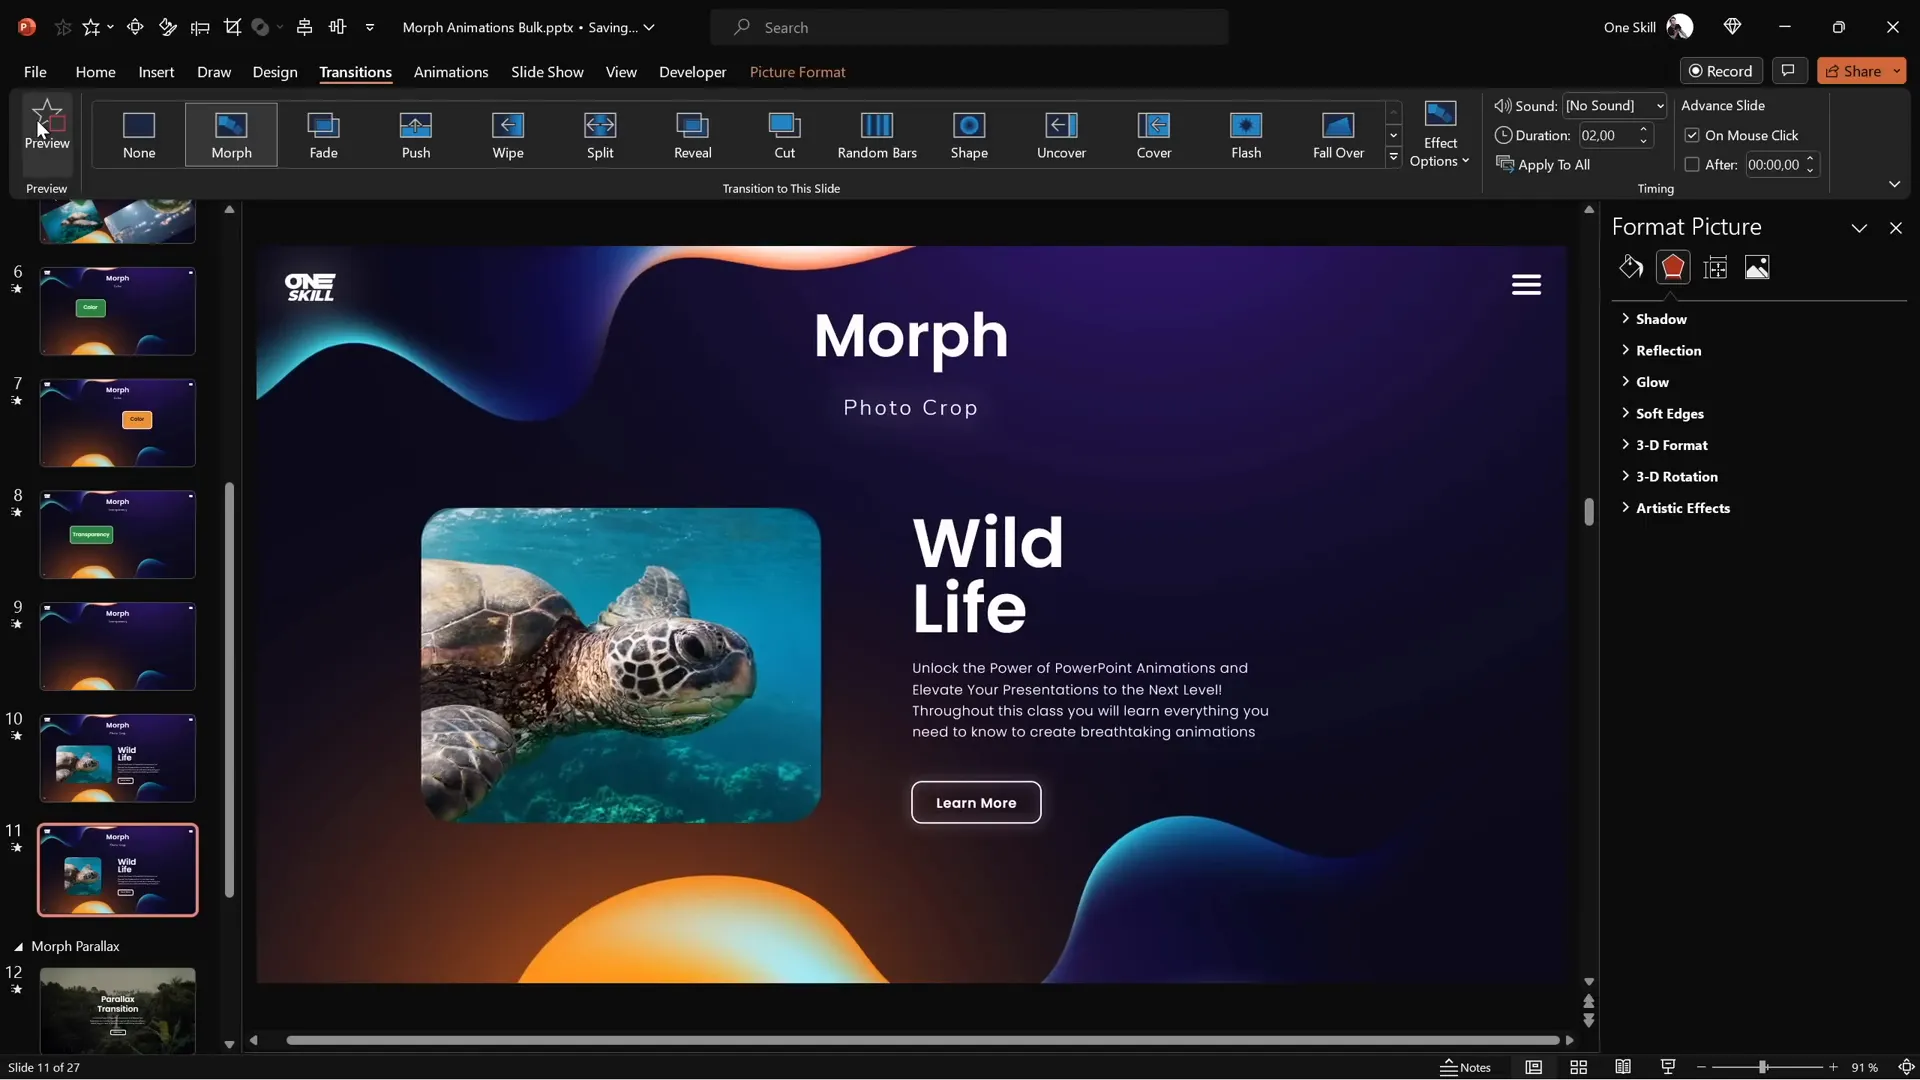
Photo Cropping and Zoom Effects with Morph
One of the most impressive Morph techniques is animating photo cropping and zooming effects.
You can adjust the crop area of a picture between slides, and Morph will animate the photo smoothly cropping or zooming.
How to create photo crop animations with Morph:
- Insert a photo on your slide.
- Duplicate the slide and apply Morph to the second slide.
- Select the photo on the second slide, go to the Picture Format tab, and click Crop.
- Use the black crop handles around the photo to adjust the cropping area (this changes the visible part of the photo).
- Alternatively, use the white handles or drag the photo inside the crop frame to zoom or reposition the photo inside the crop area.
- Click outside the photo or the crop button to apply changes.
- Preview the Morph transition to see the photo crop or zoom animation.
This technique is perfect for creating zoom-ins on specific details or smoothly cropping photos for dramatic effects.
You can also create a sliding photo effect by moving the photo completely outside the crop area on the first slide, then bringing it back inside the crop area on the second slide.
Combine this with text moving in from outside the slide to create engaging slide-in animations.
Tips to Make Morph Work Perfectly Every Time
While Morph is powerful, there are some important tips to ensure your morph animations work as expected:
| Common Issue | Cause | Solution |
|---|---|---|
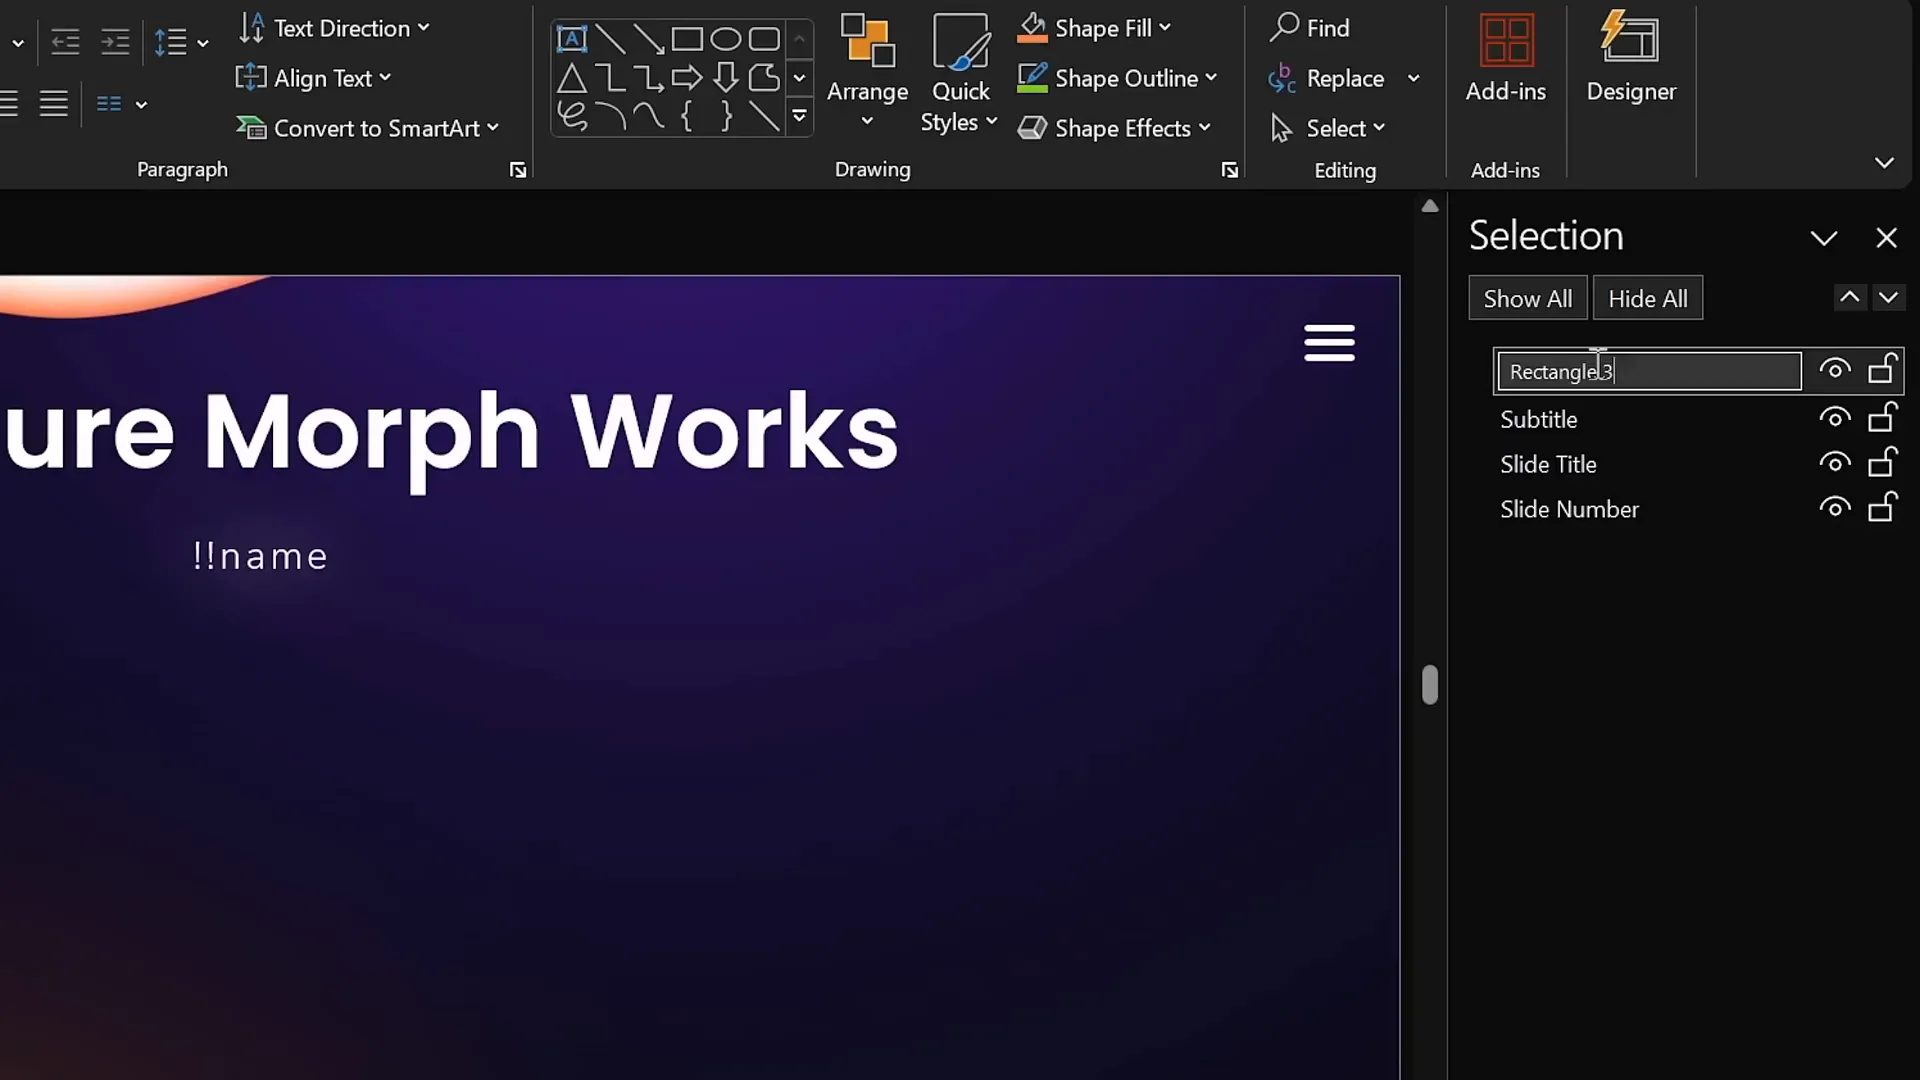
| Objects fade instead of morphing | Objects have different names or only exist on one slide | Give objects the same name starting with !! (double exclamation marks) on both slides using the Selection Pane |
| Morph transition not animating different photos | Photos have different names | Name both photos identically with !!photo or similar in the Selection Pane |
| Text flips incorrectly | Text boxes flip as text, not images | Cut and paste text as pictures to enable proper flipping |
How to rename objects:
- Go to the Home tab and click Select > Selection Pane.
- Find the object you want to rename.
- Click the name to edit it and add double exclamation marks at the beginning, e.g.,
!!shape. - Make sure the corresponding object on the other slide has the exact same name.
This simple trick tells PowerPoint to treat these objects as the same during Morph, enabling the smooth transformation you want.
Frequently Asked Questions
What versions of PowerPoint support Morph transition?
Morph transition is available in PowerPoint 2019, PowerPoint for Microsoft 365, and later versions on both Windows and Mac.
Can Morph animate videos?
Yes, but with limitations. Videos will pause during the transition and resume afterward. Videos set to loop and start automatically work best.
How do I make different shapes morph into each other?
Give the shapes the same name in the Selection Pane, starting with double exclamation marks (e.g., !!shape), on both slides.
Why does my text not flip properly with Morph?
Morph flips text boxes by rotating them as blocks. To flip text properly, convert the text box to an image by cutting and pasting it as a picture.
Can Morph animate 3D models?
Yes, Morph can animate movement, resizing, rotation, and flipping of 3D models.
How do I create photo zoom or crop effects?
Adjust the crop handles or zoom level of a photo between two slides with Morph applied, and PowerPoint will animate the cropping or zooming smoothly.
Can I control the speed of the Morph transition?
Yes, you can adjust the duration of the Morph transition in the Transitions tab to make it faster or slower.
What should I do if Morph produces a fade animation instead of morphing?
Check that the objects exist on both slides and have the exact same name (starting with double exclamation marks) in the Selection Pane.
Conclusion
Mastering the Morph transition is one of the best ways to advance your PowerPoint presentation skills and create visually stunning, professional animations without complicated setups.
In this guide, you learned how to:
- Move, resize, rotate, and flip objects with Morph
- Animate text highlights and subtitles using semi-transparent shapes
- Animate color changes and transparency
- Create powerful photo cropping and zoom effects
- Use the Selection Pane to name objects and fix common Morph issues
With practice, these techniques will help you captivate your audience and deliver presentations that stand out. For further learning, consider exploring courses like the PowerPoint Animation Mastery course by One Skill PPT, which dives deeper into Morph and other animation techniques.
Happy presenting!