
If you’re looking for ways to speed up your PowerPoint slide creation process without sacrificing style and impact, you’re in the right place. In this tutorial-inspired blog post, we’ll explore how to design five stunning PowerPoint slides in just ten minutes. This guide is based on a creative challenge inspired by Louis and brought to life by One Skill PPT, demonstrating how efficient workflow techniques and smart design choices can transform your slide-making process.
Whether you’re a beginner or an experienced presenter, mastering fast PowerPoint slide design can save you valuable time while producing professional-quality presentations. We’ll walk through each slide design step-by-step, share useful PowerPoint shortcuts, and introduce design tips that you can apply immediately.
Table of Contents
- Preparation and Workflow Optimization
- Slide 1: Pro Gamer Theme with 3D Animation
- Slide 2: Fullscreen Video Background with Quote
- Slide 3: Glassmorphic Effect Slide
- Slide 4: Business Model with KPIs
- Slide 5: Infographic Process Slide
- Finishing Touches: Transitions and Animations
- Frequently Asked Questions
- Conclusion
Preparation and Workflow Optimization
Before diving into slide creation, optimizing your PowerPoint environment can dramatically improve your speed and efficiency. Here are key workflow tips from the tutorial that helped create five slides in ten minutes:
Customize the Quick Access Toolbar
The Quick Access Toolbar (QAT) is a powerful feature in PowerPoint that lets you add your most-used commands for easy access. By assigning keyboard shortcuts to these commands, you can reduce the time spent navigating menus.
- Commands added include opening stock photos, formatting shapes, and more.
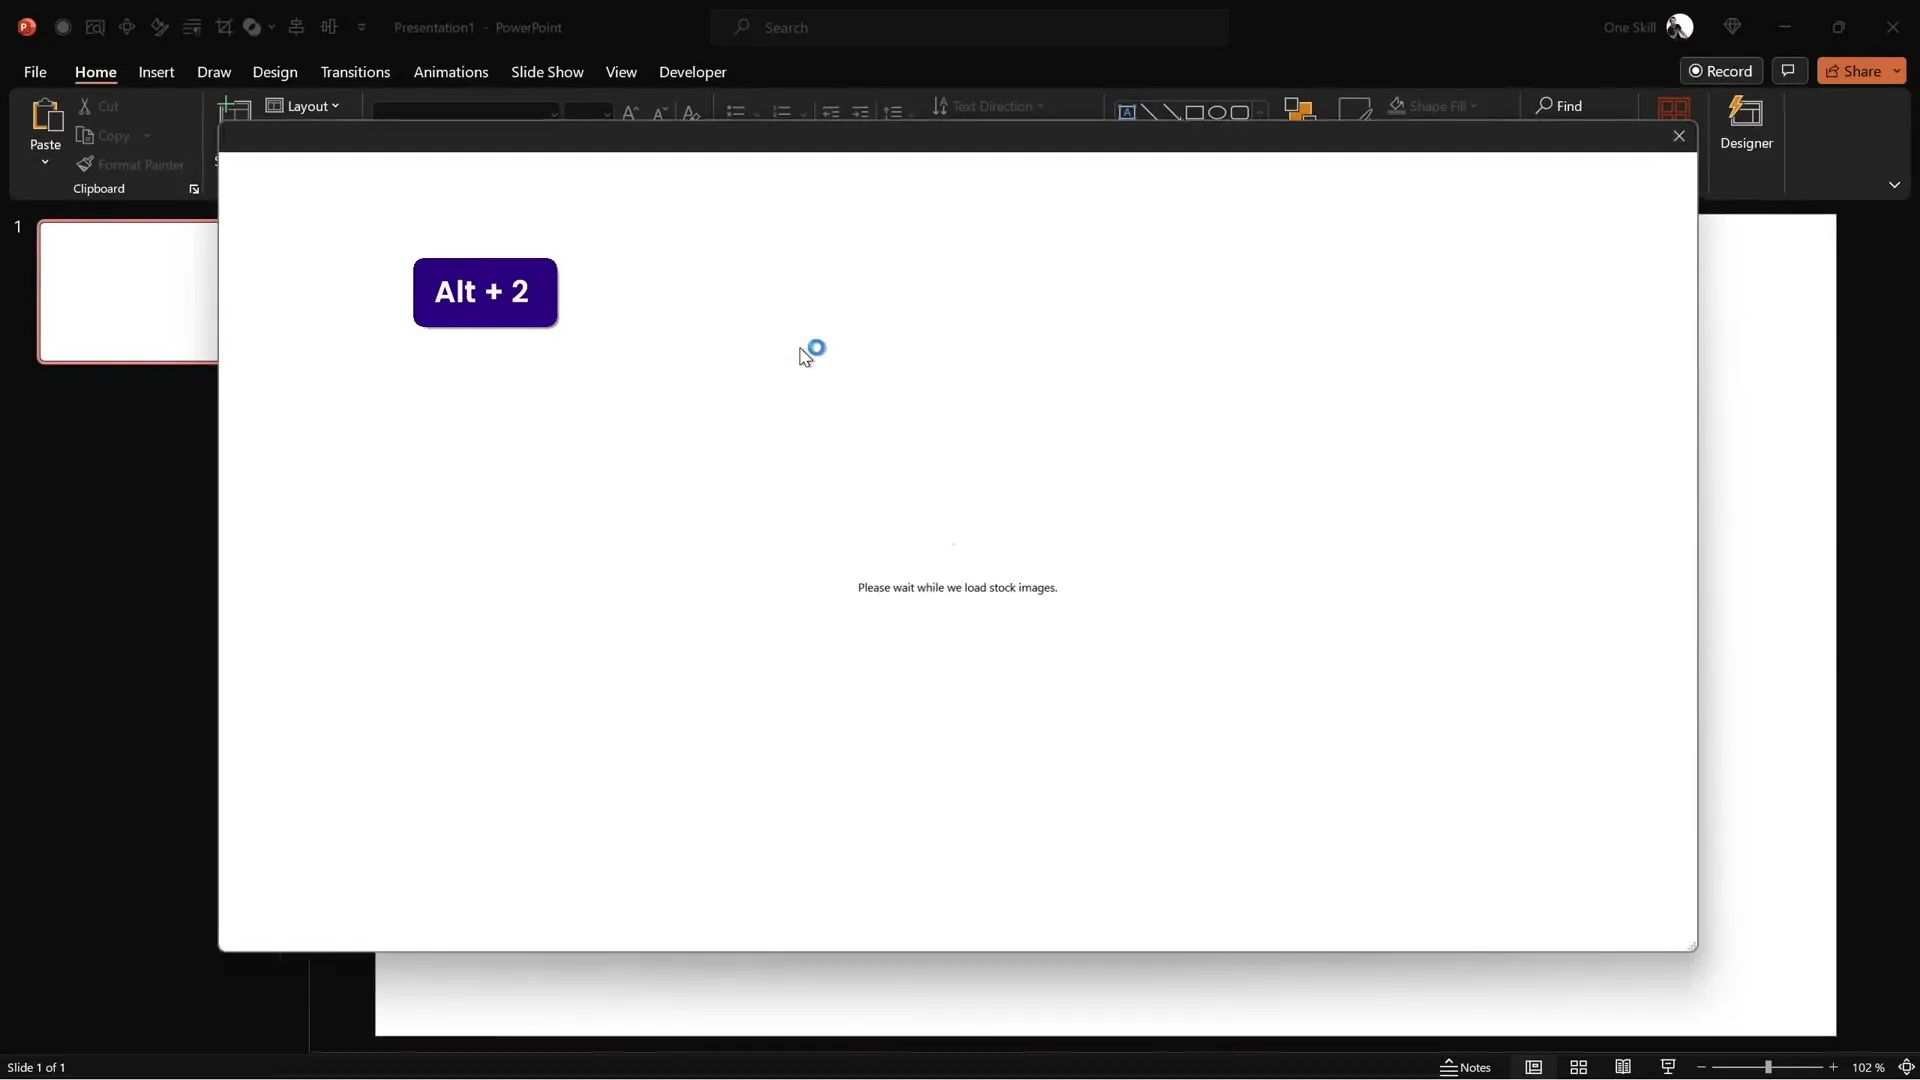
- Holding down the Alt key reveals shortcut numbers for each command in the QAT.
- For example, pressing Alt + 2 opens stock photos instantly.
This setup allows for rapid insertion and formatting of slide elements without interrupting your design flow.
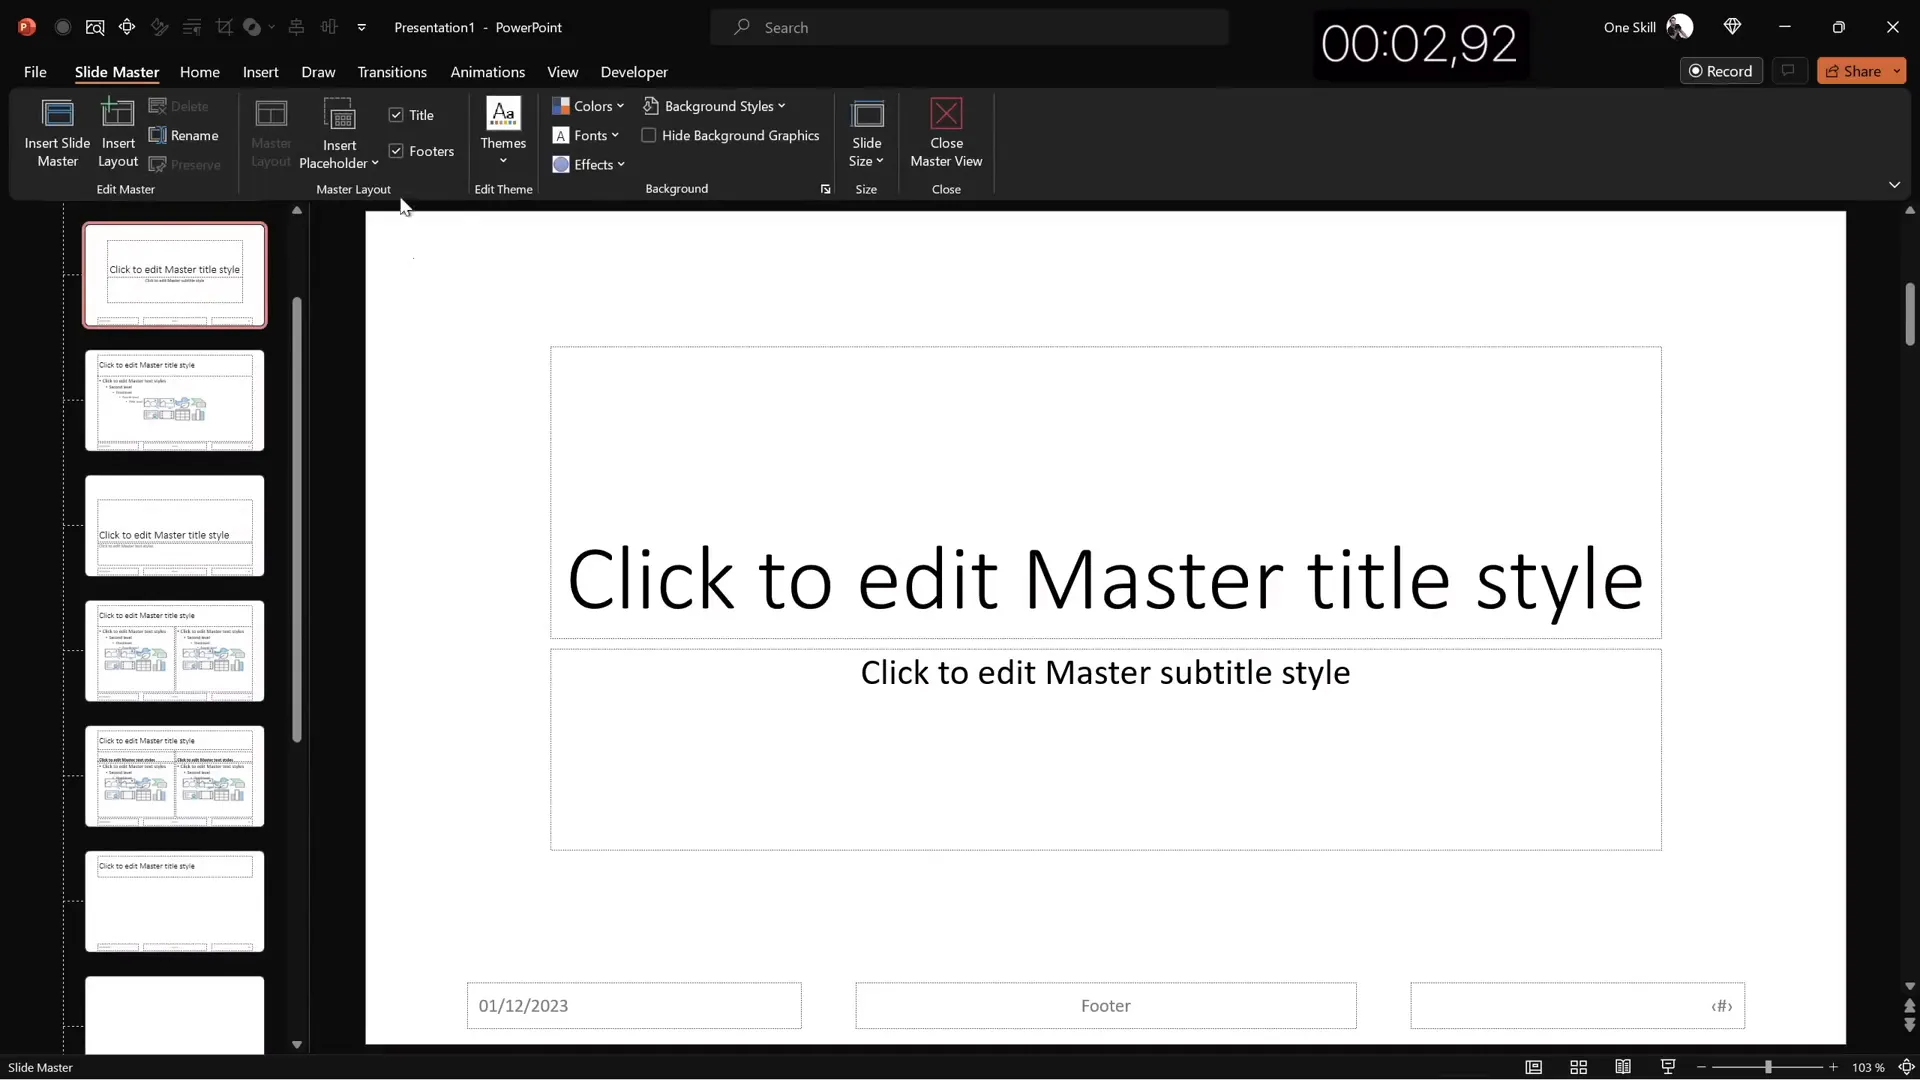
Use Slide Master to Set Themes and Layouts
Starting your presentation by setting a cohesive color palette and font style in the Slide Master ensures consistency and saves time when creating individual slides.
- Choose a color palette that fits your presentation mood (e.g., vibrant, professional, playful).
- Select a modern, readable font such as Darker Grotesque for a fresh look.
- Pick a blank slide layout for full creative control.
Setting these foundational elements early means less tweaking later on, speeding up the entire process.
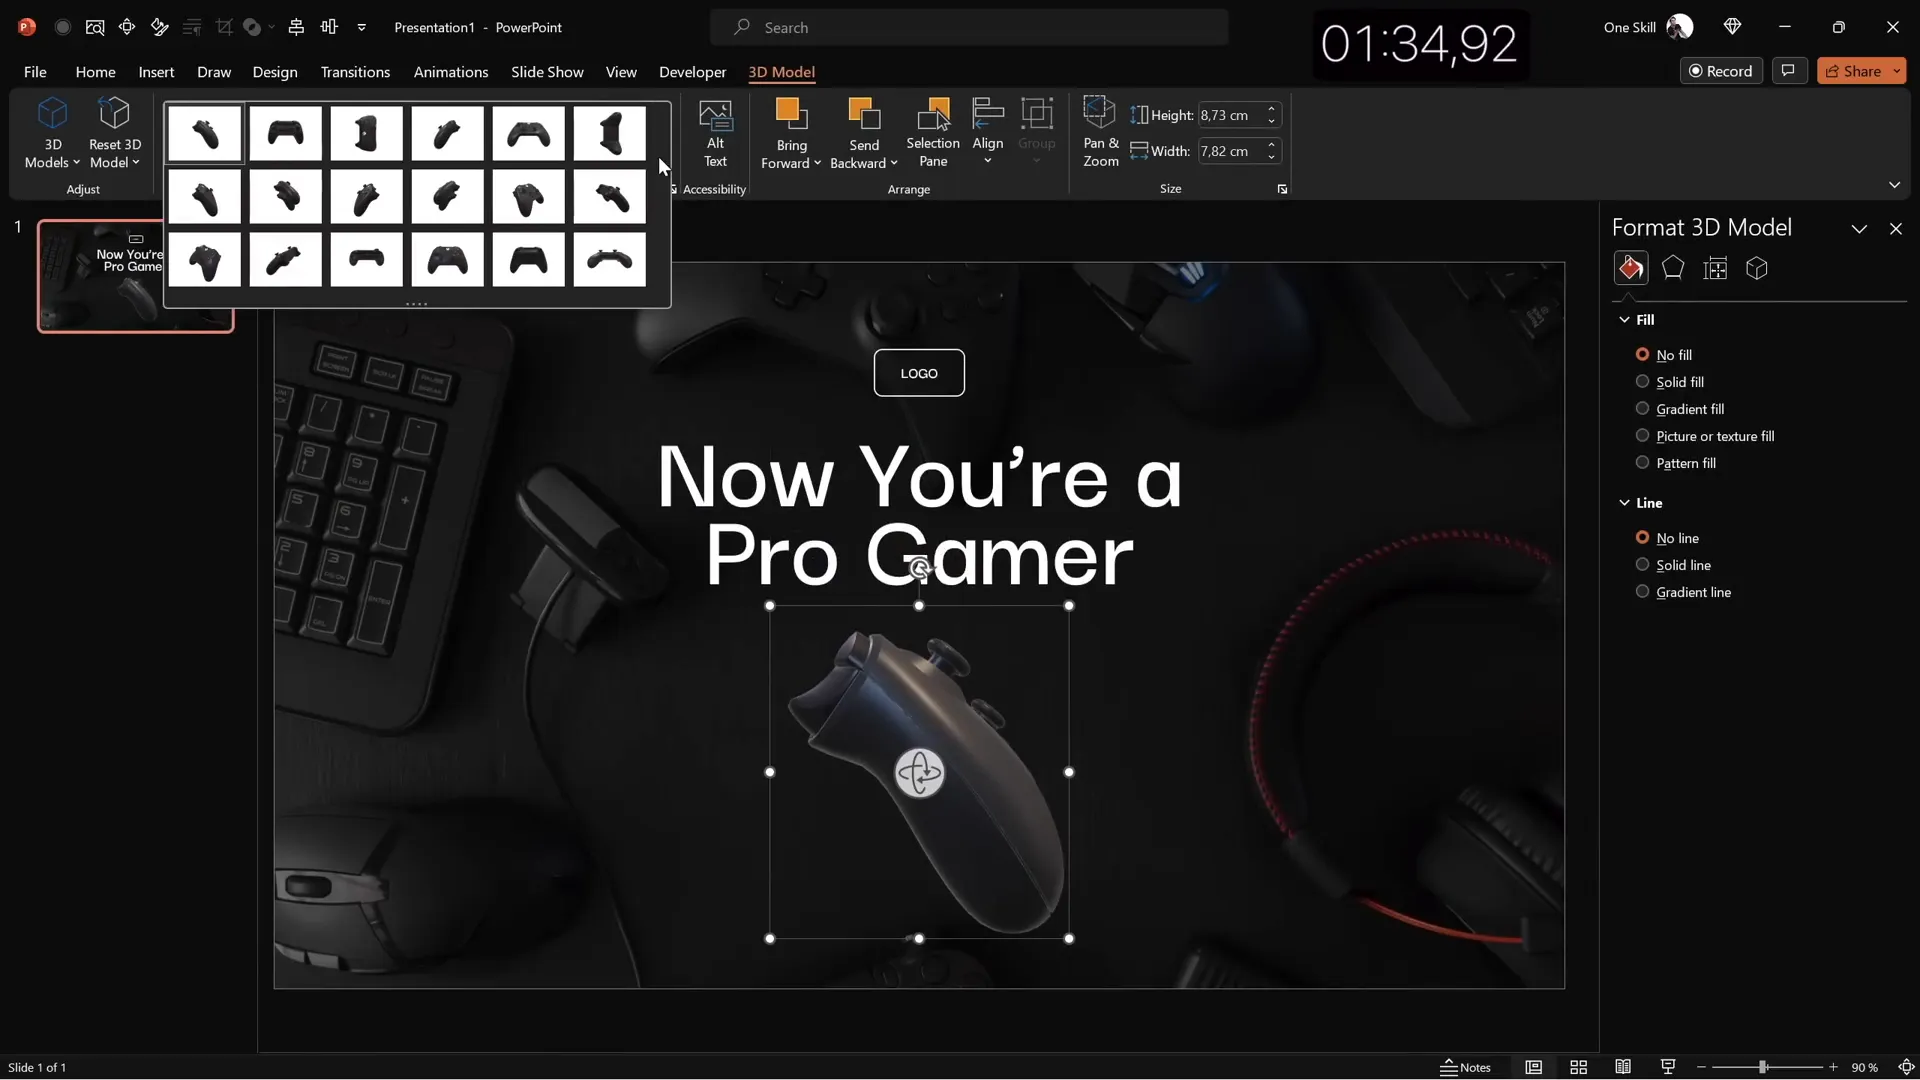
Slide 1: Pro Gamer Theme with 3D Animation
The first slide is designed around a gaming theme, featuring a dark, moody background and a striking 3D model of a game controller. Here’s how it was built quickly yet effectively:
Step-by-Step Design Process
- Background: Insert a stock photo with gaming-related imagery and crop it to fit the slide aspect ratio.
- Adjust Brightness: Darken the photo by 50% to make foreground text pop.
- Title Text: Add a slide title in white using Darker Grotesque Semi Bold font at size 80 pt. Adjust line spacing to 0.6 for aesthetic balance.
- Logo: Create a simple logo using a rounded rectangle shape with transparent fill and a white outline. Add the text “logo” inside with the same font.
- 3D Model: Insert a 3D model of a game controller. Choose a dark preset and position it towards the bottom.
- Animation: Apply a swing 3D animation with strong intensity, set to start automatically and last 3 seconds.
- Balance Elements: Adjust the vertical positions of all elements to ensure visual harmony.
Design Tips for a Quick Yet Polished Slide
- Use stock photos with a clear focal point and adjust brightness for contrast.
- Choose a bold font and large size for titles to grab attention quickly.
- Leverage PowerPoint’s 3D models to add dynamic visuals without external software.
- Pre-set animations can add movement and engagement but keep them simple.
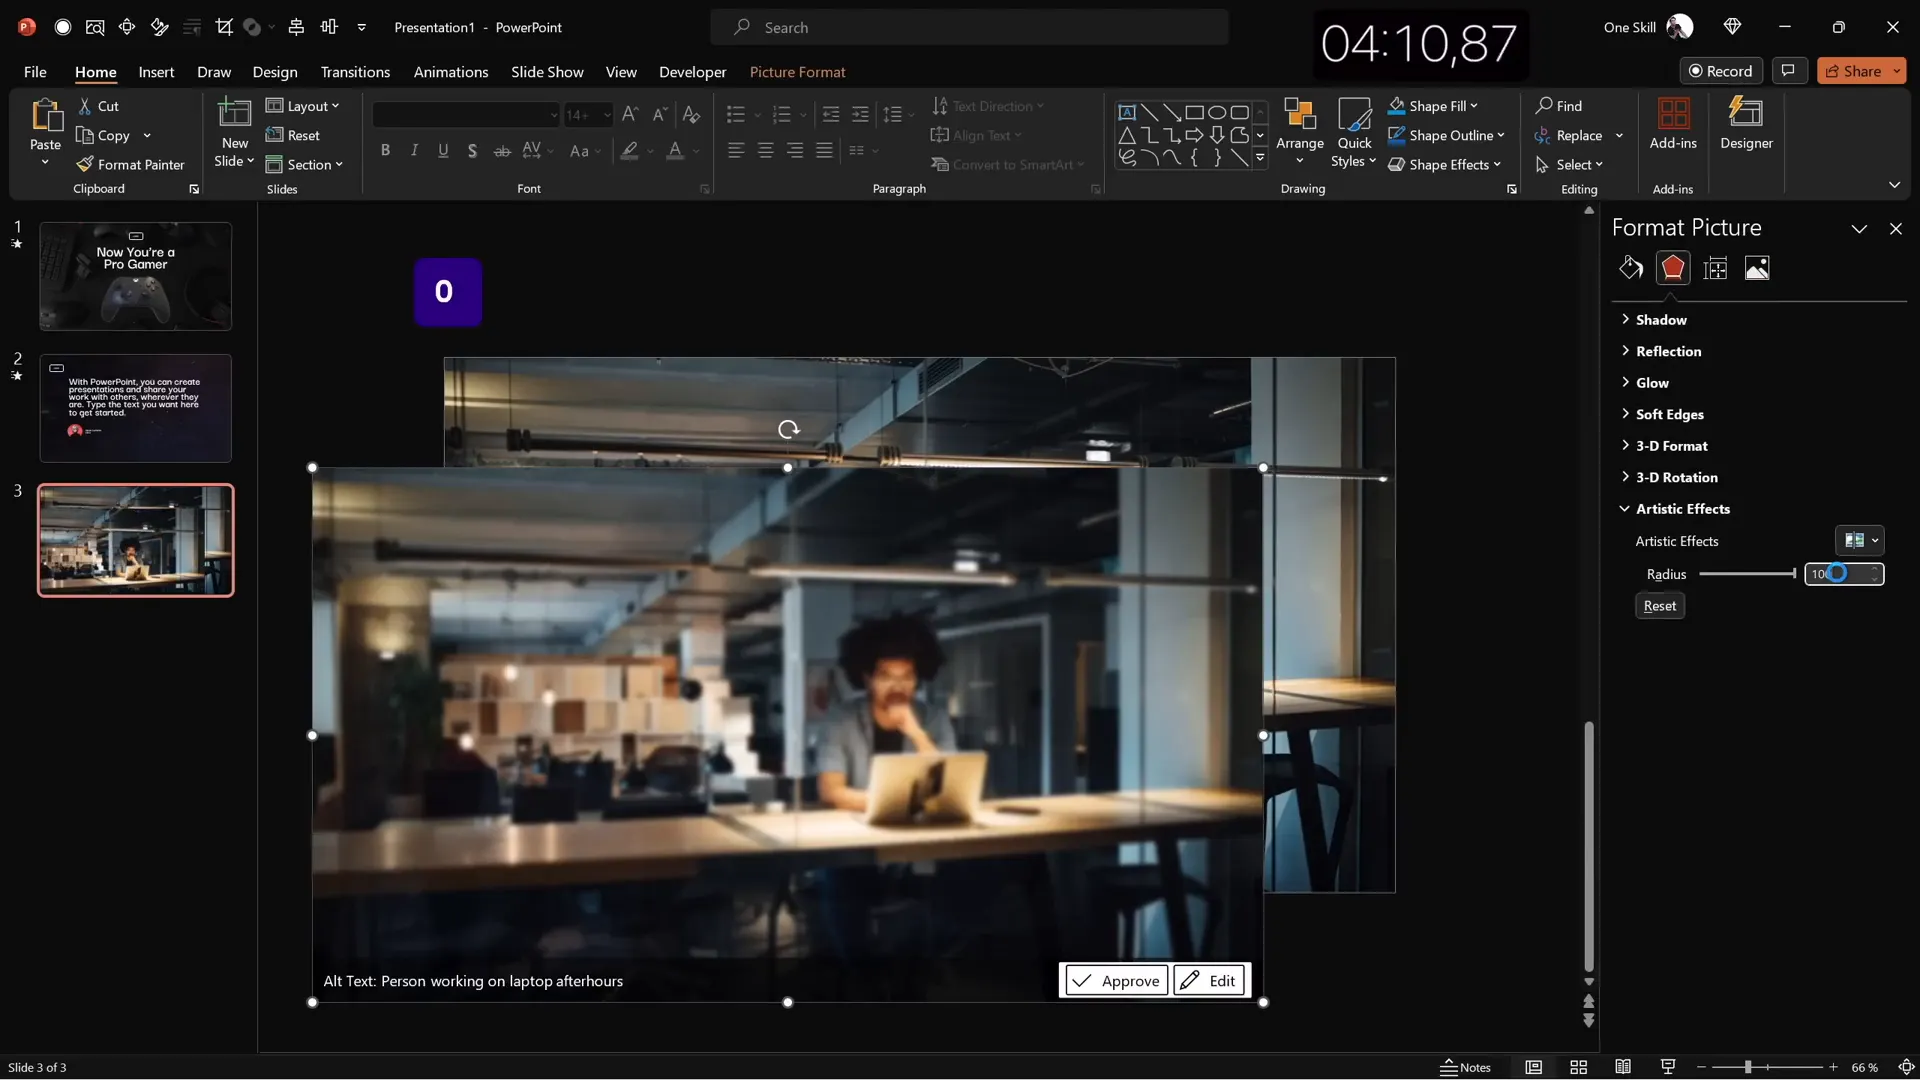
Slide 2: Fullscreen Video Background with Quote
The second slide uses a fullscreen looping video as the background, paired with a centered quote and a small portrait image for attribution. This slide is perfect for impactful messaging.
How to Build This Slide Fast
- Insert a full-screen video with a dark, abstract looping background to maintain subtlety.
- Copy the logo and title from the previous slide to save time and maintain branding.
- Align the slide title to the left and reduce font size for better balance.
- Paste a short quote or passage of text, ensuring it’s centered and formatted consistently.
- Insert a small portrait photo below the text to credit the quote author.
- Crop the portrait to a perfect circle and resize proportionally.
- Add a text box below the photo for the name and job title, styled with a medium font weight and smaller size.
- Align all elements centrally for a clean, focused composition.
Why This Slide Works
- Video backgrounds add movement and interest without overwhelming the content.
- Centering the quote draws focus to the message.
- Attribution with a photo humanizes the content and adds credibility.
- Consistent font use ties the slide together visually.
Slide 3: Glassmorphic Effect Slide
Glassmorphism is a trendy design style characterized by frosted glass-like elements with blur and transparency effects. This slide uses that effect to create a modern and elegant look.
Creating a Glassmorphic Effect in PowerPoint
- Choose a beautiful, high-quality photo related to the slide’s theme (e.g., office workspace).
- Insert the photo to cover the entire slide.
- Duplicate the photo and apply maximum blur to the duplicate.
- Copy the blurred version and set it as the slide background, removing the original.
- Insert a large circle shape on the left side of the slide.
- Fill the circle with the slide background fill to create a “window” effect.
- Remove the shape outline for a clean look.
- Add text elements such as a logo, slide title (“Our Mission”), and a paragraph of text inside the circle.
- Use the formula
=lorem(1)in PowerPoint to quickly generate placeholder text. - Turn on light guides to align objects perfectly based on slide center and middle.
- Create a “Learn More” button using a rounded rectangle with vibrant fill color and blurred shadow.
Benefits of Glassmorphic Design
- Modern and visually appealing style.
- Focuses attention on content inside the frosted glass area.
- Creates depth and layering without clutter.
- Easy to customize with PowerPoint’s built-in effects.
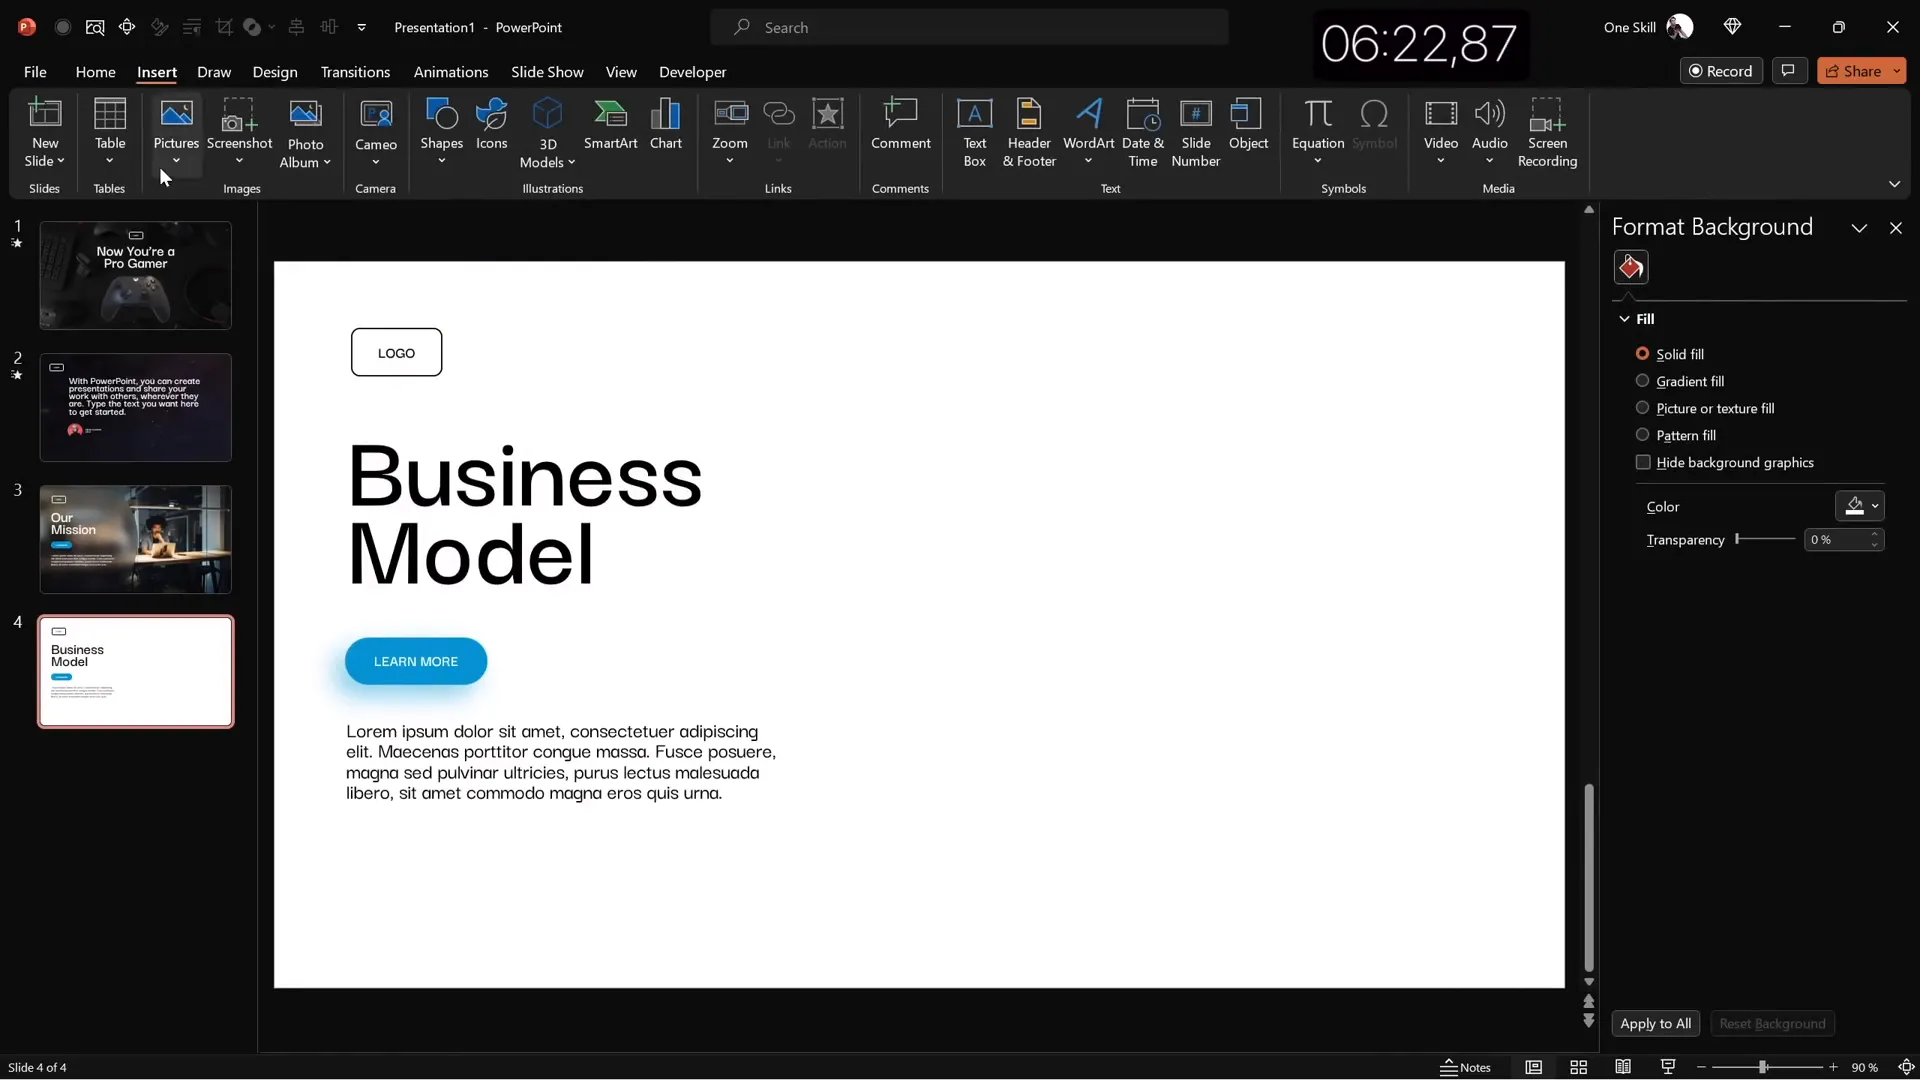
Slide 4: Business Model with KPIs
This slide is designed for a business context, featuring an image placeholder, key performance indicators (KPIs), and a clean, professional look.
Step-by-Step Creation
- Copy all elements from the previous slide to maintain style consistency.
- Change text and outline colors to black for better contrast on the lighter background.
- Update the slide title to “Business Model.”
- Insert a large rounded rectangle in the slide center.
- Fill this shape with a stock photo (e.g., man holding coffee).
- Resize and send the photo to the back behind the shape.
- Select both photo and shape, then use the “Merge Shapes” → “Intersect” tool to crop the photo to the shape.
- Add a subtle white outline around the photo for polish.
- Create several KPI text boxes on the right side, each with a KPI value and description.
- Format the KPI descriptions in gray and smaller font size.
- Group the KPI pairs and duplicate to create three evenly spaced KPIs.
- Align all elements neatly, adjusting spacing for balance.
Why KPIs Are Important on Business Slides
- They provide quick insights into critical performance metrics.
- Visually breaking down KPIs helps audience comprehension.
- Using consistent formatting and grouping makes the slide look organized.
- Image placeholders add a human touch and context.
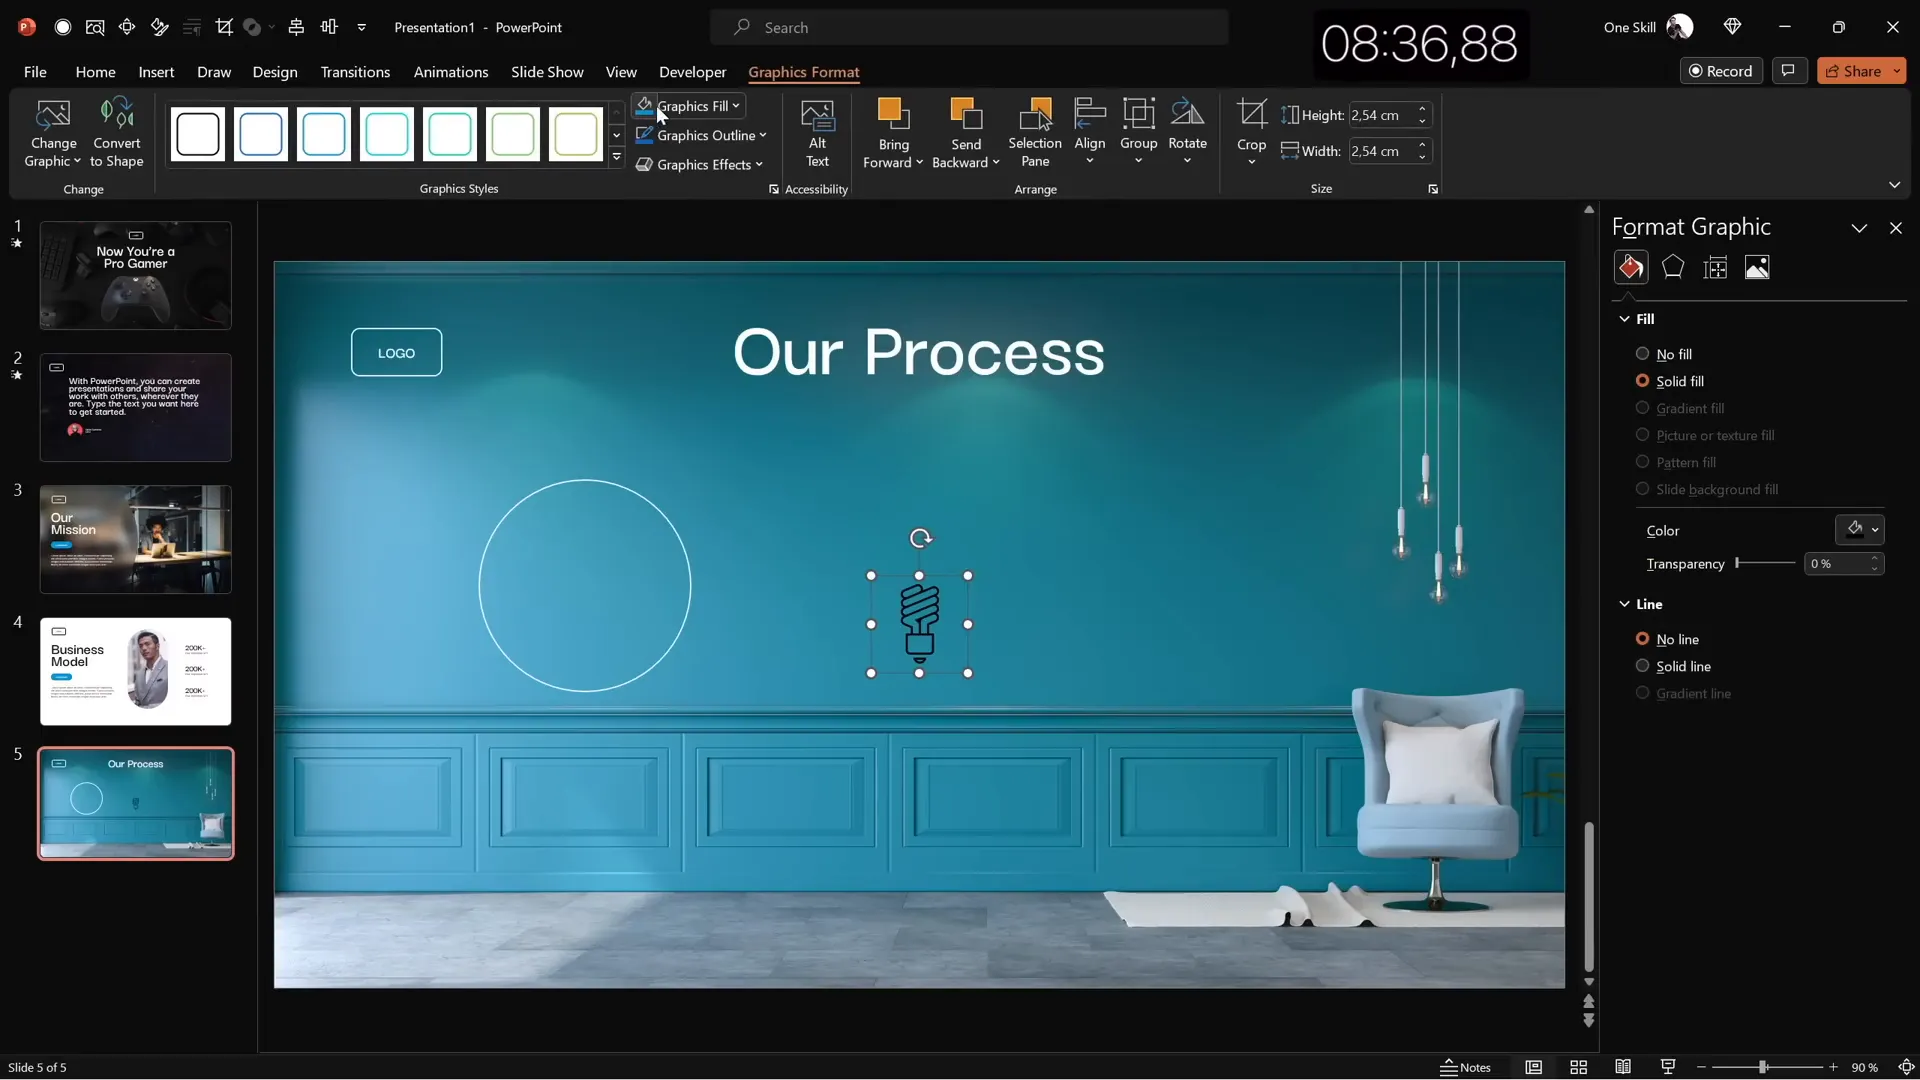
Slide 5: Infographic Process Slide
The final slide is a process infographic that visually conveys a sequence of steps using circles, icons, and clear labels.
How to Design the Process Slide Quickly
- Insert a full-screen photo with texture (e.g., a wall) to serve as a background.
- Crop and resize the photo to fit the slide.
- Copy the logo and other elements from previous slides for branding.
- Add a slide title in the center, e.g., “Our Process.”
- Insert a simple circle shape and apply the logo’s styling (transparent fill, white outline).
- Insert an icon inside the circle, such as a light bulb, and color it white.
- Group the circle and icon together, then add a text label (e.g., “Step One”) below or inside the shape.
- Duplicate the grouped elements to create four evenly spaced bubbles.
- Distribute the bubbles horizontally with equal spacing.
- Adjust the slide title size to fit and balance the composition.
Tips for Effective Infographic Slides
- Keep icons simple and consistent in style.
- Use grouping and duplication to save time and ensure uniformity.
- Maintain ample spacing to avoid clutter.
- Use background textures or photos that complement but don’t overpower the foreground.
Finishing Touches: Transitions and Animations
Once your slides are visually complete, adding transitions and animations can enhance the flow and engagement of your presentation. Here’s what was done in the tutorial:
Slide Transitions
- Apply the “Fade” transition to the first slide for a smooth start.
- Use the “Uncover” transition on slides 2 through 5 for a consistent effect.
Animations
- Add an “Appear” animation to text boxes, starting with the previous animation.
- Animate text by letter with a 0.03-second delay per letter for dynamic effect.
- Group related elements and apply “Fly In” animations for smooth entrance.
These animations were added quickly but thoughtfully to maintain a professional yet lively presentation.
Frequently Asked Questions
Q1: How can I speed up my PowerPoint slide design process?
A: Customize your Quick Access Toolbar with frequently used commands, use Slide Master for consistent themes, duplicate slides to reuse layouts, and leverage built-in tools like stock photos, 3D models, and animation presets to work faster.
Q2: What is the best way to create a glassmorphic effect in PowerPoint?
A: Use a blurred copy of your background image as the slide background, then place a semi-transparent shape filled with the slide background color on top to create a frosted glass look. Adjust blur and transparency for desired effect.
Q3: How do I insert 3D models and animations in PowerPoint?
A: Go to Insert → 3D Models, search for your desired object (e.g., controller), insert it, and then apply animations from the Animations tab such as swing or fly in. You can customize animation settings like intensity, duration, and start time.
Q4: Can I use videos as slide backgrounds in PowerPoint?
A: Yes! Insert a video and resize it to cover the entire slide. Set it to loop and play automatically for seamless background motion. Make sure the video complements your content and doesn’t distract from the message.
Q5: How do I align objects quickly and precisely on my slides?
A: Use PowerPoint’s Align tools. Select multiple objects, go to the Arrange menu, choose Align or Distribute, and select the desired alignment (e.g., center, middle, distribute horizontally). Turn on gridlines and guides to assist alignment.
Conclusion
Mastering fast PowerPoint slide design is about working smarter, not harder. By customizing your PowerPoint interface, using Slide Master templates, and leveraging built-in design tools like stock photos, 3D models, and animation presets, you can create professional slides quickly and efficiently.
In this tutorial-inspired walkthrough, we covered how to build five different slides in just ten minutes, each with a unique style—from a gaming-themed animated slide to a glassmorphic effect and a business KPI dashboard. These examples demonstrate that with a clear plan and smart shortcuts, you don’t need to spend hours designing slides to make a big impact.
Whether you’re preparing for a business meeting, a creative pitch, or an educational presentation, these fast design techniques will help you deliver polished and engaging slides with less stress.
For more inspiration and to download the example slides, check out the original video by One Skill PPT and the related tutorials by Louis and Slide Skills linked in the video description.
Happy designing, and may your next presentation be your best yet!


