
Creating professional and visually appealing PowerPoint slides quickly can seem daunting, but it doesn’t have to be. With the right techniques, tools, and mindset, you can design impressive slides in a fraction of the time. In this comprehensive guide, you’ll learn how to create five beautiful PowerPoint slides in just ten minutes, leveraging smart workflow hacks and creative design concepts.
This article is inspired by a dynamic approach to rapid slide design, focusing on practical tips, time-saving shortcuts, and stylish layouts. Whether you’re preparing a presentation for work, school, or a creative project, this tutorial will help you streamline your process and elevate your PowerPoint slide design skills.
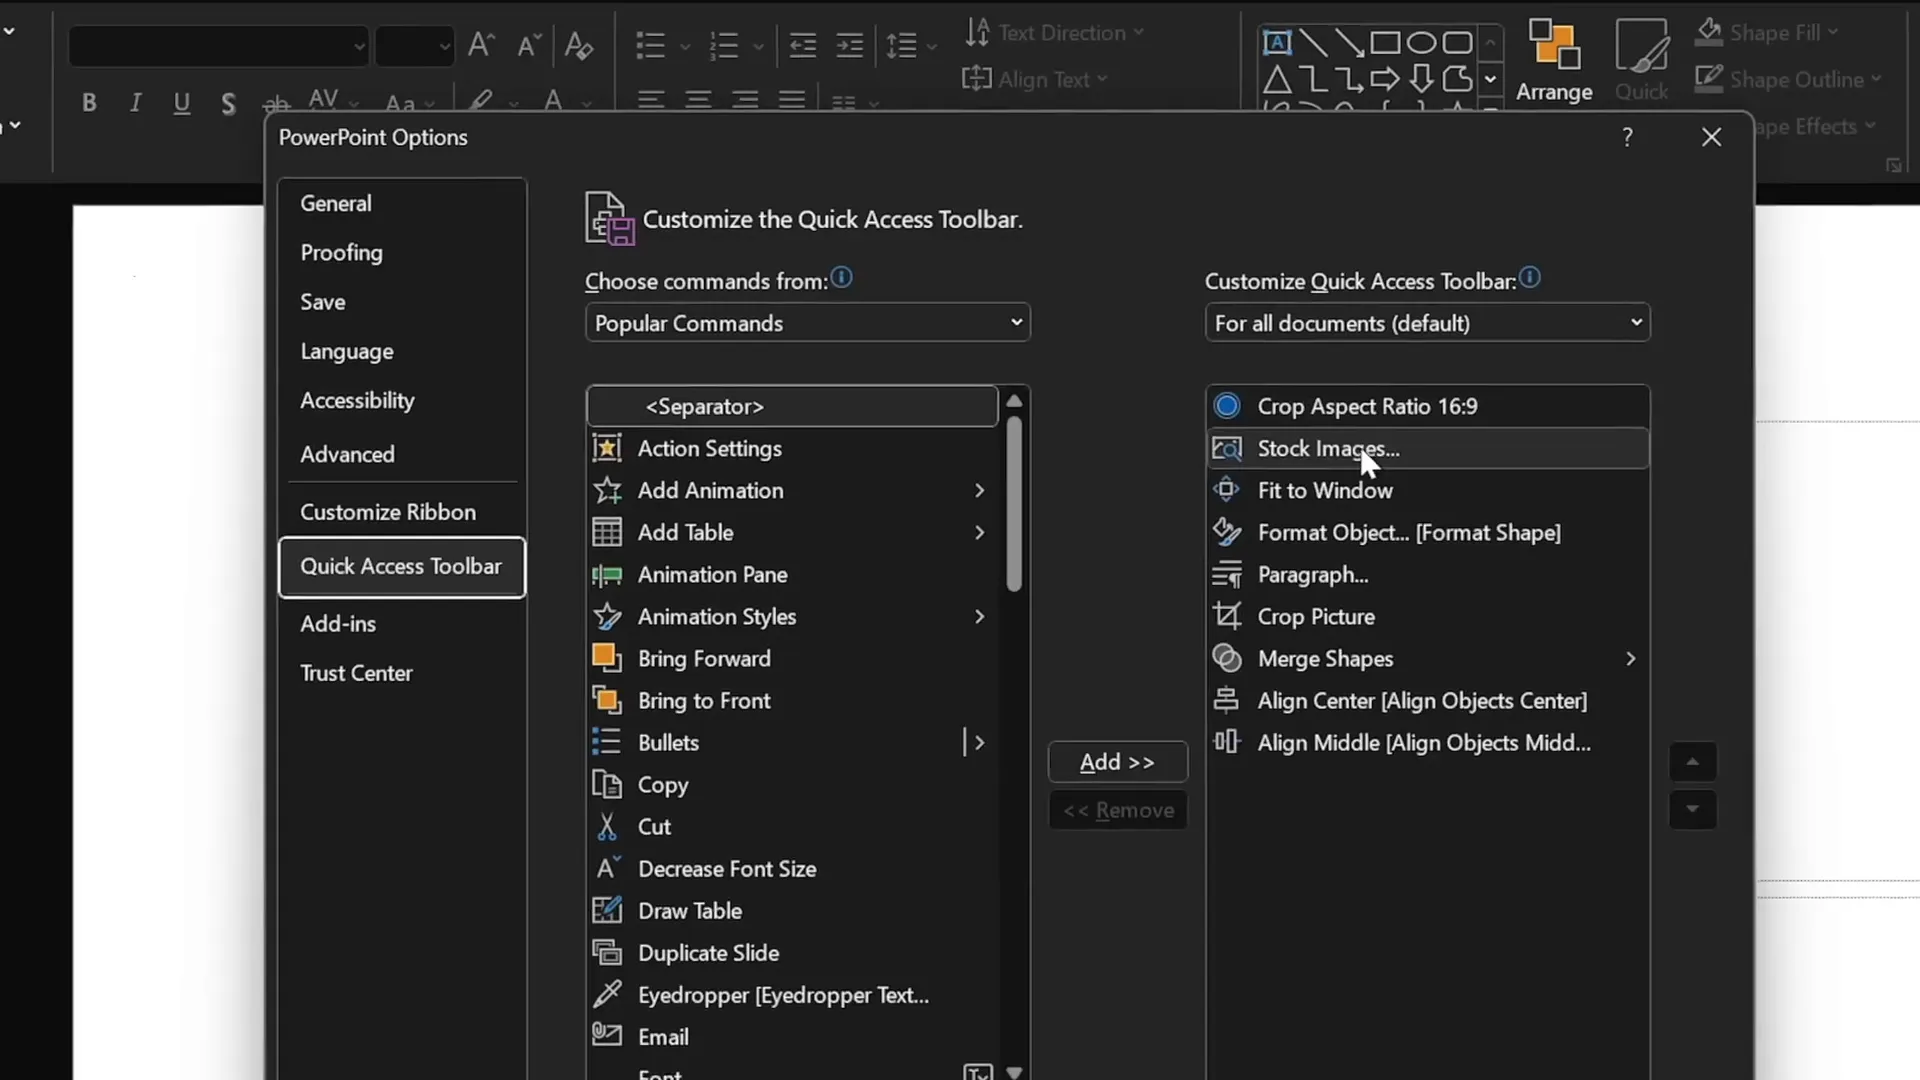
Table of Contents
- Setting Up Your Workspace for Speed
- Slide 1: Gamer-Themed Slide with 3D Model Animation
- Slide 2: Full-Screen Video Background with Quote and Portrait
- Slide 3: Glassmorphic Effect Slide with Mission Statement
- Slide 4: Business Model Slide with Image Placeholder and KPIs
- Slide 5: Process Infographic with Icons and Circles
- Finishing Touches: Transitions and Animations
- Frequently Asked Questions
- Conclusion
Setting Up Your Workspace for Speed
Before diving into slide creation, optimizing your PowerPoint workspace can save precious seconds and reduce friction during the design process. One powerful way to speed up your workflow is by customizing the Quick Access Toolbar with frequently used commands.
How to Customize the Quick Access Toolbar:
- Add commands such as “Insert Stock Photos,” “Format Shape Pane,” and other tools you frequently use.
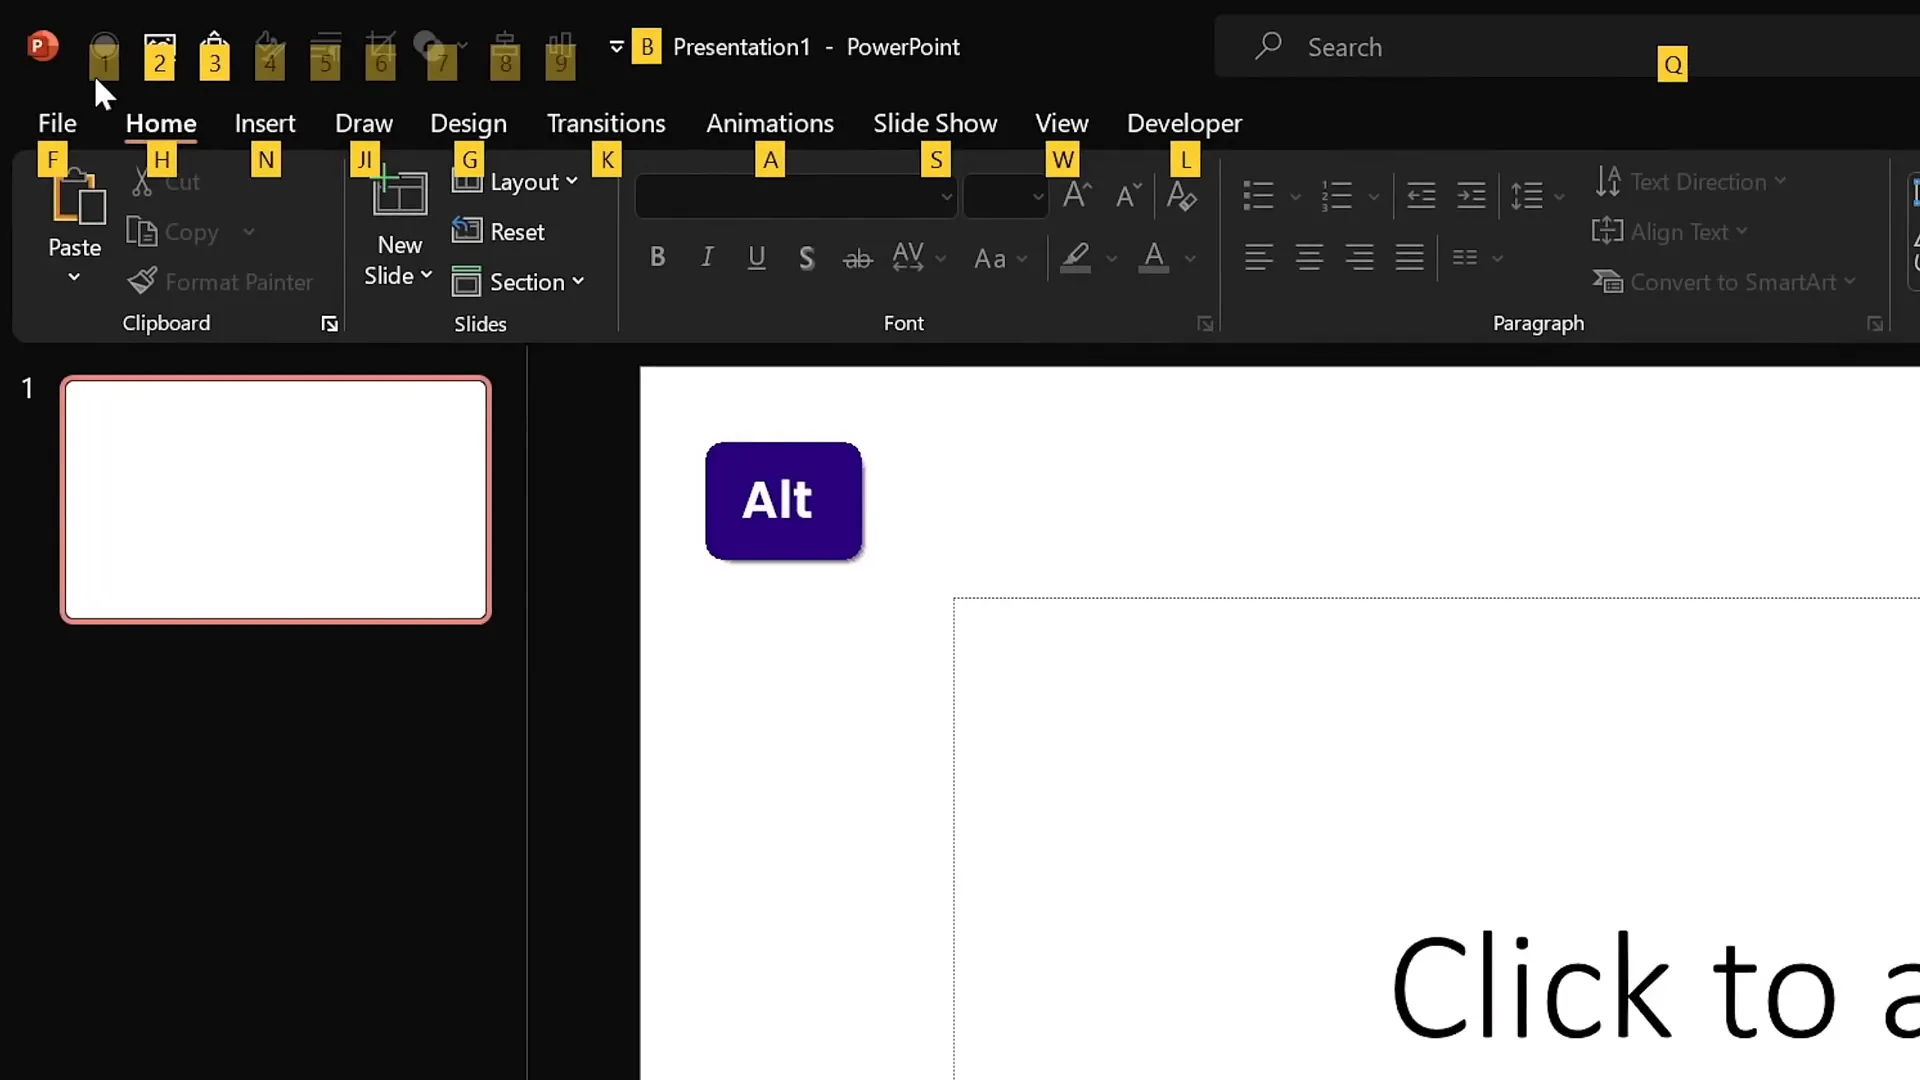
- Use keyboard shortcuts to quickly access these commands. For example, holding the
Altkey reveals shortcut numbers for each toolbar command, allowing you to activate them with a simple key press likeAlt + 2orAlt + 4.
This setup ensures you spend less time navigating menus and more time designing your slides.
Slide 1: Gamer-Themed Slide with 3D Model Animation
The first slide sets the tone with a bold, gamer-inspired design. Here’s a step-by-step breakdown of how to create it quickly and effectively:
Step 1: Choose Your Color Palette and Font Pair
- Switch to Slide Master view.
- Select a fresh, vibrant color palette to energize your slide. For example, choose a palette with bold and dark hues.
- Pick a modern and readable font pair. A great choice is Darker Grotesque, which offers a semi-bold style perfect for impactful titles.
Step 2: Set Up a Blank Slide Layout
- Start with a clean slate by selecting a blank slide layout.
- Insert a striking stock photo as the background. Crop it to fit the slide’s aspect ratio perfectly and resize it to fill the entire slide.
- Adjust the photo’s brightness to darken it by about 50% to make text stand out.
Step 3: Add the Slide Title
- Insert a text box and type a captivating title such as “Now You Are a Pro Gamer.”
- Set the font color to white for contrast against the dark background.
- Increase the font size to around 80 points and set line spacing to multiple 0.6 for a compact, modern look.
- Position the title towards the top of the slide for balance.
Step 4: Create a Simple Logo
- Use a rounded rectangle shape and type “Logo” inside it.
- Apply the same font as the title (Darker Grotesque Semi Bold) for consistency.
- Format the shape with full transparency and add a white outline with a 1-point width for subtle emphasis.
Step 5: Insert a 3D Model with Animation
- Search for a 3D model related to gaming, such as a game controller.
- Choose a dark-colored controller to match the slide’s mood.
- Position the model slightly lower on the slide.
- Add a “Swing 3D” animation with strong intensity, starting with the previous animation and lasting 3 seconds.
This combination of a dark, moody background with a dynamic 3D element creates an engaging and professional gamer-themed slide.

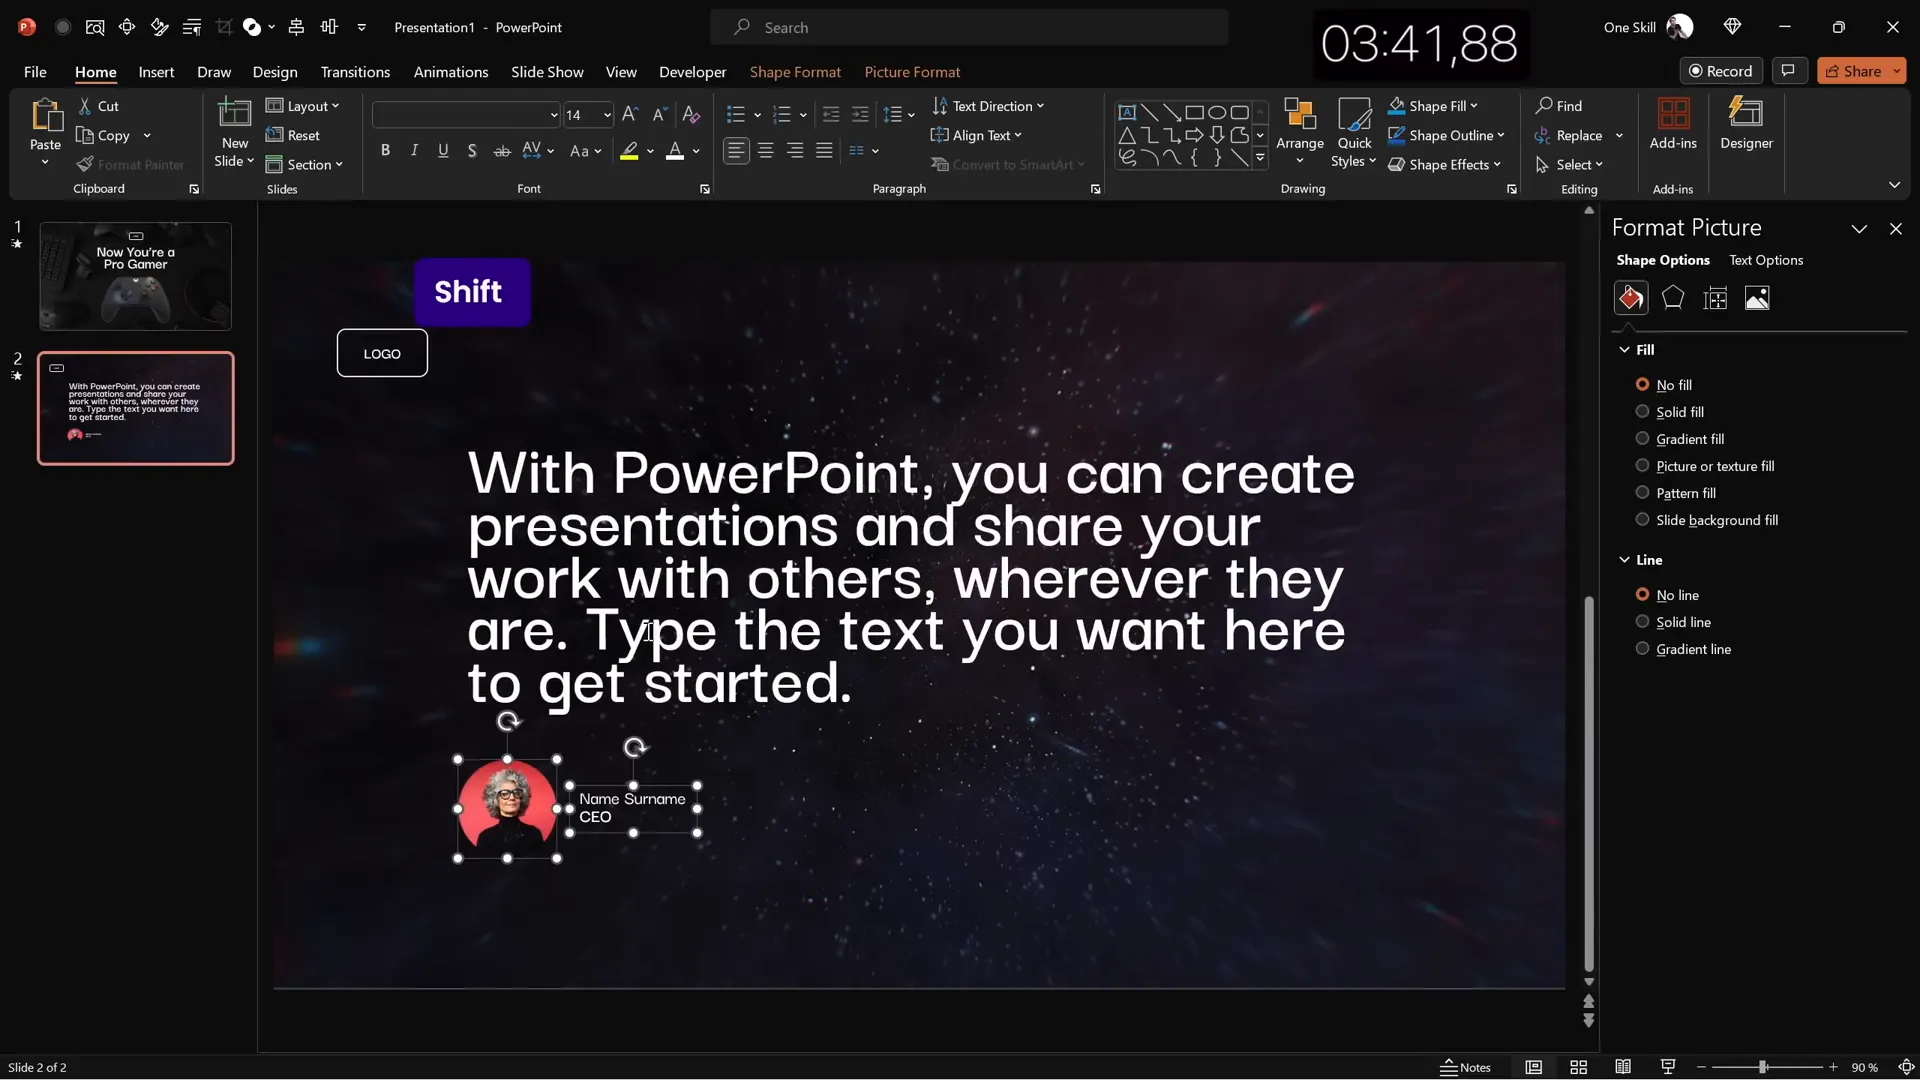
Slide 2: Full-Screen Video Background with Quote and Portrait
The second slide leverages motion to captivate the audience by using a full-screen looping video. Here’s how to build it efficiently:
Step 1: Insert a Full-Screen Video Background
- Search for a dark, abstract video that loops smoothly.
- Insert the video and resize it to cover the entire slide area.
- This adds subtle movement without overwhelming the slide content.
Step 2: Reuse Logo and Title for Consistency
- Copy the logo and slide title from the first slide to maintain a cohesive look.
- Align the slide title to the left and reduce the font size slightly for balance.
Step 3: Add a Quotation or Text Passage
- Open a template or document with suitable text and copy a meaningful quote or passage.
- Paste it onto the slide and ensure the font formatting matches the slide style.
- Center-align the text block for visual harmony.
Step 4: Add a Portrait Photo with Credit
- Insert a small portrait photo below the text to credit the quote’s author.
- Crop the photo to a square aspect ratio, then crop it further into a circle for a polished look.
- Resize while holding the Shift key to maintain proportions.
- Create a small text box underneath with the author’s name and job title, using a medium-weight font and a size around 14 points.
- Align the text box and photo centrally to keep the slide balanced.
This slide effectively combines motion, text, and imagery to highlight important words and their source visually.
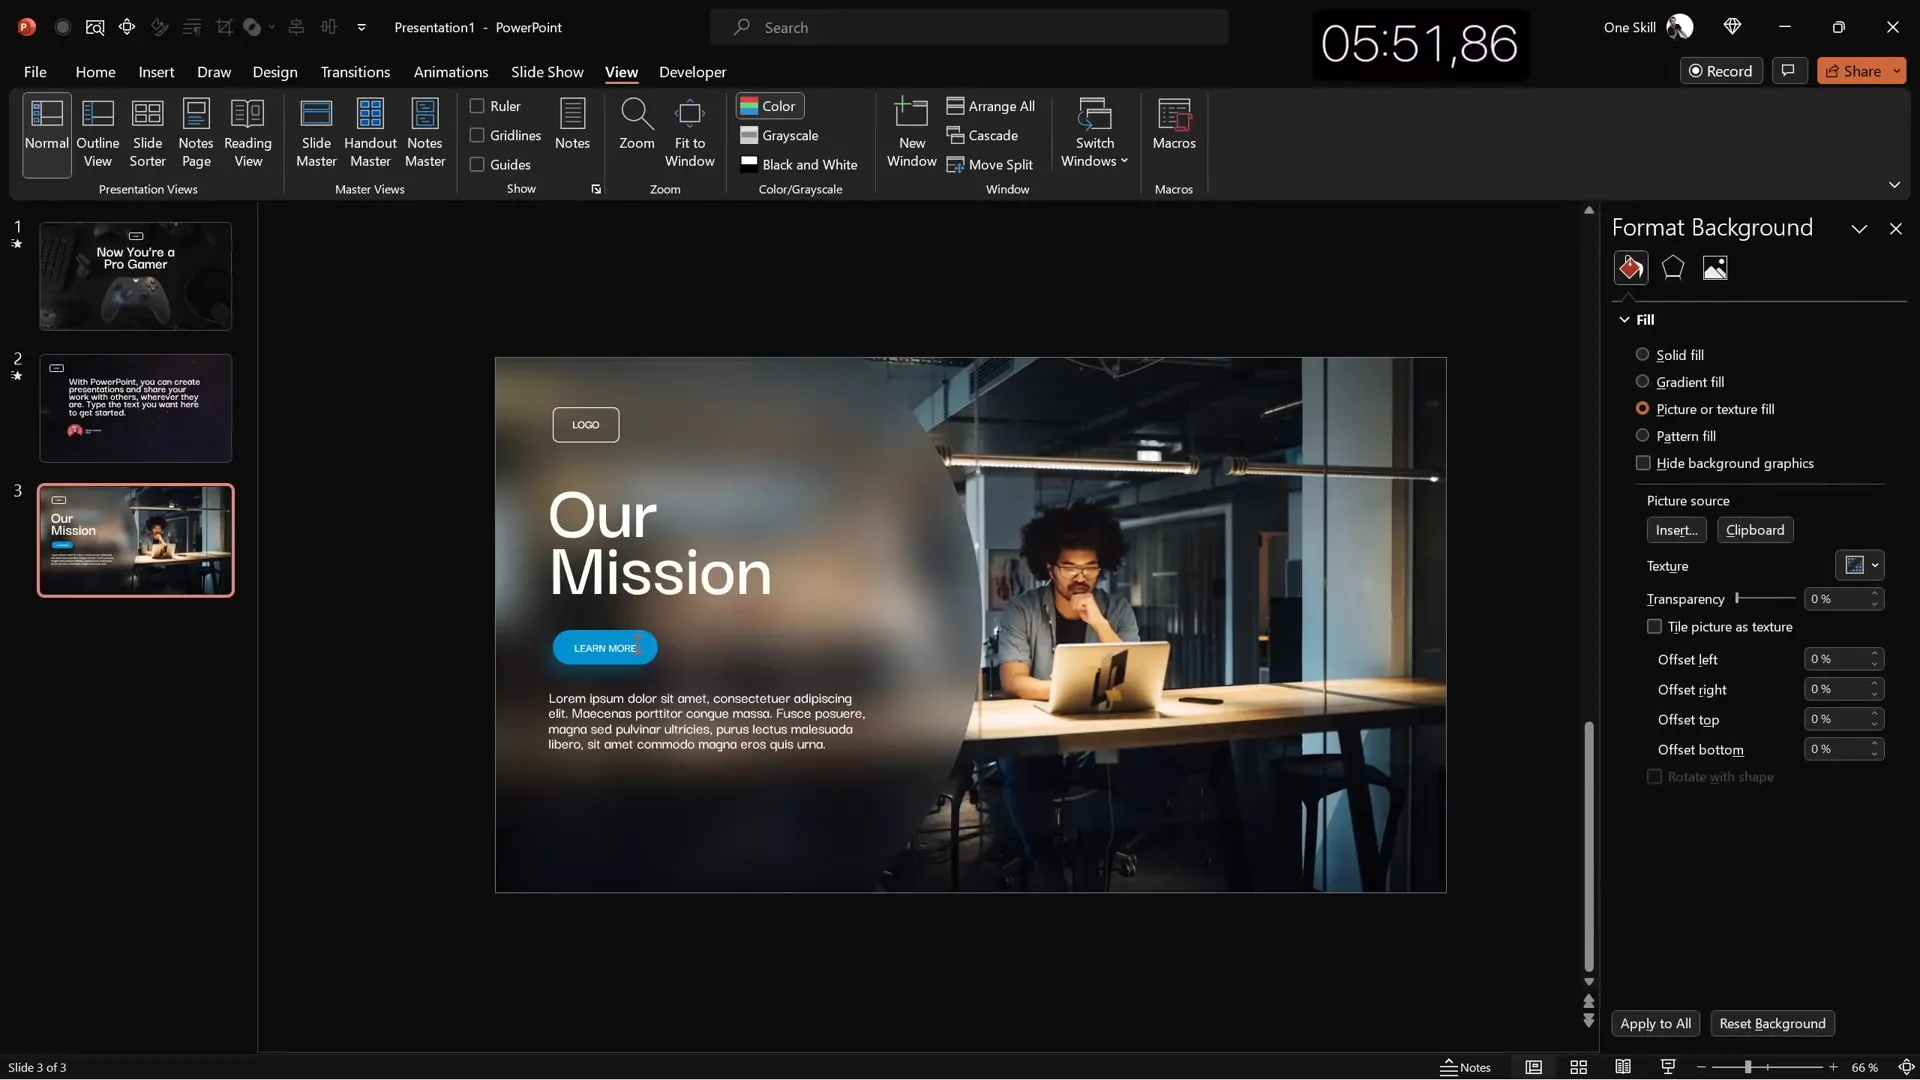
Slide 3: Glassmorphic Effect Slide with Mission Statement
Glassmorphism is a trendy design effect that combines blurred backgrounds with translucent layers to create elegant, modern visuals. This slide shows how to achieve it quickly:
Step 1: Select a Background Photo
- Choose a professional photo, such as a late office working scene.
- Resize the photo to cover the entire slide.
Step 2: Create a Blurred Background Layer
- Duplicate the photo and apply maximum blur to the copy.
- Copy the blurred image, delete the original, and paste the blurred photo as the slide background.
- Place the original photo centered on top.
Step 3: Add a Translucent Overlay Shape
- Insert a large circle on the left side.
- Fill the circle with the slide background color fill to simulate transparency.
- Remove any outline for a clean look.
Step 4: Add Text Elements
- Copy the logo and slide title, aligning them to the left.
- Change the slide title to “Our Mission.”
- Insert a paragraph of text using the
=lorem(1)function to generate placeholder content quickly. - Format the paragraph with smaller font size (around 16 pt) and reduced line spacing (0.8 multiple) for readability.
Step 5: Create a Vibrant Button
- Reuse the logo shape to create a “Learn More” button.
- Apply a vibrant fill color with no transparency.
- Add a blurred shadow using the same color as the button for a subtle glow effect.
- Adjust shadow blur, angle, and distance to your liking.
This slide uses layering, blur, and color harmony to communicate professionalism and clarity.
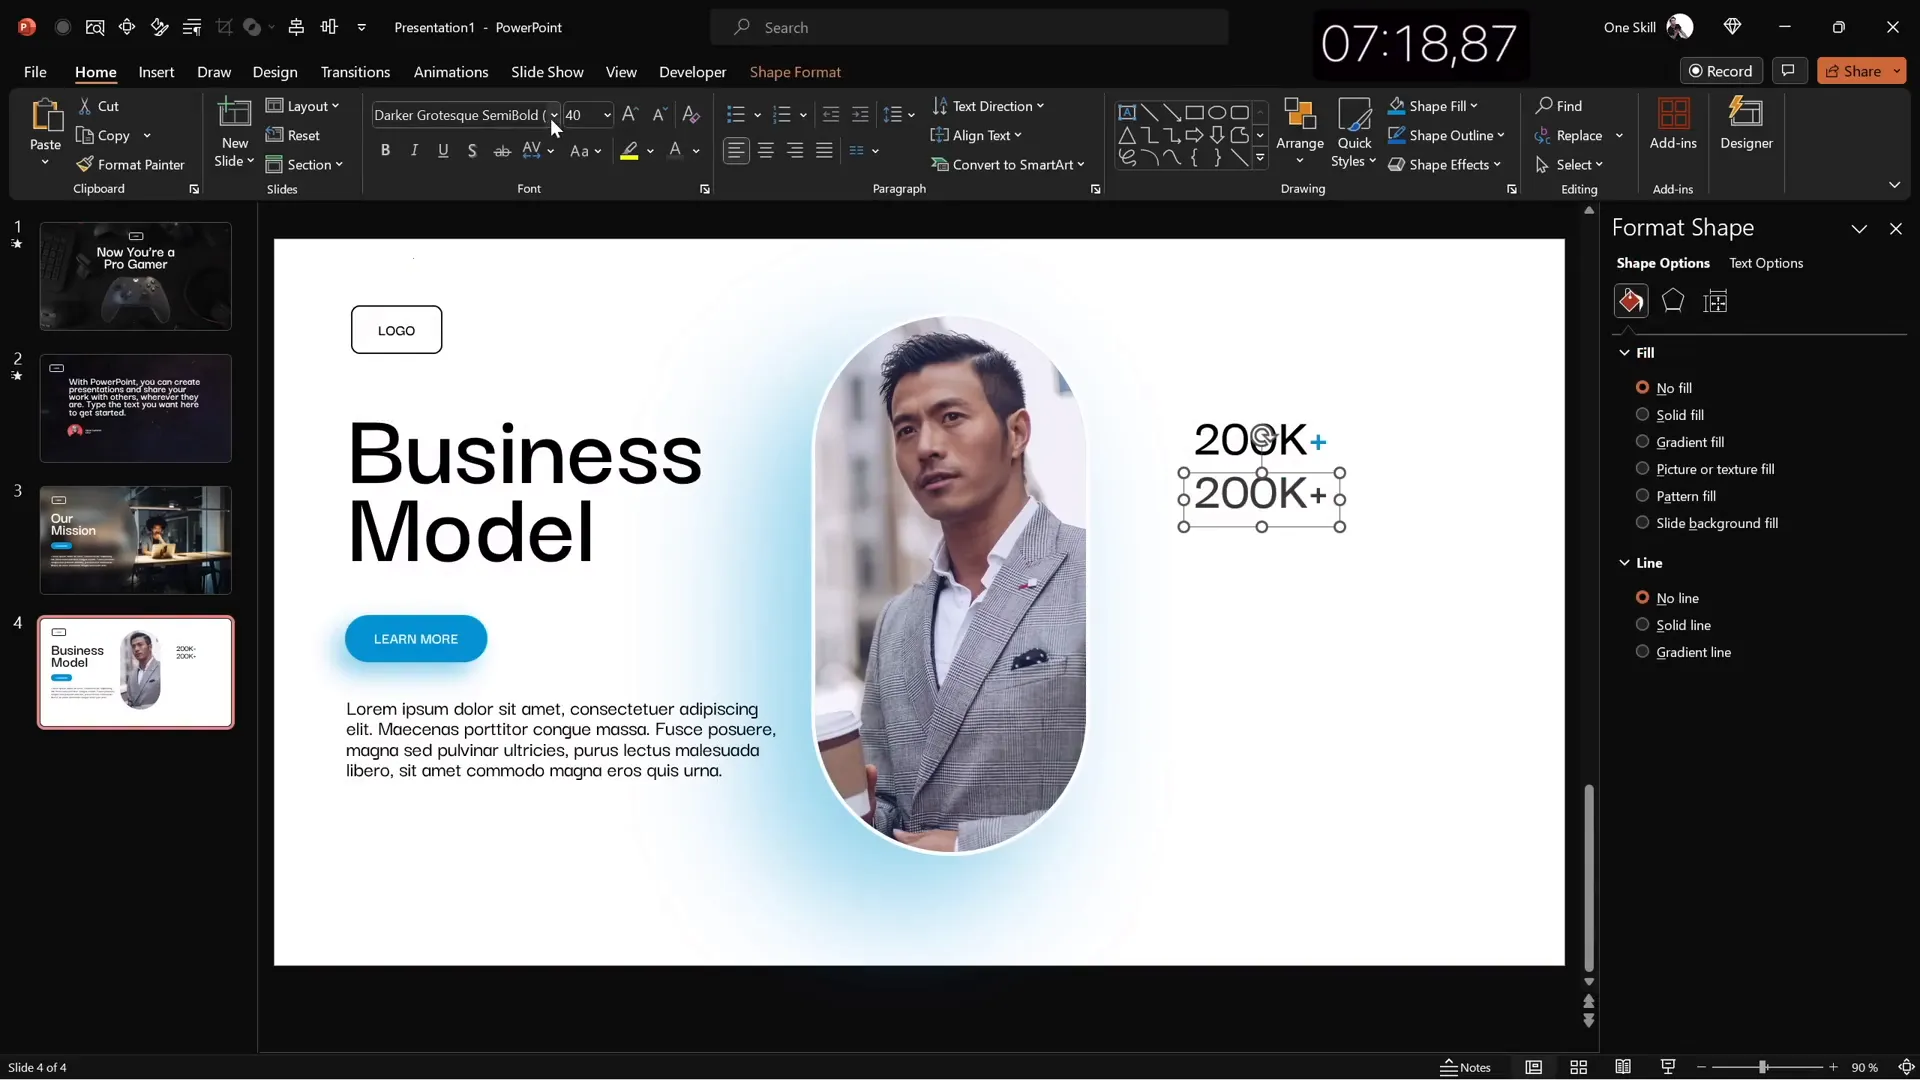
Slide 4: Business Model Slide with Image Placeholder and KPIs
The fourth slide focuses on presenting a business model with key performance indicators (KPIs) and an engaging image placeholder. Follow these steps:
Step 1: Reuse Elements and Adjust Colors
- Paste the elements from the previous slide (logo, title, button).
- Change the text colors to black for better contrast on a lighter background.
- Set the logo outline to black and button text to white.
- Update the slide title to “Business Model.”
Step 2: Insert a Rounded Rectangle Image Placeholder
- Insert a large rounded rectangle shape in the center of the slide.
- Fill this shape with a relevant stock photo, such as a man holding a coffee cup.
- Resize and send the photo to the back.
- Select both the photo and shape, then use the Merge Shapes → Intersect feature to clip the photo within the rounded rectangle.
- Add a subtle white outline of 3 points around the photo for emphasis.
Step 3: Add a Shadow Effect
- Copy the shadow from the “Learn More” button.
- Paste it behind the photo and adjust the blur to be very soft.
Step 4: Create KPI Text Boxes
- On the right side, create text boxes for KPIs.
- Use a smaller font size (around 16 pt) and a lighter font color for descriptions.
- Group the KPI title and description together.
- Duplicate the group to create three KPIs total, distributing them evenly vertically.
- Align all KPIs to the middle and slightly shift them right for balance.
This layout balances imagery with key data points to make complex information easy to digest.
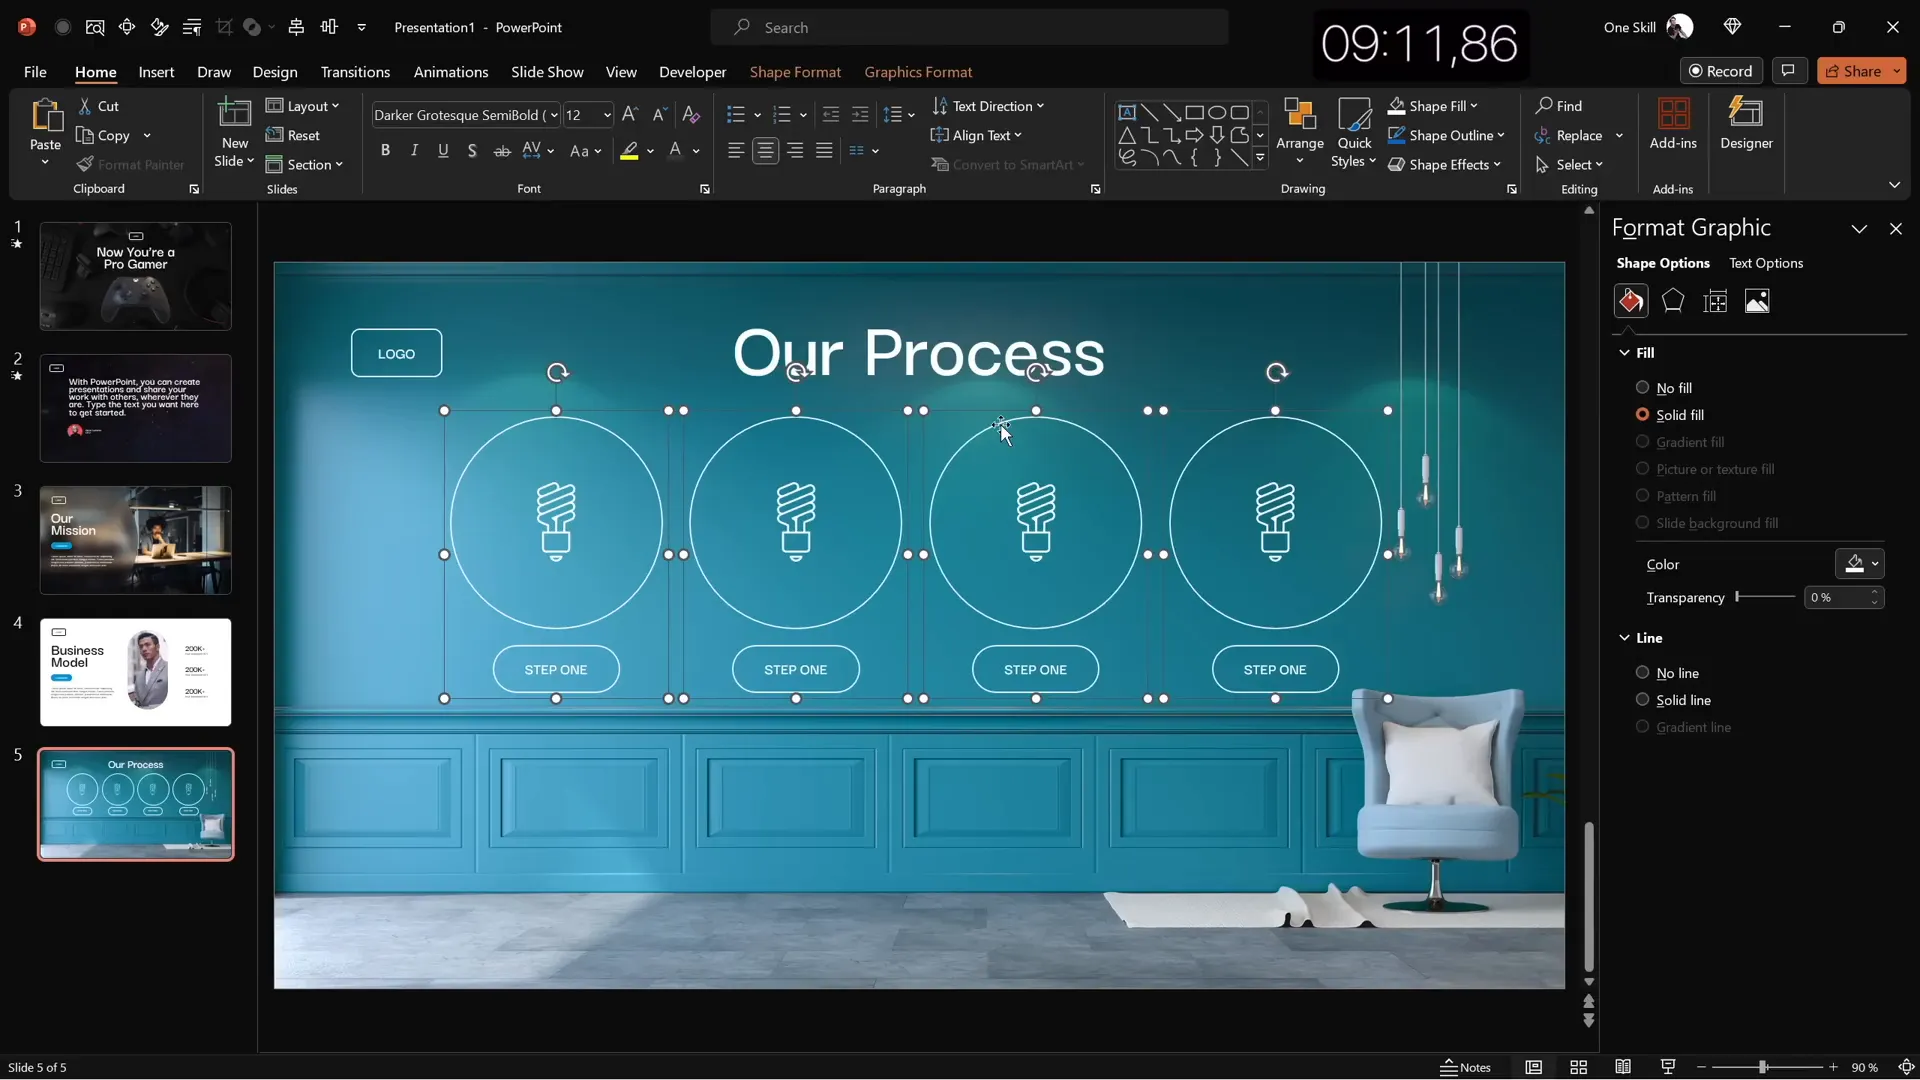
Slide 5: Process Infographic with Icons and Circles
The final slide is an infographic-style visual representing a process or workflow. Here’s how to quickly assemble it:
Step 1: Insert a Full-Screen Background Photo
- Choose a photo with a simple texture, such as a wall, to serve as a subtle background.
- Crop and resize the photo to fill the slide.
Step 2: Reuse and Adjust Slide Elements
- Copy the logo and slide title from previous slides.
- Update the slide title to “Our Process.”
- Position the title centrally near the top.
Step 3: Create Circular Infographic Steps
- Insert a simple circle shape and style it like the logo (transparent fill with white outline).
- Insert an icon inside the circle, such as a light bulb, and color it white to match the outline.
- Make sure the icon and circle are aligned perfectly.
- Group the circle and icon, then add a text box below with the step name, e.g., “Step One.”
- Make the shape wider if needed to fit the text comfortably.
- Group all elements of the step together.
- Duplicate the group to create four steps total.
- Distribute the steps evenly across the slide horizontally.
This infographic slide organizes process steps clearly and visually, using simple shapes and icons for easy comprehension.

Finishing Touches: Transitions and Animations
To bring your slides to life and ensure a smooth presentation flow, apply transitions and animations thoughtfully:
Transitions Between Slides
- Apply the Fade transition to the first slide for a smooth introduction.
- Use the Uncover transition for slides two through five to add dynamic movement between slides.
Text Animations
- Add an Appear animation to key text boxes.
- Set animations to start with previous to maintain seamless timing.
- Animate text by letter with a slight delay (e.g., 0.03 seconds per letter) for engaging effect.
Group Animations
- Group related shapes or icons, such as infographic steps or KPIs.
- Apply a Fly In animation to the entire group to introduce all elements cohesively.
These finishing touches add professionalism and polish, enhancing audience engagement without overwhelming the content.
Frequently Asked Questions
How can I speed up my PowerPoint slide design process?
Customize your Quick Access Toolbar with your most-used commands and learn keyboard shortcuts. Use templates and reuse elements like logos and titles across slides to save time.
What are some effective fonts for professional PowerPoint slides?
Fonts like Darker Grotesque provide a modern, clean look with good readability. Avoid default fonts like Calibri for a more unique and polished design.
How do I create a glassmorphic effect in PowerPoint?
Duplicate your background image, apply maximum blur to the copy, and set it as the slide background. Then add a translucent shape filled with the slide background color with no outline, layered over the blurred background.
Can I add 3D models and animations in PowerPoint?
Yes, PowerPoint supports inserting 3D models and applying animations such as swinging or flying. Use these features to add dynamic elements to your slides.
What are some tips for aligning elements on slides?
Use PowerPoint’s light guides and alignment tools to center and distribute objects evenly. Group related elements to move and animate them as a single unit.
How do I create image placeholders with custom shapes?
Insert a shape (e.g., rounded rectangle), fill it with a photo, and use the “Merge Shapes” → “Intersect” command to crop the photo to the shape.
Where can I find high-quality stock photos and icons?
Use PowerPoint’s built-in stock photo and icon libraries, accessible through the Insert tab or Quick Access Toolbar if customized.
Conclusion
Mastering PowerPoint slide design doesn’t have to be a time-consuming ordeal. By setting up your workspace for efficiency, reusing elements, and applying modern design principles like glassmorphism and 3D animations, you can create stunning presentations in just minutes.
In this tutorial, you learned how to build five diverse and professional slides in ten minutes, including a gamer-themed slide with 3D animation, a video background slide with a quote, a glassmorphic mission statement slide, a business model slide with KPIs, and a process infographic. Each slide demonstrates practical techniques to elevate your presentations.
Remember, the key to quick and effective slide design lies in preparation, consistency, and creative use of PowerPoint’s powerful tools. Experiment with these strategies, and you’ll find that designing compelling presentations becomes both fun and efficient.
Stay inspired and keep designing!
Check out the full video: 5 SLIDES in 10 Minutes!🔥TUTORIAL🔥


