
If you’ve ever wanted to elevate your PowerPoint presentations with sleek, animated slide designs, you’re in the right place. This comprehensive guide will walk you through creating a stunning animated slide design featuring a virtual planner user interface—entirely crafted within PowerPoint. Inspired by expert techniques, this tutorial will reveal how to use powerful tools like the Morph transition and Slide Zooms to bring your slides to life.
Whether you’re a seasoned PowerPoint user or just starting out, this article will empower you with practical skills to build professional, eye-catching presentations. We’ll cover everything from selecting the perfect images to designing modern UI widgets and applying seamless animations. Ready to transform your PowerPoint slide design skills? Let’s dive in!
Table of Contents
- Getting Started: Setting Up Your PowerPoint Presentation
- Choosing and Inserting Stunning Background Photos
- Removing Photo Backgrounds for a Clean Design
- Creating Dynamic Morph Transitions
- Designing Text Boxes with Style and Impact
- Building Modern UI Widgets with Blurred Backgrounds
- Advanced Morph Animations and Slide Zooms
- Final Touches: Slide Zooms and Presentation Flow
- Frequently Asked Questions
- Conclusion
Getting Started: Setting Up Your PowerPoint Presentation
Before jumping into the creative part, it’s essential to understand the structure of your presentation. For this project, we will create a virtual planner interface in PowerPoint consisting of four beautifully designed slides.
The key elements include:
- A compelling background image that sets the tone.
- Photos of a model wearing virtual reality glasses to give a modern tech vibe.
- Animated text boxes and widgets that display planner details like time, weather, and schedule.
- Smooth transitions between slides using the Morph effect and Slide Zooms.
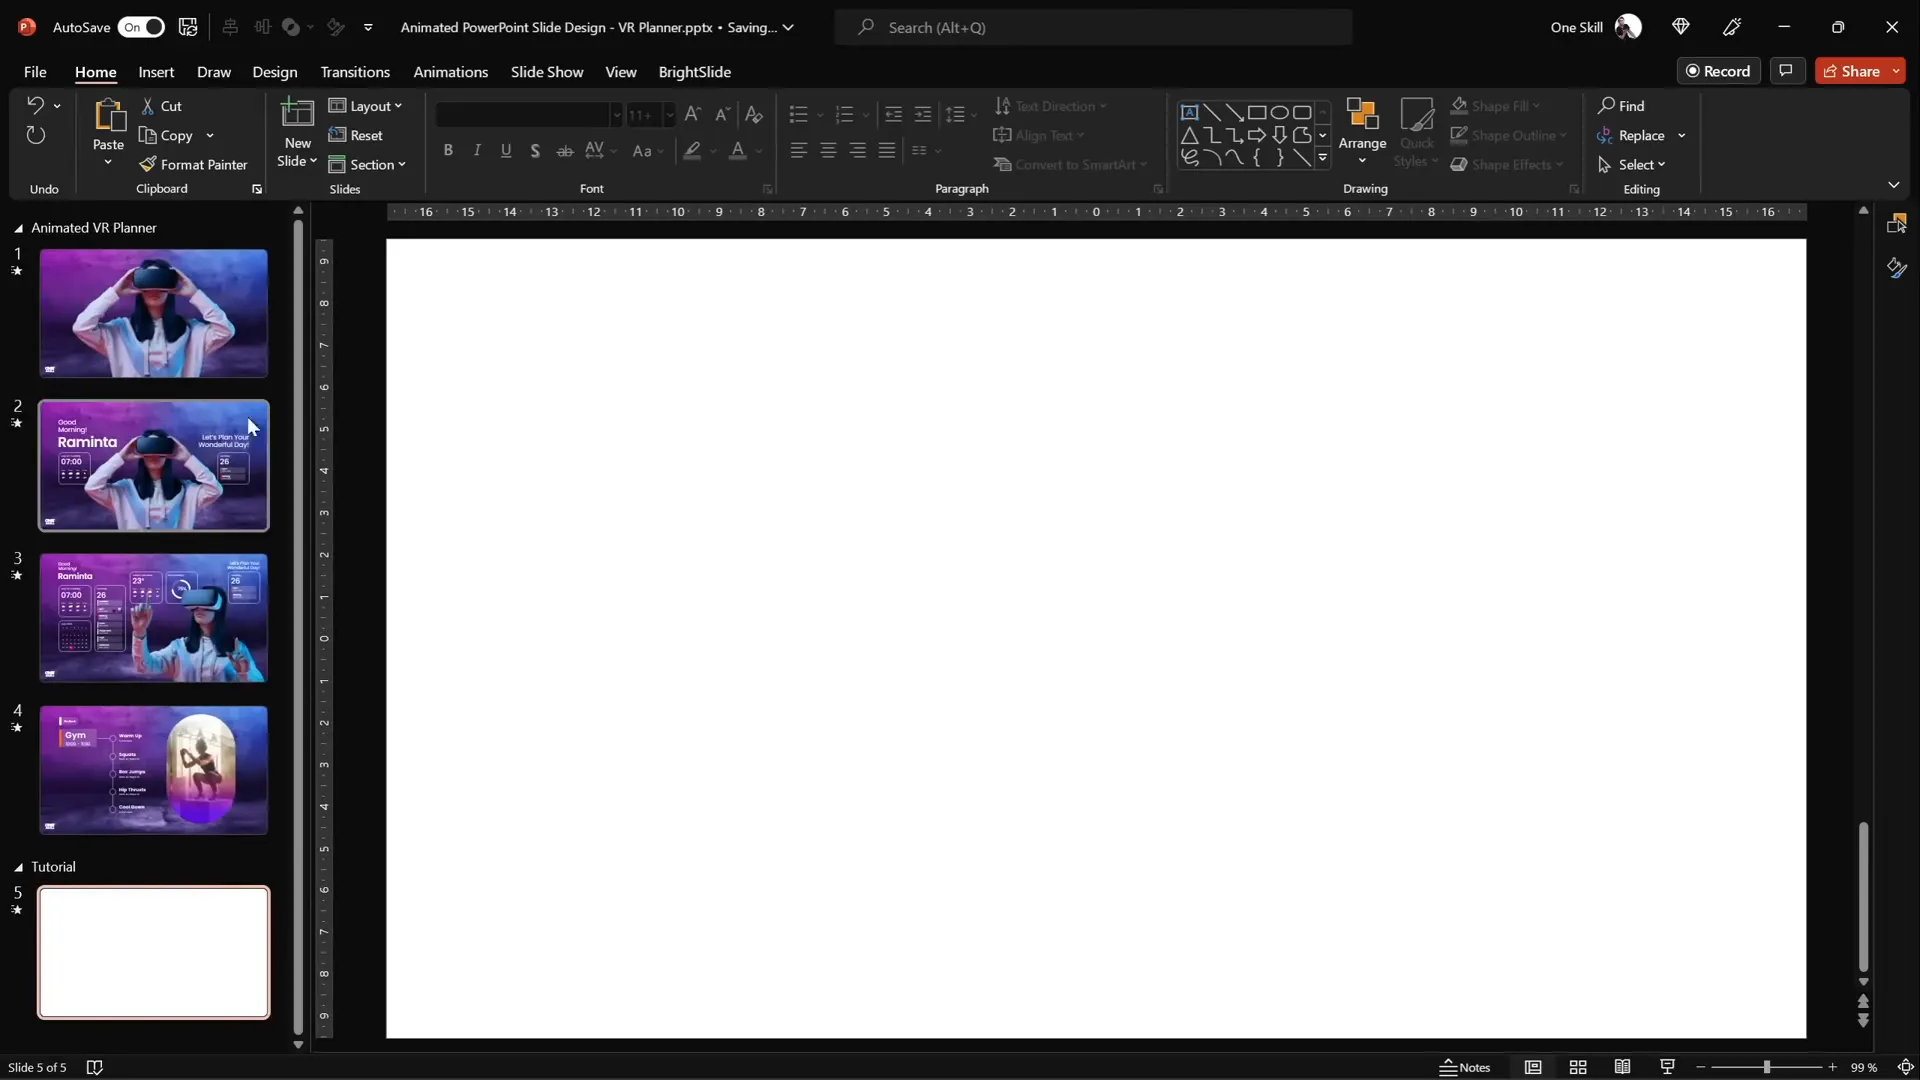
Start by opening PowerPoint and inserting a blank new slide. This blank canvas will be the foundation of your design.
Choosing and Inserting Stunning Background Photos
Great presentations hinge on great visuals, and the background image sets the stage. For this design, high-quality photos are sourced from Depositphotos, a versatile platform offering photos, vectors, music, and videos.
After logging in, locate your favorite photos or create a collection. For this project, a serene and modern background image was chosen to complement the virtual planner theme.
To insert the background photo:
- Go to the Insert tab in PowerPoint.
- Click Pictures and select This Device.
- Choose your downloaded background photo and click Insert.
- Resize the photo by dragging a corner while holding Ctrl + Shift to maintain proportions until it covers the entire slide.
- Crop the photo to a 16:9 aspect ratio and adjust its position for optimal framing.
With the background in place, your slide already gains a professional and polished foundation.
Removing Photo Backgrounds for a Clean Design
Next, we need to insert a photo of a model wearing virtual reality (VR) glasses. These photos often come with distracting backgrounds, so removing them is crucial for a clean, integrated look.
Depositphotos offers a fantastic Free Background Remover tool that makes this process effortless:
- Drag and drop your image into the background remover tool.
- The tool automatically detects and removes the background.
- Download the cutout image, either in standard resolution for free or HD with a subscription.
Using this tool saves significant time and ensures high-quality cutouts that blend seamlessly into your slide design.

Once you have your cutout, paste it into your slide and position it appropriately. For the virtual planner UI, placing the model centrally creates focus and balance.

Creating Dynamic Morph Transitions
One of PowerPoint’s most powerful features is the Morph transition, which animates smooth transformations between slides. Here, we use it to shrink the model image while text boxes and widgets fly in from the sides.
To create this effect:
- Duplicate your slide by right-clicking on the slide thumbnail and selecting Duplicate Slide or pressing Ctrl + D.
- On the duplicate, resize the model photo smaller while keeping it centered.
- Select both slides in the slide sorter view (Ctrl+click each slide).
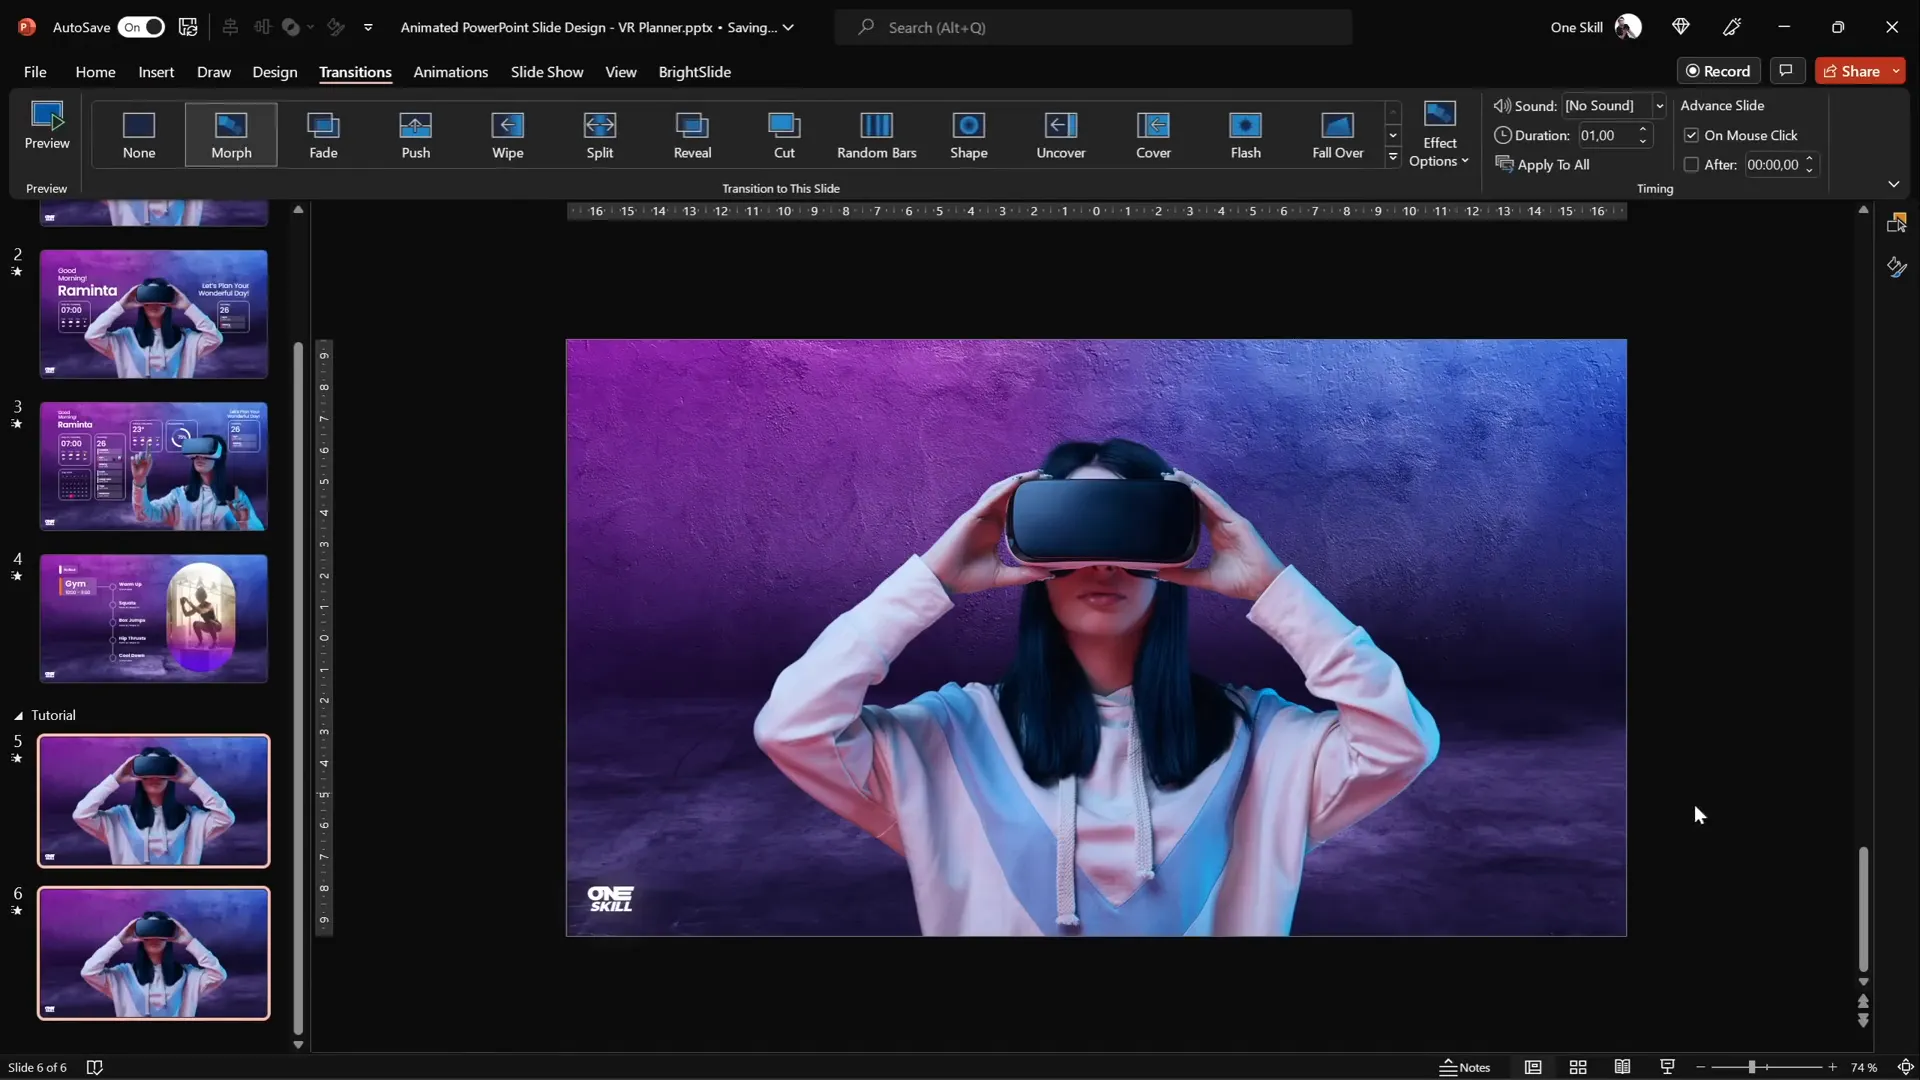
- Go to the Transitions tab and choose Morph.
- Set the transition duration to 1 second for a smooth effect.
When you run the slideshow and navigate between these slides, the model will shrink and grow, and other elements can animate in sync.
Designing Text Boxes with Style and Impact
Text is a crucial component of any presentation, and here we create welcoming and stylish text boxes to greet the user and set the planner tone.
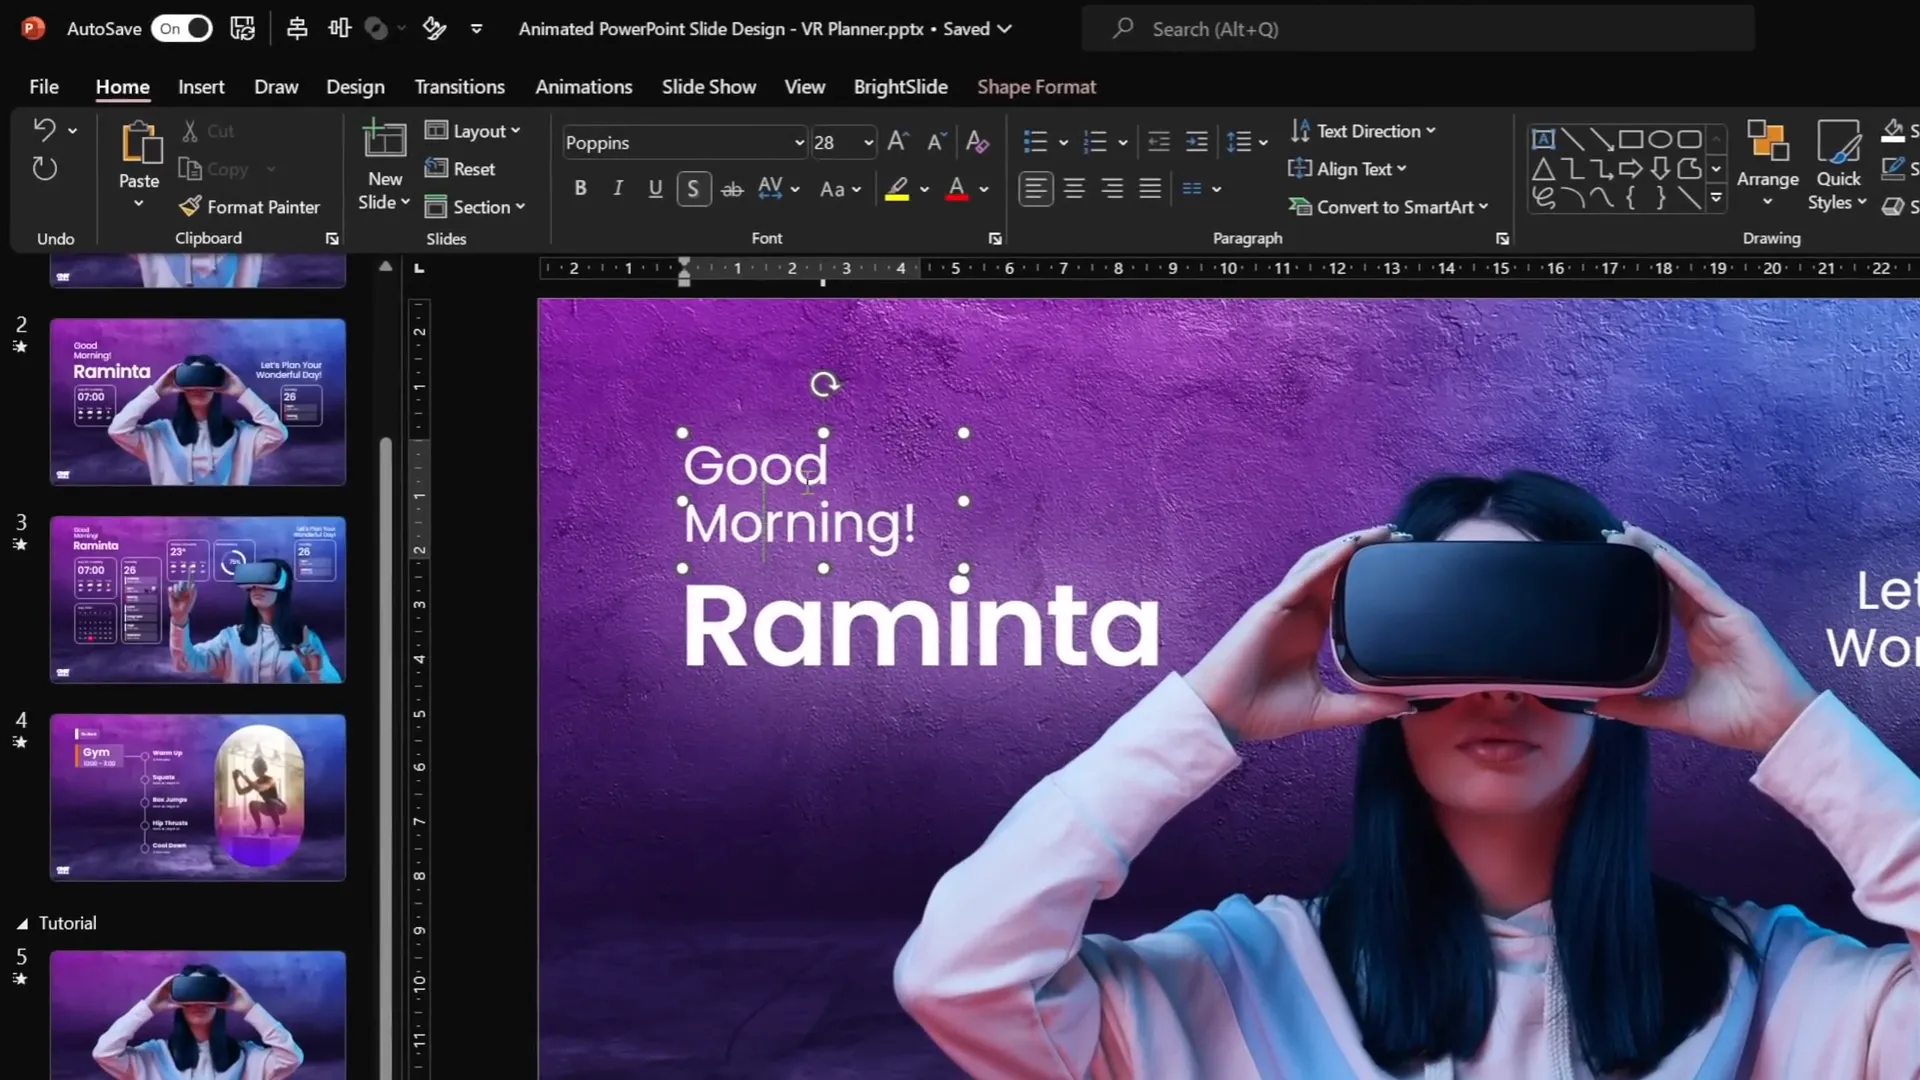
For this design, the font Poppins is used, chosen for its modern, clean appearance. Different font weights—regular and semibold—help create hierarchy and emphasis.
To add the text boxes:
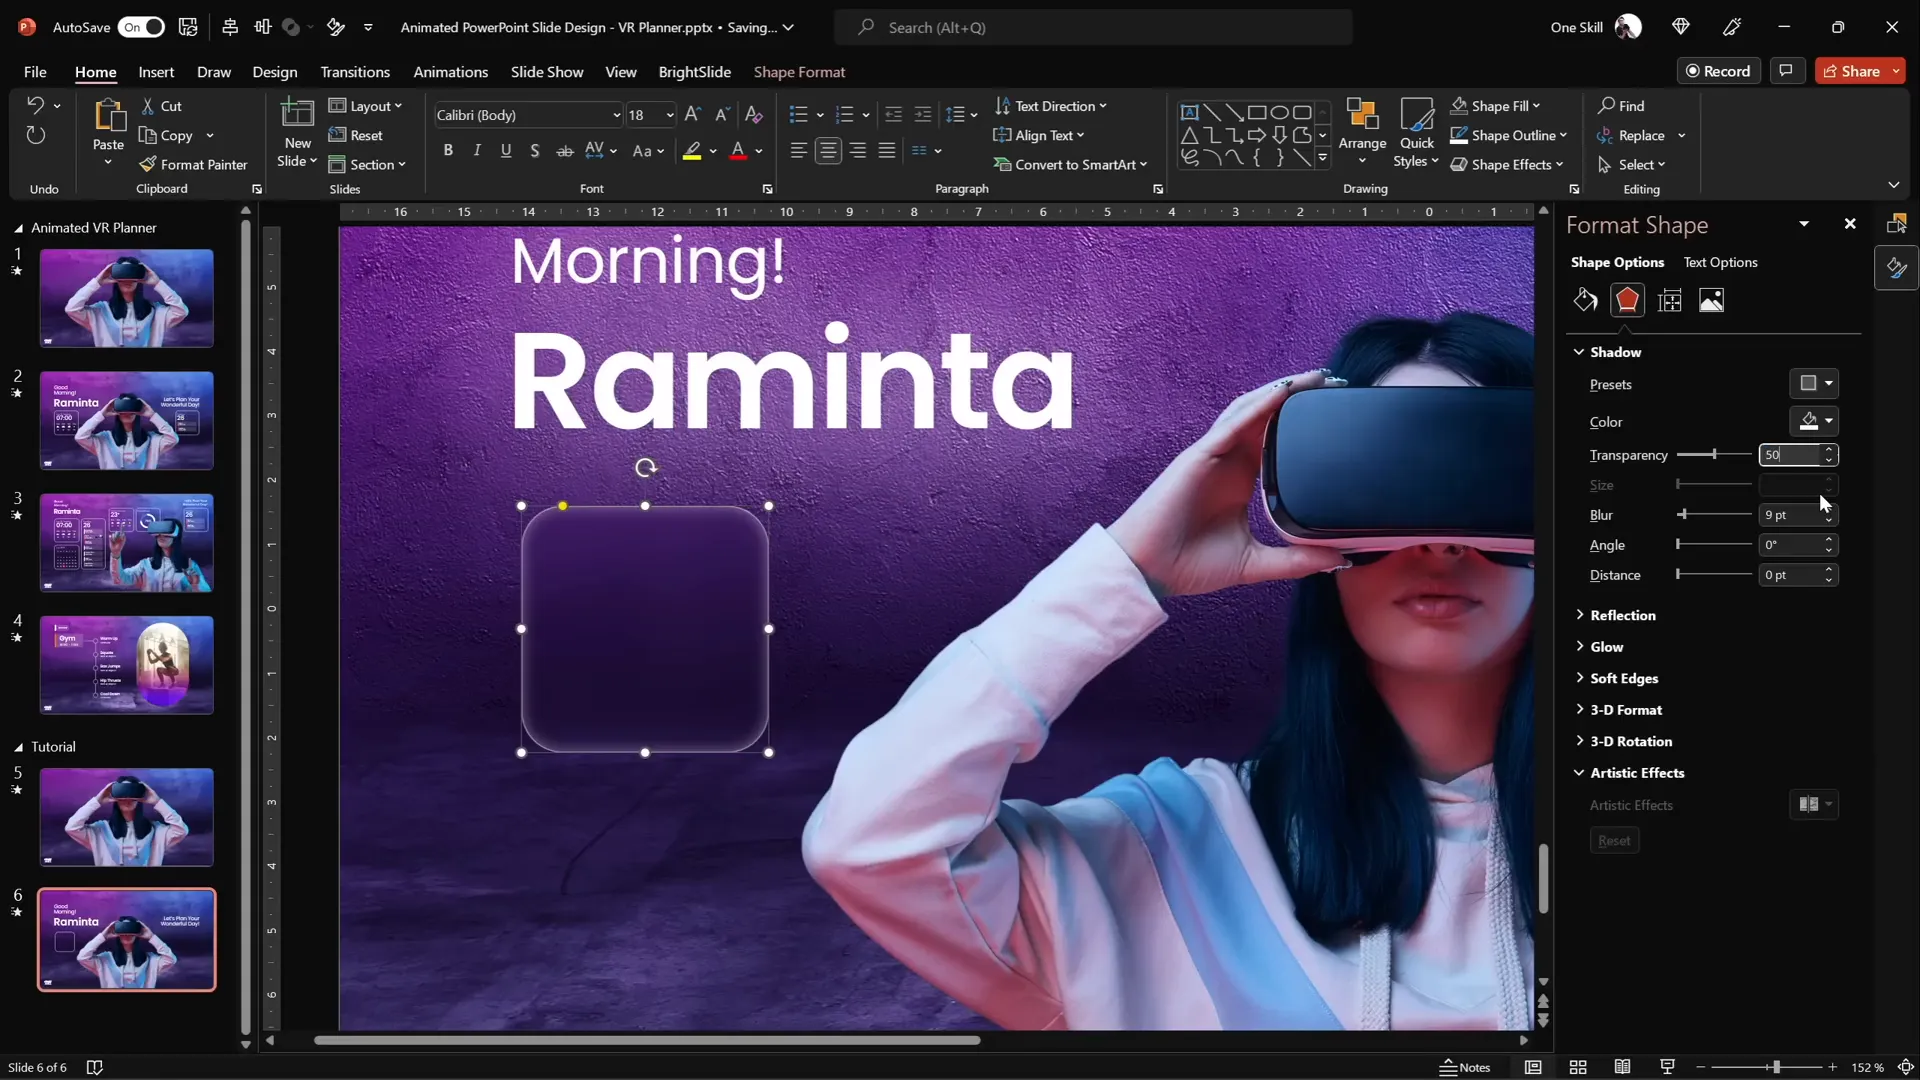
- Insert text boxes with greeting messages like “Good morning, Raminta” and “Let’s plan your wonderful day.”
- Use a white shadow effect with a blur radius of 100 points to create a glowing text effect that stands out against the background.
- Position the text boxes on the sides of the slide, ensuring enough space between the model’s arms and the text for visual balance.
To create the animation where the text boxes fly in from the sides, copy these text boxes to the previous slide and position them outside the slide boundaries. The Morph transition will then animate them smoothly into view.
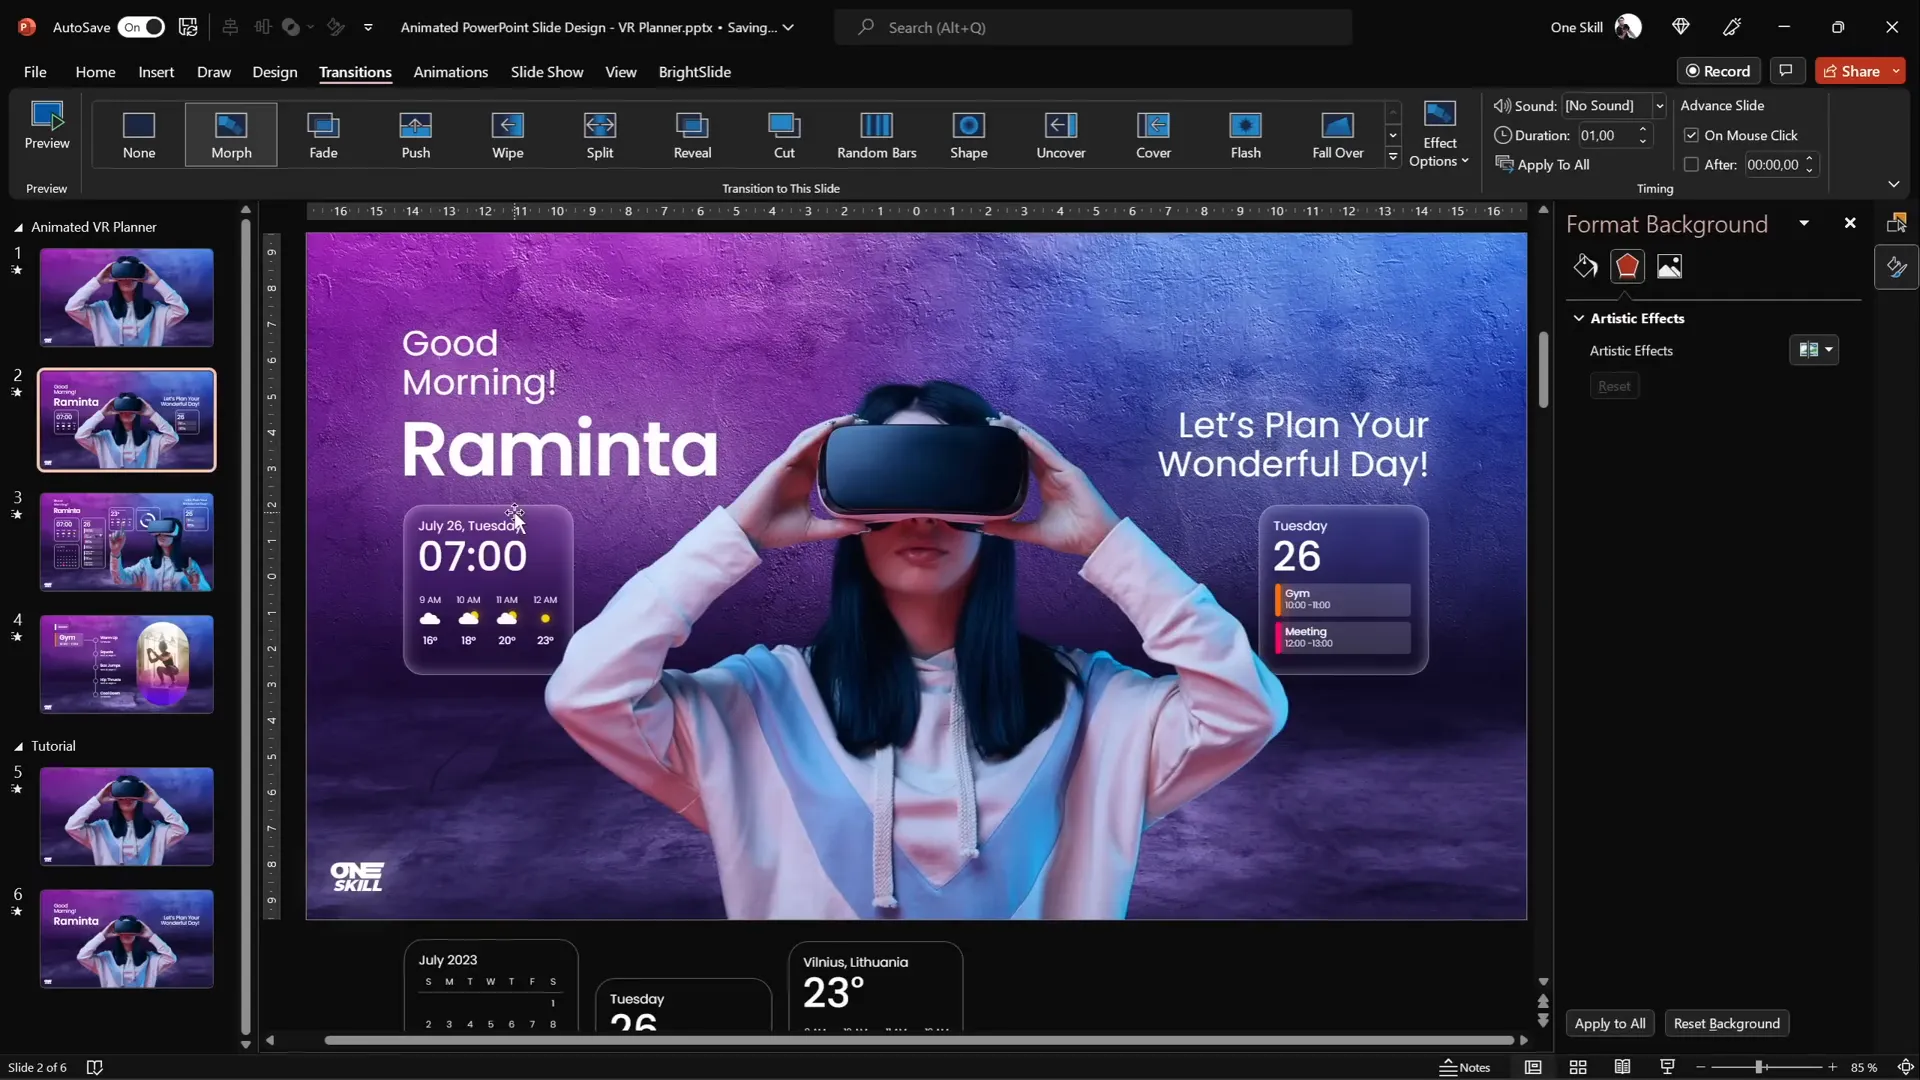
Building Modern UI Widgets with Blurred Backgrounds
Creating functional-looking widgets adds depth and realism to the virtual planner UI. In this tutorial, two key widgets are designed:
- A time and weather widget on the left.
- A daily schedule widget on the right.
Here’s how to build a widget with a frosty, blurred background:

Step 1: Create the Widget Shape
- Insert a rounded rectangle shape.
- Set the outline color to white with 50% transparency and a line width of 0.5 points.
- Set the fill to “No fill” initially.
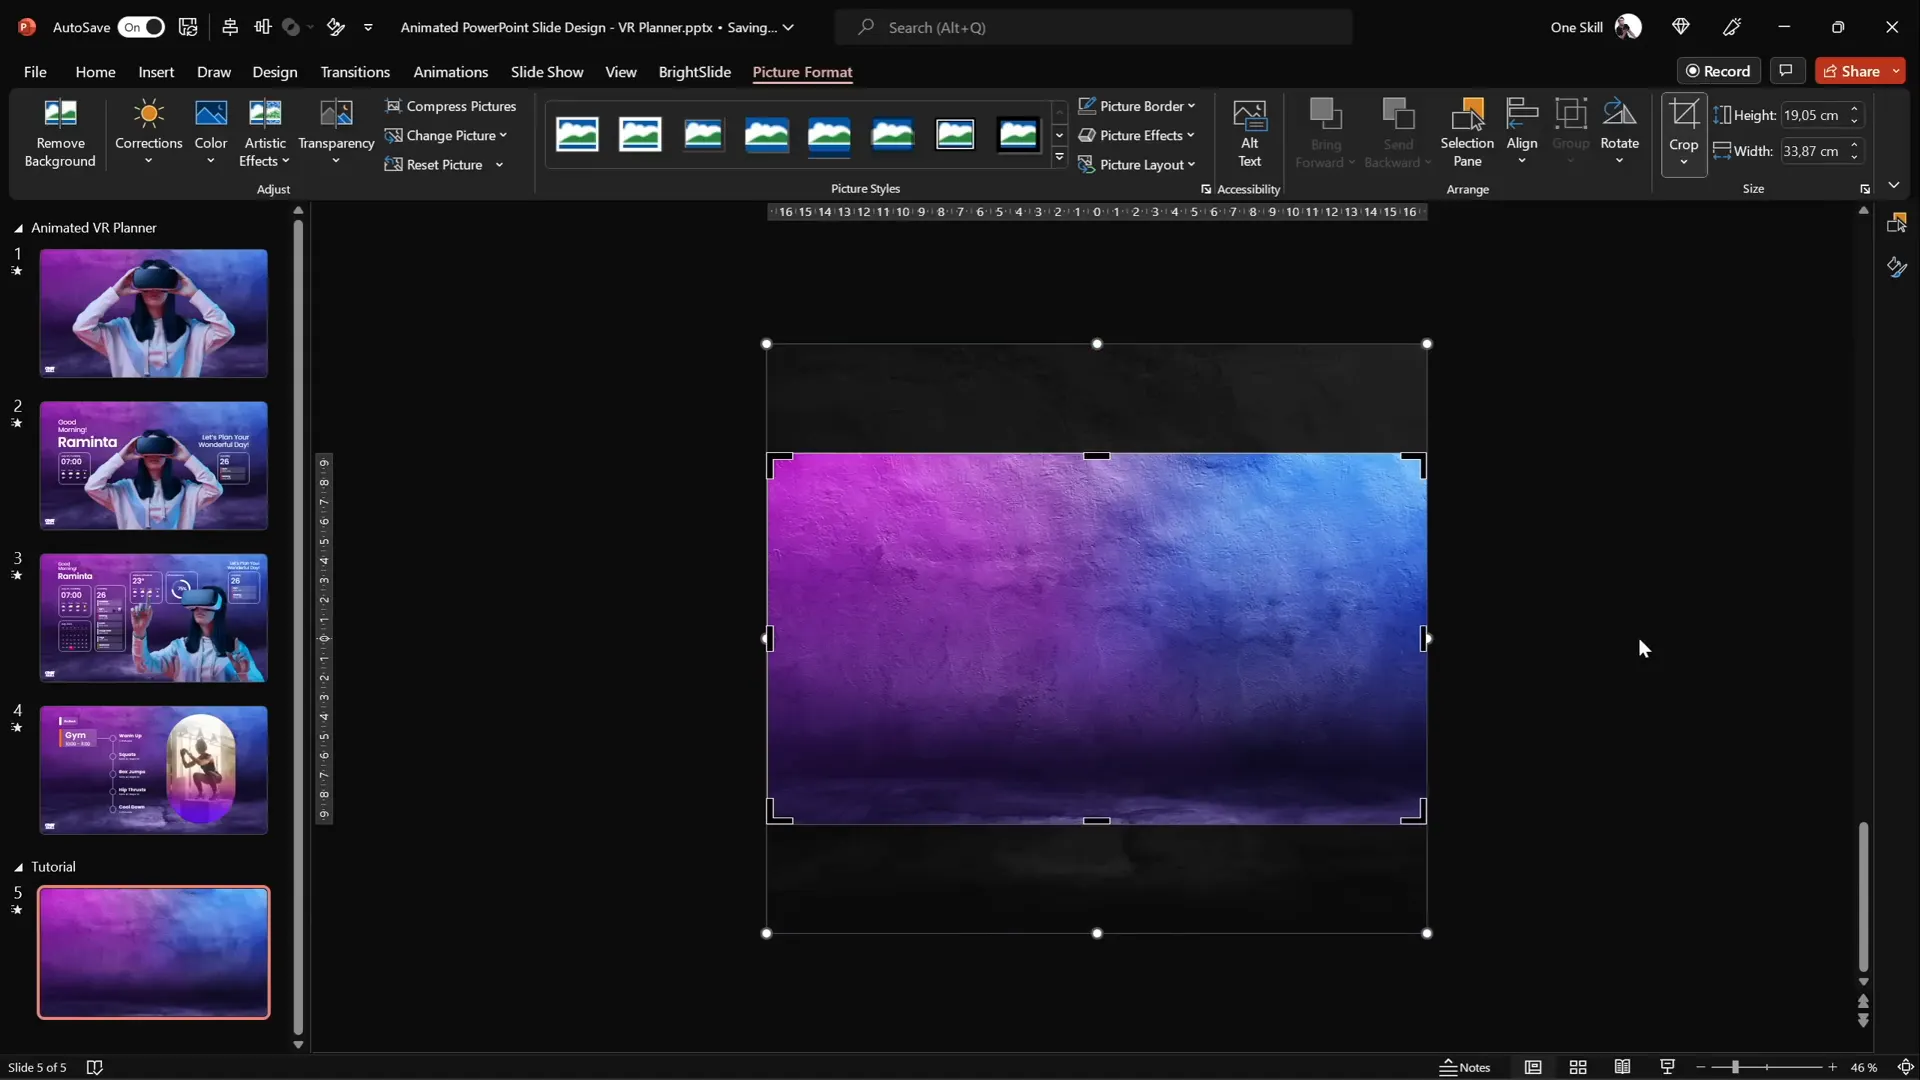
Step 2: Create the Blurred Background
- Copy the slide’s background photo by holding Ctrl + Shift and dragging it.
- Apply a blur effect (Artistic Effects → Blur) with a radius of 50 points.
- Copy the blurred image and then delete the original copy.
- Change the slide background to the blurred image by going to Format Background, selecting Picture or texture fill, and choosing Clipboard.
Step 3: Fill the Widget with the Slide Background
- Select the rounded rectangle widget.
- In the Fill options, choose Slide background fill.
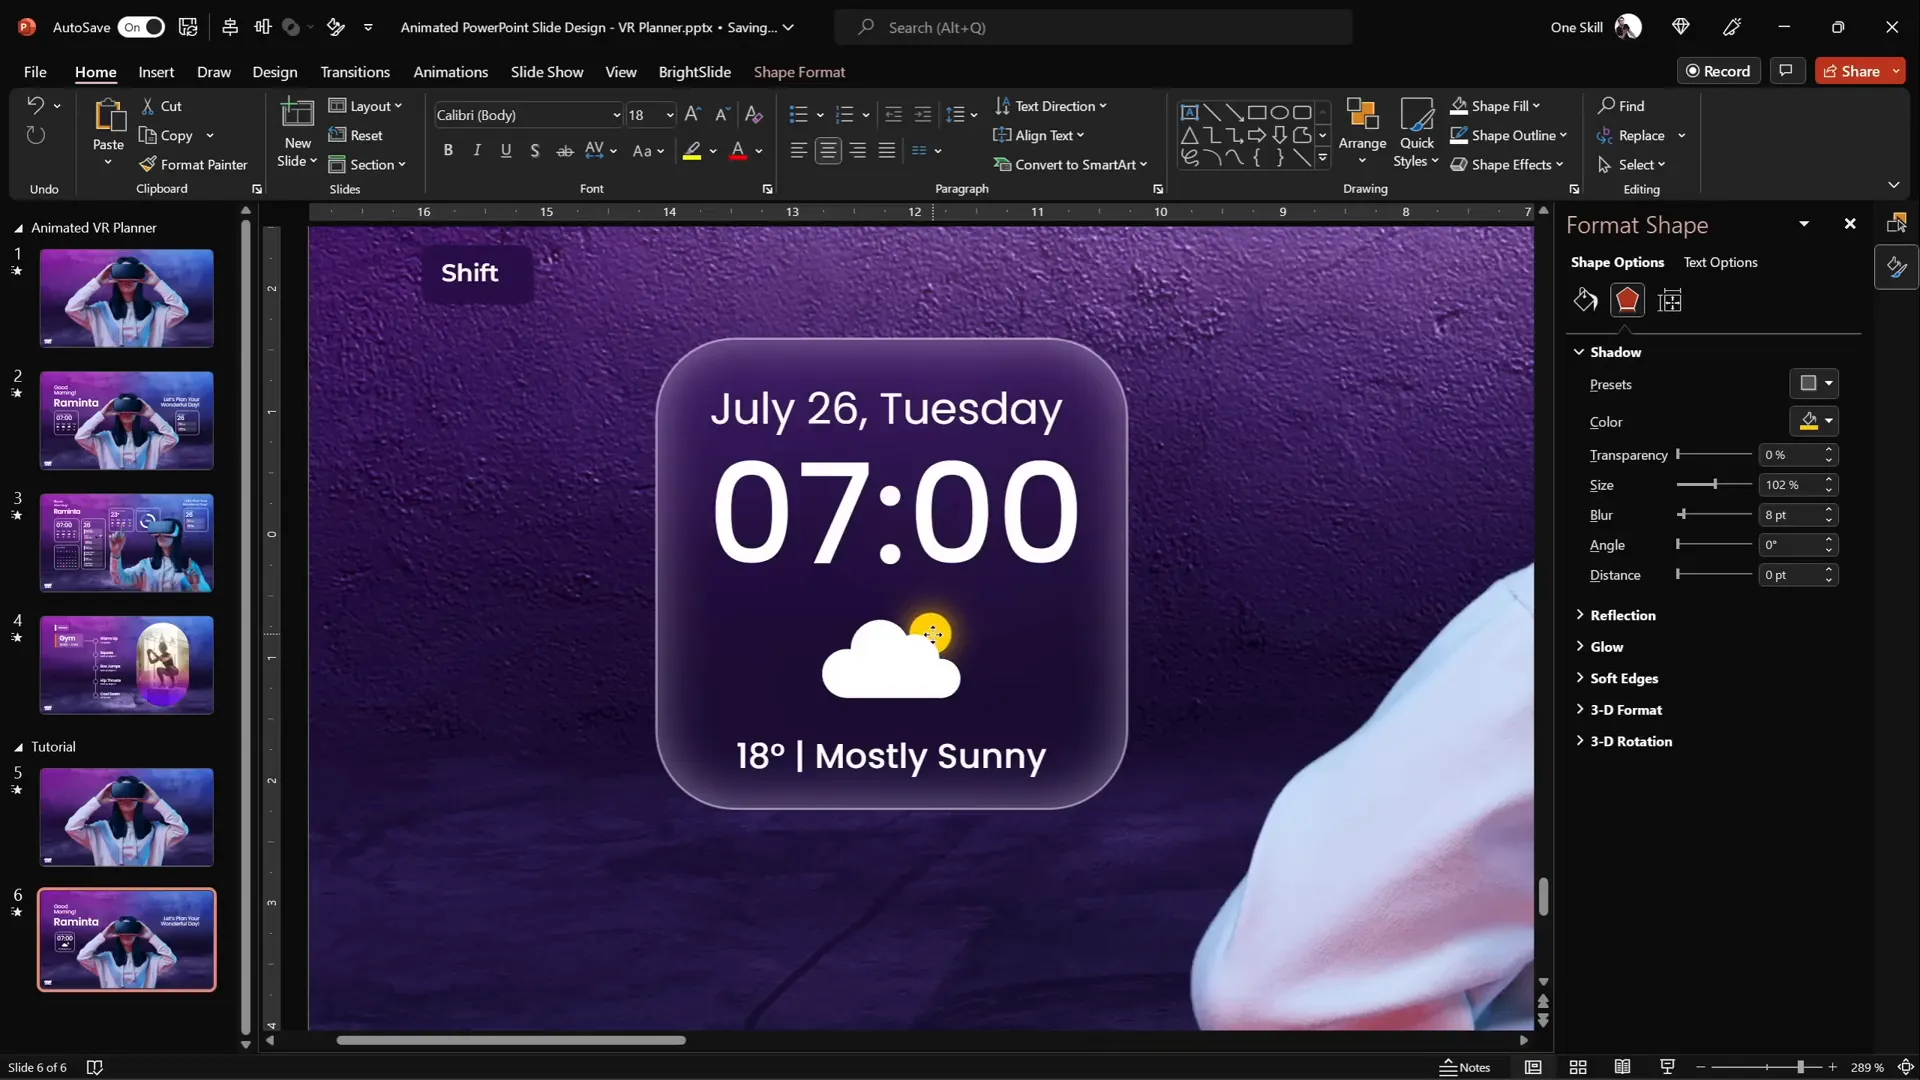
- Add an inside white shadow with 50% transparency and 15 points blur to create a frosty edge.
Step 4: Add Content and Icons
- Insert text boxes inside the widget to display information (e.g., “18°C,” “Mostly Sunny”).
- Add icons such as a cloud and sun using PowerPoint’s built-in icon library (Insert → Icons). Change icon colors to white to match the design.
- Use a perfect circle with an orange glow shadow to simulate a shining sun behind the cloud.
Step 5: Group and Position
- Group all widget elements for easier movement and editing.
- Ensure the widget always takes the blurred background fill and stays flexible when moved around.
- Place the model photo in front of the widgets to maintain layering and depth.
Copy the widget to your previous slide and use the Format Painter tool to apply the blurred background fill consistently across slides.
Advanced Morph Animations and Slide Zooms
The tutorial continues by building on the initial Morph transition to create even more dynamic effects:
Second Morph Transition
For the next transition:
- Duplicate the second slide.
- On the duplicate, remove unnecessary elements while keeping the background and logo.
- Copy additional widgets and text boxes from previous slides and paste them into the new slide.
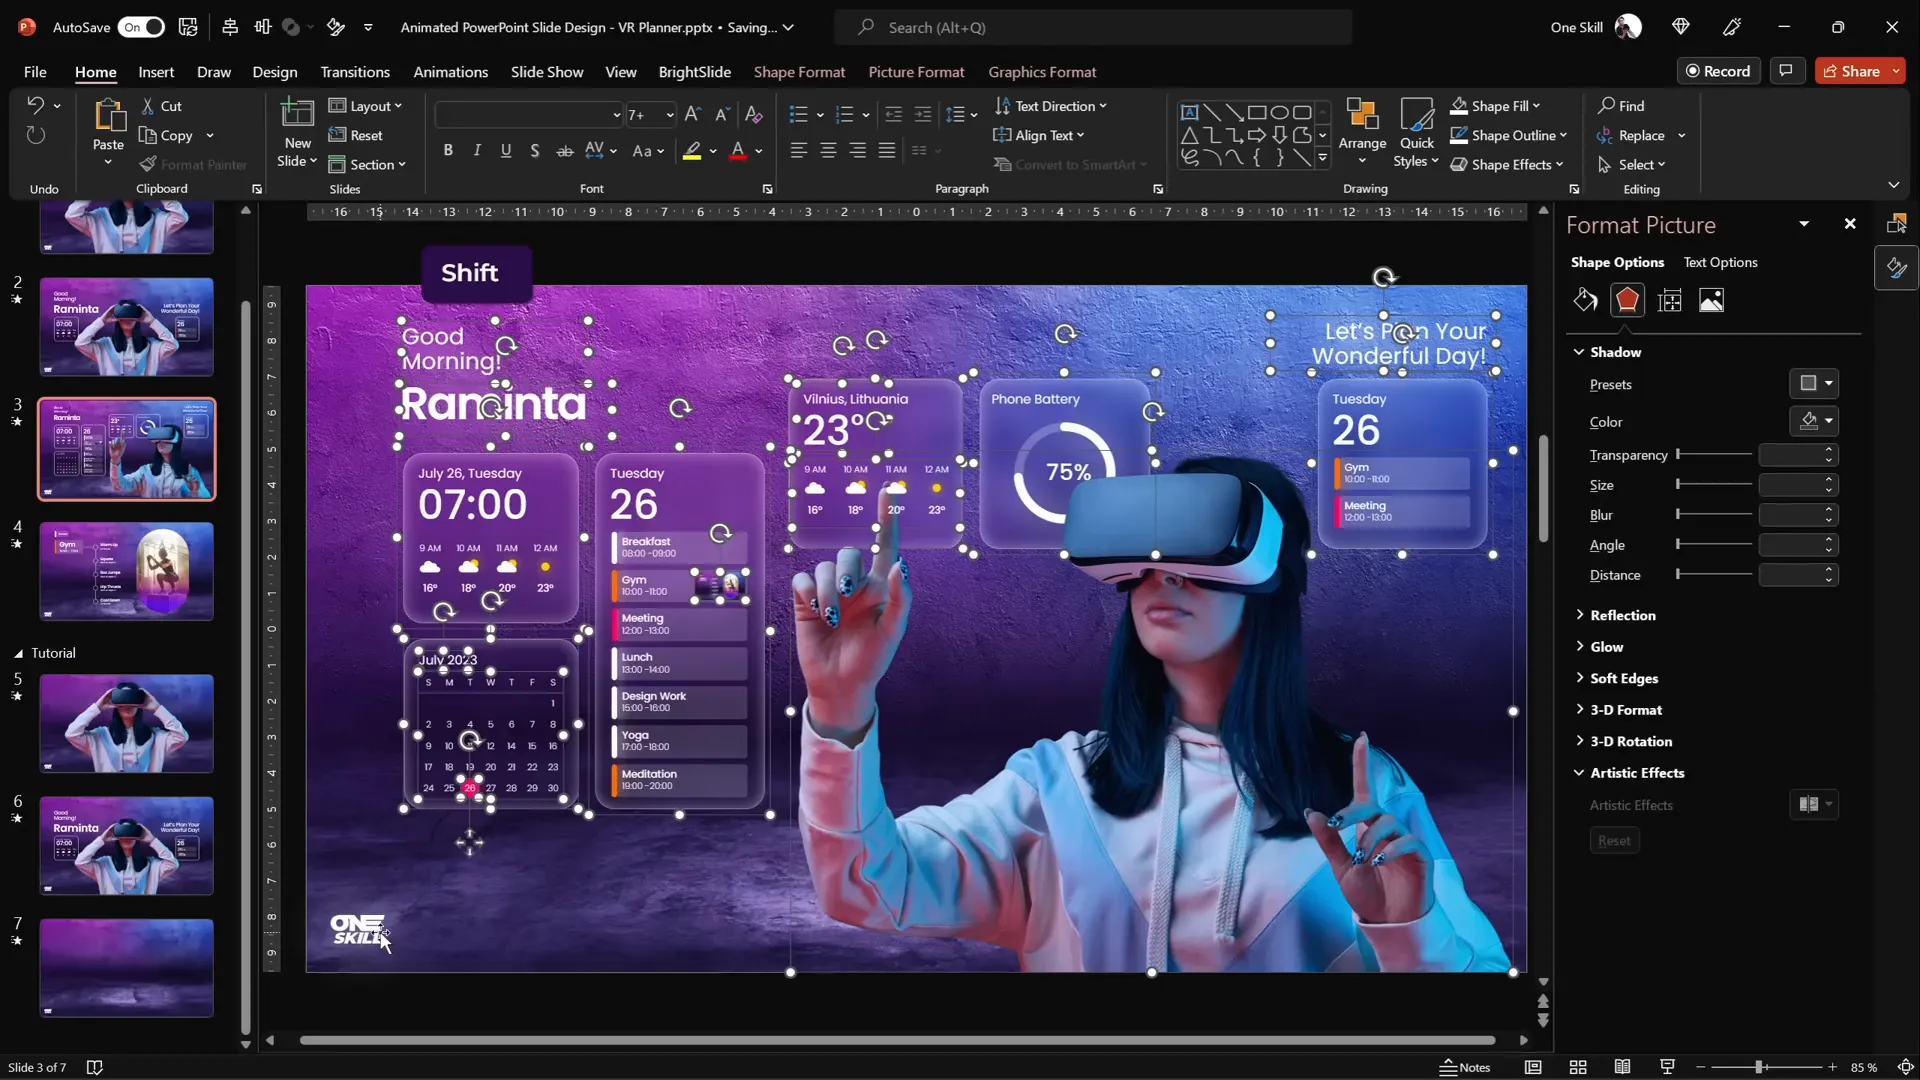
- Replace the model photo with a new image facing sideways and interacting with the UI.
- Ensure all elements are properly named and aligned for the Morph transition to work smoothly.
Important tip: To morph two different photos, name both images with the same identifier starting with double exclamation marks (e.g., “!!photo”). This ensures PowerPoint recognizes them as the same object for the transition.
Widgets not present on the previous slide should be moved off-slide so they animate in from the bottom.
Adding Slide Zooms for Interactive Navigation
Slide Zooms add interactivity by allowing you to zoom into specific slides from a summary or menu slide. Here’s how to add them:
- Copy the target slide you want to zoom into.
- Paste it at the bottom of the slide list for easy access.
- Apply the blurred background to this slide for consistency.
- Go to Insert → Zoom → Slide Zoom, and select the target slide.
- Resize the slide zoom thumbnail and remove the border.
- Enable Return to Zoom so you can navigate back easily.
- Add rounded corners via presets and disable the reflection effect for a clean look.
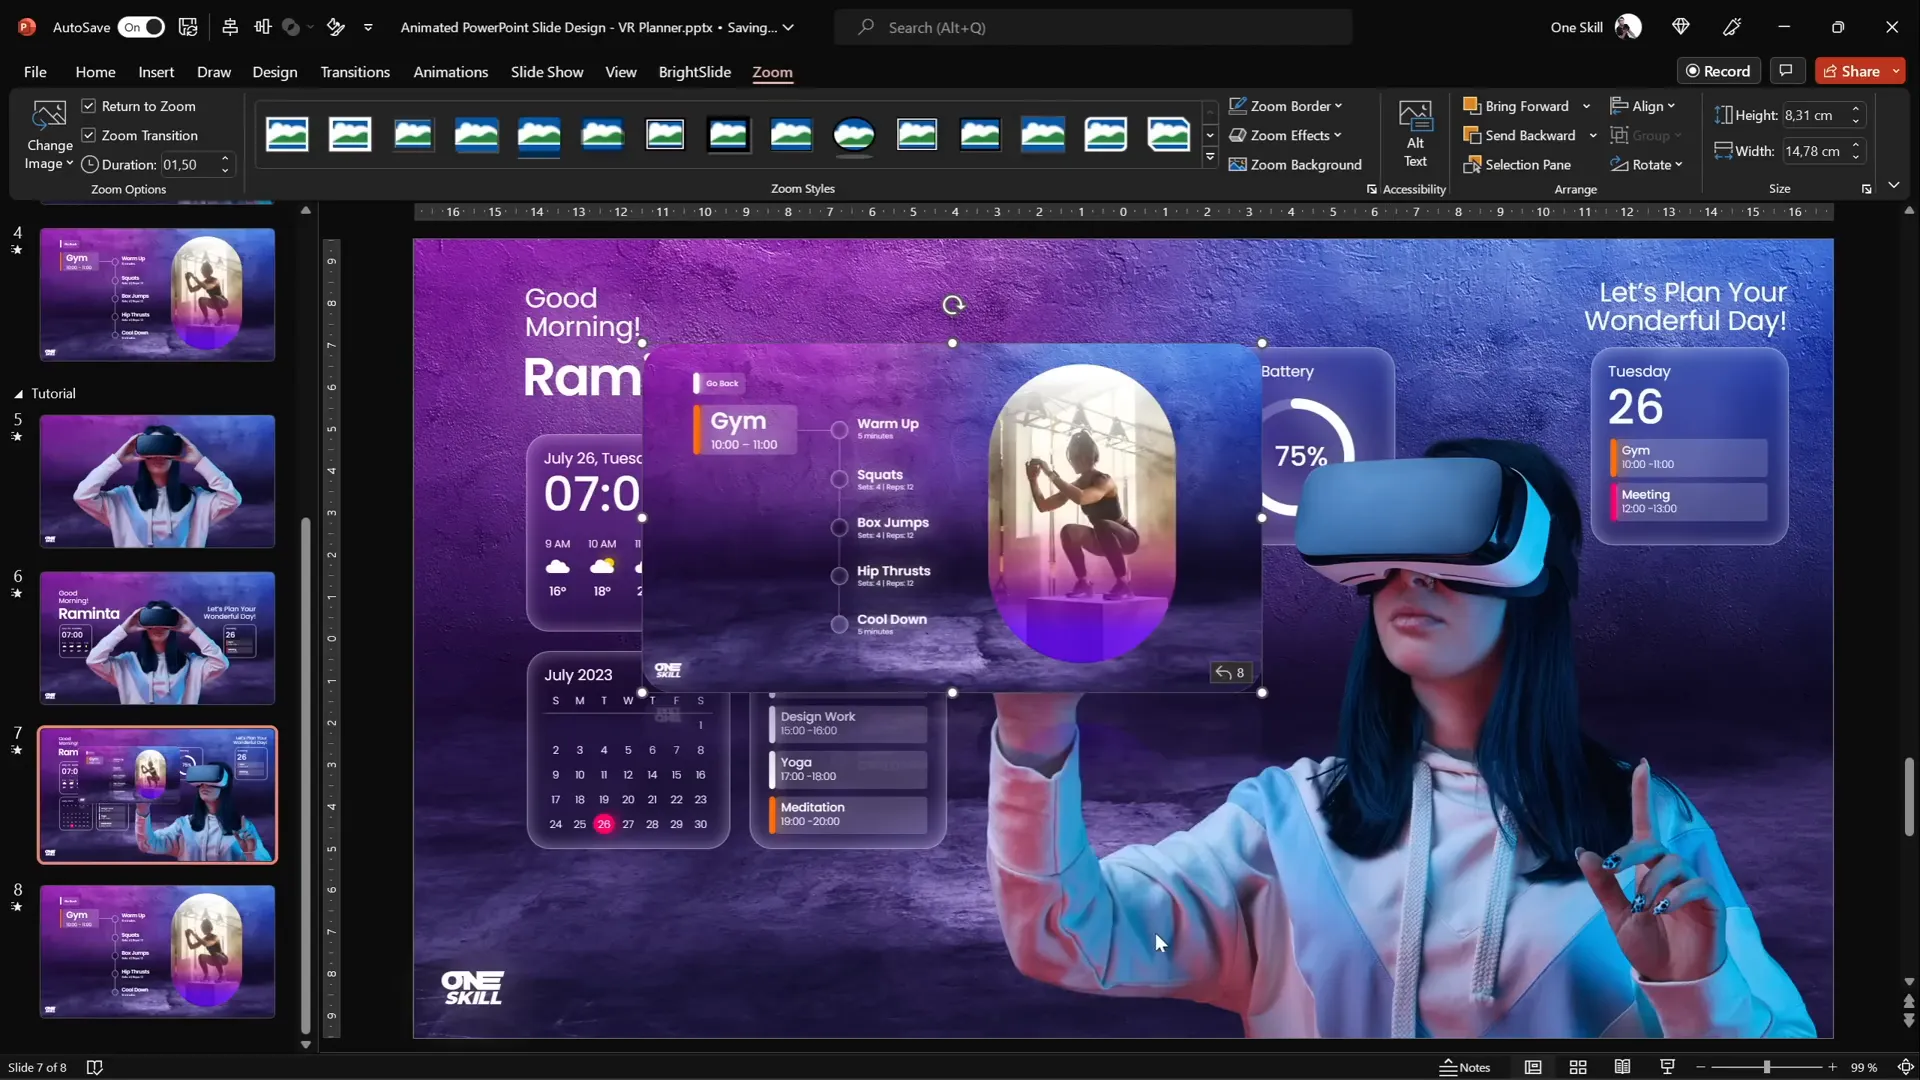
Position the slide zoom inside a tab or button on your slide, and it will animate in with the Morph transition if included on the previous slide. This creates a polished, interactive UI experience.
Final Touches: Slide Zooms and Presentation Flow
After assembling all elements and transitions, run your presentation in full-screen mode to test animations and interactions:
- Use keyboard arrow keys to move between slides and observe the Morph transitions.
- Click on slide zooms to zoom into detailed slides and click anywhere to return.
- Check that text boxes, widgets, and images animate smoothly and maintain consistent layering.
Make any minor adjustments to positioning or timing to perfect the flow. Remember, subtlety and smoothness are key to professional-looking PowerPoint slide design.
Frequently Asked Questions
What is the Morph transition in PowerPoint?
The Morph transition animates smooth movements and transformations between two slides. It can resize, reposition, or change objects, creating professional animations without complicated setups.
How do I remove the background from an image for PowerPoint?
You can use online tools like Depositphotos’ Free Background Remover, which automatically removes backgrounds from photos. Alternatively, PowerPoint has a built-in Background Removal tool under the Picture Format tab.
Why is naming images important for Morph transitions?
PowerPoint matches objects between slides based on their names. Naming two images identically—especially with double exclamation marks prefix—ensures Morph recognizes them as the same object and smoothly animates between them.
Can I use Slide Zooms for all types of presentations?
Yes! Slide Zooms are great for creating interactive menus, navigation tabs, or focusing on specific content within any presentation style.
Where can I find high-quality photos and icons for PowerPoint?
Depositphotos offers a wide range of high-quality photos, vectors, and icons. PowerPoint also includes a built-in icon library accessible via Insert → Icons.
What font is recommended for modern PowerPoint designs?
Poppins is a clean, modern sans-serif font ideal for professional presentations. It is freely available on Google Fonts.
Conclusion
Mastering PowerPoint slide design is all about combining creativity with smart use of tools like Morph transitions and Slide Zooms. By carefully selecting images, removing backgrounds, designing stylish text boxes, and building modern UI widgets with blurred backgrounds, you can create engaging, animated presentations that captivate your audience.
With this guide, you now have a step-by-step roadmap to build a virtual planner interface that looks both sleek and interactive—all within PowerPoint. Experiment with the techniques shared here, and don’t forget to test your transitions and animations thoroughly for the best visual results.
Keep practicing and pushing the boundaries of what PowerPoint can do. Your presentations will thank you for it!
Happy designing!
Check out the full video: Animated Slide Design 🔥 Slide Zoom UI 🔥


