
If you’re looking to elevate your PowerPoint Slide Design skills and create visually engaging presentations, mastering custom infographic elements is essential. One of the most effective and stylish infographic styles is the hanging ribbons layout. In this comprehensive guide, I will walk you through how to create a professional, four-hanging ribbons infographic slide in PowerPoint — perfect for highlighting options, steps, or key points in your presentation.
This tutorial is inspired by the expert techniques from the renowned POWERPOINT UNIVERSITY channel, where you can find over a thousand free PowerPoint templates and resources to boost your presentation game. Whether you’re a beginner or an advanced user, this step-by-step guide will help you design a clean, modern infographic slide complete with animations and shadows to impress your audience.
Table of Contents
- Getting Started: Setting Up Your Slide Background and Base Shape
- Creating the Hanging Ribbon Shapes
- Adding Text, Icons, and Shadow Effects
- Customizing Colors and Applying Gradient Fills
- Adding Animations for Interactivity
- Frequently Asked Questions (FAQs)
- Conclusion
Getting Started: Setting Up Your Slide Background and Base Shape
The first step to creating an eye-catching hanging ribbons infographic is to establish a clean and suitable background and base bar that will anchor your ribbon elements. Here’s how you can set this up:
1. Add a New Slide with a Light Blue Background
Start by inserting a new blank slide in your PowerPoint presentation. Then, change the slide’s background color to a light blue shade to give a fresh, calming base for your infographic.
- Right-click on the slide background and select Format Background.
- Choose Solid Fill or Gradient Fill and pick a light blue color.
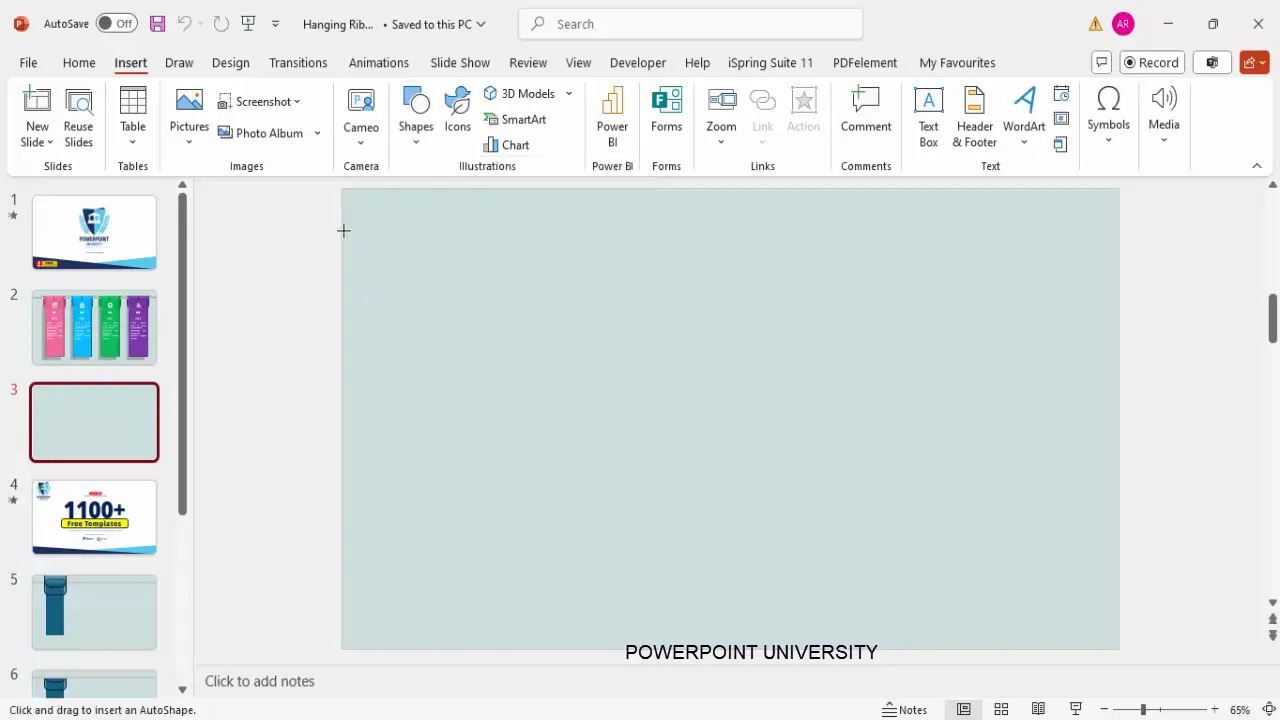
2. Insert a Base Rectangle Shape
Next, insert a rectangle shape that will serve as the horizontal bar from which the ribbons will hang.
- Go to Insert > Shapes > Rectangle.
- Draw a wide rectangle across the slide to create the base bar.
- Remove the outline by selecting Shape Outline > No Outline.
3. Apply a Gradient Fill for Depth
To make the base bar visually appealing, add a gradient fill with four colors:
| Gradient Stop | Color | Purpose |
|---|---|---|
| First (Top) | White | Highlight top edge |
| Second | Gray | Mid-tone shading |
| Third | Light Gray | Subtle shading |
| Fourth (Bottom) | White | Highlight bottom edge |
This gradient creates a subtle 3D effect and adds visual interest to the bar.

Creating the Hanging Ribbon Shapes
Now that you have your base bar, it’s time to design the individual ribbons that hang from it. Each ribbon will represent an option or step in your infographic.
1. Draw the Ribbon Base
- Insert a rounded corner rectangle shape from Insert > Shapes > Rounded Rectangle.
- Make the shape transparent by adjusting the fill transparency to around 50% for easier positioning.
- Duplicate the shape using Ctrl + D to create a second ribbon base.
2. Cut and Merge Shapes to Form Ribbon Tail
The ribbon tail is the hanging part that gives the ribbon its distinctive look. Here’s how to create it:
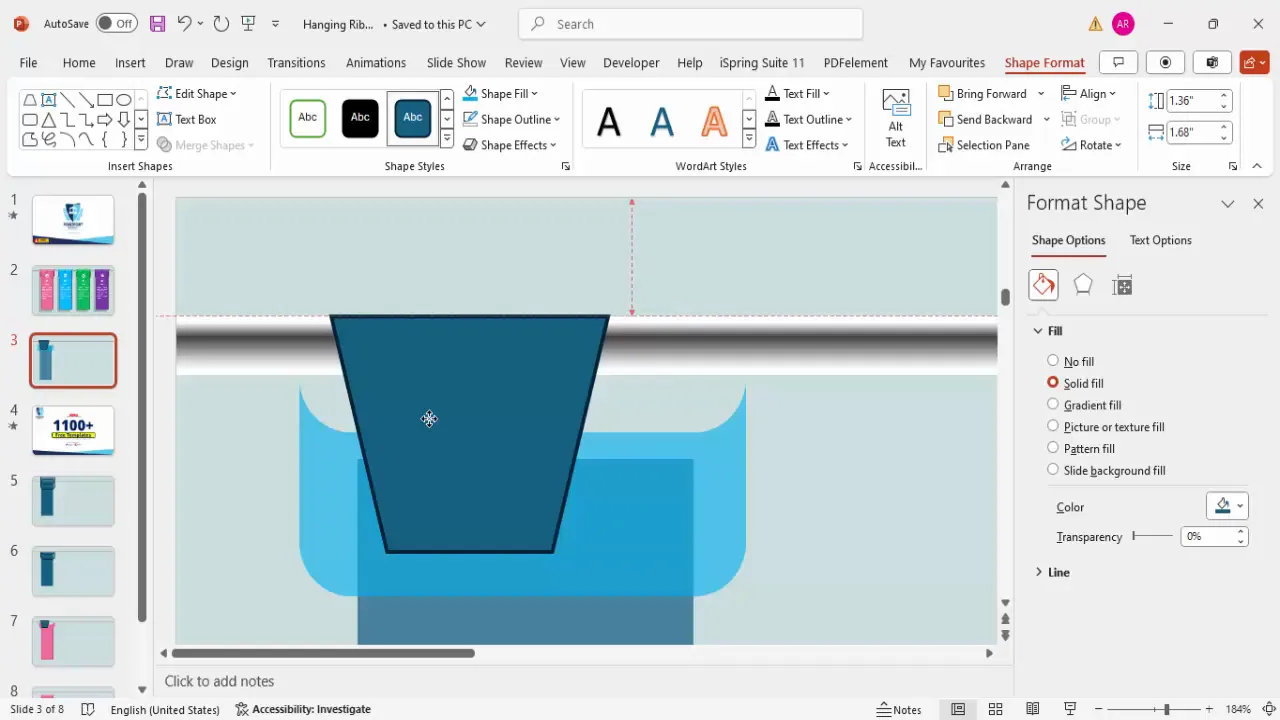
- Select one rounded rectangle and use the Merge Shapes > Subtract feature to cut out part of the shape, creating a tapered edge.
- Insert a trapezoid shape, flip it vertically, and place it on top of the cut edge.
- Edit points of the trapezoid to straighten one side and make the shape look like a ribbon tail.
- Use a rectangle shape to cut off unnecessary edges by repeating the Merge Shapes > Subtract process.
- Duplicate this ribbon tail and flip it horizontally to mirror the shape on the opposite side.
- Attach both tails to the base shape to complete the ribbon.
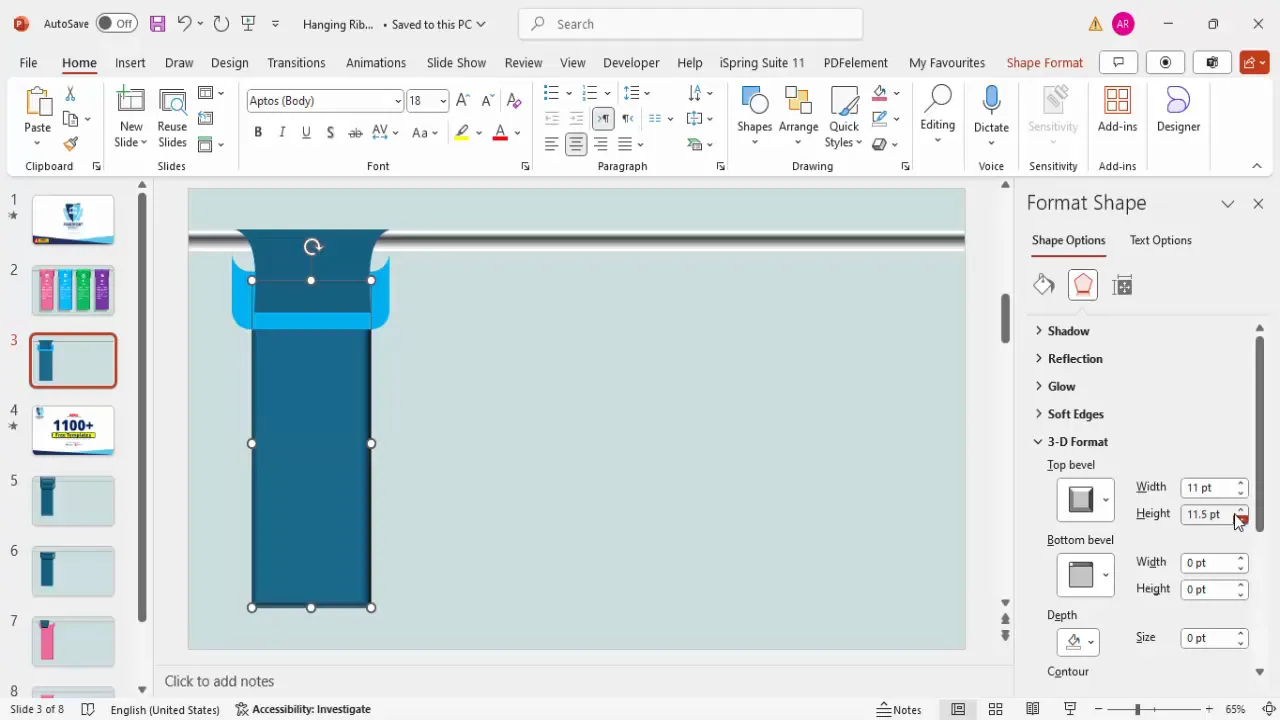
3. Add 3D Effects for Realism
To make the ribbons pop, apply 3D bevel effects and adjust the width and height to create a rounded look.
- Select the ribbon shape.
- Go to Shape Format > Effects > 3D Format.
- Choose the Top Bevel > Round option.
- Adjust width and height to your liking.
Use the Format Painter to quickly copy these effects to other ribbons.
Adding Text, Icons, and Shadow Effects
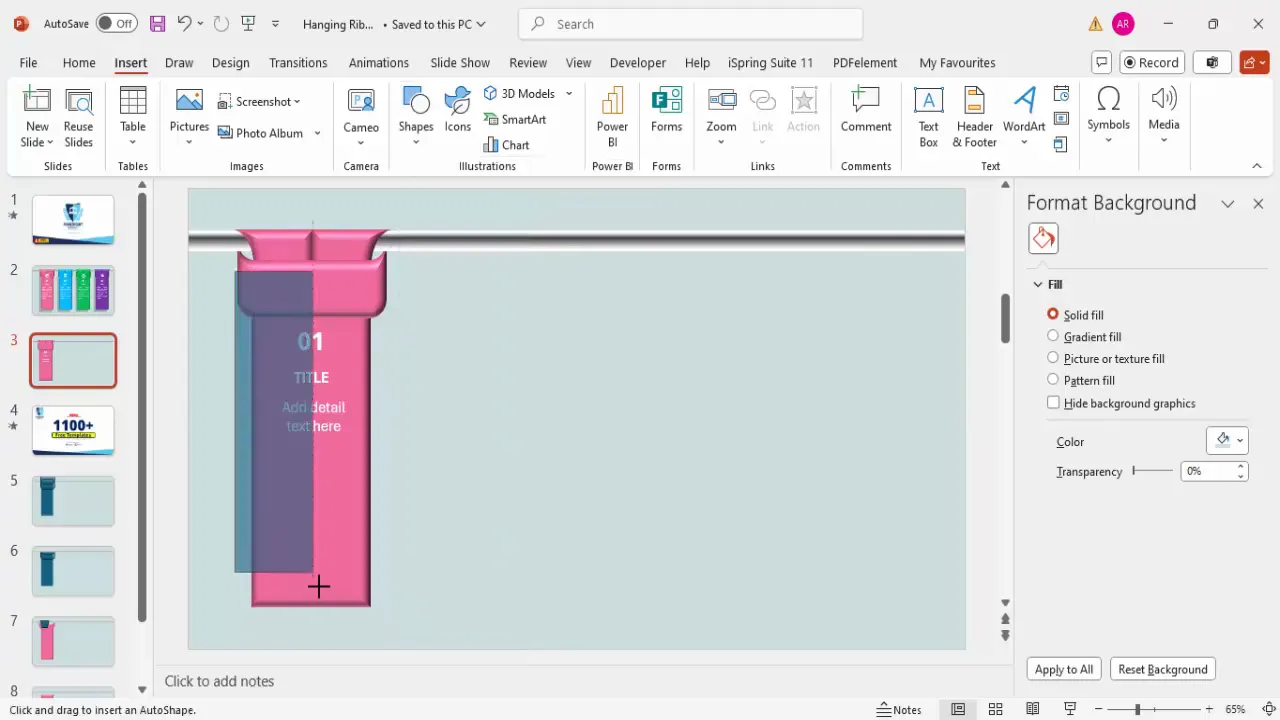
1. Insert Option Numbers and Titles
Add clear labels to your ribbons to indicate the order or category of each option:
- Insert a text box for the option number (e.g., “01”).
- Center-align the text, use a bold font, and set the font color to white for contrast.
- Repeat for the title and detailed description text boxes.
2. Add Shadow Effects for Depth
Shadows add realism and help separate the ribbons from the background:
- Insert a rectangle slightly larger than the ribbon shape.
- Fill it with black and increase transparency to around 50-60%.
- Apply soft edges to blur the shadow.
- Send the shadow shape behind the ribbon.
- For the ribbon itself, apply shadow presets with increased distance for a subtle, lifted effect.
3. Incorporate Icons for Visual Interest
Icons help communicate ideas quickly and add a professional touch to your infographic. You can insert icons from PowerPoint’s built-in icon library or import custom icons:
- Go to Insert > Icons and choose relevant symbols.
- Place the icons near the option titles for emphasis.
- Adjust icon size and color to match your ribbon design.
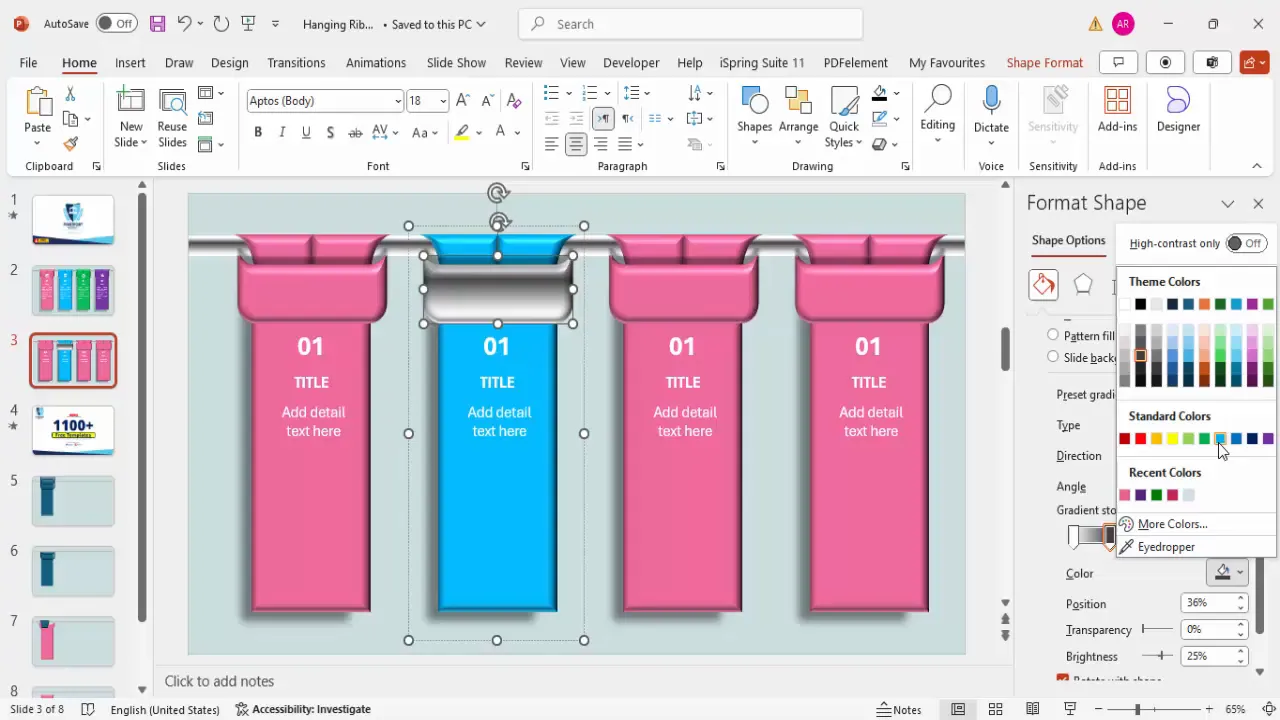
Customizing Colors and Applying Gradient Fills
Color customization is key to making your infographic visually cohesive and aligned with your brand or presentation theme.
1. Choose Color Themes for Each Ribbon
Assign different colors to each ribbon option to differentiate them easily:

- Option 1: Pink
- Option 2: Blue
- Option 3: Green
- Option 4: Purple
You can adjust colors using the Shape Fill option and add gradients for a polished look.
2. Apply Gradient Fills for a Dynamic Look
For each ribbon, apply a gradient fill that transitions from a lighter shade to a darker shade of the chosen color:
- Select the ribbon shape.
- Go to Format Shape > Fill > Gradient Fill.
- Set the inside gradient stop to the main color.
- Set the corner stops to a darker shade of the same color.
- Adjust the gradient direction to create a natural light effect.
3. Duplicate and Modify Ribbons for Consistency
To save time, duplicate the first ribbon and change colors and text to create the other three ribbons:
- Select the grouped ribbon shapes.
- Press Ctrl + Shift and drag to duplicate.
- Change the color fills and text content accordingly.
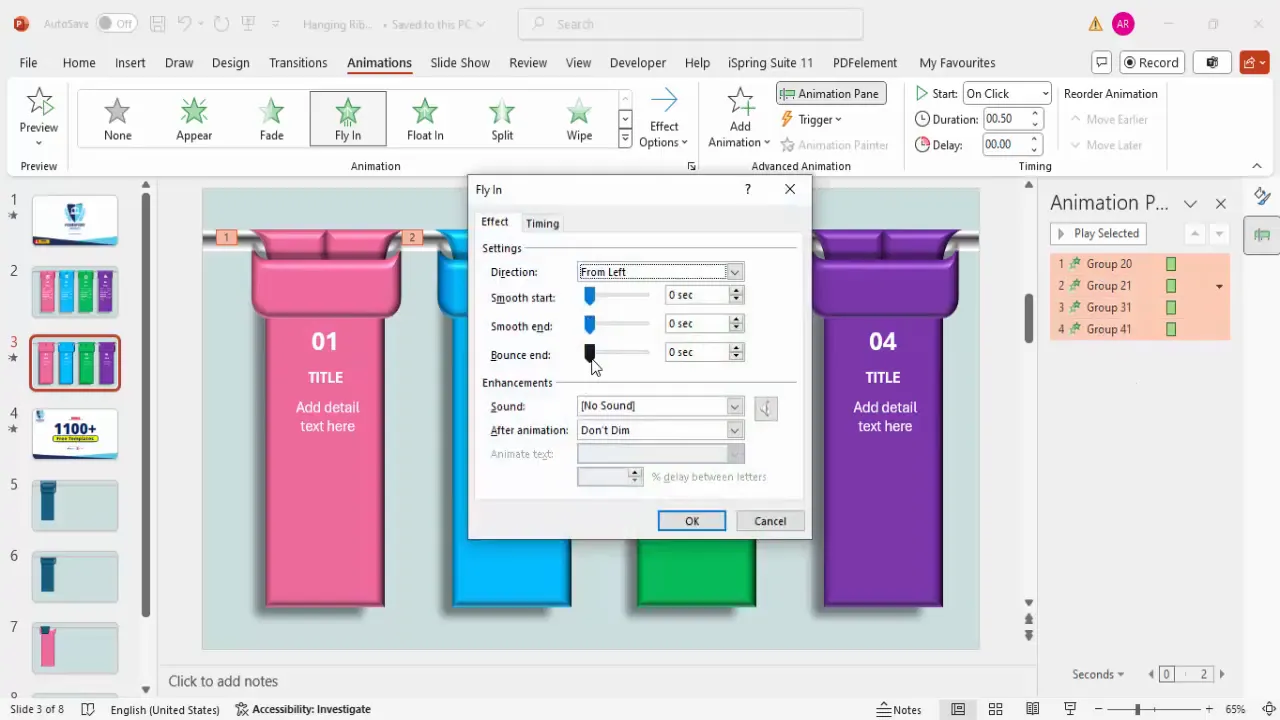
Adding Animations for Interactivity
Animations can bring your infographic slide to life, making it more engaging for your audience.
1. Enable the Animation Pane
Open the animation pane to manage and customize animation effects:
- Go to Animations > Animation Pane.
2. Apply Fly-In Animation
Use the Fly-In animation to make each ribbon slide in smoothly:
- Select all ribbon groups.
- Choose Fly In animation from the animation gallery.
- Set the direction to From Left or From Right based on your preference.
- Set the start option to On Click to control when each ribbon appears.
3. Customize Animation Effects
- Right-click the animation in the animation pane and select Effect Options.
- Increase the bounce effect slightly to give a subtle dynamic feel.
- Test the animation sequence to ensure it flows smoothly.
Frequently Asked Questions (FAQs)
Q1: Can I use this hanging ribbons infographic for other presentation software?
While this tutorial is specific to PowerPoint, the design principles can be adapted to other tools like Google Slides or Keynote. However, the exact steps and features may differ.
Q2: How do I ensure my ribbons are perfectly aligned?
Use PowerPoint’s Align tools under the Shape Format tab to distribute and align your ribbons evenly. Gridlines and guides can also help maintain consistency.
Q3: Can I add more than four ribbons?
Absolutely! You can duplicate the ribbon group as many times as needed. Just be sure to adjust the base bar length and maintain visual balance.
Q4: How do I add icons if I don’t have built-in PowerPoint icons?
You can download free icons from websites like Flaticon or The Noun Project. Insert them as images and customize their size and color.
Q5: Is it possible to customize the animation timing?
Yes, you can customize the duration and delay of animations in the animation pane to create a smooth and professional flow tailored to your presentation style.
Conclusion
Mastering PowerPoint Slide Design with creative infographic elements like hanging ribbons can significantly enhance the clarity and visual appeal of your presentations. By following this detailed tutorial, you can create a sleek, professional slide that effectively communicates options or steps with a stylish, modern aesthetic.
Remember to leverage PowerPoint’s shape tools, gradient fills, 3D effects, and animations to bring your designs to life. Experiment with colors and icons to match your branding and presentation theme. With practice, you’ll find these techniques invaluable for crafting compelling presentations that captivate your audience.
For more free templates, tips, and tutorials, be sure to explore resources like POWERPOINT UNIVERSITY, which offers over a thousand free templates and easy-to-follow guides to help you become a PowerPoint pro.
Check out the full video: Create 4 Hanging Ribbons Slide in PowerPoint


