
Creating dynamic and interactive presentations can elevate your storytelling and captivate your audience like never before. In this comprehensive guide, you’ll learn how to create an awesome clickable and scrollable animated slide design in PowerPoint that looks professional and visually stunning. This step-by-step tutorial will walk you through designing a gradient background, inserting and cropping photos, cutting out objects, making clickable elements, and adding smooth morph transitions—all within Microsoft PowerPoint 365.
PowerPoint slide design has evolved beyond static content, and by leveraging interactive elements and animations, you can create presentations that truly engage viewers. Whether you’re a beginner or an intermediate user, this tutorial will equip you with techniques to build beautiful slides that bring your ideas to life.
Table of Contents
- Creating the Gradient Background
- Inserting and Cropping Photos
- Adding Text Elements
- Cutting Out Objects from Photos
- Positioning and Matching Cutouts
- Creating Clickable Elements
- Applying Morph Transitions
- Adjusting Slide Designs
- Fixing Morph Transition Issues
- Final Result and Testing
- Frequently Asked Questions
Creating the Gradient Background
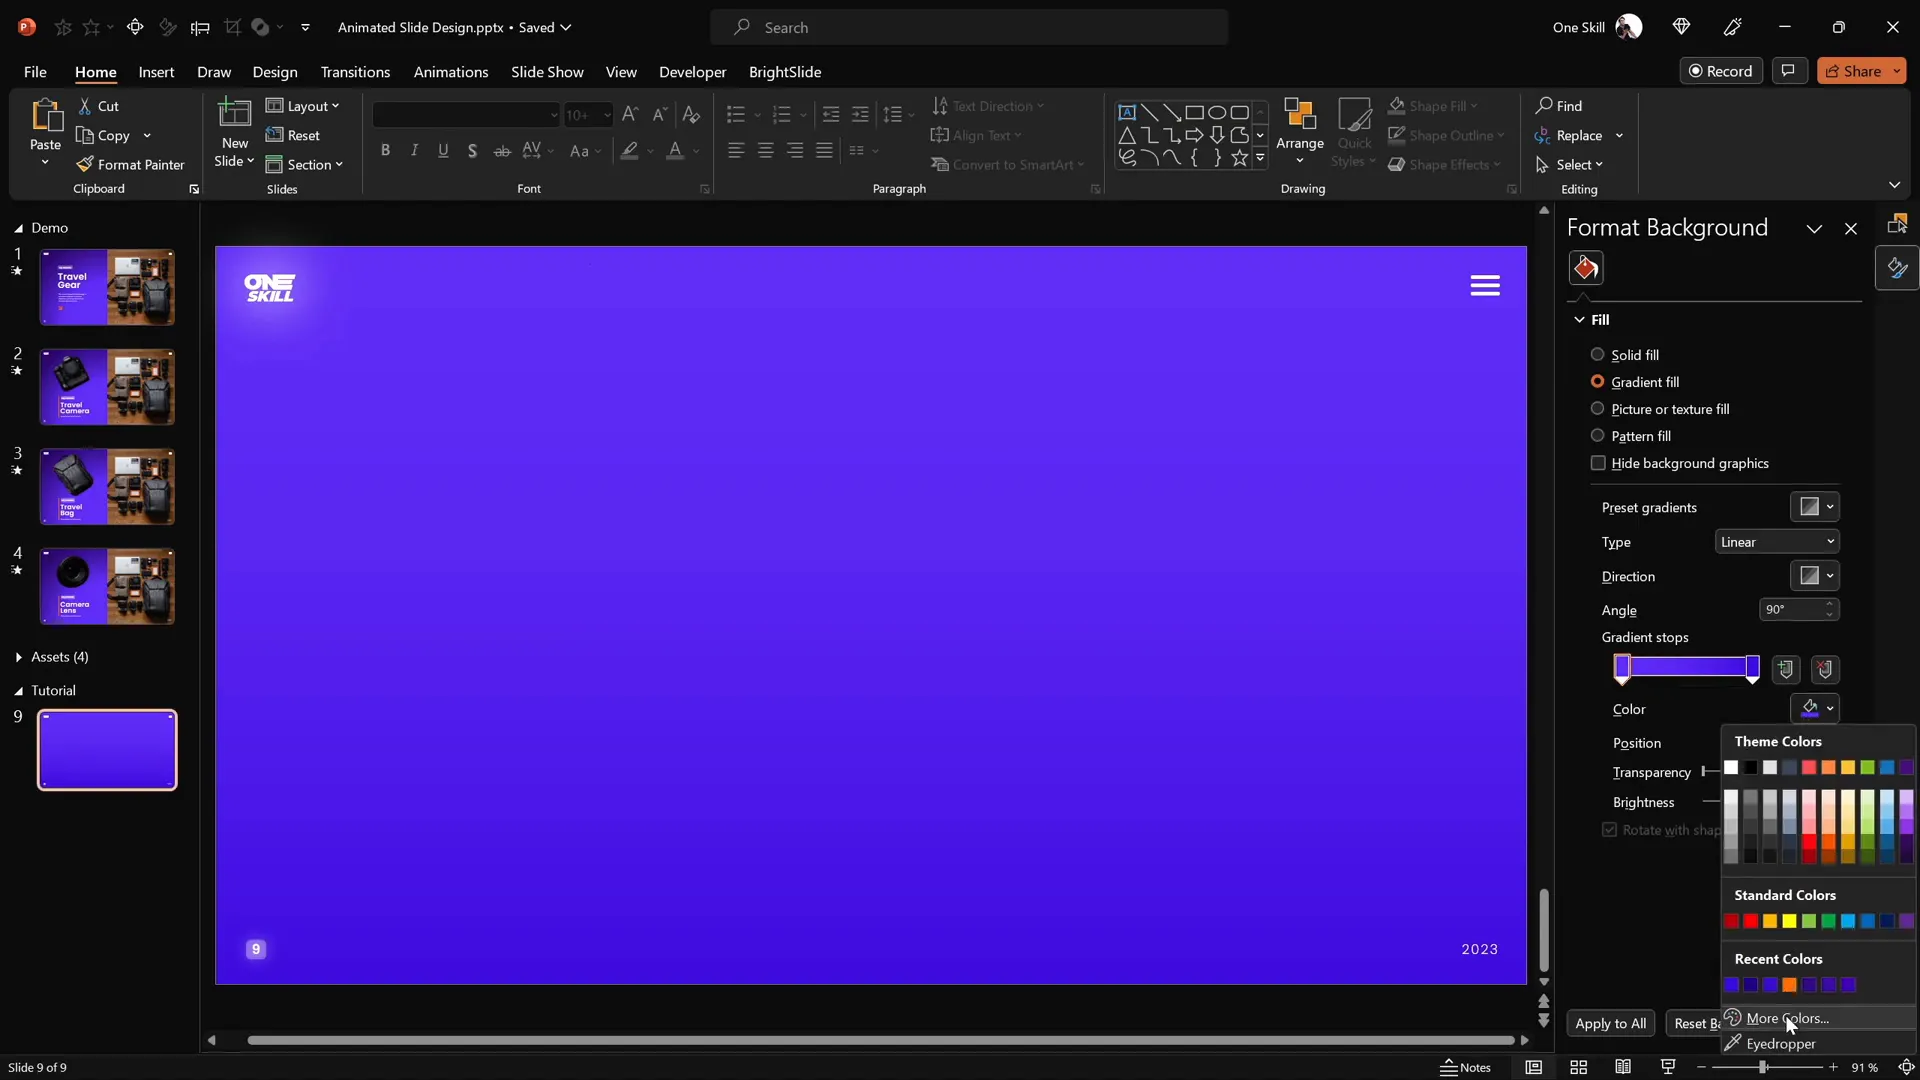
Start your PowerPoint slide design journey with a clean and visually appealing background. A gradient fill adds depth and sophistication to your slide, setting the tone for the content you will build on top.
- Open PowerPoint 365 and begin with a blank slide.
- Apply a gradient fill to the slide background:
- Go to the Format Background pane.
- Select Gradient Fill.
- Add two color stops with the following hex codes:
- First color stop:
#5C4E7B(a rich purple shade) - Second color stop:
#4F4B6B(a deeper muted tone)
- First color stop:
- Set the gradient type to Linear.
- Hide the Format pane to maximize workspace.
- Enable slide guides to help with alignment and centering.
The gradient background creates a subtle but sophisticated canvas that enhances the slide’s overall look.
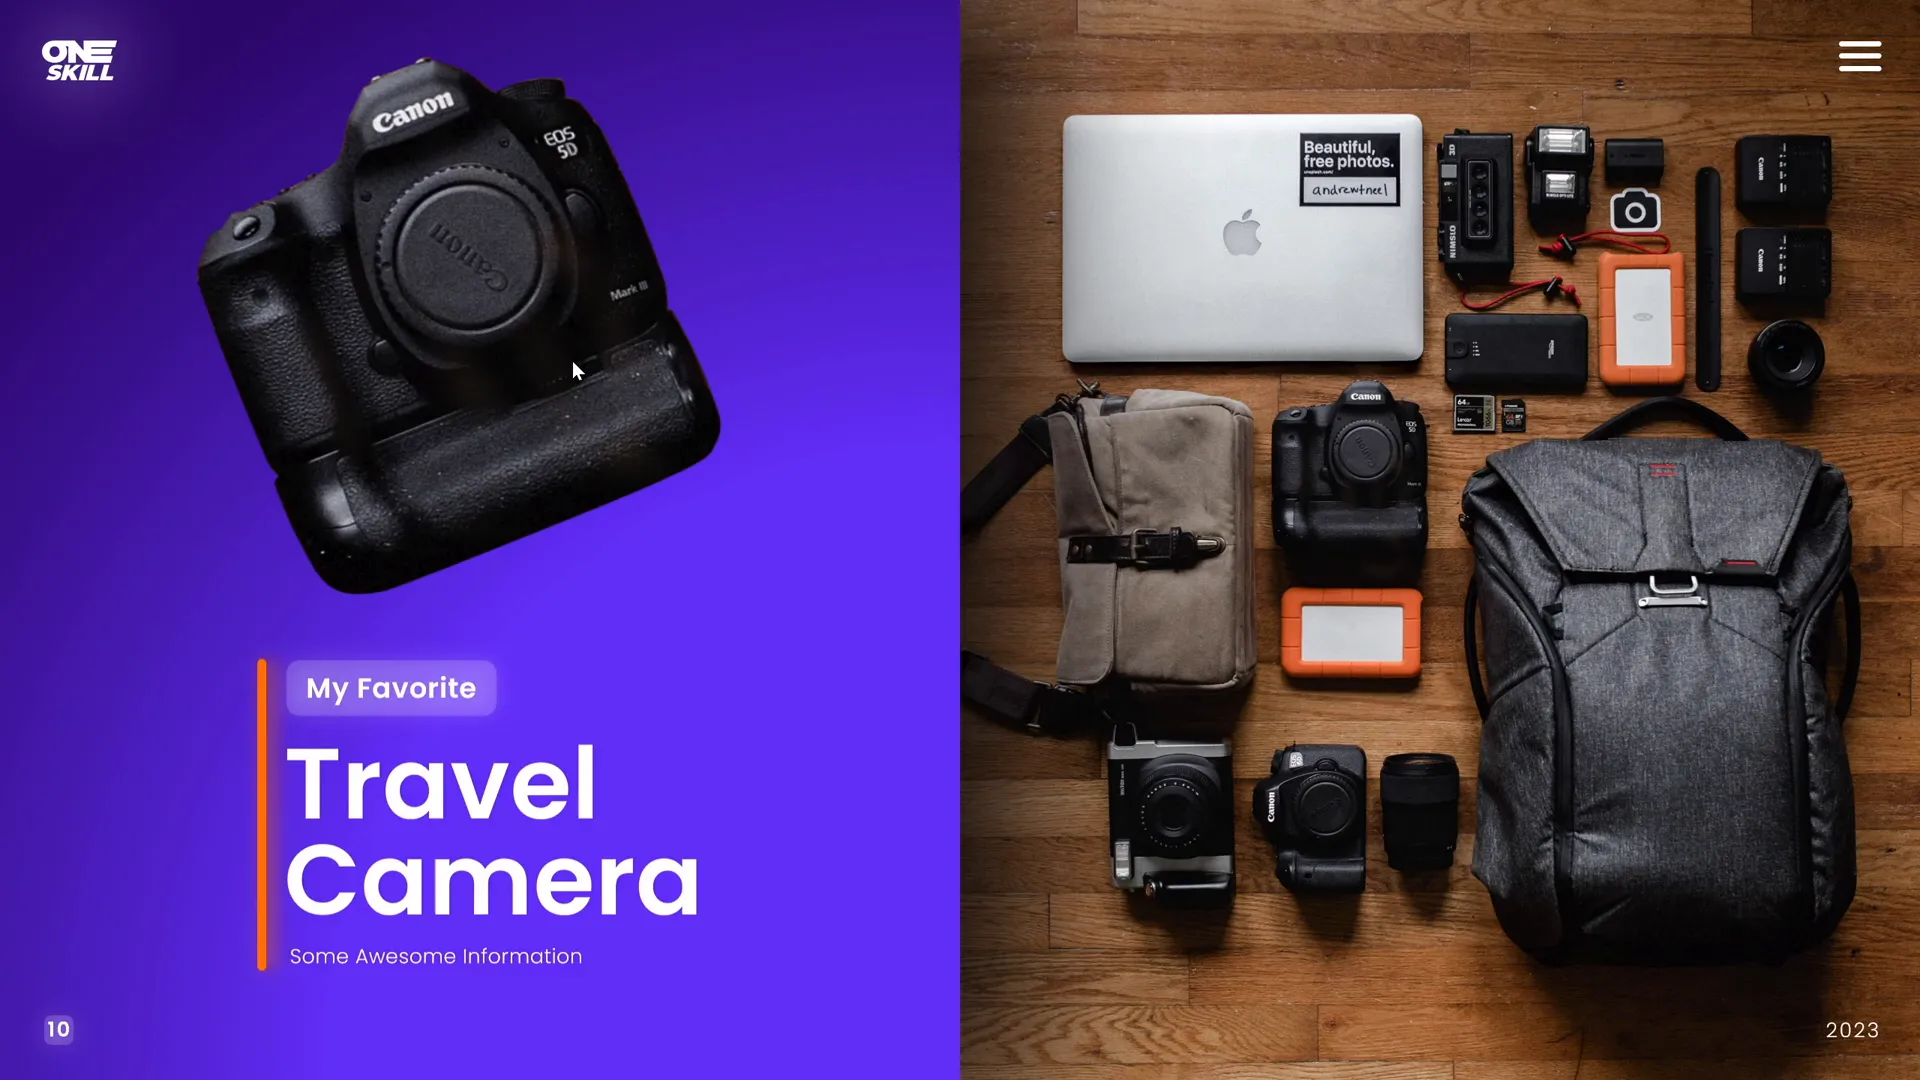
Inserting and Cropping Photos
Visuals are essential in any presentation, and selecting the right photo can make a big difference. For this design, you’ll use a beautiful photo from Unsplash, but you can choose any image you prefer.
- Insert the photo:
- Go to Insert > Pictures and select your image file.
- Click Insert to add it to the slide.
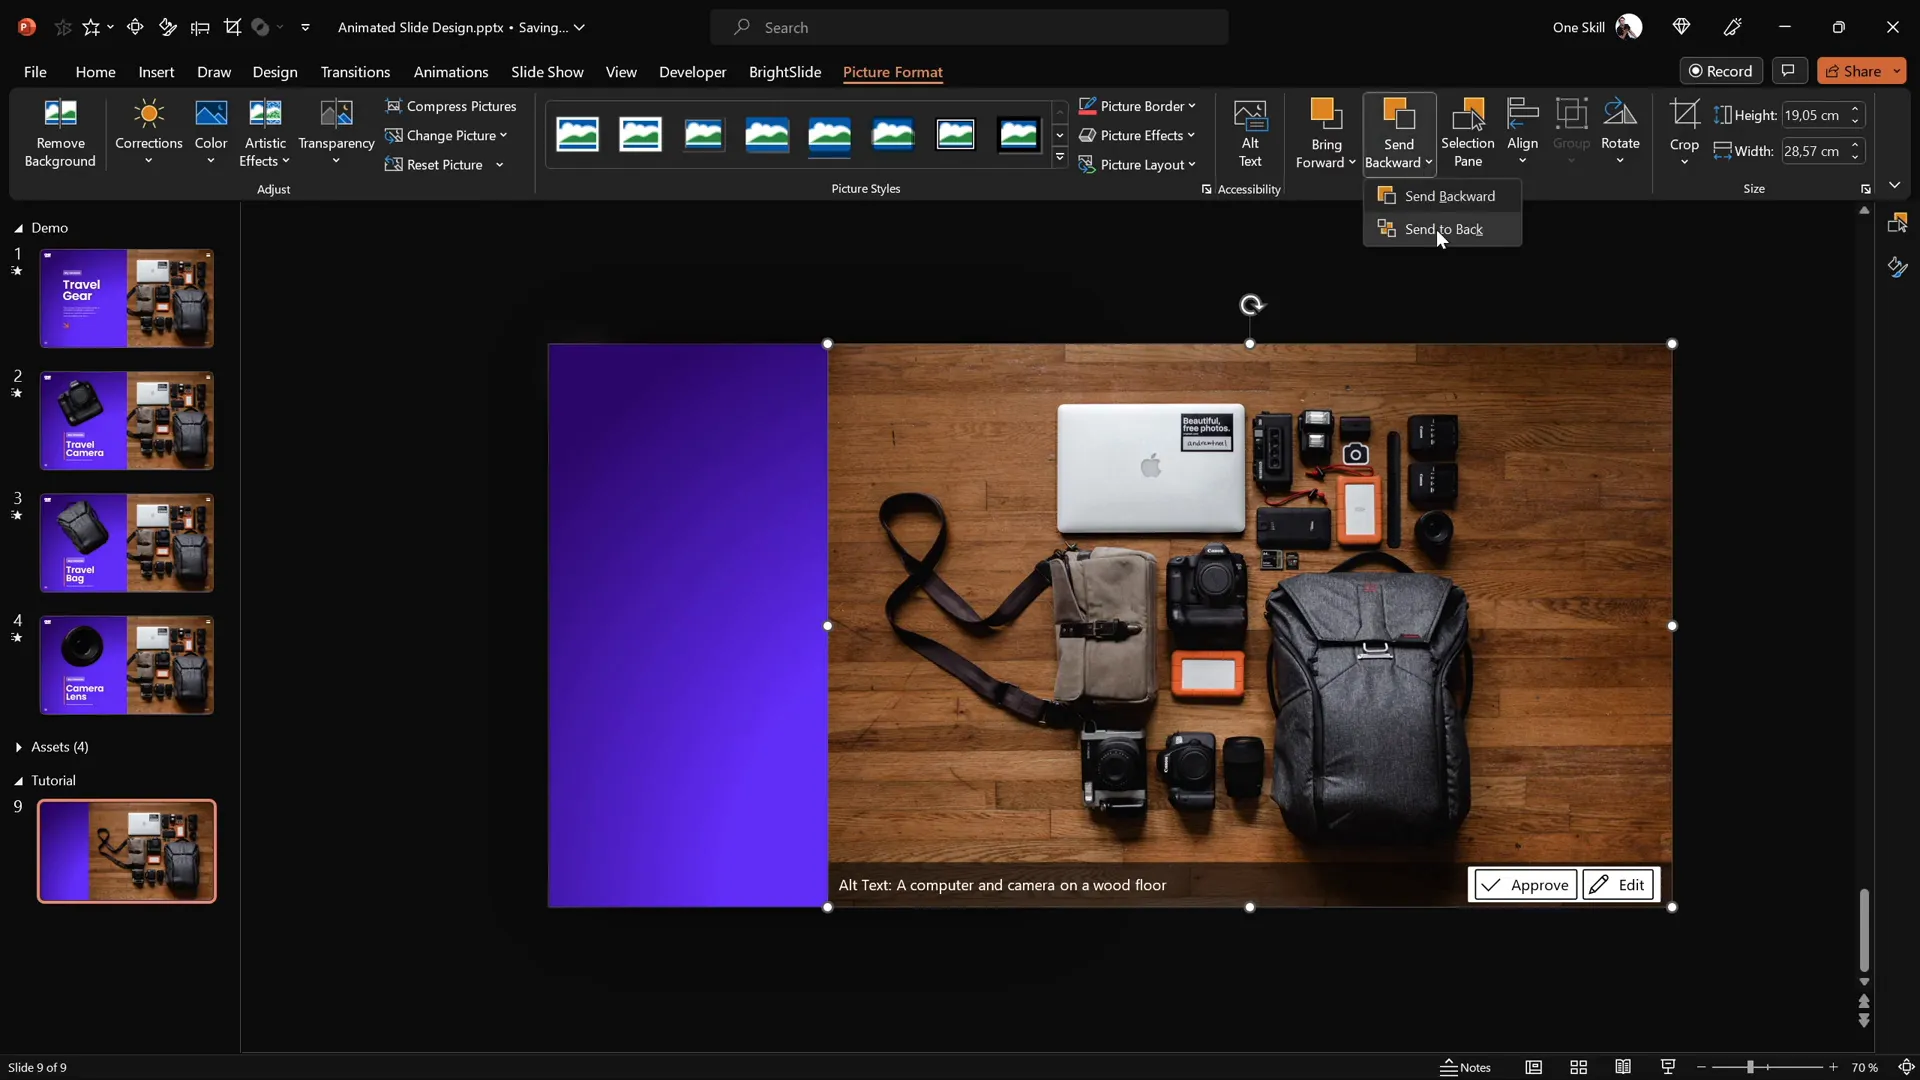
- Position the photo:
- Move the photo to the right side of the slide.
- Send the photo to the back so it layers behind other elements.
- Crop the photo:
- Crop the right side of the photo so it fits perfectly within the slide boundaries.
- Adjust the photo inside the cropping frame for the best composition.
- Finalize by clicking the crop button.
- Send photo and rectangle to back:
- This ensures that the logo and slide number are visible on top.
The result is a well-positioned photo that complements the gradient background and creates a balanced slide layout.
Adding Text Elements
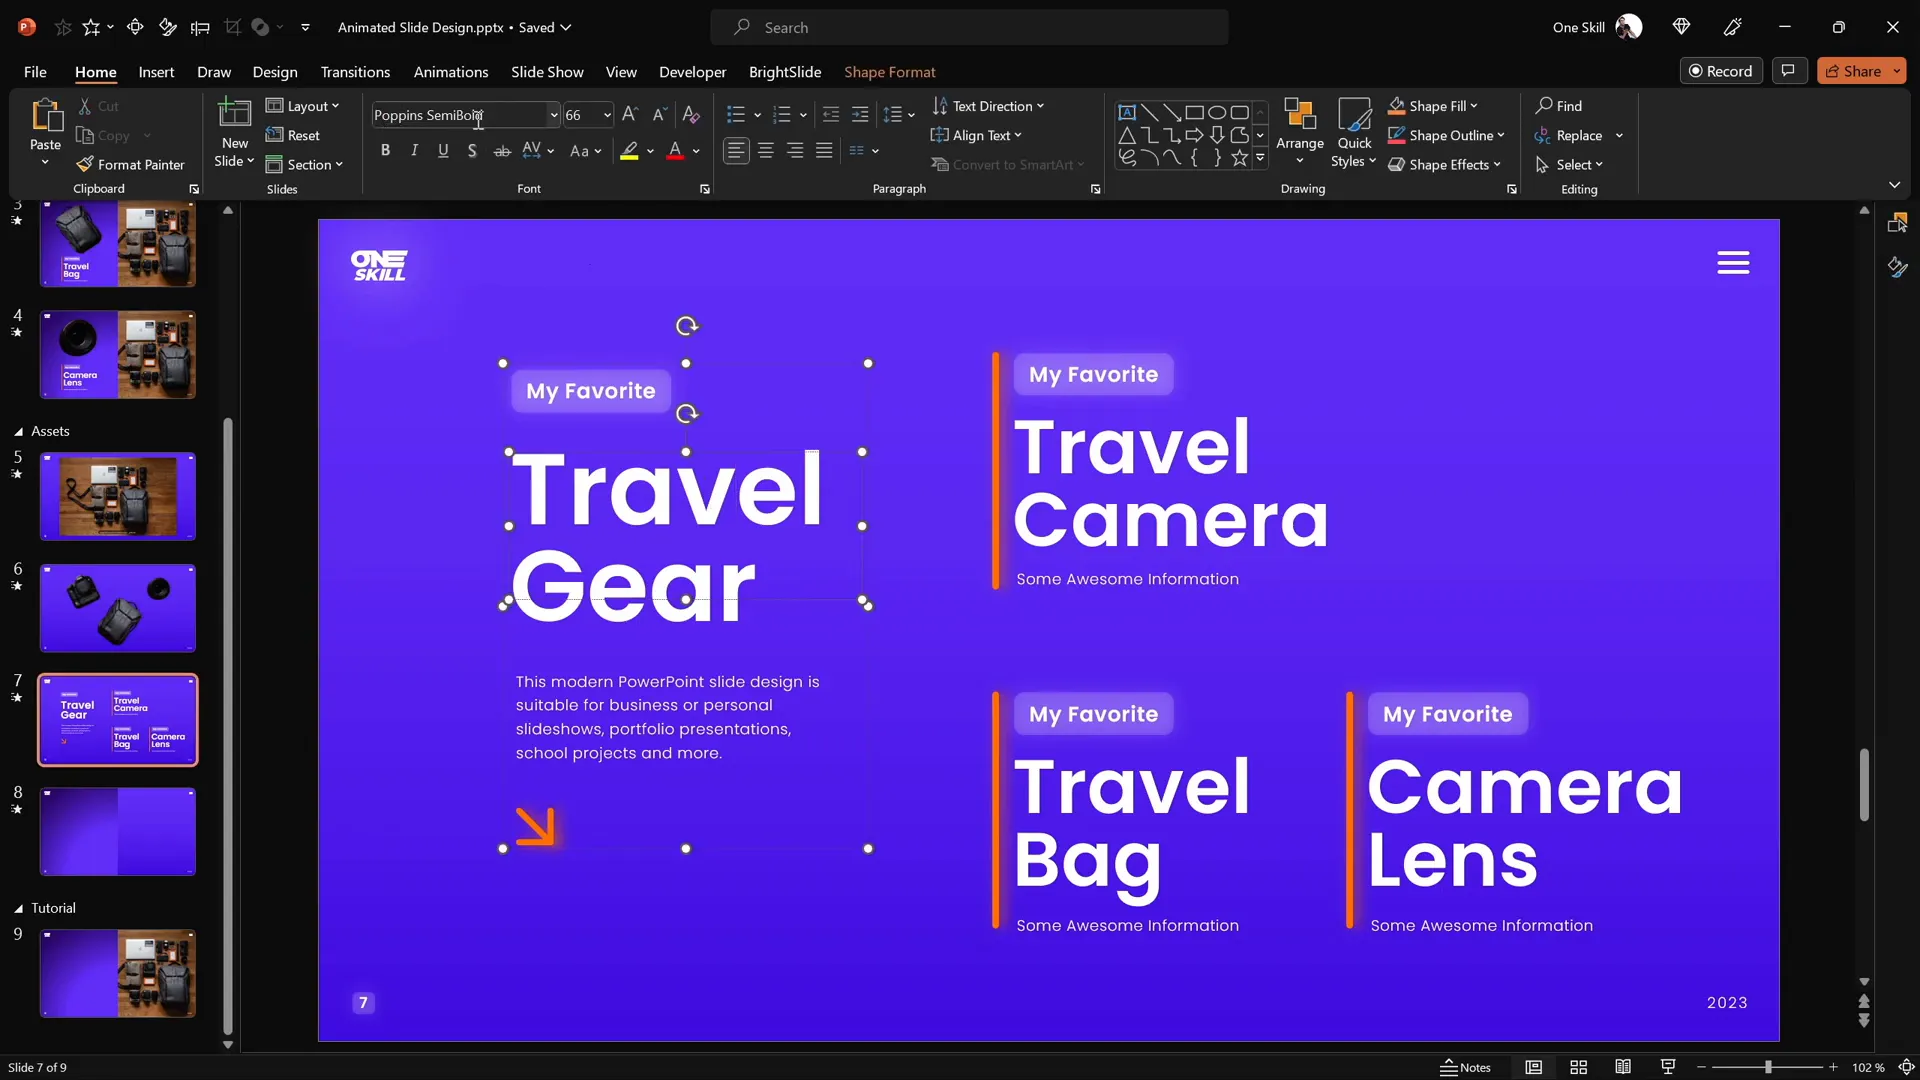
Text boxes help guide the viewer and provide context for the clickable items on your slide. Using thoughtfully chosen fonts and grouping text elements enhances clarity and visual appeal.
- Prepare text boxes:
- Use fonts like Poppins Semi Bold and Poppins Light for a modern look.
- Group related text boxes together for easy copying and alignment.
- Insert text boxes:
- Copy the grouped text boxes from your assets section.
- Paste and position the first group inside the left rectangle.
- Align the text boxes centrally and vertically within the rectangle.
- Use alignment shortcuts:
- If you have the free BrightSlide add-in, use its alignment shortcuts for faster workflow.
- Alternatively, use the built-in Shape Format > Align options to center and middle-align text.
- Add more text boxes:
- Copy groups for each clickable item—such as Travel Camera, Travel Bag, and Camera Lens—and place them at the bottom aligned to the left.
- Ensure vertical spacing between groups is consistent for a neat appearance.
Well-structured text elements make the slide intuitive and visually balanced, setting the stage for interactive features.
Cutting Out Objects from Photos
To create interactive clickable elements, you need to isolate specific objects from your photo as separate layers. This allows you to animate and hyperlink them independently.
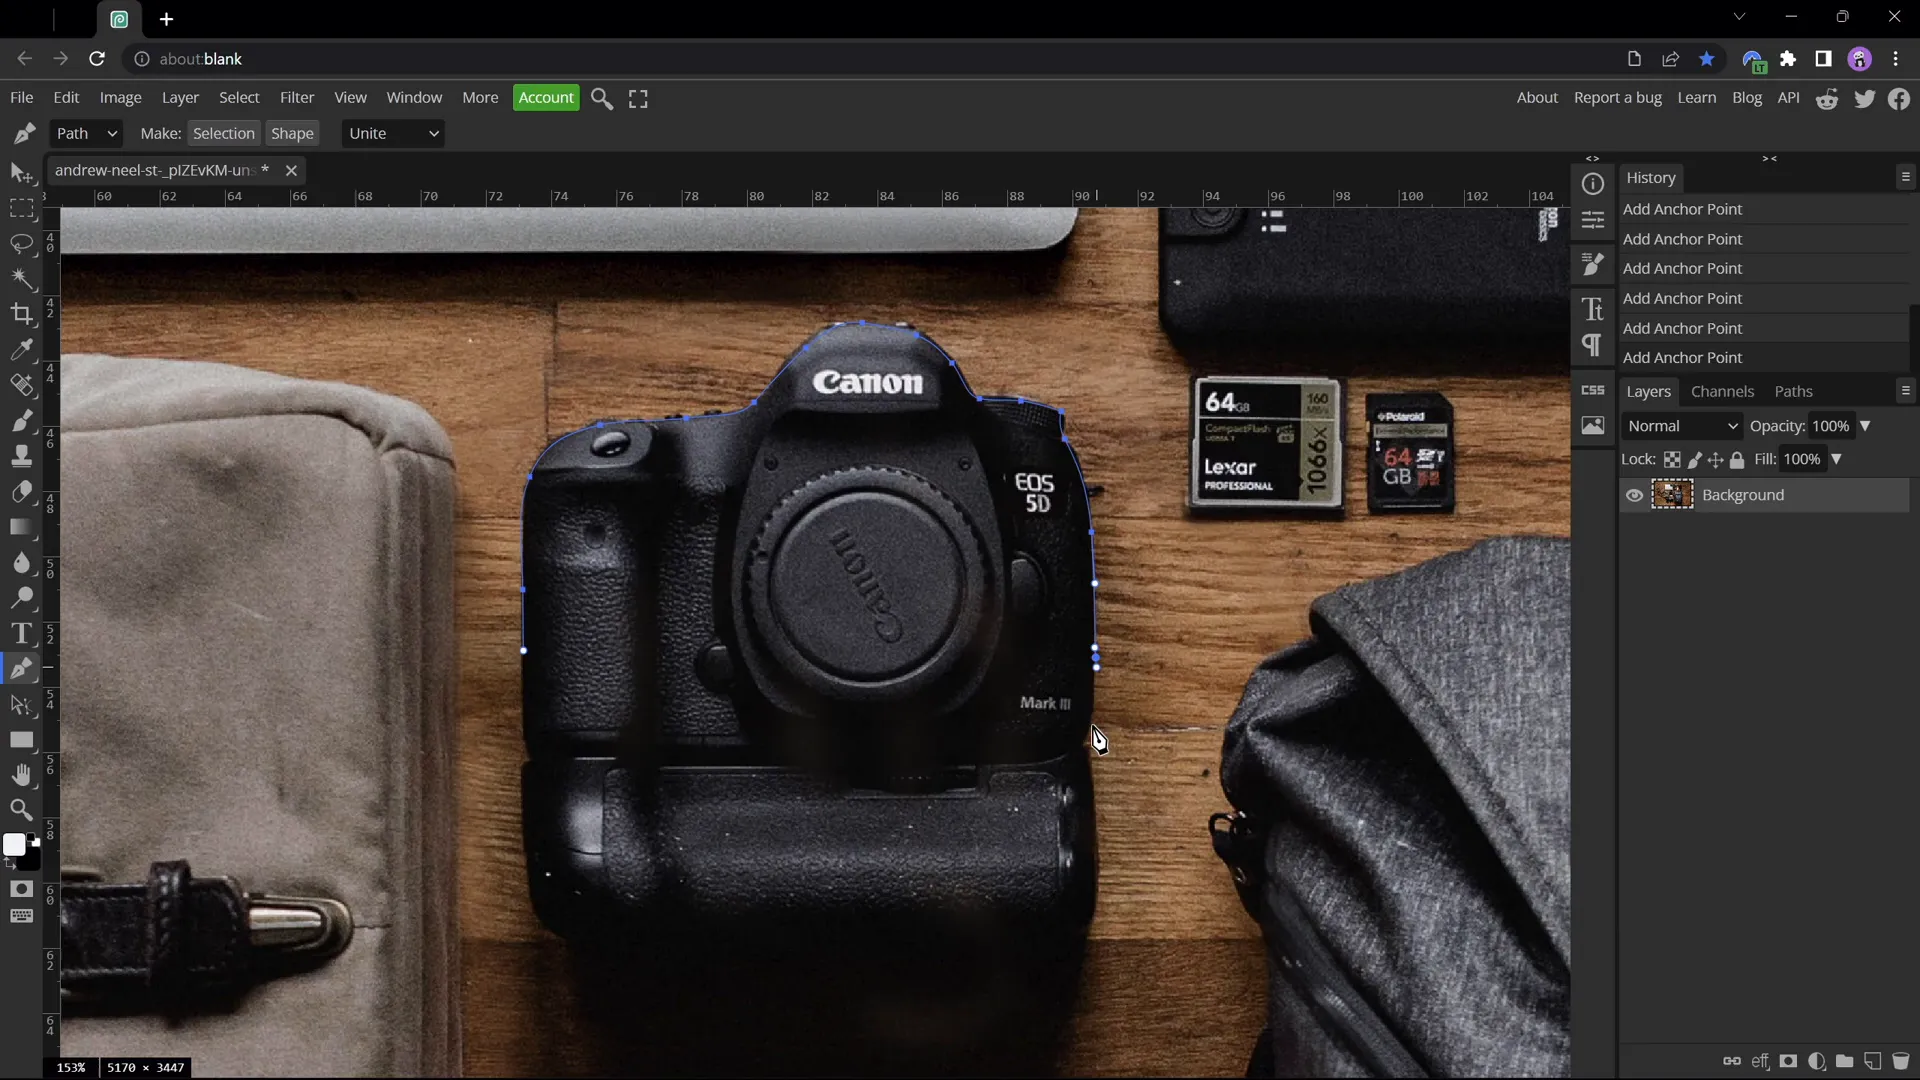
While PowerPoint offers basic cropping tools, for precision cutting, use a free online photo editor called Photopea. It works similarly to Adobe Photoshop and is accessible directly in your browser.
- Open your photo in Photopea.
- Zoom in: Hold
Altand scroll to zoom close to the object you want to cut out. - Select the Pen Tool: Activate the pen tool and set it to Path Mode.
- Trace the object:
- Click around the edges of the object to create anchor points outlining its shape.
- Adjust points by hitting the space bar and dragging if necessary.
- Hold
Altto create sharp corners instead of smooth curves.
- Create selection: Close the path near the starting point and click Create Selection.
- Mask the image: Click the mask button to hide everything but the selected object.
- Trim empty space: Go to Image > Trim to remove transparent borders.
- Export as PNG: Save the isolated object as a PNG file with transparency.
Repeat these steps for each object you want to isolate, such as the camera, travel bag, and camera lens.
Positioning and Matching Cutouts
After extracting your objects, it’s crucial to place them precisely over the original photo to maintain a seamless look.
- Insert cutouts into PowerPoint:
- Copy and paste the PNG files of your cutouts onto the slide.
- Recolor cutouts temporarily:
- Select all cutouts and apply a red recolor (e.g., via Picture Color options) to distinguish them from the original photo.
- This makes it easier to see and align edges accurately.
- Position each cutout:
- Use the arrow keys and rotation handles to match the cutouts perfectly over their counterparts in the original photo.
- Resize using
Ctrl + Shiftto scale from the center.
- Reset colors:
- Once aligned, select all cutouts and reset picture formatting to remove the red recolor.
This process ensures that the cutouts look like natural parts of the photo, ready for animation and interaction.
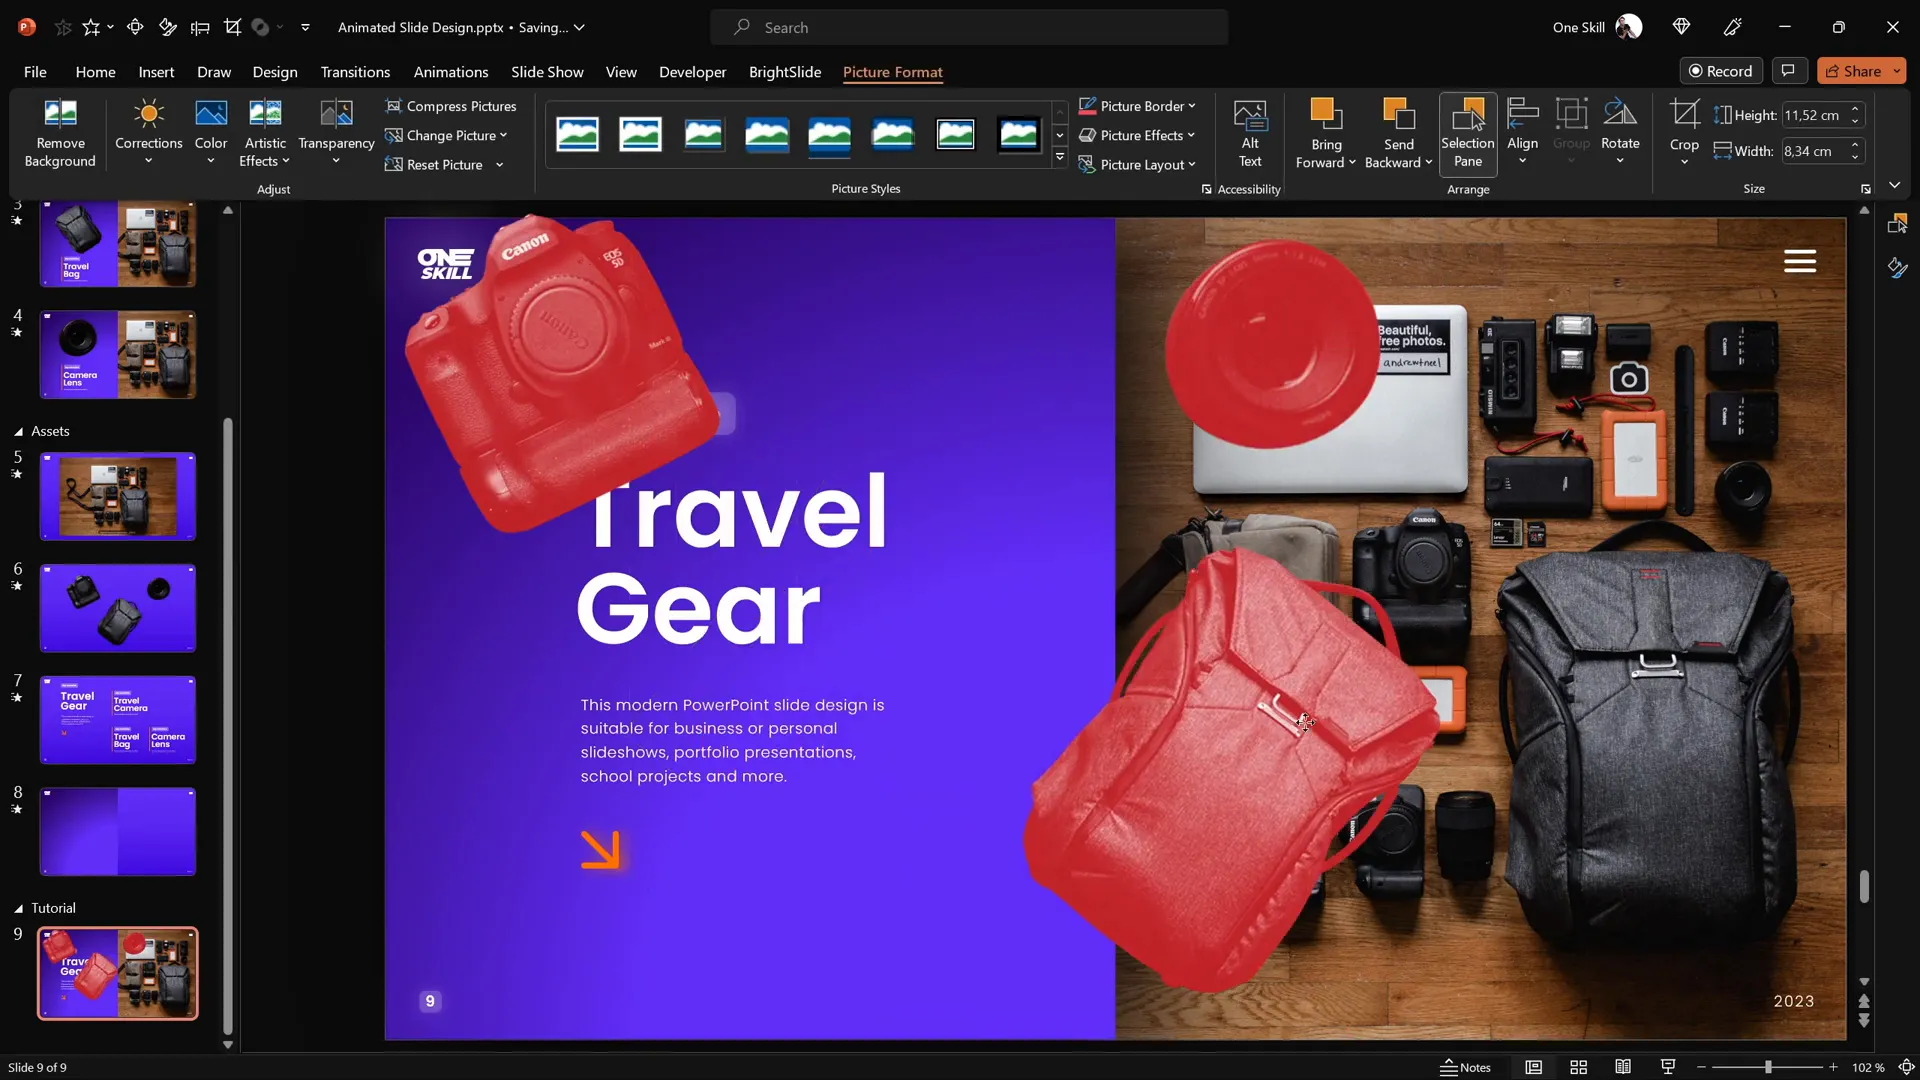
Creating Clickable Elements
Making your cutouts clickable transforms your slide into an interactive experience, allowing viewers to navigate through different content sections seamlessly.
- Duplicate your slide:
- Duplicate the introduction slide three times to create a total of four slides.
- The slides will be:
- Slide 1: Introduction
- Slide 2: Camera
- Slide 3: Travel Bag
- Slide 4: Camera Lens
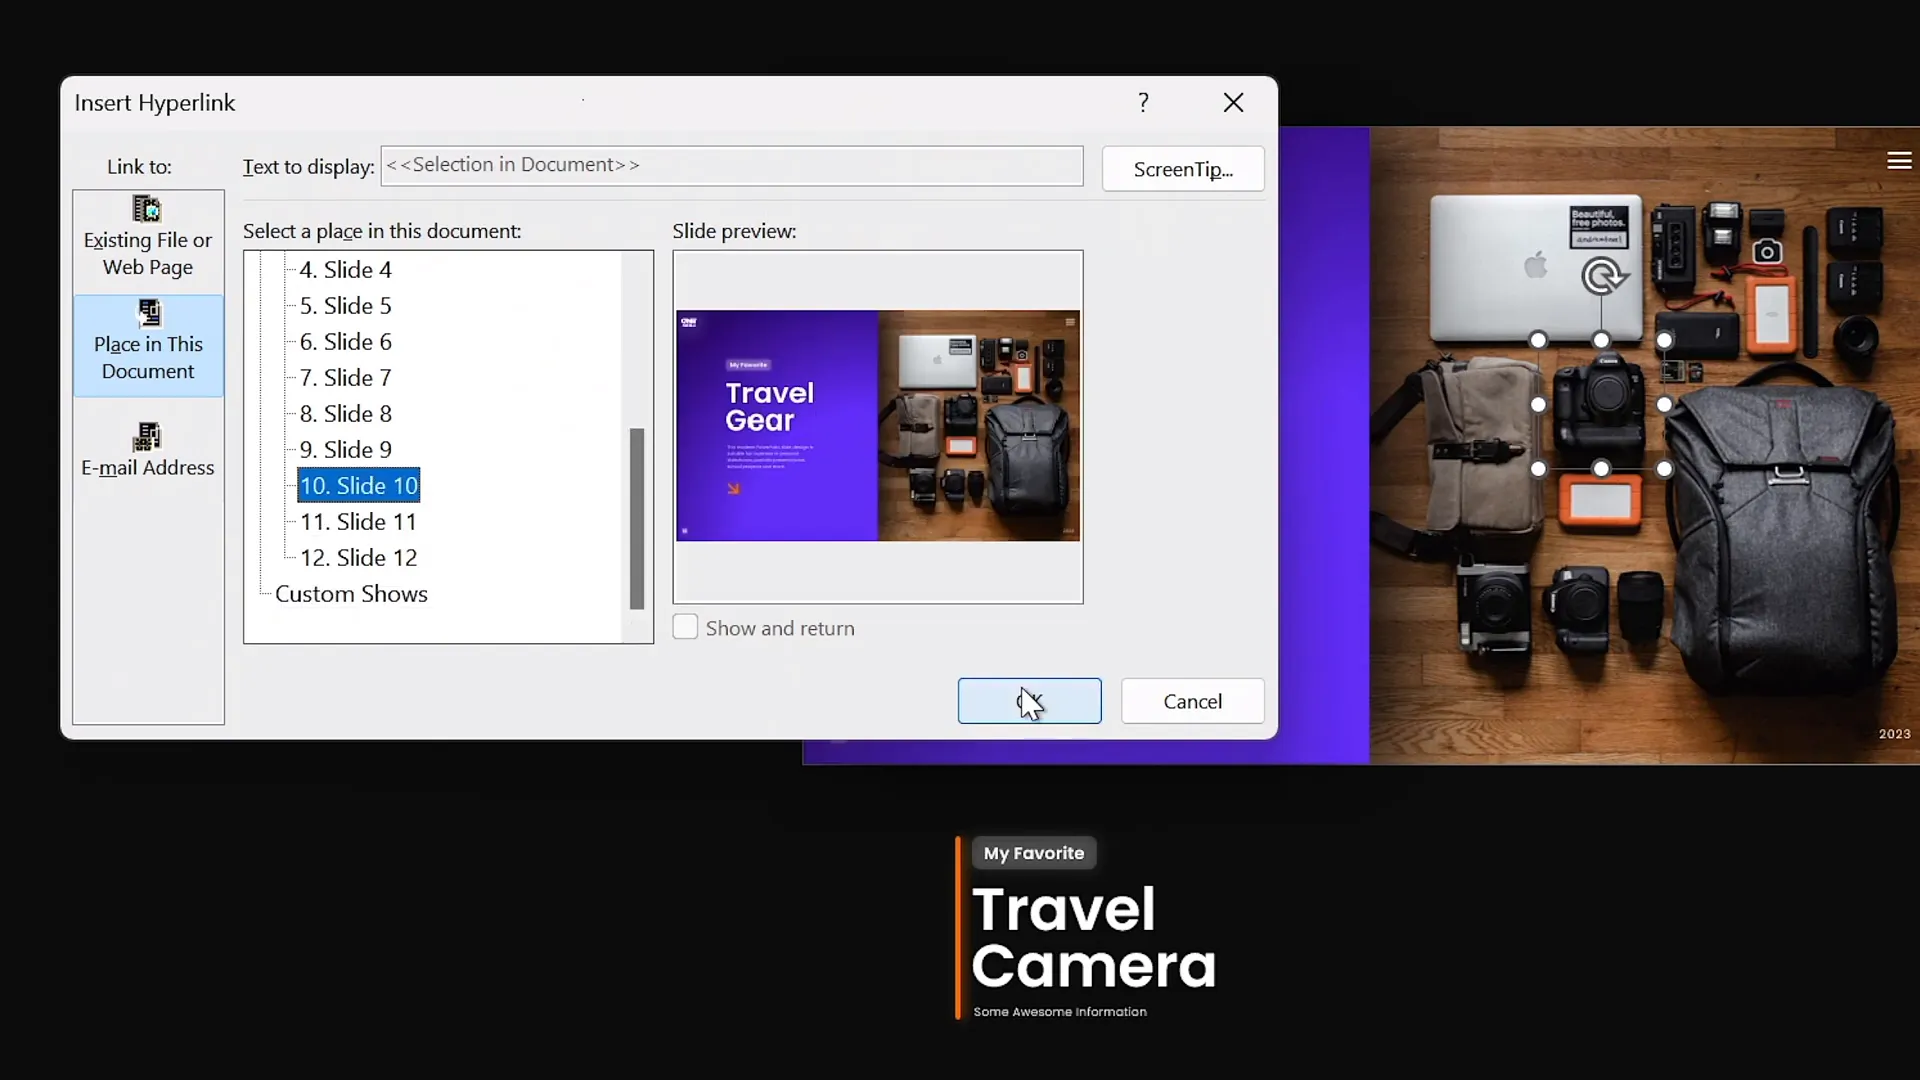
- Insert hyperlinks:
- On the introduction slide, select each cutout.
- Press
Ctrl + Kto add a hyperlink. - Link each cutout to its corresponding slide:
- Camera → Slide 2
- Travel Bag → Slide 3
- Camera Lens → Slide 4
- Copy cutouts with hyperlinks:
- Copy the linked cutouts and paste them onto the other slides.
- Delete the old cutouts and replace them with the new ones that contain hyperlinks.
These clickable elements enable users to interactively explore different parts of your slide design.
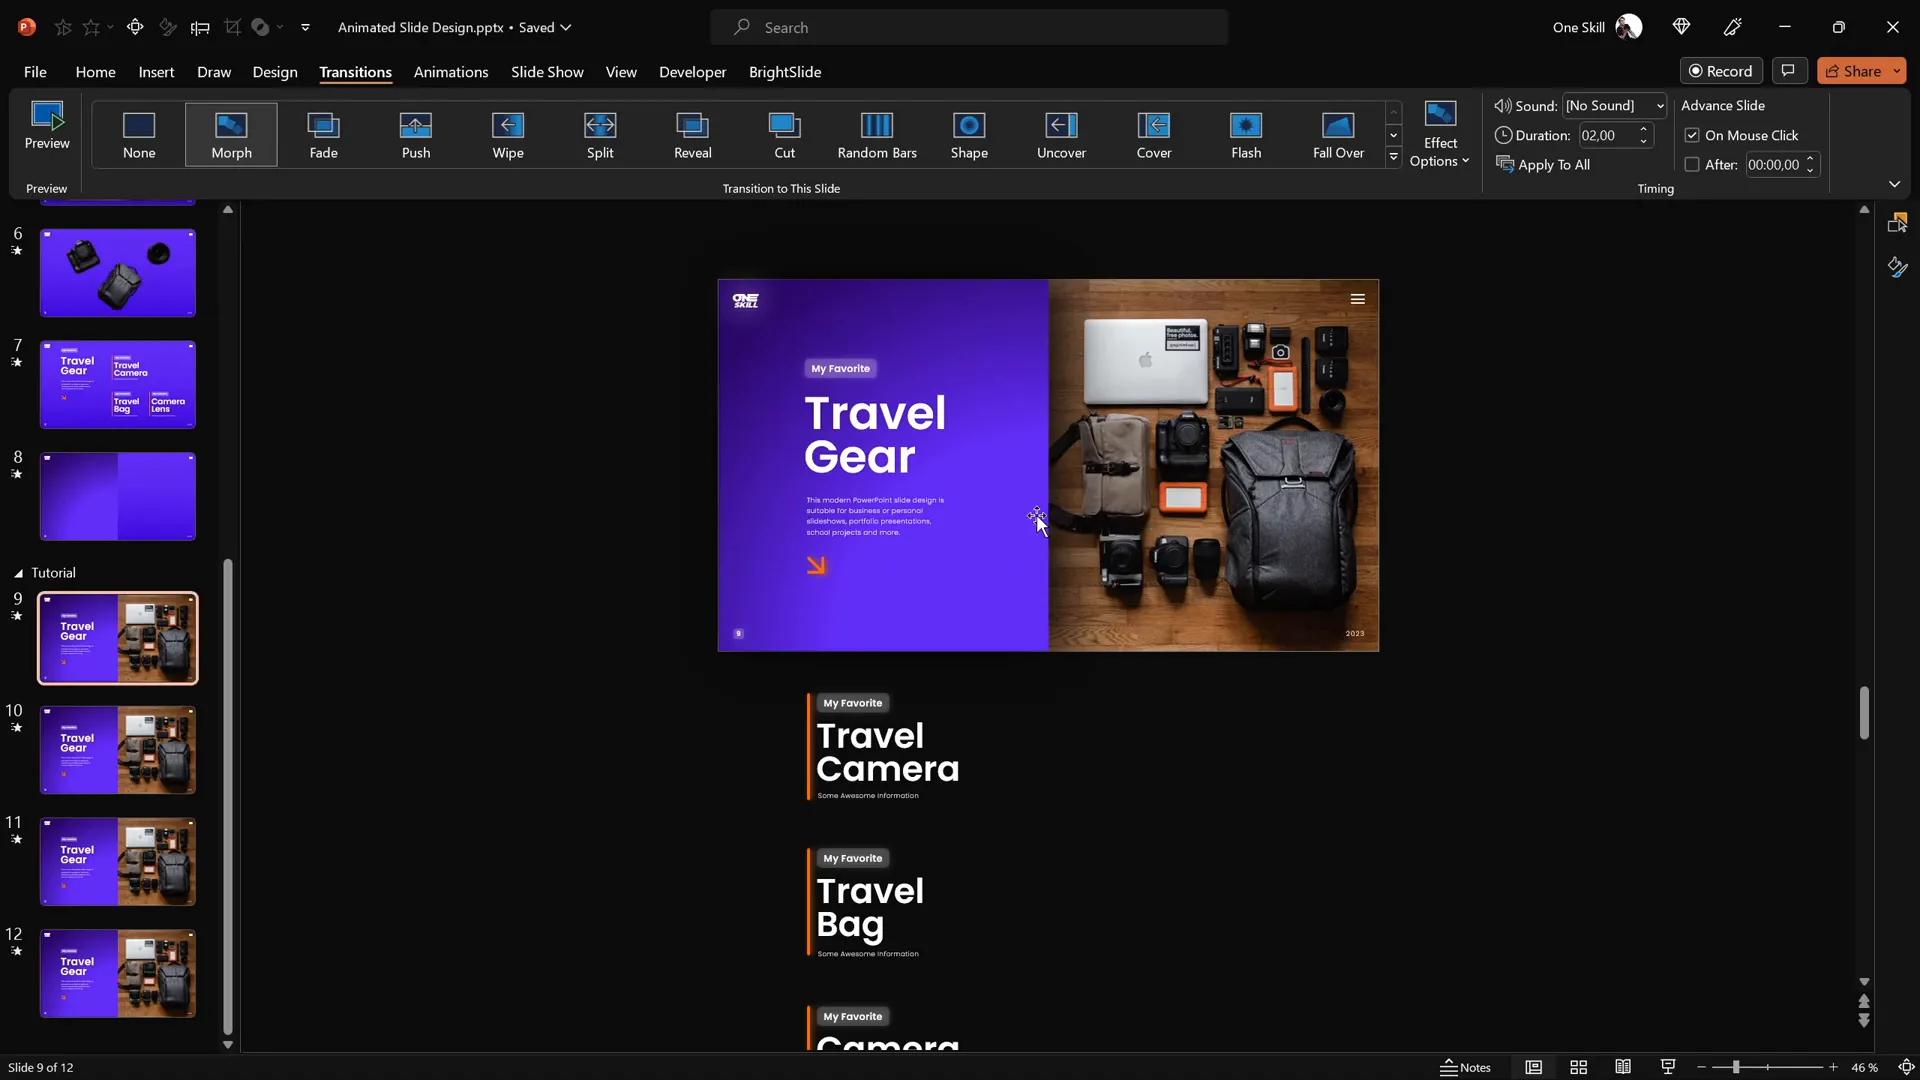
Applying Morph Transitions
The Morph transition in PowerPoint is a powerful tool that creates smooth animations between slides, making the movement of objects appear fluid and natural.
- Select all four slides.
- Apply Morph transition:
- Go to the Transitions tab.
- Select Morph as the transition type.
- Apply it consistently to all slides.
With Morph, when you click on a cutout, the slide transitions smoothly to a new slide where the cutout is enlarged and repositioned, creating an engaging animation effect.
Adjusting Slide Designs
Customize each slide to highlight the selected object and its corresponding text, ensuring a focused and polished presentation.
- Camera Slide:
- Move the Travel Gear text box upwards.
- Display only the Travel Camera text box group.
- Enlarge, rotate, and position the camera cutout as desired.
- Travel Bag Slide:
- Bring all text box groups closer together.
- Move the groups upwards to hide Travel Gear and Travel Camera text boxes.
- Show only the Travel Bag text box group.
- Resize and rotate the bag cutout.
- Camera Lens Slide:
- Adjust text boxes and cutout similarly to highlight the lens.
- Make sure only the Camera Lens text box group is visible.
This tailored adjustment ensures that when users click on an object, the slide zooms in on that object with relevant information, enhancing user engagement.

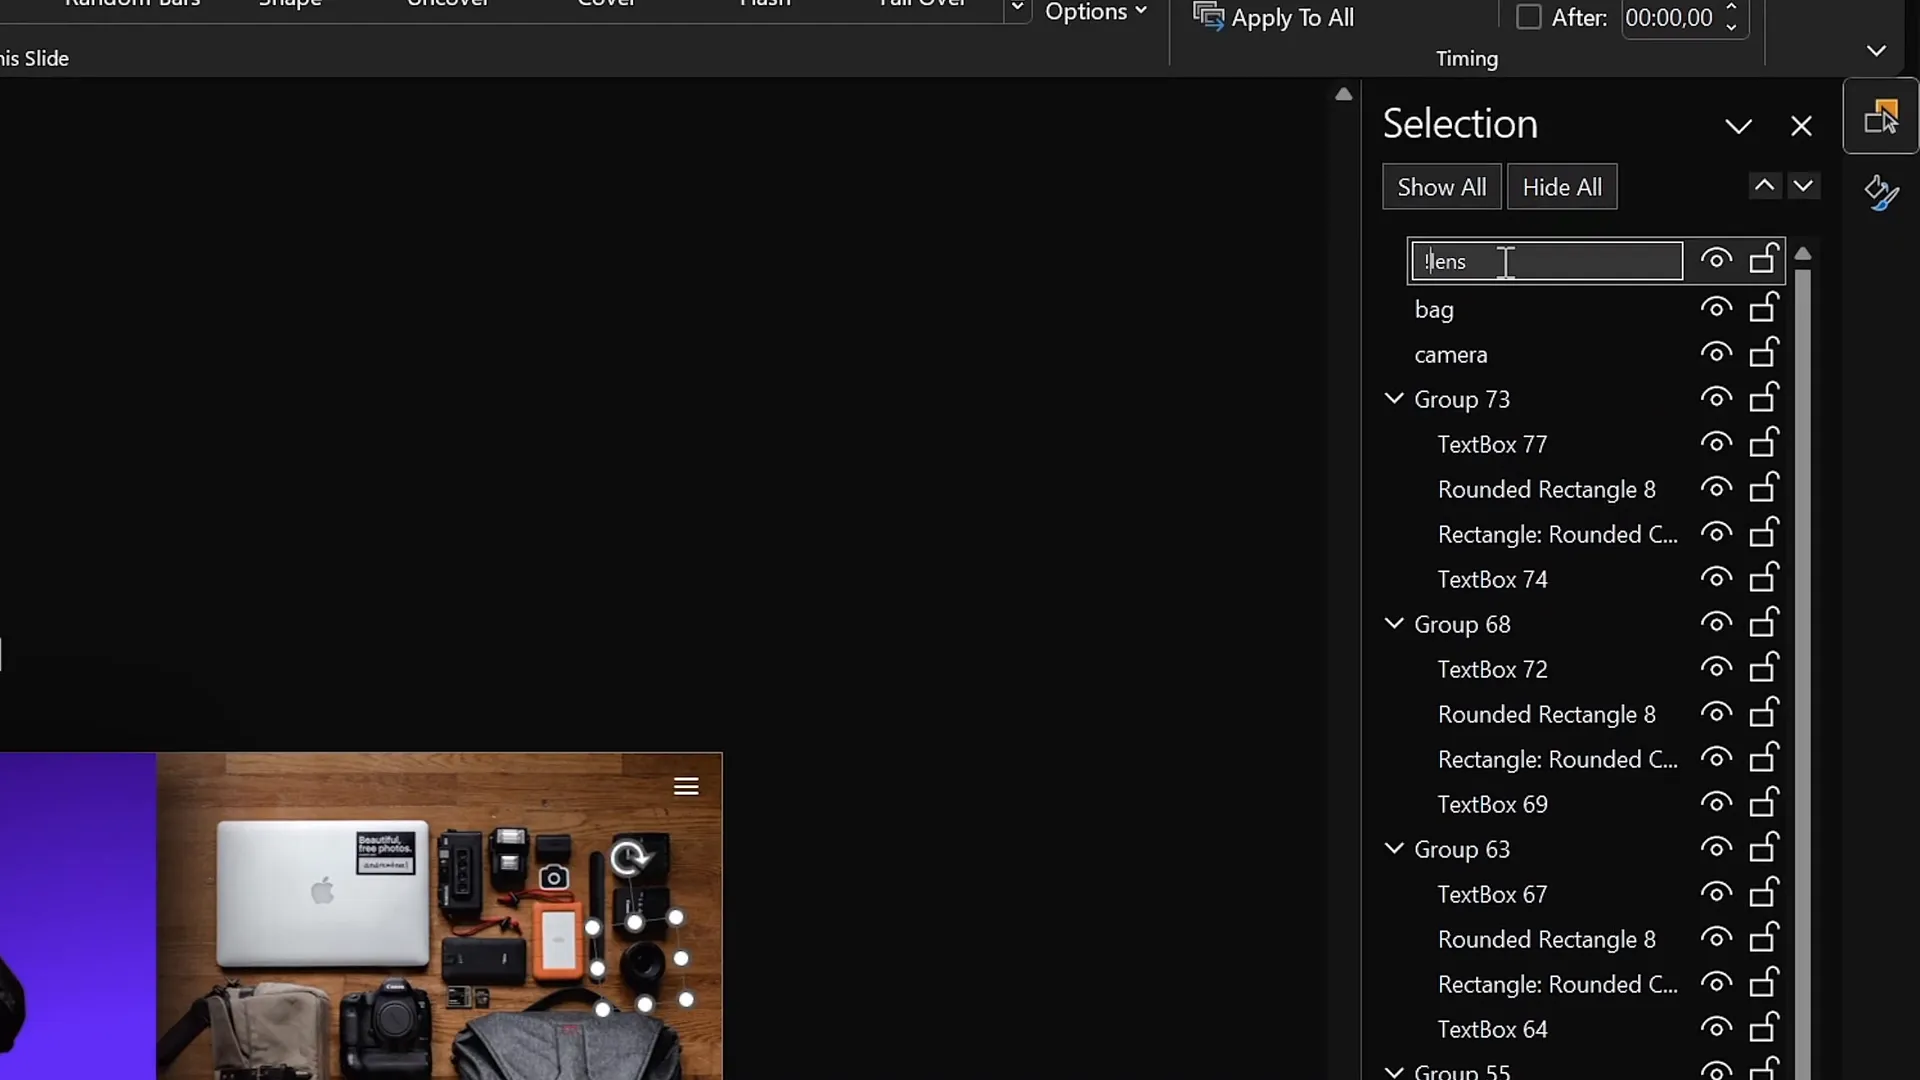
Fixing Morph Transition Issues
Sometimes, the Morph transition can behave unexpectedly, especially when morphing similar objects between slides. To avoid glitches or unwanted animations, use a naming trick in the Selection Pane.

- Open the Selection Pane: Go to Home > Select > Selection Pane.
- Rename objects:
- Prefix the object names with double exclamation marks, e.g.,
!!Lens. - Ensure the same naming convention is used for the corresponding objects across all slides.
- Prefix the object names with double exclamation marks, e.g.,
- Test the Morph transition again: The transition should now animate smoothly without confusion between similar objects.
This simple trick helps PowerPoint differentiate objects correctly during the Morph transition, ensuring flawless animations.
Final Result and Testing
After setting up all elements, it’s time to test your interactive PowerPoint slide design.
- Start the slide show.
- Click on each cutout:
- Click the camera to see it enlarge with animation.
- Click the travel bag to view the corresponding slide.
- Click the camera lens to verify smooth morph animation.
- Check for any visual glitches or misalignments.
- Adjust as necessary.
Your clickable and scrollable animated PowerPoint slide design is now complete and ready to impress your audience!
Frequently Asked Questions (FAQ)
What is the Morph transition in PowerPoint?
The Morph transition smoothly animates objects from one slide to another by moving, resizing, or rotating them to new positions. It creates a fluid visual effect that enhances engagement.
Can I use any photo for this interactive slide design?
Yes! You can use any photo you like. Just make sure the objects you want to animate and make clickable are clearly visible and can be isolated effectively.
Is Photopea free to use for cutting out objects?
Yes, Photopea is a free online photo editor that works in your browser. It offers advanced tools like the Pen Tool for precise object selection, similar to Photoshop.
Do I need the BrightSlide add-in to align objects?
No, BrightSlide is optional but highly recommended. It provides productivity shortcuts for alignment and other features. Without it, you can use PowerPoint’s built-in alignment tools.
Can I create this interactive slide design in older versions of PowerPoint?
The Morph transition and some features used here require PowerPoint 365 or PowerPoint 2019 and later. Older versions may not support these animations.
How can I make sure my clickable elements work during the presentation?
Ensure each clickable cutout has a hyperlink to the corresponding slide. Test your presentation in Slide Show mode to verify that all links and animations function correctly.
What fonts are recommended for this design?
The tutorial uses the Poppins font family, specifically Poppins Semi Bold and Poppins Light for a clean and modern look. You can download it for free from Google Fonts.
Can I customize the colors used in the gradient background?
Absolutely! Feel free to adjust the hex codes for the gradient stops to match your brand or presentation theme.
How do I fix Morph transition glitches with similar objects?
Use the double exclamation marks naming convention in the Selection Pane to uniquely identify similar objects across slides, preventing Morph confusion.
Where can I find more PowerPoint design tutorials?
Explore tutorials on animation, slide design, and infographics to expand your skills. Many creators offer free and paid courses online to help you master PowerPoint.
Conclusion
Mastering PowerPoint slide design with interactive and animated elements takes your presentations to the next level. By following this detailed guide, you now know how to:
- Create appealing gradient backgrounds
- Insert and crop photos for perfect composition
- Add and align text elements effectively
- Cut out objects precisely using Photopea
- Position cutouts seamlessly over original images
- Make objects clickable with hyperlinks
- Apply Morph transitions for smooth animations
- Adjust slide layouts for focused content
- Fix common Morph transition issues
- Test and finalize your interactive slide design
These techniques empower you to create engaging, professional, and visually stunning PowerPoint presentations that captivate your audience and deliver your message effectively. Whether you’re presenting a business pitch, educational content, or creative portfolio, interactive slide designs make your PowerPoint stand out.
Experiment with different photos, color schemes, and animations to tailor your slides to your unique style and purpose. The more you practice, the more intuitive and enjoyable designing will become.
Happy designing and presenting!
Check out the full video: ANIMATED PowerPoint Slide Design ✨FREE✨


