Creating a visually compelling and informative project timeline slide is essential for presenting project progress clearly and professionally. Whether you’re managing a team, reporting to stakeholders, or planning your own tasks, a well-designed timeline slide can make all the difference in communication. In this comprehensive guide, we’ll walk you through the step-by-step process of designing an easy-to-make project timeline slide in PowerPoint that aligns with best practices in PowerPoint Slides Design.
This tutorial is crafted for anyone looking to enhance their PowerPoint skills and produce professional timelines without needing advanced design expertise. We’ll cover everything from choosing backgrounds and shapes to adding icons and task details, ensuring your timeline is both informative and visually engaging.
Table of Contents
- Why Project Timelines Matter in PowerPoint Slides Design
- Preparing Your Slide: Background and Title Setup
- Creating and Arranging Timeline Steps
- Adding a Weeks Table to Represent Project Duration
- Highlighting Progress with Shapes and Colors
- Adding Task Details for Each Step
- Using Icons to Enhance Visual Appeal
- Final Tips for PowerPoint Slides Design and Presentation
- Frequently Asked Questions (FAQ)
Why Project Timelines Matter in PowerPoint Slides Design
A project timeline is a visual representation of a project’s schedule, outlining key steps, deadlines, and milestones. It helps teams and stakeholders understand the flow of activities and monitor progress efficiently. In PowerPoint Slides Design, incorporating a clear timeline slide boosts the clarity of your presentation and makes complex schedules easier to grasp.
Timelines serve multiple purposes:
- Clarify project phases: Break down the project into manageable steps.
- Track progress: Show what has been completed and what remains.
- Communicate deadlines: Align everyone with key dates and deliverables.
- Enhance engagement: Visual elements keep your audience interested and focused.
With these benefits in mind, let’s dive into the practical steps to create a project timeline slide that you can customize for any project.
Preparing Your Slide: Background and Title Setup
The first step in your PowerPoint timeline design is setting up a clean and professional slide background and adding a clear title. Starting with a light background color ensures that your timeline elements stand out and maintain readability.
Step 1: Add a New Slide and Choose Background
- Open your PowerPoint presentation and add a new blank slide.
- Right-click on the slide background, select Format Background, and choose a light color. For example, an ice blue shade works well to create a calm, professional look.
Choosing a subtle background color helps your timeline elements pop without overwhelming the viewer.
Step 2: Insert and Format the Slide Title
- Go to the Insert tab and select Text Box. Click near the top center of the slide to place your title.
- Type the title, for example, Project Timeline.
- Center-align the text using the Home tab or the Shape Format > Align options.
- Choose a bold font and increase the font size to around 54 points for clear visibility.
- Optionally, customize the font color to match your theme, for example using green or blue tones.
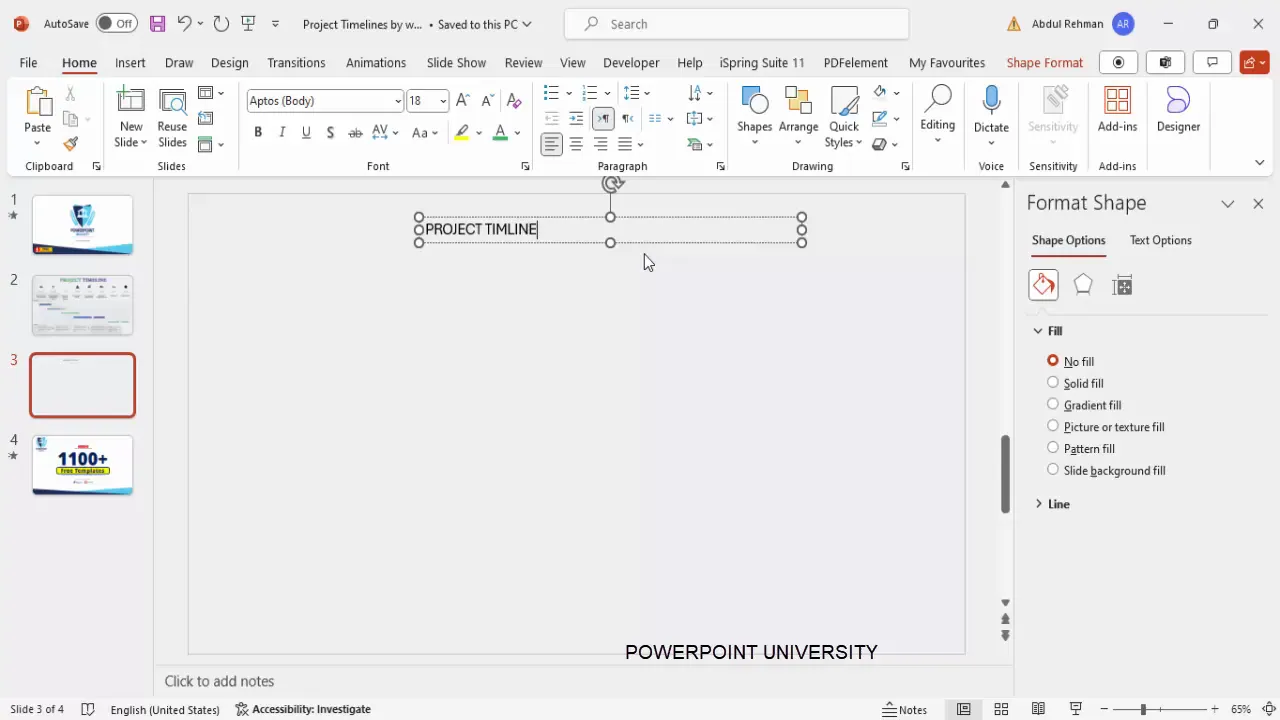
Having a bold, centered title sets the tone for your timeline and makes the slide easy to understand at a glance.
Creating and Arranging Timeline Steps
The core of your project timeline slide is the visual representation of project steps. Here, we’ll create oval shapes to represent each step, number them, and label them clearly.
Step 3: Insert Oval Shapes for Each Step
- Go to Insert > Shapes and select the Oval shape.
- Click and drag on the slide to create the first oval.
- Remove the shape outline by selecting No Outline from the Shape Format > Shape Outline menu.
- Fill the shape with a very light color, such as white or a subtle shade matching your background.
- Add a shadow effect for depth: Shape Format > Shape Effects > Shadow > Offset Bottom Left.
- Adjust the shadow size to height and width of 0.7 points for a subtle effect.
Step 4: Duplicate and Arrange the Ovals
- Select the first oval, then hold Ctrl + Shift and drag horizontally to duplicate it.
- Repeat until you have eight ovals for the eight steps.
- Select all eight ovals, then go to Shape Format > Align > Distribute Horizontally to space them evenly across the slide.
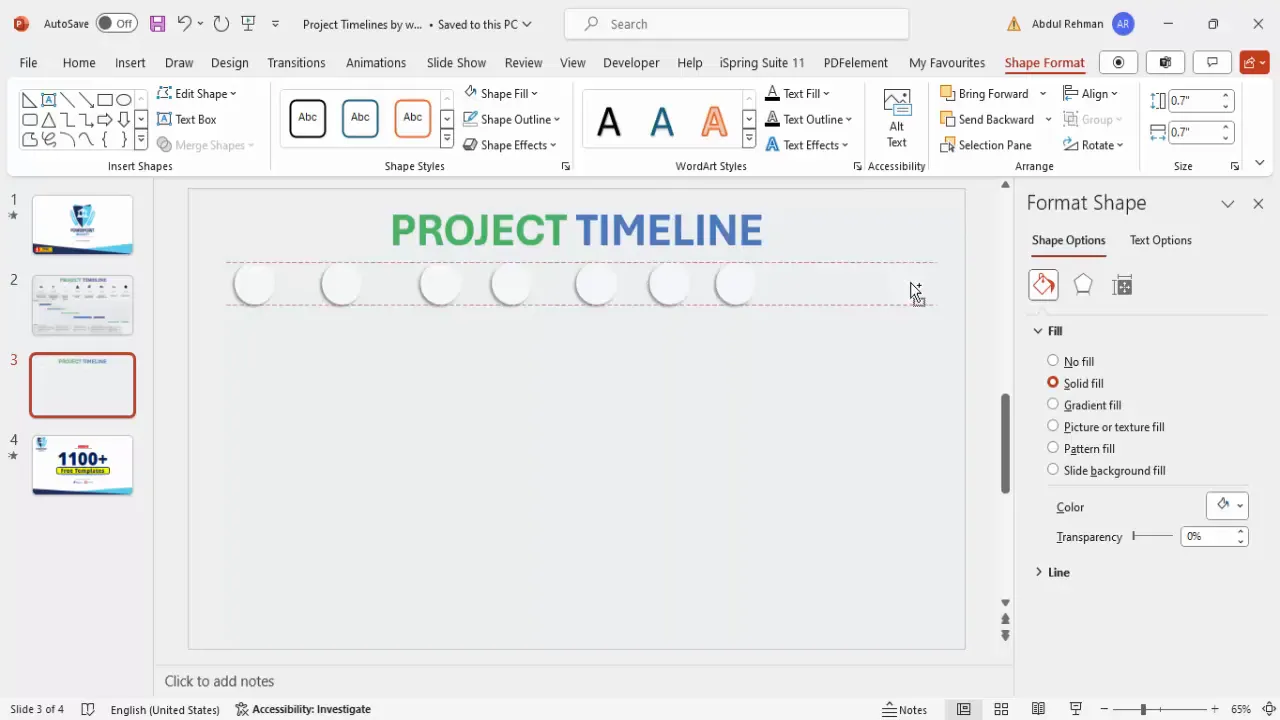
Even spacing and consistent shape size ensure your timeline looks tidy and professional.
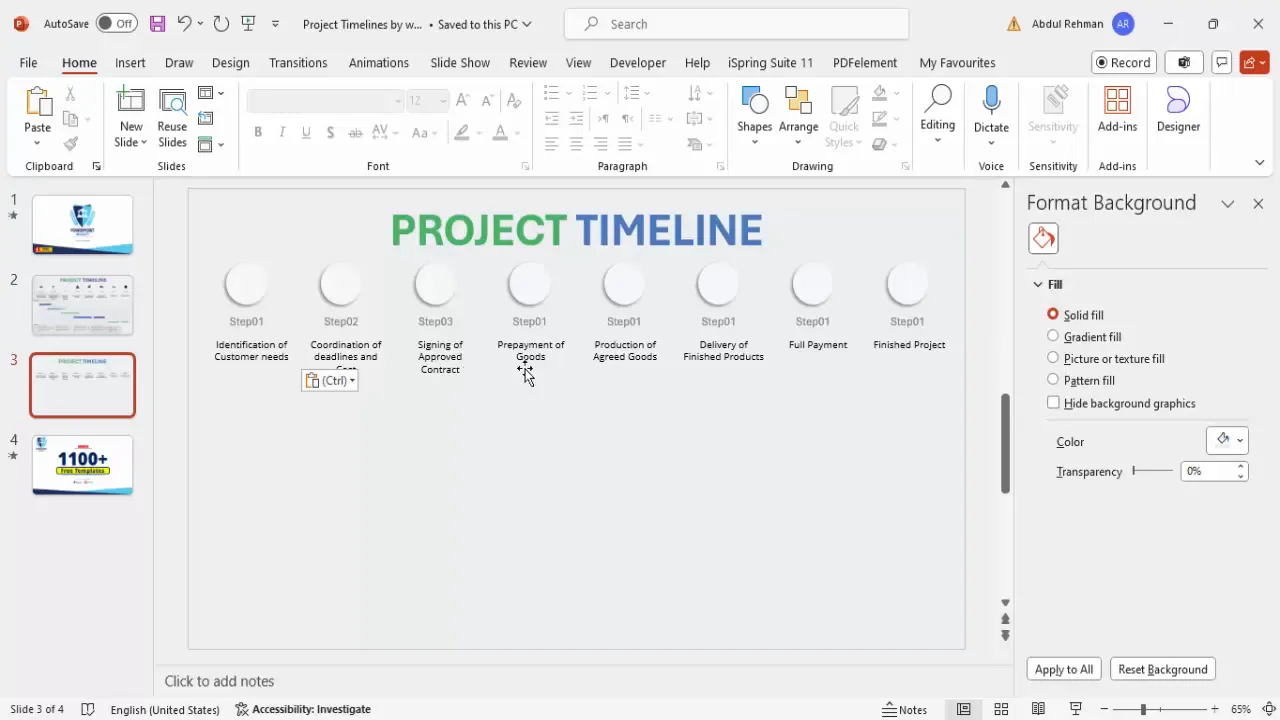
Step 5: Number Each Step
- Insert a text box above or inside each oval and type the step number (e.g., Step 01, Step 02, etc.).
- Center-align the text and use a smaller font size, such as 14 points, in a gray color for subtlety.
- Duplicate the text box for each step and update the numbering accordingly.
Step 6: Label Each Step
Next, add descriptive labels below each oval to clarify what each step involves. Examples might include:
- Identification of Customer Needs
- Coordination of Deadlines and Cost
- Signing of Approved Contract
- Delivery of Products
- Full Payment
- Project Closure
You can insert text boxes below each oval and adjust font size and color for readability.
Adding a Weeks Table to Represent Project Duration
To visually represent the project duration and deadlines, adding a table that shows the weeks is highly effective.
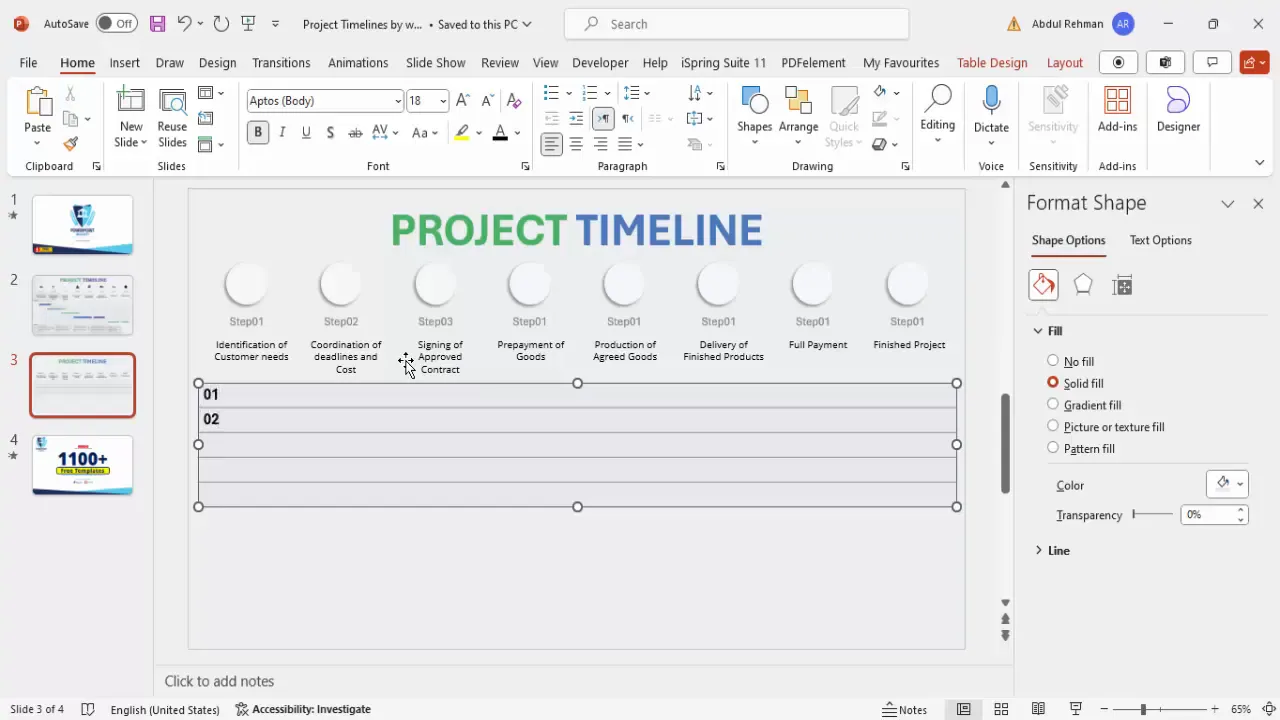
Step 7: Insert a Table for Weeks
- Go to Insert > Table and create a table with 2 columns and 5 rows (or more, depending on project length).
- Drag the table to the bottom corner of the slide.
- Adjust the left column width to be narrow; this column will hold the week numbers.
Step 8: Format the Table
- Go to the Table Design tab and uncheck Banded Rows and Header Row.
- Choose a light gray pen color for table borders.
- Remove all borders first by selecting No Borders.
- Add only inside horizontal borders for row separation.
- Center-align the text both vertically and horizontally.
Step 9: Label the Table
- In the left column, type the week numbers (Week 1, Week 2, etc.).
- In the right column, leave space for progress bars or task highlights.
Highlighting Progress with Shapes and Colors
Highlighting the timeline progress visually communicates which steps are scheduled for each week.
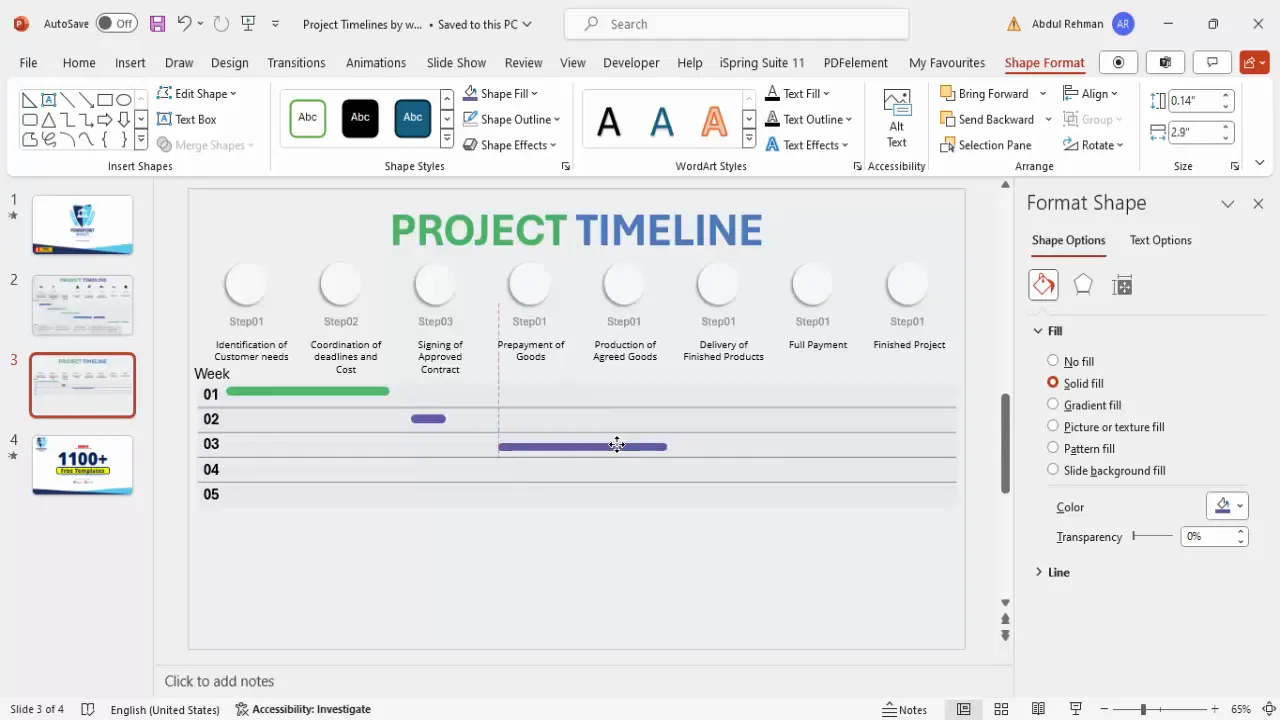
Step 10: Use Rounded Rectangles for Progress Bars
- Go to Insert > Shapes and select the Rounded Rectangle.
- Draw a rectangle inside the table cells corresponding to the weeks when a step is in progress.
- Remove the shape outline and fill with a distinct color like green to indicate completion or focus.
- Adjust the length of the rectangle to span multiple weeks if needed, showing the duration of the step.
Step 11: Duplicate and Color-Code
- Use Ctrl + D to duplicate the progress bars for other steps.
- Adjust their placement to match the timeline schedule.
- Apply different colors for various tasks to visually separate them.
Adding Task Details for Each Step
Providing task details below the timeline helps clarify what each step entails, adding depth and context to the timeline slide.
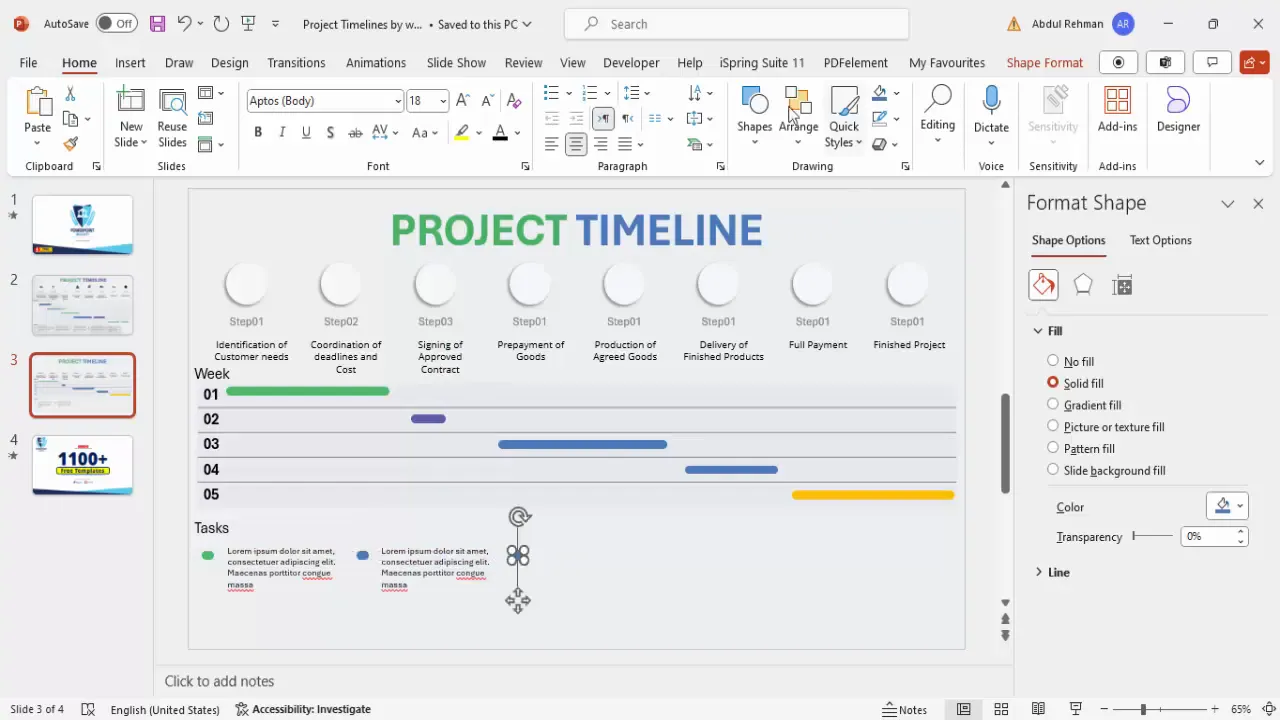
Step 12: Insert Task Detail Boxes
- Insert a text box below the weeks table area and label it Tasks.
- Create smaller text boxes matching the colors of your progress bars to indicate task descriptions for each step.
- Type brief task information, using concise bullet points or short sentences.
- Adjust the font size to keep it readable but not overwhelming (around 10-12 points).
Step 13: Align and Color-Code Task Details
- Align each task box horizontally with its corresponding progress bar.
- Use matching colors to reinforce the connection between the timeline step and task details.
Using Icons to Enhance Visual Appeal
Icons are a powerful way to visually represent concepts and make your timeline more engaging and easier to understand at a glance. Adding relevant icons next to each step label adds professionalism and clarity.

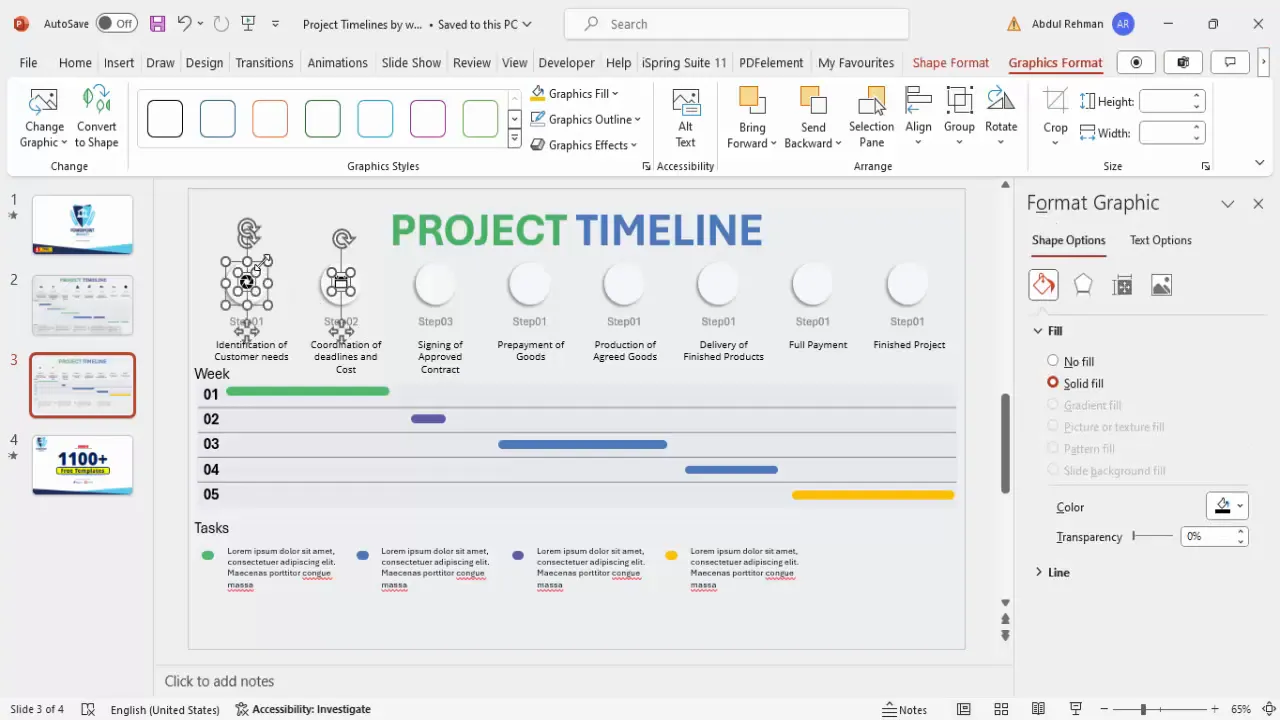
Step 14: Insert Icons for Each Step
- Go to Insert > Icons and search for icons matching your step descriptions, such as a calendar for deadlines or a pen for signing contracts.
- Select and insert icons for each step.
- Resize the icons to around 0.3 to 0.4 points in height and width for a balanced look.
- Position the icons near the corresponding step labels or inside the oval shapes.
Step 15: Align Icons for Consistency
- Select icons and text boxes together and align them centrally using Shape Format > Align > Align Center.
- Ensure consistent sizing and spacing across all icons for a clean design.
Final Tips for PowerPoint Slides Design and Presentation
Now that your project timeline slide is complete, here are some essential tips to polish and optimize your slide for presentation:
- Keep it simple: Avoid clutter by limiting text and using whitespace effectively.
- Use consistent fonts and colors: Stick to your project or brand’s color palette for a cohesive look.
- Check alignment: Use PowerPoint’s alignment tools to ensure all elements are perfectly spaced and centered.
- Test readability: View your slide on different screen sizes to ensure all text and icons are legible.
- Duplicate slides for variations: Use Ctrl + D to create versions with different progress stages or highlight specific parts.
- Save your work often: Back up your presentation frequently to avoid losing your design progress.
With these tips, your PowerPoint project timeline slide will look professional and help you communicate project progress clearly and effectively.
Frequently Asked Questions (FAQ)
Q1: How many steps should I include in my project timeline?
There is no fixed number, but typically 5 to 10 steps work well for clarity. Too many steps can clutter the slide, so group smaller tasks if needed.
Q2: Can I customize the colors and fonts in the timeline slide?
Absolutely! Customizing colors and fonts to match your brand or project theme enhances visual consistency and professionalism.
Q3: How do I show overlapping tasks or concurrent activities?
Use progress bars of varying lengths and positions on the weeks table to represent overlapping timelines. Different colors can also help differentiate concurrent tasks.
Q4: Can I animate the timeline slide in PowerPoint?
Yes, PowerPoint supports animations. You can animate shapes, text, and icons to appear sequentially, helping guide your audience through the timeline step-by-step.
Q5: Are there free templates available for project timelines?
Yes, many websites offer free PowerPoint timeline templates. However, creating your own timeline as described allows for greater customization and understanding of the design.
Q6: How do I make sure my timeline is accessible?
Use high-contrast colors, readable font sizes (minimum 24 pt for headings and 18 pt for body text), and avoid overly complex visuals to maintain accessibility.
Q7: Can I use icons from outside PowerPoint?
Yes, you can import icons or images from external sources. Ensure they are high-quality and consistent in style with your presentation.
Q8: How do I align objects equally in PowerPoint?
Select multiple objects, then use Shape Format > Align > Distribute Horizontally or Distribute Vertically to space them evenly.
Q9: What if my project timeline is longer than five weeks?
Simply adjust the weeks table to include more rows and extend the progress bars accordingly. The design process remains the same.
Q10: How can I make my timeline slide stand out?
Use engaging colors, meaningful icons, subtle shadow effects, and clear labels. Avoid clutter and focus on simplicity and clarity.
By following this guide, you’ll be able to create a professional and visually appealing project timeline slide that elevates your PowerPoint Slides Design and effectively communicates your project’s progress.
Check out the full video: Easy to make Project timeline slide in PowerPoint


