
If you’re looking to level up your PowerPoint presentations and add sleek, modern animations that captivate your audience, you’ve come to the right place. In this comprehensive tutorial, I’ll walk you through how to create a stunning custom stretch photo morph transition combined with elegant glassmorphic cards—right inside PowerPoint. This effect not only looks professional but also adds a dynamic flow to your slides that will impress your viewers.
This tutorial is designed for users with access to PowerPoint 2019 or Microsoft 365, as it requires the Morph transition feature. Throughout this guide, I’ll share practical tips, step-by-step instructions, and design insights to help you replicate this trendy effect with ease. Whether you’re a beginner or an intermediate PowerPoint user, by the end of this article, you’ll have the skills to create your own custom morph transitions and glassmorphic visuals that can elevate any presentation.

Table of Contents
- Introduction to the Custom Stretch Photo Morph Transition
- Step 1: Setting Up Your PowerPoint Presentation
- Step 2: Inserting and Preparing Your Photos
- Step 3: Creating the Stretch Photo Morph Transition
- Step 4: Designing Glassmorphic Cards
- Step 5: Duplicating and Positioning Cards Across Slides
- Step 6: Finalizing the Presentation and Testing the Animation
- Tips for Enhancing Your PowerPoint Animations
- Frequently Asked Questions (FAQ)
- Conclusion
Introduction to the Custom Stretch Photo Morph Transition
Transitions in PowerPoint are a powerful way to make your slides feel more connected and visually interesting. The Morph transition, in particular, allows you to animate smooth movement and transformation of objects between slides. By leveraging this feature creatively, you can achieve a unique “stretch photo” effect where photos appear to stretch and slide seamlessly from one slide to the next.
Along with this animated transition, the addition of glassmorphic cards adds a modern, translucent design element that’s become quite popular in UI/UX design. These cards mimic frosted glass with blurred backgrounds and subtle gradients, making your content pop while maintaining a sleek, soft aesthetic.
Step 1: Setting Up Your PowerPoint Presentation
Before diving into animations and effects, it’s important to set up your presentation correctly. Here’s what you need to do:
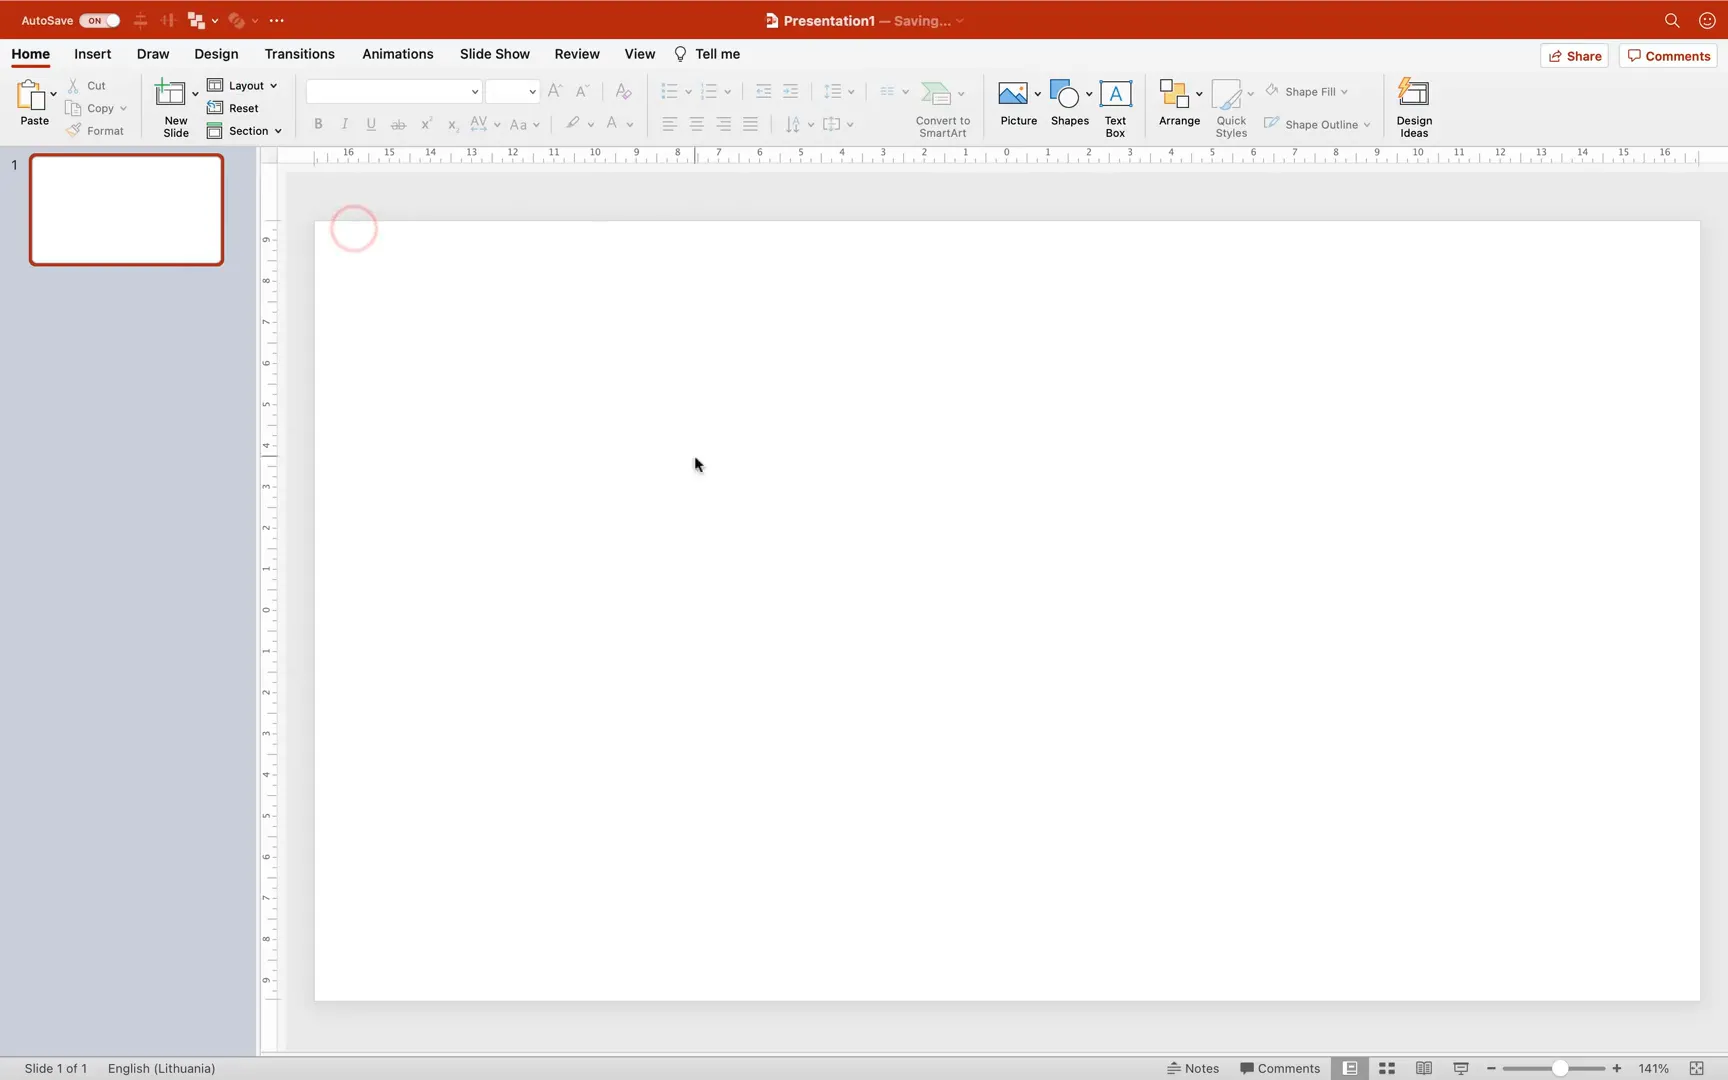
- Open PowerPoint and create a new presentation. Choose a blank slide layout to give yourself a clean canvas.
- Ensure you have access to the Morph transition. This feature is available in PowerPoint 2019 and Microsoft 365. If you don’t see it, you may need to update your software.
- Set the slide background color to black. This helps avoid any unwanted white edges during the transition animation, keeping your visuals clean and polished.
Step 2: Inserting and Preparing Your Photos
The core of the stretch morph transition relies on full-screen photos that will stretch and slide across the slides. Here’s how to prepare them:
- Choose your photos. I recommend using high-quality images from sources like Unsplash. For this tutorial, I used three vibrant photos that complement each other well.
- Insert your photos into your slides. Go to the Insert tab, select Picture from File, and choose your first photo.
- Resize photos to fill the slide. Hold down the Shift and Control keys (Cmd on Mac) to resize your photo proportionally from the center. Make sure the photo covers the entire slide area.
- Crop to the 16:9 aspect ratio. This standard widescreen ratio ensures your photos fit perfectly within the slide dimensions.
- Repeat for the second and third photos. Insert them into separate slides, resize and crop each one to 16:9.
By the end of this step, you will have three slides, each with a full-screen photo ready for the morph transition.

Step 3: Creating the Stretch Photo Morph Transition
Now comes the exciting part: creating the custom stretch photo transition. This involves duplicating photos across slides and stretching them to create a dynamic morphing effect.
How to Build the Transition Between Slide 1 and Slide 2
- Copy the photo from Slide 2. Select the photo on Slide 2 and press Ctrl+C (Cmd+C on Mac) to copy.
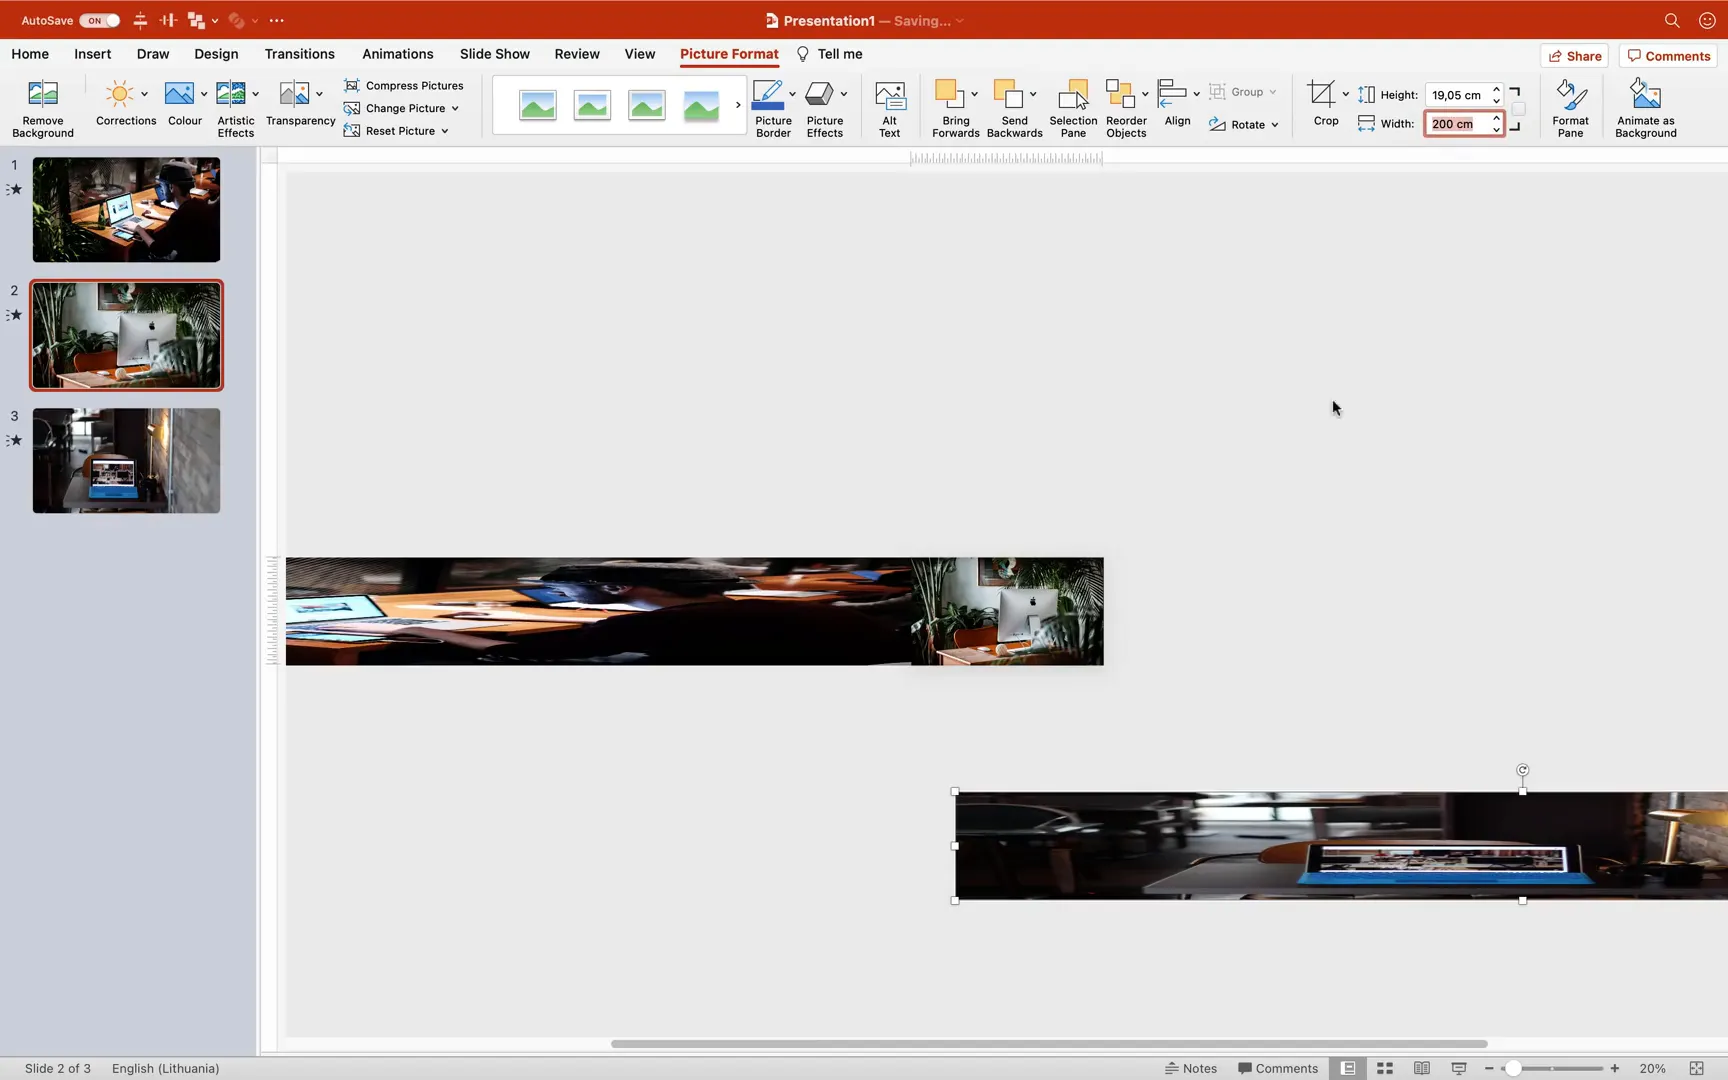
- Paste the photo onto Slide 1. Go to Slide 1 and paste the copied photo. Position this photo on the right side, just outside the slide boundary.
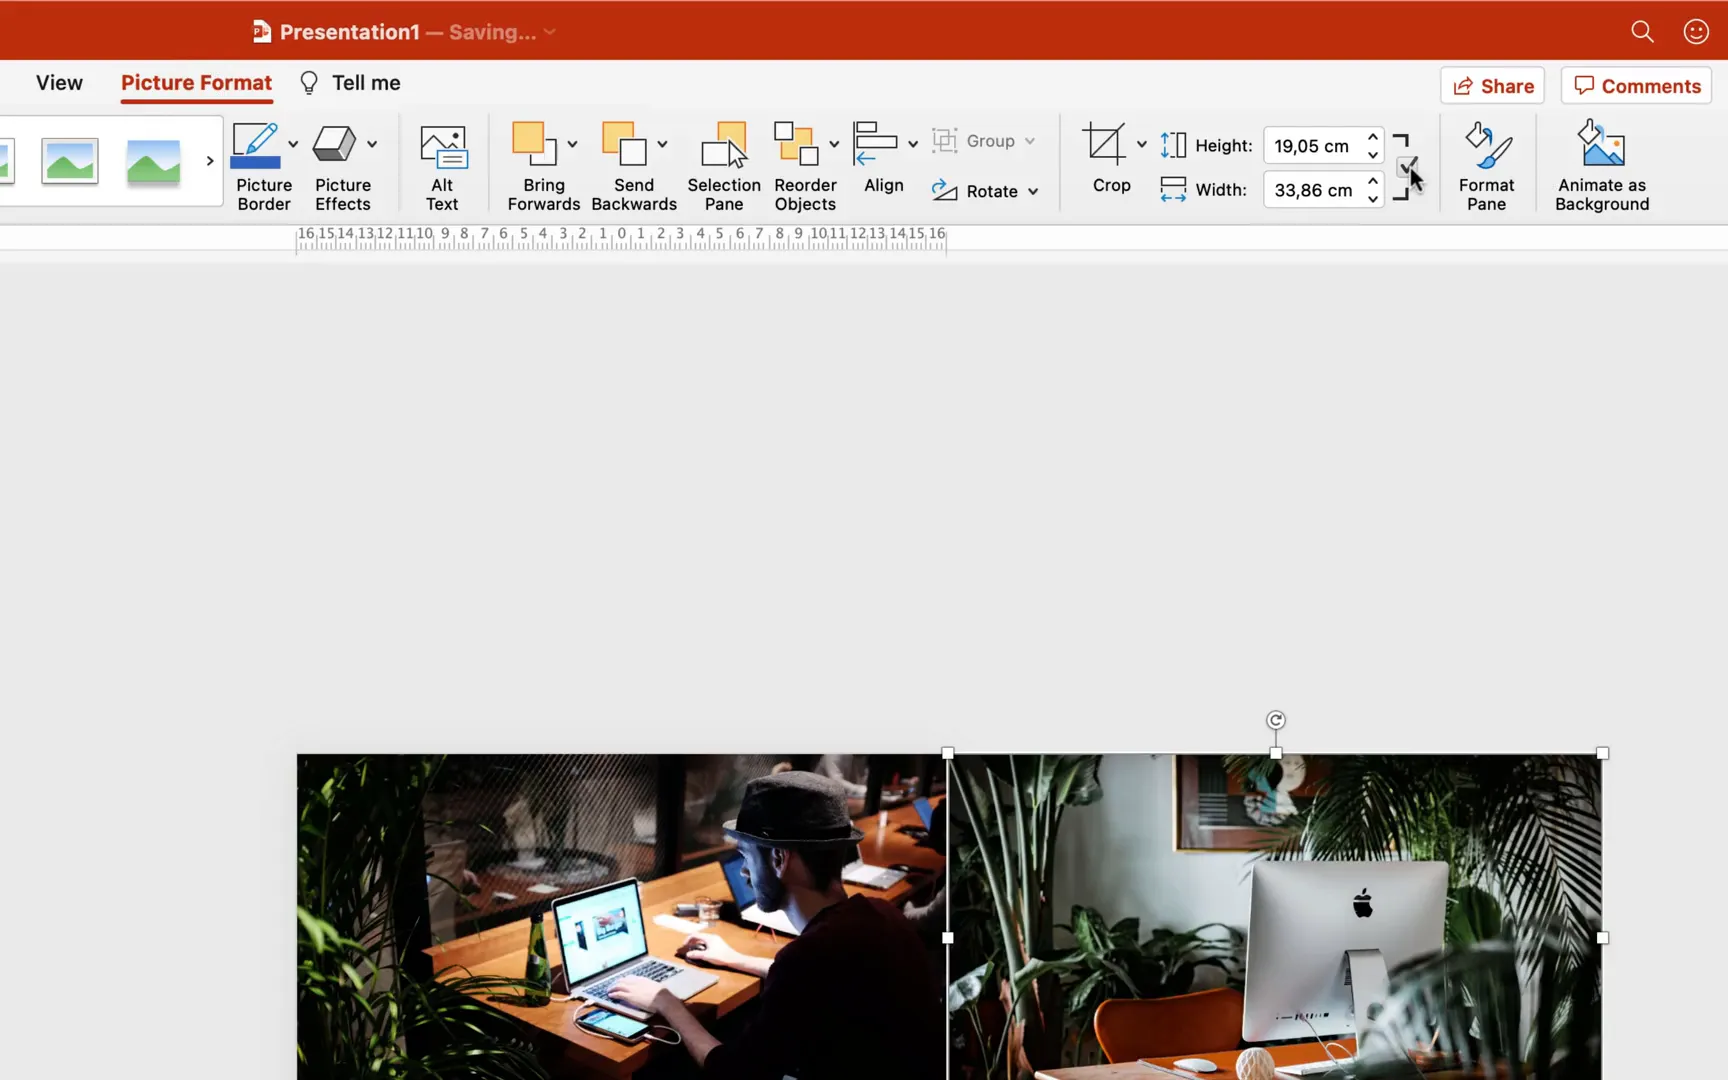
- Stretch the pasted photo. Unlock the aspect ratio in the size settings and increase the width drastically (e.g., 200 cm). This stretches the photo horizontally.
- Ensure the original photo on Slide 1 covers the full slide. This will be the base image visible in the slide window.
- Copy the photo from Slide 1 to Slide 2. Paste it onto Slide 2 and position it on the left side, just outside the slide boundary.
- Stretch this photo on Slide 2. Again, unlock the aspect ratio and increase the width to 200 cm, attaching the photo to the left side.
With these steps, Slide 1 will have the original photo and a stretched photo from Slide 2 on the right, while Slide 2 will have the original photo and a stretched photo from Slide 1 on the left.
Applying the Morph Transition and Adjusting Settings
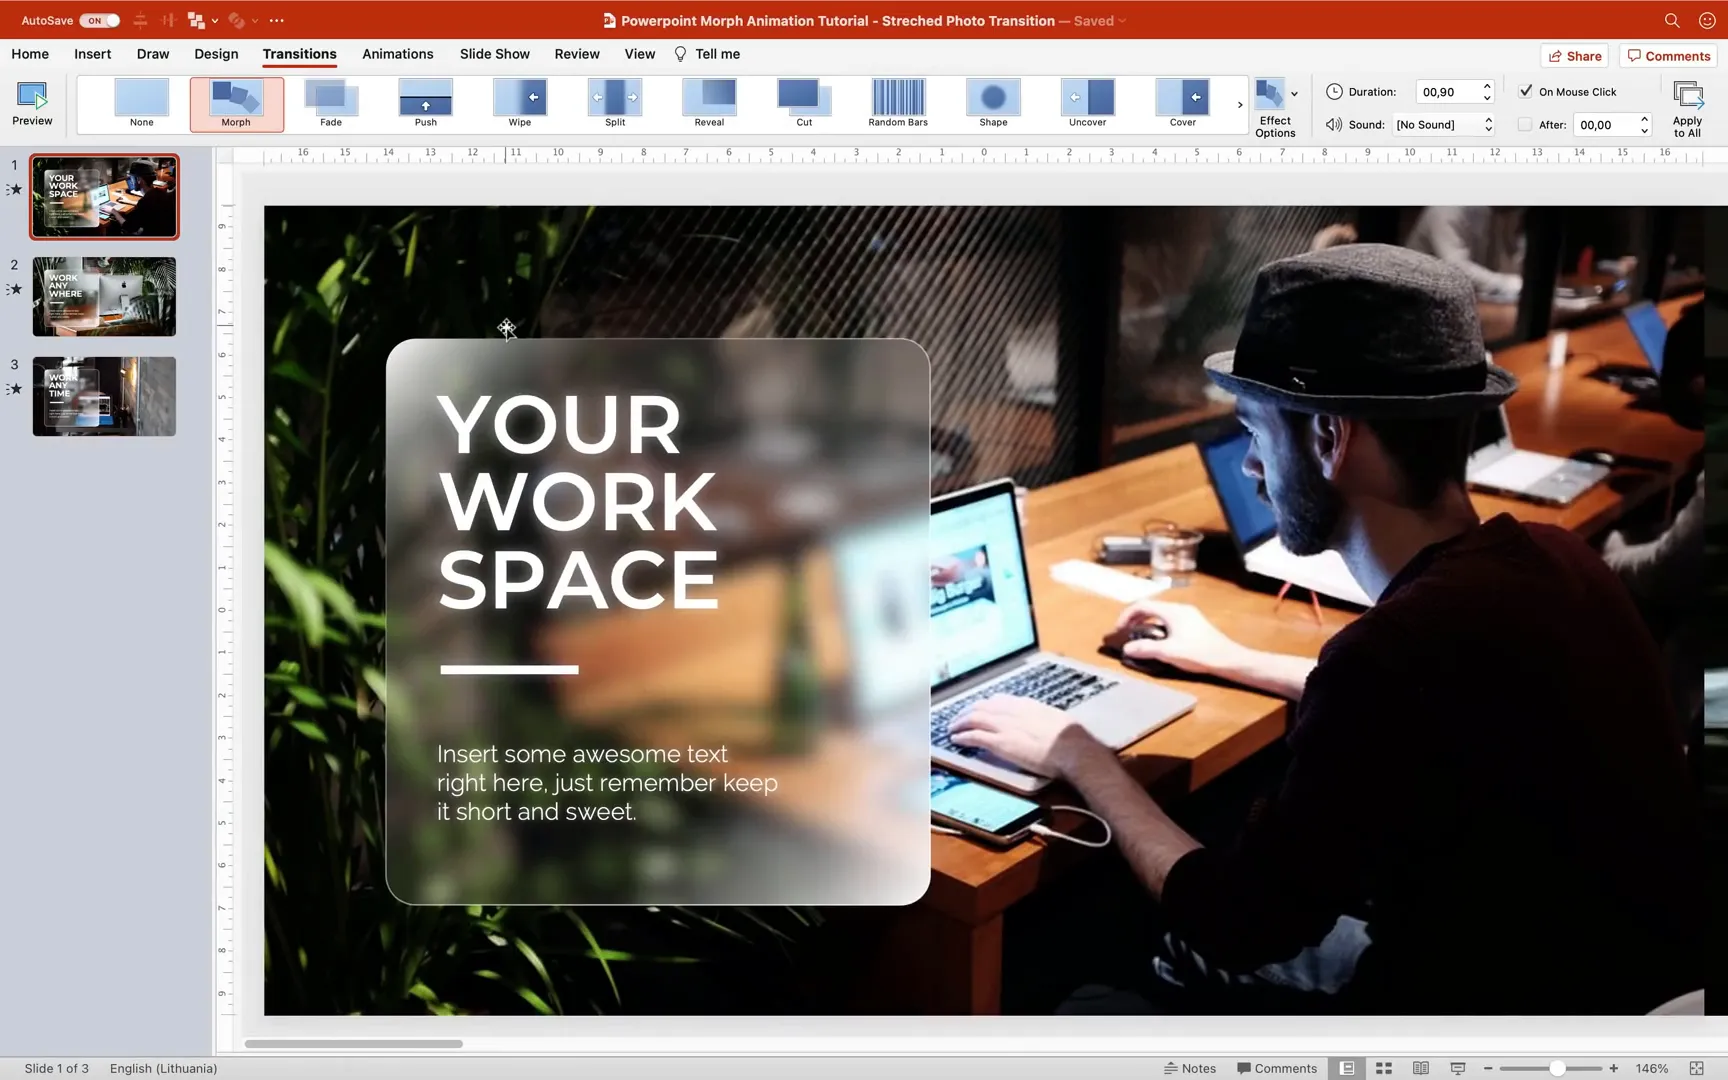
- Select Slide 1 and Slide 2. Apply the Morph transition to both slides.
- Set the transition duration. I recommend shortening the duration to 0.9 seconds for a faster, smoother effect.
- Test the transition in full screen. You should see the photo stretching and sliding seamlessly from Slide 1 to Slide 2.
- Fix any white edges. If you notice white edges appearing during the transition, double-check that your slide background is set to black and that the stretched photos extend beyond the slide borders.
Extending the Transition to Slide 3
To connect Slide 2 and Slide 3 with the same stretch photo morph effect, repeat the process:
- Copy the photo from Slide 2 and paste it into Slide 3, attaching it to the left side and stretching it to 200 cm width.
- Copy the photo from Slide 3 and paste it into Slide 2, attaching it to the right side and stretching it similarly.
- Ensure Slide 2 now contains two stretched photos on its sides, ready for morphing transitions to both Slide 1 and Slide 3.
- Apply the Morph transition to Slides 2 and 3 and verify the effect.
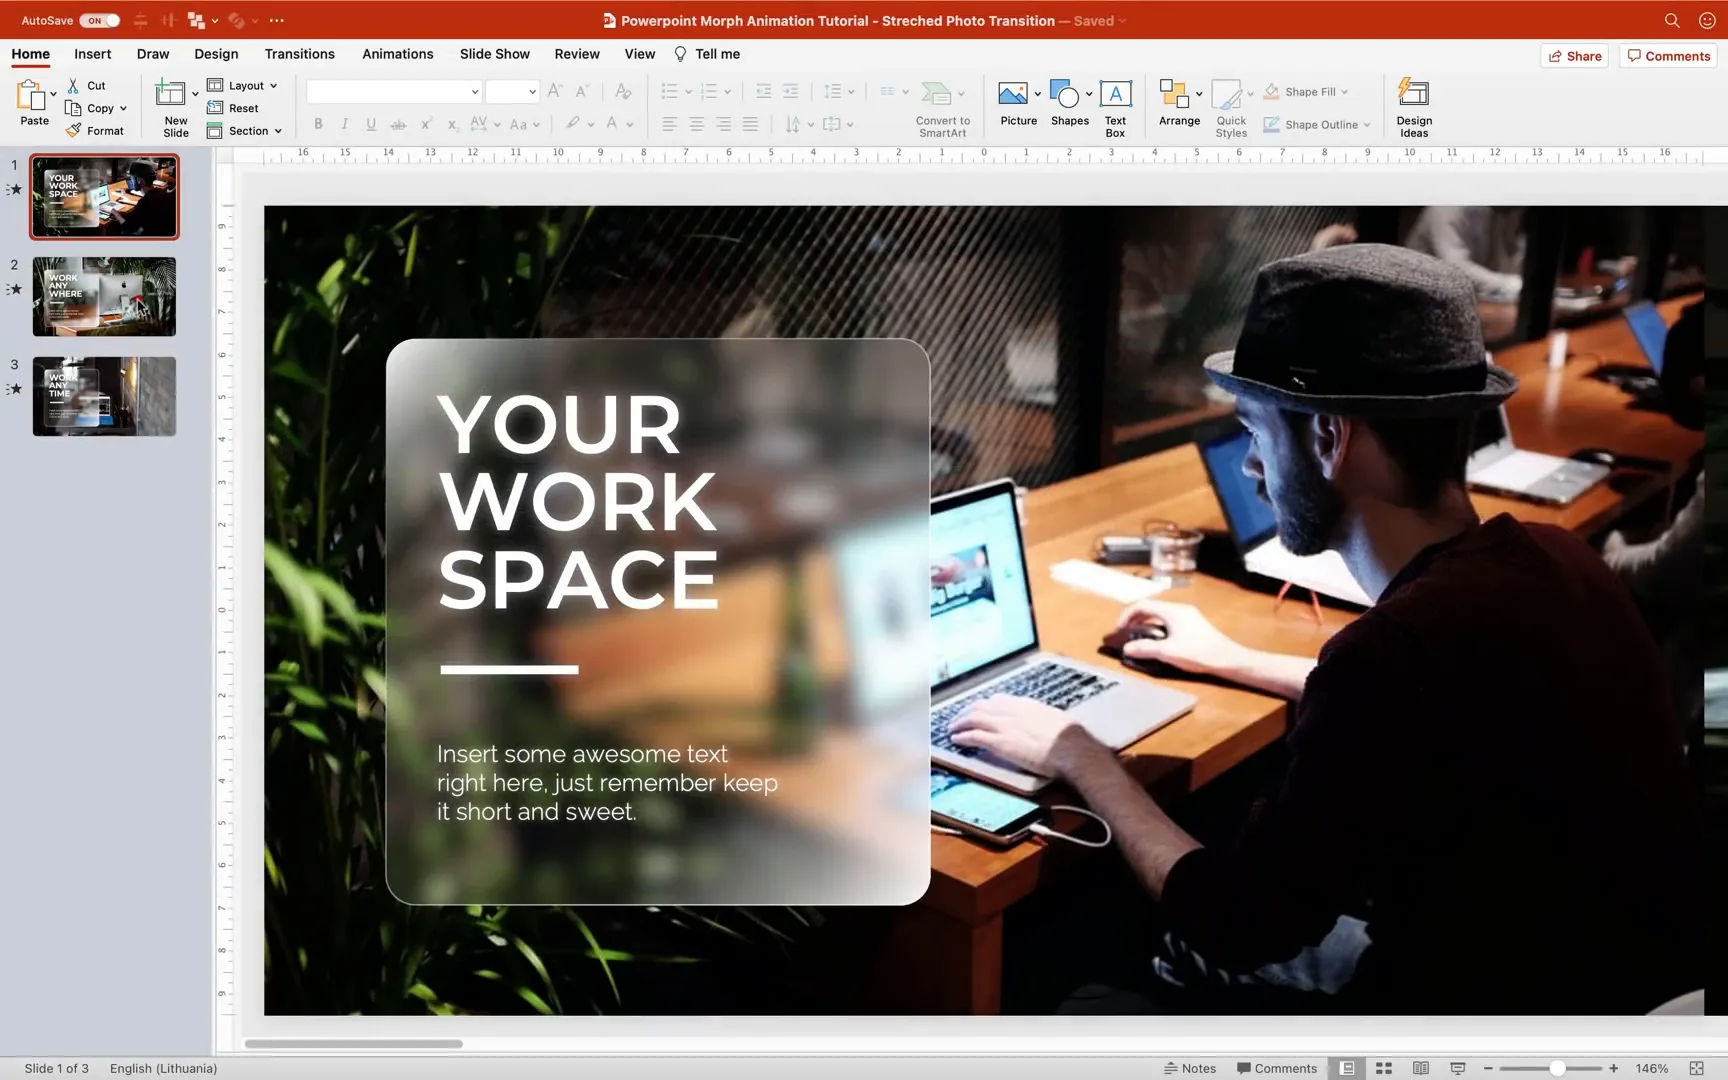
Step 4: Designing Glassmorphic Cards
Glassmorphism is a design trend that uses translucent, frosted glass-like elements with subtle shadows and blurred backgrounds. Adding glassmorphic cards to your presentation creates a stylish, modern look that complements your photo morph transitions beautifully.
Creating the Glassmorphic Card Shape
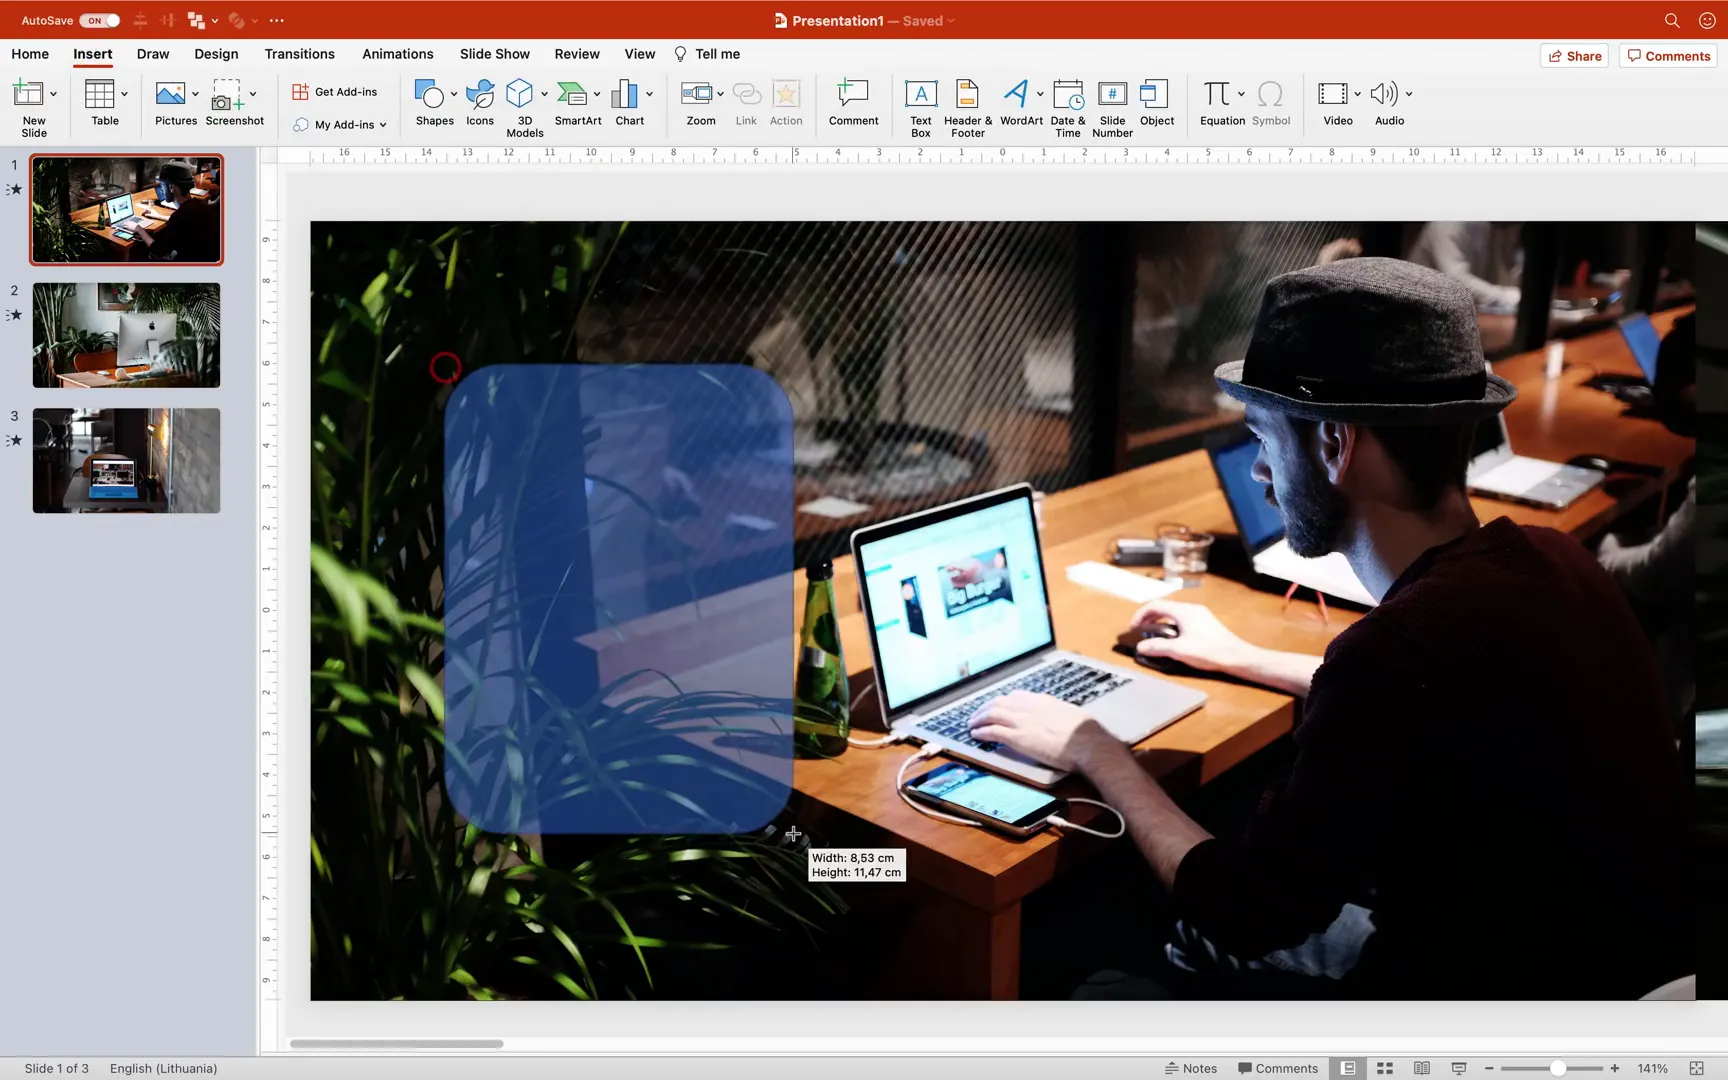
- Insert a rounded rectangle shape. Go to Insert > Shapes and select Rounded Rectangle.
- Set the size. Make the rectangle approximately 13 cm high and 12 cm wide.
- Adjust corner roundness. Modify the roundness slider to your liking for smooth, rounded corners.
- Set the outline color. Choose white for the outline and set its transparency to 50% for a subtle border.
Applying Gradient Fill with Transparency
To simulate the frosted glass effect, use a white gradient fill with varying transparency stops:
- Open the Fill options. Select the rounded rectangle and go to Fill settings.
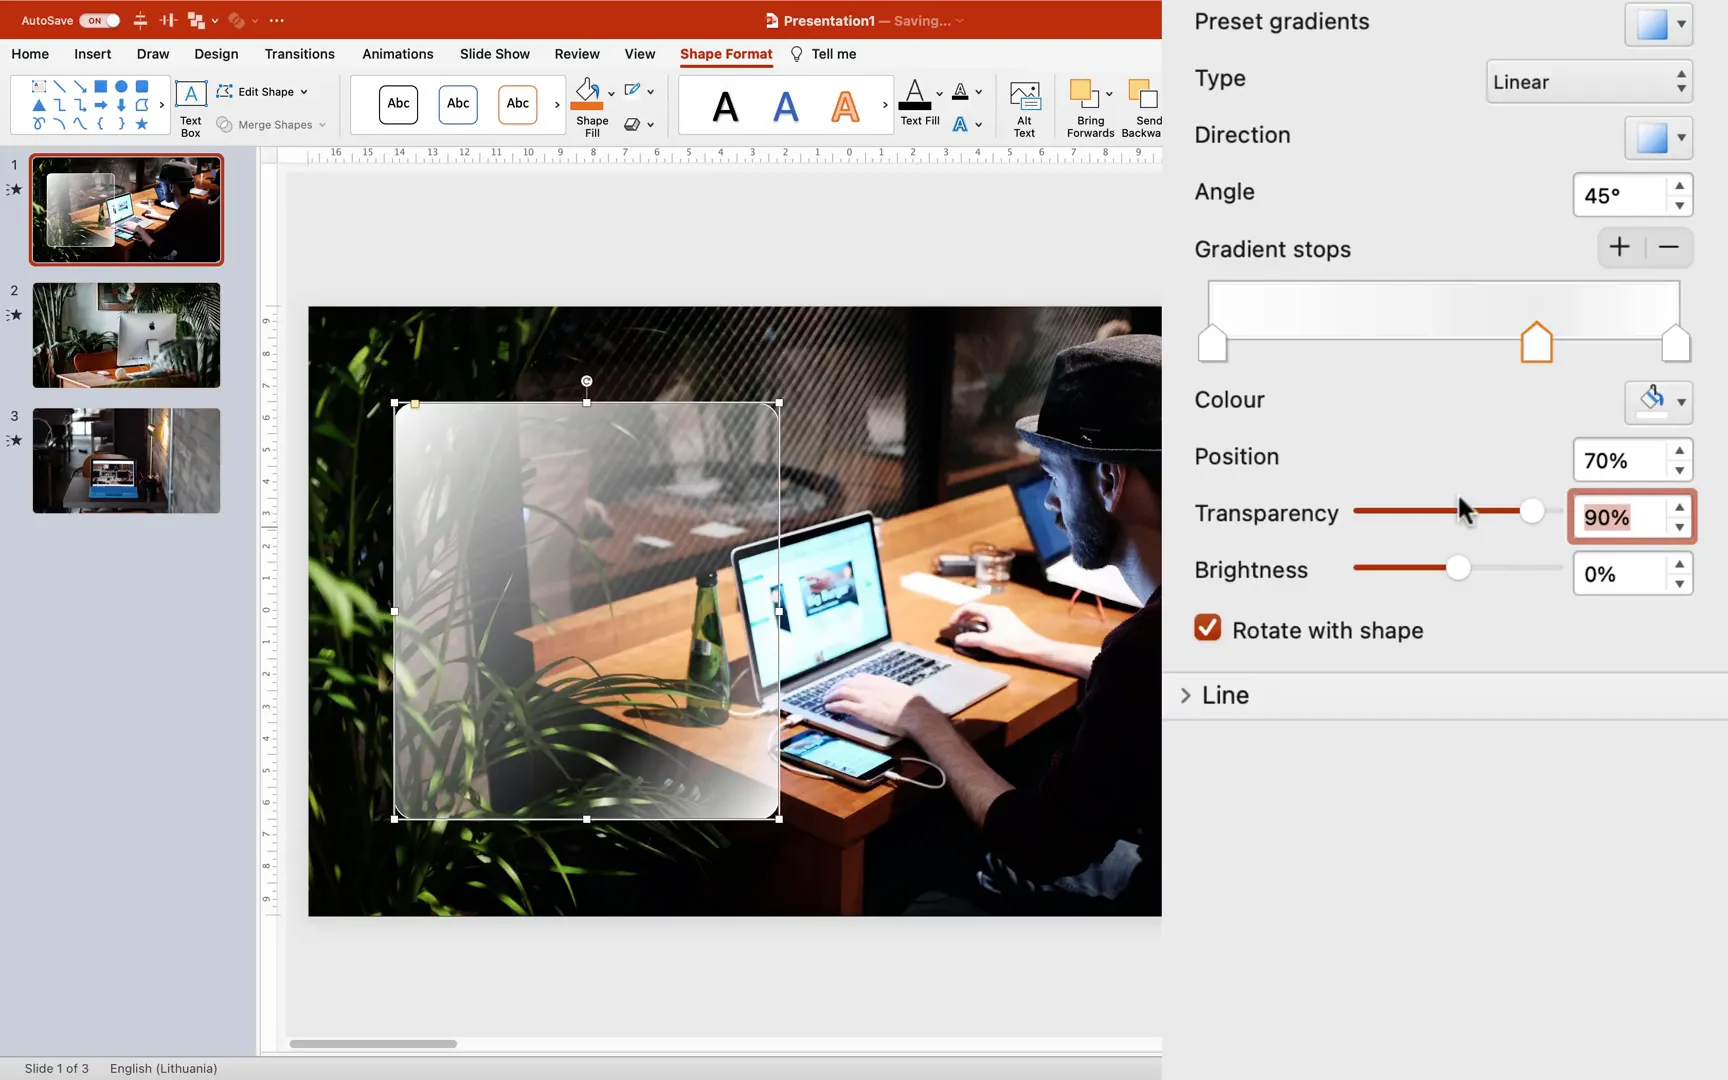
- Choose Gradient Fill. Set the direction to 45 degrees.
- Add color stops. Start with two stops at 100% white opacity.
- Add two more stops at positions 17% and 20%. Set these stops to 90% transparency for the frosted effect.
This gradient produces a smooth transition from fully opaque white to highly transparent white, mimicking the look of glass.
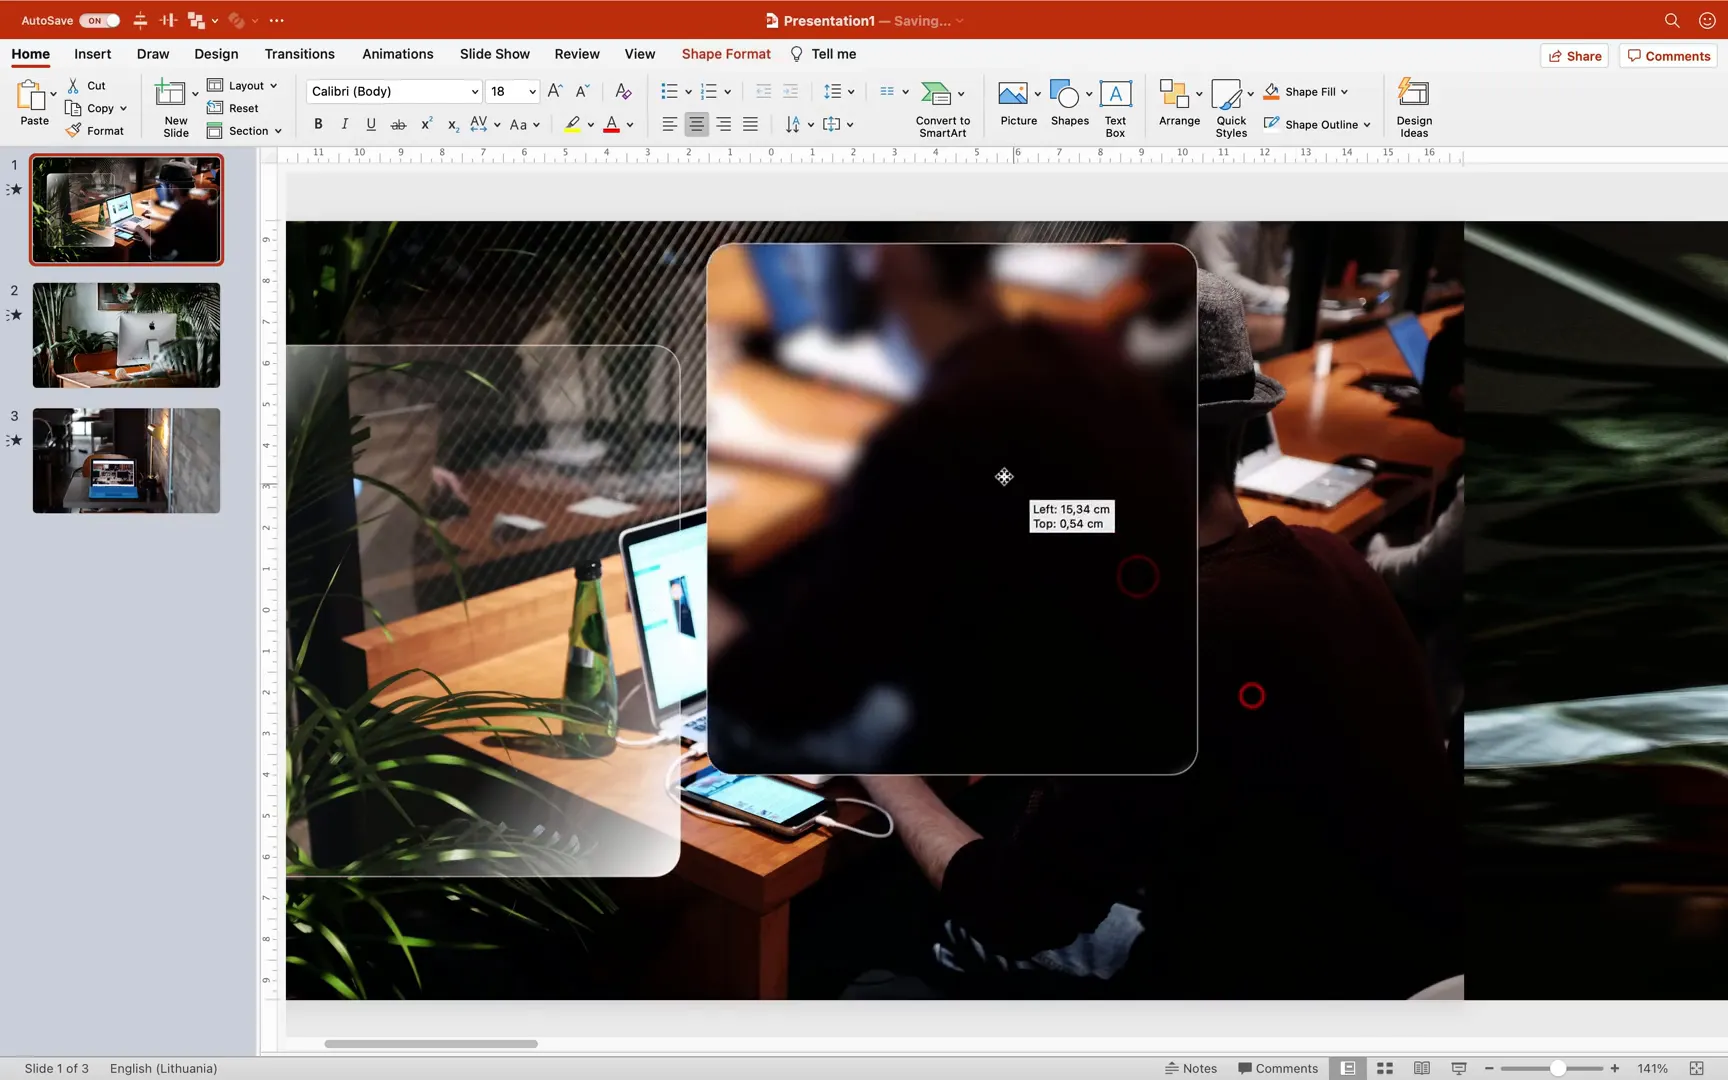
Creating the Blurred Background
The glassmorphic look relies heavily on a blurred background behind the card. Here’s how to achieve that:
- Select the photo on your slide.
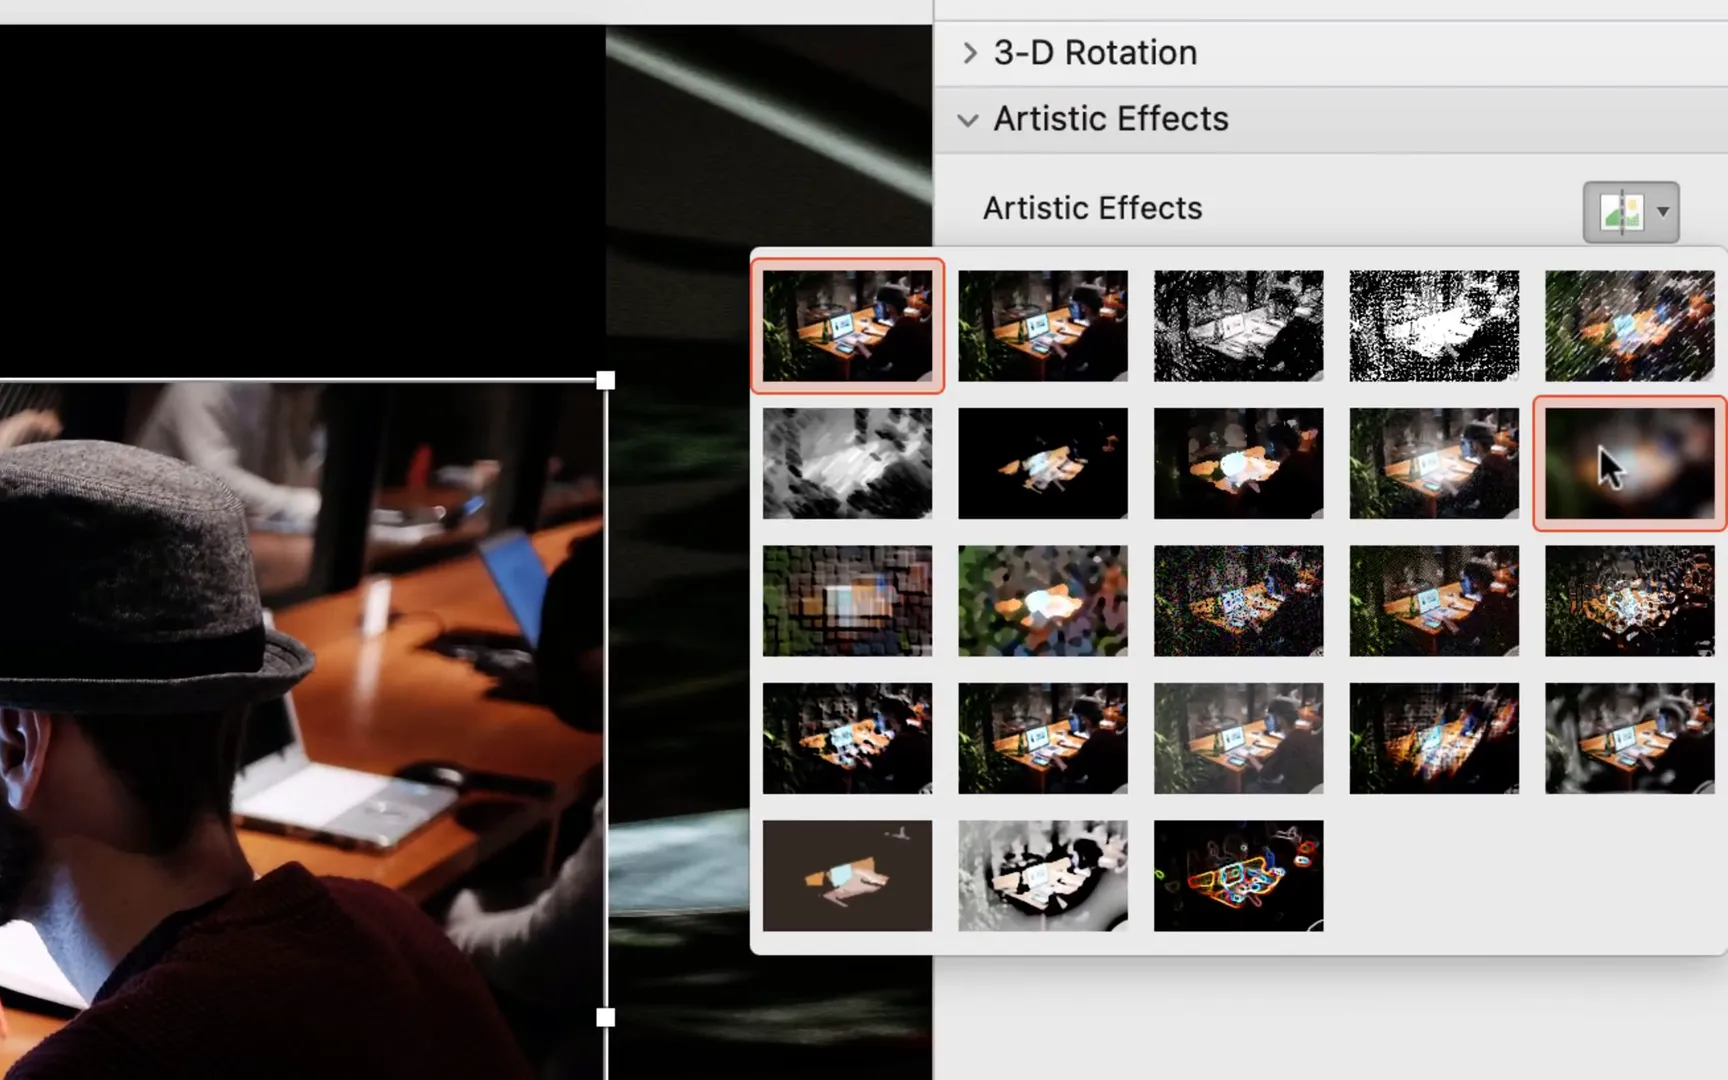
- Apply the Blur Artistic Effect. Go to Picture Format > Artistic Effects and select Blur. Set the radius to 50 for a strong blur.
- Copy the blurred photo. Press Ctrl+C (Cmd+C on Mac) to copy.
- Set the blurred photo as the slide background. Go to Slide Background Fill > Picture or Texture Fill and paste from clipboard.
- Reset the original photo. This removes the blur effect from the photo on the slide, keeping only the background blurred.
This technique allows the glassmorphic card to “see” the blurred background through its translucent fill, creating a realistic frosted glass appearance.

Combining Shapes and Background for the Glassmorphic Card
- Duplicate the rounded rectangle. Hold Ctrl (Cmd) and drag to create a copy.
- Bring the copy to the front. Make sure the duplicated shape is in front of the original.
- Change the fill of the duplicated shape to Slide Background. This will make the shape take the blurred background as its fill.
- Remove the outline of the duplicated shape. This cleans up the card edges for a seamless look.
- Align the two shapes perfectly. When aligned, they create a single beautiful glassmorphic card with a blurred background and subtle white gradient.
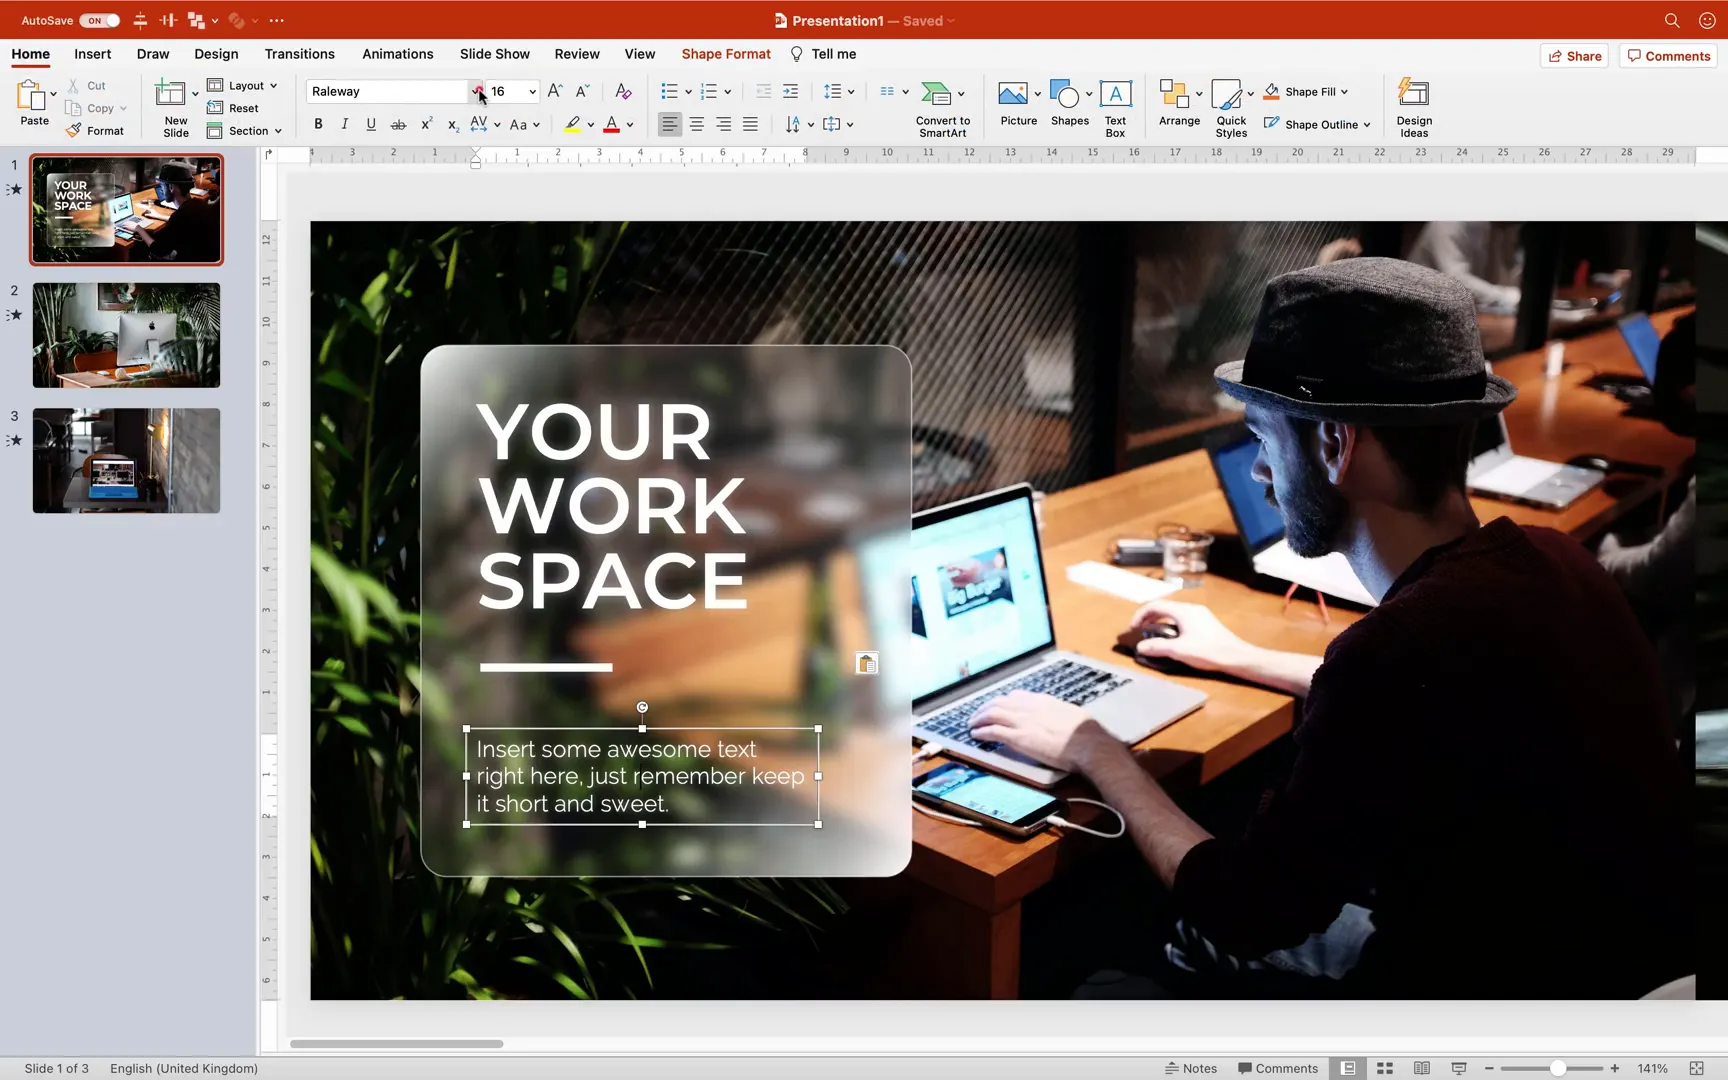
Adding Text and Details to Your Glassmorphic Cards
To complete the card design, add text and small decorative elements:
- Insert text boxes. Use a bold font like Montserrat Semi Bold for headings (around 54 pt) and a lighter font like Raleway Light for smaller text (around 16 pt).
- Add a small rectangle. This can act as a decorative accent or separator.
- Apply white shadows. For all text and shapes, add subtle white shadows with 60% transparency, size around 102, and blur about 15 points to make the text stand out softly.
- Group all elements. This makes it easier to move and duplicate the entire card as a single object.
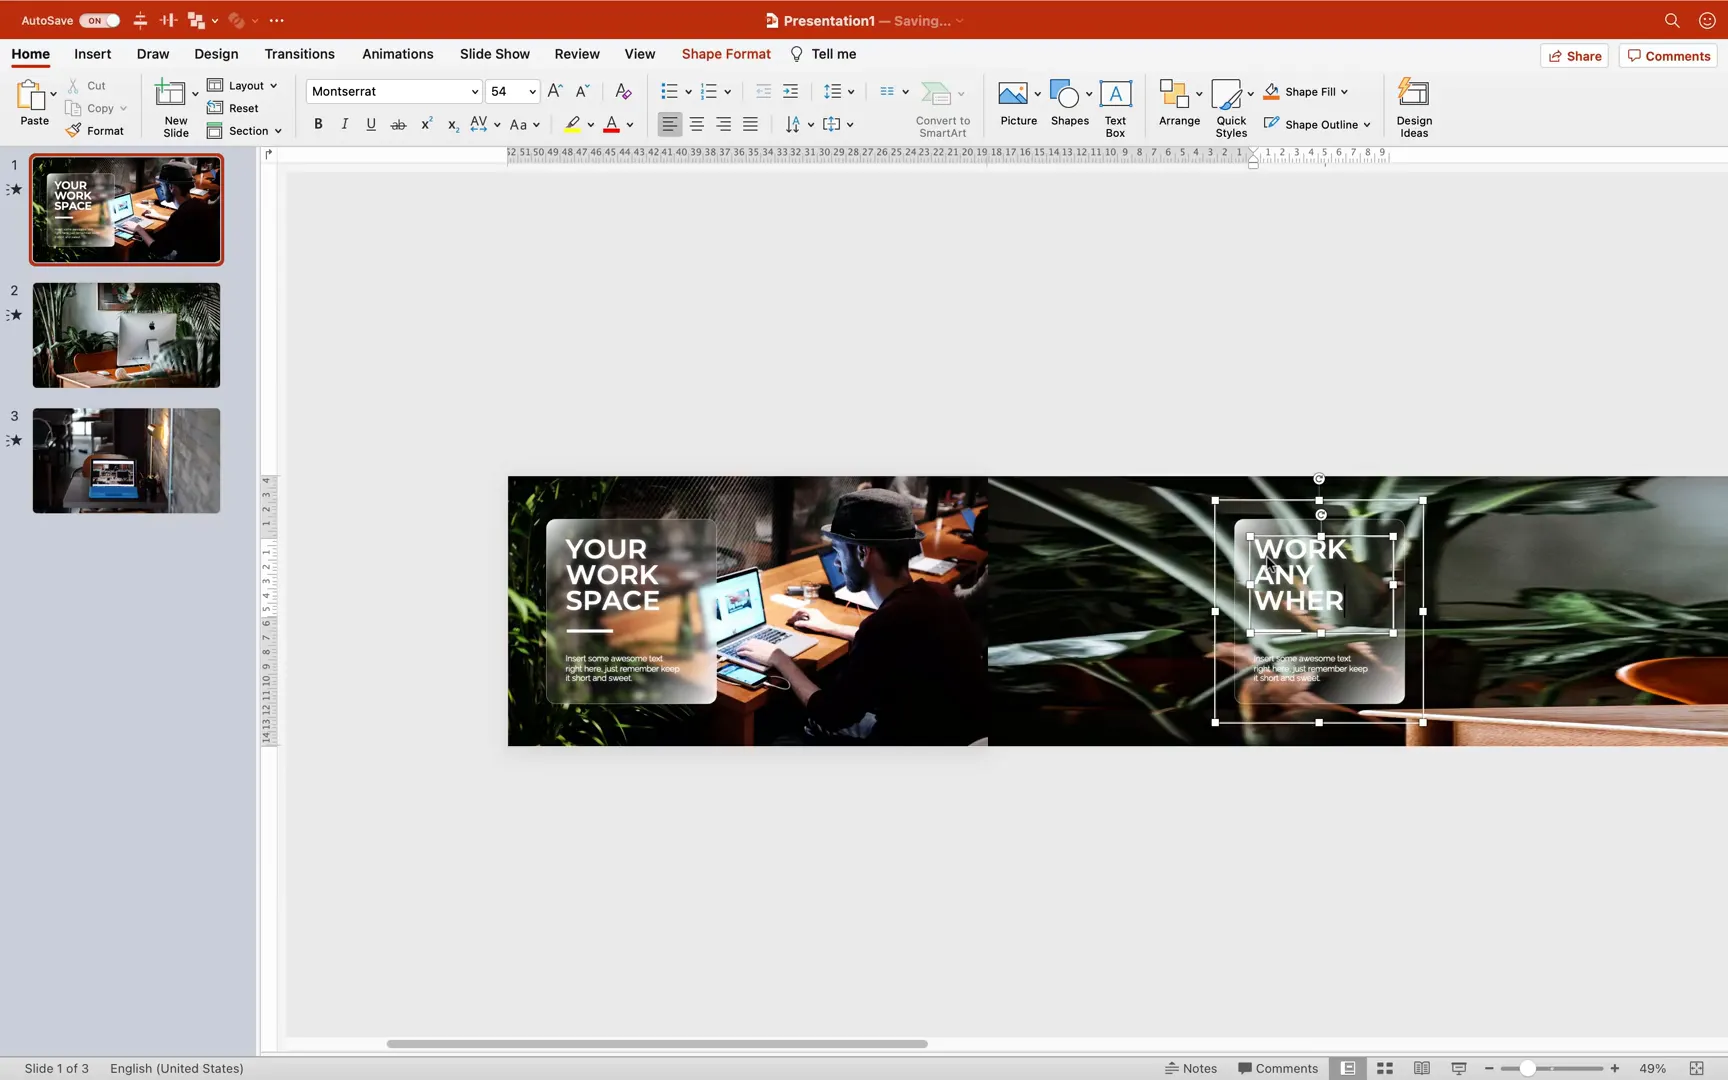
Step 5: Duplicating and Positioning Cards Across Slides
Once your first glassmorphic card is ready, duplicate it to create multiple cards with different text and positions:
- Duplicate the card. Hold Ctrl (Cmd) and drag the card to create a copy.
- Position the duplicate card. Place it over the stretched photo on the right side of your slide.
- Change the text. Customize the headings and descriptions to fit your content, such as “Work Anywhere.”
- Adjust line spacing. To create a tight text layout, set line spacing to multiple 0.8 in the paragraph settings. Experiment with this value for the desired effect.
- Copy the text boxes and cards to other slides. Paste and position them accordingly on Slide 2 and Slide 3, creating a consistent design look across your presentation.
Step 6: Finalizing the Presentation and Testing the Animation
After setting up all slides with stretched photos, morph transitions, blurred backgrounds, and glassmorphic cards, it’s time to preview your work:
- Start the slideshow from the first slide.
- Watch the photo stretch morph transitions. Photos should stretch smoothly from one slide to the next without any glitch or white edges.
- Observe the glassmorphic cards. They should appear to fly in and out beautifully, maintaining the frosted glass effect with blurred backgrounds.
- Make any adjustments as needed. Tweak timings, positions, or blur radius to perfect the look and feel.

Tips for Enhancing Your PowerPoint Animations
- Use high-quality images. Crisp photos make the stretch morph transition look professional and impactful.
- Keep your slide backgrounds consistent. Using a black background helps hide edges and creates a clean canvas for your animations.
- Experiment with morph transition durations. Shorter durations create snappier animations, while longer durations add a smooth, relaxed feel.
- Customize your glassmorphic cards. Play with gradient stops, transparency, and shadow settings to match your presentation’s style.
- Group and duplicate elements. This saves time and keeps your slides consistent.
Frequently Asked Questions (FAQ)
What version of PowerPoint do I need to create this effect?
You need PowerPoint 2019 or Microsoft 365, as the Morph transition feature is only available in these versions and later.
Can I use any photo for the stretch morph transition?
Yes, but it’s best to use high-resolution images with a 16:9 aspect ratio for optimal coverage and smooth stretching.
How do I fix white edges appearing during the transition?
Set your slide background color to black and ensure your stretched photos extend beyond the slide borders to cover any gaps.
Is there a way to customize the glassmorphic card size and shape?
Absolutely! You can adjust the size, corner roundness, and gradient fill stops to create different glassmorphic card styles that suit your presentation.
Can I add animations to the glassmorphic cards themselves?
Yes, you can apply entrance and exit animations such as fade, fly-in, or zoom to your glassmorphic cards to enhance the visual impact.
Conclusion
Creating a custom stretch photo morph transition combined with glassmorphic cards in PowerPoint is a fantastic way to bring your presentations to life. This tutorial has shown you how to prepare your photos, set up the morph transition, design stylish glassmorphic cards, and finalize your slides for a polished, professional look.
With these skills, you can transform static slides into dynamic, engaging stories that hold your audience’s attention. Whether you’re presenting at work, school, or online, these techniques will help you stand out and deliver your message with style.
Remember to experiment with different photos, card designs, and timings to make the effect your own. Happy presenting!
For more PowerPoint tips and tutorials, keep exploring and practicing. The possibilities with Morph transitions and creative design are endless!
Check out the full video: Powerpoint Animation Tutorial 🔥Morph Photo Transition🔥


