
Creating an engaging timeline slide in PowerPoint can transform your presentation, making complex processes and project milestones easy to follow and visually appealing. This comprehensive guide will walk you through designing a dynamic timeline slide featuring milestone markers, icons, shadow effects, and smooth animations—all within PowerPoint’s native tools. Whether you’re a beginner or an intermediate user, this tutorial will help you craft a timeline in PowerPoint that stands out.
This step-by-step walkthrough was inspired by a detailed tutorial from POWERPOINT UNIVERSITY, a trusted source offering over a thousand free PowerPoint templates and expert guidance. The techniques shared here not only boost the visual quality of your timelines but also improve the clarity and engagement of your presentation.
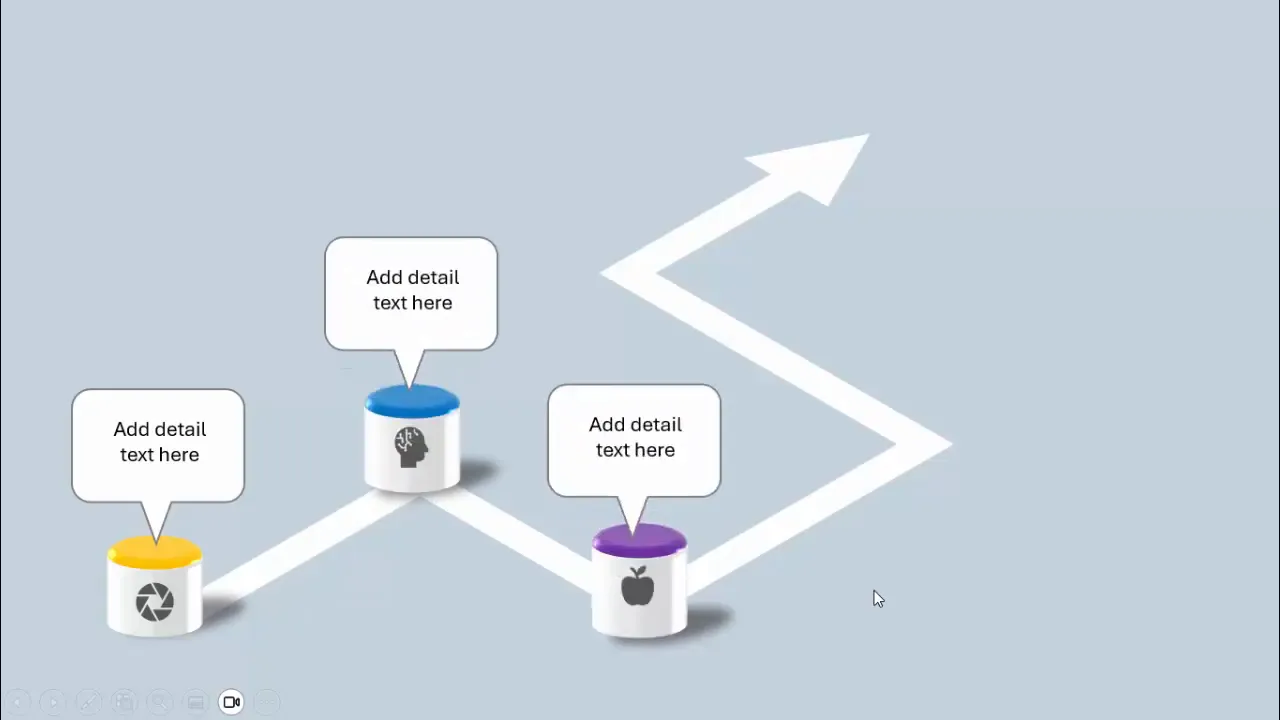
Table of Contents
- Introduction to Timeline Slides in PowerPoint
- Setting Up Your Slide Background and Guides
- Drawing the Timeline Path with Freeform Lines
- Creating and Styling Milestone Markers
- Adding Shadow Effects for Depth
- Incorporating Icons into Your Milestones
- Designing Text Boxes with Pointer Arrows
- Animating Your Timeline for Interactivity
- Frequently Asked Questions (FAQ)
- Conclusion
Introduction to Timeline Slides in PowerPoint
Timelines are a powerful visual tool to communicate sequences, project phases, historical events, or any information where chronology matters. A well-crafted timeline slide helps your audience quickly grasp the flow and key milestones without overwhelming them with text or complicated charts.
In PowerPoint, you can create professional timelines using built-in shapes, lines, icons, and animations without needing external software. This tutorial focuses on building a timeline slide that reveals milestones step-by-step on click, enhancing audience engagement and clarity.
Setting Up Your Slide Background and Guides
Start by preparing your slide to provide a clean, subtle canvas for your timeline. Here’s how:
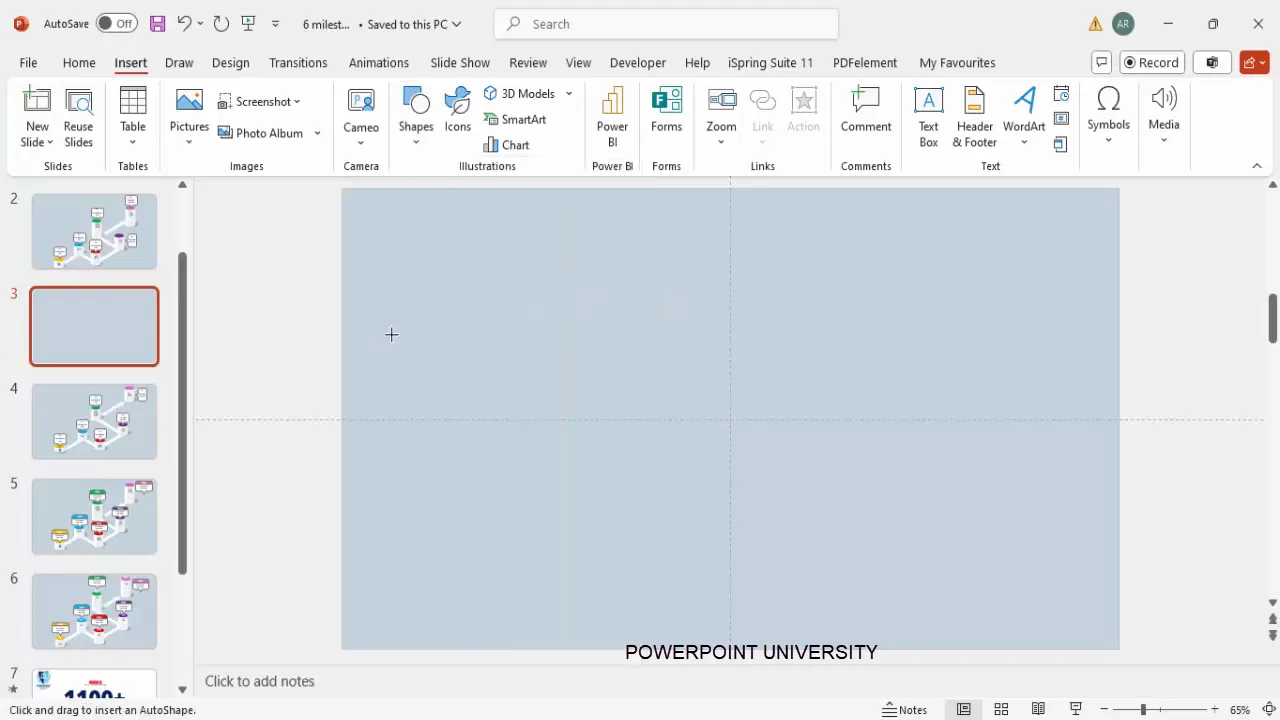
- Add a new blank slide in your PowerPoint presentation.
- Change the slide background to a light blue-gray color. This soft tone creates a professional look and ensures your timeline elements stand out.
- Enable guides by navigating to the View tab and checking Guides. Guides help you align your timeline and milestones precisely.
Setting a consistent background and using guides are foundational steps to ensure your timeline design is balanced and visually pleasing.
Drawing the Timeline Path with Freeform Lines
The timeline path is the backbone of your slide. It visually connects your milestones and guides the viewer’s eye through the sequence.
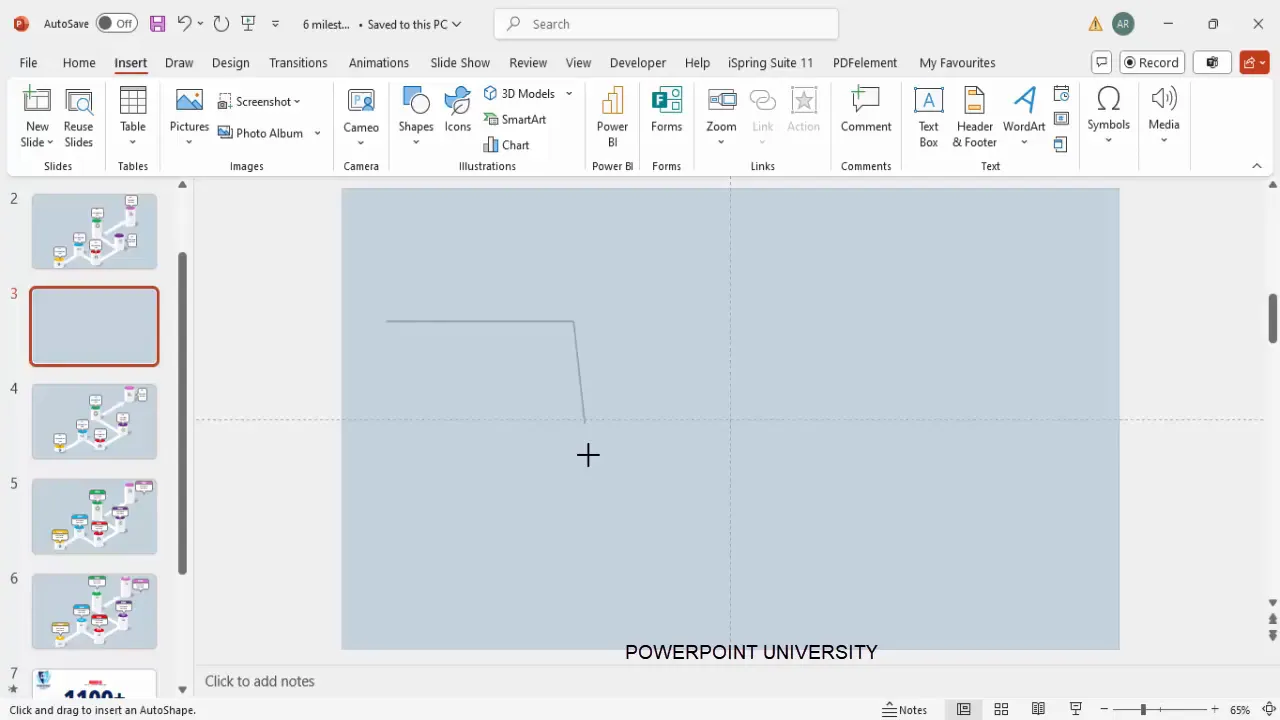
To draw a custom, angled timeline path:
- Go to Insert > Shapes, and select the Freeform Line from the Lines category.
- Click once to start the path, then hold the Shift key while clicking to create straight vertical or horizontal lines. This constraint keeps your lines perfectly straight.
- Create a path with vertical and horizontal segments to form a stepped or zigzag timeline, which adds visual interest.
- Double-click to finish drawing the path.
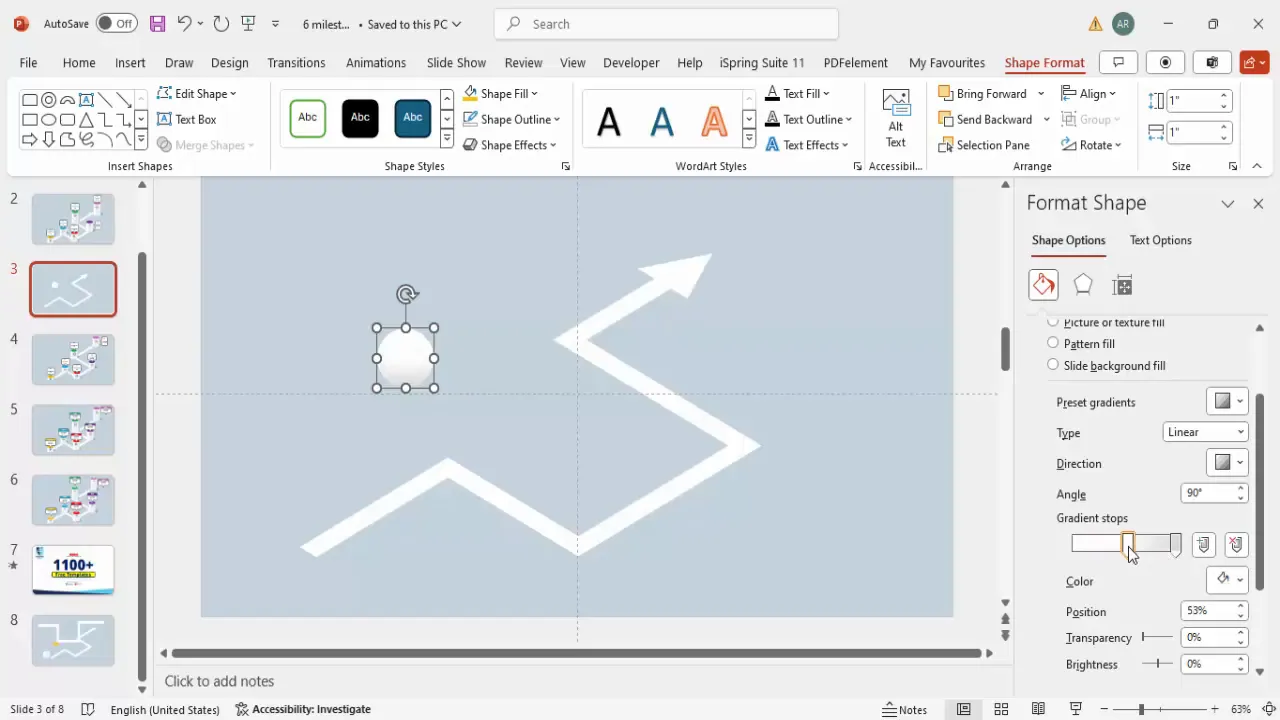
- Right-click the line, select Format Shape, and under Line options, set the width to 30 points for a bold, visible timeline.
- Choose an appropriate arrow style for the line end to indicate direction.
- Apply a 3D rotation preset, such as Isometric Top Up, for a subtle 3D effect that makes the timeline path pop.
- Adjust the size and shape by right-clicking and selecting Edit Points if finer customization is needed.
This approach creates a strong, clear timeline path that acts as the spine for your milestones.
Creating and Styling Milestone Markers
Milestones are key points along your timeline that highlight important steps, events, or phases. Here’s how to create eye-catching milestone markers:
- Go to Insert > Shapes and select the Oval shape (or any shape you prefer for your milestones).
- Draw the shape and remove the outline by setting Shape Outline to No Outline.
- Apply a gradient fill using light gray and white for a subtle, professional look.
- Add a 3D rotation preset like Isometric Top Up to give the shape depth and dimension.
- Under the 3D Format options, add depth (e.g., 50 points) to enhance the 3D effect.
- Experiment with different lighting options under 3D effects to find the one that best suits your slide’s aesthetic.
- Duplicate the milestone shape (Ctrl + D) and modify size and colors for subsequent milestones to create a visually varied but cohesive group.
- Use contrasting colors like purple, red, green, and gray to differentiate milestones easily.
- Align all milestones along the timeline path carefully to maintain visual harmony.
Using these steps, you can create a set of milestones that are consistent yet distinct, making your timeline more readable and attractive.
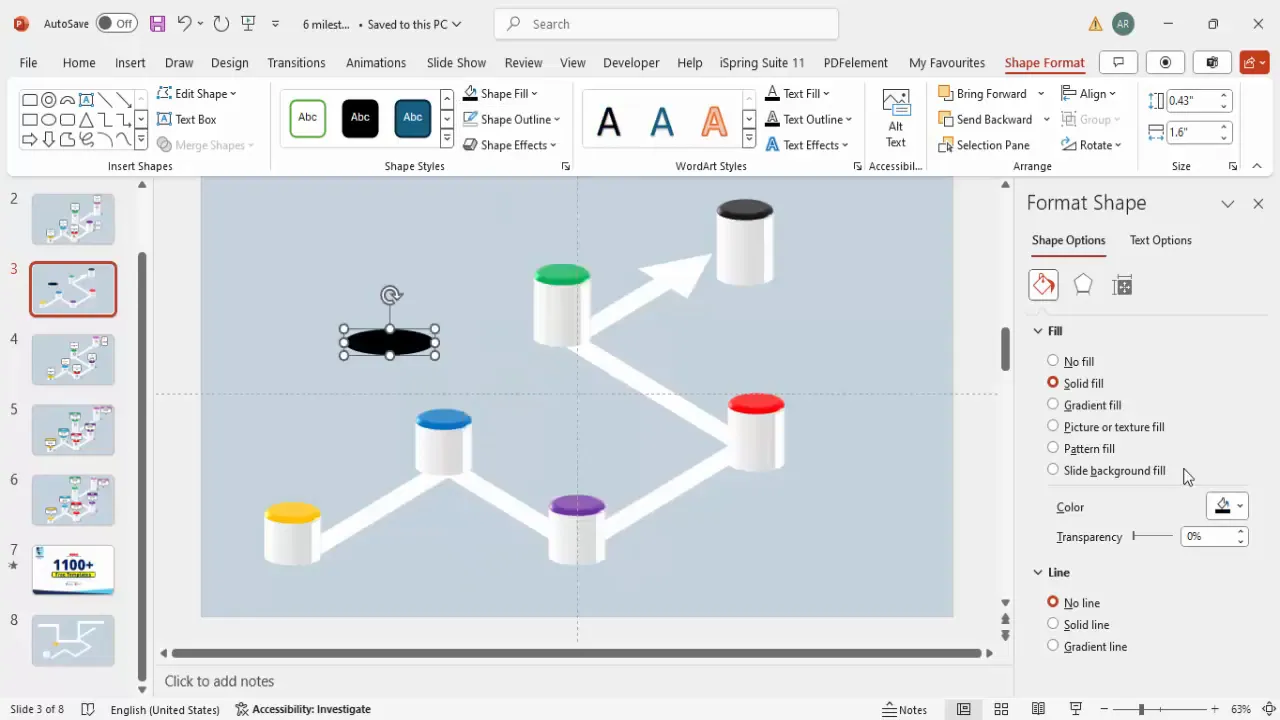
Adding Shadow Effects for Depth
Shadows add realism and help your timeline elements stand out against the background. To add shadows to your milestones:
- Insert an Oval shape beneath each milestone to serve as a shadow.
- Set the Shape Fill to black and No Outline.
- Increase the transparency to soften the shadow effect.
- Apply soft edges and enlarge the shape to create a realistic shadow.
- Rotate and position the shadow oval slightly offset from the milestone.
- Group the shadow shape with its corresponding milestone for easier movement and editing (Ctrl + G).
- Duplicate the grouped shadow and milestone pair across all milestones to maintain consistency.
These subtle shadows add depth and polish to your timeline, making it visually appealing and professional.
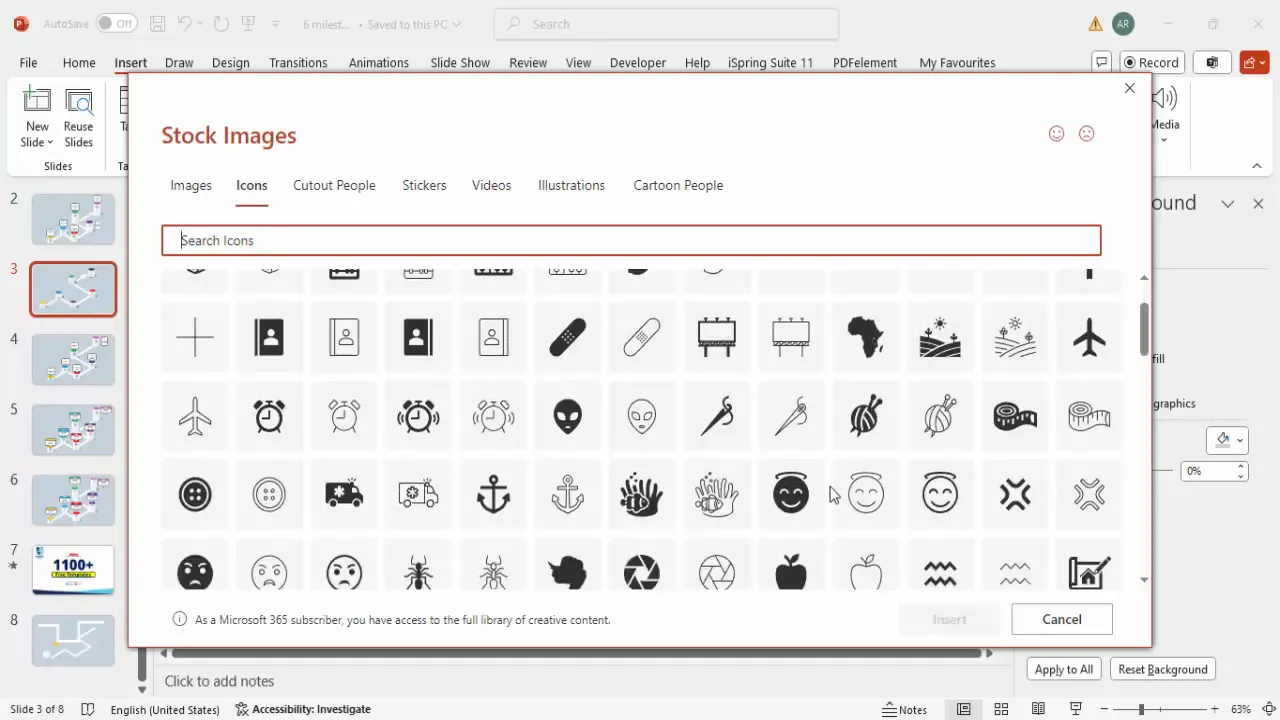
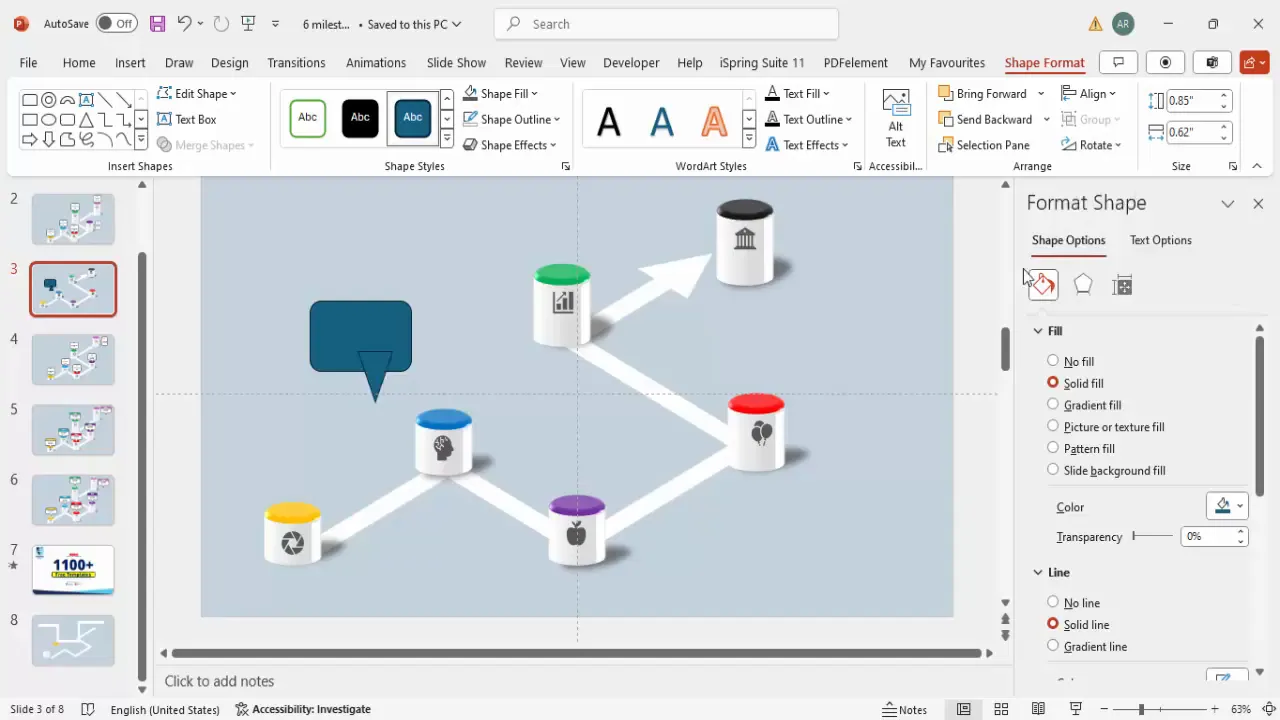
Incorporating Icons into Your Milestones
Icons help convey the meaning of each milestone quickly and enhance visual storytelling. Follow these steps to add icons:
- Go to Insert > Icons and select icons relevant to each milestone’s content or theme.
- Insert the icons onto the slide and resize them to fit neatly atop the milestone markers, around 0.5-inch in size.
- Set the icon color to a muted gray to keep the focus on the timeline but maintain visual interest.
- Position each icon centered on its milestone marker.
- Optionally, group the icon with the milestone and shadow for easy editing.
Icons add a layer of meaning and help your audience make quick associations with each milestone.
Designing Text Boxes with Pointer Arrows
To provide detailed information about each milestone, use text boxes with pointer arrows indicating the corresponding milestone:

- Insert a Rounded Corner Rectangle shape for the main text box area.
- Insert an Isosceles Triangle shape and rotate it vertically to create an arrow pointer.
- Position the triangle so its tip points towards the milestone, and align it with the rectangle.
- Select both shapes and merge them using Merge Shapes > Union to create a single unified shape with a pointer.
- Fill the shape with white or a light color for readability.
- Add a text box inside the shape and enter your detailed milestone description. Center-align the text for neatness.
- Group the text box and pointer shape together (Ctrl + G).
- Duplicate the grouped shape for each milestone and position accordingly along the timeline.
- If space is limited, rotate the text box and pointer by holding Alt and using the arrow keys to adjust orientation.
This method provides clear, visually connected descriptions for each milestone, improving your timeline’s communicative power.
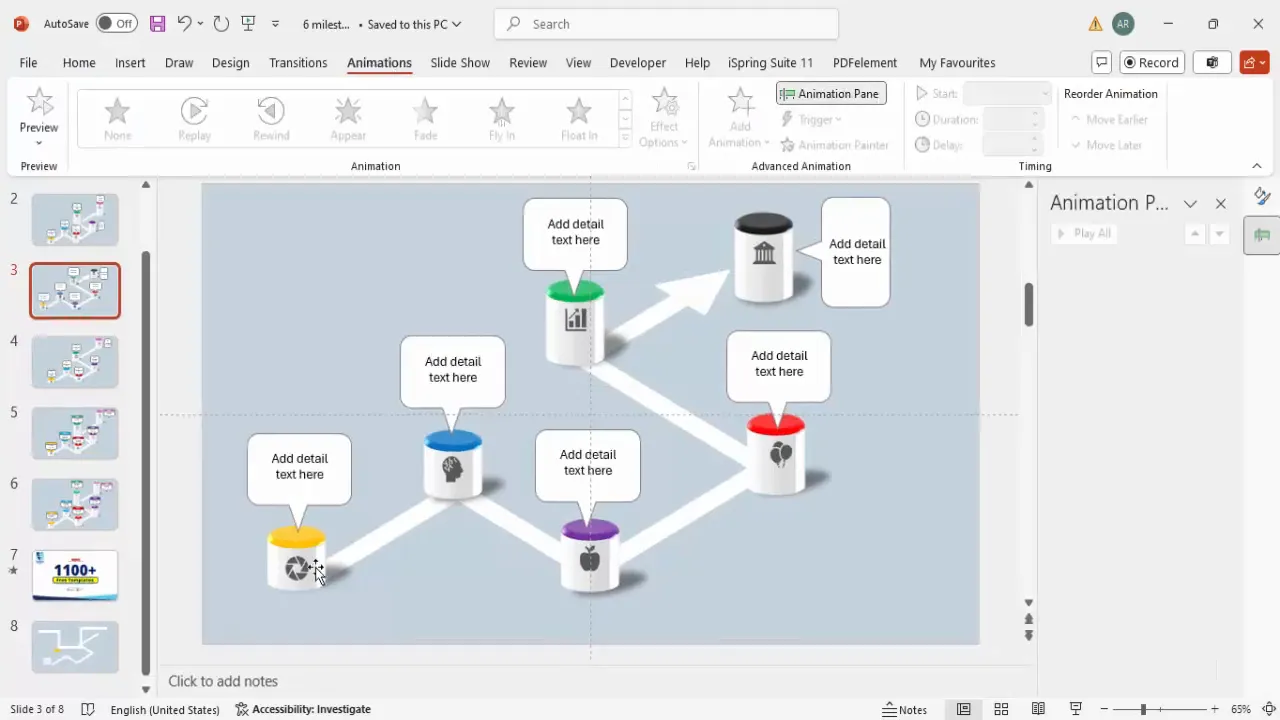
Animating Your Timeline for Interactivity
Adding animations to your timeline enhances engagement by revealing information step-by-step. Here’s how to animate your timeline components:
- Open the Animations tab and enable the Animation Pane for detailed control.
- Select the first milestone group (milestone marker, shadow, icon, and text box) and apply a Wipe animation.
- Set the Wipe direction to appear from the bottom for a smooth reveal.
- Add a secondary animation like Stretch to add a subtle growth effect after the wipe.
- Set the secondary animation to start After Previous to sequence animations naturally.
- Use the Animation Painter to quickly copy animations to the other milestone groups for consistency.
- Adjust animation order in the Animation Pane to ensure milestones appear sequentially as you click.
- Preview your slide to confirm smooth transitions and correct animation timing.
Animations make your timeline interactive and help maintain audience focus on each milestone as you present.
Frequently Asked Questions (FAQ)
What is the best shape to use for milestones in a PowerPoint timeline?
The oval shape is a versatile and visually appealing choice, especially when combined with gradient fills and 3D effects. However, you can customize milestone shapes based on your presentation style, such as circles, squares, or custom shapes.
How do I ensure my timeline is aligned and looks professional?
Use PowerPoint’s guides and gridlines to align elements precisely. Group related objects (milestones, shadows, icons) to keep them together while moving or resizing. Consistent sizing and spacing between milestones also contribute to a polished look.
Can I customize the colors of the timeline and milestones?
Absolutely. Choose colors that align with your brand or presentation theme. Use contrasting colors for milestones to differentiate steps clearly. Gradient fills and 3D effects enhance the visual depth of your timeline.
How do I add icons to my timeline?
PowerPoint’s built-in icon library is accessible via Insert > Icons. Select icons relevant to your milestones and resize them to fit neatly on the markers. Adjust icon colors to match your design palette.
Is it possible to animate the timeline in PowerPoint?
Yes. You can apply animations such as Wipe, Fade, or Stretch to timeline components. Use the Animation Pane for precise control over timing and sequence, and the Animation Painter to replicate animations quickly across multiple objects.
Can I reuse this timeline design in other presentations?
Definitely. Save your timeline slide as a template or duplicate it within your presentation. You can also download free PowerPoint templates that include animated timelines for easy reuse and customization.
Conclusion
Designing a timeline in PowerPoint doesn’t have to be complicated. By following this detailed guide, you can create a clean, professional, and engaging timeline slide complete with milestones, icons, shadows, and animations—all within PowerPoint’s native tools.
The key steps include setting a suitable background, drawing a custom timeline path, creating and styling milestone markers with 3D effects, adding shadow effects for depth, incorporating meaningful icons, designing connected text boxes, and applying animations for interactivity.
This approach not only elevates the visual appeal of your timeline but also enhances audience understanding and engagement. Whether you’re presenting a project plan, historical data, or process flow, this timeline in PowerPoint will serve as a powerful visual aid.
For more creative PowerPoint templates and tutorials, consider exploring resources from POWERPOINT UNIVERSITY, where you can find over a thousand free templates to make your presentations stand out.
Check out the full video: Simple and Easy Timelines Slide in PowerPoint


