Have you ever wondered if it’s possible to create a website using just PowerPoint? It might sound like an unusual idea, but with the right techniques, you can design an interactive, animated PowerPoint presentation that works like a website. In this detailed PowerPoint website mock-up tutorial, we will explore the process of crafting a website mock-up entirely in PowerPoint and then transforming it into a live website using simple embedding techniques.
This tutorial is perfect for PowerPoint enthusiasts, web designers looking for creative alternatives, or anyone curious about pushing the limits of Microsoft PowerPoint. Not only will you learn how to design website-like slides with clickable menus, animations, and parallax effects, but you’ll also discover how to embed your presentation into popular website builders like Wix, WordPress, or Squarespace.
Let’s dive in and answer the age-old question: Can you create a website just using PowerPoint? Spoiler alert: Yes, you can. And in this post, we’ll show you exactly how.
Table of Contents
- Designing the PowerPoint Website Mockup
- Preparing Your Presentation for Web Use
- Embedding PowerPoint into a Website Builder
- Customizing the Embed Code for Perfect Display
- Publishing and Testing Your PowerPoint Website
- Pros and Cons of PowerPoint Websites
- Frequently Asked Questions (FAQ)
- Conclusion
Designing the PowerPoint Website Mockup
The first step in building a PowerPoint website is designing an interactive presentation that mimics the look and feel of a traditional website. This involves creating slides that serve as web pages, complete with navigation menus, clickable buttons, animations, and smooth transitions.
Here’s what to consider when designing your PowerPoint website mock-up:
- Clickable Menu: Create a navigation bar at the top of your slides with buttons linked to different sections or pages within your presentation. This simulates the menu of a website.
- Multiple Sections: Design separate slides for each section of your site, such as Home, Features, Contact, and About Us.
- Animations and Transitions: Use PowerPoint’s animation features to add visual interest. For example, the morph transition creates a smooth parallax scroll effect that enhances the user experience.
- Clickable Buttons: Add interactive buttons that link to other slides or external URLs, just like hyperlinks on a website.
- Design Consistency: Use consistent branding elements, colors, and fonts to make the mockup look professional and cohesive.
The creator of this tutorial used Microsoft PowerPoint 365, which supports advanced features like the morph transition and better online integration. If you want to learn how to design such animated slides, you can check out related tutorials that cover slide animation and parallax effects.

Preparing Your Presentation for Web Use
Once your PowerPoint mockup is ready, the next step is to prepare it for web deployment. This involves uploading your presentation online and generating an embed code that allows you to insert the presentation into a website.
Here’s how to prepare your PowerPoint presentation for web use:
- Upload to OneDrive: Locate your PowerPoint file and upload it to OneDrive, Microsoft’s cloud storage service. This allows you to host your presentation online.
- Open Online View: In OneDrive, right-click your presentation file and select View Online. This will open the presentation in PowerPoint for the web, giving you an online preview.
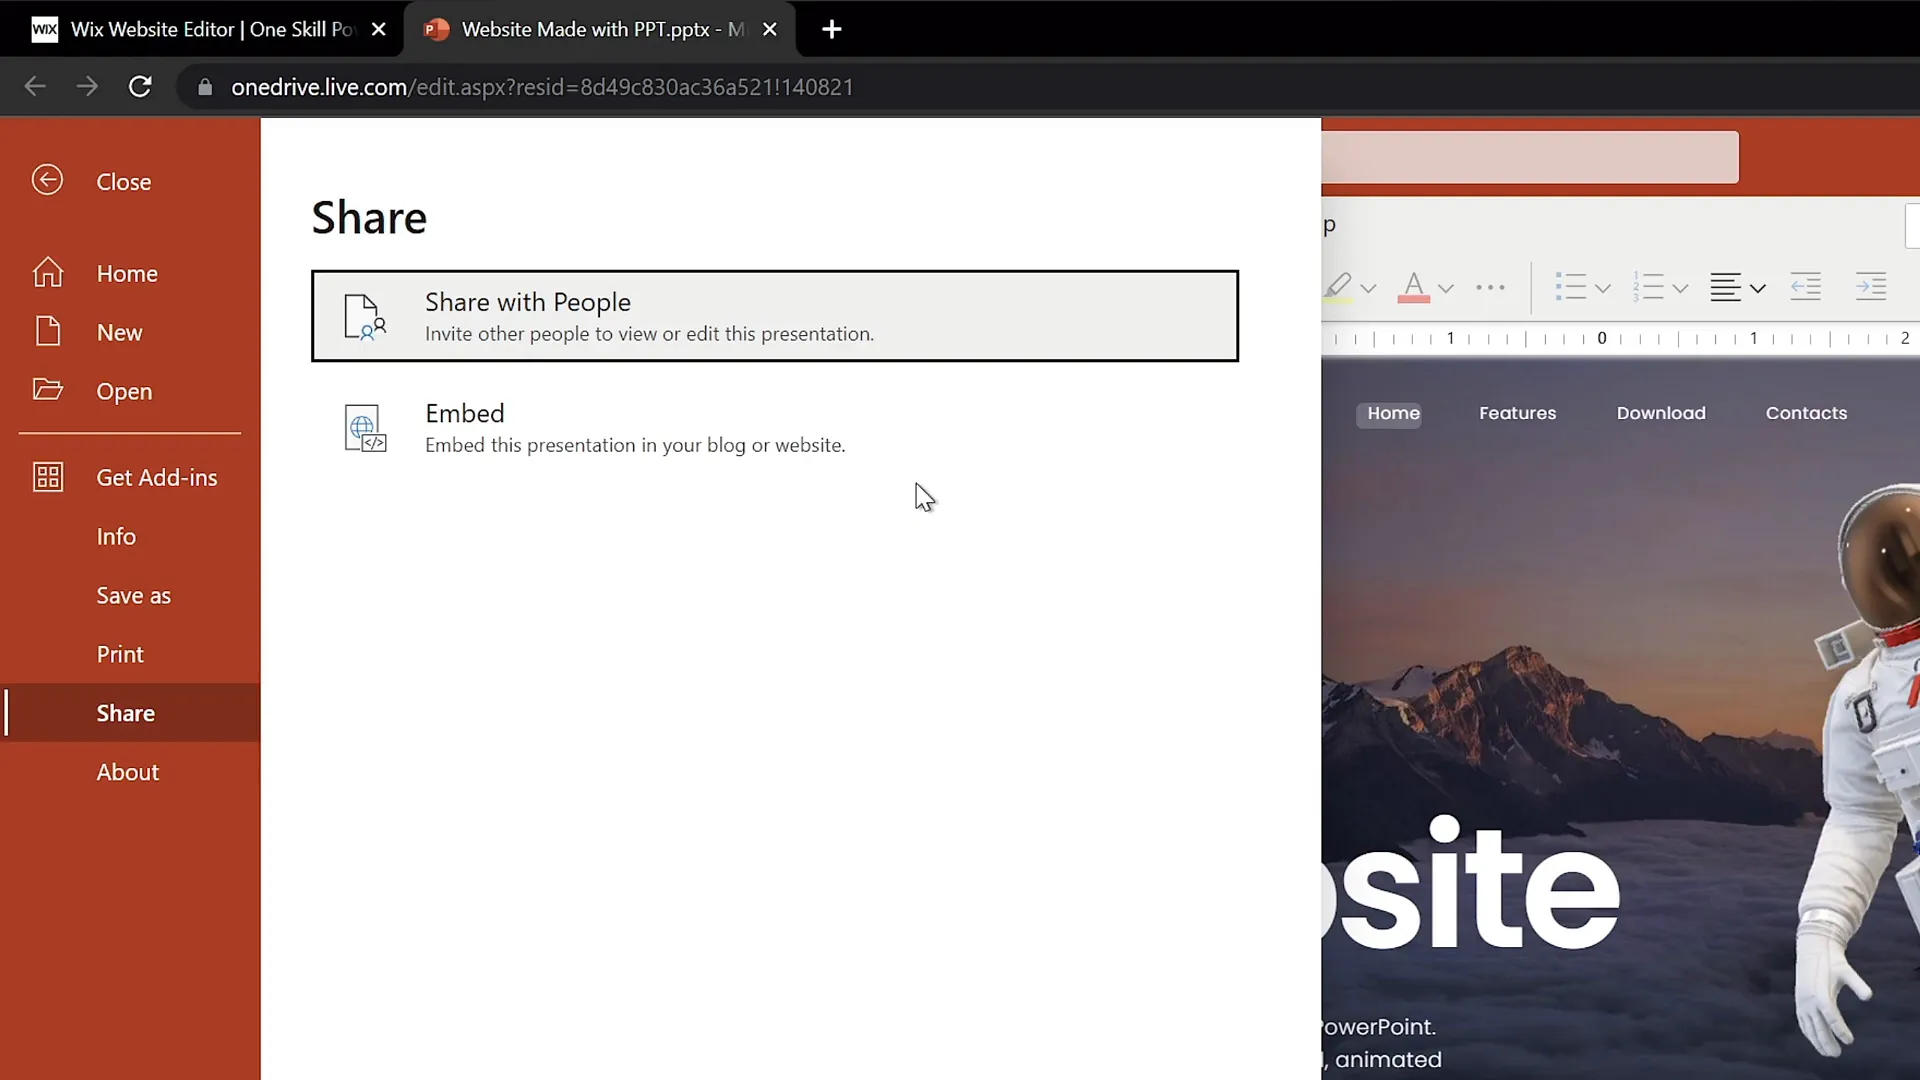
- Generate Embed Code: In the online PowerPoint interface, navigate to File > Share > Embed. PowerPoint will generate HTML embed code that you can use to insert the presentation into any website.
- Copy the Embed Code: Copy the generated code. Don’t worry about the default dimensions at this stage; we will customize them later for better display.
Embedding PowerPoint into a Website Builder
With the embed code ready, your next step is to embed the PowerPoint presentation into a website builder. This tutorial demonstrates the process using Wix, but the method is similar for other platforms like WordPress or Squarespace.
Steps to embed your PowerPoint presentation into Wix:
- Create a Blank Page: In your Wix dashboard, add a new blank page. Name it something like ppt web to reflect that this page will host your PowerPoint website.
- Hide from Main Menu: If you don’t want the page to appear in your main site menu, choose to hide it from navigation.
- Apply a No Header Layout: To provide a clean canvas, select a layout without headers or navigation bars so the PowerPoint presentation can take full focus.
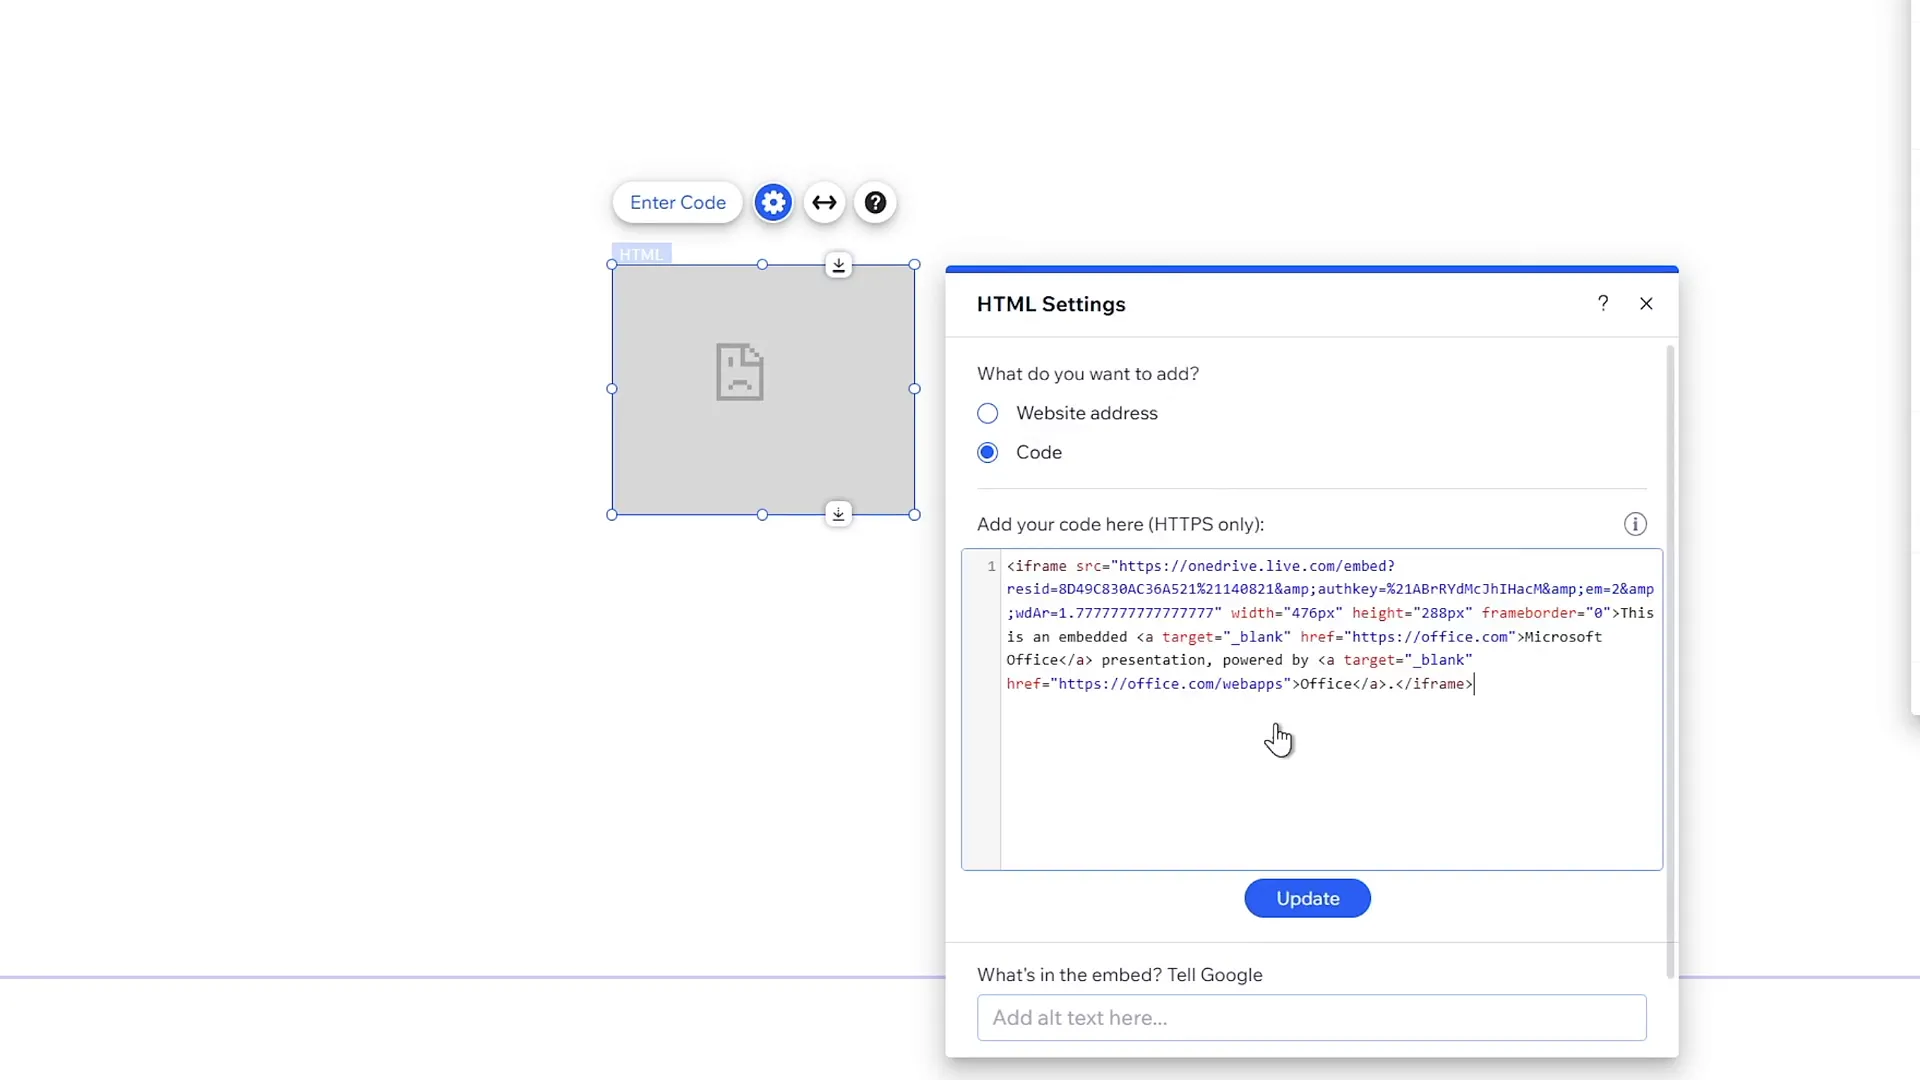
- Add Embed HTML Element: Use the Add Elements option in Wix to find and insert an Embed HTML widget onto your page.
- Paste Embed Code: Paste the PowerPoint embed code you copied earlier into the HTML widget.
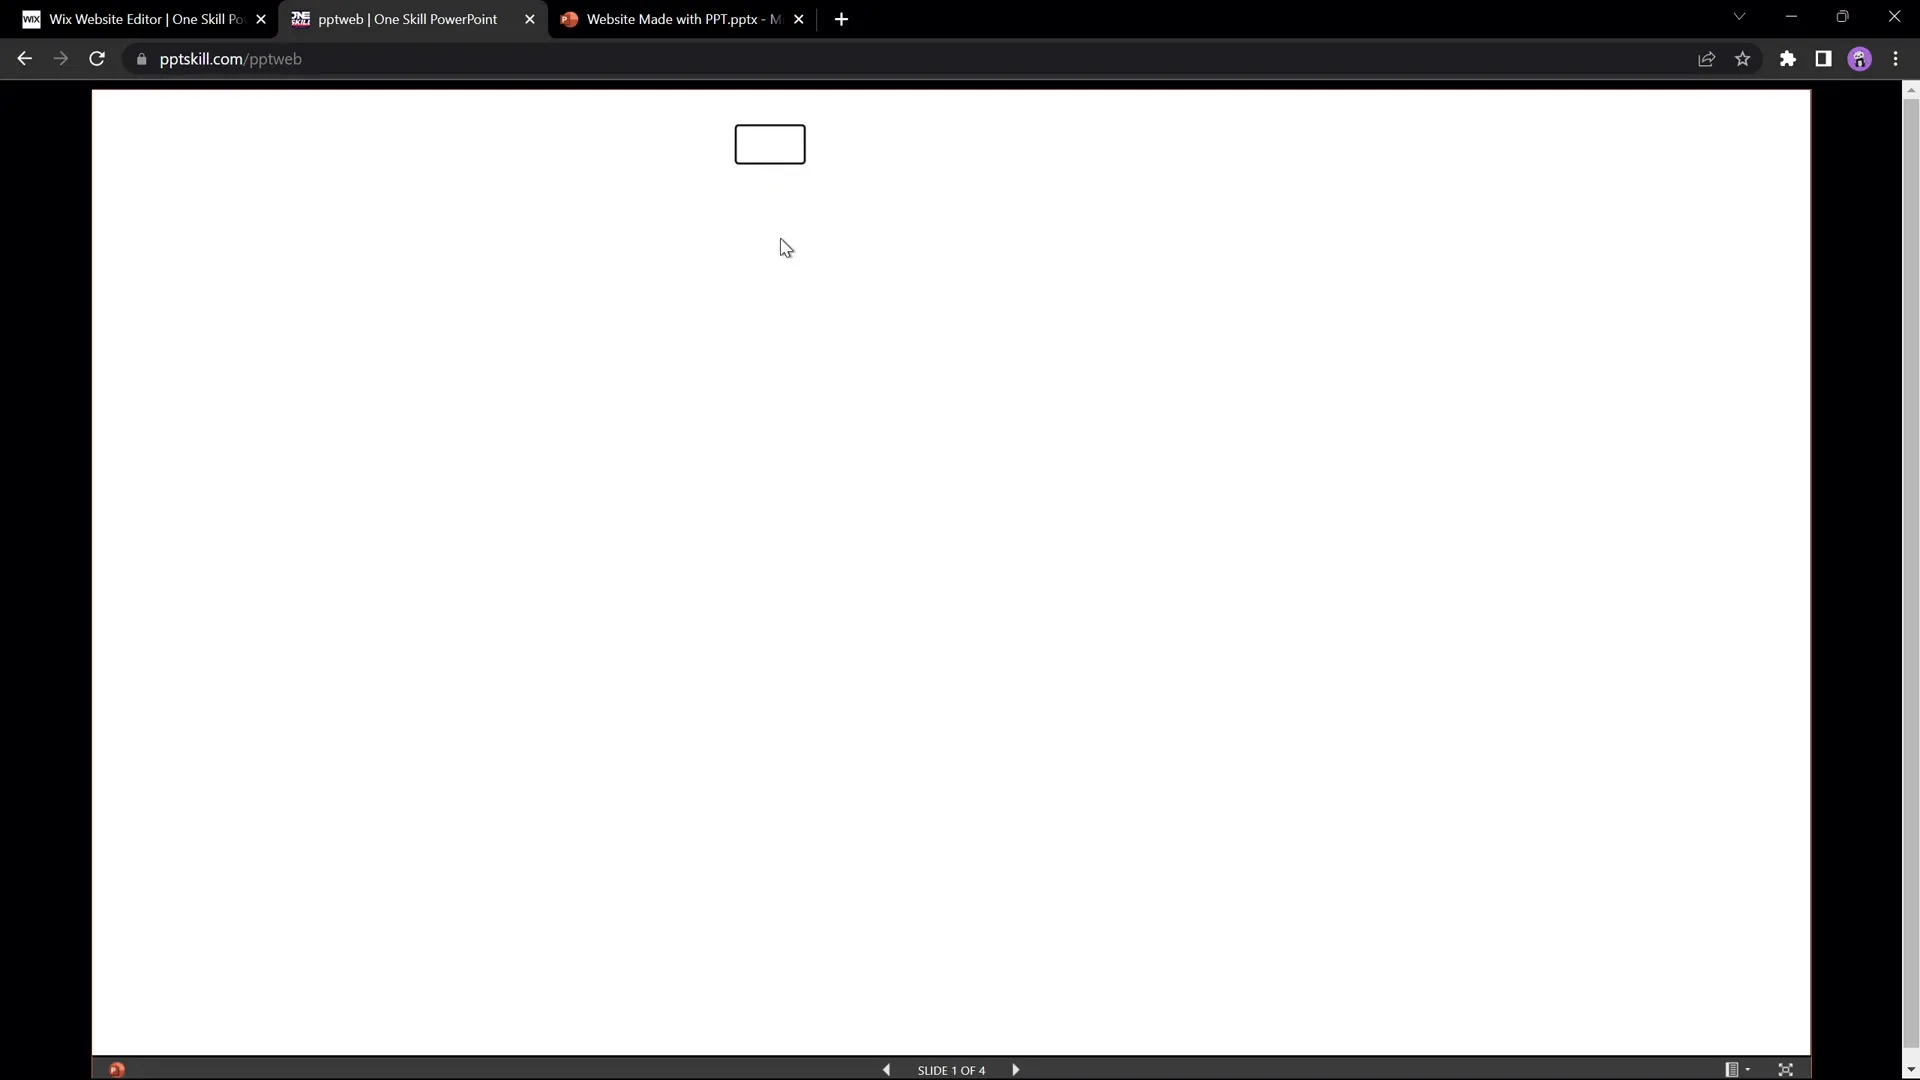
- Resize the Embed Window: Initially, the embedded presentation may appear very small. You can drag the corners to resize it, but further customization is needed for perfect display.
Customizing the Embed Code for Perfect Display
The default embed code generated by PowerPoint often sets fixed pixel dimensions, which can make the embedded presentation appear too small or not aligned properly. To fix this, you need to customize the embed code and the container size.
Here’s how to customize the embed code and layout for better display:
- Set Width and Height to 100%: Edit the iframe code within the embed code to change the
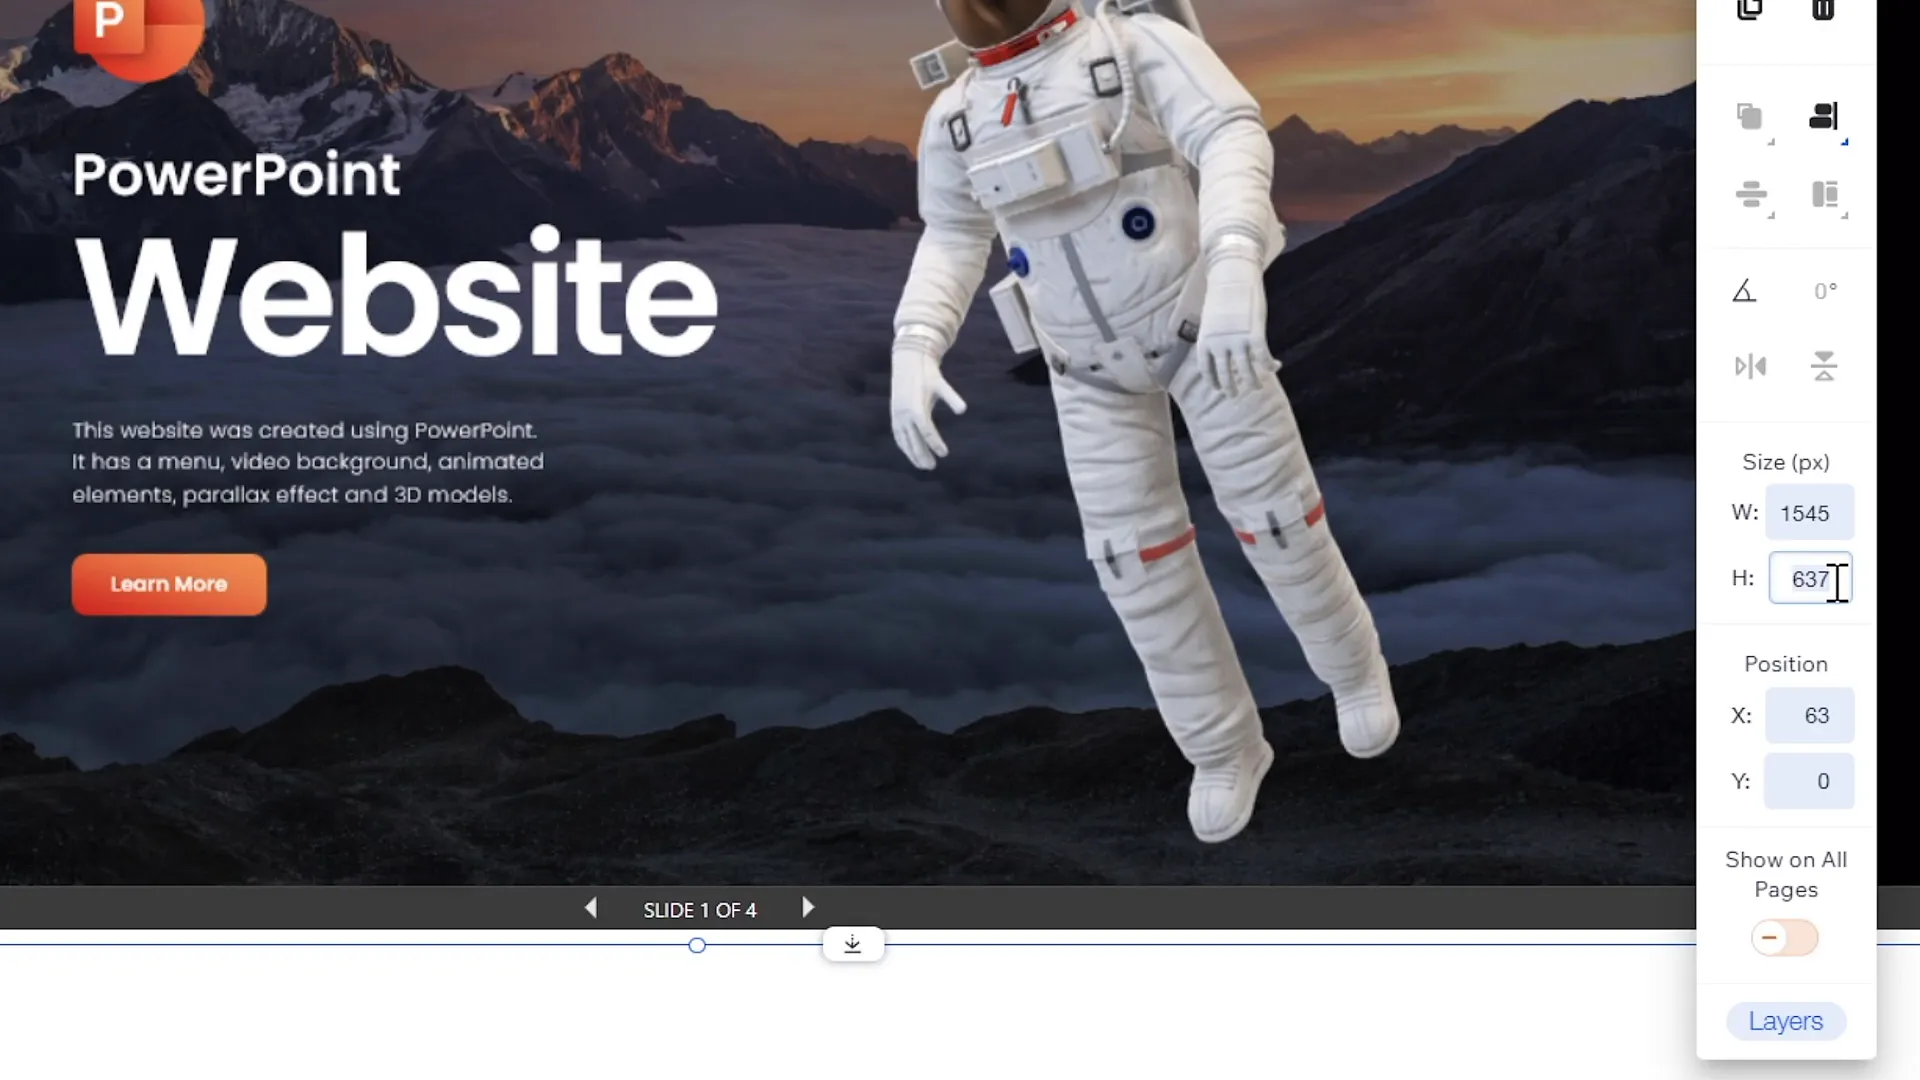
widthandheightattributes to100%. This makes the presentation scale to the container size. - Resize the Embed Container: In your website editor, set the embed container dimensions to a fixed size that suits your design, such as 1545 pixels wide by 900 pixels high.
- Center the Presentation: Align the embed container to the center of the page to create a balanced visual.
- Set Background Color: Change the website background color to black or any color that complements your PowerPoint design for a professional look.
These adjustments ensure that your PowerPoint website mock-up looks polished and occupies the right space on your webpage.
Publishing and Testing Your PowerPoint Website
After embedding and customizing your PowerPoint presentation, it’s time to publish your website and test the interactive functionality of your PowerPoint website mock-up.
Follow these final steps:
- Publish Your Website: Click the Publish button in your website builder.
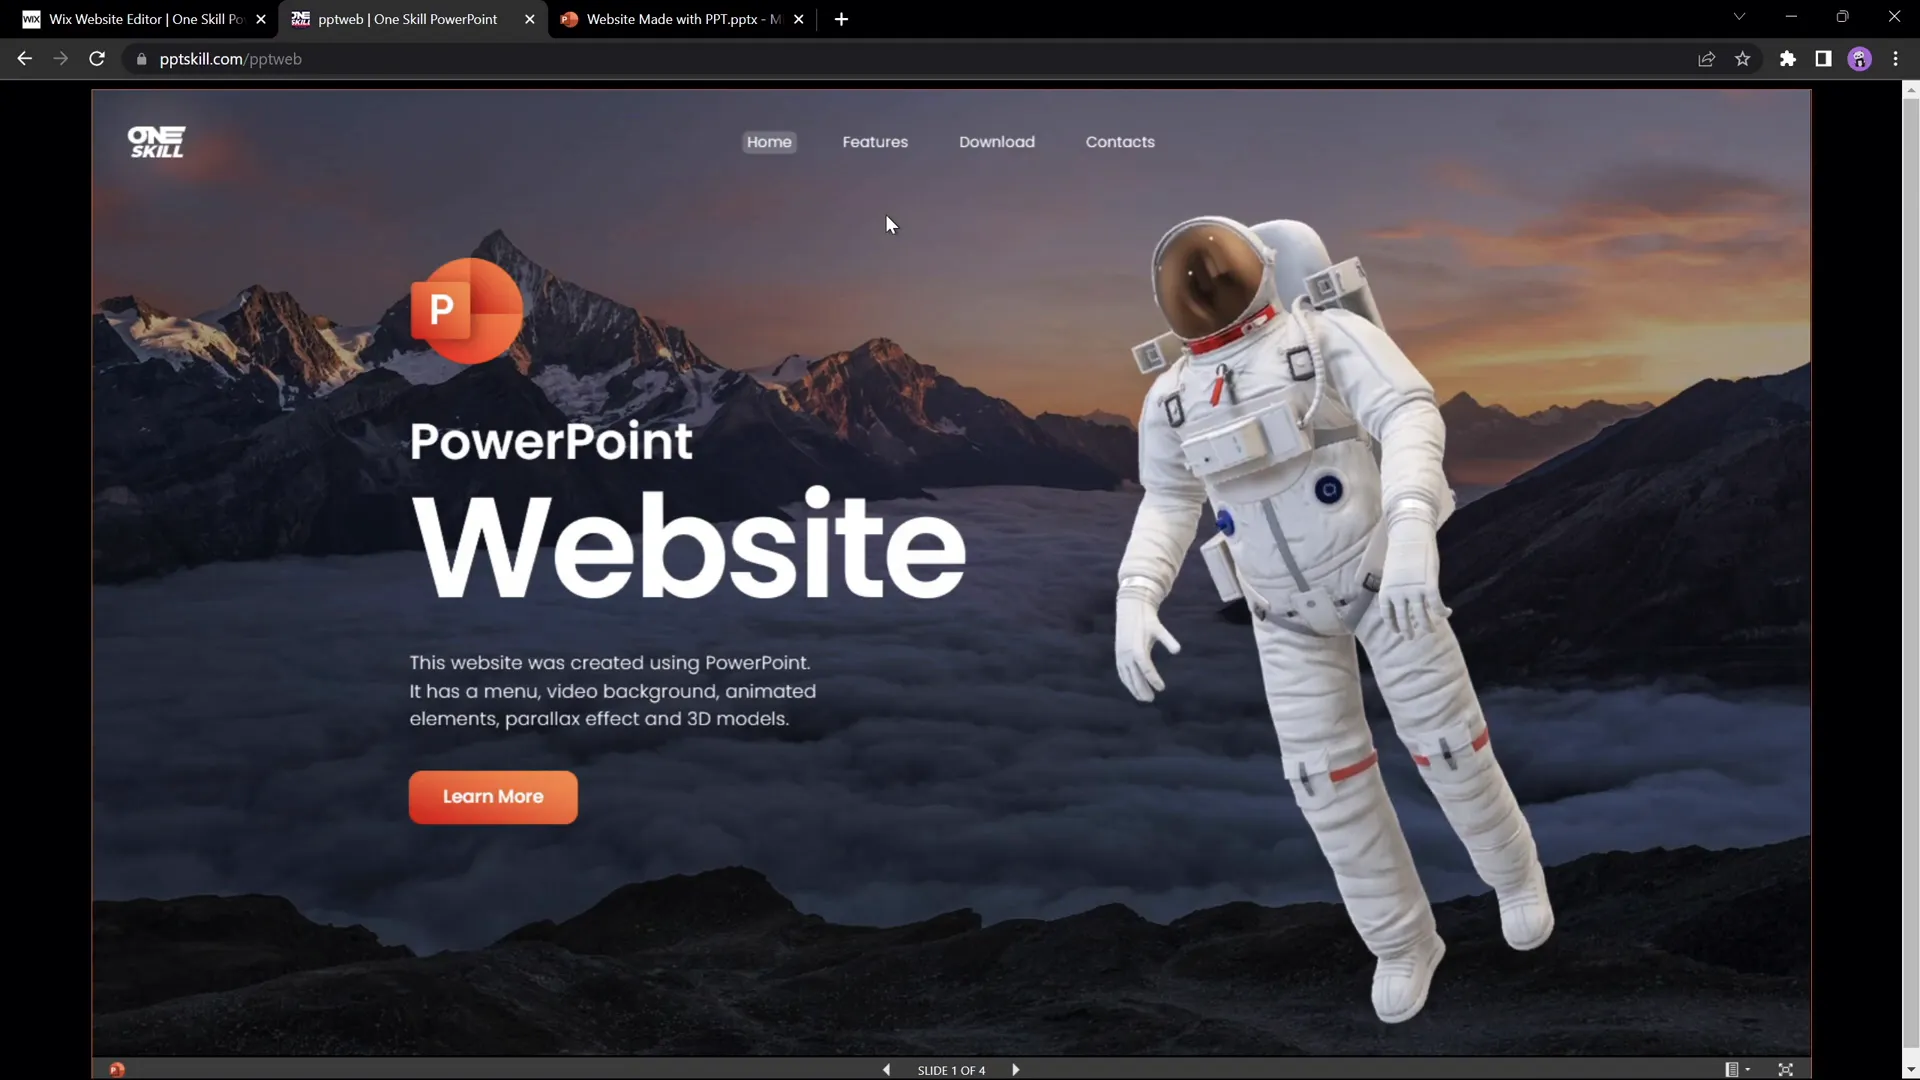
- Access Your PowerPoint Website: Navigate to your site URL with the specific page path (e.g.,
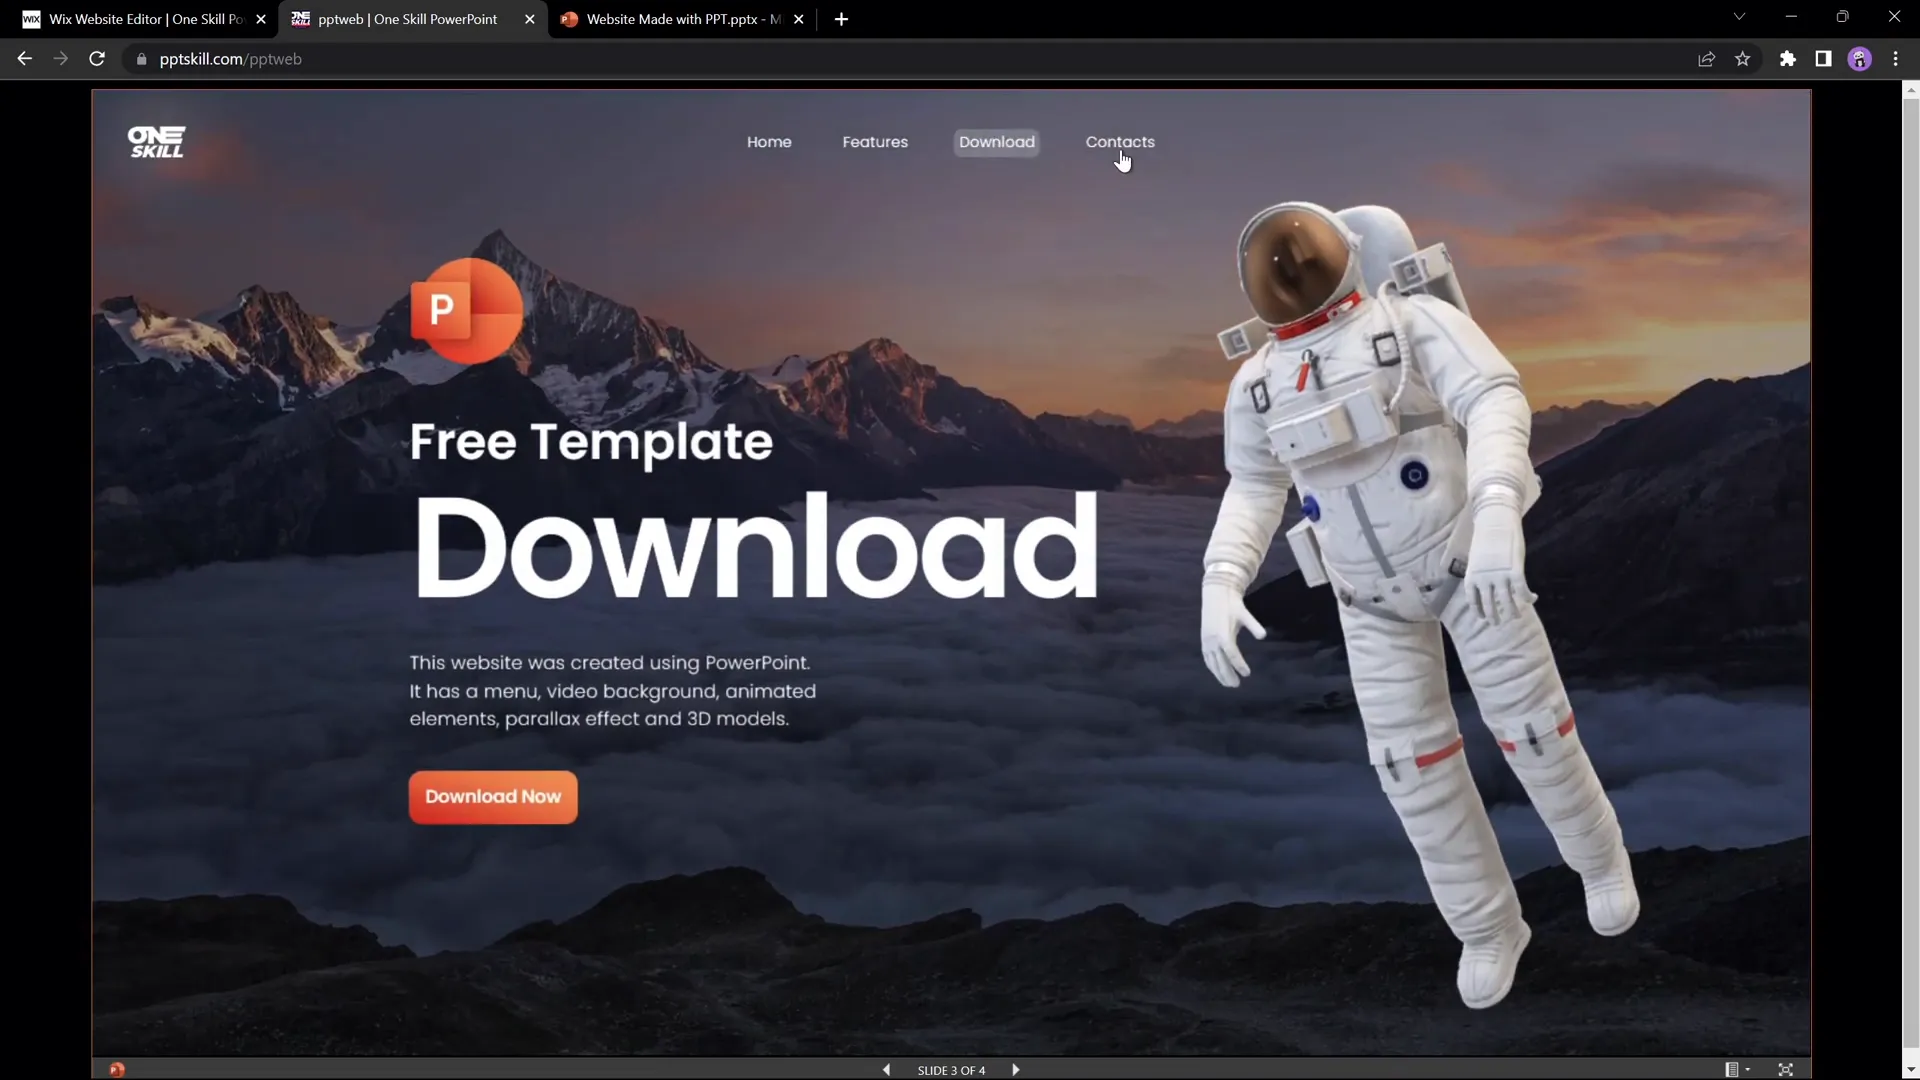
pptskill.com/pptweb). - Test Navigation: Click on the menu buttons to ensure they navigate to the correct sections within your presentation.
- Check Animations: Verify that animations and parallax effects like the morph transition work smoothly.
- Test Links: Confirm that any buttons linking to external pages or social media profiles function correctly.
For instance, the tutorial creator’s website, pptskill.wixsite.com/one-skill/pptweb, showcases a PowerPoint website with a clickable menu, parallax scrolling, and interactive buttons.
Important Notes on Transitions and Responsiveness
While PowerPoint websites can be impressive, there are a few caveats to keep in mind:
- Slide Transitions: Some slide-to-slide transitions might not look perfect when jumping between non-adjacent slides. For example, moving directly from a Features slide to a Contact slide might cause awkward animations. You can fix this by applying simple fade transitions, but this may sacrifice effects like parallax morph transitions.
- Mobile Responsiveness: PowerPoint presentations embedded in websites are not fully responsive. The layout may appear broken or hard to navigate on mobile devices, so it’s best suited for desktop viewing.
Pros and Cons of PowerPoint Websites
Using PowerPoint as a tool to create websites is an unconventional approach. Here are some advantages and disadvantages to consider before adopting this method:
| Pros | Cons |
|---|---|
| Easy to design if you are already familiar with PowerPoint. | Limited responsiveness and mobile compatibility. |
| Supports animations, clickable buttons, and interactive elements. | Transitions may not always be smooth between non-adjacent slides. |
| No need for coding knowledge or complex web development skills. | Embedding can require manual customization of iframe dimensions. |
| Fast prototyping for web mockups and presentations. | SEO and advanced website features are limited or unavailable. |
| Can be embedded into popular website builders easily. | Performance depends on PowerPoint online hosting and embed quality. |
Overall, a PowerPoint website is a creative and fun way to showcase your skills or create simple interactive sites, but it’s not a replacement for fully developed websites when you need complex functionality or mobile friendliness.
Frequently Asked Questions (FAQ)
Can I create a fully functional website using only PowerPoint?
Yes, you can create a website mock-up with interactive menus, buttons, and animations entirely in PowerPoint. However, it’s best suited for simple presentations or prototypes rather than complex, fully responsive websites.
Which version of PowerPoint do I need to create such a website?
The tutorial uses Microsoft PowerPoint 365, which supports advanced features like morph transitions and online embedding. Older versions might not support all the interactive features.
How do I embed my PowerPoint presentation into a website?
First, upload your presentation to OneDrive, generate an embed code from the online PowerPoint interface, and then paste this code into an HTML embed widget in your website builder like Wix or WordPress.
Will my PowerPoint website work on mobile devices?
PowerPoint presentations embedded as websites are not fully responsive and may not display correctly on mobile devices. They work best on desktops.
Can I customize the dimensions of the embedded PowerPoint presentation?
Yes, you can edit the iframe embed code to set width and height to 100%, and adjust the container size in your website builder to ensure the presentation fits well.
Are there any free PowerPoint templates I can use to create a website mock-up?
Yes, many creators offer free downloadable PowerPoint templates designed for website mock-ups and interactive presentations. For example, the tutorial creator provides free templates linked in the video description.
Conclusion
So, can you create a website just using PowerPoint? The answer is a resounding yes. With creativity, advanced PowerPoint features, and a few simple web embedding tricks, you can turn an animated PowerPoint presentation into a functional website mock-up.
This approach is ideal for designers who want to showcase interactive prototypes quickly without coding or for PowerPoint enthusiasts seeking to push the boundaries of their favorite tool. While it’s not a replacement for traditional web development, a PowerPoint website offers unique advantages like easy design, smooth animations, and simple embedding.
If you want to learn how to design such animated slides yourself, check out tutorials on creating clickable menus, parallax scroll effects, and morph transitions in PowerPoint. Also, feel free to explore the free downloadable templates mentioned in the video description to jumpstart your own PowerPoint website project.
Remember, the key to success here is experimentation and embracing PowerPoint’s versatility. Whether you’re creating a portfolio, an interactive resume, or a simple product showcase, this method opens new doors for creative presentation and web design.
Happy designing, and as the tutorial creator says, “I always say yes to PowerPoint!”
For more inspiration and resources, visit pptskill.wixsite.com/one-skill/pptweb and follow One Skill PPT on YouTube for more PowerPoint tutorials and free templates.


